
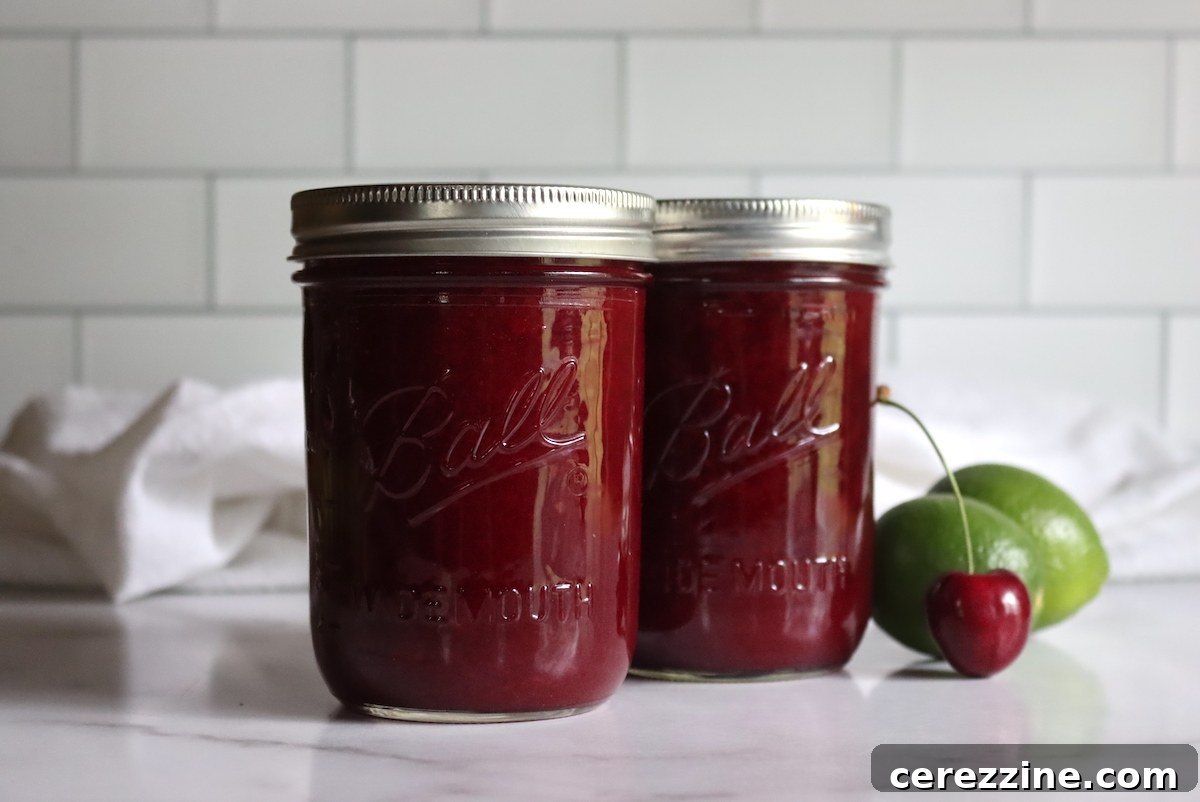
Imagine a hot summer day, the sun beating down, and you reach for a perfectly chilled, refreshingly tart, and subtly sweet beverage. That’s the promise of homemade cherry limeade concentrate – a delightful concoction ready to be mixed at a moment’s notice. Whether you’re hosting impromptu guests, need a quick cool-down after a busy day, or simply desire a taste of summer, this versatile concentrate offers convenience without compromising on vibrant flavor. Cherries and limes are a match made in culinary heaven, creating a spectacular drink that will become a staple in your pantry.
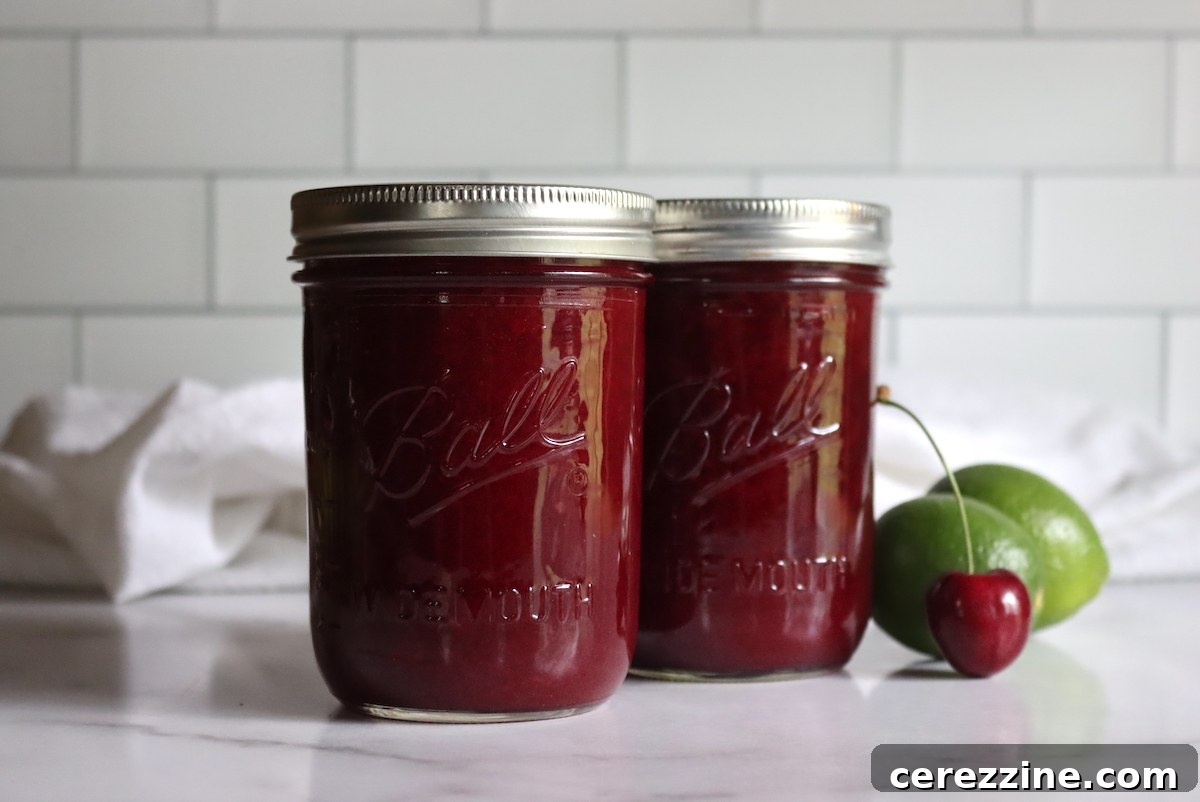
While the joy of homemade jams and preserves is undeniable, I find myself constantly craving delicious, refreshing drinks. My journey into home preservation began with canning various fruit juices from our garden. This quickly evolved to include home-canned lemonade concentrate and canned limeade concentrate, which were absolute game-changers in my daily routine.
Having a jar of concentrate readily available in the pantry, or chilling in the refrigerator, transformed my afternoon breaks. After a strenuous session working in the garden, coming indoors to a perfectly cold, homemade drink was an unparalleled pleasure. It eliminated the need for store-bought options, offering a healthier, more flavorful alternative that’s always ready when you are.
Once you master the art of canning basic lemonade and limeade, a world of possibilities opens up. You realize that incorporating almost any high-acid fruit can elevate these classic drinks into exciting new flavors. Each spring, I eagerly anticipate making strawberry lemonade concentrate. Now, with the arrival of summer and its bounty of fresh cherries, my seasonal ritual includes preparing this exquisite cherry limeade concentrate, bringing a burst of seasonal flavor to our everyday lives.
This recipe isn’t just about making a drink; it’s about capturing the essence of summer, preserving natural flavors, and having a convenient, customizable beverage base that’s always at your fingertips. It’s a testament to the simple pleasures of homemade goodness and self-sufficiency.
The Advantages of Homemade Drink Concentrates
Why go through the effort of making and canning your own drink concentrates when store shelves are stocked with ready-to-drink options? The benefits are manifold, particularly for those who appreciate natural ingredients, customizability, and efficiency:
- Unrivaled Freshness and Flavor: Store-bought beverages often contain artificial flavors, colors, and excessive preservatives. Homemade concentrates, especially when made with fresh, seasonal fruit, deliver an authentic, vibrant taste that simply cannot be replicated. You control every ingredient, ensuring a pure and natural drink free from unwanted additives.
- Cost-Effective: Buying fruits in season and processing them yourself can be significantly more economical than purchasing individual ready-to-drink bottles, especially if you enjoy these beverages frequently throughout the year. It’s a smart way to enjoy premium taste on a budget.
- Space-Saving Storage: Concentrates, by their very nature, take up considerably less space than diluted, ready-to-drink beverages. Canning them allows for long-term, shelf-stable storage in your pantry, freeing up precious refrigerator space for other essentials. This efficiency is a huge plus for home canners.
- Customizable Strength and Sweetness: One of the greatest advantages is the ability to dilute your concentrate to your exact preference. Love a stronger, more tart limeade? Use less water. Prefer it milder or sweeter? Adjust the ratio or add more sugar during reconstitution. This unparalleled flexibility is impossible with pre-made drinks.
- Always Ready: With a stash of canned concentrates, a delicious, refreshing drink is always just moments away. This is perfect for busy weeknights, unexpected visitors, last-minute gatherings, or simply when you need a quick pick-me-up without any fuss.
- Reduced Waste: By making concentrate, you can efficiently utilize a large batch of seasonal fruit, minimizing spoilage and maximizing your harvest. This sustainable approach makes the most of nature’s bounty and your efforts.
Ingredients for Your Refreshing Cherry Limeade Concentrate
Crafting this delightful cherry limeade concentrate requires just a few simple, yet high-quality ingredients. This recipe is specifically designed to yield approximately 32 oz (equivalent to 2 pint jars) of rich concentrate, which can then be easily reconstituted into a generous gallon of delicious cherry limeade. Here’s a detailed look at what you’ll need:
- 2 cups fresh lime juice (approximately 10-12 medium-sized limes)
- 2 cups granulated sugar
- 2 cups cherry puree (made from about 3-4 pounds of pitted fresh cherries)
This recipe will efficiently produce enough concentrate to fill 2 pint jars or 4 half-pint jars. To transform one pint jar of this concentrate into a ready-to-drink beverage, simply combine it with 6 cups of cold water. This will yield roughly 4 pints (half a gallon) of exquisitely prepared cherry limeade. Therefore, a single batch of this concentrate recipe will ultimately create a total of 8 pints (one full gallon) of vibrant, reconstituted cherry limeade, perfect for sharing or savoring over time.
Choosing Your Fruits: Limes and Cherries for Optimal Flavor
The quality of your fruit directly impacts the ultimate flavor and vibrancy of your homemade concentrate. Let’s delve a little deeper into selecting and preparing your key ingredients:
- Limes: For the freshest and most authentic taste, always opt for firm, bright green limes that feel heavy for their size—a clear indicator they are packed with juice. You have a choice between Key limes and Persian limes, each offering a distinct flavor profile. Key limes are smaller, intensely aromatic, and yield a more floral, slightly bitter, and assertively tart juice, though they tend to be seedier. Persian limes, the variety most commonly found in grocery stores, are larger, juicier, and offer a more straightforward, bright tartness, often being seedless. Both varieties work beautifully in this recipe; your selection will simply impart a subtle difference in the concentrate’s final aroma and tang.
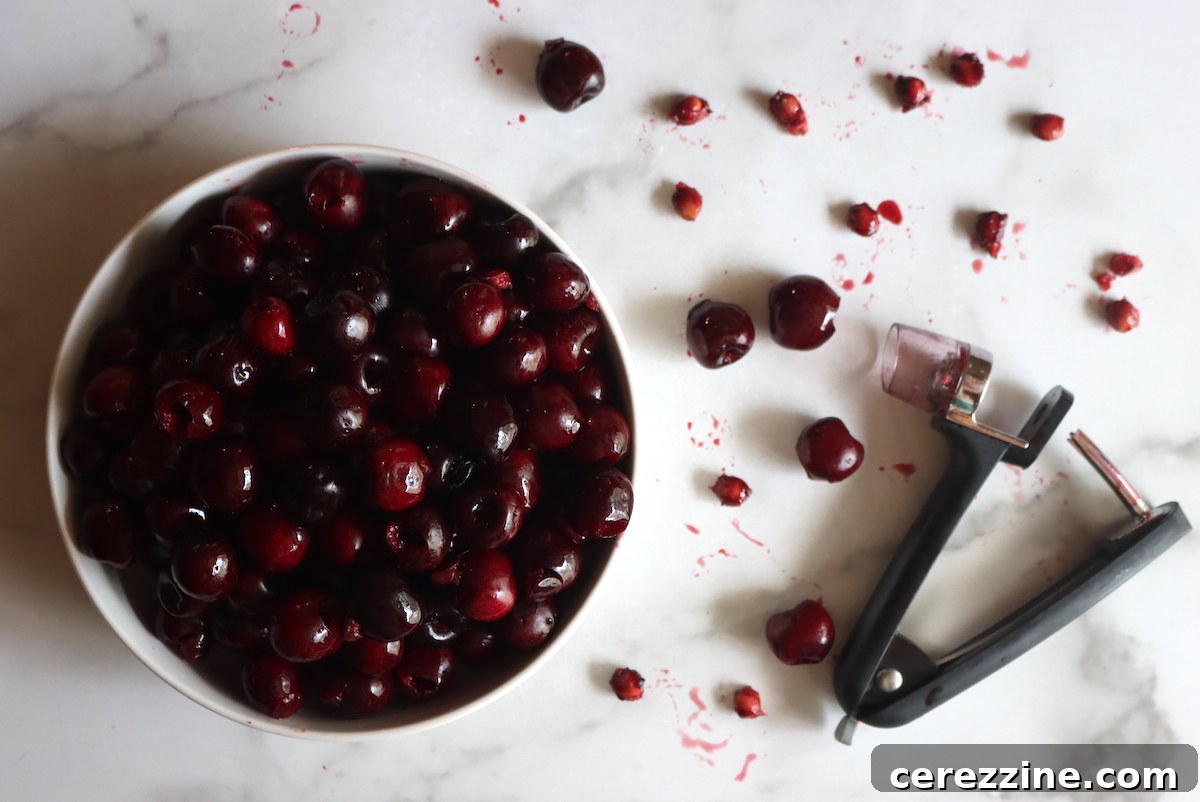
- Cherries: This recipe primarily utilizes cherry puree for a more robust, velvety texture and intensely concentrated cherry flavor, which means careful pitting of the cherries is absolutely essential. While various cherry pitting tools are available (and highly recommended for efficiency), you can also use a clean paperclip or chopstick for a DIY method. Ensure no pits remain, as they are not only unpleasant to consume but can also pose a choking hazard. Once meticulously pitted, place the cherries in a food processor or blender and process until you achieve a perfectly smooth puree. If you don’t have these appliances, you can thoroughly mash the cherries by hand, making sure all clumps are removed for a consistent, silky texture. Alternatively, if pitting seems too tedious, you can make cherry juice first (similar to how you would prepare juice for cherry jelly) and then use the strained juice in place of the puree. Be aware that using juice will result in a less potent cherry flavor, but it will still be incredibly delicious and significantly reduce preparation time. Experiment with different cherry varieties too! Sweet black cherries (like Bing or Rainier) will lend a sweeter, richer puree and a less tart concentrate, while tart cherries (such as Montmorency) will create a more pronounced pucker, beautifully balancing the sweetness and tartness.
Crafting Your Homemade Cherry Limeade Concentrate: A Step-by-Step Guide
Follow these detailed steps carefully to create your vibrant and delicious cherry limeade concentrate, ensuring both flavor and safety:
- Prepare Your Canning Equipment: If you intend to water bath can your concentrate for long-term, shelf-stable storage, begin by sterilizing your canning jars and lids according to standard, approved canning practices. Ensure your water bath canner is set up, filled with water, and ready to be preheated for immediate use.
- Juice and Strain the Limes: Thoroughly wash your limes. To maximize juice extraction, firmly roll each lime on a countertop before cutting it in half. Juice the limes using a reliable citrus juicer. It is absolutely crucial to strain the fresh lime juice through a fine-mesh sieve or several layers of cheesecloth to meticulously remove any pulp, seeds, or fibrous bits. Leftover pulp and seeds, especially from limes, can impart an undesirable bitter taste to your concentrate, which we want to avoid. Aim for precisely 2 cups of impeccably strained lime juice.
- Prepare the Cherry Puree: Wash your chosen cherries thoroughly under cold running water. The next step is paramount: meticulously pit the cherries. Utilizing a dedicated cherry pitting tool will make this process much faster and more efficient, though a clean paperclip or chopstick can serve as a suitable DIY alternative. Double-check to ensure no pits remain in the cherries, as they are not only unpleasant to consume but can also be toxic. Once all cherries are pitted, place them in a food processor or blender and process until you achieve a perfectly smooth, consistent puree. If these appliances are unavailable, you can thoroughly mash the cherries by hand, ensuring all clumps are removed for a uniform texture. Measure out exactly 2 cups of this fresh cherry puree.
- Combine Ingredients and Heat Gently: In a large, non-reactive saucepan or pot (stainless steel or enamel are ideal), combine the strained lime juice, the prepared cherry puree, and the granulated sugar. Place the saucepan over medium-low heat. Stir constantly and gently to help the sugar dissolve completely into the fruit mixture. Continue heating the mixture, monitoring the temperature with a reliable kitchen thermometer, until it reaches precisely 190°F (88°C). It is very important to emphasize *not to boil* the mixture, as vigorous boiling can degrade the delicate fresh flavors of the fruit and potentially alter its consistency.
- Fill Jars and Seal: As soon as the concentrate reaches the target temperature of 190°F, immediately remove it from the heat. Carefully ladle the hot liquid into your prepared, sterilized canning jars, ensuring you leave exactly ¼ inch of headspace at the top of each jar. This specific headspace is critical for proper vacuum sealing and safe processing during canning. With a clean, damp cloth, meticulously wipe the rims of the jars clean to ensure a perfect seal. Center the flat canning lids on the jars, then secure them with screw bands, tightening only until fingertip tight (do not overtighten).
- Water Bath Canning Process: Carefully transfer the filled and securely sealed jars to your prepared water bath canner. Ensure the jars are fully submerged in water by at least 1 inch. Place the lid on the canner and bring the water to a rolling boil. Once the water reaches a vigorous, rolling boil, begin timing the processing. The processing time varies significantly based on your geographical elevation to ensure food safety:
- For elevations below 1,000 feet: Process for 15 minutes.
- For elevations between 1,000 and 3,000 feet: Process for 20 minutes.
- For elevations between 3,000 and 6,000 feet: Process for 25 minutes.
- For elevations above 6,000 feet: Process for 30 minutes.
Adjust your processing time precisely according to your specific geographical elevation to guarantee food safety and proper sealing of your concentrate.
- Cool and Check Seals: Once the processing time is complete, turn off the heat and carefully remove the canner lid. Allow the jars to rest in the hot water for 5 minutes before carefully removing them with a jar lifter. Place the hot jars on a sturdy, towel-lined counter, allowing at least an inch of space between them to promote even cooling. Let the jars cool undisturbed for a full 12 to 24 hours. After they have completely cooled, check the seals: the center of each lid should be concave (curved inwards) and not flex when pressed. Any jars that have not sealed properly should be refrigerated immediately and used within a few weeks. Label your successfully sealed jars with the contents and date, then store them in a cool, dark, and dry place.
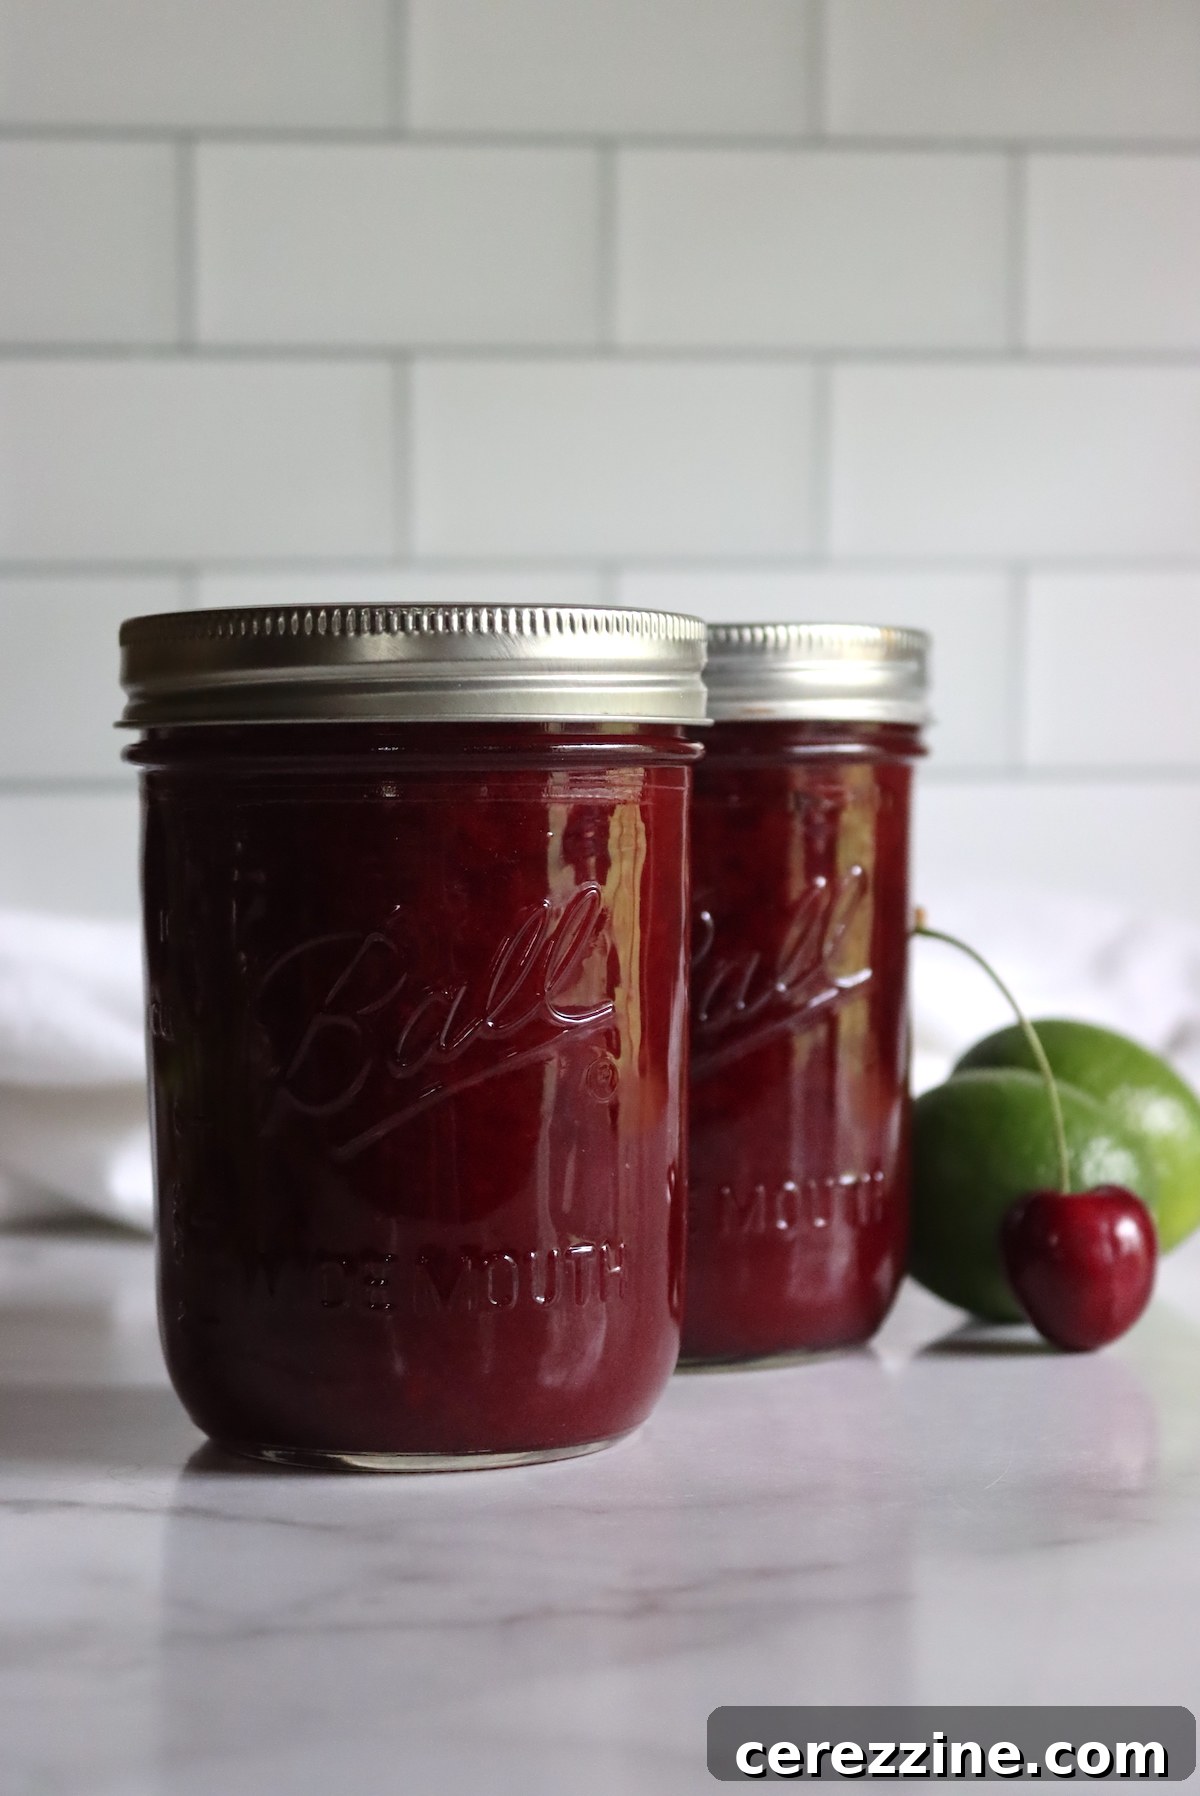
Elevate Your Drink: Customizing and Serving Variations
The true beauty of making your own concentrate lies in its incredible versatility. You can effortlessly tailor your cherry limeade to suit various tastes, occasions, and personal preferences:
- Adjusting Water Ratios for Perfect Strength: The standard reconstitution ratio (1 pint concentrate to 6 cups water) is an excellent starting point, but feel completely free to adjust it to your liking. If you anticipate adding a significant amount of ice to your pitcher on a scorching day, using slightly less water initially will help compensate for the eventual melting, ensuring your drink doesn’t become diluted and maintains its robust flavor. Conversely, if you prefer a milder, less intense flavor, simply add a little more water until you reach your desired balance.
- Sparkling Sensations for a Festive Twist: For a delightful and refreshing effervescent twist, try reconstituting your concentrate with sparkling water, club soda, or even a lemon-lime soda. For an extra layer of fruitiness and fizz, sparkling cherry juice can be a wonderful addition. When using these pre-flavored sparkling additions, you might find that less concentrate is needed, as they bring their own unique taste and effervescence to the mix.
Exploring Fruit Profiles for Unique Cherry Limeade Flavors
The specific type of cherries and limes you select can significantly influence and alter the final flavor profile of your homemade concentrate:
- Cherry Choices: As previously mentioned, sweet black cherries (like Bing, Chelan, or Rainier) will produce a richer, inherently sweeter puree, resulting in a less tart concentrate. On the other hand, tarter varieties, such as Morello or Montmorency cherries, will impart a sharper, more invigorating “pucker” that beautifully contrasts with the lime, creating a more pronounced and balanced sweet-tart profile. Don’t hesitate to experiment with different cherry varieties available in your region to discover your absolute personal favorite!
- Lime Choices: Key limes (also known as Mexican limes) offer a highly aromatic, slightly bitter, and intensely floral note compared to the more common Persian limes (Tahitian limes) typically found in supermarkets. Persian limes are generally juicier and present a more straightforward, bright tartness. While both types of limes work wonderfully in this recipe, your choice will subtly influence the concentrate’s overall aroma, complexity, and tanginess.
Making Regular (Non-Concentrated) Cherry Limeade
If you prefer to make a ready-to-drink cherry limeade without the need for future dilution, you can easily adapt this recipe. Simply add the full 6 cups of cold water for every 2 cups of lime juice and 2 cups of cherry puree during the initial mixing stage, before gentle heating. You would then proceed with canning or refrigeration as usual for a full-strength beverage. However, keep in mind that regular cherry limeade will naturally occupy significantly more storage space than its concentrated counterpart. If your pantry or refrigerator is already packed, making the concentrate offers a much more efficient and space-saving storage solution, providing more bang for your buck in terms of pantry real estate.
Preserving Your Homemade Cherry Limeade Concentrate: Storage Options
Once you’ve successfully crafted your delicious cherry limeade concentrate, you have several excellent and flexible options for storage, depending on how quickly you plan to use it and your desired shelf life:
- Refrigeration for Short-Term Use: For immediate enjoyment or if you anticipate using the concentrate within a few days to a week, simply store it in a tightly sealed, airtight container in the refrigerator. This is the simplest method for quick access.
- Freezing for Medium-Term Storage: For longer-term preservation without the canning process, freezing is an excellent choice. Pour the concentrate into freezer-safe containers, such as durable plastic freezer bags, wide-mouth freezer-safe Mason jars, or even ice cube trays for convenient individual portions. When freezing in jars, it is crucial to remember to leave at least a full inch of headspace from the top of the jar to account for the liquid’s expansion as it freezes, preventing jar breakage. Frozen concentrate can maintain its optimal quality and flavor for approximately 6 months.
- Water Bath Canning for Long-Term Shelf-Stability: For truly shelf-stable, long-term storage that allows you to enjoy the vibrant taste of homemade cherry limeade year-round, water bath canning is the ideal and safest method. This traditional preservation process ensures the concentrate remains fresh, safe, and delicious on your pantry shelf for up to a year or even longer. As meticulously outlined in the “How to Make” section above, strict adherence to proper sterilization of jars and precise processing times based on your geographical elevation are absolutely key to successful and safe canning. This method provides unparalleled convenience and peace of mind.
Creative Ways to Enjoy Your Cherry Limeade Concentrate
A single pint of this homemade concentrate is incredibly versatile and can be transformed into a generous half-gallon of prepared limeade. To reconstitute, simply mix 1 pint of concentrate with 3 pints (6 cups) of cold water. For easy measuring, I often pour a pint of concentrate into a half-gallon Mason jar and then fill the rest with water. Remember, feel free to adjust the strength to your personal taste, making it stronger or weaker as desired.
Beyond the classic chilled drink, your homemade cherry limeade concentrate opens up a world of delightful possibilities, making it a true kitchen hero:
- Classic Refreshment: The simplest and often most satisfying way to enjoy it is reconstituted with cold water, generously served over ice. It’s the quintessential beverage for balmy summer days, muggy evenings, or casual backyard gatherings, offering instant relief and a burst of flavor.
- Fizzy Delights: Elevate your limeade experience by reconstituting it with sparkling water, club soda, tonic water, or even a lemon-lime soda for an invigorating layer of fizz and enhanced flavor. This makes for a sophisticated mocktail or a simple, celebratory drink.
- Refreshing Cocktails: Transform your concentrate into sophisticated adult beverages. Spike it with a splash of vodka, white rum, or gin for a refreshing cherry limeade cocktail. For deeper color and extra sweetness, add a dash of grenadine. Consider crafting a vibrant cherry limeade sangria with fresh fruit slices and a dry white wine, or a light and bubbly shandy by mixing it with a crisp, light beer.
- Frozen Treats: For a truly icy cool-down, use the concentrate to make cherry lime slushies. Simply blend the concentrate with ice and a little water until perfectly smooth. You can also pour the reconstituted mixture into popsicle molds for delightful homemade cherry limeade popsicles, which are a guaranteed hit with both kids and adults.
- Southern Charm: For a unique twist with a nod to Southern hospitality, use your cherry limeade concentrate to flavor cherry limeade sweet tea. It’s a delightful and harmonious combination that is both incredibly refreshing and subtly energizing, perfect for a porch swing afternoon.
- Garnish with Flair: Enhance both the visual appeal and the flavor of your drinks by garnishing with fresh lime slices, whole cherries, or a sprig of aromatic fresh mint. For an extra touch of flavor that prevents dilution, freeze concentrate into ice cubes beforehand to add a pop of color and continuous taste.
This thirst-quenching beverage pairs wonderfully with hot weather and complements a wide range of light summer fares, from cold fruit salads and pasta salads to grilled dishes and BBQ. Be sure to keep a few jars stocked in your pantry or refrigerator for impromptu garden parties, picnics, or simply to treat yourself to a delicious, homemade drink whenever the mood strikes.
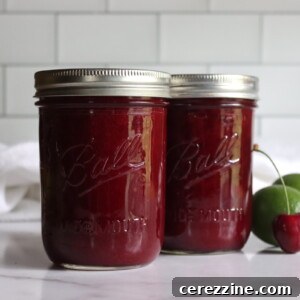
2 pints concentrate (16 servings prepared)
Homemade Cherry Limeade Concentrate (Canning Recipe)
10 mins
5 mins
15-30 mins (based on elevation)
25 mins
Print Recipe
Equipment
- Water Bath Canner (for canning)
- Large non-reactive Saucepan or Pot
- Citrus Juicer
- Cherry Pitter (recommended)
- Food Processor or Blender (for cherry puree)
- Sterilized Canning Jars (pint or half-pint) and 2-part Lids
- Jar Lifter
- Kitchen Thermometer
- Fine-mesh Sieve or Cheesecloth
Ingredients
- 2 cups fresh lime juice (from about 10-12 medium limes)
- 2 cups granulated sugar
- 2 cups cherry puree (from approximately 3-4 lbs fresh pitted cherries)
Instructions
- Prepare Equipment: If canning, sterilize your jars and lids. Set up your water bath canner and begin to preheat the water.
- Juice and Strain Limes: Wash limes, roll them to loosen juice, then cut and juice them. Strain the fresh lime juice thoroughly through a fine-mesh sieve or cheesecloth to remove all pulp and seeds, which can cause bitterness. Measure 2 cups of strained lime juice.
- Prepare Cherry Puree: Wash and meticulously pit your fresh cherries. Using a food processor or blender, puree the pitted cherries until completely smooth. If processing by hand, ensure no clumps remain. Measure 2 cups of cherry puree.
- Combine and Heat Gently: In a large, non-reactive saucepan, combine the strained lime juice, cherry puree, and granulated sugar. Heat the mixture over medium-low heat, stirring constantly, until the sugar is fully dissolved and the concentrate reaches 190°F (88°C). Do not boil the mixture to preserve fresh fruit flavors.
- Fill Jars: Immediately remove the saucepan from heat. Carefully ladle the hot concentrate into your prepared, sterilized canning jars, leaving exactly ¼ inch of headspace. Wipe jar rims clean.
- Seal and Process: Center clean lids on the jars and secure with screw bands, tightening only to fingertip tight. Carefully transfer jars to the preheated water bath canner, ensuring they are covered by at least 1 inch of water. Bring the water to a rolling boil and process for the duration specified below for your elevation.
- Cool and Check Seals: After processing, turn off heat, remove canner lid, and let jars sit for 5 minutes before carefully removing them. Place jars on a towel-lined counter to cool undisturbed for 12-24 hours. Check seals; the lid centers should be concave and not flex. Any unsealed jars should be refrigerated and used promptly.
- Reconstitute and Enjoy: To enjoy your cherry limeade, mix one pint (2 cups) of concentrate with 6 cups (3 pints) of cold water. Adjust the ratio to suit your personal taste preference.
Notes
Reconstitution Guide: A single pint (2 cups) of this concentrate will make approximately half a gallon of delicious, prepared cherry limeade. For easy preparation, combine 1 pint of concentrate with 3 pints (6 cups) of cold water. Feel free to adjust this ratio to make your limeade stronger or weaker, based on your individual taste. A convenient method is to pour a pint of concentrate into a half-gallon Mason jar and then fill the remainder with water.
Straining Fruit (Optional Consideration): Straining the cherry puree after blending (or opting to use cherry juice instead of puree) is entirely optional. This recipe is formulated to follow safe canning guidelines for fruit purées. You can slightly reduce the lime juice quantity if you desire a less tart concentrate. If you choose not to strain the cherry puree, just ensure that all cherries are thoroughly pitted and blended or mashed until completely smooth to avoid any unpleasant texture in the final product.
Crucial Altitude Adjustments for Canning Safety: Proper processing time in a water bath canner is paramount for ensuring the safety and shelf-stability of your canned goods. Please adjust your canning times precisely based on your geographical elevation:
- For elevations below 1,000 feet: Process for 15 minutes.
- For elevations between 1,000 and 3,000 feet: Process for 20 minutes.
- For elevations between 3,000 and 6,000 feet: Process for 25 minutes.
- For elevations above 6,000 feet: Process for 30 minutes.
Nutrition
Calories: 115kcal
Carbohydrates: 30g
Protein: 0.3g
Fat: 0.1g
Saturated Fat: 0.01g
Polyunsaturated Fat: 0.02g
Monounsaturated Fat: 0.01g
Sodium: 1mg
Potassium: 74mg
Fiber: 0.5g
Sugar: 28g
Vitamin A: 26IU
Vitamin C: 10mg
Calcium: 7mg
Iron: 0.1mg
Nutrition information is automatically calculated and provided for general informational purposes; it should only be used as an approximation.
More Cherry Canning Recipes to Explore
If you’re eager to make the absolute most of this year’s cherry harvest, there are many other delightful and rewarding ways to preserve this versatile and beloved fruit. Dive into these additional cherry canning recipes to expand your pantry:
- Canning Whole Cherries (Syrup or Water Pack)
- Rich Black Cherry Jam
- Sparkling Cherry Jelly
- Homemade Cherry Pie Filling
Delightful Lime Canning Recipes
Limes offer a burst of bright, zesty, and intensely refreshing flavor that stands wonderfully on its own, even without the delightful addition of cherries. If you find yourself with an abundance of fresh limes and are looking for more ways to preserve them, consider trying out these fantastic lime canning recipes:
- Lime Jelly (Recipe coming soon – stay tuned!)
- Canning Refreshing Limeade
- Zesty Lime Marmalade (No Added Pectin)
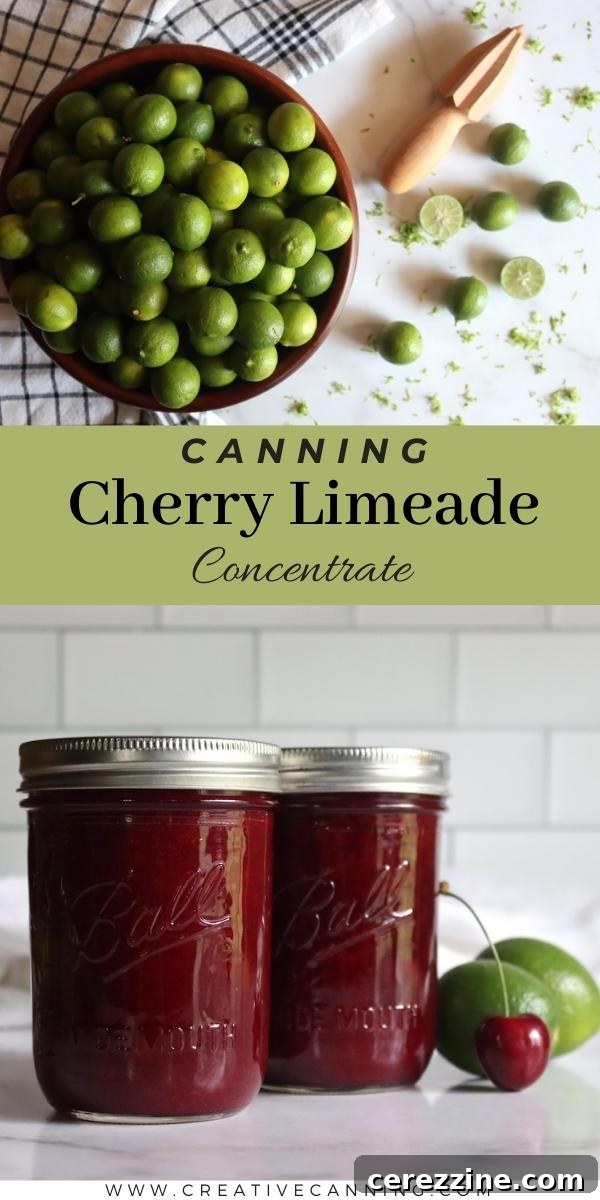
Embrace the joy and convenience of homemade beverages with this incredible cherry limeade concentrate. It’s a simple recipe that yields impressively flavorful and versatile results, bringing the refreshing taste of summer to your table all year long. Happy canning and even happier sipping, knowing you’ve created something truly special from scratch!