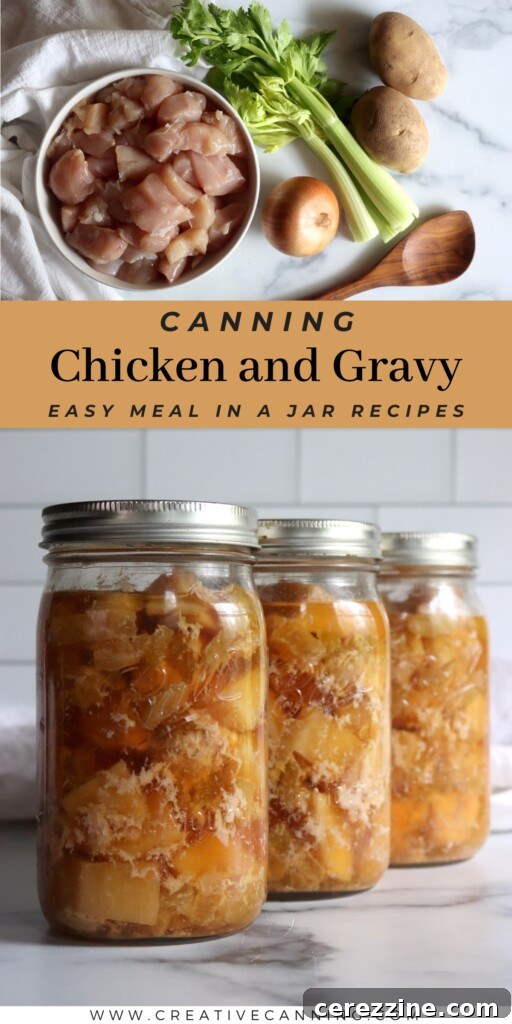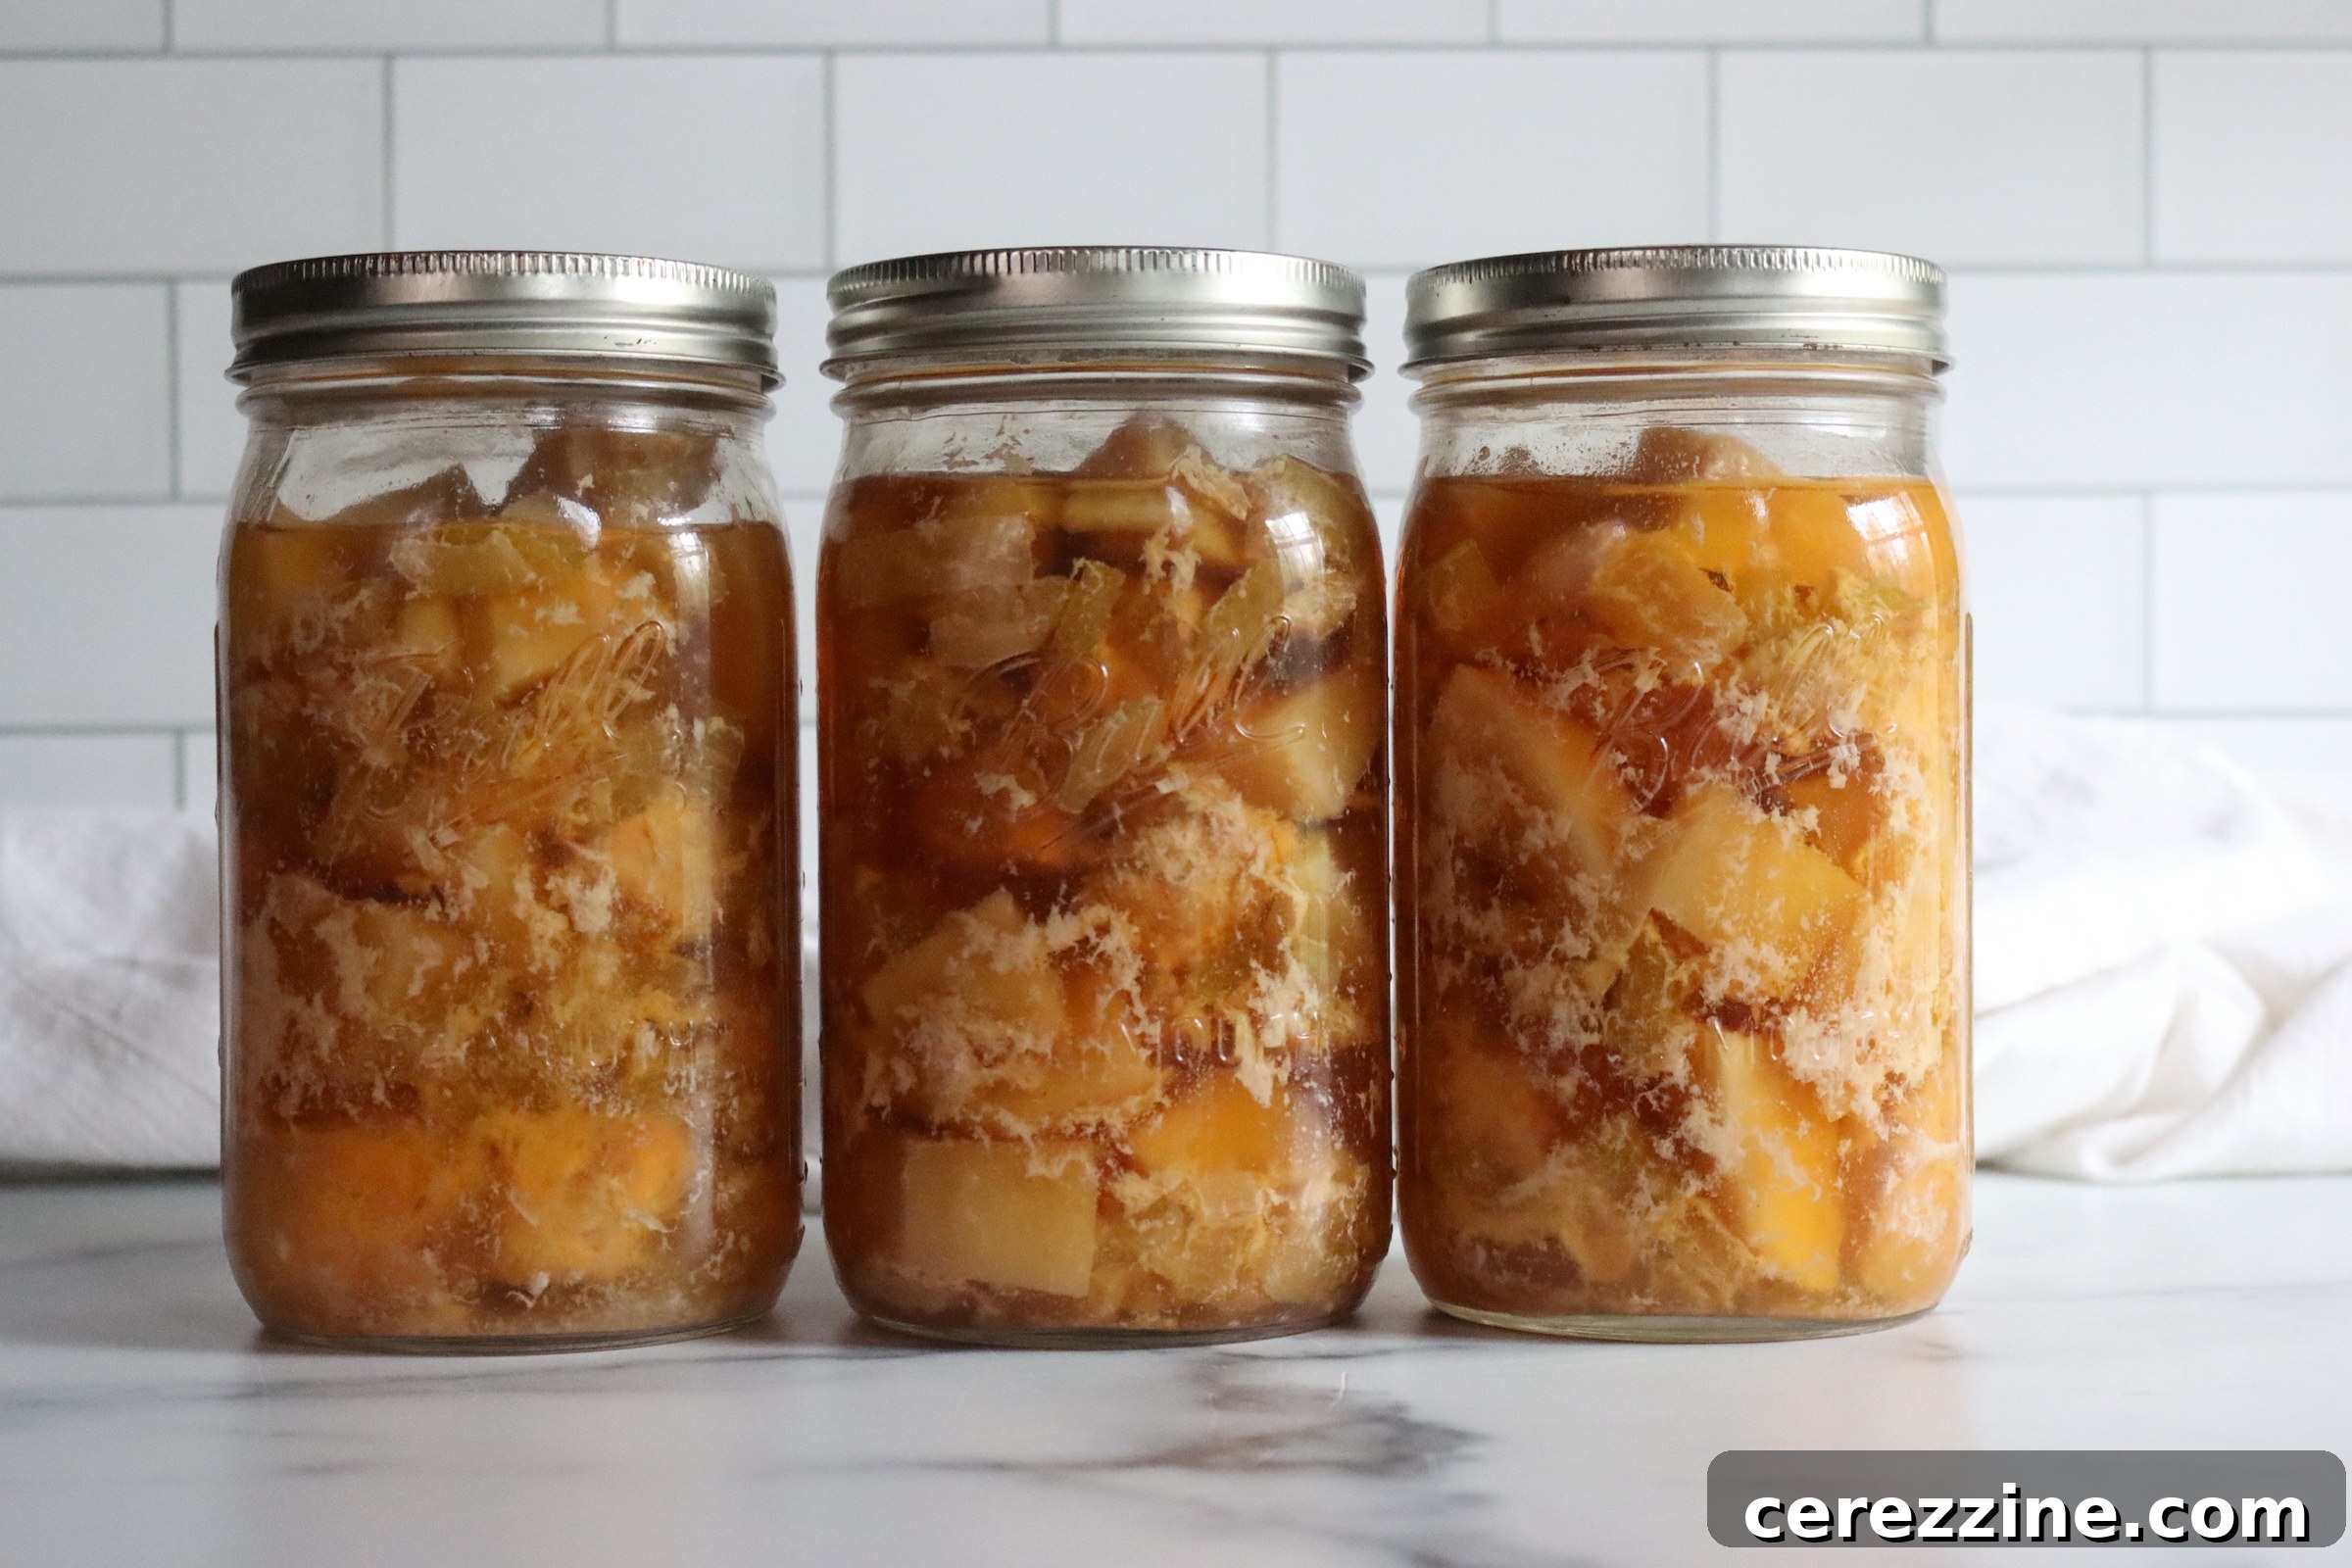
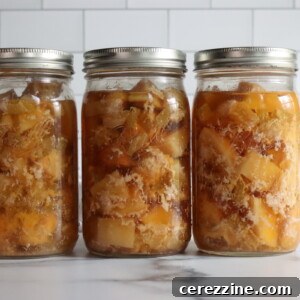
Transforming chicken and gravy into a shelf-stable meal has never been easier or more satisfying, thanks to pressure canning. This method delivers a ready-to-heat, wholesome meal that’s perfect for busy weeknights, emergency preparedness, or simply when you crave homemade comfort food without the extensive prep. Just open a jar, gently warm, thicken the rich juices into a savory gravy, and serve over your favorite accompaniments like fluffy mashed potatoes, steaming rice, or warm biscuits.
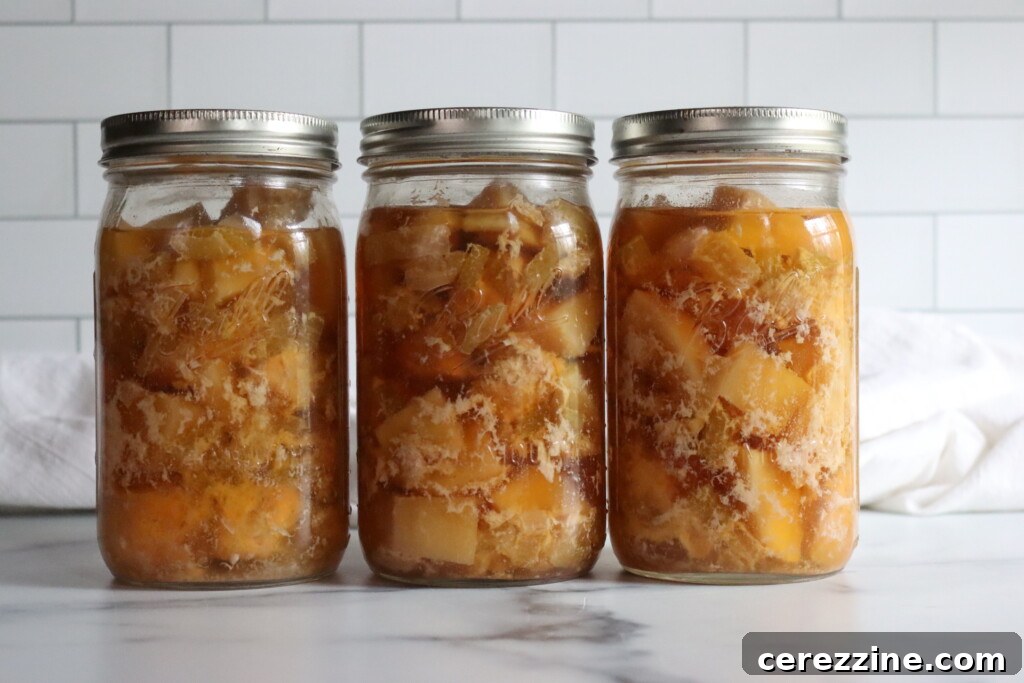
The beauty of pressure canned chicken and gravy lies in its unparalleled convenience and the incredible flavor it locks in. This hearty, savory dish is more than just a main course; it’s almost a complete meal. Imagine coming home after a long day and having a delicious, homemade dinner on the table in under 15 minutes. That’s the promise of this “meal in a jar” — no last-minute scrambling for ingredients, just pure, unadulterated comfort.
Using the quick raw pack canning method simplifies the process significantly. You simply chop your ingredients, pack them into jars, cover with broth, and process. This technique not only saves you precious time but also preserves the tenderness of the chicken and the integrity of the vegetables, ensuring a delightful texture in every bite. Every ingredient is seasoned right in the jar, allowing flavors to meld beautifully during the canning process, resulting in a dish that tastes like it’s been slow-cooked for hours.
Essential Ingredients for Your Chicken and Gravy Meal in a Jar
This well-loved pressure canning recipe for chicken and gravy is a testament to the simplicity and efficiency of the raw pack method, popularized by Ball Canning in their comprehensive All New Book of Canning and Preserving. It stands out in their dedicated section for easy, small-batch meal-in-a-jar recipes, guiding home canners through various classic comfort food preparations.
Each recipe in the Ball book is meticulously designed for a minimum batch size of two quarts (or four pint jars). This specific quantity is crucial for ensuring safe and proper heat distribution during pressure canning. Canning batches that are too small can compromise the heating process, potentially leading to unsafe results. However, you can confidently scale this recipe up to fill your canner’s maximum capacity, making it ideal for efficient batch cooking and stocking your pantry. For instance, a robust canner like the All American Brand 930, which accommodates 14 quarts, allows for much larger, time-saving batches. This chicken and gravy recipe has quickly become a household favorite, standing proudly alongside other staples like Beef Stroganoff and Chipotle Beef in many home pantries.
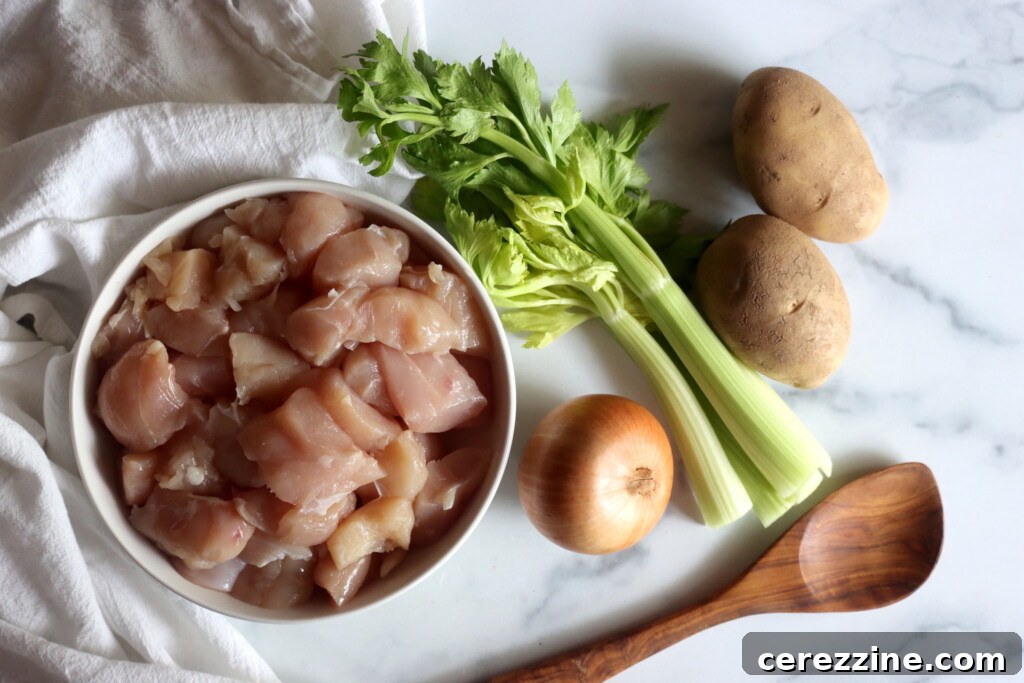
For a standard 2-quart batch, here’s a detailed look at the ingredients you’ll need:
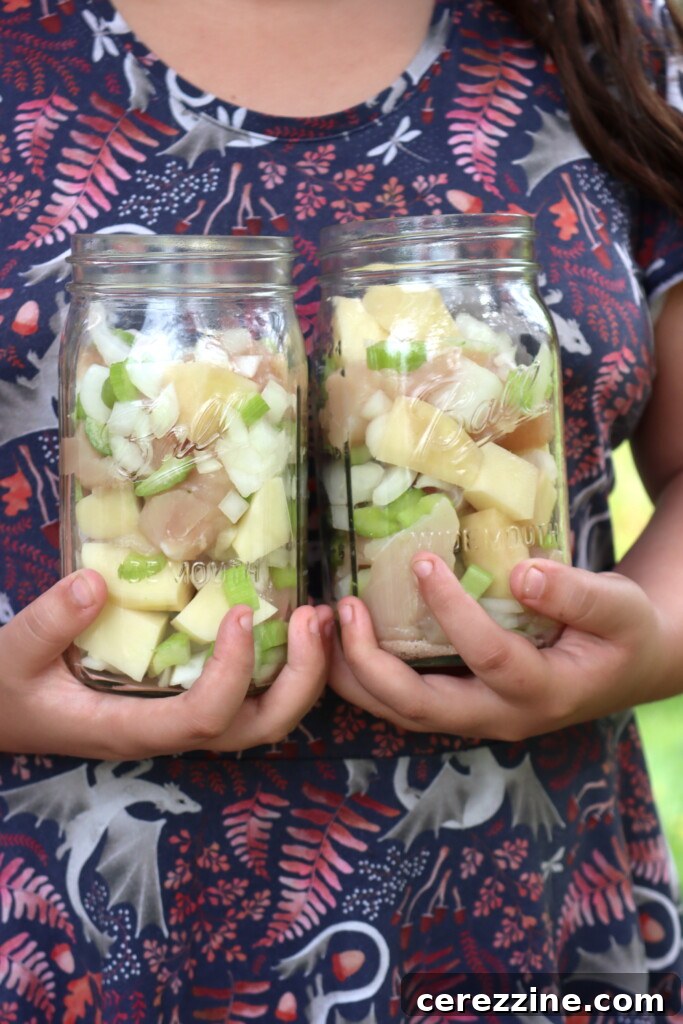
- Chicken: Boneless chicken forms the foundation of this flavorful meal. You have the flexibility to use either white meat, dark meat, or a combination, depending on your preference and what you have available. It’s important to cut the meat into roughly 2-inch chunks. This size helps the chicken maintain its structure and prevents it from becoming stringy during the rigorous pressure canning process. While both white and dark meat work, white meat generally holds its shape better, whereas dark meat is excellent for dishes where you want the meat to fall apart, such as in pressure canned pulled chicken taco meat.
- Onions, Celery, and Potatoes: These classic aromatic vegetables are essential for building a robust flavor profile and adding texture to the meal. Dice them into small, uniform pieces to ensure they cook evenly and integrate seamlessly around the chicken chunks in the jar. Small pieces also contribute to the overall appeal of the finished dish.
- Salt, Poultry Seasoning, and Black Pepper: These foundational seasonings are crucial for enhancing the savory depth of the chicken and vegetables. When selecting salt, ensure it’s canning or pickling salt if possible, as regular iodized salt can sometimes cloud jars. If using a salt substitute, choose one that is explicitly safe for canning and won’t develop a bitter taste or cloudy appearance. Poultry seasoning adds a delightful, herbaceous note, but if you don’t have it on hand, you can omit it and simply adjust the seasoning to taste when serving.
- Dry White Wine: A small amount of dry white wine contributes a wonderful layer of complexity and acidity, perfectly balancing the richness of the dish. If you prefer to avoid alcohol, or don’t have wine available, it can be easily substituted. A splash of lemon juice or cider vinegar, combined with additional chicken broth to make up the total liquid volume, will provide a similar bright acidity.
- Chicken Stock or Water: A hot liquid is vital for topping off the jars before canning. Homemade chicken stock is always the best choice, especially if you have pressure canned chicken stock readily available. However, high-quality store-bought broth or bouillon-based broth works perfectly fine. The key is to ensure the liquid is hot when you add it to the packed jars to aid in proper heat transfer and minimize temperature shock to the jars. In a pinch, water can be used, though it may result in a slightly less flavorful, “washed out” taste compared to using a rich stock. Vegetable stock or other broths can also be used as alternatives.
It’s important to reiterate that the dry white wine is purely for flavor enhancement and plays no role in the preservation of the food. Therefore, feel free to skip it if it doesn’t align with your preferences or dietary needs. As mentioned, a teaspoon or two of lemon juice or a tablespoon of cider vinegar can impart that desirable bright acidity, just remember to supplement with more broth to maintain the correct liquid levels.
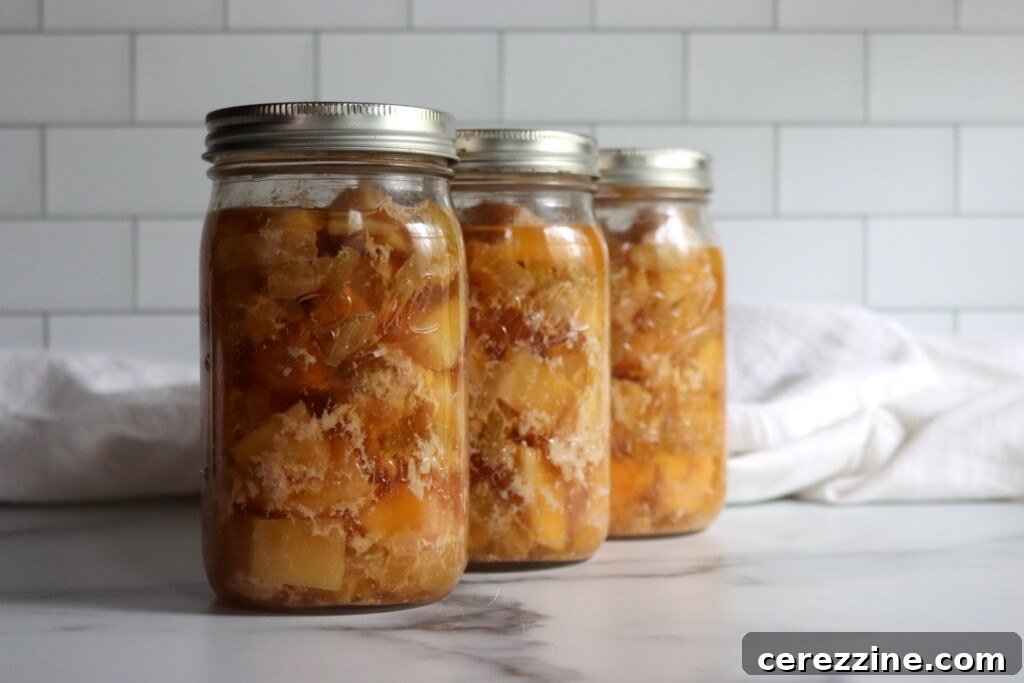
Step-by-Step Guide to Making Chicken & Gravy in a Jar
Preparing this wholesome meal in a jar is a straightforward process, beginning with careful ingredient preparation. Start by peeling and uniformly chopping your onions, dicing the celery, and peeling and cubing the potatoes into manageable, bite-sized pieces. Precision in dicing ensures even cooking within the jar. Next, cut your boneless chicken—whether white or dark meat—into approximately 2-inch chunks. This size is ideal for cooking thoroughly during the canning cycle while retaining a pleasing texture and shape.
Once all your ingredients are prepped, combine the chicken, onions, celery, and potatoes in a large mixing bowl. Add the salt, poultry seasoning, and black pepper, along with the dry white wine (if using). Using clean hands or a sturdy mixing spoon, thoroughly combine all the ingredients. This ensures that the seasonings are evenly distributed, infusing every component of the meal with flavor. This raw mixture is now ready for packing into your prepared canning jars, making the next step seamless.
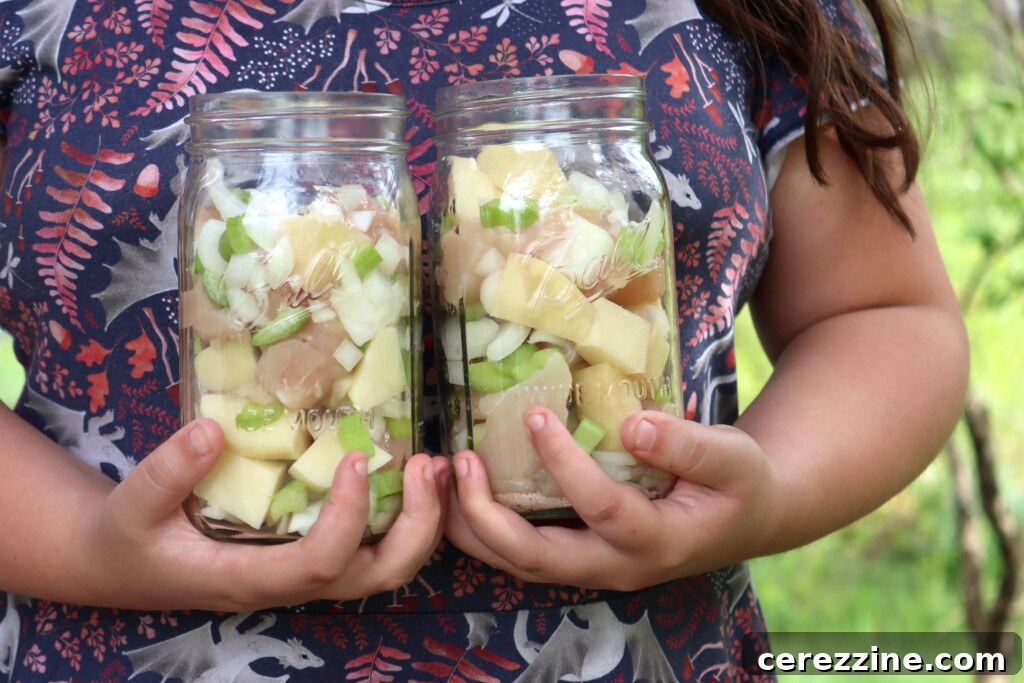
Mastering the Pressure Canning of Chicken and Gravy Meal in a Jar
With your ingredients mixed, the next critical phase is preparing your canning equipment and processing the jars correctly. Begin by readying your pressure canner according to the manufacturer’s instructions. Simultaneously, heat your chicken broth or water. If using bouillon, bring water to a boil in a kettle and dissolve the bouillon. For homemade or boxed broth, simply warm it until it’s hot, ensuring it’s ready to ladle into the jars.
Carefully fill your clean, hot jars with the chicken and vegetable mixture. Pack the contents firmly but avoid over-tightening, as this can impede heat penetration. Crucially, leave a precise 1-inch (3 cm) headspace from the rim of the jar. This headspace is essential for proper seal formation and to allow for food expansion during processing. After packing, top off each jar with your hot broth or water, again ensuring the 1-inch headspace is maintained. Utilize a bubble remover or a clean non-metallic utensil to gently release any trapped air bubbles from the jars. Re-check the headspace and adjust the liquid if necessary. Finally, wipe the jar rims meticulously with a clean, damp cloth to remove any food particles that could prevent a proper seal. Apply your prepared lids and rings, tightening the rings finger-tight.
Place the filled jars into your pressure canner. Process pint jars for 75 minutes and quart jars for 90 minutes. The pressure setting depends on your canner type: use 10 pounds pressure for a weighted gauge canner or 11 pounds pressure for a dial gauge canner. Always remember to adjust the pressure according to your altitude, as outlined in the altitude adjustment guide below, to ensure food safety.
Once the processing time is complete, turn off the heat and allow the canner to cool naturally and depressurize completely without disturbance. This can take a significant amount of time, but rushing this step can be dangerous and may lead to siphoning or seal failures. Once the pressure gauge reads zero, carefully remove the jars using a jar lifter and place them on a towel-covered counter, ensuring they are not touching. Allow them to cool undisturbed for 12 to 24 hours. After this cooling period, check all seals. Properly sealed jars will have lids that are concave and do not flex when pressed. Remove the rings, wipe the jars clean, label them with the contents and date, and store them in a cool, dark, dry place away from direct sunlight.
Important Altitude Adjustments for Pressure Canning
For pressure canning, while the processing times remain constant regardless of elevation, the required pressure must be adjusted to ensure food safety. Refer to the guidelines below for correct pressure settings:
For dial gauge pressure canners:
- 0 to 2,000 feet in elevation – 11 lbs pressure
- 2,001 to 4,000 feet in elevation – 12 lbs pressure
- 4,001 to 6,000 feet in elevation – 13 lbs pressure
- 6,001 to 8,000 feet in elevation – 14 lbs pressure
For weighted gauge pressure canners:
- 0 to 1,000 feet in elevation – 10 lbs pressure
- Above 1,000 feet – 15 lbs pressure
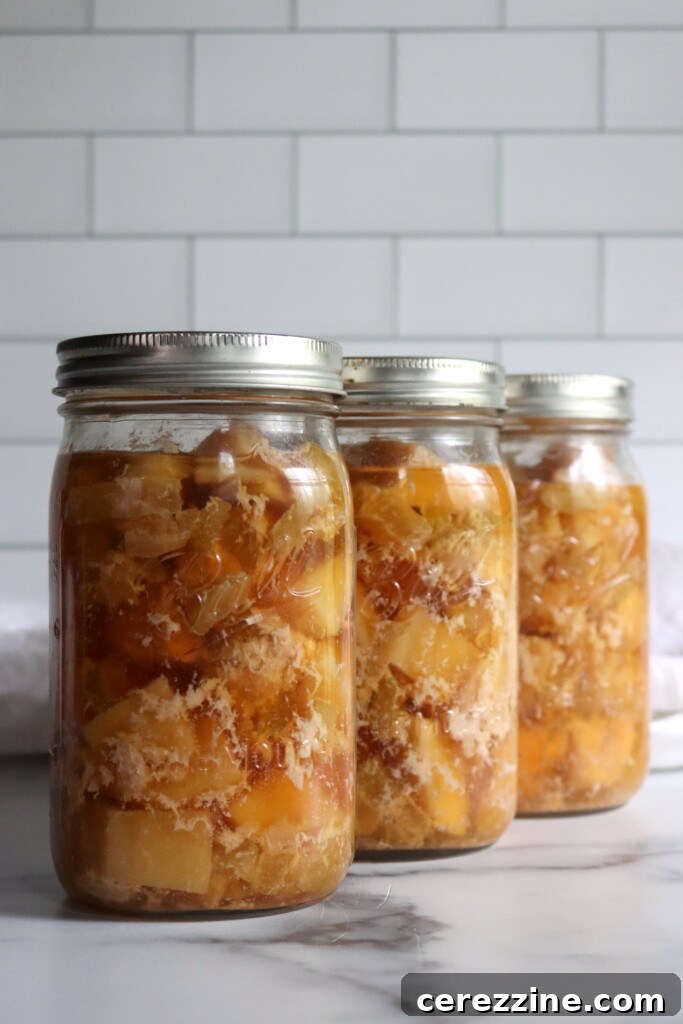
Creative Ways to Serve Your Canned Chicken and Gravy
One of the greatest advantages of having this chicken and gravy meal in a jar is the sheer simplicity of serving it. When you’re ready for a delicious, hearty meal, simply pour the entire contents of a jar into a saucepan. Heat it gently over medium heat until it reaches a simmering temperature. At this point, the natural juices will be flavorful but thin. To transform them into a rich, luscious gravy, create a slurry by mixing a tablespoon or two of flour or cornstarch with an equal amount of cold water until smooth. Whisk this slurry into the simmering mixture, stirring continuously until the gravy thickens to your desired consistency. This creates an incredible, savory gravy perfect for ladling generously over a mound of creamy mashed potatoes, fluffy white rice, or warm, flaky biscuits. For a complete and balanced dinner, simply add a fresh side of steamed greens or a crisp salad.
Beyond its classic serving suggestions, this pressure canned chicken and gravy is also a remarkably versatile meal starter. It can easily be expanded into a more substantial stew by adding a bit more broth and perhaps some additional vegetables like frozen peas or carrots (added during reheating). For a truly cozy and comforting twist, use the mixture as a savory filling for a homemade pot pie, topped with a golden pastry crust, or transform it into a hearty cottage pie with a layer of mashed potatoes. The possibilities are endless for transforming this simple jarred meal into a gourmet experience with minimal effort.
Smart Meal Prep and Batch Canning Tips
Each quart jar of this chicken and gravy typically yields about two generous, hearty servings, making it an excellent option for individual meals or quick dinners for two. For larger families or to maximize your canning efforts, this recipe is perfectly suited for scaling up during a dedicated batch canning day. You can prepare as large a batch as your pressure canner can safely accommodate, allowing you to fill your pantry efficiently. However, it’s crucial to remember a fundamental safety rule in pressure canning: do not scale this recipe down below the minimum batch size of two quart jars (or four pint jars). Canning smaller quantities can prevent the canner from achieving and maintaining the necessary temperature and pressure for safe food preservation, potentially leading to under-processed food.
4
servings (2 quarts or 4 pints)
Chicken and Gravy Meal in a Jar
15
mins
1
hr
30
mins
1
hr
45
mins
Equipment
-
Pressure Canner
Ingredients
-
1
cup
onion,
chopped -
1
cup
celery,
finely chopped -
1
cup
potato,
peeled & diced -
2
lbs
chicken,
white or dark meat, boneless, cut into 2 inch chunks -
2
tsp
salt,
or a safe substitute -
2
tsp
poultry seasoning -
1
tsp
ground black pepper -
4
tbsp
dry white wine -
Hot chicken stock or water,
to fill jars
Instructions
-
Prepare a pressure canner and jars before beginning.
-
Peel and chop onions, celery, and potatoes.
-
Cut chicken into 2-inch pieces.
-
Place all ingredients except broth into a large bowl. Mix thoroughly.
-
Heat chicken broth or water until hot.
-
Pack the mixture into hot jars, leaving 1-inch headspace.
-
Top off with hot broth, maintaining 1-inch headspace.
-
Debubble, adjust liquid as needed, and wipe rims.
-
Apply lids and rings.
-
Pressure can at 10 lbs (weighted gauge) or 11 lbs (dial gauge), adjusting for altitude (see notes). Process pints for 75 minutes and quarts for 90 minutes.
-
Allow the canner to cool completely to room temperature before opening and removing jars.
-
Let jars cool undisturbed for 12–24 hours. Check seals before storing.
Notes
Canning Safety Note
This is a tested canning recipe developed by Ball Canning for raw pack. All meal in a jar recipes containing meat and low acid vegetables must be pressure canned—never use a water bath. Because it contains low-acid foods like meat and vegetables, only a pressure canner can safely process. Stick to tested processing times, maintain proper headspace, and adjust pressure for your altitude.
Do not thicken the gravy before canning; that has to be done at serving. Likewise, don’t add butter, cream or dairy to this recipe before canning. If using those ingredients, they must be added at serving.
Altitude Adjustments for Pressure Canning
While the processing time doesn’t change at higher elevations, the pressure does. Use the correct pressure setting for your altitude:
Dial Gauge Canners
- 0–2,000 ft: 11 lbs
- 2,001–4,000 ft: 12 lbs
- 4,001–6,000 ft: 13 lbs
- 6,001–8,000 ft: 14 lbs
Weighted Gauge Canners
- 0–1,000 ft: 10 lbs
- Above 1,000 ft: 15 lbs
Serving Suggestions
To serve, empty the jar into a saucepan and heat until it simmers. Thicken the juices with flour or a cornstarch slurry to make a rich gravy, then spoon it over mashed potatoes, rice, or biscuits. It’s a full meal with just a quick reheat.
For something different, use the mixture as a stew with extra broth, or bake it into a pot pie or cottage pie for a cozy dinner twist.
Nutrition
Serving:
2
cups
,
Calories:
299
kcal
,
Carbohydrates:
22
g
,
Protein:
41
g
,
Fat:
4
g
,
Saturated Fat:
1
g
,
Polyunsaturated Fat:
1
g
,
Monounsaturated Fat:
2
g
,
Trans Fat:
0.03
g
,
Cholesterol:
116
mg
,
Sodium:
3525
mg
,
Potassium:
1186
mg
,
Fiber:
2
g
,
Sugar:
4
g
,
Vitamin A:
165
IU
,
Vitamin C:
14
mg
,
Calcium:
65
mg
,
Iron:
2
mg
Nutrition information is automatically calculated, so should only be used as an approximation.
Like this? Leave a comment below!
Explore More Delicious Chicken Canning Recipes
Once you’ve mastered the art of pressure canning chicken and gravy, you might be eager to expand your repertoire of shelf-stable chicken meals. Home canning is a fantastic way to ensure you always have healthy, protein-rich options available, transforming raw ingredients into convenient, ready-to-use pantry staples. From quick weeknight dinners to flavorful additions to larger recipes, the possibilities are vast.
This versatile chicken and gravy recipe can easily serve as a delicious base for a homemade pot pie, but if you’re looking for a recipe specifically designed with more vegetables, consider trying our canning recipe for chicken pot pie filling. This recipe incorporates additional wholesome ingredients like peas and carrots, creating a more rounded and complete pot pie experience directly from the jar.
Another excellent option is Chicken Chili Verde, a fantastic recipe also from Ball Canning. This delightful dish combines tender chicken, hearty white beans, and vibrant salsa verde into a savory chicken chili. While it’s truly a full meal in a jar on its own, our family particularly enjoys serving it with fluffy cornbread or crispy tortilla chips, topped with a dollop of cool sour cream for an extra burst of flavor.
For those seeking a timeless classic, nothing quite compares to canning chicken soup. This comforting staple is perfect for chilly days or when you’re feeling under the weather. You can add rice or pasta at the time of serving to achieve your preferred texture and heartiness, ensuring a warm and nourishing bowl every time.
And if your palate craves something a bit more adventurous and exotic, don’t hesitate to try Thai Red Curry Chicken. This recipe utilizes the fragrant warmth of red curry paste and classic Thai flavors, offering a unique and exciting departure from your everyday canning recipes. It’s a wonderful way to bring international flavors to your home pantry.