The Ultimate Guide to Homemade Pear Butter: Recipes, Canning, and Creative Uses
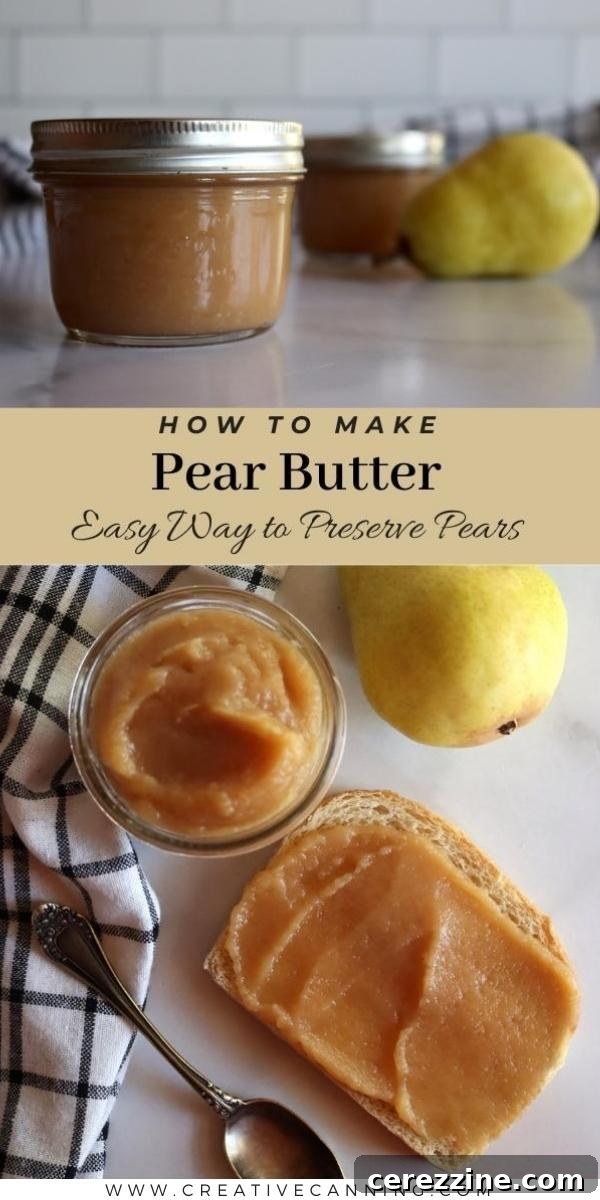
Pear butter is a delightful alternative to apple butter, boasting a unique depth of flavor that’s both comforting and sophisticated. Best of all, it’s incredibly straightforward to make and preserve, allowing you to capture the essence of autumn in every jar.
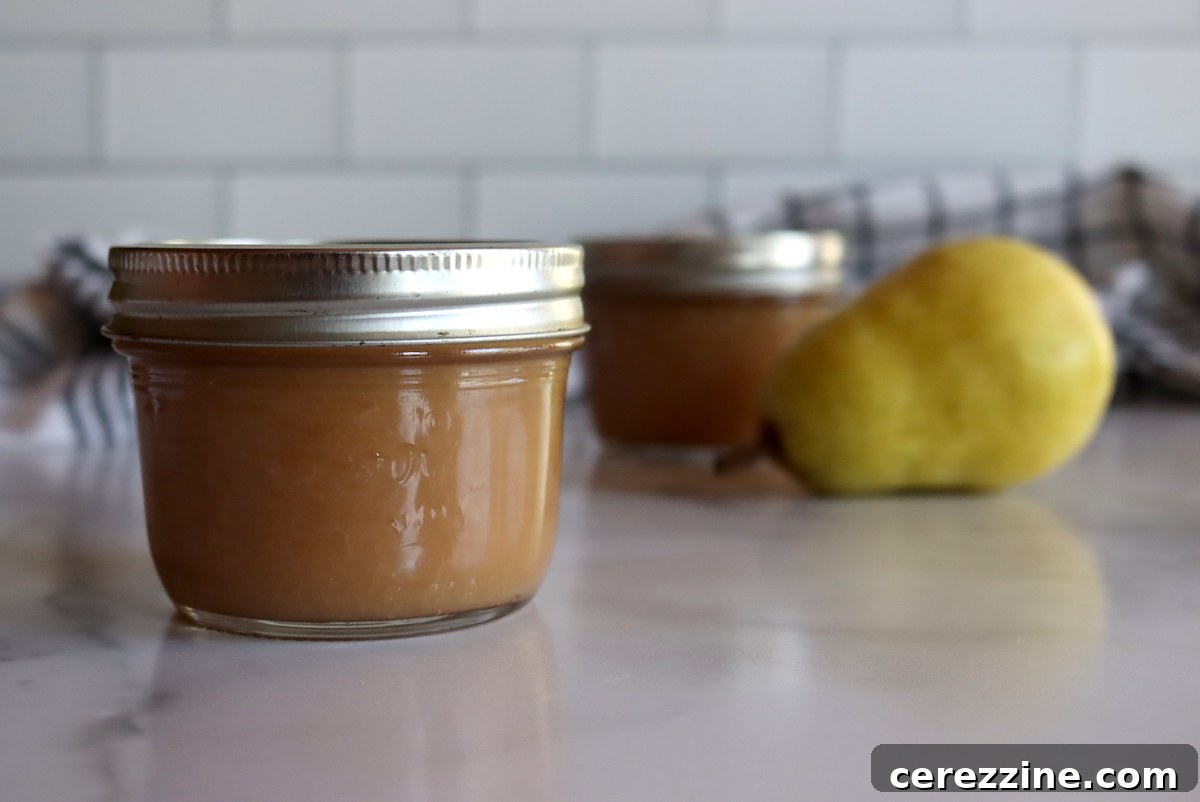
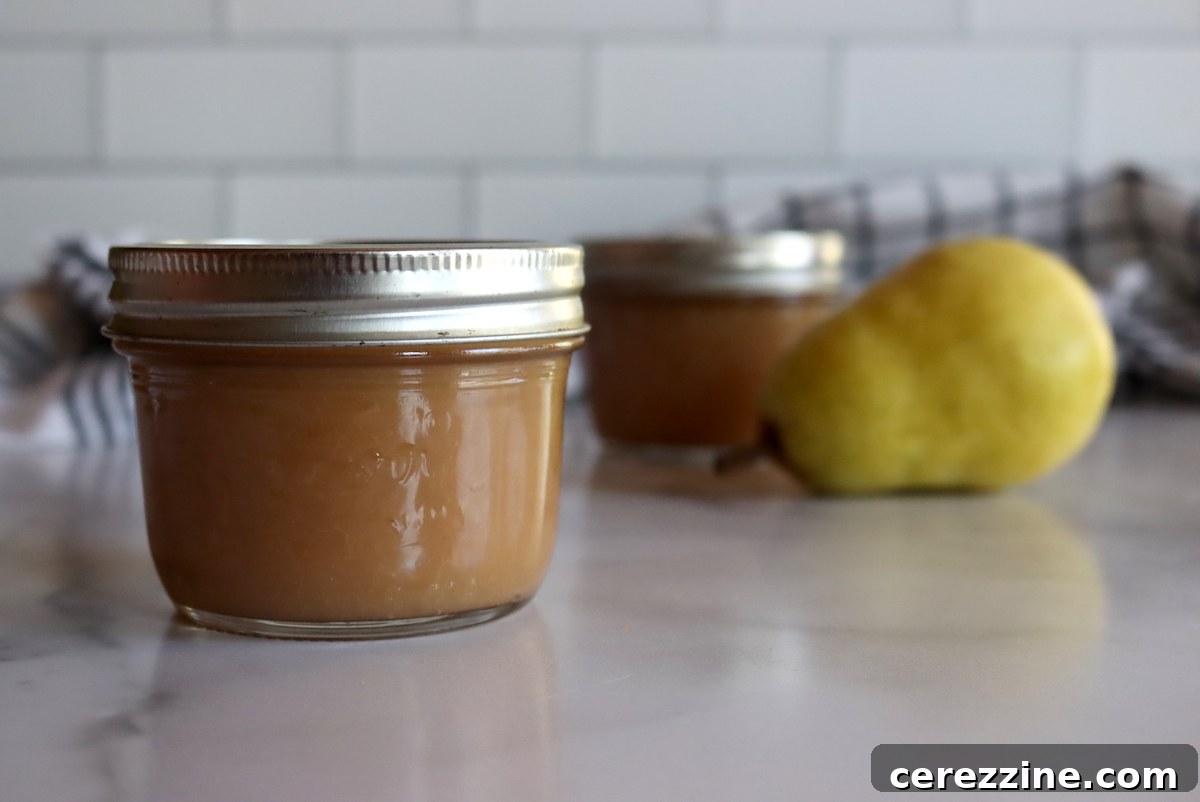
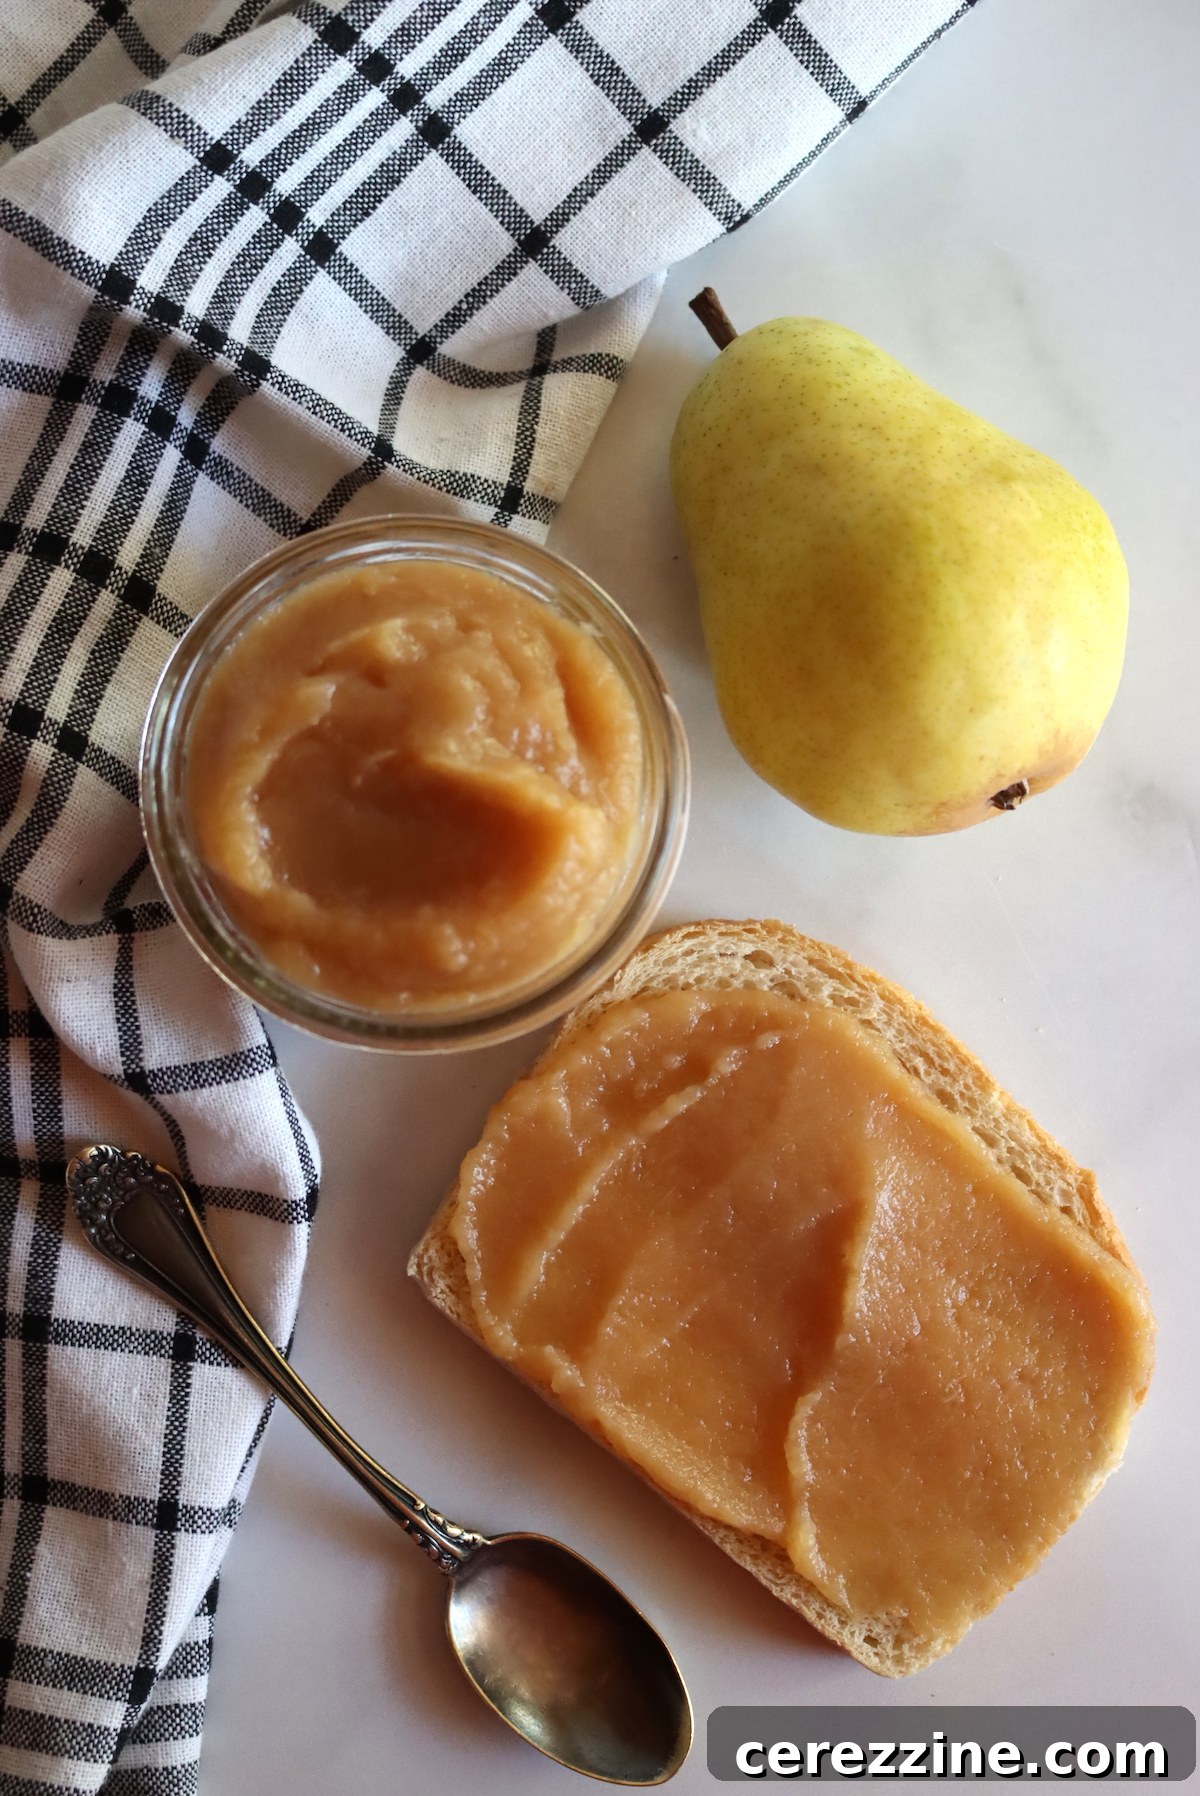
While apple butter often takes center stage in autumn kitchens, pear butter emerges as its slightly more refined cousin. It offers a familiar, comforting appeal but with a distinctive “wow” factor, making it equally at home paired with warm gingerbread and whipped cream, or generously spread on a piece of rustic bread. Its smooth texture and rich, concentrated flavor provide a unique culinary experience that’s worth exploring.
If you’ve ever found yourself with an abundant harvest of ripe pears, typically sometime in the fall, and wondered how to best utilize them, crafting pear butter is an exceptional solution. This simple preserving method transforms a surplus of seasonal fruit into a handful of exquisite half-pint or pint-sized jars, concentrating all that wonderful autumnal flavor into a shelf-stable delight.
The beauty of making pear butter lies in its versatility. There are nearly infinite variations possible, allowing you to truly make it your own. You can experiment with unique seasonings, opt for different sweeteners like honey or maple syrup, or even incorporate other liquids to enhance its profile. At its core, the only truly essential ingredient is high-quality fresh pears, rich in natural sweetness, flavor, and acidity. The rest of the ingredients are largely up to your personal taste, and we’ll explore a number of absolutely delicious pear butter variations that promise to inspire your culinary creativity.
Essential Ingredients for Perfect Pear Butter
Like its apple counterpart, pear butter can be made with nothing more than fresh pears. Pears are inherently sweeter than apples, making added sugar largely optional, depending on your preferred level of sweetness and the natural sugar content of your fruit. Surprisingly, many traditional pear butter recipes call for an excessive amount of sugar, often a 1:1 ratio of sugar to fruit puree, resembling an old-fashioned full-sugar jam. While you can certainly follow this if it suits your taste, it’s generally not necessary for flavor or for canning safety.
When selecting pears, it’s important to choose varieties suitable for cooking and preserving. Bartlett (Williams), Bosc, Comice, and D’Anjou pears are excellent choices, offering good texture, sweetness, and aroma when cooked down. The only type of pear I strongly suggest avoiding for pear butter, particularly if you intend to can it, is the Asian pear. This is primarily because Asian pears are remarkably low in acid, making them unsuitable for safe water bath canning without substantial additions of lemon juice. There are no tested recipes for jams or fruit butters using Asian pears that ensure proper acidity levels for safe preservation. Furthermore, their crisp, somewhat watery texture doesn’t yield the rich, smooth consistency typically desired in a fruit butter.
To balance the natural sweetness of pears and brighten their flavor, a touch of citrus juice is commonly included. Lemon juice adds a pleasant tart acidity, while orange juice or zest can introduce warm, autumnal notes and further accentuate the pears’ sweetness. Warm spices like vanilla, cinnamon, cloves, and nutmeg are also popular additions. It’s crucial to understand that while lemon juice or other citrus juices enhance the flavor, they are not mandatory for canning safety in pear butter. Pears possess sufficient natural acidity for safe water bath canning when prepared as a fruit butter, even without added lemon juice or sugar, if a purely fruit-forward taste is desired.
Ultimately, there’s significant room for experimentation in making pear butter, and the core requirement is simply good quality pears. That said, for a beautifully balanced and flavorful pear butter, I generally recommend including the following ingredients:
- Pears: Fresh, ripe, and flavorful varieties like Bartlett, Bosc, Comice, or D’Anjou.
- Sweetener (Optional, to taste): Small amounts of sugar (white or brown), honey, or maple syrup to complement the pears’ natural sweetness.
- Lemon Juice: To add a refreshing brightness that truly brings out the complex flavors of the pears.
- Warm Spices (Optional, to taste): Cozy additions like cinnamon, cloves, nutmeg, allspice, or ginger for an autumnal aroma.
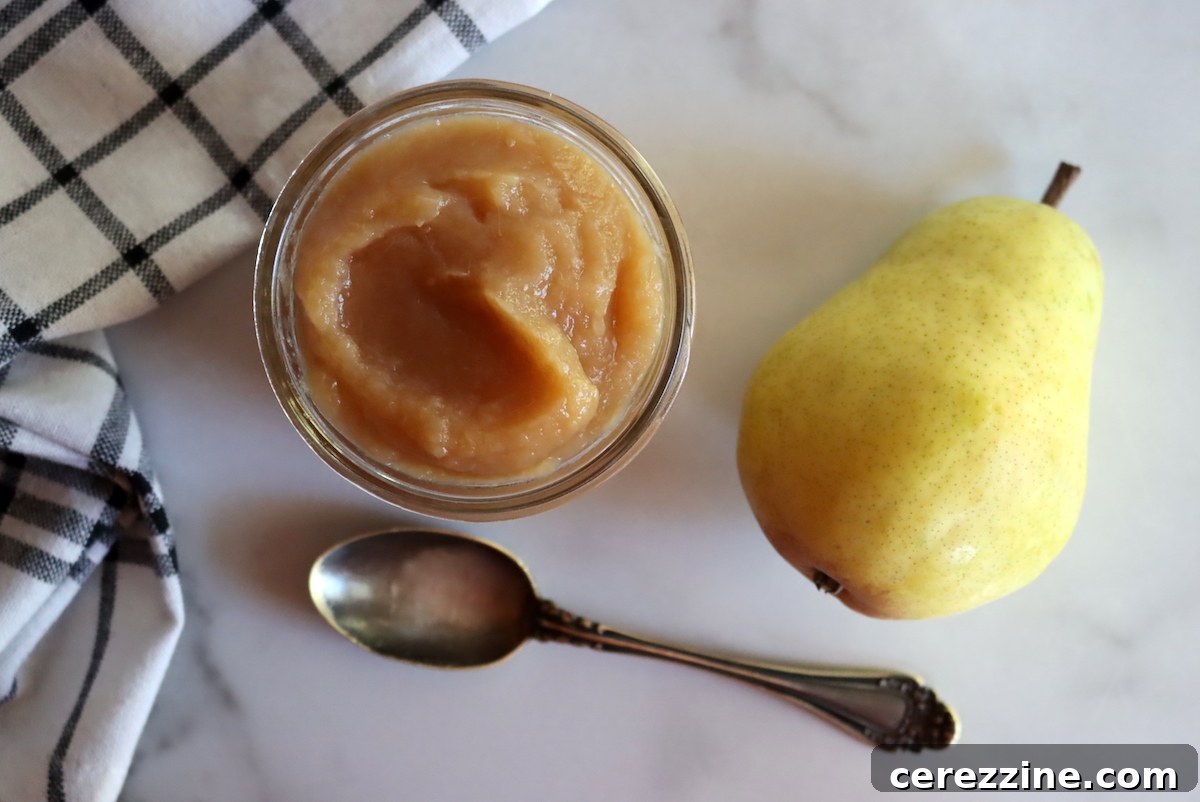
How to Make Homemade Pear Butter: A Simple Method
Making pear butter is a satisfying process that transforms fresh fruit into a delectable, spreadable treat. To begin with a basic recipe, you’ll need approximately 6 pounds of pears, which typically translates to about 18 to 24 medium-sized fruits. Don’t worry too much about the exact weight; a few pounds more or less will still yield delicious results. Keep in mind that pears cook down significantly, so starting with a good quantity ensures a worthwhile batch.
As a general guideline, about 1 pound of fresh pears will produce roughly 1 cup of finished pear butter, or enough to fill an 8 oz half-pint canning jar. A 6-pound starting batch will yield a reasonable amount, usually around 6 half-pints or 3 pint jars. While making smaller quantities is possible, be aware that very small batches can be more challenging to prevent from scorching as they cook down and thicken.
Step-by-Step Instructions:
- Prepare the Pears: Thoroughly wash your pears. Next, peel and quarter them. If you plan to use a food mill or chinois sieve for pureeing, you can skip coring the pears at this stage, as these tools will separate the cores. However, if you’re opting for a blender, immersion blender, or food processor, you’ll need to core the fruit to ensure a smooth butter. You can cut the pear quarters into smaller chunks if you wish, which may slightly reduce the initial cooking time.
- Initial Cooking: Place the prepared pear pieces and the lemon juice (or your chosen liquid) into a large, heavy-bottomed Dutch oven or saucepan. A heavy-bottomed pot is crucial to distribute heat evenly and minimize sticking. Bring the mixture to a boil over medium-high heat. Once boiling, reduce the heat to low, cover the pot, and simmer gently until the pears are very soft and translucent. This step typically takes between 20 to 25 minutes. Pears tend to take longer to cook down than apples due to their firmer flesh and higher water content, which means they hold their shape more tenaciously. However, as we are making a butter, a longer cooking time for optimal breakdown is expected.
- Puree the Pears: Once the pears have softened beautifully, carefully transfer the cooked fruit to your chosen pureeing device. While apples often break down into a sauce on their own during cooking (as seen in making apple butter), pears are different. Even the firmest storage apples eventually yield a smooth butter, but pears require mechanical assistance. To achieve a smooth pear butter, you will definitely need to blend them using a food mill, sieve, blender, or an immersion blender directly in the pot.
- Flavoring and Reduction: Pour the smooth pear sauce or purée back into its original cooking vessel. Now is the time to add your chosen liquid (if using), sweetener (to taste), and any desired seasonings. (Refer to the “Pear Butter Variations” section below for numerous delicious options.) Continue cooking the pear sauce over medium-low to medium heat. This is the critical reduction phase where excess moisture evaporates, and the butter thickens. This stage requires frequent stirring, particularly as the butter thickens, to prevent it from scorching on the bottom of the pot.
- Achieve “Trace” Consistency: Keep cooking and stirring until the pear butter reaches “trace” consistency. This is a culinary term describing the point when you can drag a spatula or spoon through the butter, and the cleared path slowly fills back in, but doesn’t immediately disappear. Another good test is to place a small amount on a chilled plate; if it holds its shape and doesn’t spread, it’s ready. Once your pear butter reaches this stage, it’s thick and rich, ready for canning or refrigeration. You can let it cool to room temperature and refrigerate it for up to 3 weeks, but canning offers a pantry-stable option that saves valuable fridge space.
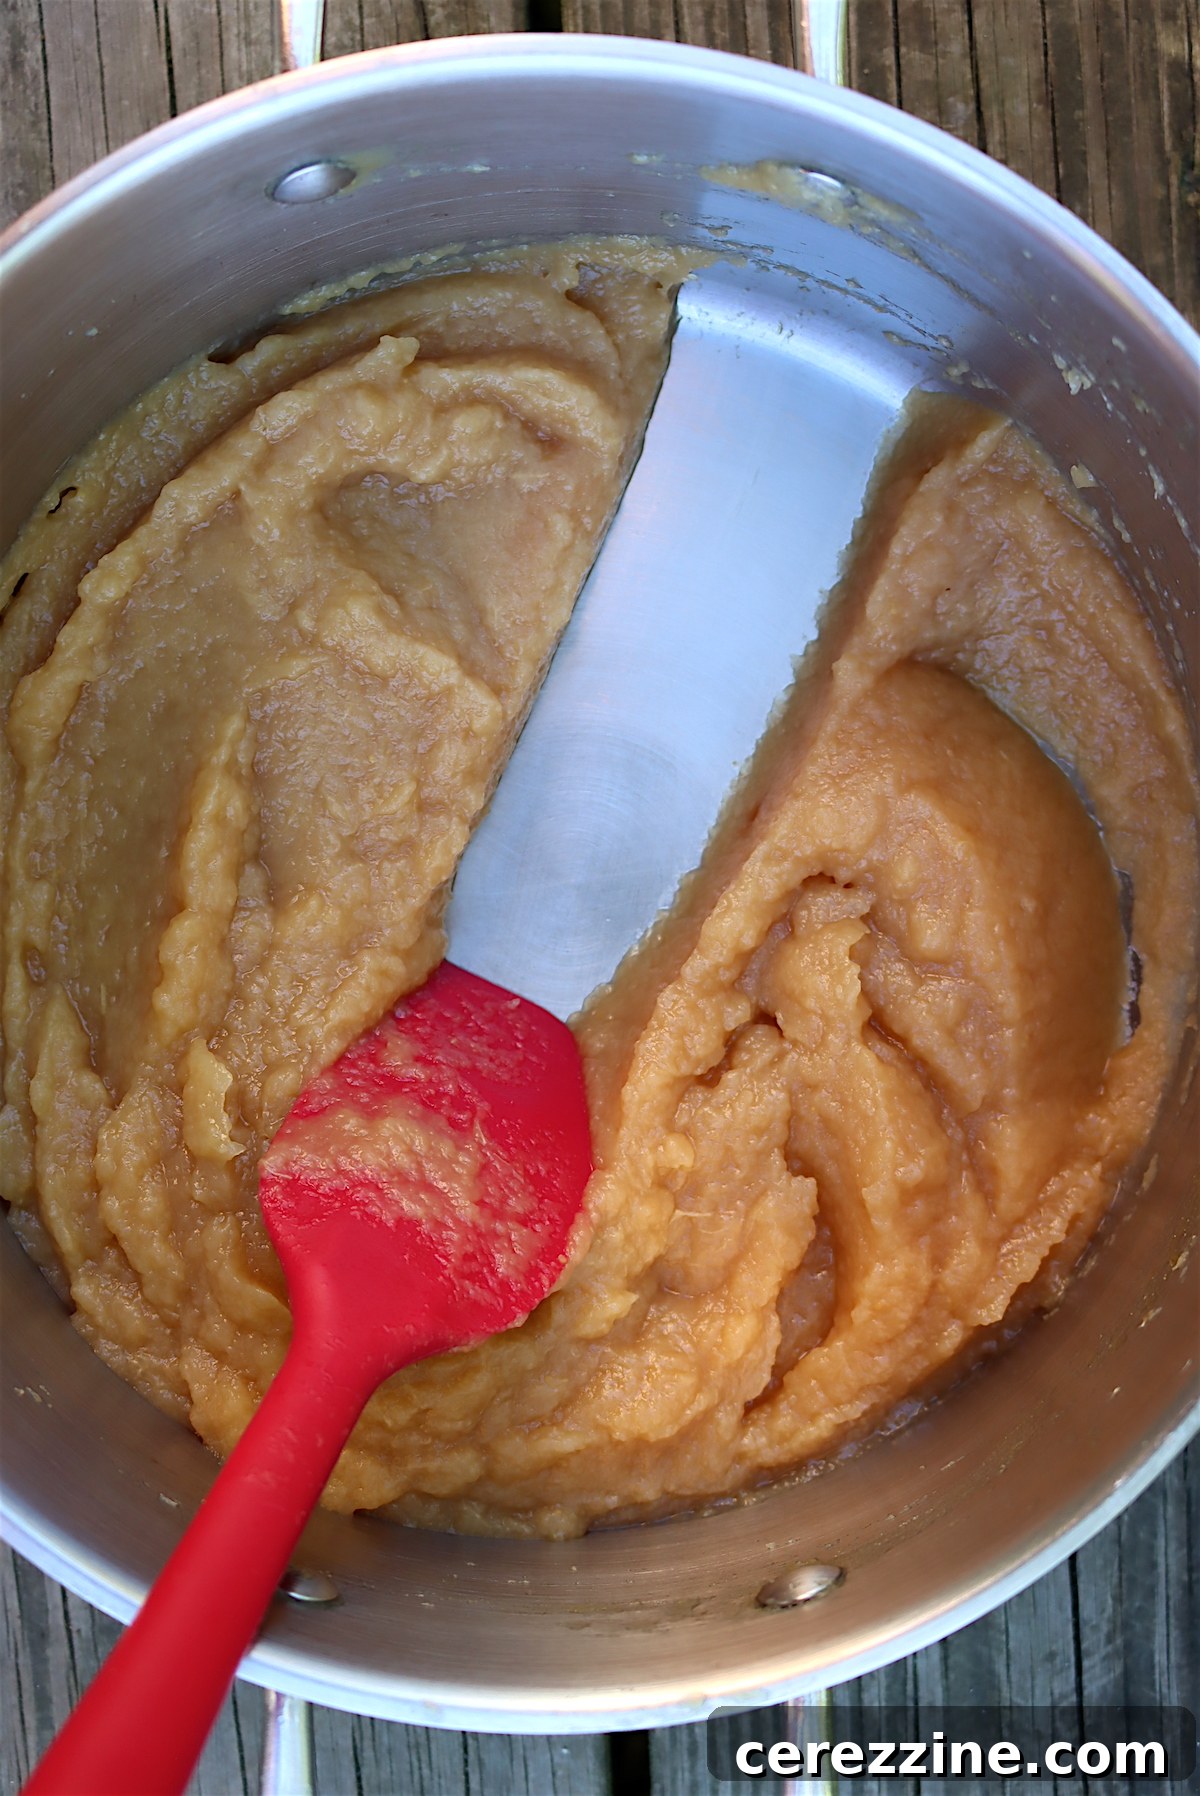
Exploring Delicious Pear Butter Variations
Pear butter truly acts as an amazing canvas for all sorts of flavor variations, allowing you to tailor it to your preferences regardless of whether you’re using d’Anjou, Bosc, Comice, or Bartlett pears. Get creative and transform your basic pear butter into a gourmet spread!
- Enrich with Other Liquids: Beyond just water, incorporating fruit juices can add significant body and sweetness. Consider using pear juice, apple cider, orange juice, or even cranberry juice for a tart-sweet counterpoint. For a truly sophisticated touch, a splash of fruity red wine can be added after the pears have been puréed, creating a unique flavor reminiscent of poached pears in butter form.
- Sweetener Interpretations: While white or brown sugar are traditional, the choice of sweetener is entirely up to you. Explore honey for a more floral and complex sweetness, maple syrup for a distinct autumnal flavor, or agave nectar for a more neutral, plant-based option. Keep in mind that different sweeteners have varying degrees of potency and distinct flavors, so always taste as you go. Start with less than you think you need and adjust to your desired sweetness level, as pears are already naturally sweet.
- Creative Seasonings: This is where your personal flair can really shine! I’m a huge fan of citrus zest – lemon, orange, or even lime zest can add a bright, zesty counterpoint. Warm spices are a natural fit for pears: think classic cinnamon, exotic star anise, pungent ginger, fragrant cloves, or a hint of allspice. For the best results when adding vanilla, stir in vanilla extract towards the very end of the cooking process to preserve its delicate flavor, as prolonged heat can diminish its aroma.
I feel particularly inspired by some of the pear butter variations found in my collection of canning books:
- Maple Bourbon Pear Butter: “The All-New Ball Book Of Canning And Preserving” features a wonderfully warming variation on regular pear butter, enhanced with the deep flavors of maple and bourbon. This rich spread would be exceptionally delightful on pancakes or waffles after a crisp morning of cross-country skiing or snowshoeing. The recipe typically calls for 4 pounds of pears, 1/2-cup of maple syrup, and 1/2-cup of bourbon. The method closely mirrors the base recipe, with all ingredients combined in a Dutch oven at the beginning of the cooking process. The slow and low cooking time allows the flavors to meld beautifully, resulting in a deeply flavored Maple-Bourbon Pear Butter — perfect not only for breakfast but also as a sophisticated accompaniment to grilled pork or chicken.
- Classic Pear Butter with Citrus Zest and Warm Spices: Another elegant take from “The All New Ball Book Of Canning And Preserving” offers a slightly longer ingredients list but maintains a very similar method to the original recipe. To create this sophisticated pear butter, combine 3 1/2 pounds of d’Anjou pears with 2 tablespoons of orange zest, 1/2 cup fresh orange juice, 1/3 cup water, 1 1/2 tablespoons lemon zest, and 3 tablespoons fresh lemon juice in a Dutch oven or heavy-bottomed saucepan. Cook over low heat until the pears are soft. Process the fruit to a smooth purée using your preferred method, then return the mixture to the pot. Add 2 cups of sugar and 3/4 teaspoon of grated nutmeg, and continue cooking until it holds its shape on a spoon. For an extra aromatic touch, a single whole star anise can be placed at the bottom of each jar before ladling in the pear butter.
- Vanilla Pear Butter: Joyce Goldstein’s “Jam Session” features a lovely recipe for vanilla- and lemon-flavored pear butter. This variation uses 3 pounds of Comice or Bartlett pears, along with the grated zest and juice of 2 lemons, and 3/4 cup of water, cooked until soft and translucent (about 20 to 25 minutes). At this point, the cooked fruit and liquids are run through a food mill, sieve, or blended until smooth, then returned to the saucepan or Dutch oven. 2 cups of white sugar (or vanilla sugar) and 2 teaspoons of vanilla extract are then stirred in. The butter is cooked further until it can hold its shape when mounded on a spoon. For optimal food preservation, Goldstein also recommends adding 1/4 teaspoon of citric acid to each jar before ladling in the fruit butter and processing it in a hot water canner.
Canning Pear Butter for Long-Term Storage
Canning pear butter in a hot water bath is an excellent way to preserve its delicious flavor for months, making it shelf-stable and freeing up valuable refrigerator space. For this recipe, you’ll need approximately 6 half-pint (8 oz) jars or 3 pint jars. Always refer to your specific canning recipe for the exact number and size of jars required.
- Prepare Jars and Canner: Ensure your canning jars are clean and sterilized. You can sterilize them by boiling for 10 minutes or running them through a dishwasher’s sanitizing cycle. Keep them hot until you’re ready to fill. Place new two-piece canning lids in a small saucepan of simmering (not boiling) water to soften the sealing compound. Fill your water bath canner with enough water to cover your jars by at least one inch and bring it to a boil.
- Fill Jars: Working carefully with the hot pear butter, ladle it into the prepared hot jars. It is crucial to leave 1/2-inch headspace — the empty space between the food and the rim of the jar. This headspace is essential for proper sealing and to allow for expansion during processing. I highly recommend using a canning funnel with headspace measurements for accuracy.
- Remove Air Bubbles and Clean Rims: Use a non-metallic utensil (like a plastic spatula or chopstick) to gently remove any trapped air bubbles by running it around the inside of the jar. Then, use a damp, clean cloth to meticulously wipe around the rims of the jars. Any food residue on the rim can prevent a proper seal.
- Apply Lids: Center the softened two-piece lids on the jars and apply the screw bands fingertip tight. Do not overtighten; tightening too much can prevent air from escaping during processing, leading to seal failure.
- Process Jars: Load the filled and sealed jars into the hot water bath canner using a jar lifter, ensuring they are fully submerged in the boiling water with at least one inch of water covering the tops of the jars. Bring the canner water back to a rolling boil.
- Set Timer: Once the water reaches a rolling boil, start your timer. Process the jars for 10 minutes if you live at an altitude lower than 6,000 feet. If you reside at an altitude higher than 6,000 feet, increase the processing time to 15 minutes.
- Cool Down: When the timer goes off, turn off the heat and carefully remove the canner lid. Allow the jars to sit undisturbed in the hot water canner for an additional 5 minutes. This step helps to equalize the temperature, preventing siphoning (loss of liquid from the jars) and promoting a stronger seal.
- Final Cooling and Sealing Check: Carefully remove the jars from the canner with your jar lifter, keeping them upright. Place them on a clean towel on your countertop, ensuring there is space between each jar for air circulation. Let the contents come to room temperature, which usually takes about 12 to 24 hours, without disturbing them. You should hear characteristic “pinging” sounds as the lids seal.
- Storage: After the jars have fully cooled, check the seal of each lid. Press the center of each lid; if it doesn’t flex or spring back, the jar is sealed. Remove the screw rings (these can be stored separately and reused) and wipe down the sealed jars. Any jars with unsealed lids should be moved to the refrigerator and consumed within 3 weeks. Label your sealed jars with the contents and date. Keep the pear butter in a cool, dry place away from direct light, and enjoy it within 18 months for best quality.
Want to learn more about the fundamentals of water bath canning? Check out my comprehensive guide for preserving food using a water bath canner for beginners.
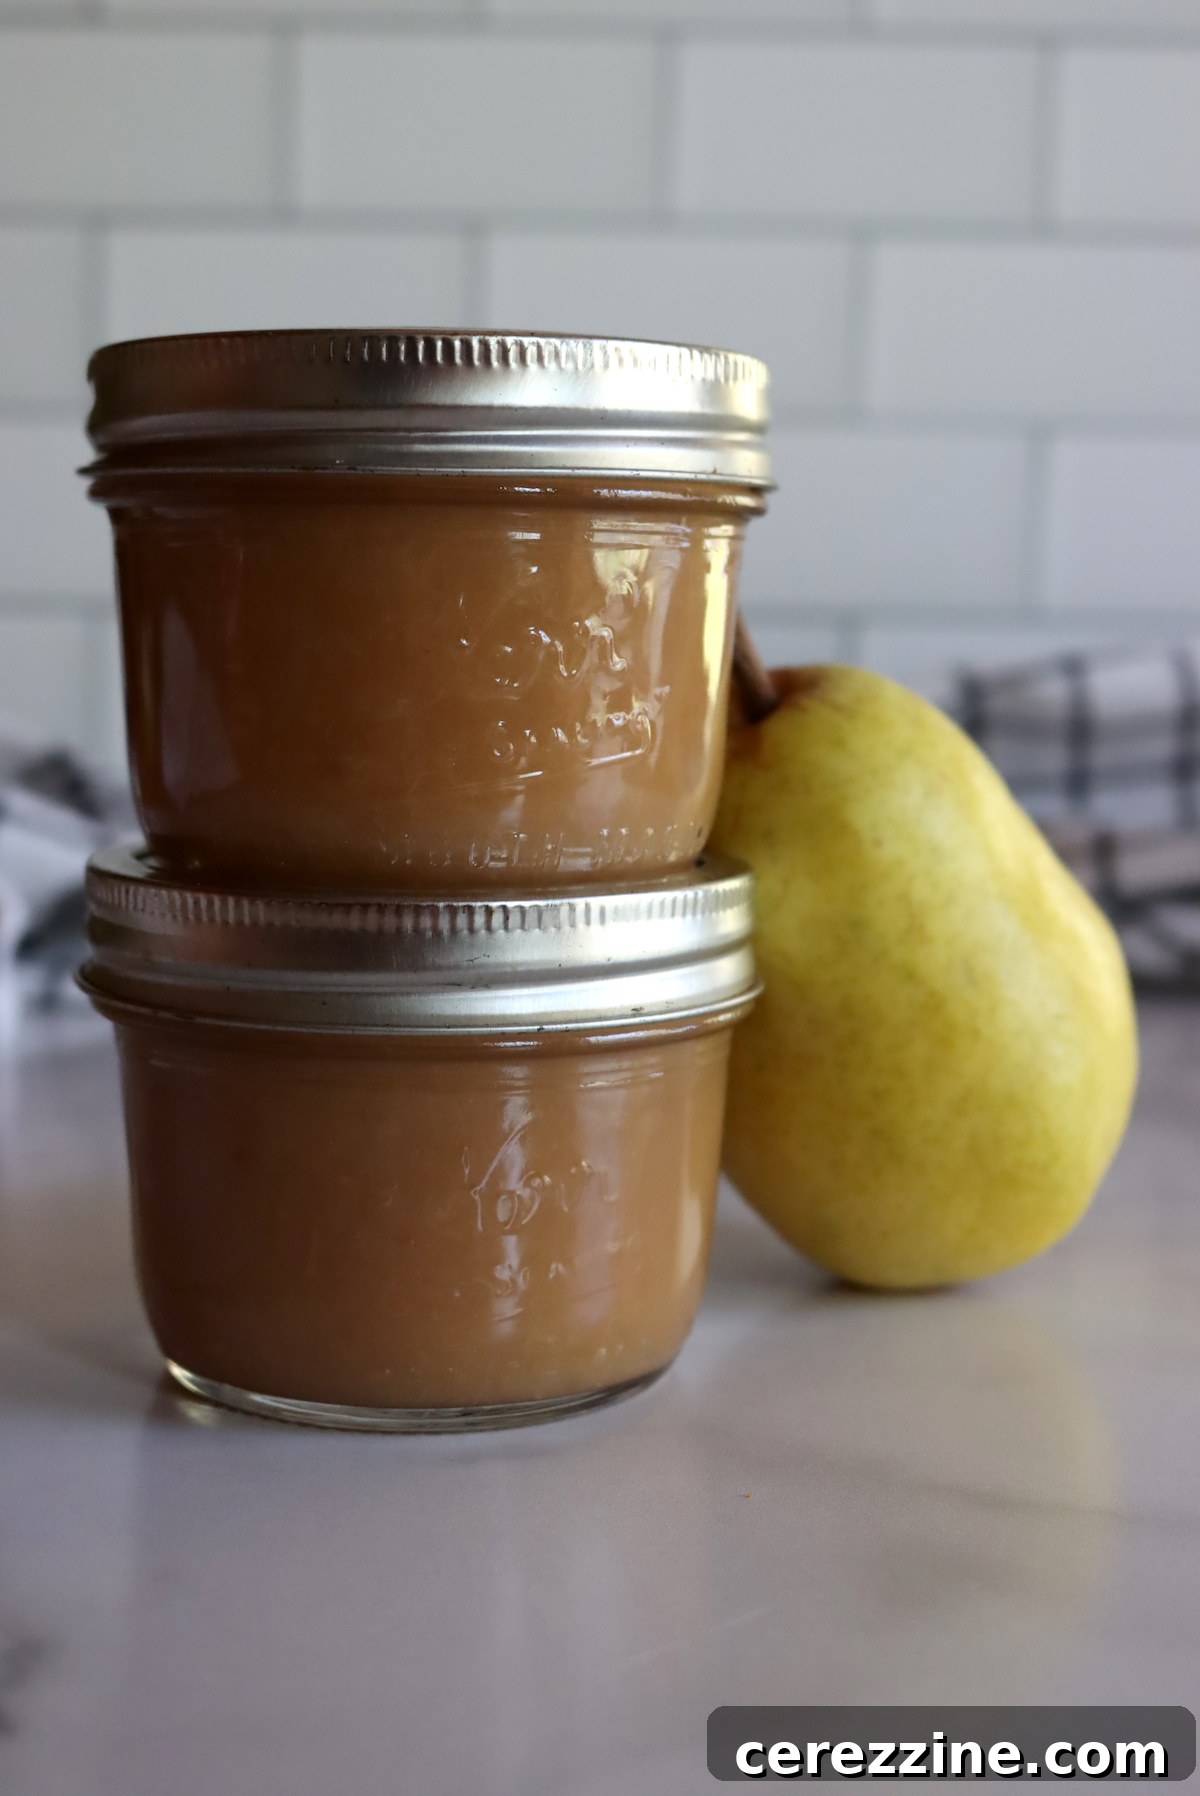
Delightful Ways to Use Homemade Pear Butter
Beyond simply enjoying it straight from the jar, homemade pear butter offers a world of culinary possibilities. Its rich, fruity, and often spiced flavor can elevate both sweet and savory dishes. Here are some of my favorite creative ways to use pear butter:
- Classic Breakfast & Brunch: Spread generously on warm artisan bread, fluffy crumpets, toasted English muffins, flaky croissants, or homemade biscuits.
- Dessert Enhancements: Use it as a luscious filling between layers of a vanilla, spice, or gingerbread cake. Swirl it into cheesecake batter before baking, or dollop it alongside a warm slice of gingerbread with a generous cloud of whipped cream.
- Baking Adventures: Incorporate it into your baking! It makes a fantastic filling for jam tarts, thumbprint cookies, or sweet turnovers. Swirl it into muffin or quick bread batters for added moisture and flavor.
- Savory Pairings: Don’t limit pear butter to sweet applications! Its subtle sweetness and spiced notes make it a superb accompaniment to roasted or grilled meats. Serve it alongside pork chops, duck breast, or even chicken for a gourmet touch. It’s also excellent on a cheese board, complementing creamy brie or sharp cheddar.
- Soups & Sauces: Stir a spoonful into a creamy butternut squash or carrot soup just before serving for an unexpected hint of sweetness and depth. It can also be incorporated into glazes for roasted vegetables or meats.
- Yogurt & Oatmeal Topping: Swirl a generous spoonful into your morning yogurt or oatmeal for a flavorful and wholesome start to your day.
- Gourmet Gifts: Homemade pear butter, beautifully jarred and labeled, makes a thoughtful and cherished gift for friends, family, and hosts, especially during the fall and holiday seasons.
Rating: 4.80 from 10 votes
Servings: 48 servings, makes 6 half-pint jars or 3 pints
Pear Butter
By Ashley Adamant
This easy and delicious pear butter recipe is adapted from the Ball Canning Back to Basics cookbook.
Prep time: 20 mins
Cook time: 6 hrs
Canning time: 10 mins
Total time: 6 hrs 30 mins
Equipment
- Water Bath Canner
- Large, heavy-bottomed Dutch oven or saucepan
- Food mill, chinois sieve, or blender/immersion blender
- Canning funnel (optional, but recommended)
- Jar lifter
Ingredients
- 6 lbs pears*, washed and peeled
- 1/4 cup lemon juice
- 3/4 cup liquid of your choice**
- 1-2 cups sweetener of your choice***
- Seasoning to taste****
Instructions
- Prepare the pears by washing, peeling, and quartering them. If using a food mill or sieve for pureeing, coring is optional at this stage. If using a blender or food processor, core the pears.
- Combine the prepared pears and lemon juice in a large, heavy-bottomed Dutch oven or saucepan. Cover and simmer over low heat until the fruit is very soft and translucent (20-25 minutes).
- Working in batches if necessary, process the cooked pears through a food mill, sieve, or blend with an immersion blender/food processor until uniformly smooth.
- Return the pear purée to the pot. Stir in your chosen liquid, sweetener (to taste), and desired seasonings.
- Continue cooking the pear butter over medium-low to medium heat, stirring frequently. As it thickens, stir more often to prevent scorching. Cook until the butter reaches “trace” consistency (when a spatula drawn through the bottom of the pot leaves a clear path that doesn’t immediately fill in, or a spoonful holds its shape on a chilled plate).
- Remove the pear butter from the heat.
- Ladle the hot pear butter into prepared hot 1/2-pint or 1-pint canning jars, leaving 1/2-inch headspace. Remove air bubbles with a non-metallic utensil. Wipe jar rims with a clean, damp cloth. Apply two-piece lids until fingertip tight.
- Load jars into a hot water bath canner, ensuring they are covered by at least 1 inch of water. Bring to a rolling boil.
- Process jars for 10 minutes (for altitudes lower than 6,000 feet) or 15 minutes (for altitudes greater than 6,000 feet).
- After processing, turn off the heat, remove the canner lid, and let jars sit in the hot water for 5 minutes. Carefully remove jars with a jar lifter and place them on a clean towel on your countertop to cool undisturbed for 12-24 hours.
- Check seals after cooling. Any unsealed jars should be refrigerated and consumed within 2 weeks. Remove rings from sealed jars, label, and store in a cool, dry, dark place for up to 18 months.
Notes
- *6 pounds of pears equals approximately 18-24 medium-sized pears. Pears cook down significantly, so start with this quantity for a good yield.
- **Recommended liquids include apple cider or juice, cranberry juice, red wine, or water.
- ***Sweetener options: brown sugar, white sugar, honey, maple syrup, or agave nectar. Adjust to your desired sweetness.
- ****Possible seasonings: vanilla extract (add at the end), citrus zest (lemon, orange), bourbon, or warming spices (allspice, cinnamon, ginger, star anise).
Nutrition
Calories: 49kcal, Carbohydrates: 13g, Protein: 0.2g, Fat: 0.1g, Saturated Fat: 0.01g, Polyunsaturated Fat: 0.1g, Monounsaturated Fat: 0.05g, Sodium: 1mg, Potassium: 67mg, Fiber: 2g, Sugar: 10g, Vitamin A: 14IU, Vitamin C: 3mg, Calcium: 5mg, Iron: 0.1mg
Nutrition information is automatically calculated, so should only be used as an approximation.
More Fall Canning Recipes to Explore
Putting up more than just pears this season? The autumn harvest offers a bounty of produce perfect for preserving. Expand your canning repertoire with these delicious fall recipes:
- Canning Pumpkin: A Guide to Preserving Pumpkin Puree
- Canning Sweet Potatoes: Your Guide to Sweet Potato Preservation
- Canning Cranberry Sauce: Homemade Holiday Staples
Additional Pear Canning Ideas
Canning Pears
Canning Pear Pie Filling
Summer Fruit Salsa with Honey & Balsamic
Pear Jam