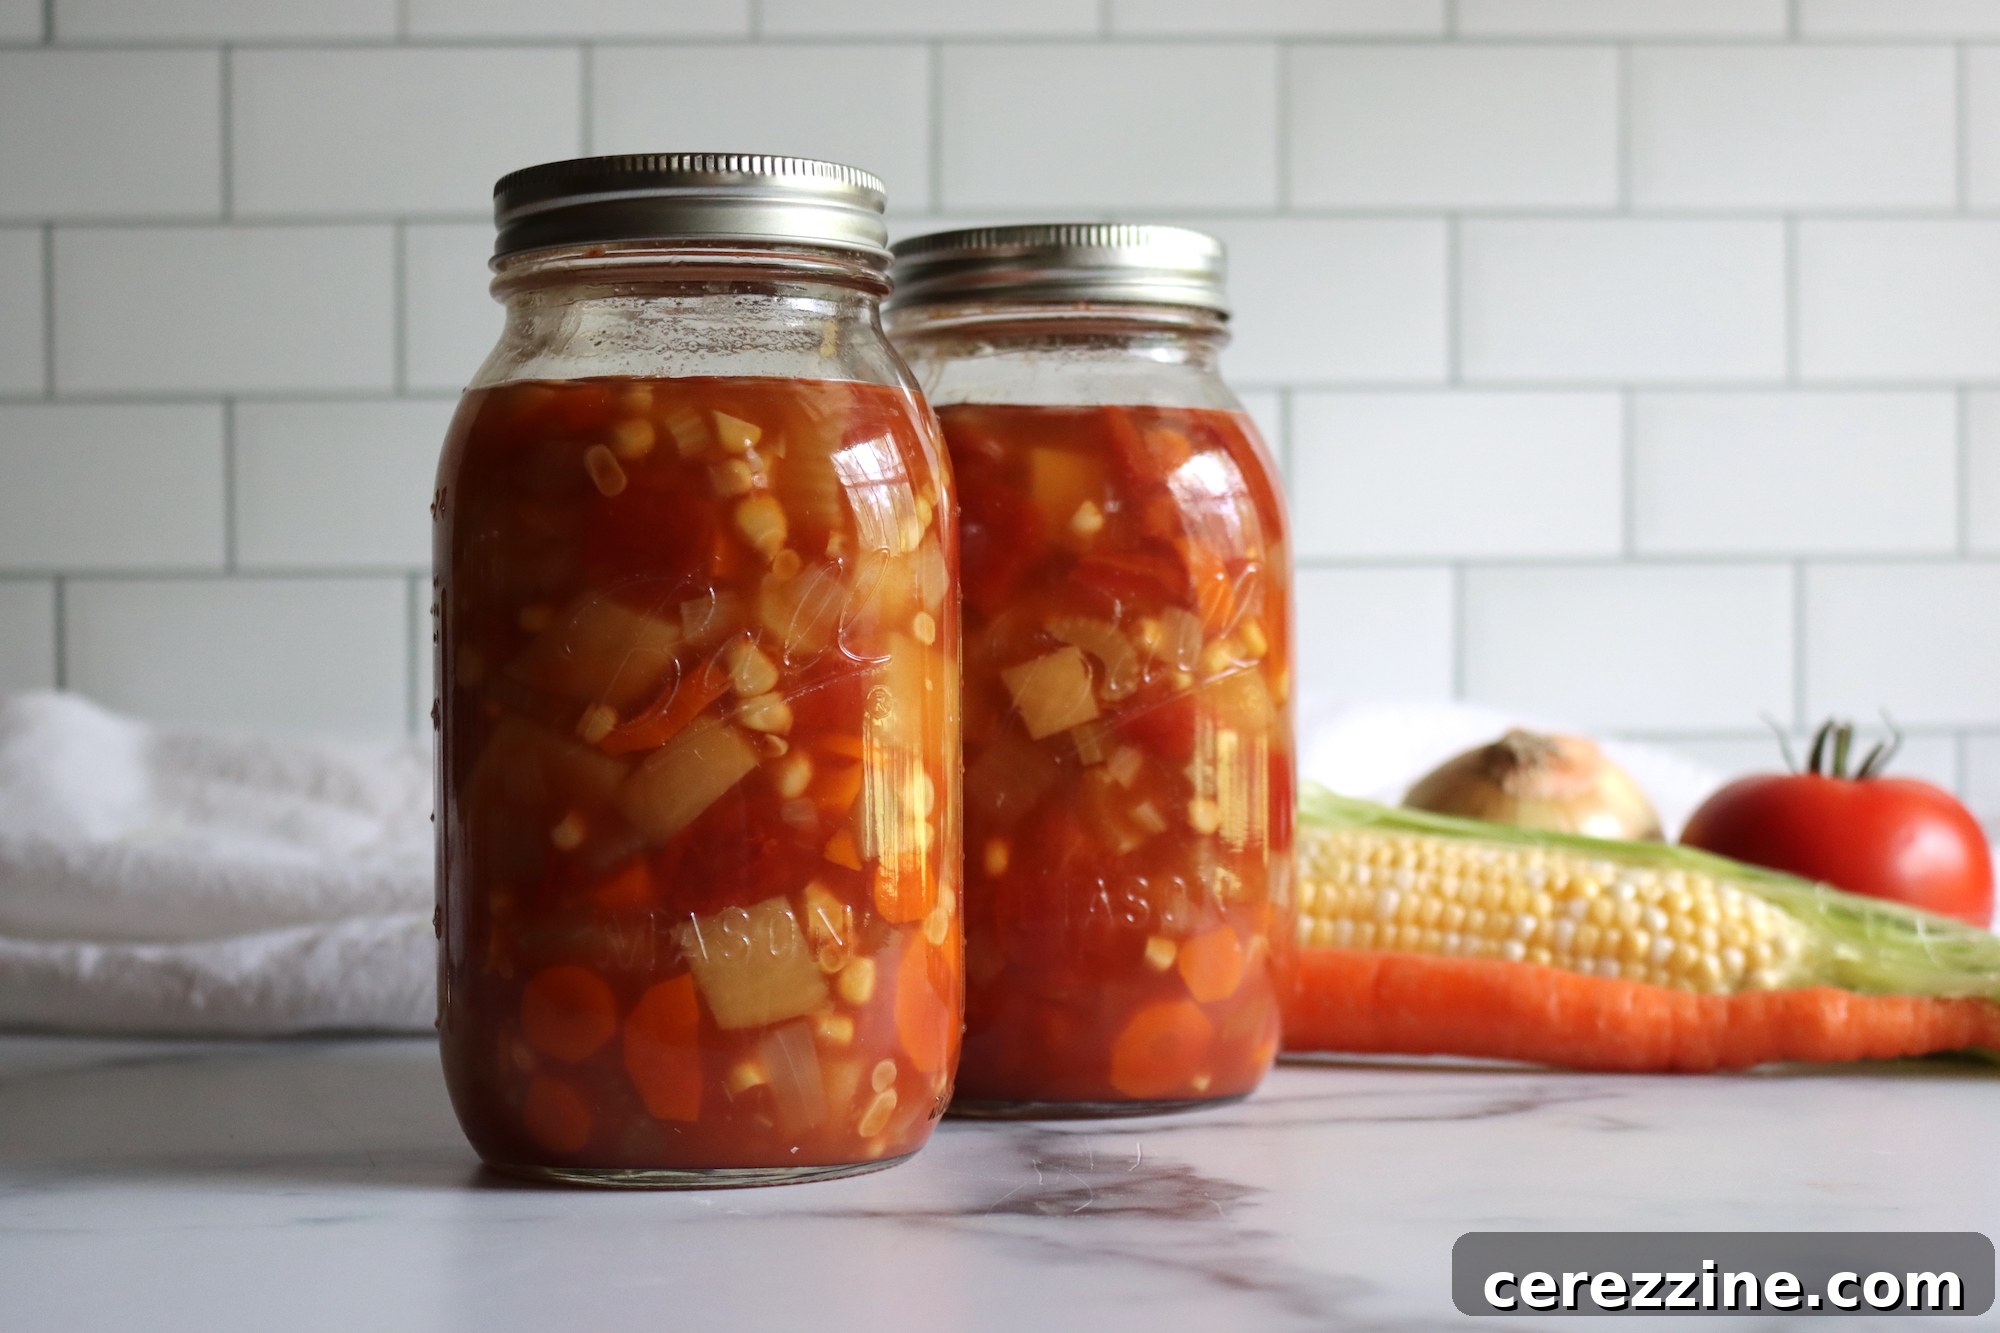
There’s nothing quite like a warm bowl of vegetable soup to bring comfort and nourishment, especially when battling the chill of winter or simply seeking a wholesome meal. While many reach for quick fixes, the truly satisfying experience comes from a homemade bowl, brimming with fresh, vibrant vegetables in a rich, savory broth. This article will guide you through the rewarding process of canning your own vegetable soup, allowing you to enjoy the taste of summer’s bounty all year long, right from your pantry shelf.
The Timeless Appeal of Homemade Vegetable Soup
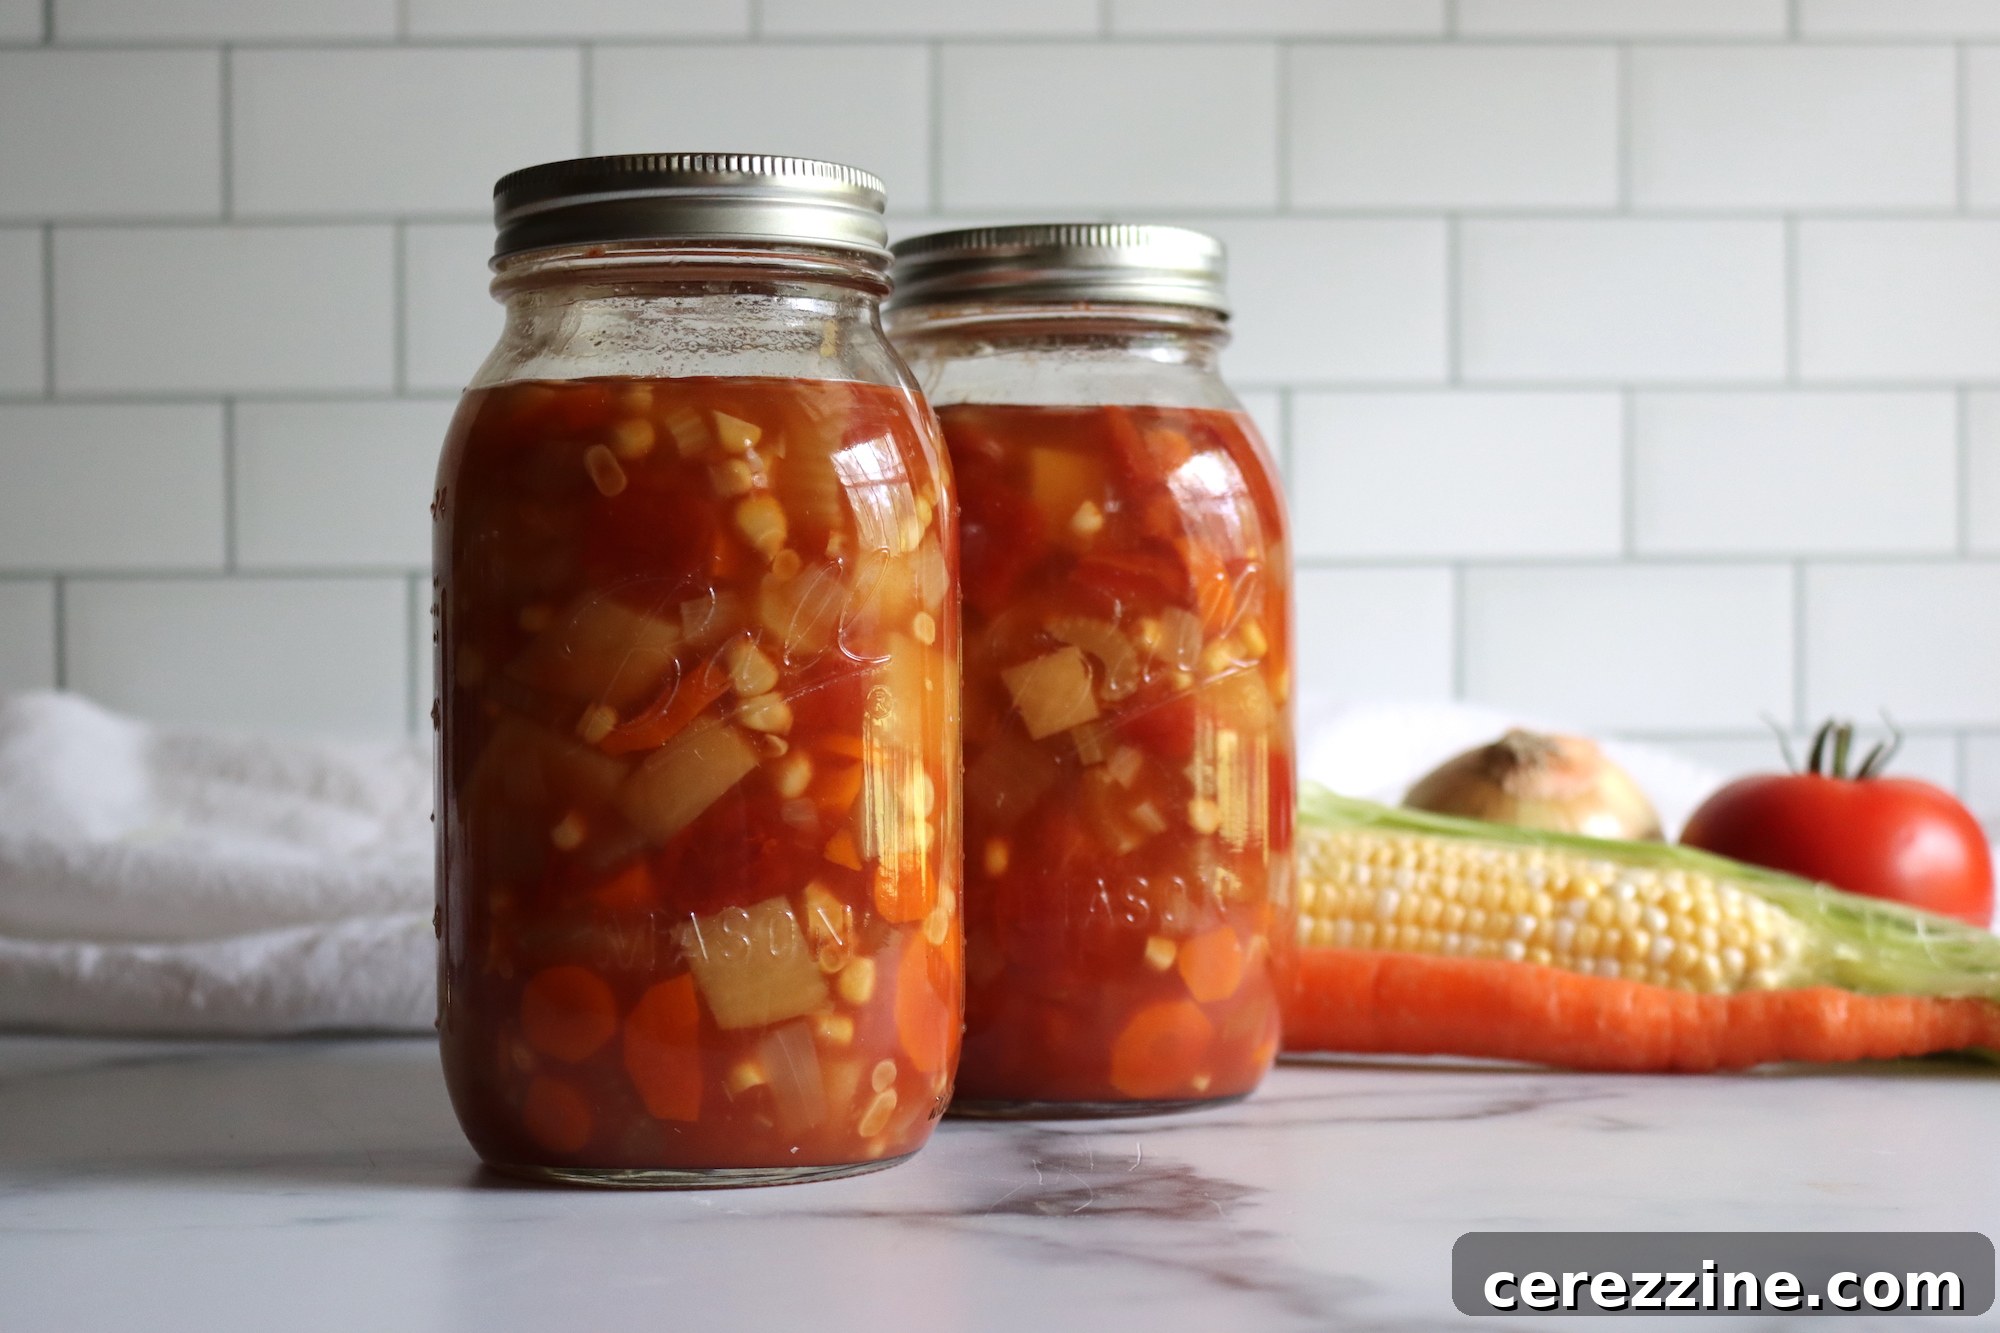
For many, vegetable soup is more than just a dish; it’s a hug in a bowl. It’s the ultimate comfort food, a remedy for cold days, and a source of gentle sustenance when you’re feeling under the weather. While some might opt for home-canned chicken soup, there’s a unique satisfaction in the hearty texture of chunky vegetables bathed in a flavorful tomato-based broth. This recipe for canning vegetable soup isn’t just a practical solution; it’s an investment in future comfort, ensuring you always have a wholesome, delicious meal within reach.
The common dilemma is that the peak season for fresh, ripe vegetables—late summer—often doesn’t align with our strongest cravings for warming soup, which typically strike during the colder months. The answer to this seasonal mismatch is straightforward: preserving those peak-season vegetables by canning them into a ready-to-eat soup. With this reliable pressure canning recipe, you can transform fresh produce into shelf-stable jars of homemade goodness, available whenever the mood for a hearty vegetable soup strikes.
Why Pressure Canning is Essential for Vegetable Soup
Understanding the science behind food preservation is key to safe home canning. Vegetable soup, with its mix of low-acid vegetables (like potatoes, carrots, corn, and beans) and a tomato base, falls into a category that requires specific preservation methods. While tomatoes are acidic, the sheer volume and variety of low-acid ingredients in vegetable soup bring the overall pH above the level considered safe for water bath canning. This means pressure canning is not just a recommendation but a necessity.
Pressure canning achieves temperatures significantly higher than boiling water, reaching levels capable of destroying harmful bacteria, particularly Clostridium botulinum, which thrives in low-acid, oxygen-free environments and can produce deadly toxins. By carefully following tested recipes and pressure canning guidelines, you ensure that your homemade vegetable soup is not only delicious but also safe for long-term storage, providing peace of mind along with its comforting flavors.
Ingredients for Canning Delicious Vegetable Soup
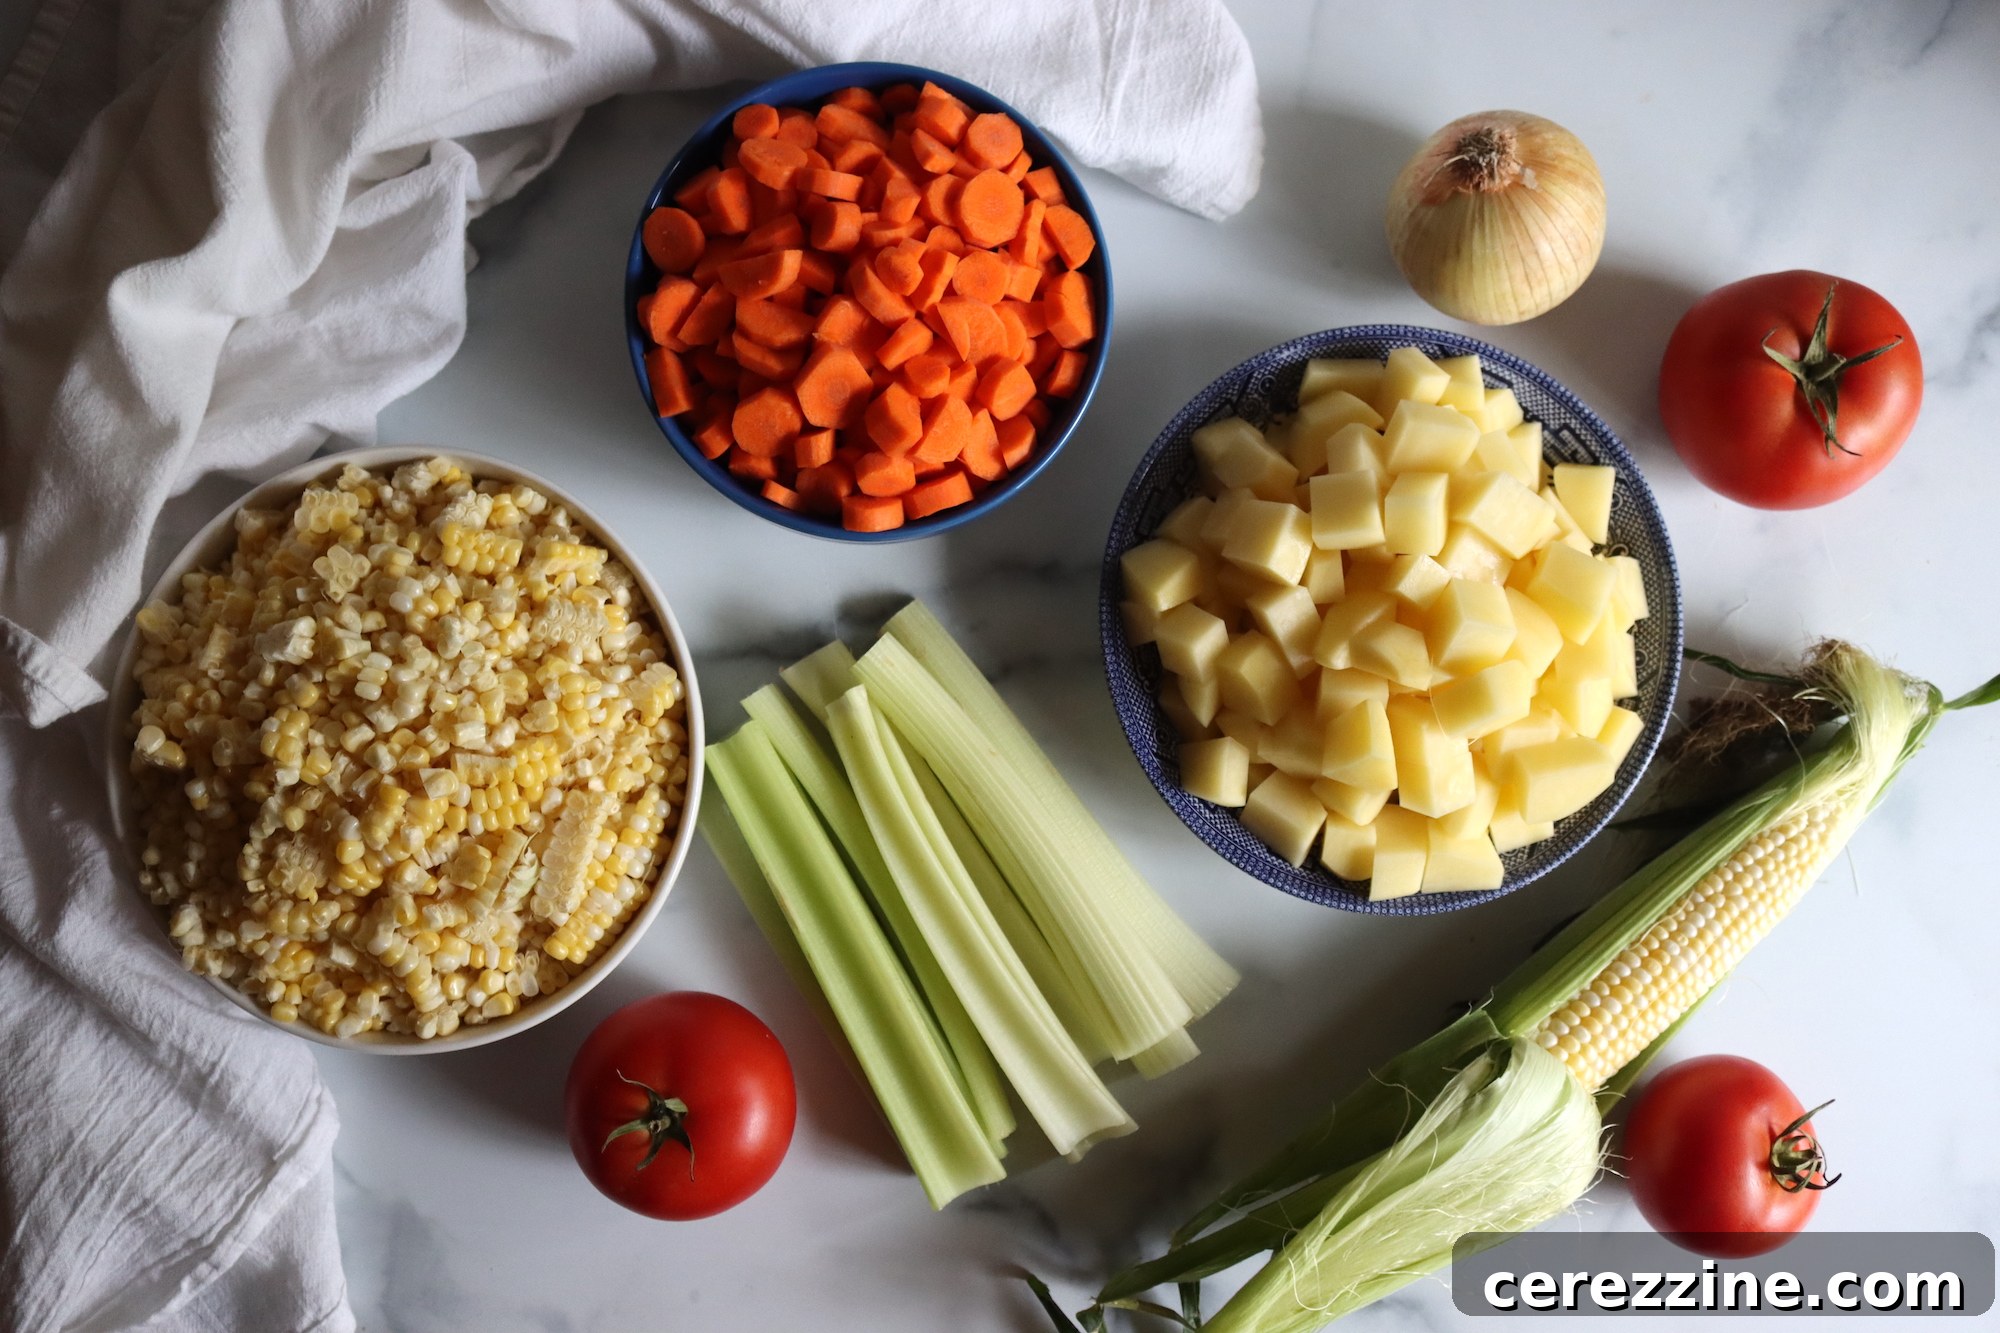
This tried-and-true canning recipe for vegetable soup draws its roots from the trusted Ball Blue Book Guide to Preserving, a staple resource for home canners spanning generations. This recipe yields approximately 14 pints or 7 quarts of wholesome, canned vegetable soup. Gather the freshest possible ingredients for the best flavor and nutritional value:
- Tomatoes: 2 quarts chopped (approximately 12 medium-sized tomatoes). These are crucial for flavor and acidity.
- Potatoes: 1 ½ quarts, cubed (about 9 medium potatoes).
- Carrots: 1 ½ quarts, sliced (around 12 medium carrots).
- Corn: 1 quart whole uncooked kernel corn (from about 8 medium ears).
- Celery: 2 cups sliced (equivalent to 4 stalks).
- Onions: 2 cups chopped (2-3 medium onions).
- Lima Beans: 1 quart, fresh (not dried) or canned. This ingredient is optional and can be omitted if not preferred. If using dried, they must be re-hydrated and cooked thoroughly before adding.
- Liquid: 1 ½ quarts water or vegetable broth. Choose vegetable broth for an added layer of flavor.
- Seasoning: Salt and pepper to taste (approximately 2 tablespoons salt for the entire batch is a good starting point, adjust to your preference).
One of the beauties of this recipe is its flexibility within safe canning parameters. You are welcome to omit most vegetables that your family doesn’t enjoy, such as corn, onions, celery, carrots, or potatoes. However, it is critical not to omit the tomatoes, as they contribute essential acidity and liquid to the overall batch, which impacts the safety of the canning process. Be aware that omitting vegetables will slightly reduce your final yield. It’s also important to note that you cannot add other vegetables to compensate for omissions, as this can alter the density and heat penetration during canning, compromising safety.
When selecting lima beans, ensure they are fresh and in season, or use quality canned lima beans. If you happen to be using dried lima beans, remember the golden rule of re-hydrating and cooking them completely before incorporating them into your soup mixture. This pre-treatment is vital for both texture and safety.
For safety reasons, certain ingredients should never be added to this or any other home-canned soup recipe. This includes thickening agents like rice, pasta, flour, milk, or cream. These ingredients can significantly alter the density of the soup, preventing proper heat penetration during pressure canning and potentially leading to unsafe preservation. Stick to the tested recipe to ensure safety.
On the other hand, feel free to personalize your soup with additional spices and herbs. Excellent choices include fresh or dried rosemary, sage, parsley, thyme, and garlic. These additions will not impact the safety of your finished product and can greatly enhance the soup’s flavor profile. Experiment to find your family’s favorite combination!
Comprehensive Guide to Canning Vegetable Soup
Follow these detailed steps carefully to ensure a safe and successful batch of home-canned vegetable soup. Precision in preparation and processing is paramount in pressure canning.
Preparing Your Vegetables for the Soup
- Wash and Drain: Begin by thoroughly washing all your vegetables under cold running water. This includes tomatoes, potatoes, carrots, celery, corn, onions, and lima beans (if using). Drain them completely.
- Peel and Core Tomatoes: To easily peel tomatoes, blanch them in boiling water for 30 to 60 seconds. Immediately transfer them to an ice bath to stop the cooking process. The skins should then slip off easily; if not, gently cut them away. Core the tomatoes and chop them into desired pieces. Measure out 2 quarts and set aside.
- Prepare Potatoes: Peel the potatoes and cut them into uniform ½-inch cubes. Measure out 1 ½ quarts and set aside.
- Slice Carrots: Remove the stems, peel the carrots, and slice them into ¼-inch thick rounds. Measure out 1 ½ quarts and set aside.
- Cut Corn: Carefully cut the whole kernels from the corn cobs. Measure out 1 quart of whole-kernel corn and set aside.
- Chop Celery: Trim off the root end and leafy tops from the celery stalks. Cut the stalks into 1-inch slices. Measure out 2 cups of sliced celery and set aside.
- Dice Onions: Peel and finely chop the onions. Measure out 2 cups of chopped onions and set aside.
Cooking and Seasoning the Soup Mixture
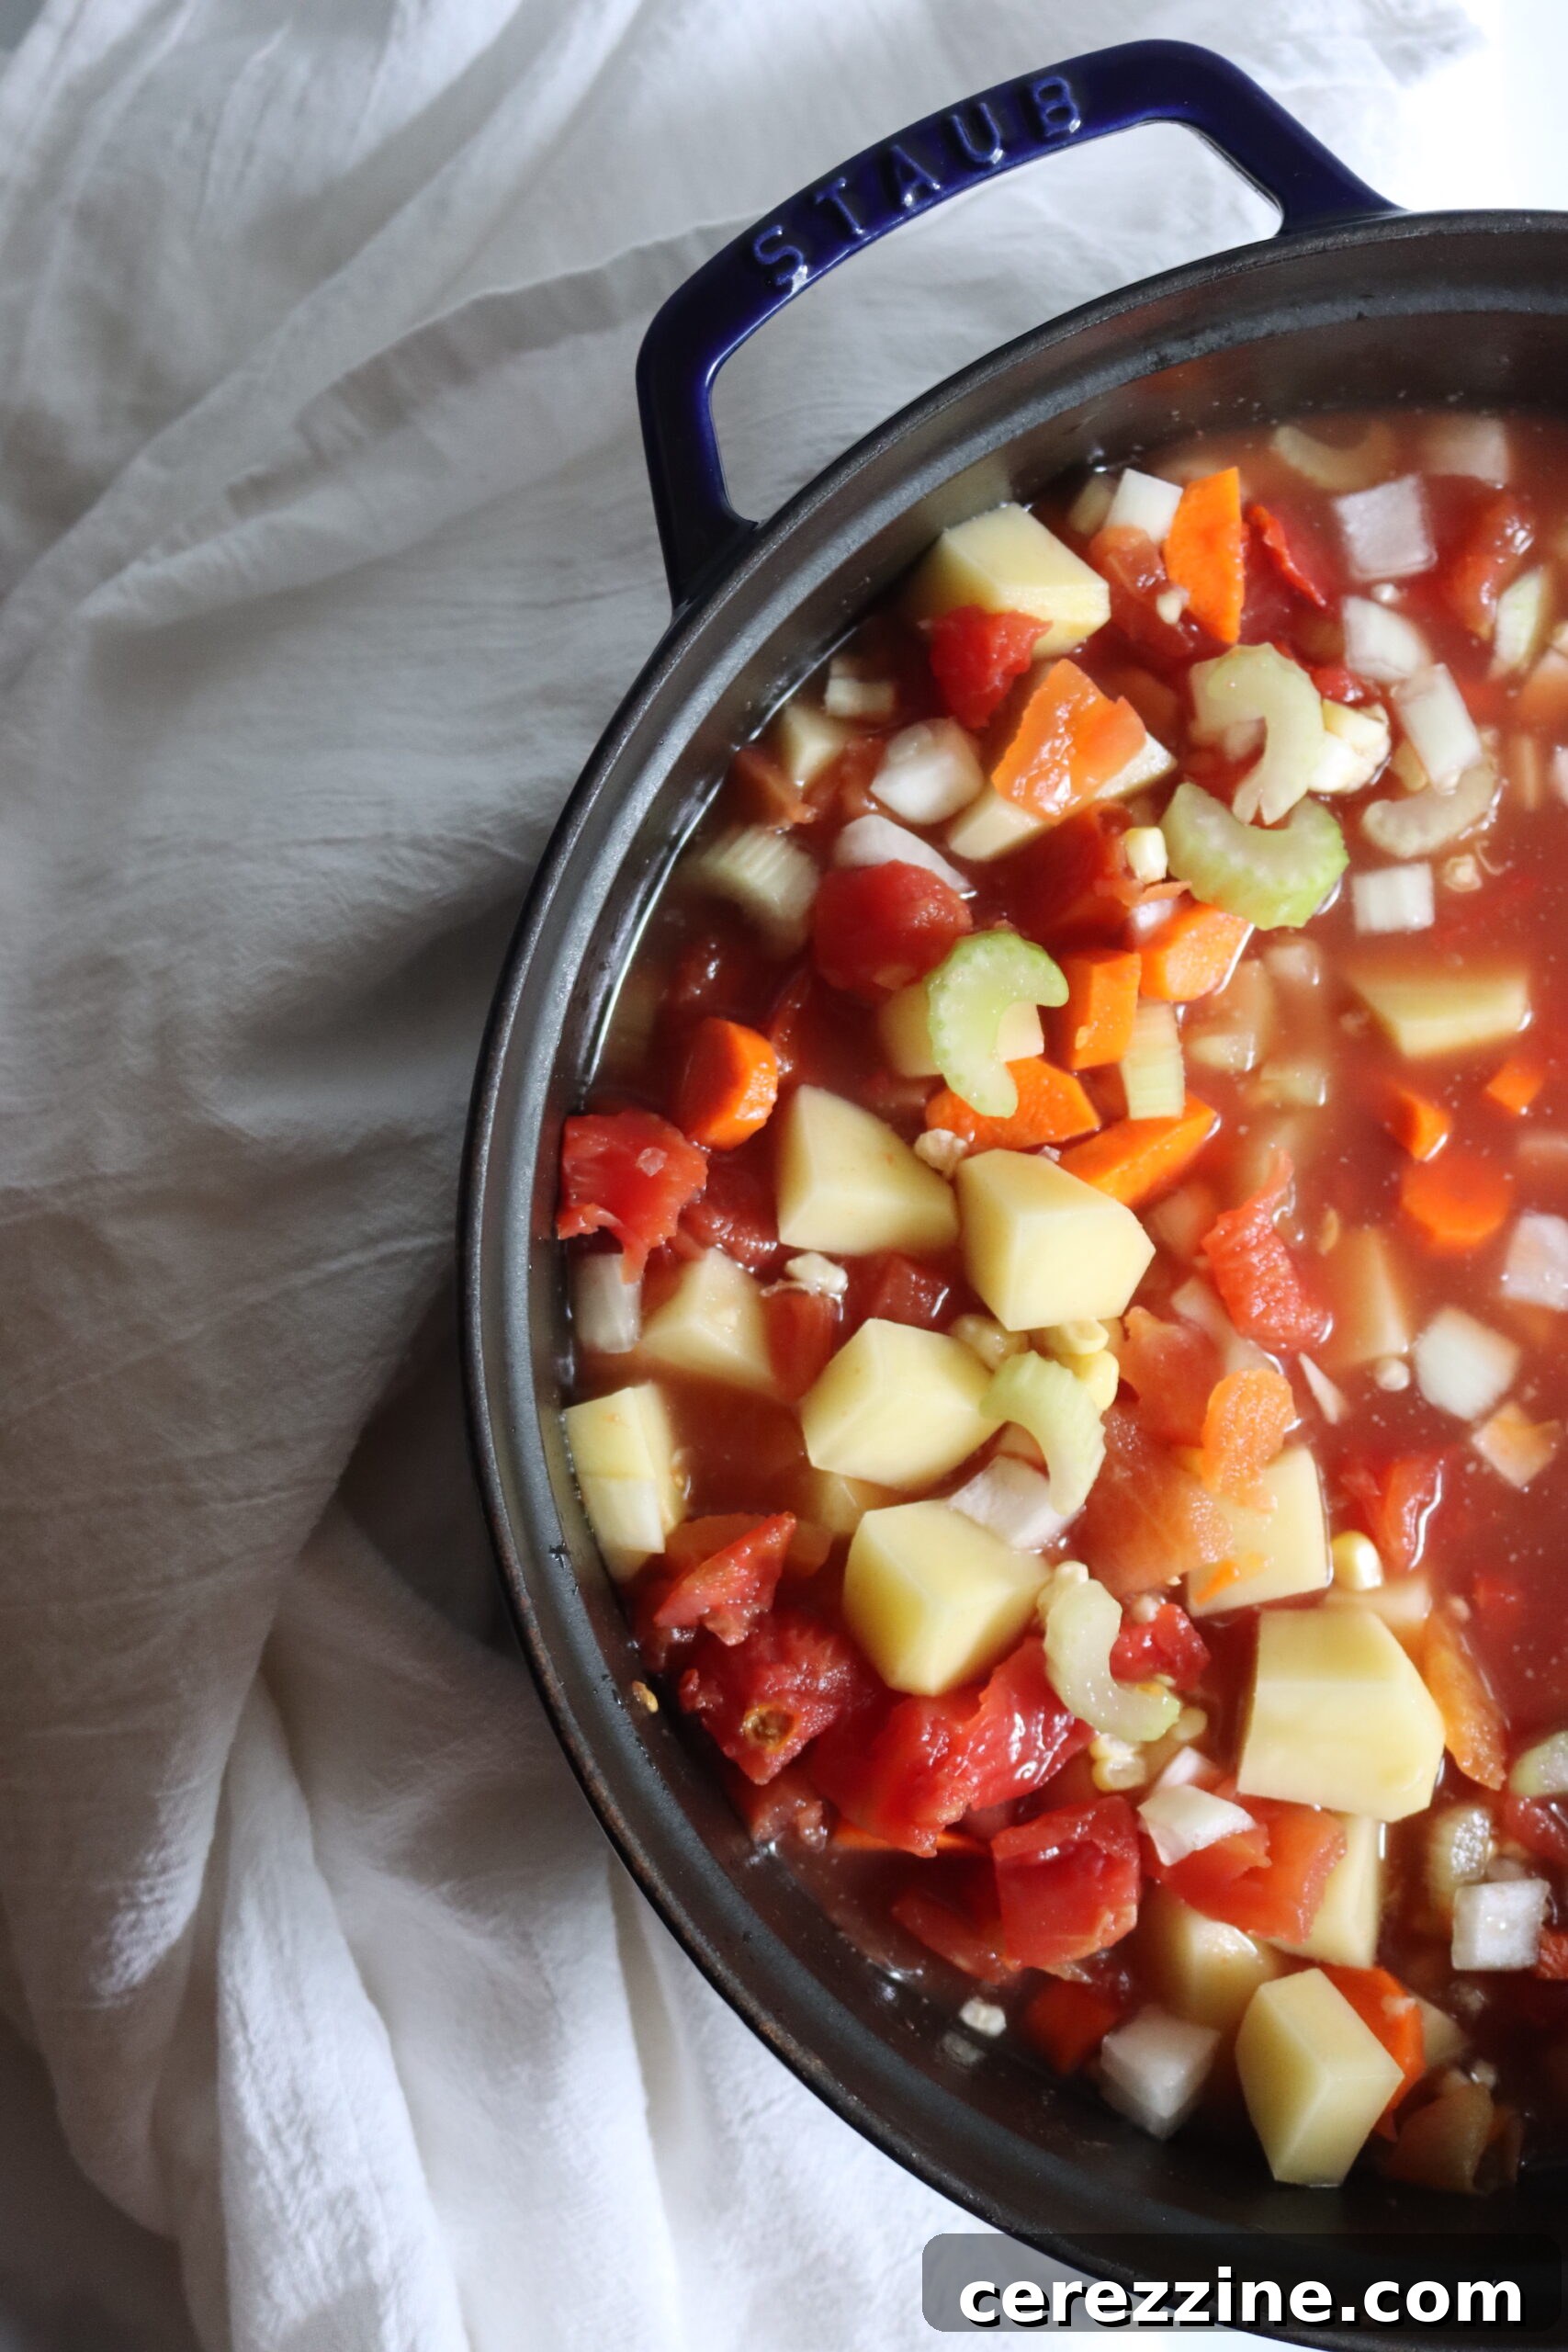
- Combine Ingredients: In a very large saucepan or stockpot, combine all the prepared vegetables (tomatoes, potatoes, carrots, corn, celery, onions, and lima beans if using), along with the 1 ½ quarts of water or vegetable broth.
- Bring to a Boil: Bring the mixture to a full boil over medium-high heat, stirring occasionally to prevent sticking.
- Simmer: Once boiling, reduce the heat to a gentle simmer (around 180°F or 82°C) and cook for 15 minutes. This pre-cooking step helps to remove air from the vegetables and ensures better heat penetration during canning.
- Season: After simmering, remove from heat and season the soup with salt and pepper to taste. The Ball Book typically leaves salt amounts to preference, but for a canner batch of 7 quarts, approximately 2 tablespoons of salt (about ¾ to 1 teaspoon per quart) provides a well-balanced flavor. Remember, you can always add more salt when serving, but you cannot remove it once it’s in the jar.
Jarring and Pressure Canning Process
- Prepare Jars: Ensure your canning jars are clean and hot. Sterilize them by boiling them for 10 minutes or running them through a hot dishwasher cycle. Keep them hot until ready to fill.
- Fill Jars: Carefully ladle the hot soup into the hot sterilized jars, leaving exactly one inch of headspace from the rim of the jar. This headspace is crucial for proper sealing and creating a vacuum.
- Remove Air Bubbles: Use a non-metallic utensil (like a plastic spatula or chopstick) to gently remove any trapped air bubbles in the jars. Press vegetables down to ensure they are covered by liquid.
- Clean Rims: Wipe the rims of the jars thoroughly with a clean, damp cloth to remove any food particles. Even a tiny speck can prevent a proper seal.
- Apply Lids and Rings: Center new, clean canning lids on the jars. Screw on the bands fingertip-tight, meaning just until you feel resistance, then a tiny bit more. Do not overtighten.
- Load Canner: Place the filled jars onto the rack in your pressure canner. Add 2 inches of simmering water to the canner.
- Vent Canner: Secure the canner lid, making sure it locks into position. Turn the heat to medium-high. Allow steam to vent steadily from the vent pipe for a full 10 minutes. This ensures all air is removed from the canner, creating a pure steam environment.
- Achieve Pressure: After venting, place the weighted gauge (or dial gauge, following manufacturer instructions) onto the vent pipe. Bring the pressure up to the required pounds per square inch (psi). Refer to the altitude adjustment section below for specific pressure settings.
- Process: Once the desired pressure is reached, begin your processing time. For pint jars, process for 55 minutes. For quart jars, process for 85 minutes (1 hour and 25 minutes). Maintain a consistent pressure throughout the entire processing time. Adjust heat as necessary to keep the pressure steady.
- Depressurize: Once the processing time is complete, turn off the heat. Allow the pressure canner to cool down naturally and depressurize completely on its own. Do not force cool the canner, as this can cause liquid loss from jars and may compromise seals. The pressure gauge must read zero before opening.
- Remove Jars and Cool: Once depressurized, carefully remove the lid, tilting it away from your face to avoid steam. Using a jar lifter, carefully remove the hot jars and place them on a towel-lined surface in a draft-free area, allowing at least an inch of space between jars. Let them cool undisturbed for 12 to 24 hours.
- Check Seals and Store: After cooling, check all jar seals. The center of the lid should be concave and should not flex when pressed. If any jar did not seal, refrigerate and consume within a few days. Remove the bands (they can trap moisture and cause rust), wash jars, label with contents and date, and store in a cool, dark, dry place.
Critical Altitude Adjustments for Safe Pressure Canning
Altitude significantly impacts canning pressure. At higher altitudes, water boils at lower temperatures, meaning you need to increase the pressure to achieve the same safe processing temperature found at sea level. Always adjust your pressure settings according to your elevation to ensure food safety.
For Dial Gauge Pressure Canners:
- 0 to 2,000 feet in elevation – 11 lbs pressure
- 2,001 to 4,000 feet in elevation – 12 lbs pressure
- 4,001 to 6,000 feet in elevation – 13 lbs pressure
- 6,001 to 8,000 feet in elevation – 14 lbs pressure
For Weighted Gauge Pressure Canners:
- 0 to 1,000 feet in elevation – 10 lbs pressure
- Above 1,000 feet – 15 lbs pressure
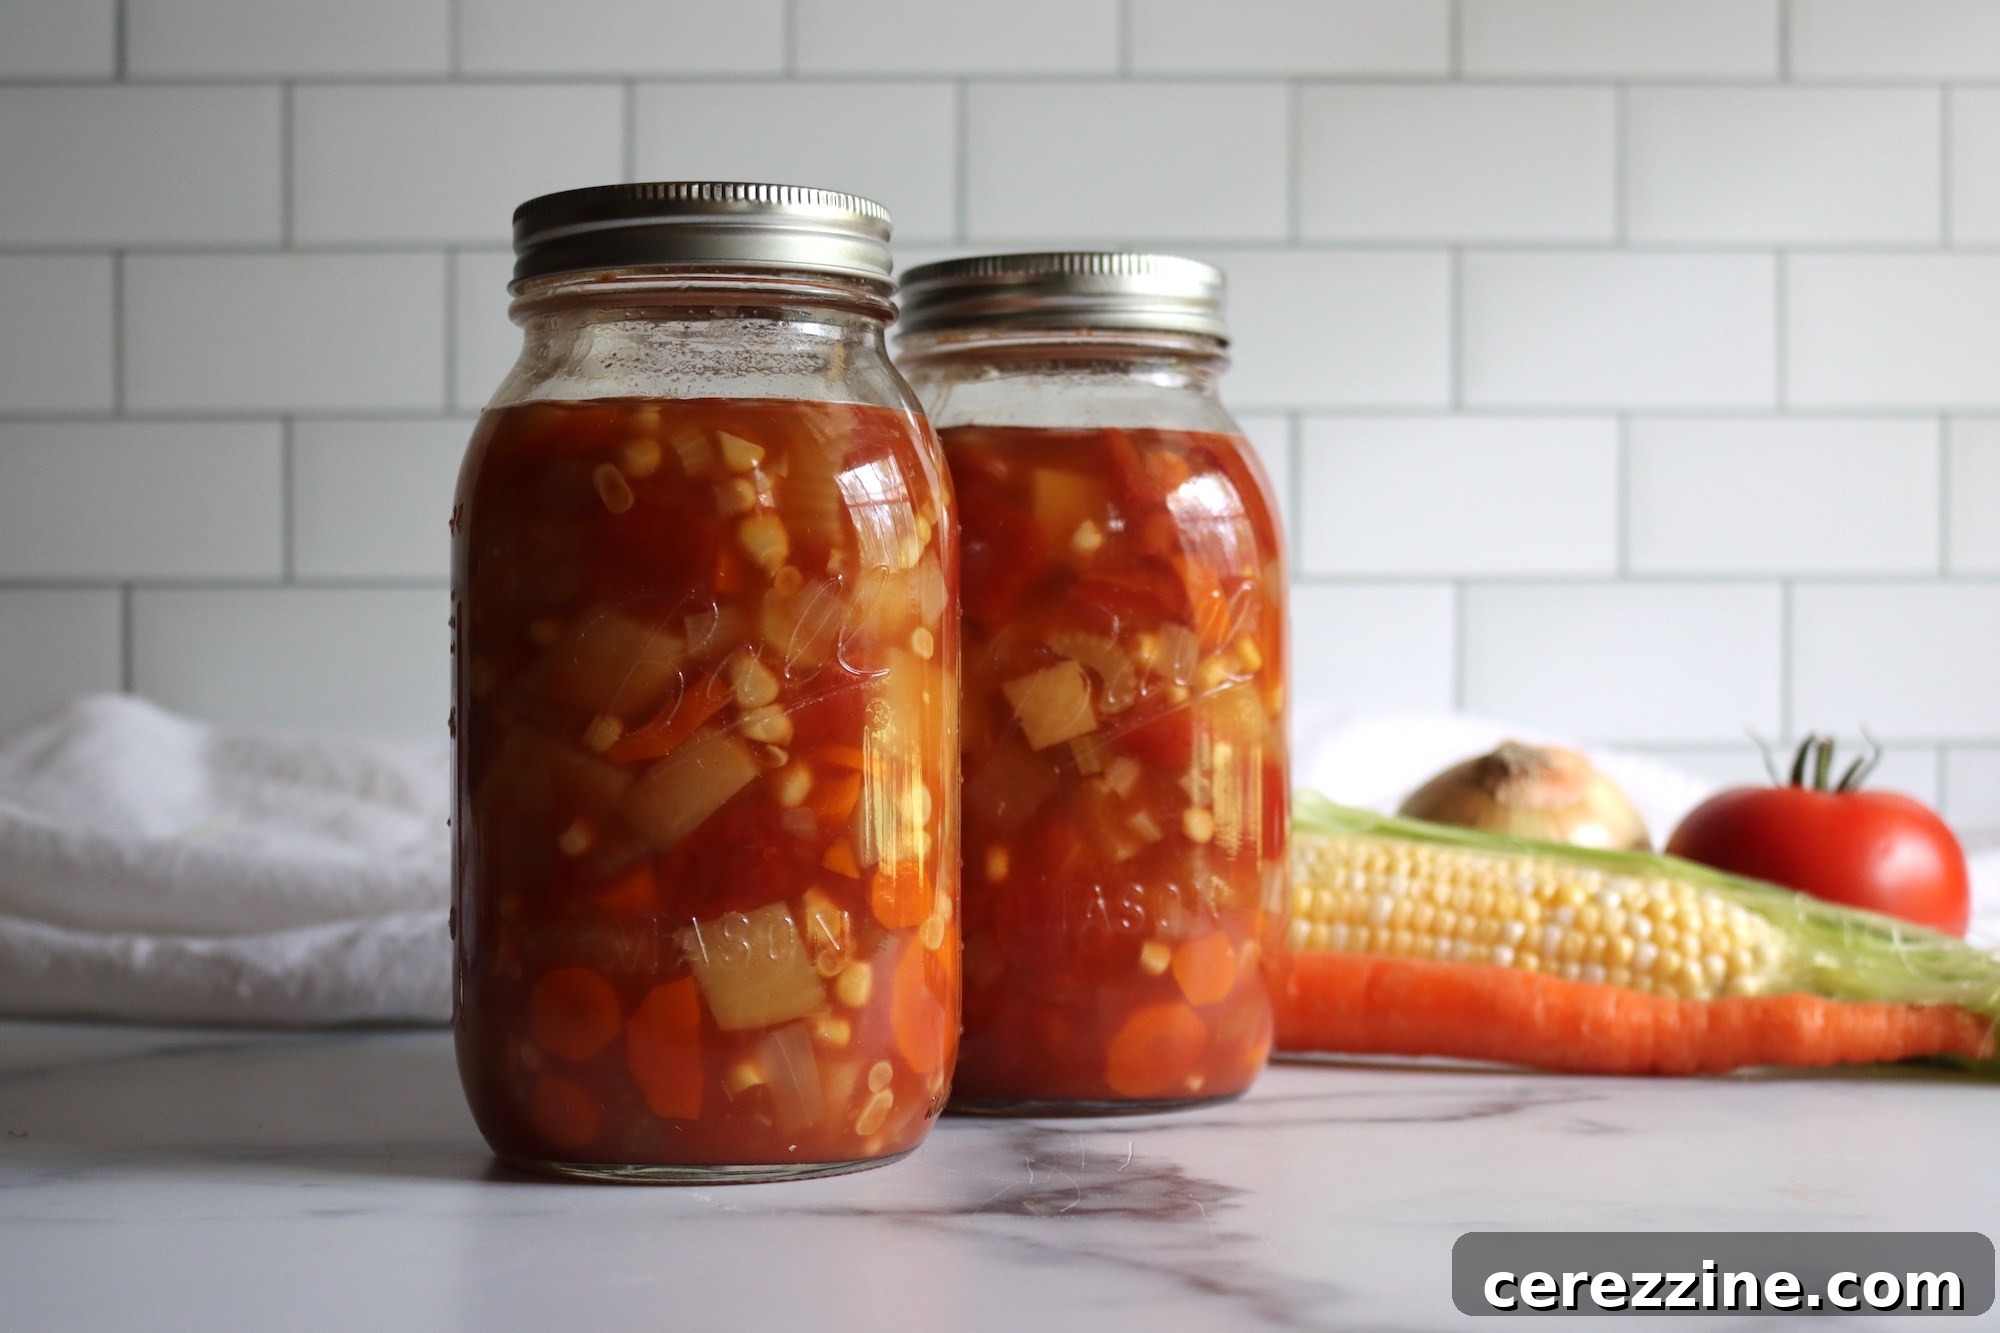
Creative Ways to Serve Your Home-Canned Vegetable Soup
One of the greatest joys of home canning is the convenience of having delicious, homemade meals ready at a moment’s notice. To serve your canned vegetable soup, simply pour it into a saucepan and gently reheat it on the stovetop until simmering. But don’t stop there! There are countless ways to elevate your vegetable soup experience:
- The Classic Pairing: Serve it alongside a crisp, fresh garden salad with a light vinaigrette and some homemade, crusty garlic bread. This makes for a balanced and satisfying meal.
- Soup in a Bowl, Literally: For a charming and rustic presentation, hollow out a round sourdough loaf and ladle the hot soup directly into it. The bread soaks up the flavors, becoming a delightful edible bowl.
- Comfort Food Combo: Few things pair better with a warm bowl of soup than a gooey grilled cheese sandwich. It’s a nostalgic and comforting combination perfect for a cozy weeknight dinner.
- Gourmet Garnishes: Customize each serving with an array of fresh toppings. Consider diced avocado, a dollop of sour cream or Greek yogurt, shredded cheddar or a sprinkle of Parmesan cheese, crunchy crumbled bacon bits (for non-vegetarians), or thinly sliced jalapeños for a kick. A few drizzles of your favorite hot sauce can also awaken the flavors.
- Herbaceous Finish: Garnish with fresh herbs like chopped parsley, cilantro, or chives just before serving to add brightness and aroma.
Beginner-Friendly Canning Tips and Safety Guidelines
Embarking on the journey of home canning can be incredibly rewarding, but it’s crucial to approach it with knowledge and adherence to safety protocols. Here are some essential tips for aspiring canners:
- Always Use Tested Recipes: Never guess when it comes to canning. Always rely on scientifically tested recipes from reputable sources like the Ball Blue Book, the National Center for Home Food Preservation (NCHFP), or your local extension office.
- Inspect Jars and Lids: Before each use, inspect jars for chips, cracks, or imperfections. Use new, two-piece self-sealing lids every time for a proper seal. Bands can be reused if they are in good condition.
- Cleanliness is Key: Sanitize all your equipment—jars, lids, utensils, and work surfaces. Good hygiene prevents spoilage.
- Understand Headspace: The recommended headspace is critical. Too little can prevent a proper seal, while too much can result in food discoloration or an incomplete vacuum.
- Accurate Processing Times and Pressure: Follow the exact processing times and pressure levels specified in tested recipes, adjusting for altitude. Under-processing is a major cause of spoilage and potential foodborne illness.
- Allow Natural Depressurization: Never rush the depressurization process for a pressure canner. Rapid cooling can cause liquid to siphon out of jars and may result in seal failures.
- Check Seals Thoroughly: After jars have cooled for 12-24 hours, confirm they are properly sealed. A sealed lid will be concave and won’t flex when pressed.
- Proper Storage: Store sealed jars in a cool, dark, dry place. Remove the screw bands before storing to prevent rust and to make it easier to detect if a seal breaks.
Understanding Pressure Canning Safety
The primary concern in canning low-acid foods like vegetable soup is botulism. The bacteria Clostridium botulinum produces a toxin that can cause a severe and often fatal form of food poisoning. These bacteria thrive in environments with little oxygen, low acidity, and temperatures below boiling. Pressure canning is the only safe method for preserving low-acid foods because it reaches temperatures (typically 240°F or 116°C and above) that are hot enough to destroy botulism spores.
Any deviation from a tested pressure canning recipe—such as altering ingredient ratios, adding unauthorized thickeners, or reducing processing times/pressure—can create conditions where botulism spores might survive. Therefore, precision, patience, and adherence to guidelines are not just about successful canning; they are about ensuring the health and safety of your family.
Explore More Vegetarian Canning Recipes for Your Pantry
The world of plant-based canning extends far beyond just vegetable soup. Preserving plant-centered meals in jars is a fantastic way to ensure healthy, quick meals are always at hand. If you enjoyed canning this vegetable soup, consider expanding your repertoire with these other delicious vegetarian canning recipes:
- Hearty Vegetarian Baked Beans
- Creamy Carrot Soup
- Spicy Chipotle Black Bean Soup
- Versatile Vegetable Broth
Expand Your Pantry with a Variety of Home-Canned Soups
Beyond vegetarian options, the realm of soup canning recipes offers a vast array of flavors and ingredients to stock your pantry. Having a selection of different soups ready to go means less cooking on busy days and more delicious, wholesome meals for your family. Don’t hesitate to try these other fantastic soup canning recipes:
- Wholesome Sausage, Potato, and Kale Soup
- Flavorful Taco Soup
- Classic Roasted Tomato Basil Soup
- Comforting Split Pea Soup
- Traditional Chicken Soup
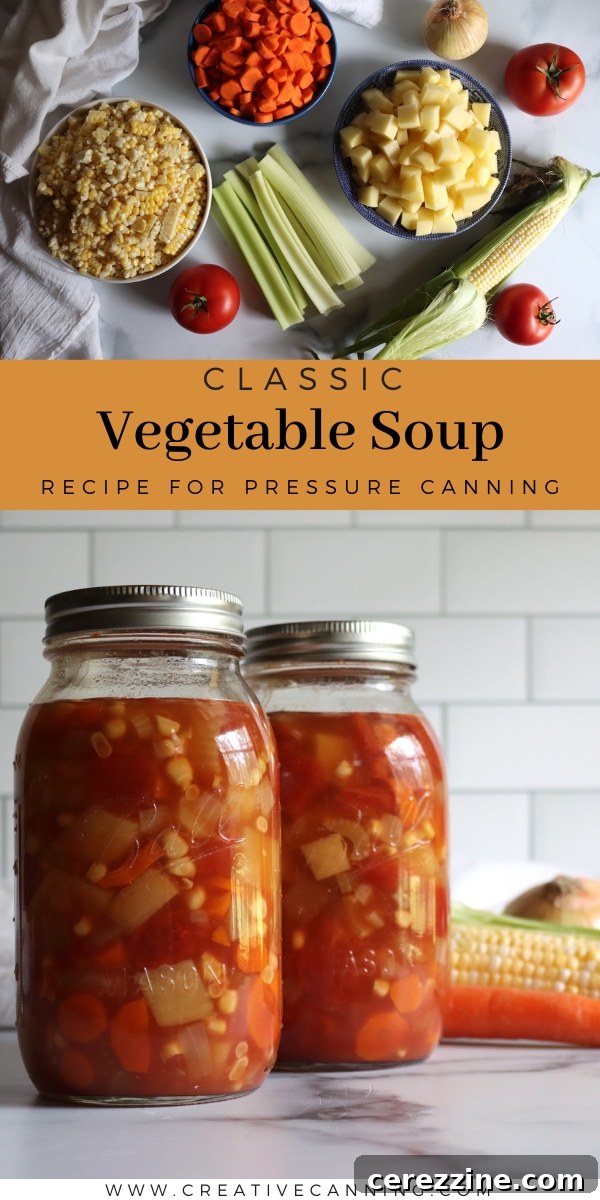
Recipe: Classic Home-Canned Vegetable Soup
This recipe ensures you can enjoy a comforting bowl of homemade vegetable soup all year long. Follow tested guidelines for safe pressure canning.
Equipment
- Pressure Canner
- Large stockpot
- Canning jars (pint or quart size) with new lids and bands
- Jar lifter, canning funnel, bubble remover/headspace tool
Ingredients (Yields approximately 14 pints or 7 quarts)
- 2 quarts chopped tomatoes (from approx. 12 medium tomatoes)
- 1 ½ quarts cubed potatoes (from approx. 9 medium potatoes)
- 1 ½ quarts sliced carrots (from approx. 12 medium carrots)
- 1 quart whole uncooked kernel corn (from approx. 8 medium ears)
- 2 cups sliced celery (from approx. 4 stalks)
- 2 cups chopped onions (from approx. 2-3 medium onions)
- 1 quart fresh or canned lima beans (optional; if dried, re-hydrate and cook before use)
- 1 ½ quarts water or vegetable broth
- 2 Tbsp salt (or to taste, optional)
- 1-2 tsp black pepper (to taste, optional)
Instructions
- Wash all vegetables thoroughly under cold water; drain well.
- Prepare Tomatoes: Blanch tomatoes in boiling water for 30-60 seconds, then immediately transfer to cold water. Peel, core, and chop. Measure 2 quarts and set aside.
- Prepare Potatoes: Peel and cut potatoes into ½-inch cubes. Measure 1 ½ quarts and set aside.
- Prepare Carrots: Peel and slice carrots into ¼-inch thick rounds. Measure 1 ½ quarts and set aside.
- Prepare Corn: Cut kernels from corn cobs. Measure 1 quart and set aside.
- Prepare Celery: Trim and cut celery into 1-inch slices. Measure 2 cups and set aside.
- Prepare Onions: Peel and chop onions. Measure 2 cups and set aside.
- In a large stockpot, combine all prepared vegetables (tomatoes, potatoes, carrots, corn, celery, onions, and optional lima beans) and water or vegetable broth.
- Bring the mixture to a boil, then reduce heat and simmer gently for 15 minutes.
- Remove from heat and season with salt and pepper to taste, if desired. For this batch size, 2 tablespoons of salt is a good starting point.
- Ladle the hot soup into hot, sterilized canning jars, leaving 1 inch of headspace.
- Use a non-metallic tool to remove air bubbles. Wipe jar rims clean with a damp cloth.
- Center new, clean lids on jars and apply screw bands fingertip-tight.
- Place jars on the rack in your pressure canner. Add 2 inches of simmering water to the canner.
- Secure the canner lid. Turn heat to medium-high and vent steam for 10 minutes.
- Place the weighted gauge (or dial gauge) on the vent. Bring pressure to 10 lbs (or 11 lbs for dial gauge at 0-2000 ft elevation). Refer to altitude adjustments provided in the article for your specific location.
- Process pint jars for 55 minutes, or quart jars for 1 hour and 25 minutes. Maintain steady pressure throughout.
- Once processing is complete, turn off heat and allow the canner to depressurize naturally until the gauge reads zero.
- Carefully remove the canner lid, tilting it away from you. Remove jars with a jar lifter and place them on a towel-lined surface to cool undisturbed for 12-24 hours.
- Check seals. Remove bands, wash jars, label, and store in a cool, dark, dry place.
Notes
- You can omit any vegetable from this recipe that your family doesn’t like, with the crucial exception of tomatoes. Tomatoes provide essential acidity for safe canning.
- If using dried lima beans, they must be fully re-hydrated and cooked before being added to the soup mixture. Canned lima beans are a safe and convenient substitute.
- Dried herbs and spices (like rosemary, sage, parsley, garlic) can be added to taste before canning without affecting safety. However, never add thickeners like flour, pasta, rice, or milk/cream to home-canned soups, as these can compromise the safety of the product.