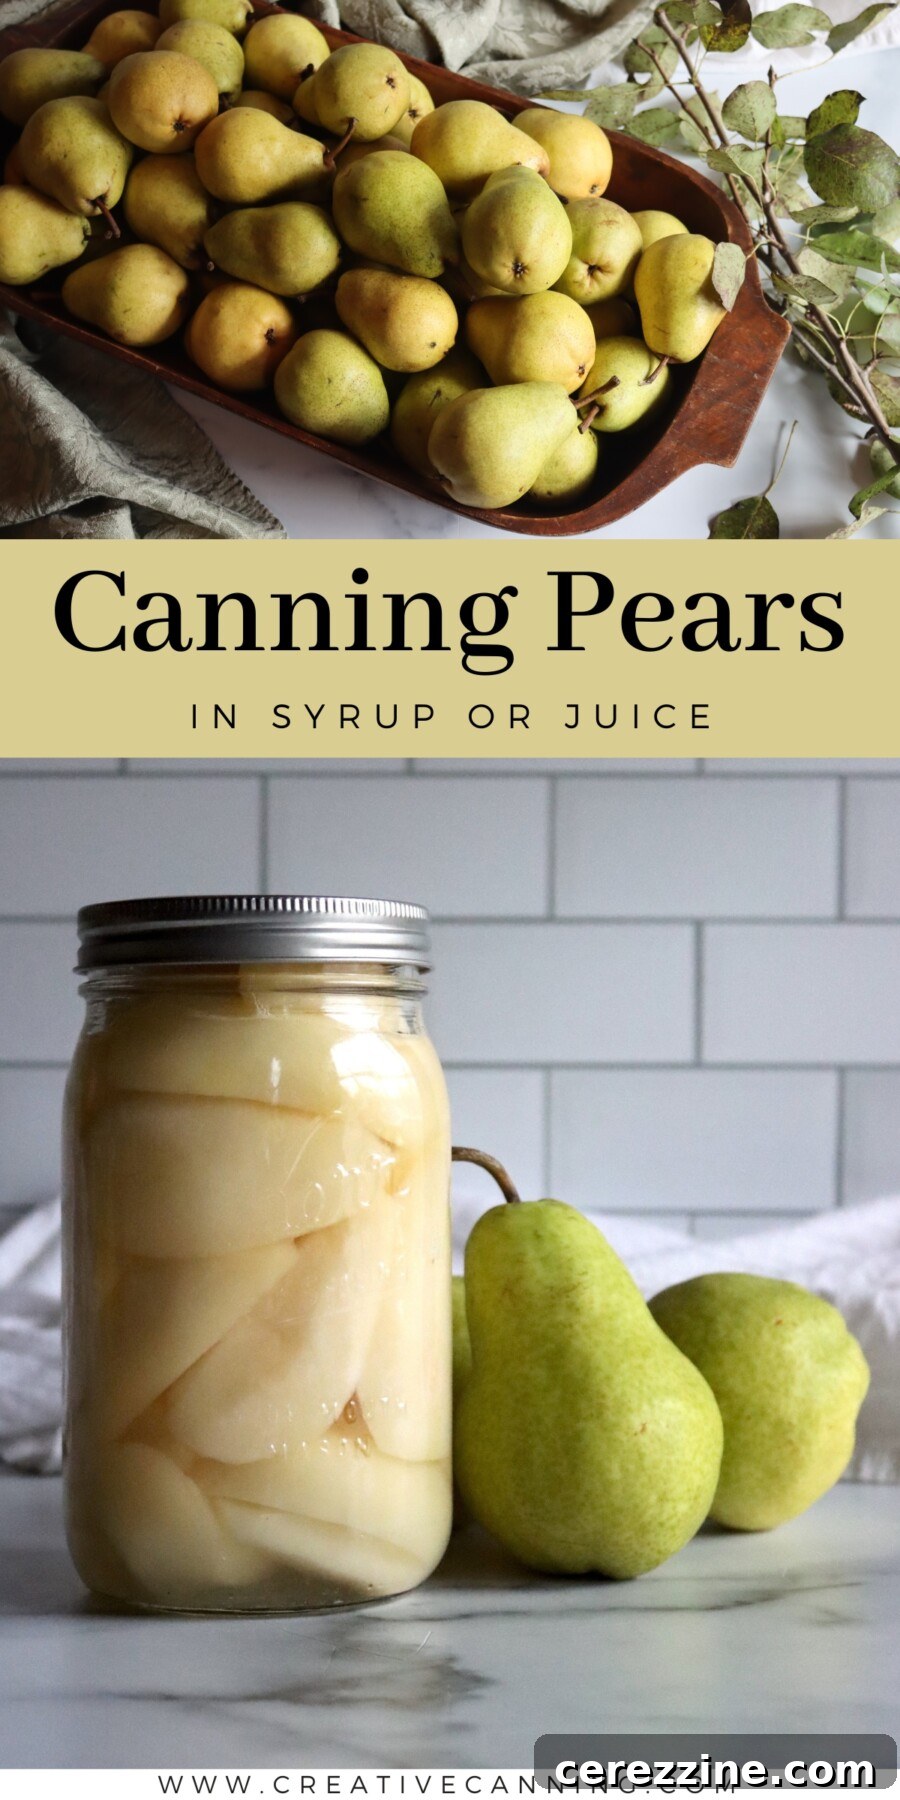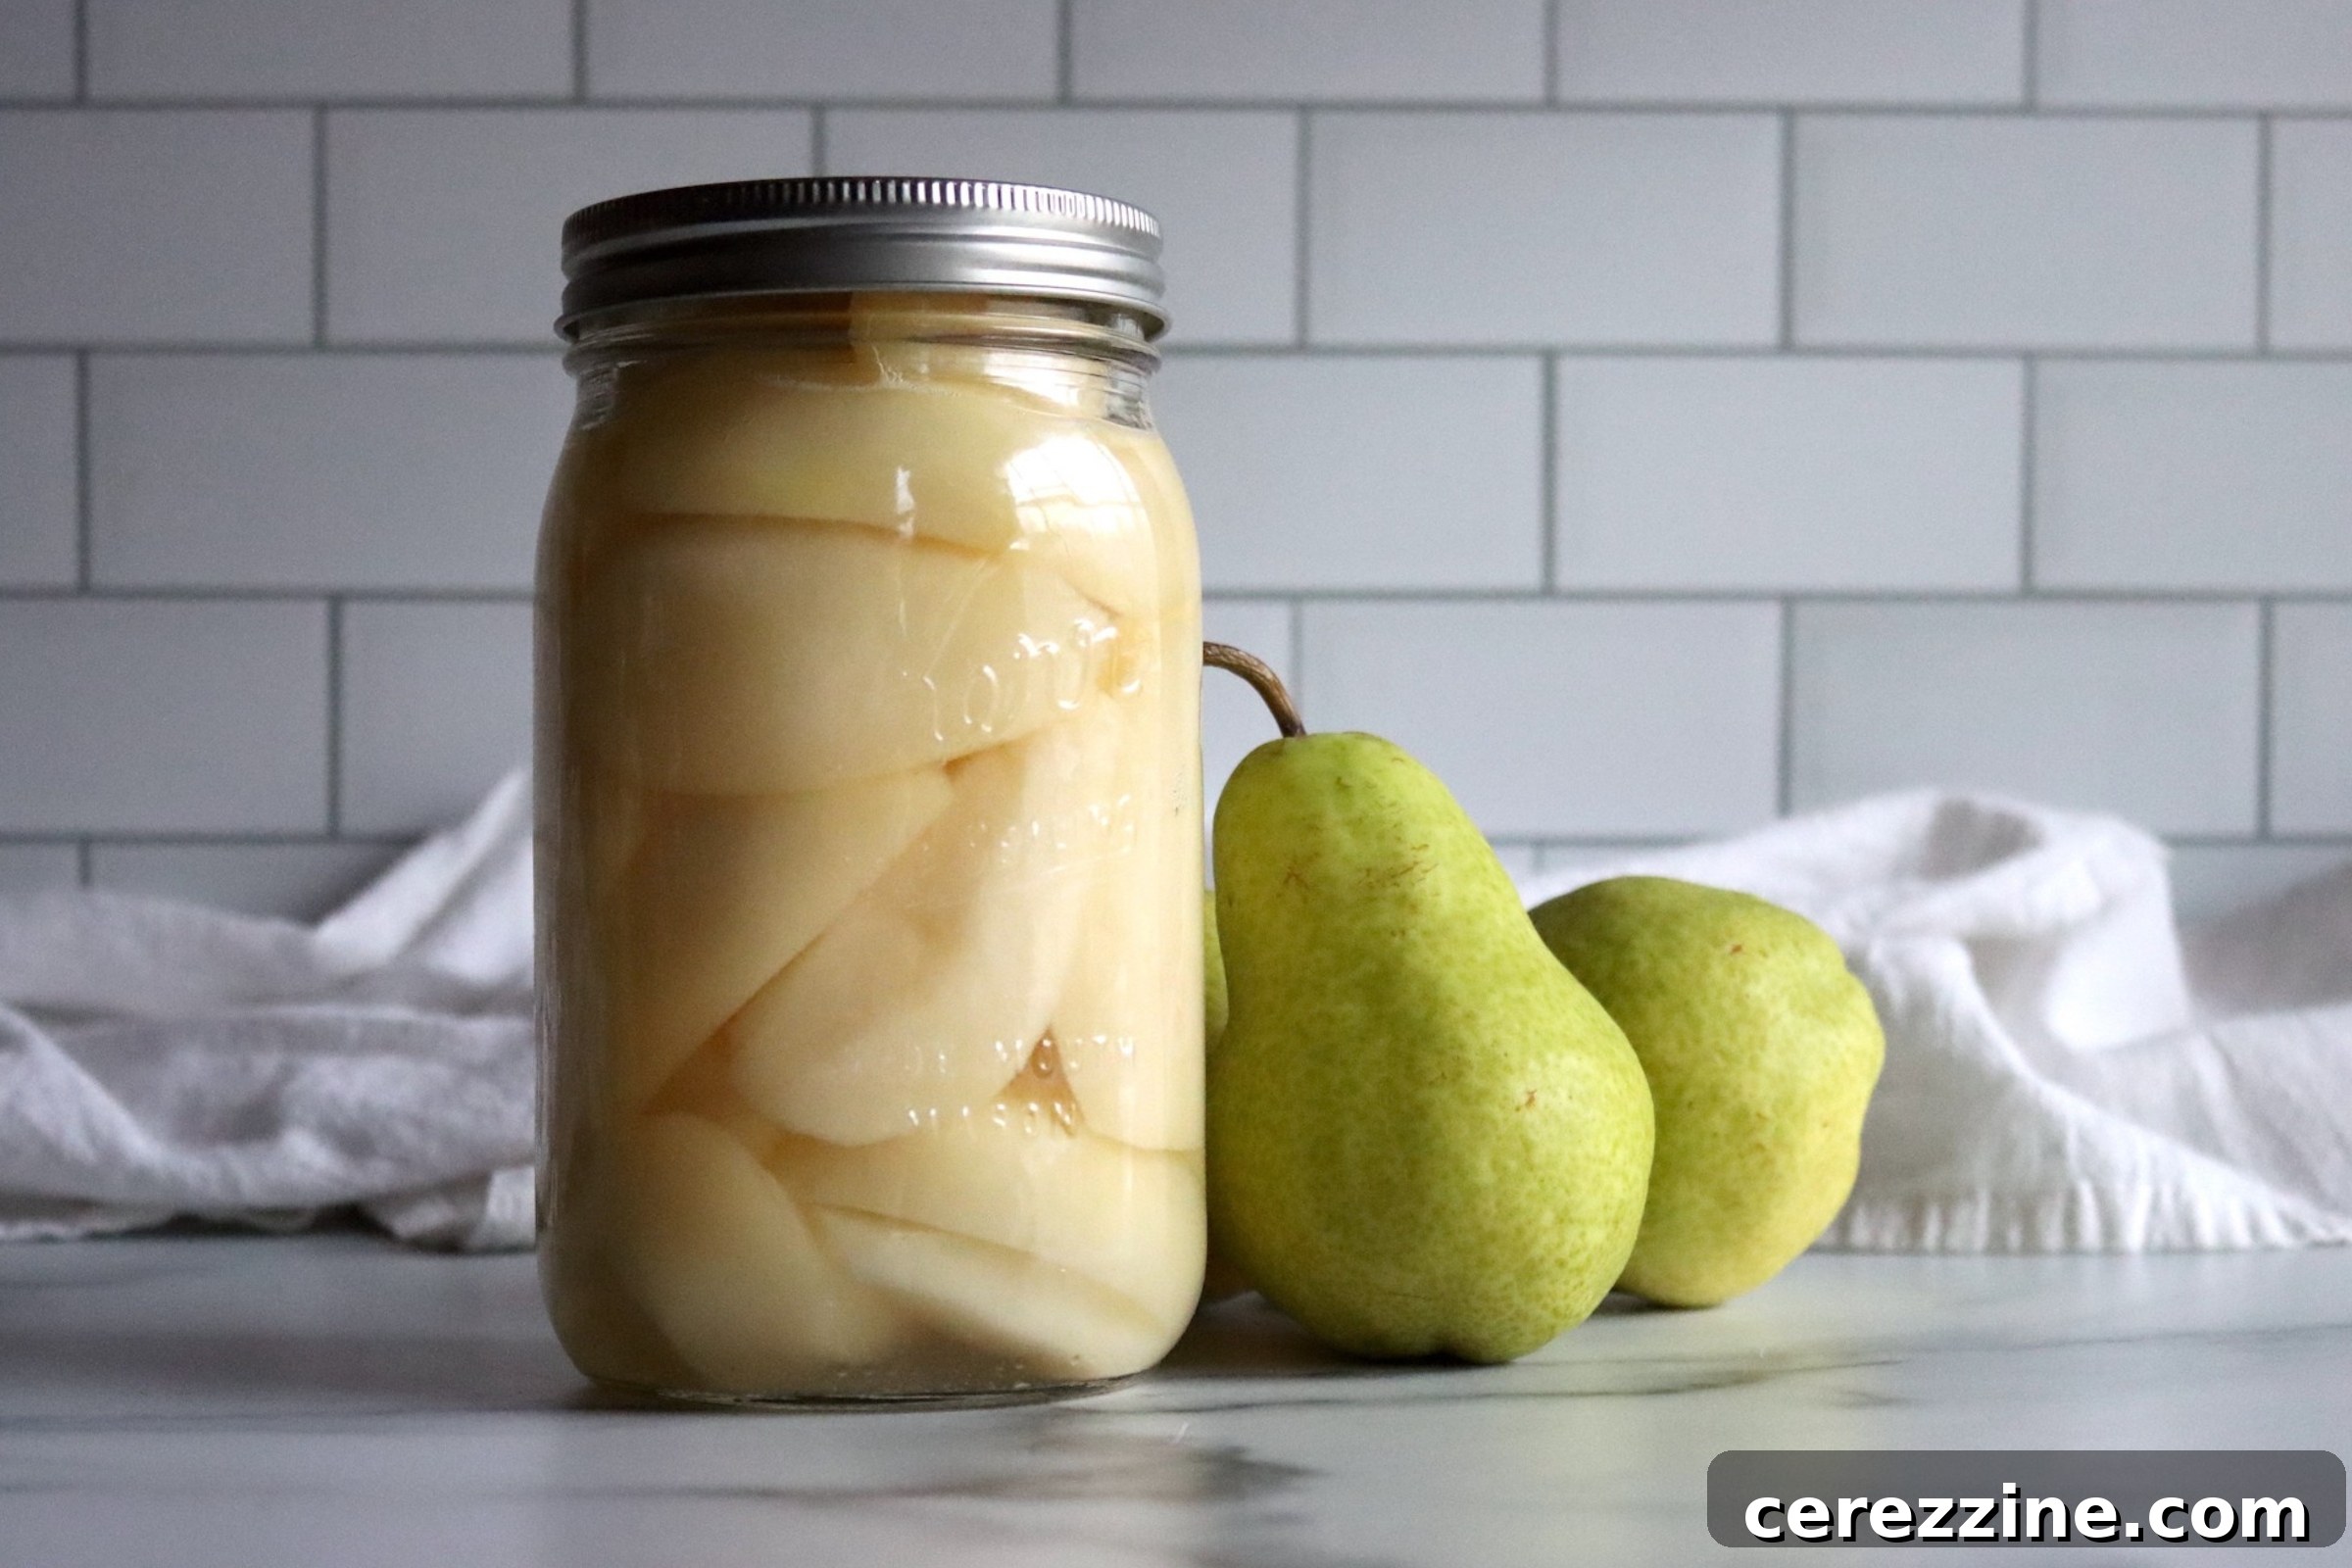
Canning pears at home stands as one of the most gratifying and accessible methods to preserve the luscious bounty of the fall season. When submerged in a thoughtfully prepared sugar syrup, pears possess a unique ability to beautifully maintain their crisp shape and vibrant flavor, a distinct advantage over many other fruits that tend to soften excessively or disintegrate during the thermal processing. This remarkable characteristic makes home-canned pears an incredibly versatile and appealing addition to any pantry.
Whether you’re blessed with an abundant harvest from a backyard pear tree or you’ve seized a fantastic opportunity at a local bulk market, this meticulously tested recipe ensures you’ll create safe, shelf-stable jars of perfection. These meticulously prepared pears will be just as delightful spooned over a warm bowl of oatmeal on a crisp morning as they are incorporated into elegant desserts or enjoyed straight from the jar as a wholesome snack. Embrace the tradition of home preservation and savor the taste of autumn all year long.
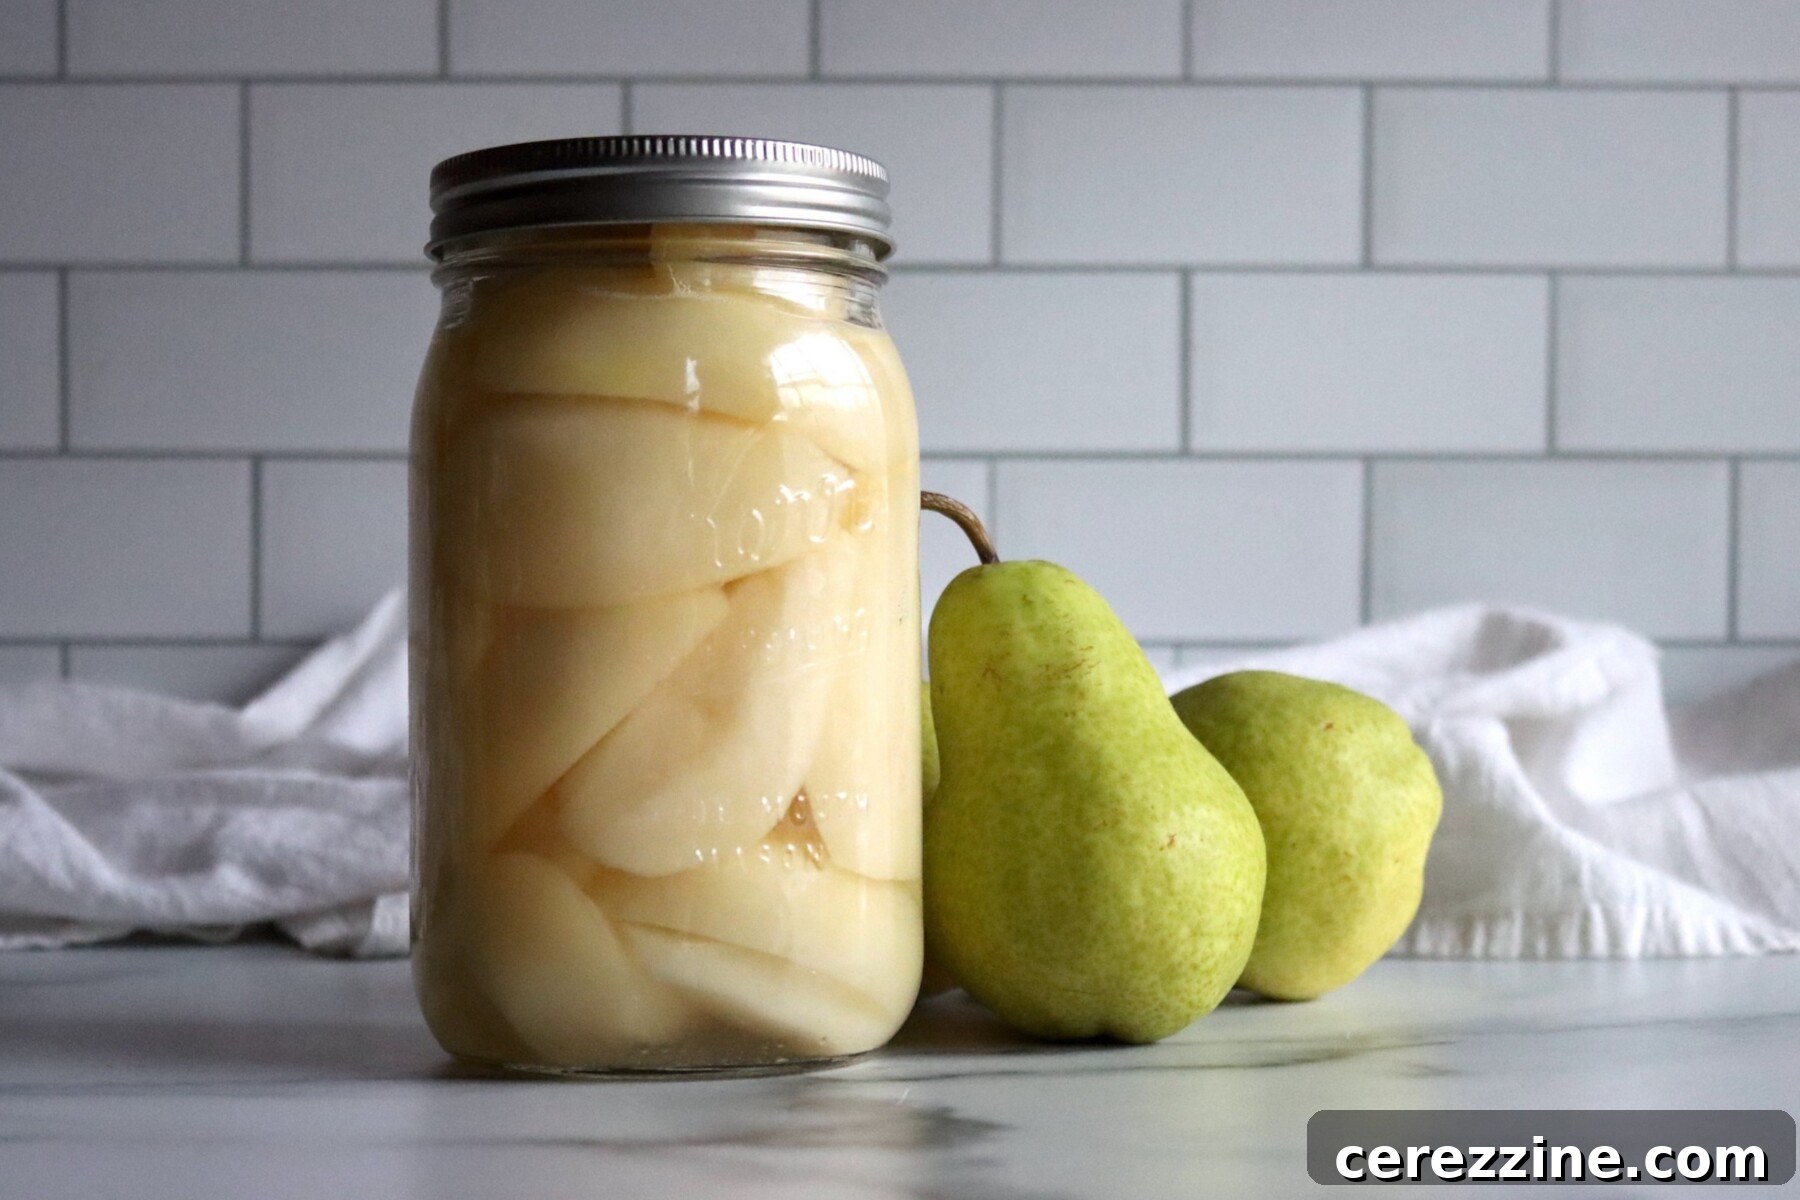
When the pear orchards are heavy with their seasonal fruit, transforming them into syrup-packed jars is undeniably one of my preferred methods for preserving this generous yield. Pears distinguish themselves during the canning process by maintaining their structural integrity, becoming delightfully tender without ever turning mushy. This makes them an ideal candidate for a vast array of culinary uses, from a simple, refreshing snack to an essential ingredient in various baked goods and confections.
The inherent firmness of pears, which allows them to hold up so well to extended cooking, is also the very reason they can be a bit challenging to process into silky-smooth pear sauce or rich pear butter. To achieve those velvety textures, you’ll typically need to employ a food mill or an immersion blender, as the pear chunks simply resist breaking down on their own. This characteristic, however, makes them absolutely perfect for canning whole or in halves with syrup. For those seeking a more elaborate, yet equally rewarding project, consider exploring canning pear pie filling, a pre-thickened preserve that simplifies future baking. It consistently ranks among my favorite pear canning recipes for its convenience and delicious results.
Pears are also an excellent choice for pear jam, but again, due to their firm flesh, you’ll need to dice them finely if you desire a smooth jam without large fruit pieces, as the chunks retain their form during cooking. Alternatively, pear preserves elegantly address this by intentionally keeping everything in delightful, substantial chunks suspended in a sweet, glistening syrup, offering a different textural experience.
Each of these specific recipes brilliantly capitalizes on the fact that pears truly excel under the canning process. Yet, for sheer ease and efficiency in filling your pantry shelves, there is no simpler or more classic approach than waterbath canning pears in syrup. This method is fundamental, foolproof, and yields consistently excellent results.
The water bath canning technique outlined here utilizes a “hot pack” process. This involves gently simmering the prepared pears in their selected syrup for a short duration before they are carefully transferred into canning jars. This crucial hot pack step ensures the fruit heats uniformly, effectively expelling air, which helps to prevent the pears from floating excessively in the jars and contributes to a more reliable, consistent seal. This method makes the fruit more compact and enhances the overall quality of the preserved product.
A significant advantage of canning pears is the remarkable flexibility it offers in tailoring the syrup’s sweetness. You are empowered to choose your preferred syrup strength—ranging from an extra light syrup that subtly enhances the pear’s natural sugars to a rich, heavy syrup designed for a more pronounced candied flavor. Furthermore, for those aiming to reduce sugar intake, you can confidently omit sugar altogether and use fruit juice, such as apple or white grape juice, or even plain water. This process is not only adaptable to various dietary needs but is also meticulously tested for safety, making it a truly wonderful and accessible way to encapsulate the exquisite flavors of the fall harvest in a jar for year-round enjoyment.
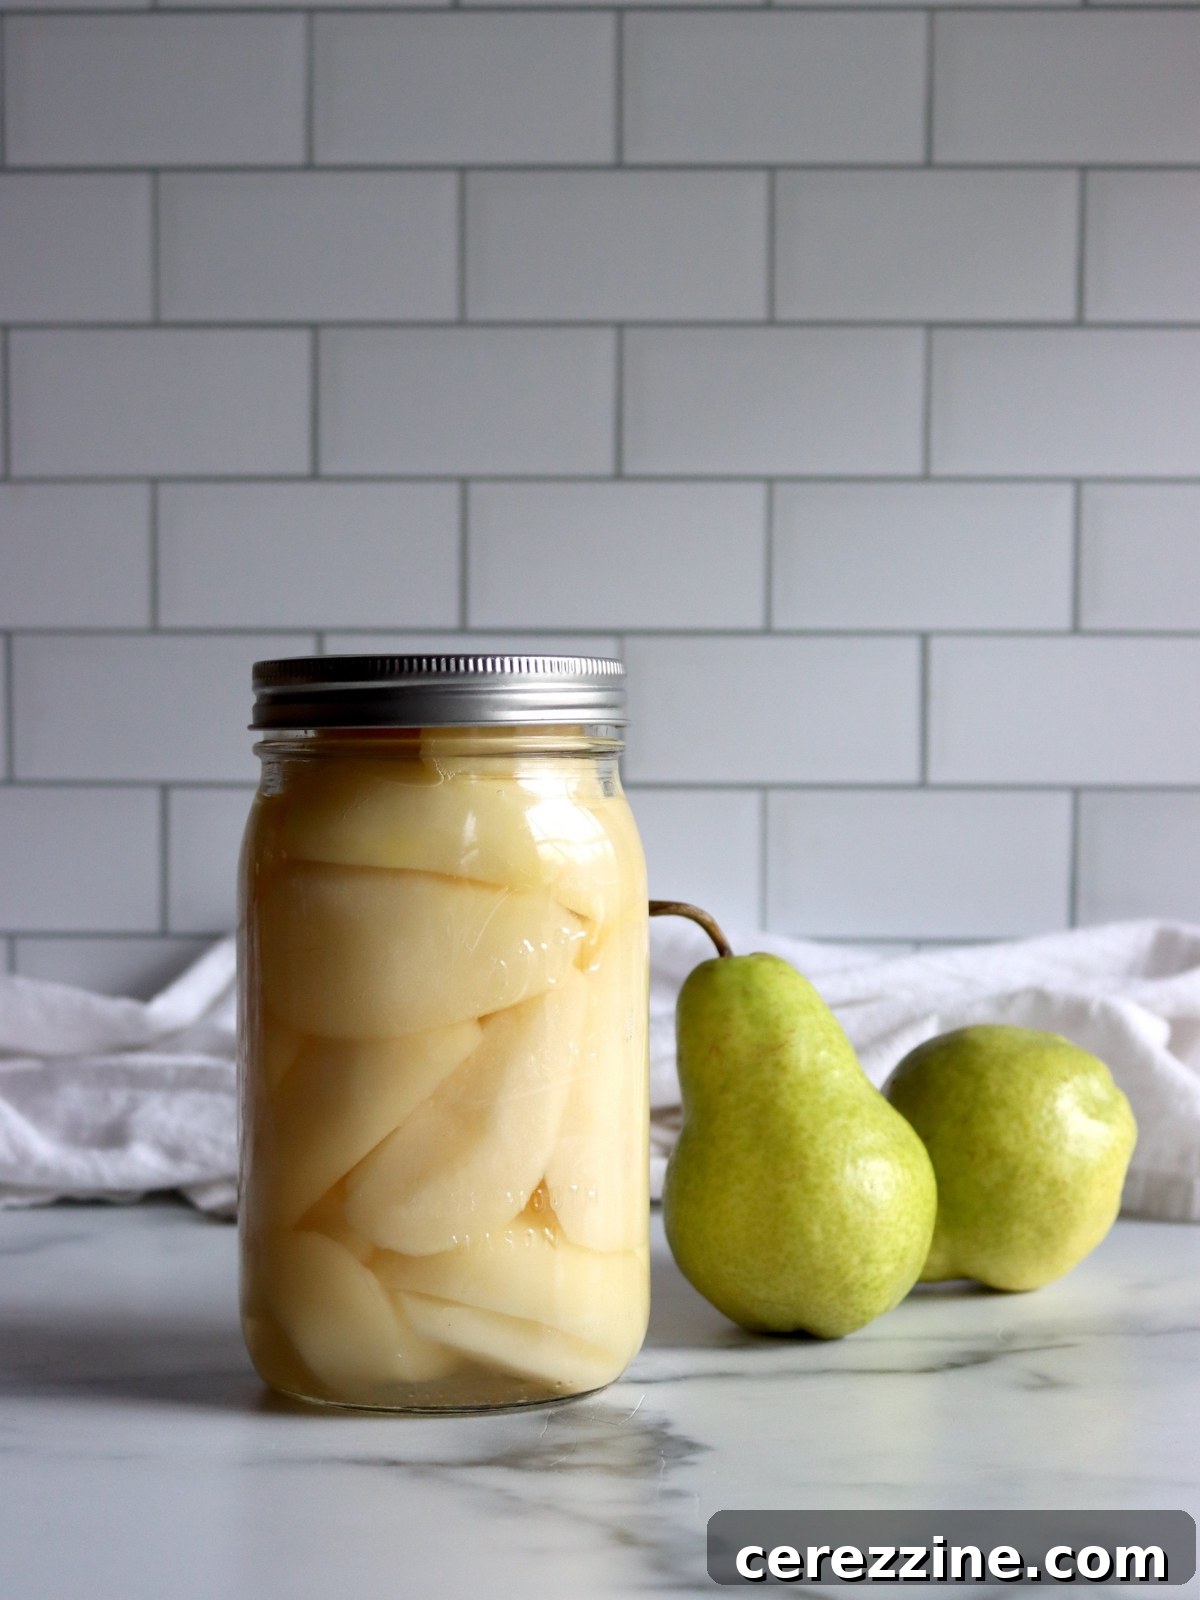
Canning Pears: Quick Recipe Overview
- Recipe Name: Home-Canned Pears in Syrup or Juice
- Canning Method: Waterbath Canning (Boiling Water Canner)
- Preparation Time: Approximately 30 minutes
- Cook Time (Simmering Pears): 5 minutes
- Canning Processing Time: 20 Minutes for Pints, 25 Minutes for Quarts (adjust for altitude)
- Estimated Yield: Roughly 7 quarts (or 9 pints), variable based on pear size and packing density.
- Suitable Jar Sizes: Half-Pint, Pint, or Quart jars
- Required Headspace: 1/2 inch (critical for a proper seal)
- Primary Ingredients: Fresh Pears and Granulated Sugar (or chosen alternative canning liquid)
- Authoritative Safety Source: National Center for Food Preservation (NCHFP) – Always adhere to USDA-approved canning guidelines for safety.
- Difficulty: Easy! Once the syrup is made and pears are prepped, the steps of filling jars and processing are straightforward for beginners.
- Similar Recipes: The fundamental process is quite similar to canning other fruits in syrup, including canning pineapple, canning grapes, canning apricots, canning oranges, or canning cherries.
Choosing the Best Pears for Home Canning
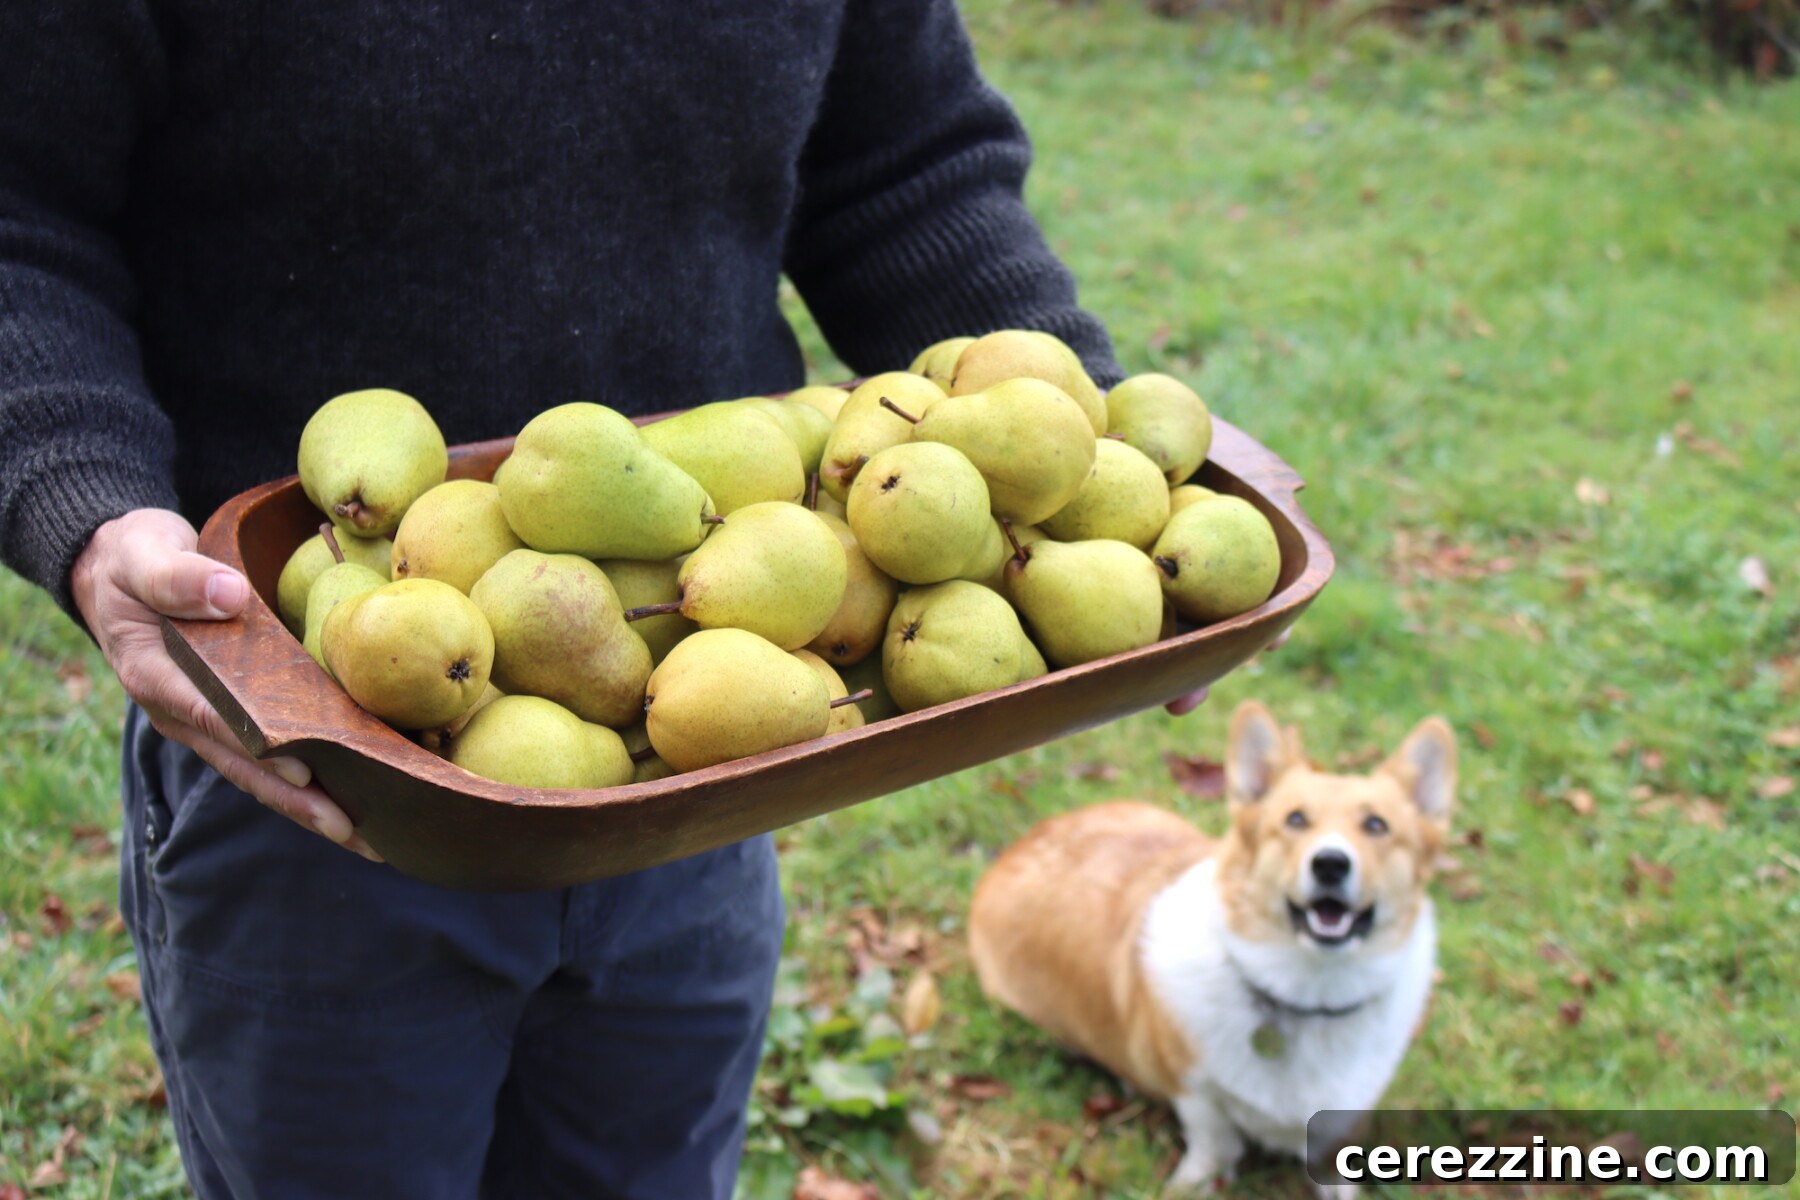
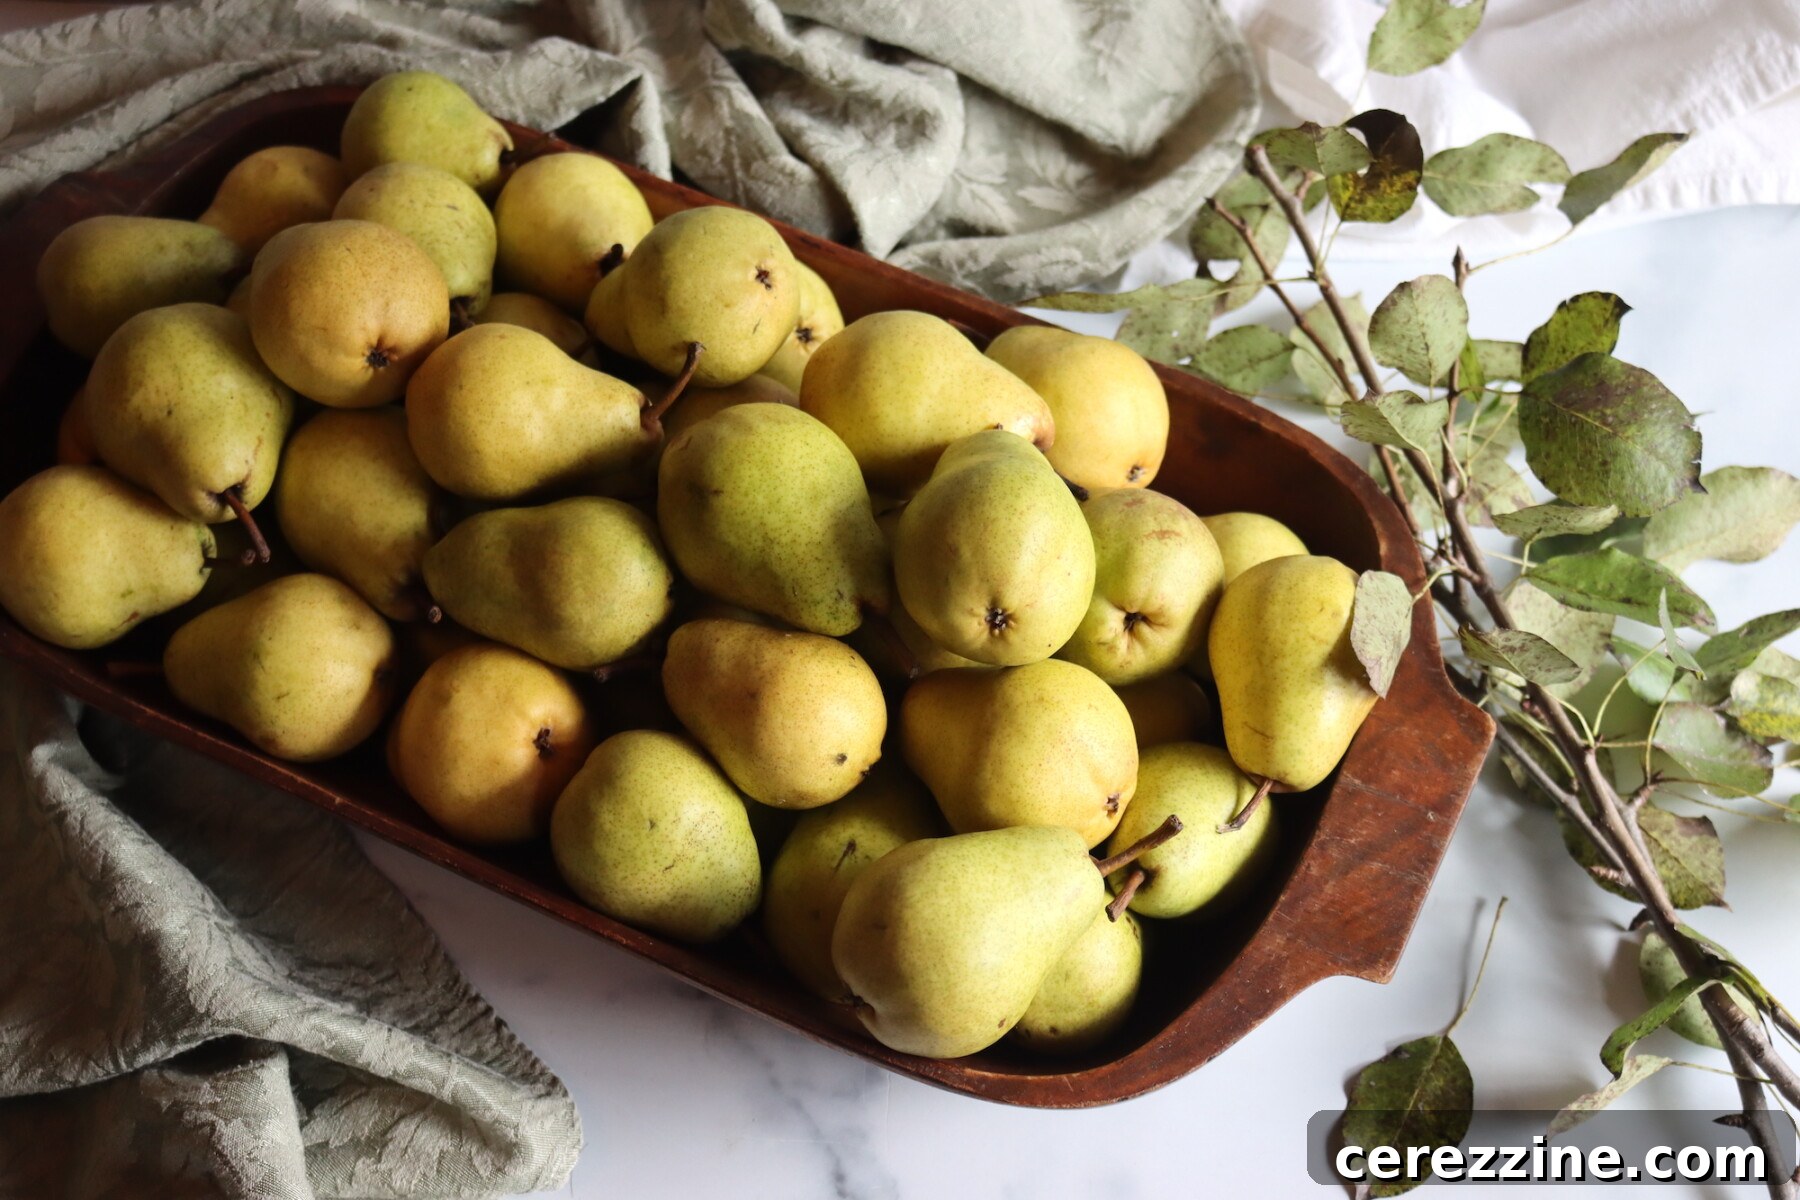
The success of your home-canned pears begins with selecting the right fruit. The most suitable pears for canning are those that are firm to the touch, perfectly ripe, and free from any significant blemishes or soft spots. Achieving this balance is crucial; overly ripe pears tend to develop an undesirable mealy texture, even after cooking, while under-ripe fruit will remain too hard, failing to soften adequately or absorb the flavorful syrup. When inspecting pears, look for those that yield slightly when gently pressed near the stem end, but avoid any that feel mushy or overly soft.
Among the many varieties, Bartlett pears are the quintessential and traditional choice for canning. Their universally loved smooth texture, naturally sweet flavor, and remarkable ability to hold their shape during processing make them an enduring favorite. Their widespread availability during peak season, often accompanied by attractive sales, also makes them a practical and economical option for large-batch canning. However, several other pear varieties also perform exceptionally well in the canner, each offering its own subtle nuances in flavor and texture. These include:
- Bosc pears: Distinguished by their russet-colored skin and dense, crisp flesh, Bosc pears maintain an elegant form and slight bite when canned, adding a touch of sophistication.
- Anjou pears: These versatile pears are known for their juicy, sweet flesh and smooth texture, which holds up beautifully under heat, resulting in tender, succulent canned fruit.
- Seckel pears: Small in stature but packed with intense sweetness and a firm texture, Seckel pears are ideal for canning whole, retaining their delicate nature and making a charming presentation.
- Kieffer pears: Particularly well-suited for canning due to their exceptionally firm and slightly tart flesh. This robust nature ensures they remain beautifully structured in syrup-based preserves, resisting any tendency to become mushy.
Don’t hesitate to experiment with different varieties to discover which pear best aligns with your taste preferences for home canning. Each offers a unique contribution to your pantry.
Selecting the Perfect Syrup for Canning Pears
The choice of canning syrup for your pears is a pivotal decision that will directly influence their ultimate flavor profile, texture, and visual appeal. Your selection should be guided by your personal sweetness preference and the natural sugar content of the pears themselves. My personal recommendation leans towards an extra light syrup because it elegantly preserves and subtly amplifies the pear’s inherent sweetness without making the fruit overly cloying. Pears canned in plain water, while completely safe, tend to surrender some of their delightful natural sugars to the canning liquid, often resulting in a somewhat flat or “washed out” taste. An extra light syrup, on the other hand, acts as a protective medium, locking in and enhancing their authentic, fresh sweetness without adding excessive sugar.
Nevertheless, many home canners express a preference for light or medium syrup, especially for pears destined to be enjoyed directly from the jar, finding these strengths offer a more satisfyingly sweet experience. For those who relish a richer, more intensely candied flavor, a heavy or even extra-heavy syrup can transform pears into a truly luxurious and indulgent treat.
The quantities for canning syrup are typically calculated per “canner batch,” which commonly refers to the amount needed for 9 pint jars or 7 quart jars, aligning with the capacity of most standard water bath canners. It is essential to adjust these syrup quantities proportionally to match your specific batch size and the number of jars you intend to process.
Recommended Syrup Quantities for a Standard 9-Pint Canner Batch:
- Extra-light syrup: 3/4 cups sugar to 6 1/2 cups water
- Light syrup: 1 1/2 cups sugar to 5 3/4 cups water
- Medium syrup: 2 1/4 cups sugar to 5 1/4 cups water
- Heavy syrup: 3 1/4 cups sugar to 5 cups water
- Extra-Heavy Syrup: 4 1/4 cups sugar to 4 1/4 cups water
Recommended Syrup Quantities for a Standard 7-Quart Canner Batch:
- Extra-light syrup: 1 1/4 cups sugar to 10 1/2 cups water
- Light syrup: 2 1/4 cups sugar to 9 cups water
- Medium syrup: 3 3/4 cups sugar to 8 1/4 cups water
- Heavy syrup: 5 1/4 cups sugar to 7 3/4 cups water
- Extra-Heavy Syrup: 6 3/4 cups sugar to 6 1/2 cups water
Beyond traditional sugar syrups, you have excellent alternatives for canning liquids. You can readily substitute various fruit juices, such as clear apple juice or white grape juice, to create a naturally sweeter, no-added-sugar option. Alternatively, plain water can be used for a completely sugar-free preserve. While pears packed in water are perfectly safe, be aware that their flavor may lack the vibrancy and depth found in those packed in syrup or juice.
For a particularly delightful and aromatic twist, consider adapting the concept from Ball Canning’s recipe for Canning Pears in Cinnamon Cider. This involves simply packing your pears in apple cider and adding a cinnamon stick to each jar. It’s an easy and incredibly flavorful substitution that infuses your pears with warm, inviting autumnal spices.
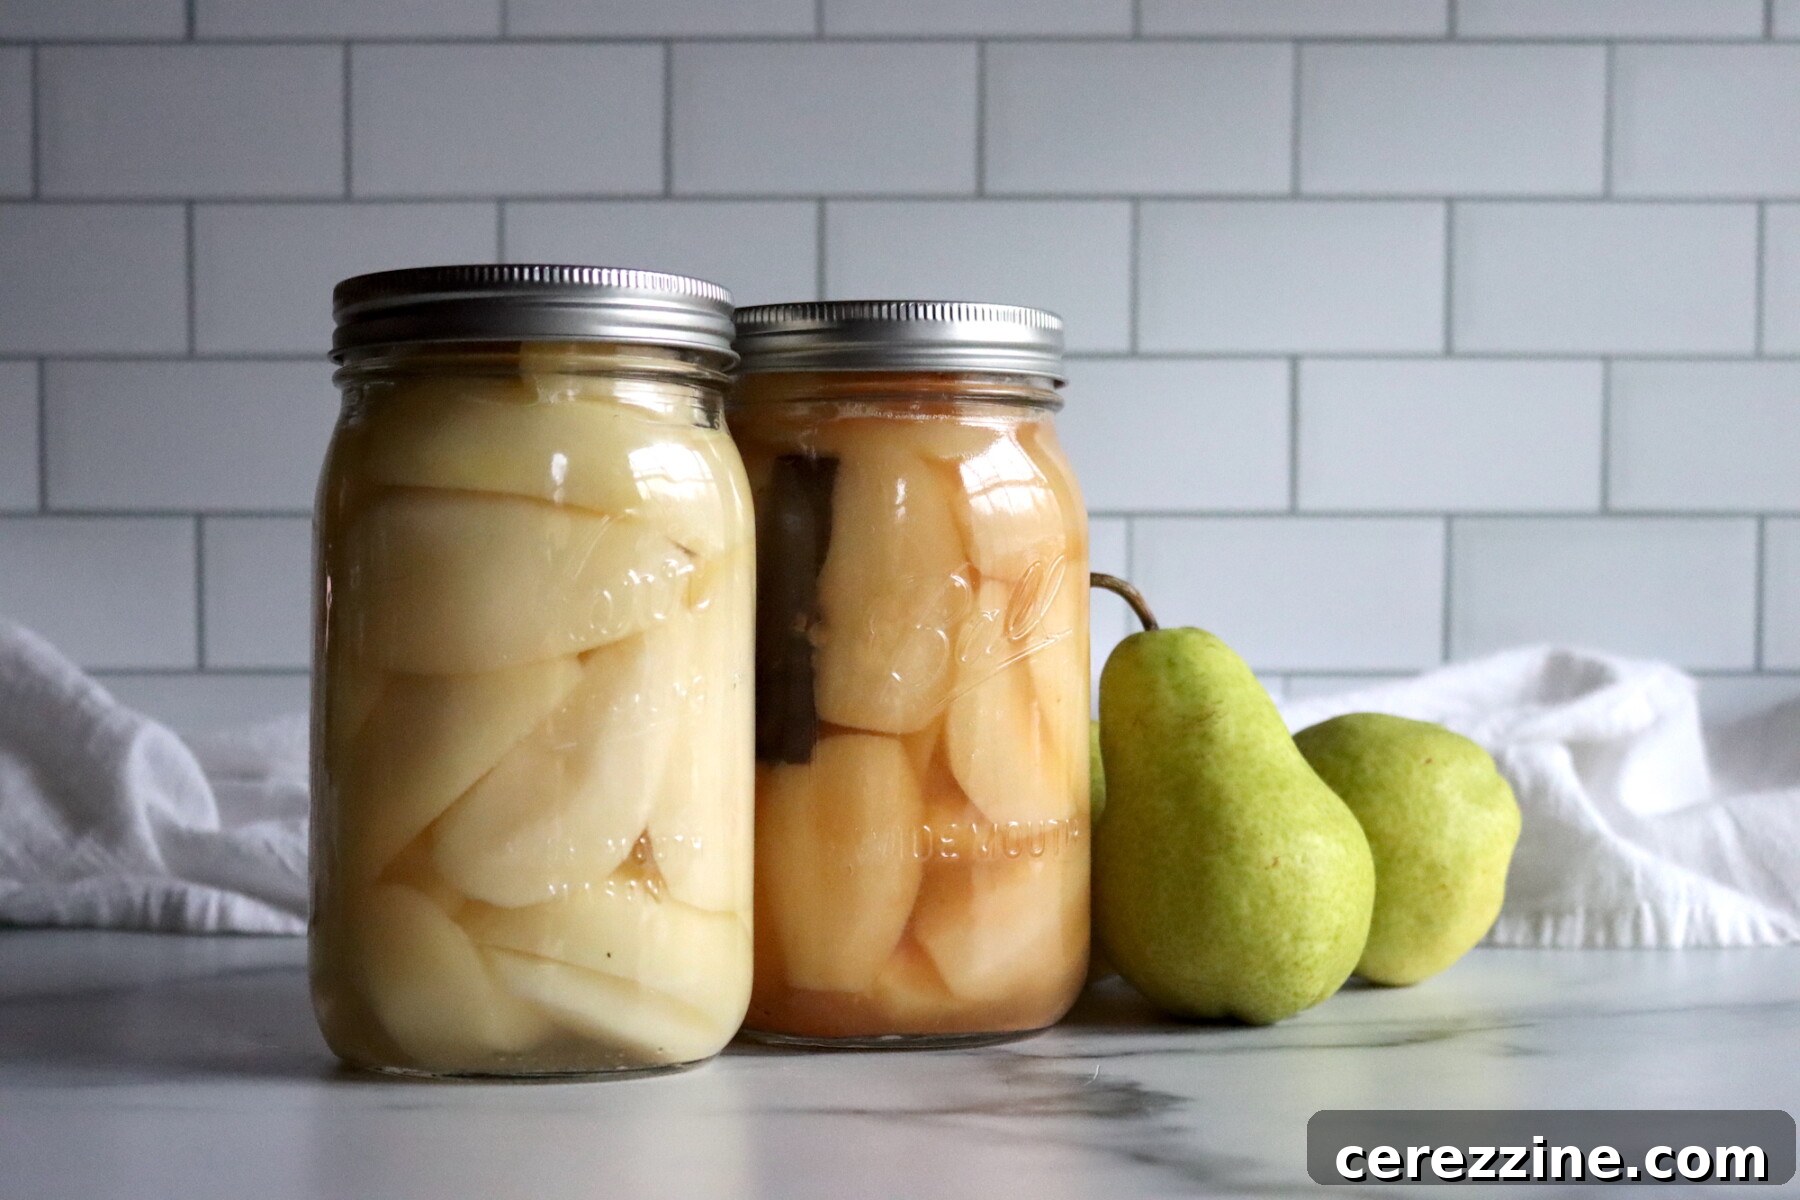
Feel free to experiment with other highly flavored juices like cranberry juice, pomegranate juice, orange juice, or even pineapple juice for a truly unique and distinctive preserve. Just keep in mind that these juices will impart their strong flavors to the pears, so it’s always a good idea to try a small test batch first to ensure the resulting flavor combination appeals to your palate. Similarly, pears preserved in white wine or red wine can yield an exquisite dessert, adding a sophisticated and complex flavor profile. Again, a small experimental batch is highly recommended before committing to a larger quantity to ensure it meets your expectations.
Natural sweeteners like honey or maple syrup also perform wonderfully as canning liquids, imparting their distinct flavors. However, remember that these are generally sweeter than granulated sugar, so you’ll typically need to use only about 2/3 to 3/4 the amount of honey or maple syrup to achieve a comparable level of sweetness as sugar. Always adjust to your personal taste preferences.
Preparing Pears for Canning: A Detailed Guide
Thorough preparation is paramount for both the safety and the outstanding quality of your home-canned pears. Begin by meticulously washing your pears under cool, running water to remove any dirt or residues. Next, the pears will need to be peeled and halved. The most efficient way to remove the fibrous cores is by using a melon baller, a standard teaspoon, or any small spoon that can neatly fit into the core cavity. This technique is particularly advantageous when canning pear halves, as it can be somewhat cumbersome and imprecise to extract the cores with just a knife, potentially leading to uneven pieces.
If you choose to can pears in quarters or slices, the precision of coring with a melon baller becomes less critical. In these cases, you can easily run a sharp knife down each quarter to remove the core and any lingering seeds.
For very small pears, typically those under 2 inches in diameter, an charmingly old-fashioned technique allows them to be canned whole, often with their stems intact. This method was historically popular for creating elegant garnishes to accompany savory dishes on festive tables. While less common in modern canning, it remains a valuable technique if you aim for a dramatic visual presentation, such as whole pears artfully baked into a quick bread loaf, reminiscent of indulgent recipes like a drunken pear gingerbread.
Regarding the peeling process: while technically optional and not a requirement for the safety of canned pears, it is very strongly recommended for superior quality. Pear peels tend to become tough, stringy, and quite unappetizing during the high-heat canning process. They often detach from the fruit pieces and float unpleasantly within the jars, diminishing the visual appeal. Peeled pears not only boast a much more desirable, uniform texture but are also more versatile for various culinary applications and, quite simply, more enjoyable to eat. Their smooth, pristine appearance is an added bonus.
Essential Step: Preventing Pear Browning
One of the most common challenges encountered when preparing pears for canning is their tendency to brown rapidly upon exposure to air, a process known as oxidation. To effectively preserve their bright, fresh color as you work through your batch, it is absolutely essential to prepare a simple anti-browning pre-treatment solution before you even begin peeling and slicing. You have two highly effective options for this:
- Combine ½ cup of bottled lemon juice with 2 quarts of cold water in a large, non-reactive bowl.
- Alternatively, dissolve six crushed 500 mg Vitamin C tablets (pure ascorbic acid) in a gallon of cold water in a similar large bowl.
As soon as each pear is peeled and sliced, immediately immerse the pieces into this prepared anti-browning solution. Allow them to soak until you are ready to add them to the hot syrup, then drain them thoroughly just before canning. This proactive step is incredibly effective in ensuring your home-canned pears retain their beautiful, vibrant, and appetizing color.
Preparing the Syrup and Hot Packing the Pears
Once your pears are diligently prepped and soaking in the anti-browning solution, shift your focus to preparing the canning syrup. In a large, sturdy pot, combine the precise amount of sugar and water (or your chosen alternative canning liquid) according to your desired syrup strength (refer back to the detailed syrup strength guidelines above). Bring this mixture to a rolling boil over medium-high heat, stirring continuously to ensure all the sugar completely dissolves. Once dissolved, reduce the heat to a gentle simmer.
Now, carefully drain the pre-treated pear halves (or other cut pieces) from the anti-browning solution and gently add them into the simmering hot syrup. Allow the pears to simmer in the hot syrup for a precise duration of 5 minutes. This critical step constitutes the hot pack method, which is unequivocally recommended by the USDA. Hot packing is vital because it ensures the fruit is heated evenly throughout, effectively shrinks the fruit slightly, and helps to eliminate air pockets from within the pear tissues. This significantly reduces the chances of the fruit floating excessively in the jars after processing and ensures a more desirable, consistent texture and appearance in your final canned product.
Waterbath Canning Pears: The Gold Standard for Safety and Quality
Once your pears have undergone the hot pack process, it’s time to carefully transfer them into your meticulously prepared canning jars. Using a jar funnel and ladle, gently transfer the hot pear halves and hot syrup into clean, hot jars. It is absolutely crucial to leave a precise ½ inch of headspace. Headspace refers to the empty space between the surface of the food and the rim of the jar, and it is essential for creating a proper vacuum seal and preventing liquid siphoning during processing.
After filling each jar, take a non-metallic utensil, such as a plastic spatula or a chopstick, and gently run it around the inside edge of the jar, pressing lightly on the fruit to release any trapped air bubbles. If necessary, add a little more hot syrup to ensure the ½ inch headspace is maintained. Finally, wipe the rims of each jar thoroughly clean with a damp cloth to remove any food residue that could compromise the seal. Then, center a sterilized two-part lid onto each jar and apply the screw bands until they are “fingertip-tight” – firm but not overtightened.
Carefully place the filled and sealed jars onto the rack inside your boiling water bath canner. Ensure that the jars are completely submerged under at least 1-2 inches of simmering water. Bring the water in the canner to a vigorous, rolling boil, then begin timing the processing. It is critically important to adjust the processing time based on your specific elevation above sea level to guarantee adequate heat penetration for food safety:
- Elevations 0–1,000 feet: Process pints for 20 minutes; quarts for 25 minutes.
- Elevations 1,001–3,000 feet: Process pints for 25 minutes; quarts for 30 minutes.
- Elevations 3,001–6,000 feet: Process pints for 30 minutes; quarts for 35 minutes.
- Elevations Above 6,000 feet: Process pints for 35 minutes; quarts for 40 minutes.
Upon completion of the designated processing time, turn off the heat source completely. Allow the jars to remain undisturbed within the hot canner for an additional 5 minutes. This brief resting period is beneficial as it helps to equalize the temperature and pressure both inside and outside the jars. This practice can significantly help to prevent siphoning or liquid loss from jars and reduces the risk of thermal shock, which could potentially lead to jar breakage.
After the 5-minute rest, carefully remove the jars from the canner using a jar lifter and place them on a towel-lined counter or a sturdy cooling rack. Ensure there is adequate space between each jar to allow for proper air circulation. Let them cool undisturbed for a minimum of 12 to 24 hours. During this crucial cooling period, the jars will form their airtight seals. After cooling, check all seals by pressing firmly on the center of each lid; if it does not flex, the jar is sealed. Any jars that have not sealed properly should be immediately refrigerated and consumed within a few days. Once confirmed sealed, thoroughly wash the jars, label them clearly with the contents and date of canning, and store them in a cool, dark place, away from direct sunlight, for optimal quality for up to 18 months. Always refrigerate canned pears after opening.
Pressure Canning Pears (Generally Not Recommended)
While it is technically feasible to pressure can pears using either a dial-gauge or weighted-gauge canner, this method is generally not recommended when considering the quality of the preserved fruit. Pears are classified as a high-acid fruit, which means they can be safely processed in a boiling water bath at lower temperatures, effectively destroying spoilage organisms without compromising the fruit’s integrity. The significantly higher temperatures achieved within a pressure canner, however, can often lead to undesirable outcomes.
The intense heat of pressure canning can cause the delicate pear flesh to discolor, frequently turning an unappetizing pink or brownish hue. More critically, it can severely compromise the texture, often resulting in pears that are overly soft, mushy, or completely lacking in their desirable firmness.
For the best possible results in terms of both quality and visual appeal, it is strongly advised to adhere to the boiling water bath canning method. This is the only technique used and rigorously endorsed in all tested recipes for high-acid fruits from highly respected sources such as the USDA and Ball Canning, precisely because it yields superior quality with assured safety.
Nevertheless, if you are absolutely intent on pressure canning pears, the standard processing time at pressure is 10 minutes for both pint and quart jars. The required pressure must be meticulously adjusted according to your specific altitude above sea level:
For a Dial Gauge Pressure Canner:
- Elevations 0–2,000 feet: Process at 6 pounds pressure.
- Elevations 2,001–4,000 feet: Process at 7 pounds pressure.
- Elevations 4,001–6,000 feet: Process at 8 pounds pressure.
- Elevations 6,001–8,000 feet: Process at 9 pounds pressure.
For a Weighted Gauge Pressure Canner:
- Elevations 0–1,000 feet: Process at 5 pounds pressure.
- Elevations 2,001 and above: Process at 10 pounds pressure.
Yield Considerations for Canning Pears
Having a clear understanding of the approximate yield is incredibly useful when you’re planning your pear canning project. On average, you can expect to need the following amounts of fresh, unprepared pears:
- For a full 7-quart canner load: You will typically require approximately 17½ pounds of pears.
- For a 9-pint canner load: You will generally need about 11 pounds of pears.
To provide a more granular estimate per jar, a single quart jar typically holds roughly 2½ pounds of fruit, while a pint jar usually accommodates about 1 ¼ pounds of fruit. If you are preparing a smaller batch of pears, these figures can be proportionally scaled down to estimate your needs accurately.
It is important to acknowledge that the total yield from a given weight of pears can vary based on several factors. These include the specific size of your pears and, significantly, how densely you pack them into the jars. For example, large pear halves will naturally pack less compactly than smaller, uniformly cut pear slices or quarters. This means you might find yourself requiring a slightly greater weight of pears if you choose to pack them in smaller, more numerous chunks to fill your jars effectively.
Furthermore, smaller pears, in proportion to their overall size, often yield a higher percentage of waste from their peels and cores compared to larger pears. This difference in proportional waste can also subtly affect your overall yield. It’s always a good practice to err on the side of acquiring a bit more fruit than your initial estimate, ensuring you have enough to complete your canning batch without interruption.
Creative Canning Variations for Pears
Once you’ve confidently mastered the fundamental process of canning pears in syrup, you’re perfectly poised to explore a delightful array of creative variations. These simple yet impactful twists can imbue your home-canned pears with unique flavors and elevate them to new culinary heights, transforming them into truly special pantry items:
- Infuse with Warm Spices: Introduce whole cinnamon sticks, aromatic cloves, or exotic star anise directly into your syrup as it simmers. Alternatively, place a single spice, like a small cinnamon stick or a few cloves, into each individual jar before adding the pears and syrup. This method imparts a wonderfully cozy, autumnal flavor that pairs perfectly with pears.
- Embrace Richer Caramel Notes: For a deeper, more complex syrup with luscious caramel undertones, replace a portion of the white granulated sugar with an equal amount of brown sugar. This variation is particularly excellent for pears destined for richer, more indulgent desserts.
- Luxurious Vanilla Accent: Achieve an exquisite, delicate flavor by splitting a vanilla bean lengthwise and simmering it gently in your syrup while it cooks. The subtle, floral notes of vanilla bean beautifully complement the natural sweetness of the pears.
- Flavorful Sugar-Free Alternatives: For a healthier option that offers more depth than plain water, consider using white grape juice or unsweetened apple cider as your canning liquid. These fruit juices provide natural sweetness and a subtle fruitiness without the need for added sugar, making for a wholesome preserve.
- Versatile Slices for Culinary Ease: Instead of traditional halves, prepare your pears by slicing them into uniform wedges or thinner, more delicate slices. This cutting method not only allows for a denser pack in your jars but also makes the fruit more convenient and ready-to-use for baking, tarts, and other diverse dessert applications.
- An Elegant Grown-Up Twist with Liqueur: For a sophisticated adult treat, add a small splash of your favorite brandy, bourbon, or rum directly to your syrup or into each individual jar. White wine also works beautifully, creating a subtly flavored, sweet dessert pear. For an even more unique offering, consider using red wine as a canning liquid to produce stunning red wine-poached pears. Rest assured, incorporating liquor and wine in small, flavorful quantities is safe for canning and can significantly enhance the depth of flavor.
- Zesty Ginger Infusion: For a subtle, spicy warmth that wonderfully complements the sweetness of pears, add a few thin slices of fresh ginger to your simmering syrup or place a small piece into each jar before filling.
Creative Ways to Enjoy Your Home-Canned Pears
The remarkable versatility of home-canned pears makes them an invaluable and cherished asset in any well-stocked pantry. They are utterly delicious simply served chilled, straight from the jar, offering a refreshing and naturally sweet snack. For a comforting and warming treat, gently heat them in their flavorful syrup and spoon generously over classic breakfast dishes such as fluffy pancakes, crisp waffles, French toast, or a hearty bowl of oatmeal. They also make an excellent, wholesome topping for creamy yogurt, cottage cheese, or vibrant granola parfaits, adding a burst of fruitiness and natural sweetness.
Beyond simple serving suggestions, canned pears truly shine in a diverse array of culinary creations. Dice them into bite-sized pieces and fold them into fresh fruit salads for added sweetness, moisture, and delightful texture. They are a magnificent and adaptable ingredient for all sorts of baking projects: incorporate them into rustic crisps, comforting crumbles, tender cobblers, elegant tarts, or classic fruit pies. The rich, flavorful syrup itself is a culinary treasure that should absolutely not be discarded! It can be repurposed to glaze cakes or quick breads, stirred into hot tea for a naturally sweetened beverage, added to cocktails for a unique fruity dimension, or simply mixed with sparkling water for a refreshing, homemade fruit soda.
I am particularly fond of reimagining classic recipes by cleverly substituting canned pear halves for other fruits. For instance, the internationally acclaimed NYT Plum Torte can be wonderfully transformed into an equally delicious and aesthetically pleasing dessert by replacing the plums with your beautifully preserved canned pear halves. It’s a delightful seasonal twist that consistently impresses and satisfies!
More Delicious Pear Canning Recipes & Inspiration
Canning Pears (Original Article)
Canning Pear Pie Filling
Summer Fruit Salsa with Honey & Balsamic
Pear Jam
Classic Home-Canned Pears Recipe
Enjoy the taste of fall year-round! This simple waterbath canning recipe ensures delicious, shelf-stable pears, packed in your choice of syrup or juice. Perfect for beginners and seasoned canners alike.
Prep Time: 30 minutes
Cook Time (Simmering Pears): 5 minutes
Canning Process Time: 20-40 minutes (depends on jar size & altitude)
Estimated Total Time: Approx. 1 hour (plus significant cooling time)
Yield: Approximately 7 Quarts (or 9 Pints)
Essential Equipment for Canning Pears
-
Water Bath Canner with Rack
- Large Stockpot (for making syrup and hot packing pears)
- Canning Jars (Pint or Quart), Lids, and Screw Bands
- Jar Lifter
- Canning Funnel
- Ladle
- Non-metallic bubble remover tool or a thin plastic spatula
- Melon baller or small spoon (for efficient coring)
- Clean Kitchen Towels
Ingredients for Canning Pears (7-Quart Batch, Extra Light Syrup)
- Pears: 17½ pounds firm, ripe pears (approx. 2½ pounds per quart; adjust to 11 pounds for 9 pints).
- Sugar: 1 1/4 cups granulated sugar (for extra light syrup for a 7-quart batch. See notes for other syrup strengths and pint batch amounts).
- Water: 10 1/2 cups water (for extra light syrup for a 7-quart batch. See notes for other syrup strengths and alternatives like fruit juice).
- Anti-Browning Solution: Water mixed with ascorbic acid (Vitamin C) or lemon juice (refer to “Preventing Browning” section in notes for exact preparation).
Step-by-Step Canning Pears Instructions
- Prepare Canning Equipment: Before you begin, set up your water bath canner. Fill it with enough water to cover jars by 1-2 inches once loaded and bring to a simmer. Wash and sterilize your canning jars, and warm your lids according to the manufacturer’s directions.
- Prepare Pears: Wash the fresh pears thoroughly. Peel each pear, then cut them in half and use a melon baller or small spoon to remove the cores. Immediately place the prepared pear halves into your pre-prepared acidified water solution to prevent browning.
- Prepare Syrup: In a large, heavy-bottomed saucepan, combine the sugar and water (or your chosen canning liquid) according to your desired syrup strength. Bring the mixture to a full boil over medium-high heat, stirring continuously until all the sugar has completely dissolved. Once dissolved, reduce the heat to a gentle simmer.
- Hot Pack Pears: Drain the pears from the anti-browning solution. Carefully add the drained pear halves to the simmering syrup. Allow them to simmer gently for exactly 5 minutes. This hot pack method is crucial for even heating and minimizing fruit floating in the jars.
- Fill Jars: Using a canning funnel and ladle, carefully pack the hot pear halves, cut-side down, into your hot, prepared jars. Ladle the hot syrup over the pears, ensuring they are fully covered. Leave a precise ½ inch of headspace between the top of the syrup and the rim of the jar.
- De-bubble, Clean, & Seal: Insert a non-metallic bubble remover tool (or a thin plastic spatula) into each jar, running it around the inside edge to release any trapped air bubbles. Add more hot syrup if necessary to maintain the ½ inch headspace. Wipe the jar rims meticulously clean with a damp cloth to ensure a perfect seal. Center a warm lid on each jar, then apply a screw band fingertip-tight.
- Process Jars: Carefully place the filled and sealed jars onto the rack in your simmering water bath canner. Ensure the water completely covers the jars by at least 1-2 inches. Bring the canner to a vigorous, rolling boil. Once boiling, begin your processing time: 20 minutes for pints and 25 minutes for quarts. Remember to meticulously adjust this processing time for your specific altitude (refer to the detailed altitude adjustment chart in the notes below).
- Cool & Store: After the processing time is complete, turn off the heat source and allow the jars to remain in the canner for an additional 5 minutes. Then, carefully remove the jars using a jar lifter and place them on a clean towel-lined surface or cooling rack, ensuring they are spaced apart. Let them cool undisturbed for 12 to 24 hours. After cooling, check all seals. Wash, label with contents and date, and store sealed jars in a cool, dark place for up to 18 months. Refrigerate any unsealed jars and use promptly.
Important Recipe Notes & Tips
This recipe is primarily designed for a canner batch yielding 7 quarts of pears packed in extra light syrup. If you are preparing a 9-pint canner batch, you will generally need approximately 11 pounds of pears.
Detailed Canning Syrups Information & Ratios
The strength of syrup (or type of liquid) used as your canning medium can be fully customized to suit your personal taste preferences and the natural sweetness of your pears. Below are the precise sugar-to-water ratios for various syrup strengths, calculated for standard canner batch sizes:
For a Standard 9-Pint Canner Batch of Syrup:
- Extra-light syrup: 3/4 cups sugar to 6 1/2 cups water
- Light syrup: 1 1/2 cups sugar to 5 3/4 cups water
- Medium syrup: 2 1/4 cups sugar to 5 1/4 cups water
- Heavy syrup: 3 1/4 cups sugar to 5 cups water
- Extra-Heavy Syrup: 4 1/4 cups sugar to 4 1/4 cups water
For a Standard 7-Quart Canner Batch of Syrup:
- Extra-light syrup: 1 1/4 cups sugar to 10 1/2 cups water
- Light syrup: 2 1/4 cups sugar to 9 cups water
- Medium syrup: 3 3/4 cups sugar to 8 1/4 cups water
- Heavy syrup: 5 1/4 cups sugar to 7 3/4 cups water
- Extra-Heavy Syrup: 6 3/4 cups sugar to 6 1/2 cups water
No-Sugar Alternatives: For a healthier option, you can successfully substitute fruit juice (such as clear apple juice or white grape juice) or simply use plain water as your canning liquid. Be aware, however, that pears packed in plain water will be safe but may have a less vibrant flavor. Honey or maple syrup also work wonderfully as natural sweeteners; just remember they are generally sweeter than granulated sugar, so you’ll typically need only about 2/3 to 3/4 the amount to achieve a comparable sweetness level.
Preventing Pear Browning (Crucial Step)
To effectively prevent your peeled pears from browning during preparation, it’s essential to set up a simple pre-treatment solution. You can achieve this by mixing ½ cup of bottled lemon juice with 2 quarts of cold water, or by dissolving six crushed 500 mg Vitamin C tablets (ascorbic acid) in a gallon of cold water. Drop the peeled and sliced pears into this solution immediately as you work, then drain them thoroughly just before they go into the hot syrup for canning, ensuring their color remains bright and fresh.
Altitude Adjustments for Waterbath Canning (Safety Critical)
Always adjust your processing times based on your elevation above sea level to guarantee the safety and proper preservation of your home-canned pears:
- Elevations 0–1,000 feet: Process pints for 20 minutes or quarts for 25 minutes.
- Elevations 1,001–3,000 feet: Process pints for 25 minutes or quarts for 30 minutes.
- Elevations 3,001–6,000 feet: Process pints for 30 minutes or quarts for 35 minutes.
- Elevations Above 6,000 feet: Process pints for 35 minutes or quarts for 40 minutes.
Approximate Nutrition Information
- Serving Size: 0.5 cup
- Calories: 81 kcal
- Carbohydrates: 22g
- Protein: 1g
- Fat: 0.2g
- Saturated Fat: 0.03g
- Polyunsaturated Fat: 0.1g
- Monounsaturated Fat: 0.1g
- Sodium: 4mg
- Potassium: 164mg
- Fiber: 4g
- Sugar: 14g
- Vitamin A: 35 IU
- Vitamin C: 6mg
- Calcium: 14mg
- Iron: 0.3mg
Note: Nutrition information is automatically calculated and should be considered an approximation based on standard ingredients and serving sizes. Actual values may vary.
Enjoyed this recipe or have questions?
We’d love to hear about your canning adventures! Feel free to leave a comment or question below.