
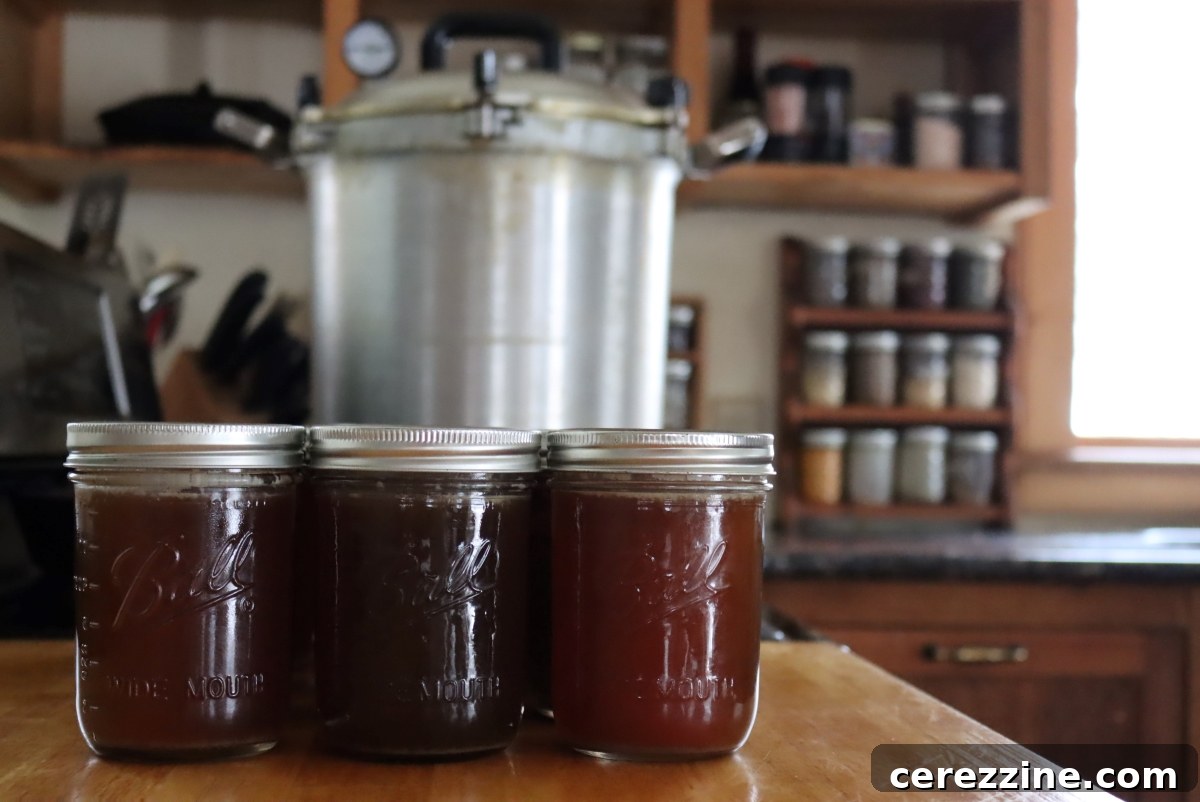
Transforming humble beef bones into rich, savory broth and preserving it through pressure canning is a truly rewarding experience. This comprehensive guide will walk you through every step, ensuring you have a pantry stocked with delicious, nutritious beef broth all year long.
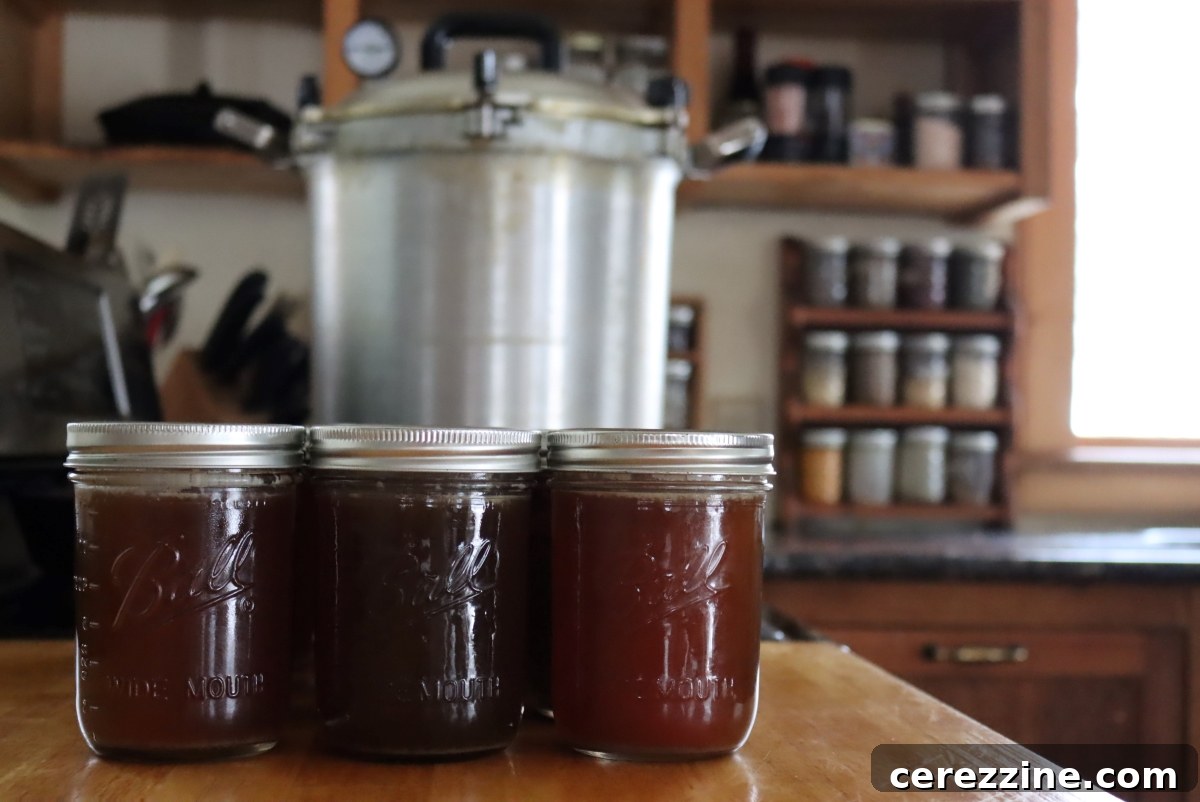
Why Preserve Your Own Homemade Beef Broth?
Ever since embracing a more sustainable approach to food, including utilizing an entire side of beef (which can yield hundreds of pounds of meat), I’ve discovered countless ways to maximize every part, especially the bones and other often-overlooked components. Beef broth stands out as a prime candidate for using up these precious resources, transforming what might be considered waste into a pantry staple.
It’s ironic that beef broth, historically made from readily available or “unusable” parts, is now a premium-priced item in health food stores. Why spend exorbitant amounts on a small jar of bone broth when you can craft a superior, nutrient-dense version at home for a mere fraction of the cost? Beyond the economic benefits, making your own broth grants you complete control over ingredients, ensuring purity and tailoring flavors to your exact preference.
While freezing small batches of homemade beef broth is convenient, pressure canning elevates its utility, freeing up valuable freezer space for other essentials. This method provides shelf-stable jars of liquid gold, ready for soups, stews, gravies, or sipping, offering unparalleled convenience and peace of mind. Remember, for safety and long-term storage of low-acid foods like broth, a water bath canner is insufficient; a pressure canner is absolutely essential and, once mastered, incredibly safe and easy to use.
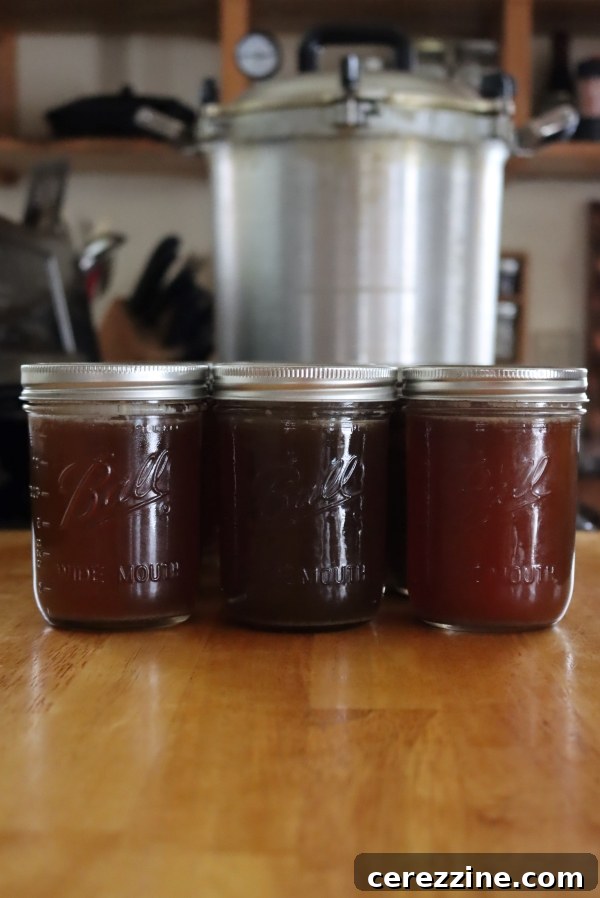
Crafting the Perfect Beef Broth: A Step-by-Step Guide
Creating a truly rich and flavorful beef broth is an art form, starting with the right bones and a thoughtful selection of aromatics. This process, while requiring patience, is incredibly simple and yields results far superior to anything store-bought.
Selecting and Sourcing Your Beef Bones
The foundation of any exceptional beef broth lies in its bones. You’ll need approximately 5 to 6 pounds of beef stock bones. Ideal choices include knucklebones, oxtails, shank bones, marrow bones, and beef neck bones. If you have veal bones on hand, incorporating them will further enhance the gelatinous texture and flavor. Bones with bits of raw or cooked meat attached will contribute the most profound savory notes, while collagen-rich bones like knucklebones and oxtails are crucial for developing that desirable velvety smooth texture and body that defines a premium broth.
Where to find the best bones:
- Your Local Butcher: Often the best source for high-quality, specific bone types.
- Leftovers from Meals: Save bones from roasts, steaks, and ribs. Keep a dedicated resealable bag in your freezer to collect them until you have enough for a batch.
- Butchering Your Own Meat: If you process your own beef, utilize all the bones extracted during preparation.
Don’t stress over having an exact ratio or specific mix of bones. A variety generally yields a more complex flavor profile. However, a word of caution: avoid using bones that have already been simmered for broth, as their nutritional and flavor contributions will be significantly diminished.
For those interested in a “nose-to-tail” approach, consider incorporating organ meats. While not traditional for clear broth, they can boost the nutritional content and add a unique depth of flavor. If this piques your interest, exploring making organ meat stock offers insights into utilizing various offal effectively.
The Essential Roasting Step for Deep Flavor
To unlock the most profound flavors from your beef bones, the most effective method is to roast them in a hot oven before they ever touch your stockpot. This step is a game-changer for broth quality, leading to a much richer, deeper, and almost caramelized taste.
Preheat your oven to 450°F (230°C). Arrange the bones in a single layer in a large roasting pan and roast for about 45 minutes, flipping them halfway through. Continue roasting until they achieve a beautiful, deep brown color. While this step isn’t strictly mandatory, the difference in the final broth’s flavor and color is remarkable. I highly recommend it if time allows. If you skip it, your broth will still be good, but it will likely be lighter in color and have a less intense flavor. Keep in mind that raw ingredients added directly to the pot can result in a cloudier broth; roasting everything first ensures a clearer, more visually appealing broth with exceptional flavor.
After roasting, remove the pan from the oven. If any delicious brown bits (fond) have stuck to the bottom of the pan, don’t let them go to waste! Deglaze the pan with a cup or two of water, scraping up all those flavorful pieces. Pour this liquid directly into your stockpot along with the roasted bones.
Enhancing with Vegetables and Aromatics
A medley of fresh vegetables and aromatic herbs is crucial for building layers of flavor in your beef broth. You can use fresh produce or repurpose vegetable scraps collected and frozen over time. Classic additions include:
- Onions: Quartered, with their skins left on. Onion skins contribute a lovely golden hue to the broth.
- Celery: Stalks and leaves, roughly chopped.
- Carrots: Roughly chopped, adding a subtle sweetness.
- Leeks: Thoroughly washed to remove any grit, then roughly chopped.
- Garlic: A few whole cloves, or if you’re a garlic enthusiast, cut a whole head in half horizontally and add it to the pot—no need to peel the individual cloves.
You have the option to roast these vegetables alongside the bones. If you choose this, add them when you flip the bones halfway through the roasting process. Roasting vegetables can add a slightly different dimension of flavor, but for broth, roasting the bones is far more impactful. The flavor difference from roasting vegetables for broth is often minimal, so feel free to add them uncooked to the stockpot with the bones if that’s more convenient.
Further enhance your broth with a selection of aromatics added directly to the stockpot:
- Thyme: Fresh sprigs or dried.
- Rosemary: Fresh sprigs or dried.
- Bay Leaves: A few dried leaves.
- Parsley: A small bunch of fresh parsley, or dried.
- Whole Peppercorns: About 10 whole peppercorns for a hint of spice.
Fresh herbs generally offer a brighter flavor, but quality dried herbs work perfectly fine, provided they haven’t been languishing in your pantry for ages.
The Gentle Simmer: Patience is Key
Once your roasted bones, vegetables, and aromatics are in the stockpot, cover them with cold water, ensuring the ingredients are submerged by about two inches. Bring the pot to a boil, then immediately reduce the heat to a very gentle simmer. This gentle simmering is paramount: avoid a hard boil! Vigorous boiling emulsifies fats and breaks down solids, resulting in a cloudy, less appealing broth. A steady, gentle simmer is all that’s needed to extract maximum flavor and nutrients.
Allow the broth to simmer for anywhere from 4 to 24 hours. A longer simmer generally extracts more flavor and collagen, especially if you’re aiming for a rich bone broth. For extended simmering, a basic slow cooker is an invaluable tool. It maintains a consistent, low temperature, allowing you to leave the broth unattended, even overnight, without worrying about it boiling over or evaporating too quickly.
Straining and Preparing for Canning
Once your broth has simmered to perfection, it’s time to separate the liquid gold from the solids. Line a large colander with several layers of folded cheesecloth and place it over another large, clean stockpot. Carefully ladle the contents of your broth pot into the cheesecloth-lined colander.
Allow the liquid to drain naturally. Resist the urge to press down or squeeze the solids in the cheesecloth. The bones and vegetables will be incredibly soft, and pressing them could force unwanted particles into your clarified broth, making it cloudy. Give it a few minutes to drain completely.
Next, you’ll want to remove as much fat as possible. While a small amount of fat is acceptable, excessive fat can interfere with the sealing process during canning, leading to unsealed jars. You can skim the fat while the broth is hot, using a large spoon or a fat separator. Alternatively, some prefer to let the broth cool completely in the refrigerator overnight. The fat will solidify on top, making it easy to scoop off and discard (or save for other cooking applications). Due to refrigerator space constraints, I typically skim the fat while the broth is still warm.
At this point, your homemade beef broth is ready for immediate use, freezing, or, as we’re about to delve into, safely preserving through pressure canning.
Pressure Canning Beef Broth: Your Guide to Year-Round Pantry Staples
For safe, long-term storage of low-acid foods such as beef broth and other meat products, pressure canning is the only approved method. A water bath canner cannot achieve or sustain the consistently high temperatures required to destroy harmful bacteria like Clostridium botulinum, which thrives in low-acid, oxygen-free environments. Your pressure canner is your best friend for shelf-stable foods.
If you’re new to pressure canning, I highly recommend consulting a reliable beginner’s guide to pressure canning before you begin, to familiarize yourself with the equipment and safety protocols.
Essential Canning Equipment
Before you begin, gather your equipment:
- Pressure Canner: The star of the show! Make sure it’s in good working order and you understand its operation.
- Canning Jars: Approximately 14 (1-pint) jars or 7 (1-quart) jars. Always use jars specifically designed for canning.
- Two-Piece Lids: New lids are essential for a proper seal.
- Canning Rings: Reusable bands to secure the lids during processing.
- Jar Lifter: An indispensable tool for safely handling hot jars, preventing burns.
- Canning Funnel: Helps keep jar rims clean and makes filling much easier.
- Clean Cloths: For wiping jar rims.
Step-by-Step Pressure Canning Process
- Prepare Your Jars and Lids: Wash jars thoroughly with hot, soapy water, rinse well, and keep them hot. You can place them in your pressure canner with about 2 inches of water, or in a warm oven, or a clean sink filled with hot water. Prepare your two-piece lids according to the manufacturer’s instructions (often involving simmering them in hot water).
- Heat the Broth: Bring your strained, defatted beef broth back to a rolling boil in a stockpot. Once boiling, turn off the heat but keep the pot on the stove to maintain its temperature.
- Fill the Jars: Using a ladle and the canning funnel, carefully transfer the hot broth into the hot canning jars. Leave a crucial 1-inch headspace at the top of each jar. This space is vital for proper sealing and expansion during processing.
- Clean Rims and Seal: Carefully wipe the rims of each jar with a clean, damp cloth to remove any broth residue. Even a tiny bit of food can prevent a proper seal. Center a clean, hot lid on each jar, then apply a ring and tighten it “finger-tight” (just until you feel resistance, then a tiny bit more – do not overtighten).
- Load the Canner: Place the filled jars into your pressure canner, ensuring they sit on the canning rack and are not touching each other.
- Process the Jars: Secure the canner lid. Bring the canner up to pressure, allowing it to vent steam for 10 minutes before applying the weighted gauge or closing the petcock for a dial gauge. Process at 11 PSI for dial-gauge pressure canners or 10 PSI for weighted-gauge pressure canners.
Processing Times & Altitude Adjustments for Beef Broth
The processing times for beef broth are consistent, but the pressure setting must be adjusted based on your altitude to ensure safe canning.
Processing Times:
- Pint Jars: 20 minutes
- Quart Jars: 25 minutes
Altitude Adjustments for Pressure Canners
Always adjust the pressure setting according to your elevation above sea level:
For Dial Gauge Pressure Canners:
- 0 to 2,000 feet in elevation: 11 lbs pressure
- 2,001 to 4,000 feet in elevation: 12 lbs pressure
- 4,001 to 6,000 feet in elevation: 13 lbs pressure
- 6,001 to 8,000 feet in elevation: 14 lbs pressure
For Weighted Gauge Pressure Canners:
- 0 to 1,000 feet in elevation: 10 lbs pressure
- Above 1,000 feet in elevation: 15 lbs pressure
When the processing time is complete, turn off the heat and allow the pressure canner to depressurize naturally. Do not try to force it open. This can take anywhere from 15 to 45 minutes, depending on the canner and load size. Once the pressure gauge reads zero, wait a few more minutes, then carefully remove the lid, tilting it away from your face to avoid steam burns.
Using a jar lifter, carefully transfer the hot jars to a clean, heat-resistant surface (like a thick towel or cooling rack), ensuring there is about an inch of space between each jar. Allow them to cool completely to room temperature, which typically takes 12 to 24 hours. During this time, you’ll hear the satisfying “ping” as the lids seal.
After cooling, check the seal of each lid. The center of the lid should be concave and should not flex when pressed. If any lids seem loose or didn’t seal properly, transfer those jars to the refrigerator and consume the broth within a week or two. For sealed jars, remove the rings, wash them (they can be reused), and store your beautifully canned beef broth in a cool, dark, dry place away from direct light for up to 18 months.
5 out of 5 stars from 1 vote
Servings: 28 servings (14 pint jars or 7 quart jars)
Canning Beef Broth
By Ashley Adamant
Feel free to add your own signature ingredients to this recipe for beef broth, which is then processed in a pressure canner.
Prep Time: 45 mins
Cook Time: 4 hrs
Additional Time: 25 mins
Total Time: 5 hrs 10 mins
Equipment
-
Pressure Canner
Ingredients
- 5-6 lbs beef stock bones
- 3-4 whole onions, quartered (skins included)
- 4-5 carrots, roughly chopped
- 3 celery ribs, roughly chopped
- 1 head of garlic, cut in half horizontally (skins can be left on)
- 2 gallons of water, or enough water to cover the ingredients by about 2 inches
- 3 bay leaves
- 2-3 sprigs fresh thyme, OR 1 tsp. dried thyme
- 2-3 sprigs fresh rosemary, OR 1 tsp. dried rosemary
- Small bunch of fresh parsley, OR 1 tsp. dried parsley
- 10 whole peppercorns
Instructions
- Preheat oven to 450° F (230° C).
- Place beef bones in a large roasting pan. Roast for 45 minutes, turning once halfway through.
- Remove roasting pan from the oven and transfer the bones to a large stockpot or slow cooker. Deglaze the bottom of the roasting pan with 1 cup of water, scraping up any brown bits and adding them to the stockpot.
- Add the vegetables and aromatics to the stockpot.
- Cover all ingredients with water by about 2 inches.
- Bring to a boil, then reduce heat and simmer gently for anywhere from 4 to 24 hours. Avoid vigorous boiling.
- When the broth is done cooking, place a colander lined with folded cheesecloth over another large stockpot. Ladle the contents of the beef broth stockpot into the colander and let the liquid strain into the other stockpot. Do not press solids.
- Prepare your pressure canner (dial-gauge or weighted-gauge) as well as canning jars and two-piece lids, keeping them hot.
- Bring the finished broth back to a boil. Turn off the heat once it’s boiling, but keep the pot warm on the stove.
- Using a canning funnel, carefully ladle the hot broth into each hot jar, leaving 1-inch headspace. Wipe the jar rims with a clean, damp cloth. Apply lids and rings, tightening to finger-tight.
- Load the jars into the canner. For dial-gauge canner: process at 11 PSI for 20 minutes (pints) or 25 minutes (quarts). For weighted-gauge canner: process at 10 PSI for 20 minutes (pints) or 25 minutes (quarts). Be sure to adjust pressure for altitude (see notes below).
- When the timer goes off, allow the canner to depressurize naturally. Do not force it.
- Using a jar lifter, transfer the hot jars to a clean surface, allowing for 1-inch of space between each jar.
- Let the jars cool completely to room temperature, approximately 12 to 24 hours, and then check the seal on each lid. If a lid is not sealed (center is flexible), store the broth in the fridge and consume within a couple of weeks.
- Remove the rings (wash and store for future use).
- Store the sealed jars in a cool, dry place away from direct light for up to 18 months.
Notes
Feel free to use your favorite beef broth recipe for canning. As long as it’s strained thoroughly before canning, the actual quantity and proportion of ingredients used to make the stock are up to you. The “recipe” above is just a suggestion for quantities and seasonings.
This recipe assumes you don’t use anything generally unapproved for canning, such as milk, butter, flour, or thickeners. These ingredients are typically not found in traditional broth anyway. As long as you stick to meat, bones, vegetables, and seasonings (and strain thoroughly), you can follow these same beef broth canning instructions.
Altitude adjustments for canning beef broth
The processing times are always 20 minutes for pints and 25 minutes for quarts, but the pressure is adjusted.
Dial Gauge Pressure Canner
- 0 to 2,000 Feet use 11 pounds pressure
- 2,001 to 4,000 Feet use 12 pounds pressure
- 4,001 to 6,000 Feet use 13 pounds pressure
- 6,000 to 8,000 Feet use 14 pounds pressure
Weighted Gauge Pressure Canner
- 0 to 1,000 Feet use 10 pounds pressure
- Over 1,000 Feet use 15 pounds pressure
Nutrition
Calories: 17kcal, Carbohydrates: 0.1g, Protein: 3g, Fat: 1g, Saturated Fat: 0.3g, Polyunsaturated Fat: 0.02g, Monounsaturated Fat: 0.2g, Sodium: 893mg, Potassium: 130mg, Calcium: 14mg, Iron: 0.4mg
Nutrition information is automatically calculated, so should only be used as an approximation.
Like this? Leave a comment below!
Expand Your Canning Skills: More Pressure Canning Recipes
Once you’ve mastered the art of canning beef broth, the world of pressure canning opens up to endless possibilities for preserving wholesome foods. Keep your pressure canner busy and your pantry full with these additional pressure canning recipes:
- Canning Turkey
- Canning Turkey Broth
- Pork Stock
- Canning Beef
- Canning Hamburger (Ground Beef)
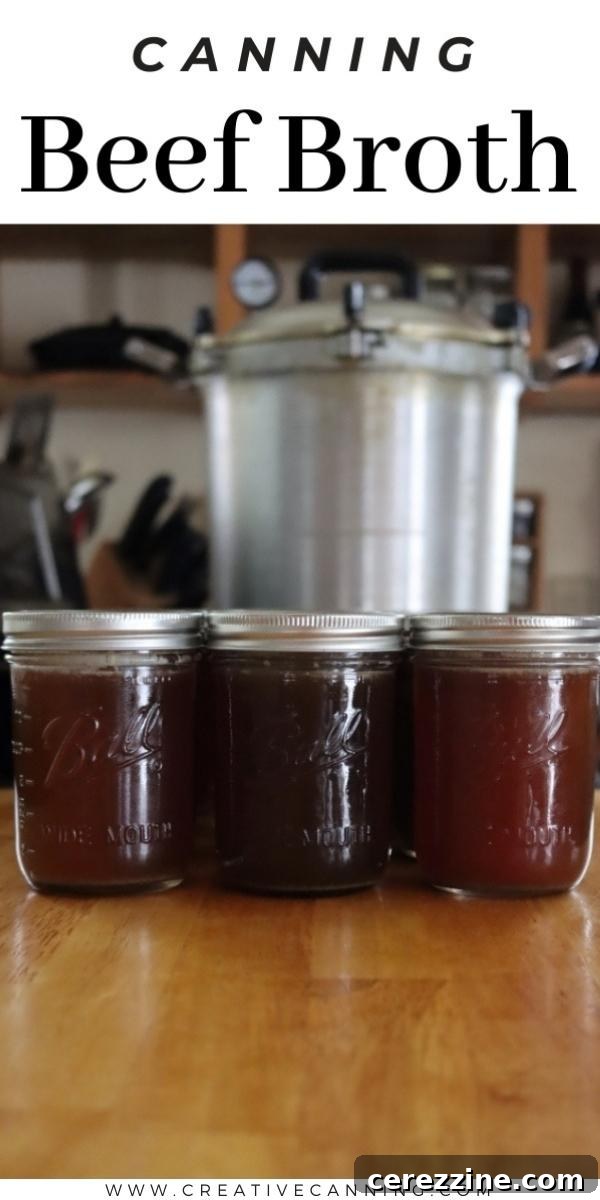
Embracing home preservation through pressure canning not only provides a rewarding sense of self-reliance but also ensures that your family has access to high-quality, nutritious meals year-round. Enjoy the fruits of your labor and the rich flavors of your homemade canned beef broth!