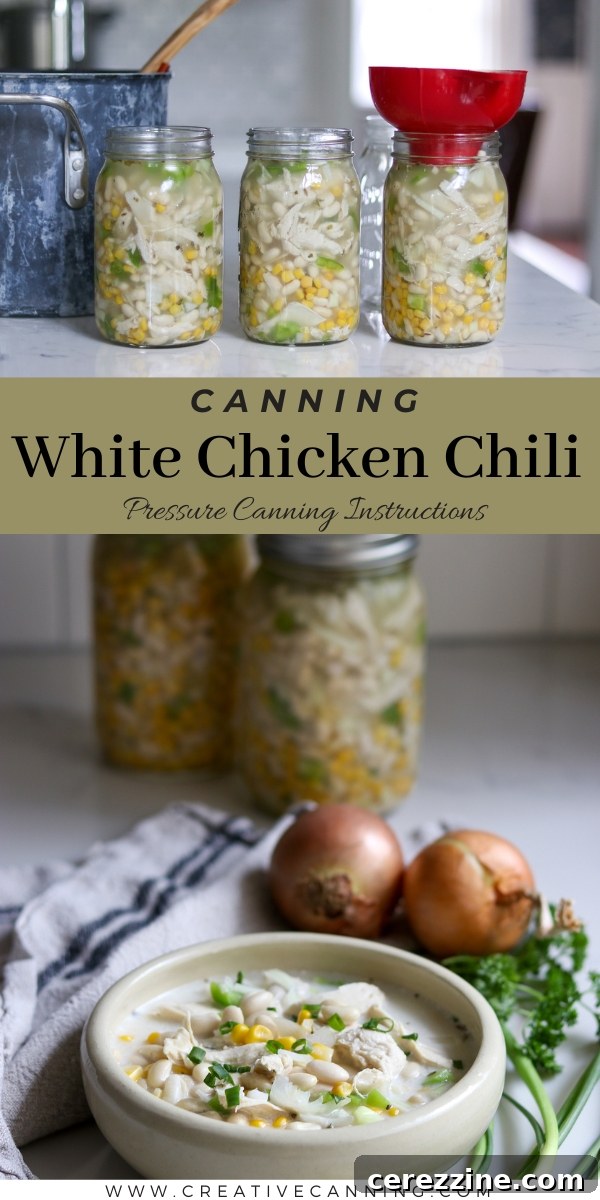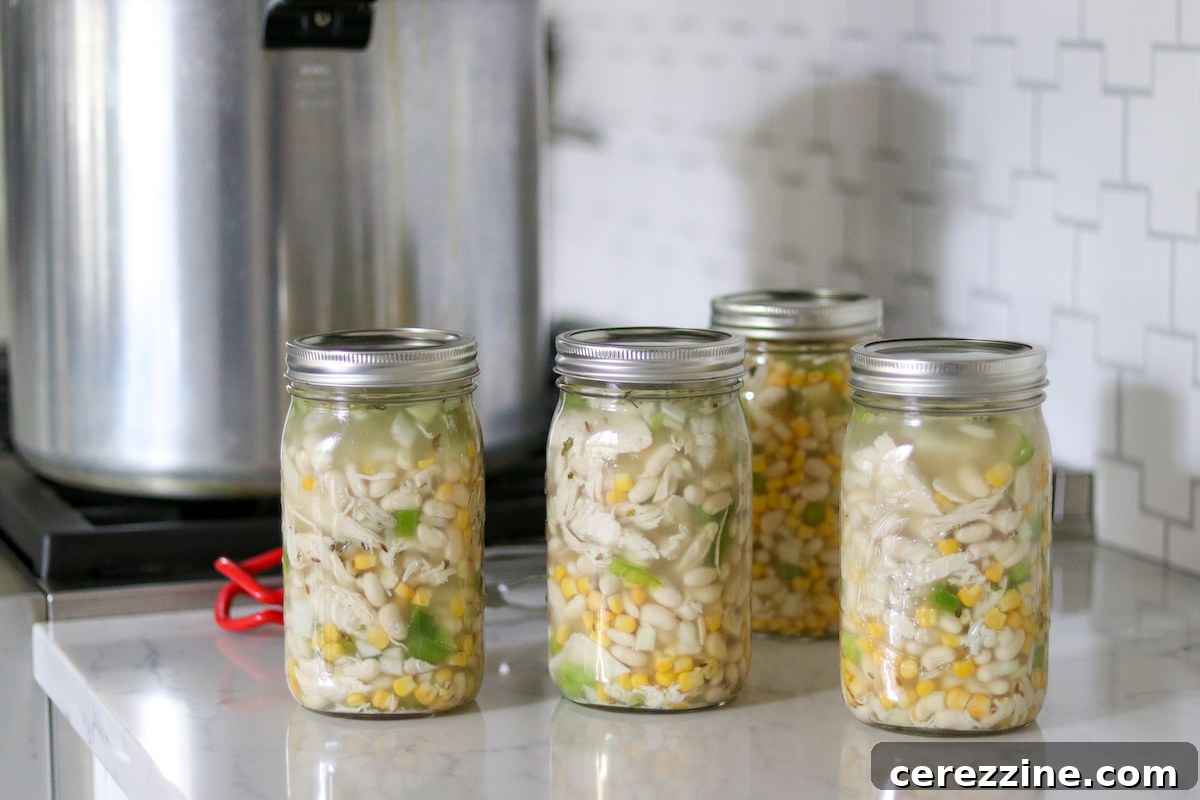
Welcome to a culinary journey that transforms a beloved classic into a convenient, wholesome, and delicious meal ready at a moment’s notice. White chicken chili offers a delightful twist on traditional chili, blending the lighter flavors of tender chicken and creamy white beans with a harmonious mix of classic chili seasonings. This comprehensive guide will walk you through the process of creating a versatile white chicken chili that’s perfect for home canning, ensuring you have a quick, satisfying meal ready for any busy weeknight.
Home canning white chicken chili is not just about convenience; it’s about savoring comforting, homemade flavors year-round. Imagine coming home after a long day and having a hearty, flavorful chili ready to heat and eat in minutes. This recipe is designed to be straightforward and safe for pressure canning, making it an excellent addition to any pantry. It’s also incredibly adaptable, allowing you to customize the flavors to suit your family’s preferences.
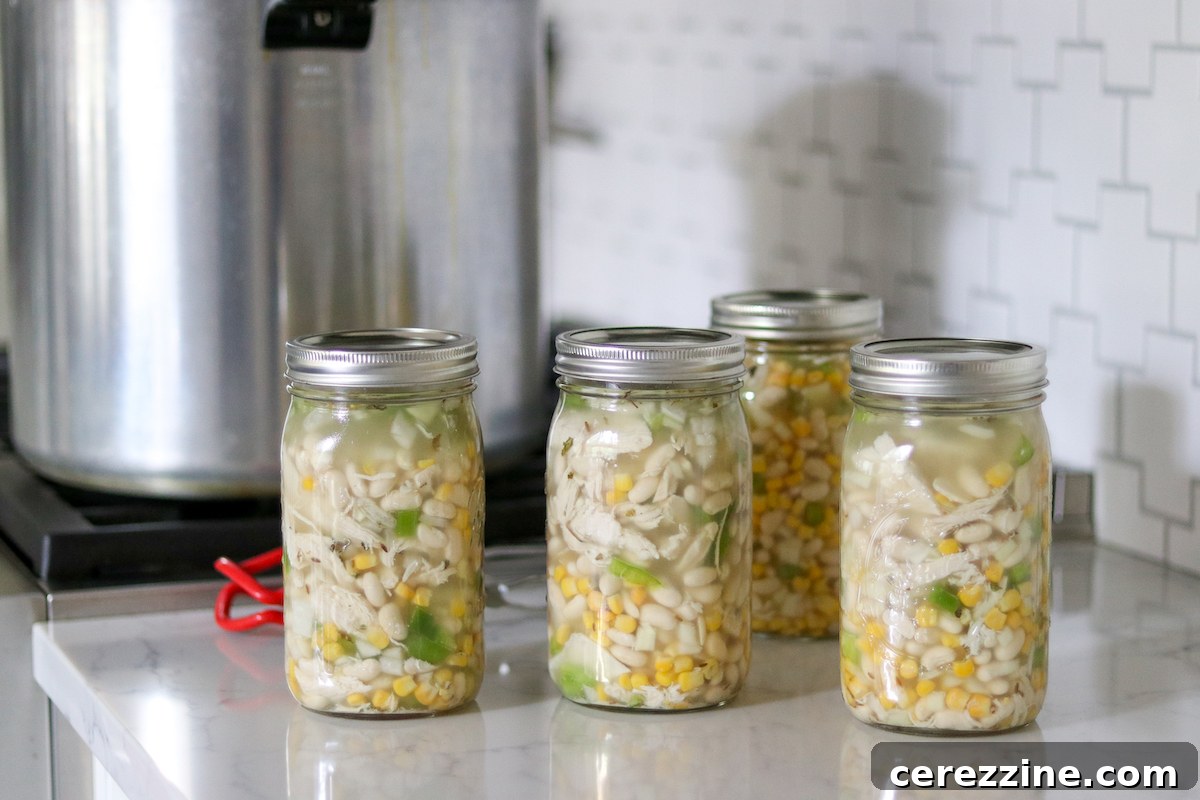
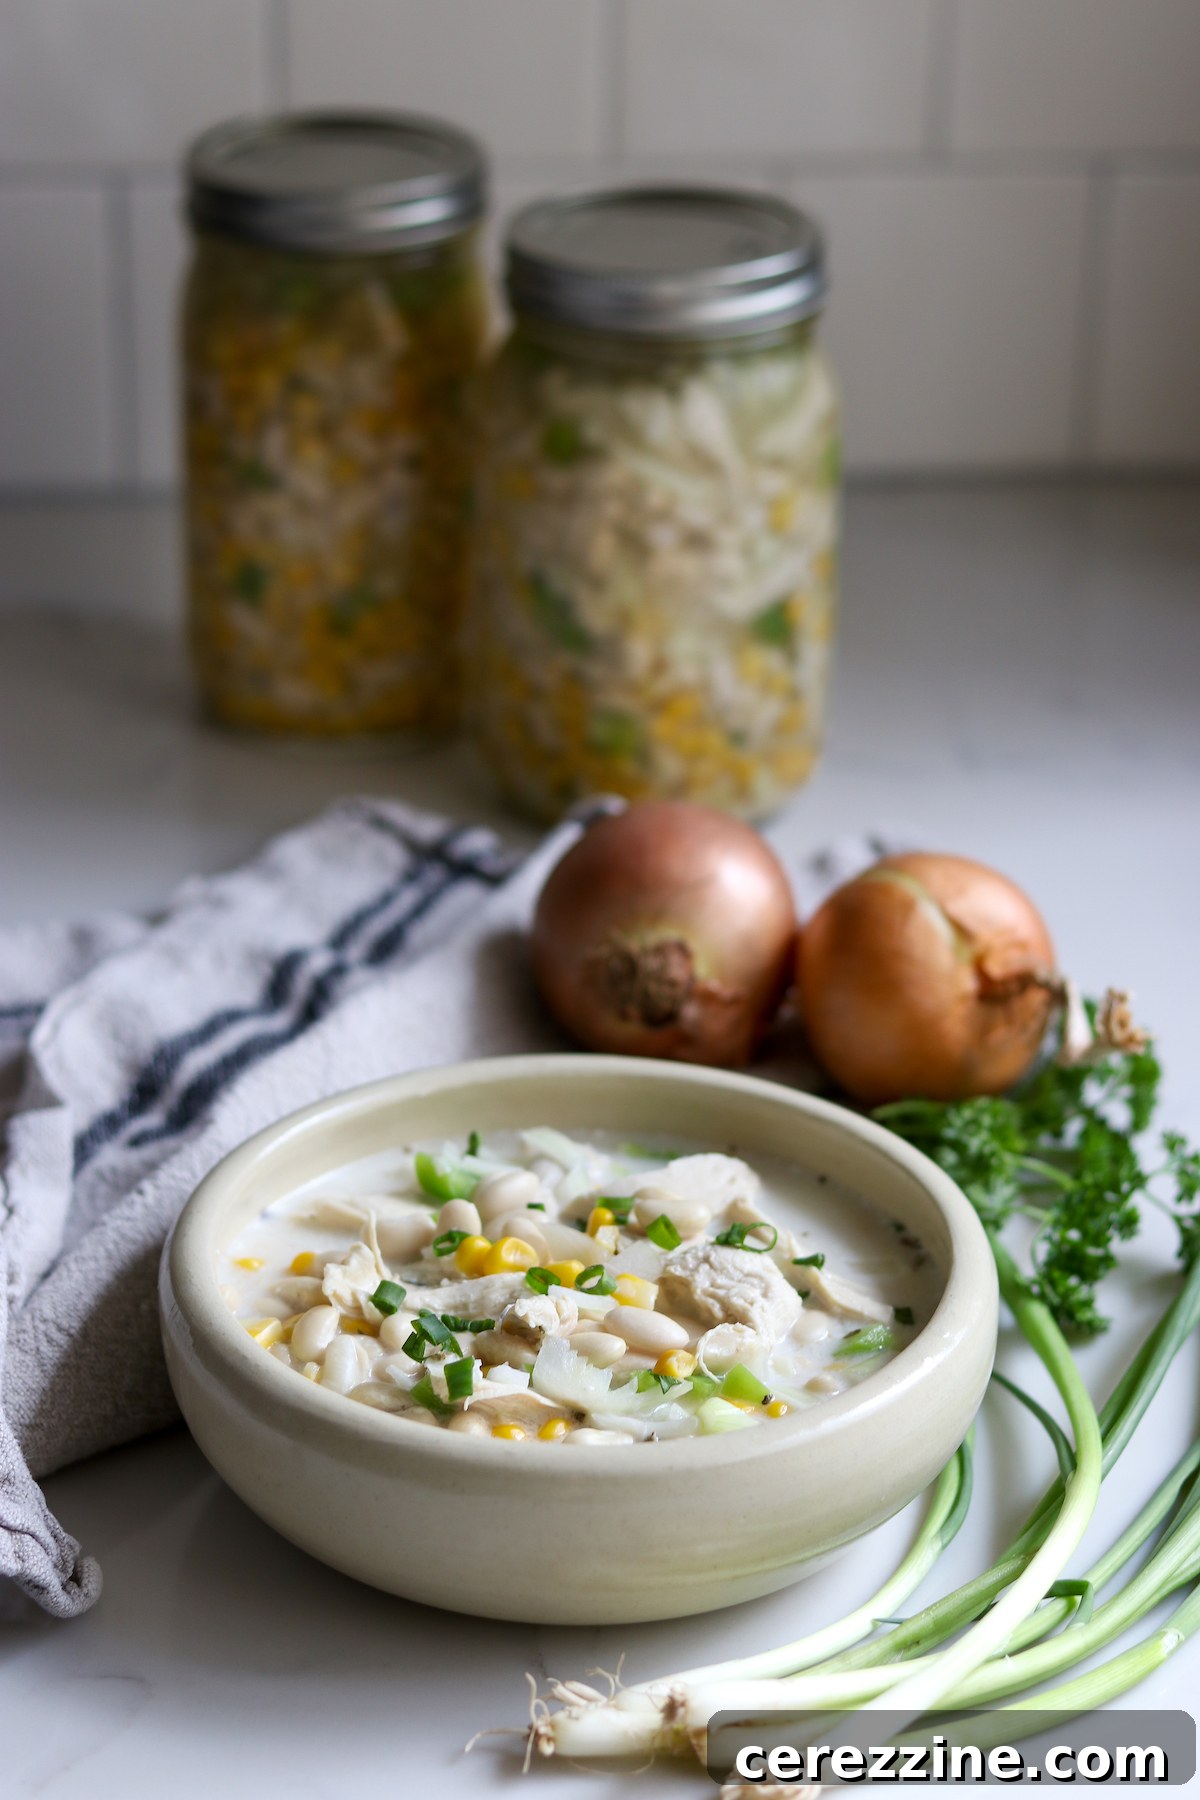
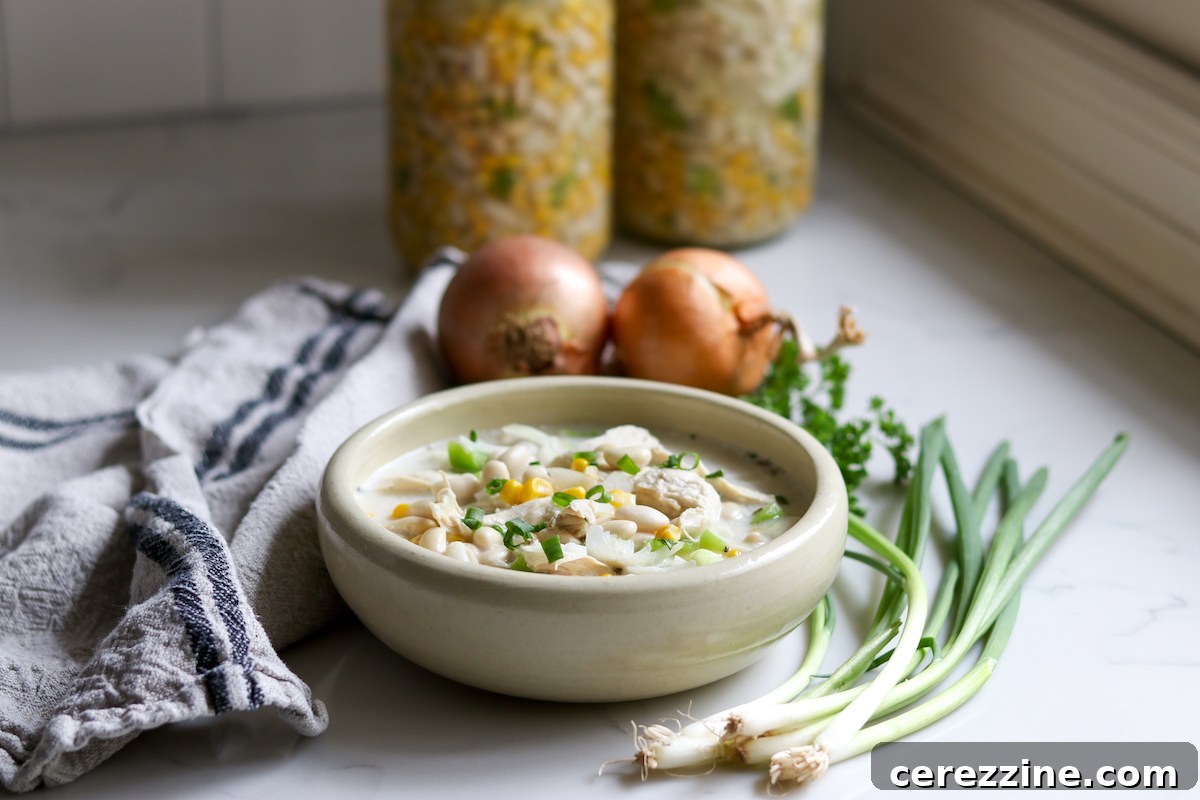
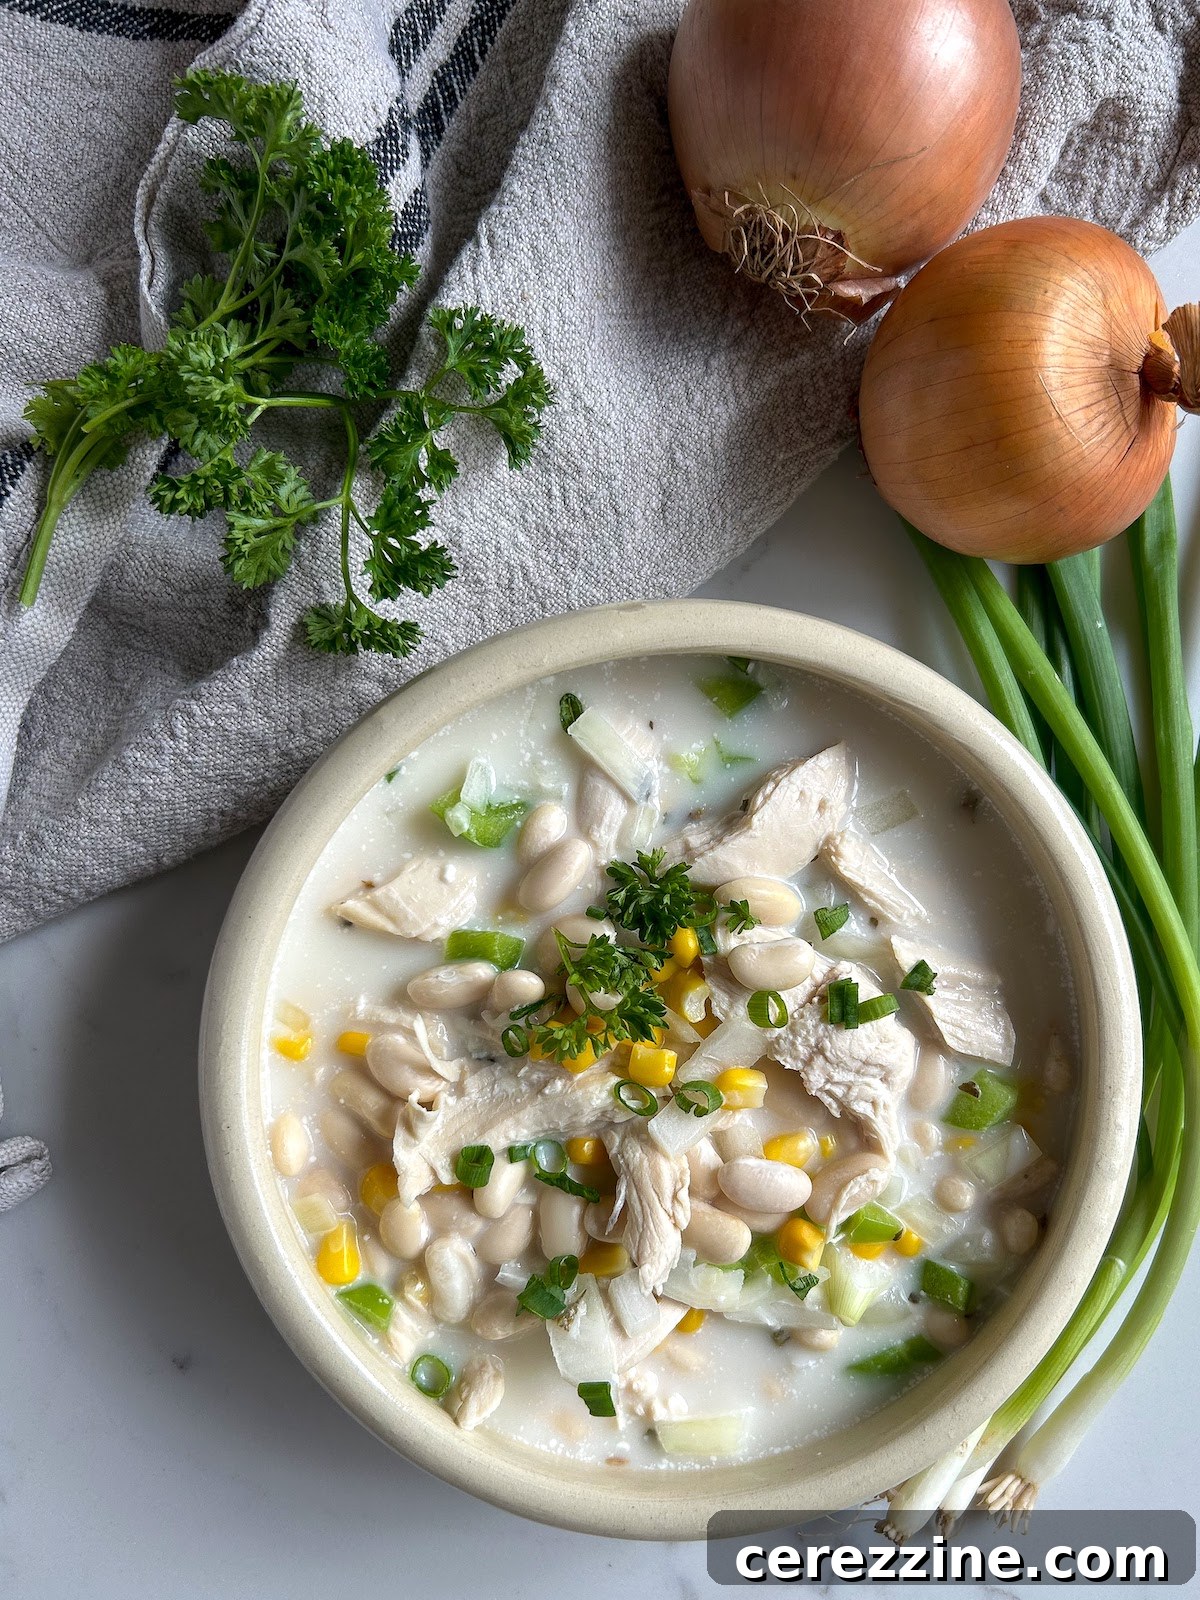
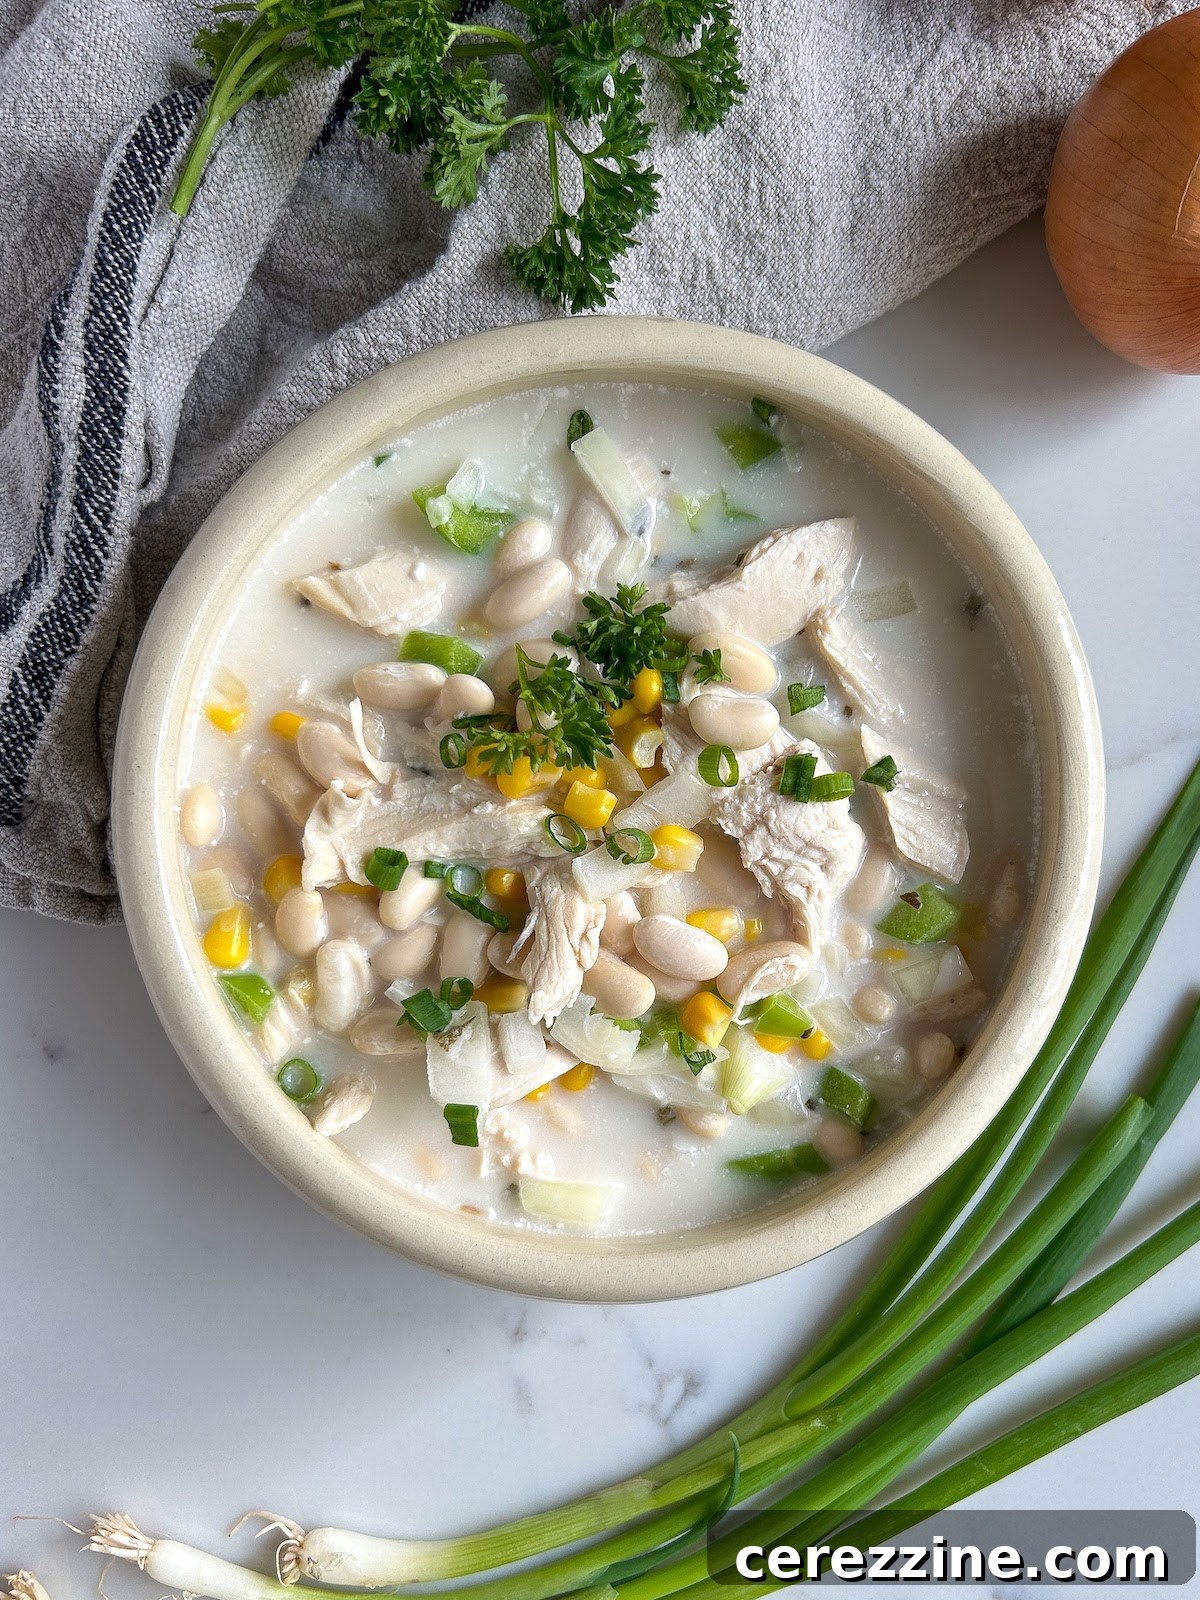
This light yet satisfying alternative to beef chili provides a plethora of serving options. Enjoy it simply “as-is,” featuring succulent white beans, tender chicken, and authentic Mexican flavors for a light, fulfilling meal. For an elevated experience, crown your bowl with a generous sprinkle of shredded Monterey Jack cheese, a dollop of cool sour cream, and a scattering of fresh cilantro – these additions truly marry the flavors together. If you crave a richer, more indulgent chili, stir in a touch of cream cheese and heavy cream just before serving for an incredibly decadent texture.
Preparing a large batch for canning means you can effortlessly keep this chili on hand, turning frantic weeknights into relaxed dining experiences. Simply open a jar, heat, and enjoy a delicious, homemade meal without the fuss. This recipe is carefully adapted from reputable white chicken chili canning recipes found in Pressure Canning for Beginners and Beyond by Angi Schneider and The Complete Guide to Pressure Canning by Diane Devereaux. Both authors offer excellent recipes that serve as a fantastic foundation, providing slightly different approaches to spicing and vegetable choices. My adaptation thoughtfully combines the best elements from both, meticulously adhering to established home canning safety guidelines to ensure a safe and delicious product for your pantry.
Essential Ingredients for Your White Chicken Chili Canning Project
Gathering the ingredients for this savory white chicken chili is often a straightforward task, as many items might already be staples in your kitchen pantry. This recipe is designed for a generous yield, producing enough to fill 7 quart-sized jars or 14 pint-sized jars, ensuring your pantry is well-stocked for future meals. Preparing everything in advance makes the canning process smooth and efficient.
To prepare this substantial batch, you will need:
- 1 lb (450 g) great northern beans, pre-soaked overnight
- 12 cups (2.8 L) rich chicken broth
- 2 lb (900 g) cooked and shredded chicken breast (or other chicken parts)
- 4 cups (650 g) yellow or white onions, uniformly diced
- 4 cups (600 g) sweet corn kernels
- 1 1/2 cups (220 g) bell peppers or chili peppers, diced
- 4 cloves of fresh garlic, finely minced
- 2 tsp (12 g) non-iodized salt (often labeled canning salt, crucial for preventing cloudy liquid)
- 1 tsp freshly ground black pepper
- 1 Tbsp (6 g) ground cumin
- 1 Tbsp fragrant Mexican oregano
- 1 tsp fiery cayenne powder (optional, for a kick)
You may also need a bit of extra boiling water or hot broth to ensure all jars reach the proper 1-inch headspace during packing, should the chili liquid run short.
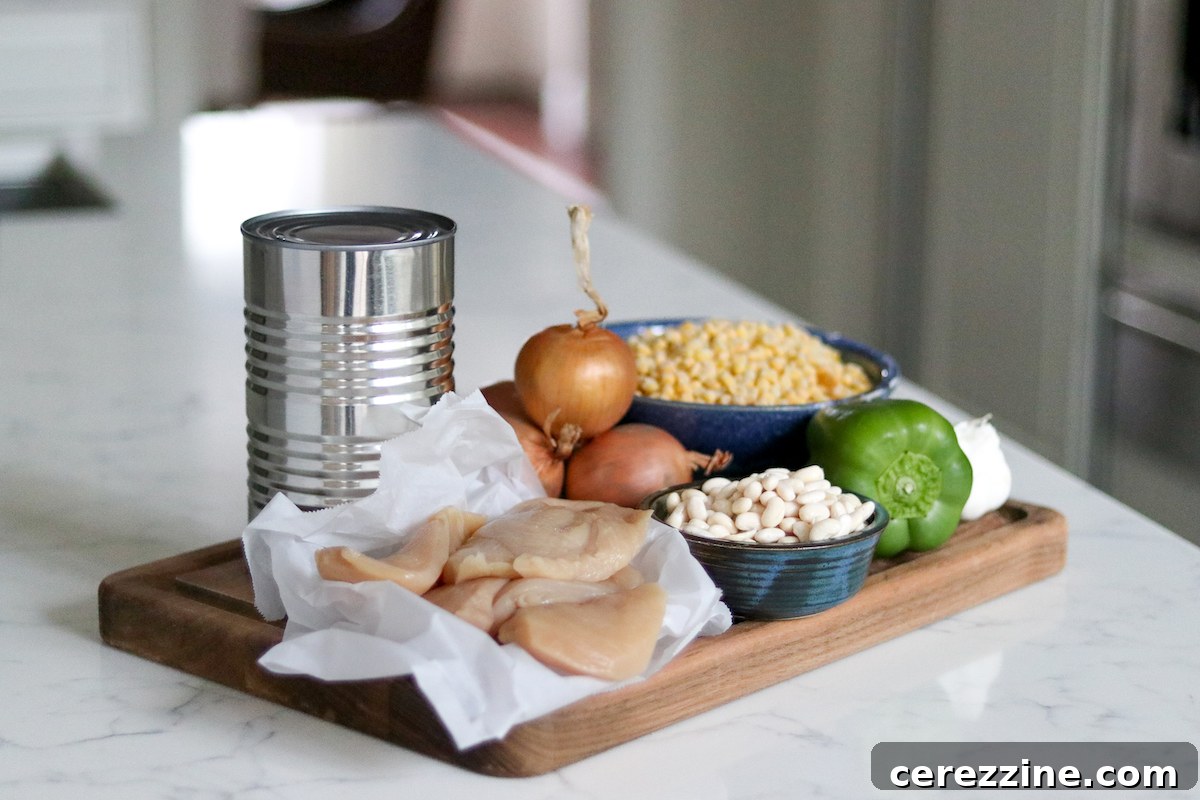
For the corn, you have flexibility: fresh, frozen, or canned kernels all work wonderfully. If opting for fresh corn, you’ll need approximately 6 to 7 medium-sized ears to yield the required 4 cups of kernels. Frozen corn can be added directly to the pot, while canned corn should be undrained to contribute its liquid. Regarding onions, about 1 ½ pounds of unprepared onions will provide the 4 cups needed when diced.
When selecting peppers, feel free to choose based on your family’s preference for heat. Green bell peppers offer a mild, neutral flavor that complements the chili well. For a more classic chili depth and a gentle heat, consider using diced Hatch green chilies. If you enjoy a spicier profile, a few finely diced jalapeños will add a delicious warmth. Approximately ½ pound of whole peppers, or 2-3 medium bell peppers, will yield 1 ½ cups diced. Remember, for home canning safety, you can swap pepper types or omit them entirely without affecting the safety of the recipe, as long as you maintain the specified total volume of solids.
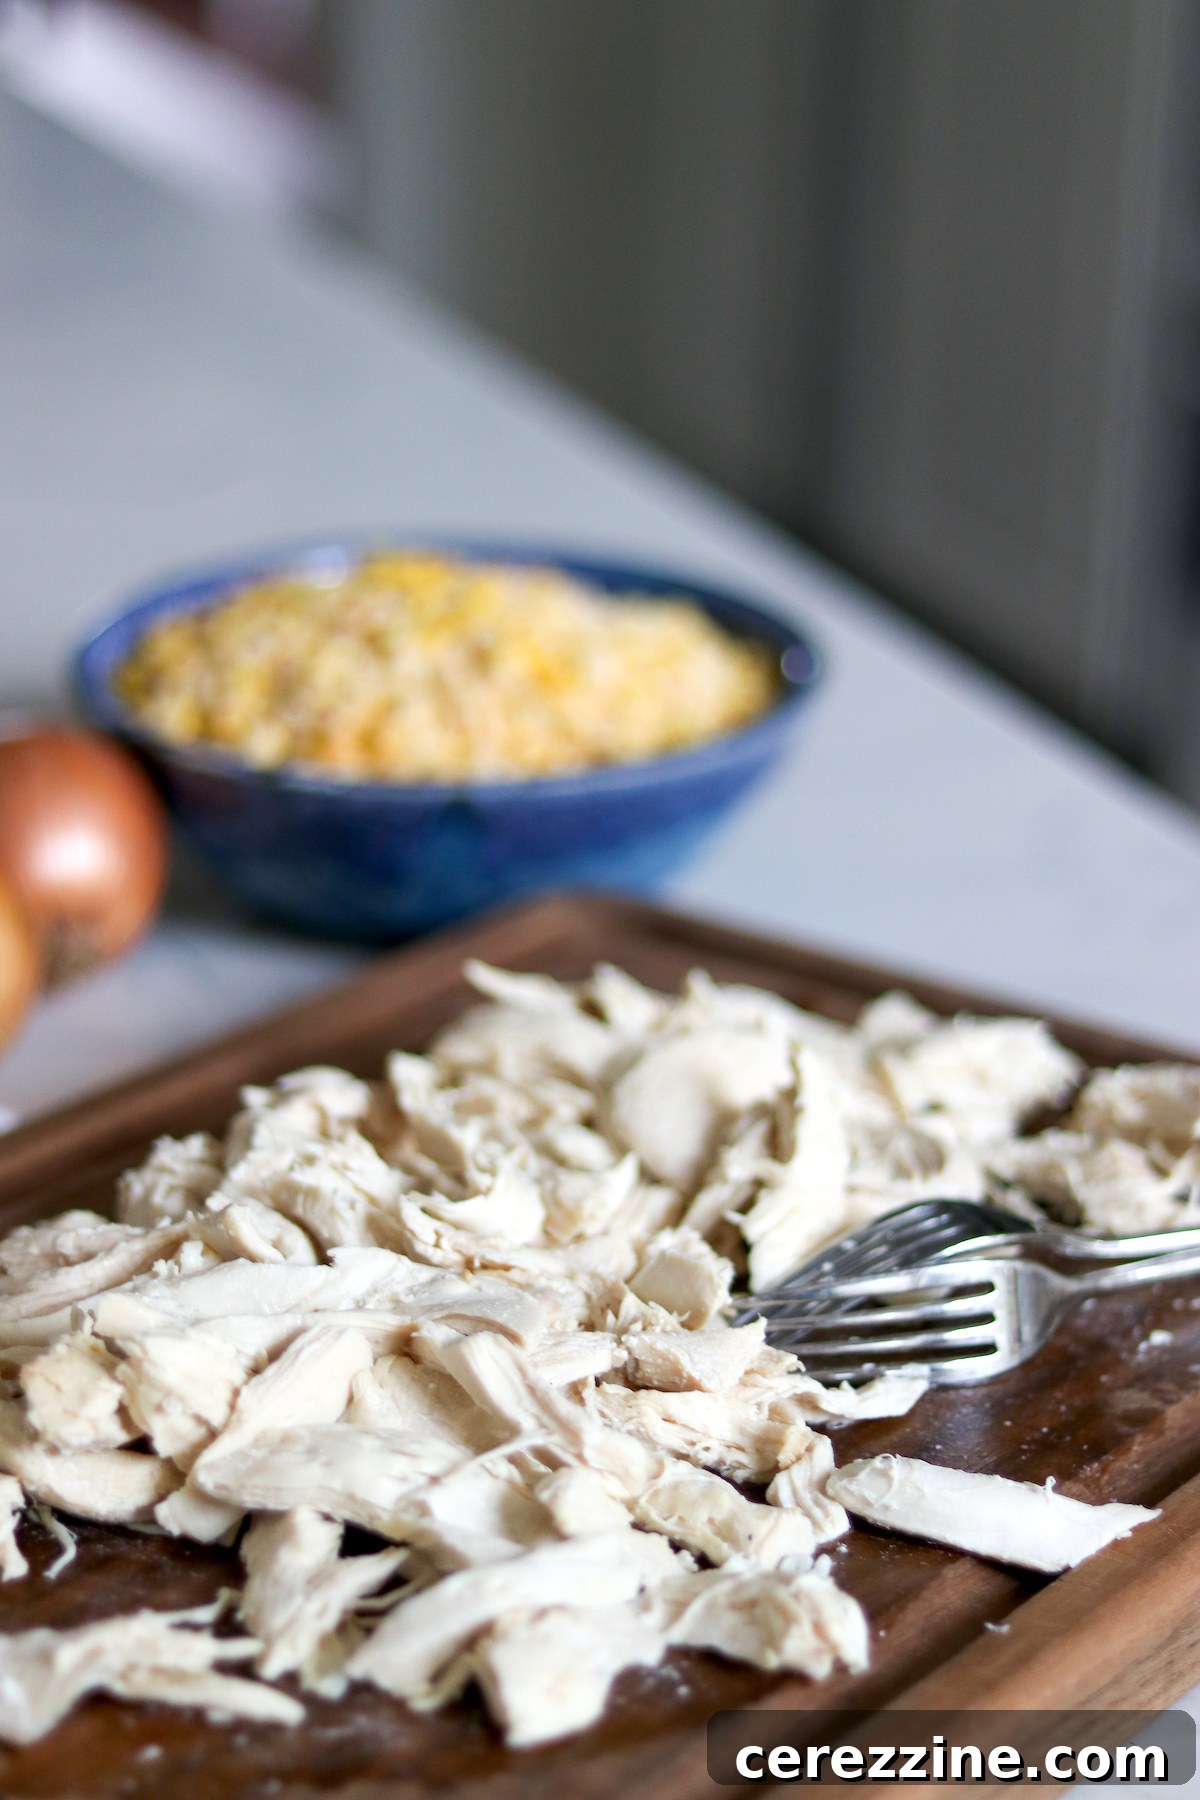
The chicken in this recipe is pre-cooked and then shredded with a fork for easy incorporation. While chicken breast is specified, any cooked and shredded chicken part—thighs or a mix—will be delicious. This recipe is also incredibly versatile; you could easily transform it into a flavorful white pork chili canning recipe by substituting an equivalent amount of cooked, shredded pulled pork, which is perfectly safe for pressure canning and adds a different dimension of flavor.
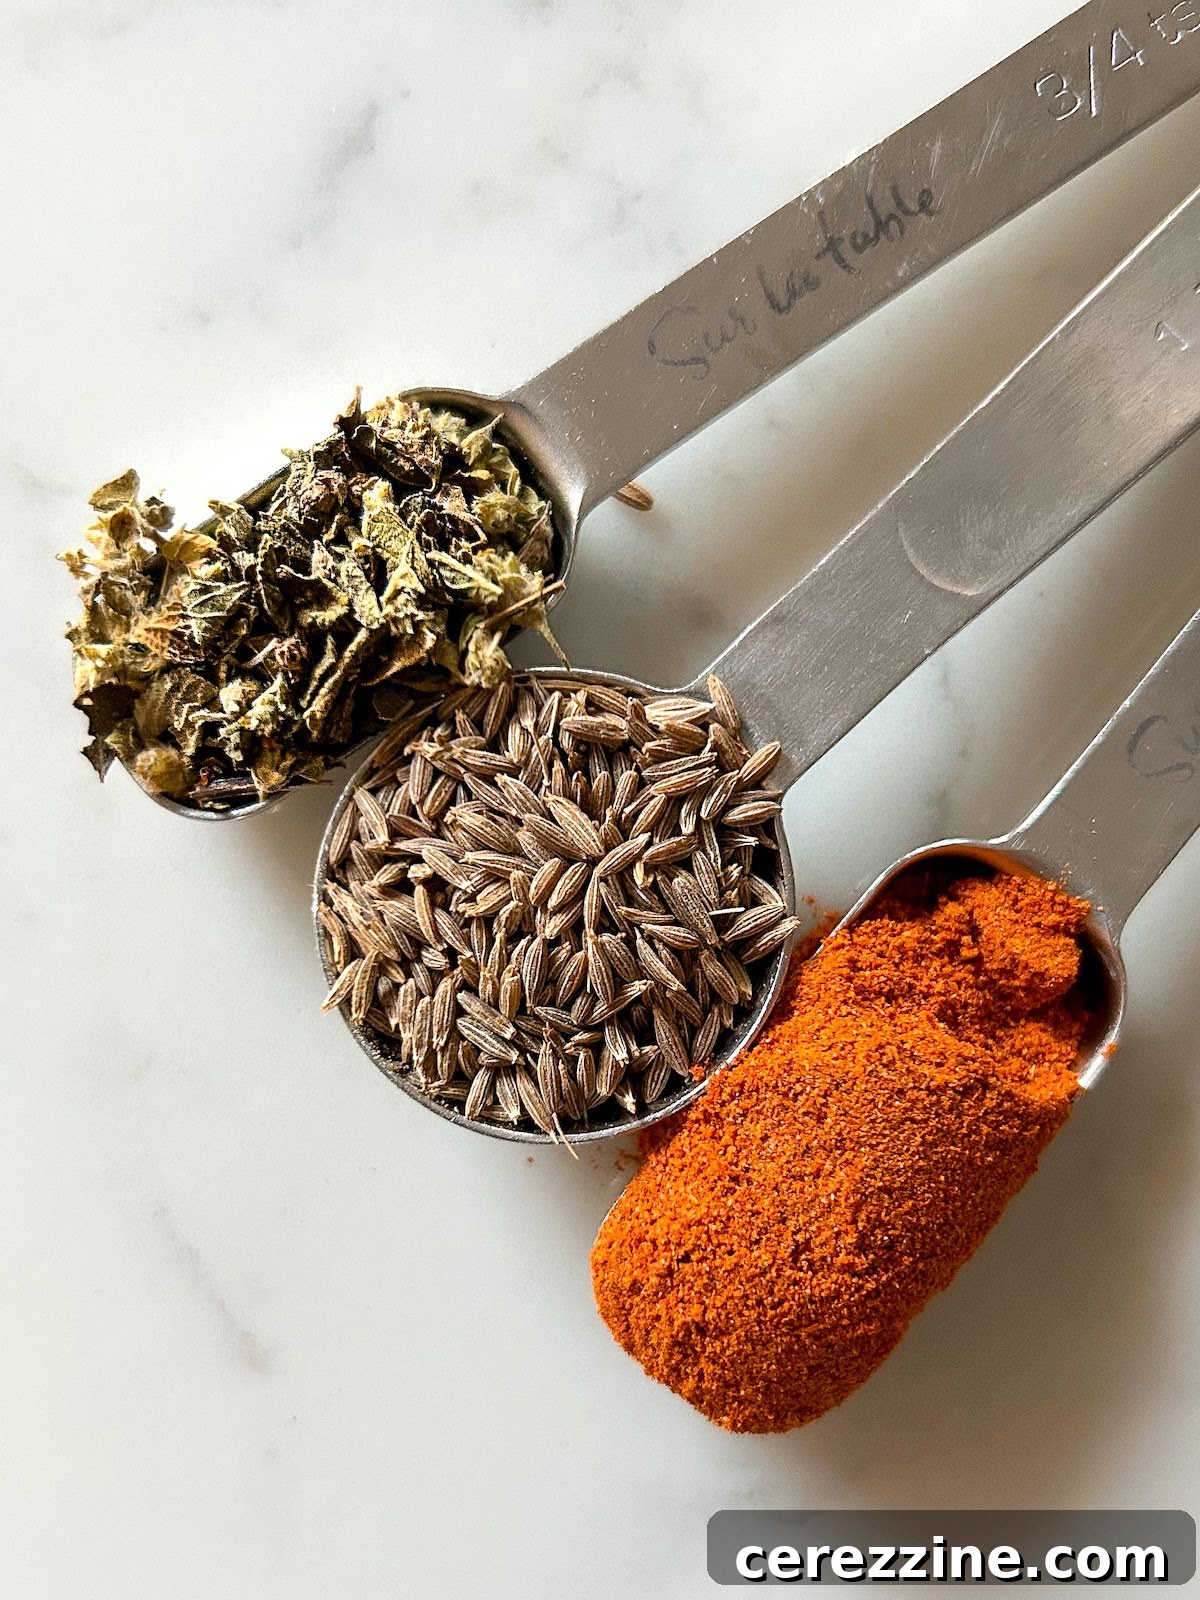
A key advantage of canning recipes, especially those involving dry spices, is the flexibility they offer. You are generally permitted to modify the quantity, type, and combination of dry spices without compromising canning safety. This means you can truly customize the seasoning of this white chicken chili to your liking, experimenting with different chili powders, adding a pinch more heat, or even incorporating smoked paprika for depth. The original recipes from Angi Schneider and Diane Devereaux both feature Mexican oregano, ground cumin, and a touch of cayenne. I’ve maintained these classic elements but slightly increased the amounts to deliver a richer, more pronounced flavor profile.
For an intensified cumin flavor, consider starting with whole cumin seeds and dry toasting them in a pan for a few minutes until fragrant before grinding them yourself. This simple step unlocks a deeper, nuttier aroma. Alternatively, purchasing pre-ground cumin is perfectly fine for convenience. You can also choose to leave some spices whole, which might result in a slightly “whiter” appearance in the finished chili, as finely ground spices can tint the liquid.
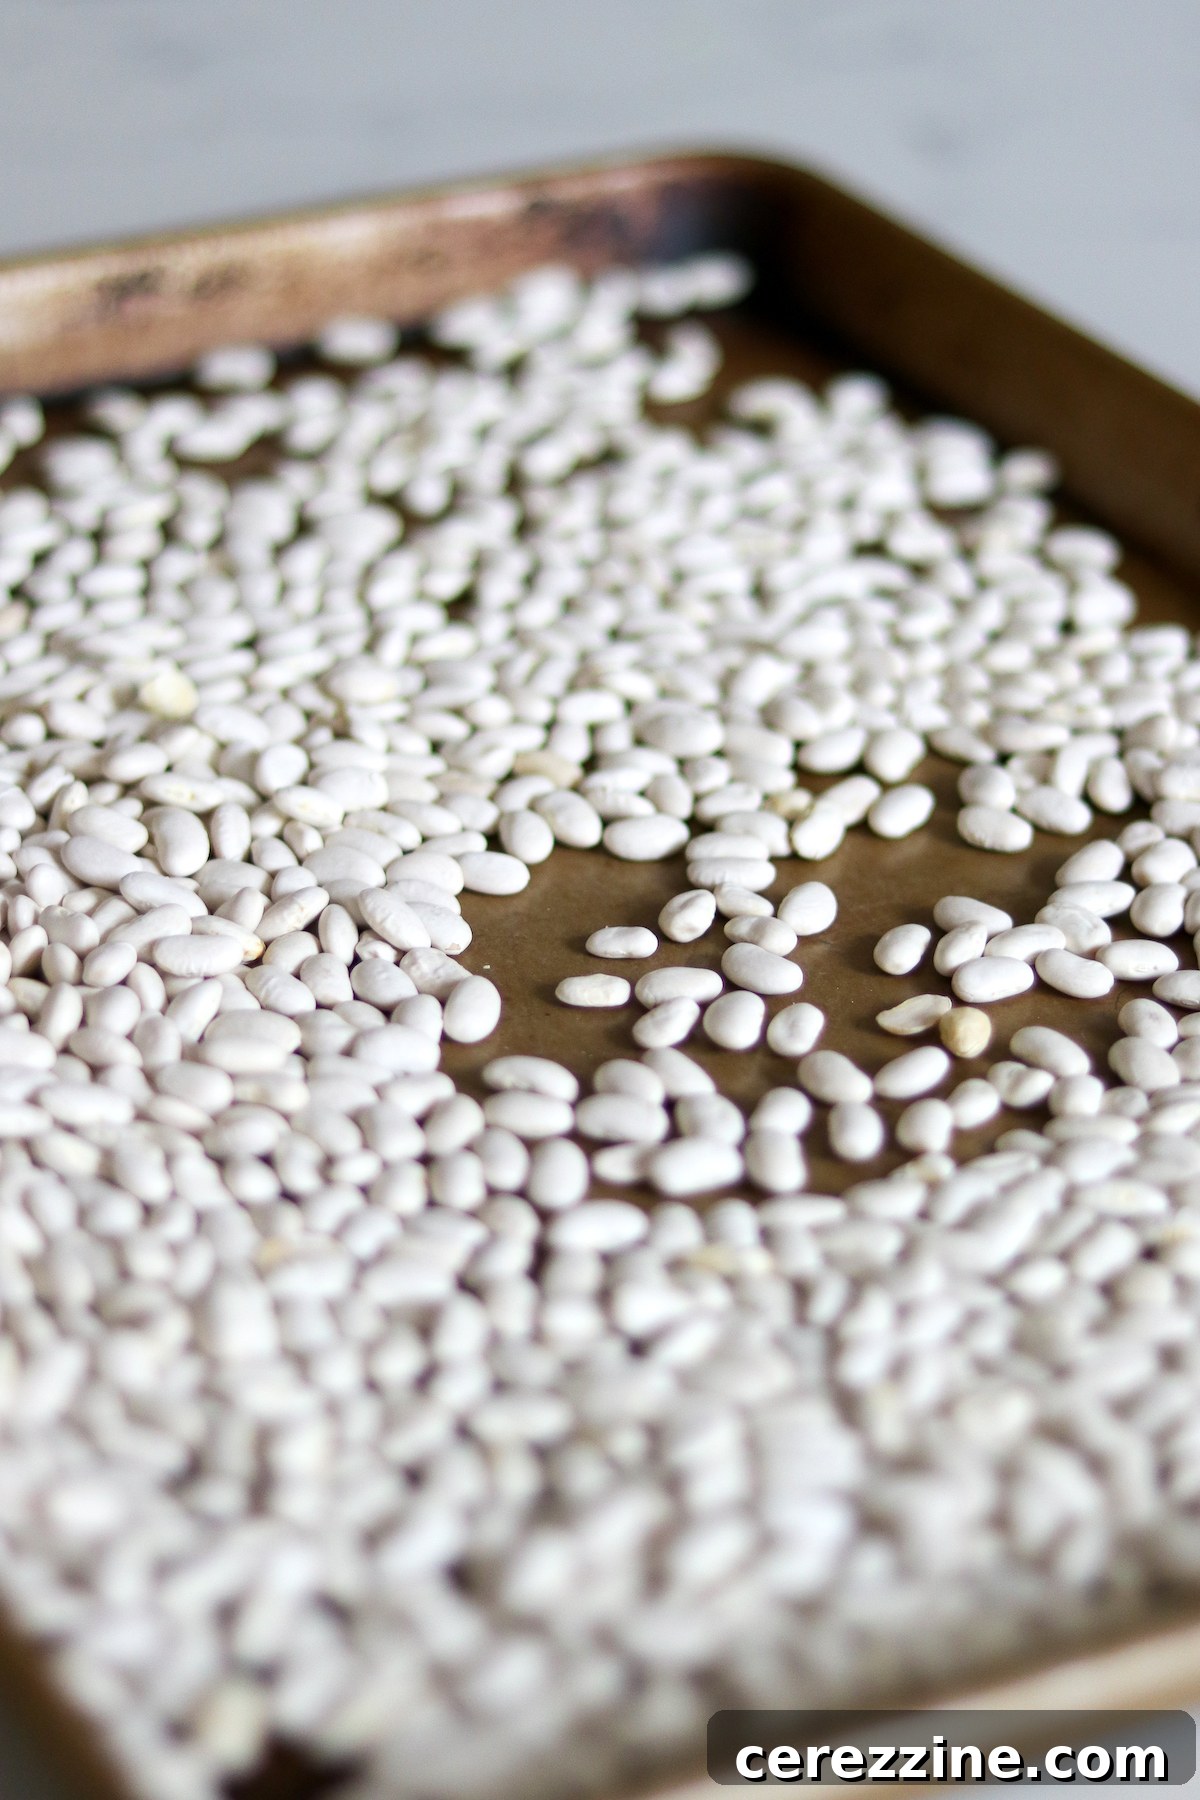
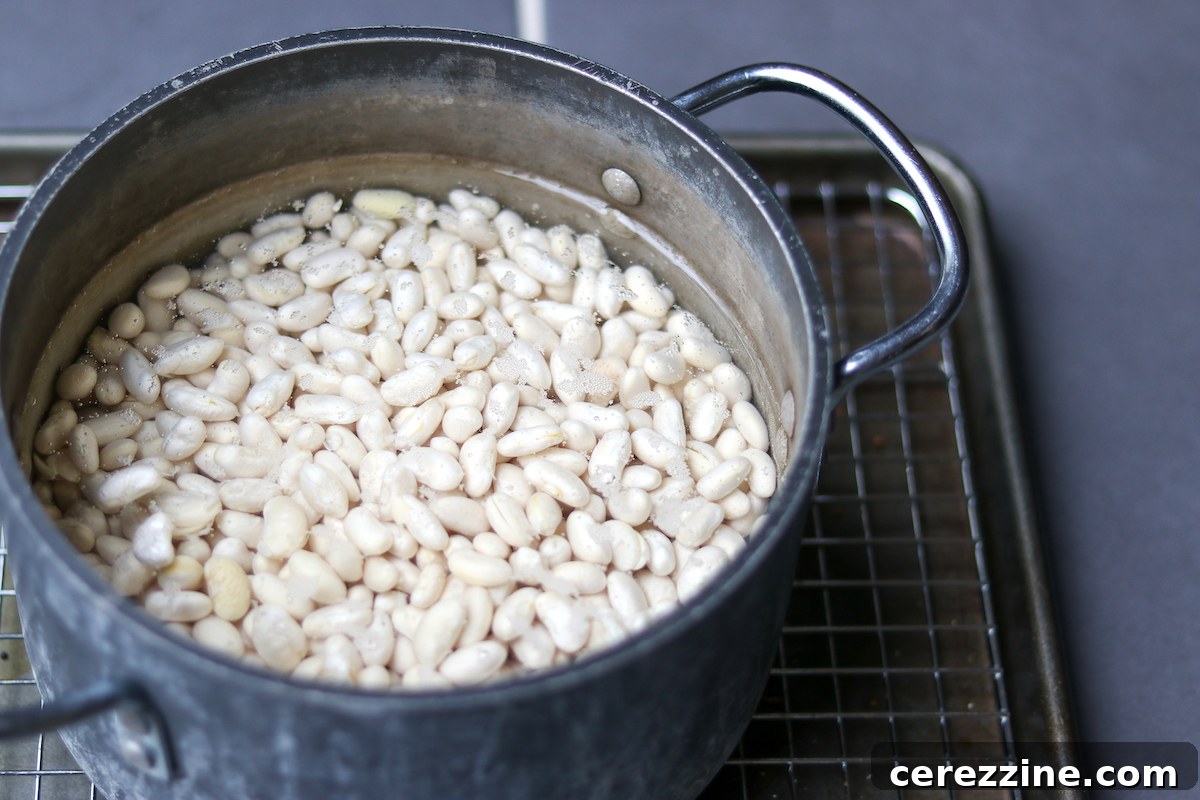
The beans are a foundational element of this white chili. It is critical to pre-soak dry beans thoroughly before canning to ensure they rehydrate properly and don’t absorb excessive liquid from your canning jars during processing, which could lead to an insufficient liquid level. The most common method is soaking them overnight in a generous amount of water. For a quicker approach, you can perform a “quick soak”: bring the beans to a boil in water for 1 minute, then remove from heat and let them stand in the hot water for 1 hour. After either method, drain the soaking water and rinse the beans before proceeding with the recipe.
Should you prefer the convenience of pre-cooked beans, commercially canned beans are an acceptable substitute. If using canned beans, you’ll need roughly 6 cups of fully cooked canned beans to equate to one pound of dry beans. A standard 15-ounce can typically holds about 1 ½ cups of beans, so you would need approximately four 15-ounce cans. Remember to add these pre-cooked beans directly to the pot along with the other cooked chicken and vegetables, adjusting liquid if necessary. Always prioritize quality and freshness for the best chili.
Enhancing Your White Chicken Chili: Serving Additions
While this chili is delicious straight from the jar, consuming it “as-is” won’t deliver that signature creamy “white chili” flavor that many adore. That classic creaminess is achieved by adding dairy elements just before serving, as these ingredients are not safe for the pressure canning process itself. The beauty of canning lies in storing the core chili, then customizing it fresh each time.
Angi Schneider’s recipe, for example, suggests enhancing the chili by stirring in ½ cup (120 ml) of heavy cream and ¼ lb (115 g) of cream cheese per batch at the time of serving. These rich additions melt beautifully into the warm chili, creating a luscious, thick consistency that truly elevates the dish. Complementing this richness, she also recommends fresh garnishes such as chopped green onions, chives, and cilantro. These fresh herbs and aromatics not only add vibrant color but also introduce a delightful textural contrast and a burst of fresh flavor that takes the chili to the next level.
It’s important to reiterate that these creamy dairy components—cream and cream cheese—must be added at serving time and are not suitable for inclusion during the canning process due to safety reasons. While fresh green onions, chives, and cilantro could technically be added to the jars before canning, their primary purpose is to provide fresh flavor and a crisp texture, which would be lost during the canning process. They are entirely optional, and many home canners choose to omit them for simplicity, especially outside the growing season when fresh herbs might not be readily available. This canned chili is designed to be a labor-saving, quick weeknight meal, so don’t feel pressured to add extra steps unless desired. Diane Devereaux offers simpler topping suggestions, favoring shredded Monterey Jack cheese, a spoonful of sour cream, and a sprinkle of fresh cilantro, without mixing in cream or cream cheese. Ultimately, how you top your white chicken chili is entirely your choice – enjoy it plain, or load it up with your favorite garnishes!
The Art of Canning White Chicken Chili: Step-by-Step Guide
Pressure canning white chicken chili is a rewarding process that ensures a safe, shelf-stable meal ready whenever you need it. Follow these detailed steps carefully for optimal results and safety:
Preparation is Key
-
Bean Pre-Soaking: Begin by thoroughly pre-soaking your dry great northern beans. This critical step ensures they rehydrate sufficiently and helps prevent them from absorbing too much liquid from your canning jars during processing, which can lead to low liquid levels. You have two options:
- Overnight Soak: Place beans in a large bowl, cover with plenty of water (at least three times the volume of beans), and let them soak for 8-12 hours, or overnight.
- Quick Soak: In a large pot, cover beans with water and bring to a rolling boil for 1 minute. Remove from heat, cover, and let stand for 1 hour.
After either method, drain the soaking water and rinse the beans thoroughly. This step is mandatory for safety and proper texture in canned beans.
-
Canner and Jar Preparation: While the beans are soaking or after their initial boil, prepare your pressure canner according to the manufacturer’s instructions. This typically involves adding 2-3 inches of water (about 8 cm) to the bottom of the canner. Place it on a burner over low heat to bring the water to a gentle simmer (around 180°F or 82°C) for hot packing. Also, prepare your canning jars, lids, and rings. This recipe yields enough for 7 quart (1-liter) jars or 14 pint (500 ml) jars, so plan accordingly. Ensure jars are clean and warm; lids and rings are ready for use.
Cooking and Hot Packing the Chili
-
Initial Bean Boil: Take your pre-soaked and drained beans and return them to a large stockpot. Cover them with fresh water and bring to a full boil. Immediately drain the water again. This step further prepares the beans for canning.
-
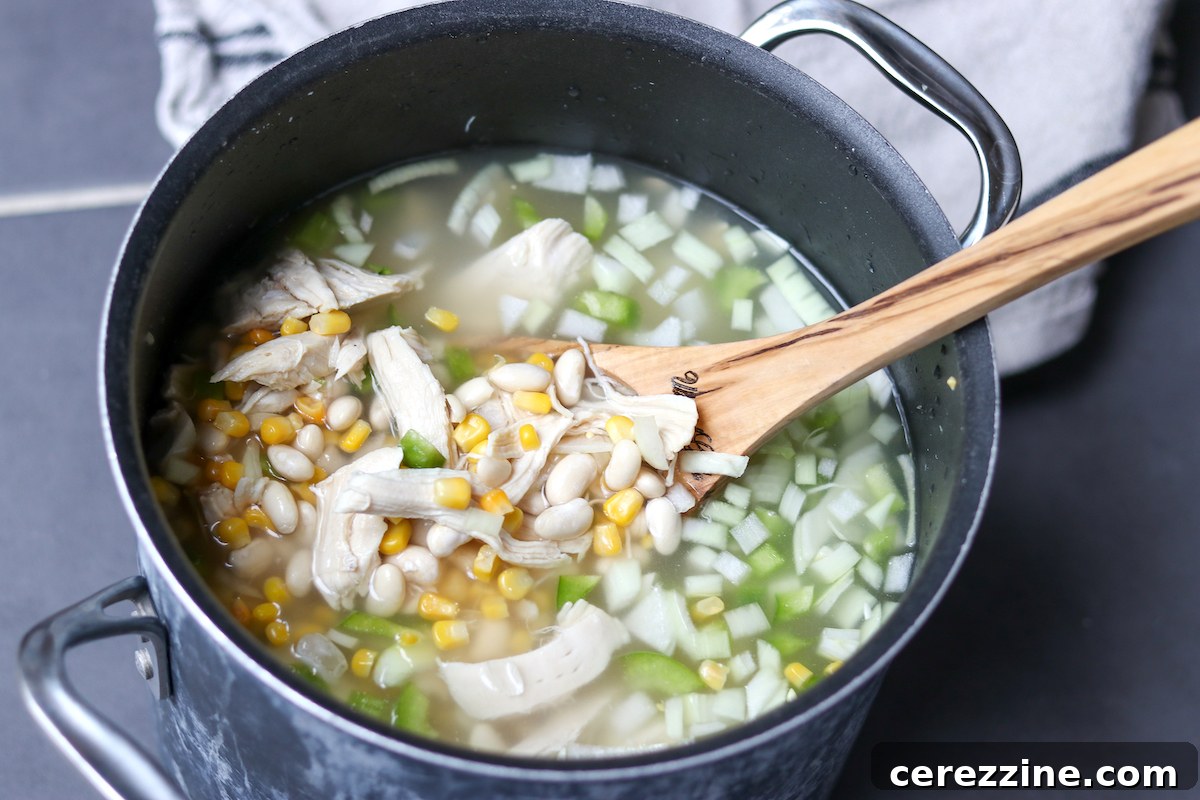
Combine and Simmer: Return the drained beans to the large stockpot. Now, add the chicken broth, shredded cooked chicken, diced onions, corn kernels, diced peppers, minced garlic, and all your chosen spices (non-iodized salt, black pepper, cumin, Mexican oregano, and optional cayenne powder). Bring this mixture to a rolling boil over high heat. Once boiling, reduce the heat to maintain a gentle boil and simmer the chili gently for 5 minutes. During this brief simmer, the beans and vegetables will not be fully cooked; however, their cooking process will continue and complete safely within the jars during the pressure canning stage, so there’s no need to worry about undercooked ingredients.
-
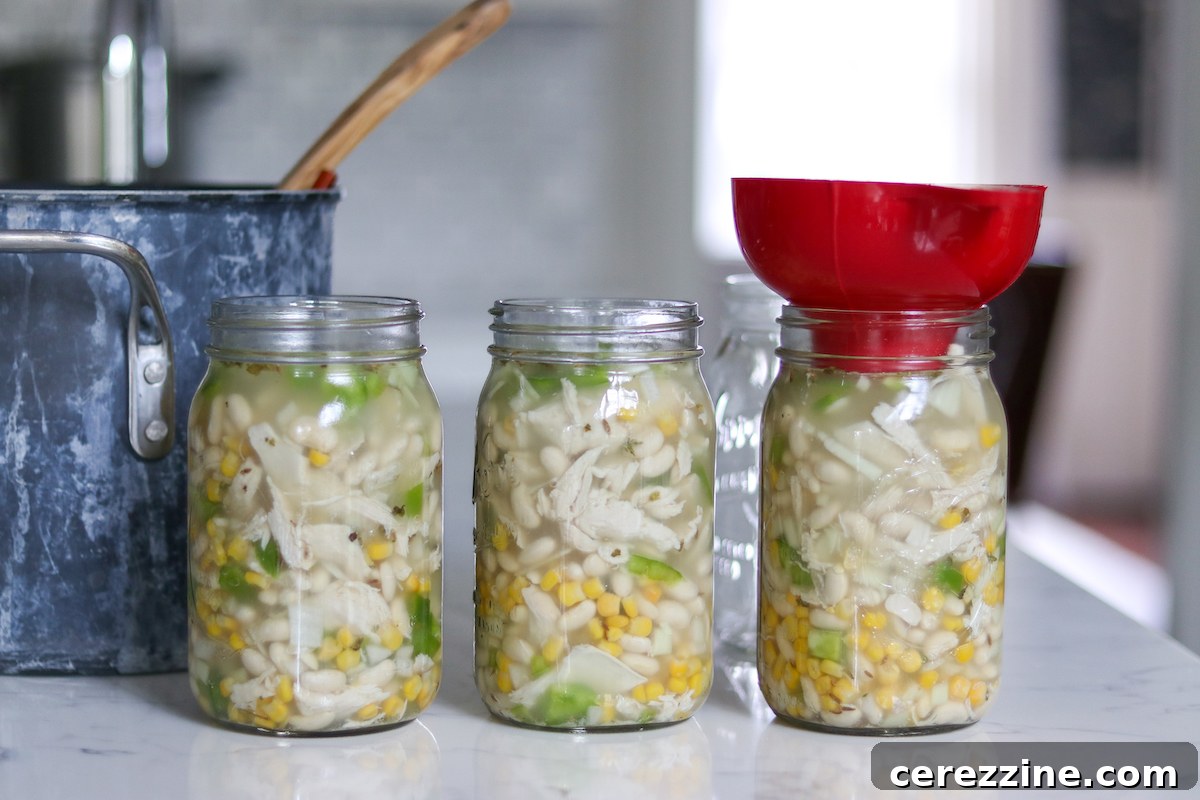
Ladle into Jars: Carefully ladle the hot chili mixture into your prepared, warm canning jars. It’s crucial to distribute the solids (chicken, beans, vegetables) evenly among all jars to ensure consistent texture and flavor. Do not overpack the jars; instead, aim for an even balance of liquid and solids. Leave a precise 1-inch (2.5 cm) headspace from the rim of each jar, whether you are using pint or quart jars. If you find yourself short on liquid in the final jar, top it off with additional hot chicken broth or boiling water to reach the proper headspace.
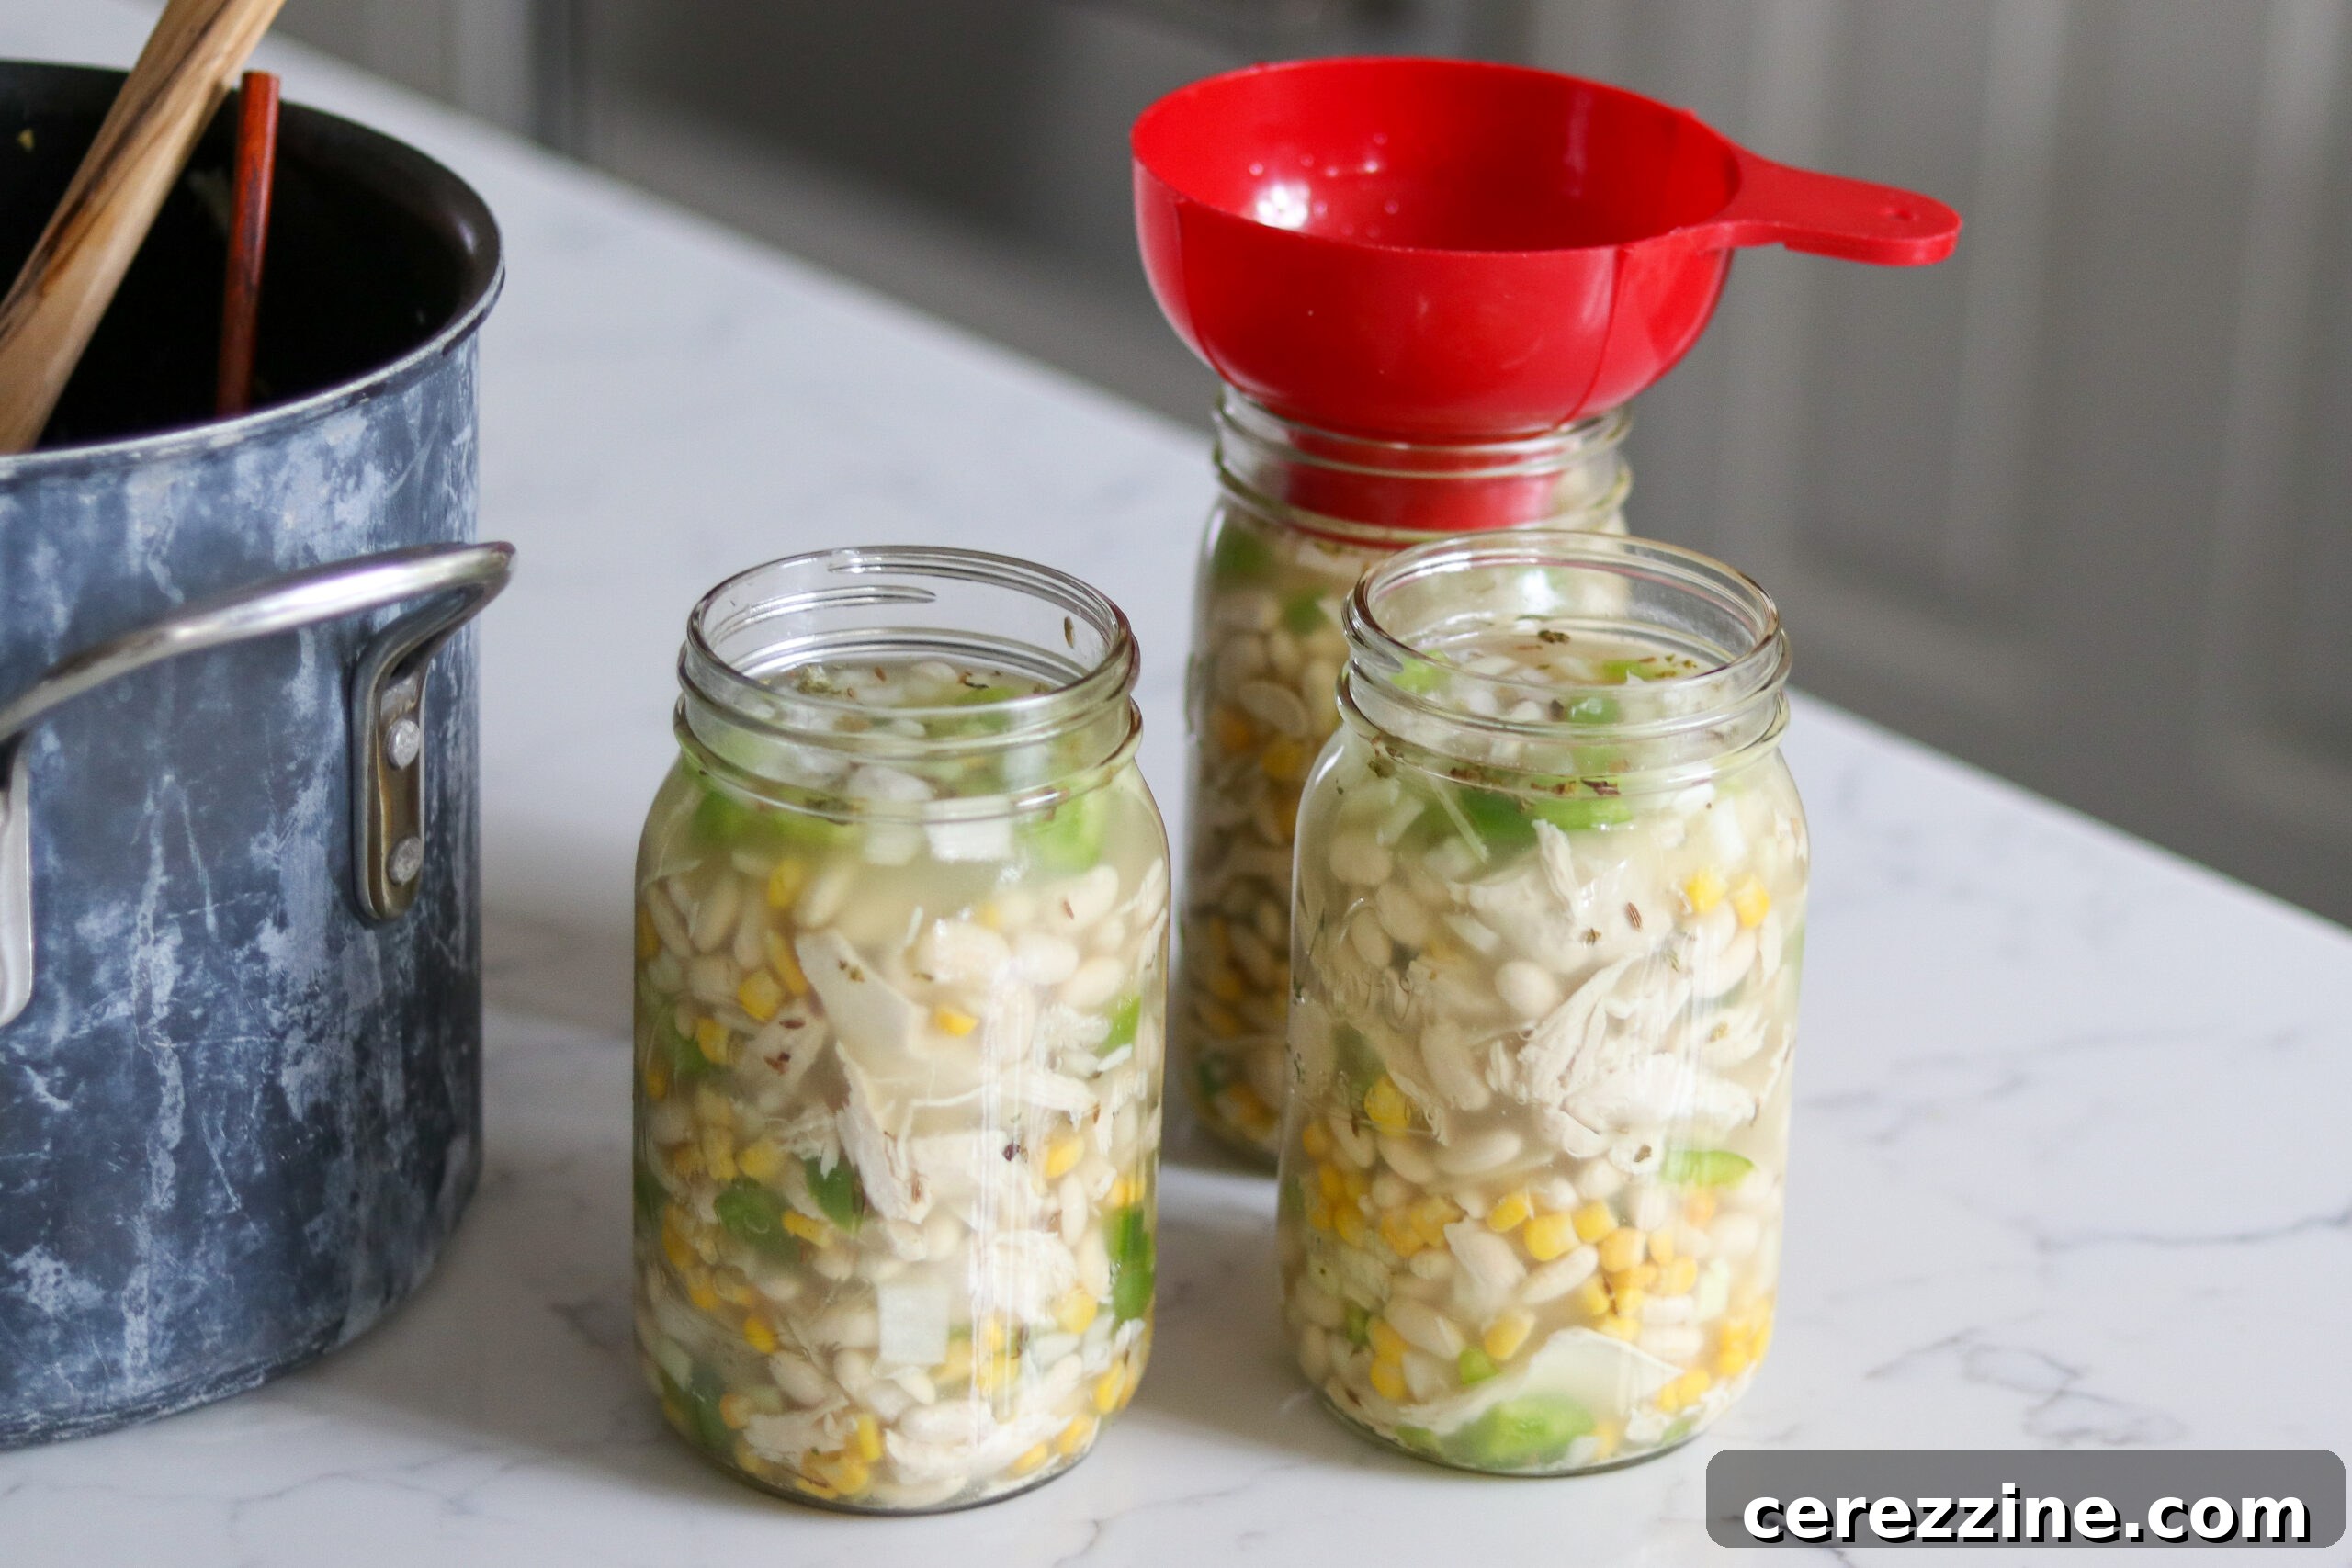
Pressure Canning Process
-
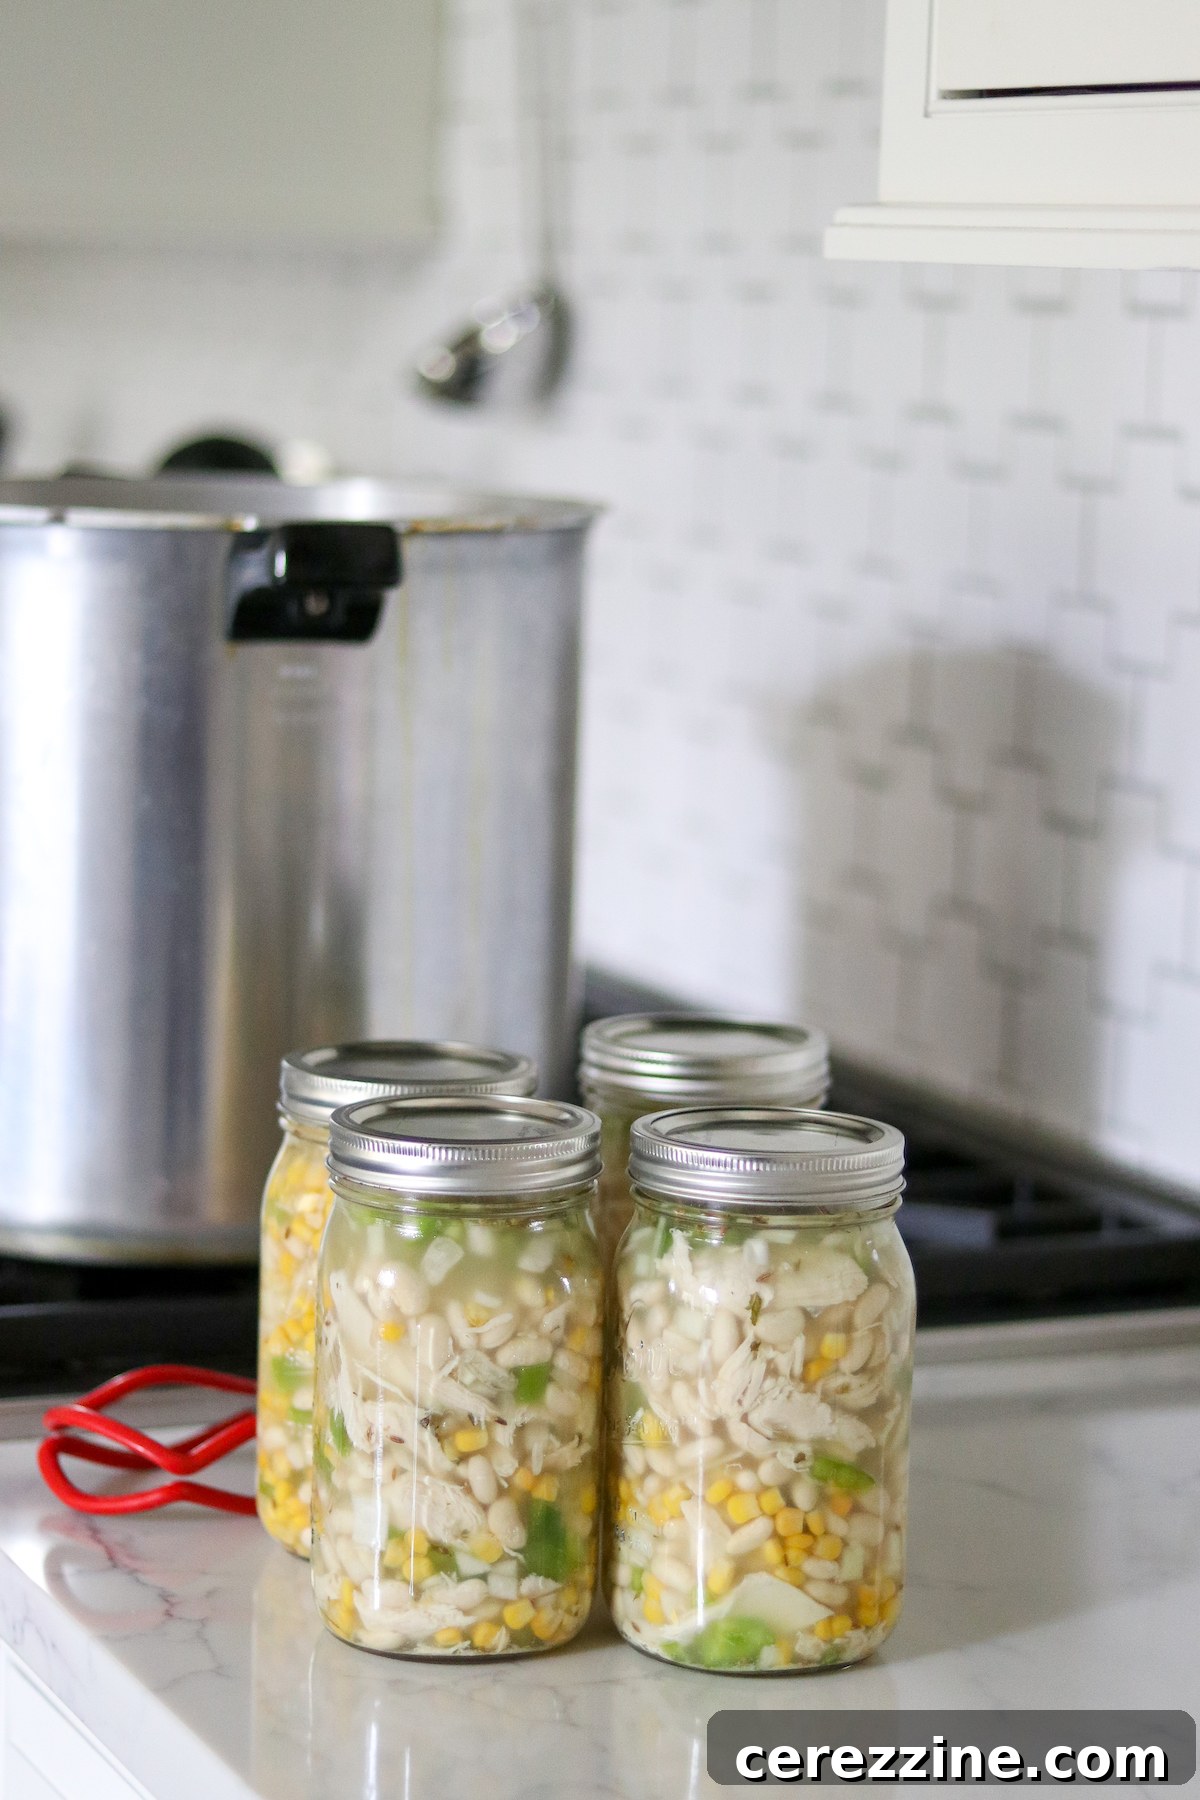
Seal and Load: Using a clean, dampened cloth, wipe the rim of each jar thoroughly to remove any food particles that could prevent a proper seal. Center a clean lid on each jar, then screw on the bands finger-tight. Avoid overtightening, as this can prevent air from escaping during processing and lead to buckling lids. Carefully load the filled jars into your warmed pressure canner, ensuring they do not touch each other.
-
Vent and Pressurize: Secure the canner lid according to your manufacturer’s instructions. Turn the heat to high and allow a steady stream of steam to vent from the canner for a full 10 minutes. This crucial step removes all air from the canner, ensuring the internal temperature reaches the necessary point for safe canning. After venting, place the weighted gauge or close the petcock (depending on your canner type) to allow the pressure to build. Bring the canner up to the recommended pressure.
-
Process Jars: Once your canner reaches the target pressure, begin your timer. Process pint jars for 75 minutes at 10 psi (pounds per square inch). For quart jars, process for 90 minutes at 10 psi. If you reside in a high-altitude area, refer to the altitude adjustment chart below to determine the correct processing pressure for your elevation.
-
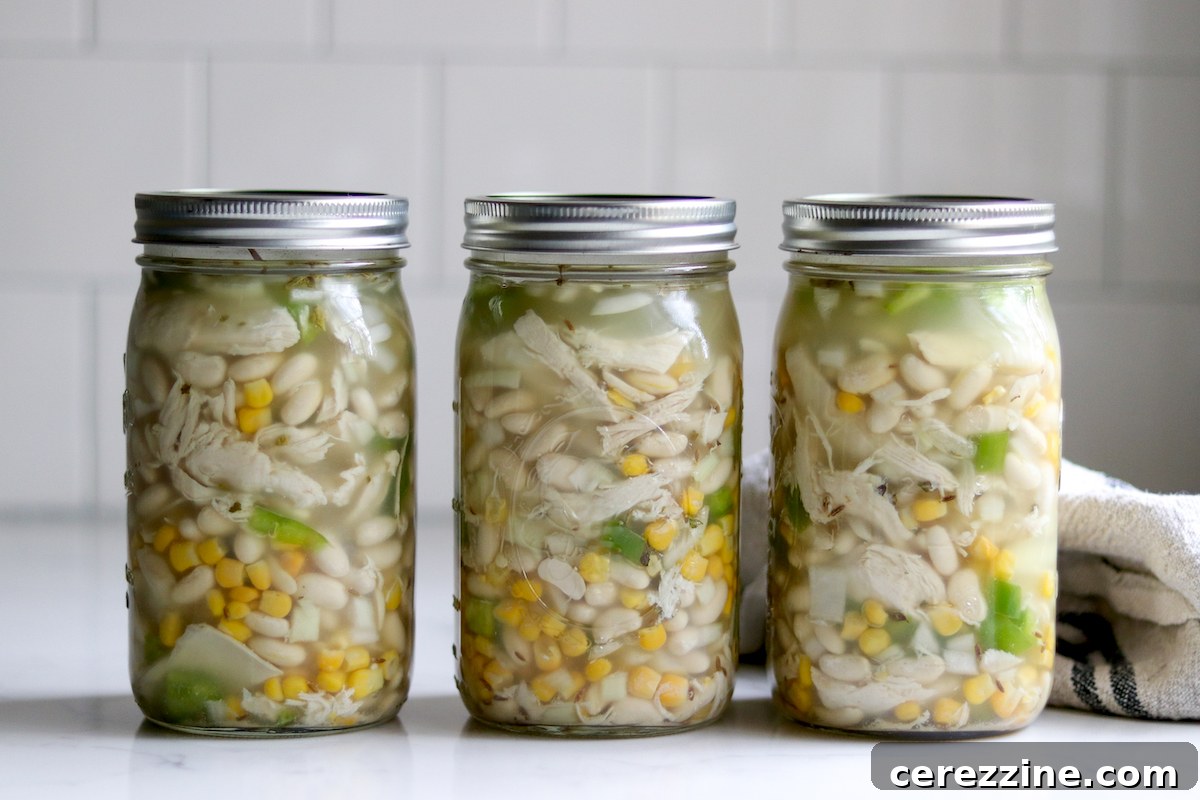
Cool Down and Store: Once the processing time is complete, turn off the heat and allow the pressure canner to depressurize naturally. Do not attempt to force the lid open or cool the canner quickly, as this can cause siphoning (loss of liquid from jars) and compromise seals. Once the pressure gauge reads zero (or the air vent/lock drops), wait an additional 5-10 minutes before carefully removing the lid. Remove the hot jars from the canner and place them on a towel-lined surface in a draft-free area, allowing ample space between them for even cooling. Let them cool undisturbed for at least 12 to 24 hours. After cooling, check all jar seals. Properly sealed jars will have lids that are concave (curved downwards) and do not flex when pressed. Remove the rings (they are not needed for storage), wipe jars clean, label them with the contents and date, and store them in a cool, dark place. Properly canned and sealed, these delicious meals-in-a-jar will maintain optimal quality for 12-18 months. Refrigerate any unsealed jars and consume within a few days. Always refrigerate canned chili after opening.
Altitude Adjustments for Pressure Canning
When pressure canning, the processing *time* remains constant regardless of altitude. However, the required processing *pressure* increases as your elevation rises above sea level. This adjustment is crucial for ensuring food safety, as water boils at lower temperatures at higher altitudes. Use the following tables to determine the correct processing pressure for your specific elevation:
For dial gauge pressure canners:
- 0 to 2,000 feet in elevation – 11 lbs pressure
- 2,001 to 4,000 feet in elevation – 12 lbs pressure
- 4,001 to 6,000 feet in elevation – 13 lbs pressure
- 6,001 to 8,000 feet in elevation – 14 lbs pressure
For weighted gauge pressure canners:
- 0 to 1,000 feet in elevation – 10 lbs pressure
- Above 1,000 feet – 15 lbs pressure
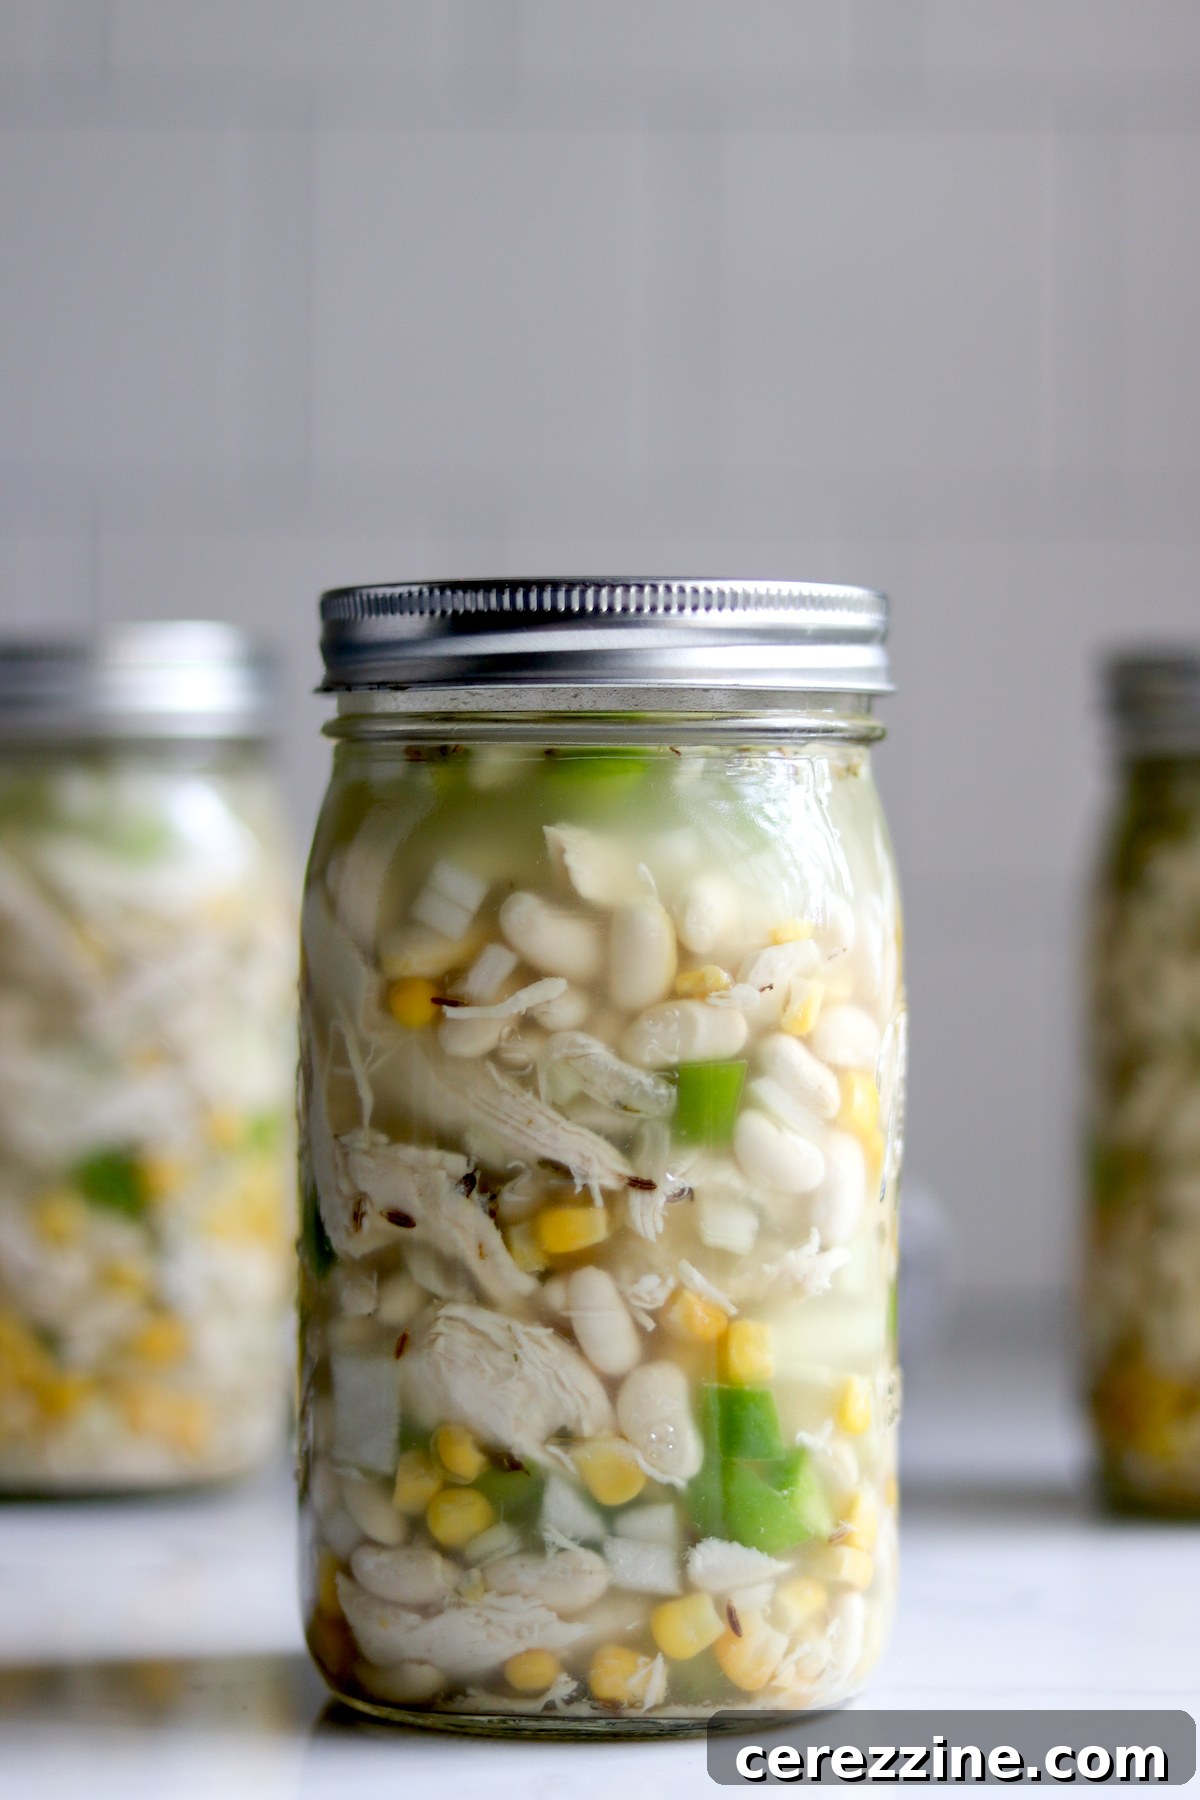
Serving Your Delicious Home-Canned White Chicken Chili
Once your jars of white chicken chili are safely canned and sealed, enjoying a hearty, homemade meal is incredibly simple. When you’re ready to serve, transfer the contents of one or more jars into a pot and bring to a boil over medium heat. Allow it to simmer gently for at least ten minutes to ensure it is thoroughly heated through and any lingering botulism spores (extremely rare but always a concern with low-acid canned goods) are destroyed.
To achieve that rich, creamy texture characteristic of classic white chili, now is the time to add your desired dairy components. Stir in cream cheese and heavy cream, if using, until the cheese is fully melted and the chili reaches your preferred consistency. For a refreshing contrast and a beautiful presentation, garnish with fresh herbs such as cilantro, chives, or chopped green onions. Complete your meal with your favorite accompaniments: warm tortillas, crispy tortilla chips for dipping, or a slice of homemade Mexican cornbread. The versatility of this chili means you can tailor each serving to your exact cravings, making it a truly satisfying and adaptable dish for any occasion.
Remember, while the original recipe by Angi Schneider suggests adding ½ cup (120 ml) cream and ¼ lb (115 g) cream cheese, along with chopped green onions, chives, and cilantro for serving, these are entirely optional. They enhance the flavor and texture significantly, transforming it into a gourmet experience, but the chili is perfectly delicious and convenient as a simple heat-and-eat meal straight from the jar, especially when you’re short on time.
More Delicious Chicken Canning Recipes
Are you looking to expand your repertoire of chicken-based home-canned meals? Explore these other fantastic recipes to keep your pantry bursting with flavor and convenience:
- Canning Plain Chicken
- Canning Chicken Chili Verde
- Canning Thai Chicken or Duck Curry
- Canning Chicken Soup
Beyond Chili: Meal-in-a-Jar Canning Recipes
Filling your pantry with ready-to-eat meals is a game-changer for busy households. I offer dozens of meal-in-a-jar canning recipes to ensure you always have wholesome options on hand!
- Canning Beef Stew
- Canning Boston Baked Beans
- Canning Split Pea Soup
- Canning Sausage, Potato and Kale Soup
Canning White Chicken Chili
Ingredients
- 1 lb (450 g) great northern beans, pre-soaked overnight
- 12 cups (2.8 L) chicken broth
- 2 lb (900 g) chicken breast, cooked and shredded
- 4 cups (650 g) onions, diced
- 4 cups (600 g) corn kernels
- 1 1/2 cup (220 g) peppers, diced (see note)
- 4 cloves of garlic, minced
- 2 tsp (12 g) canning salt
- 1 tsp black pepper, ground
- 1 Tbsp (6 g) cumin, ground
- 1 Tbsp Mexican oregano
- 1 tsp cayenne powder, optional
Instructions
- Prepare pressure canner, jars, and lids. If using quarts, you’ll need 7 (1L) or 14 pint jars (500 ml). Add a few inches (about 8 cm) of water to your canner, following the manufacturer’s recommendations, and place it over a low-heat burner with the jars inside, keeping them hot for this hot-pack process. The water should register 180 degrees F (82 degrees C).
- Drain soaking water from the beans and add them to a large stockpot. Completely cover with fresh water and bring the pot to a boil. Once they boil, remove the pot from the heat and drain.
- Add the beans to the stock pot with chicken, broth, peppers, corn, onions, garlic, and all the spices. This time, bring the pot to boiling over a high setting to start and reduce to a gentle boil. Continue at a gentle boil for five minutes longer. (NOTE: The beans and veggies won’t be completely cooked after this five-minute period, but don’t worry. The pressure canning process will finish them.)
- After the 5-minute boil time, remove the stockpot from the burner and carefully transfer the chili into the jars you’ve prepared and held in reserve. Make sure you add the same amount of solids into each jar and leave one inch or 2.5 cm of headspace for each jar, whether quart or pint. (NOTE: If your last jar is short on liquid, top it off with hot broth or boiling water.)
- Wipe each jar rim with a dampened cloth, situate lids in place, and tighten bands to finger-tight. Bands that are screwed on too tightly can cause lids to buckle. Then place the jars into your pressure canner.
- Process the filled jars: For pint jars, process for 75 minutes at 10 psi. For quart jars, process for 90 minutes at 10 psi. Adjust this schedule for your specific altitude if necessary.
- Once processing is complete, let the canner naturally depressurize before removing the jars to the counter for cooling. Allow them to cool for 12 hours or more, check the seals, and then they’ll be ready for storage.
- To serve, boil chili in a pot over a medium burner for at least 10 minutes. Additions such as cream cheese or cream can be used to thicken the chili. Add them and stir until the cheese fully melts. Cilantro, chives, or green onions make a fresh, tasty garnish, and the dish is complemented best by tortillas, tortilla chips, or a nice Mexican cornbread.
Notes
Ingredient Notes
Most pressure canning recipes cannot be changed much without altering canning safety, but here are some of the allowed substitutions.
Chicken
The meat used in this recipe is precooked shredded chicken. You can use any part of the chicken (breast, thigh, etc.) provided it’s pre-cooked and shredded. Other poultry also works, including turkey, duck, or goose.
You can also substitute pulled pork in place of the chicken for a pork chili.
Corn
Fresh, frozen, or canned corn will work in this recipe. If using frozen corn, you may add it to the pot frozen or thawed, but be sure to bring the pot to a boil and simmer for 5 minutes before filling jars as the recipe instructs. If using canned corn, do not drain. If using fresh corn, you’ll need 6 to 7 ears of corn.
Onions
It takes about 1 ½ lbs of fresh, unprepared onions as purchased to get 4 cups diced.
Peppers
You may use green bell peppers for mild results or Hatch or jalapeño peppers for a bit more spice. Any other type of pepper (hot or sweet) can also be substituted, or you can omit the peppers altogether if that’s your preference.
Spices
You’re allowed to change the quantity, proportion, and types of dry spices in canning recipes without impacting canning safety. That means you can season this chicken chili however you’d like, provided you’re using dry spices.
The original recipes both use Mexican oregano, ground cumin, and cayenne. I’ve kept those, but increased the amounts for a more flavorful chili.
Broth
You can use any type of broth (chicken, beef, pork, or veggie) and you can also substitute plain water, or use a combination of broth and water.
Altitude Adjustments
Canning time remains the same regardless of altitude; however, the processing pressure increases as altitude increases. Use the following table to determine the correct processing pressure if you’re above 1,000 feet in elevation.
For dial gauge pressure canners:
- 0 to 2,000 feet in elevation – 11 lbs pressure
- 2,001 to 4,000 feet in elevation – 12 lbs pressure
- 4,001 to 6,000 feet in elevation – 13 lbs pressure
- 6,001 to 8,000 feet in elevation – 14 lbs pressure
For weighted gauge pressure canners:
- 0 to 1,000 feet in elevation – 10 lbs pressure
- Above 1,000 feet – 15 lbs pressure
More Chili Canning Recipes for a Full Pantry
Keep your pantry shelves stocked with these fantastic home-canned chili recipes, offering variety and convenience for every meal!
- Classic Chili con Carne
- Meat Lovers Chili
- Chipotle Ground Beef Chili (no beans)
- Beef Chuck Chili (no beans)
Explore More Pressure Canning Recipes
Master the art of pressure canning and fill your pantry shelves with a variety of safe, delicious, and shelf-stable foods using these additional recipes:
- Canning Corn
- Canning Pumpkin
- Canning Peas
- Canning Beef Broth
- Canning Hamburger