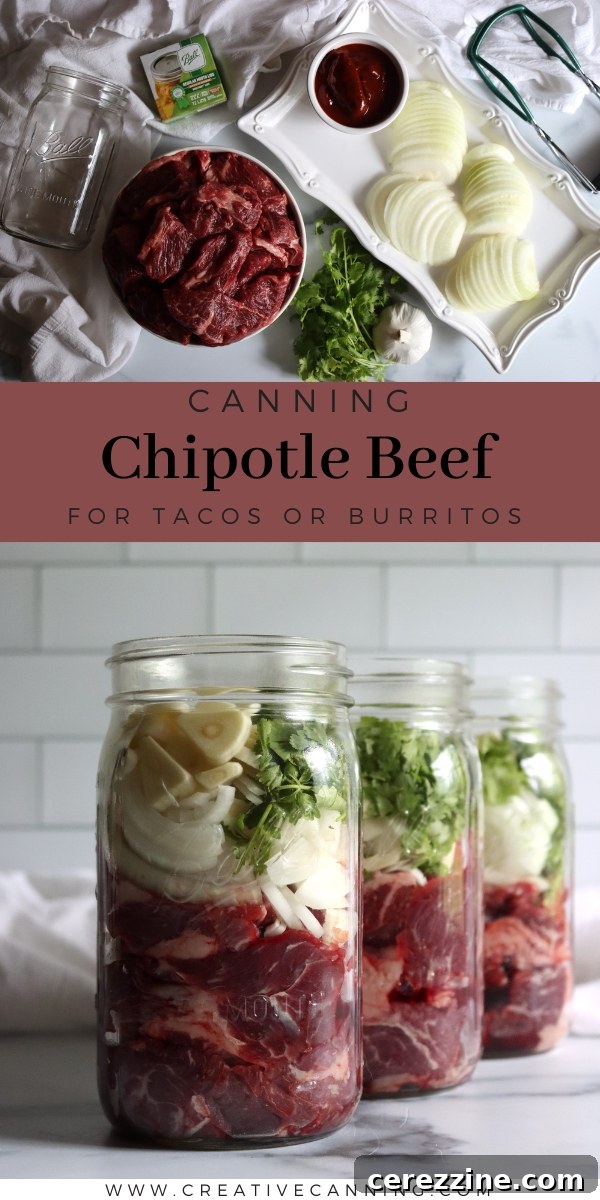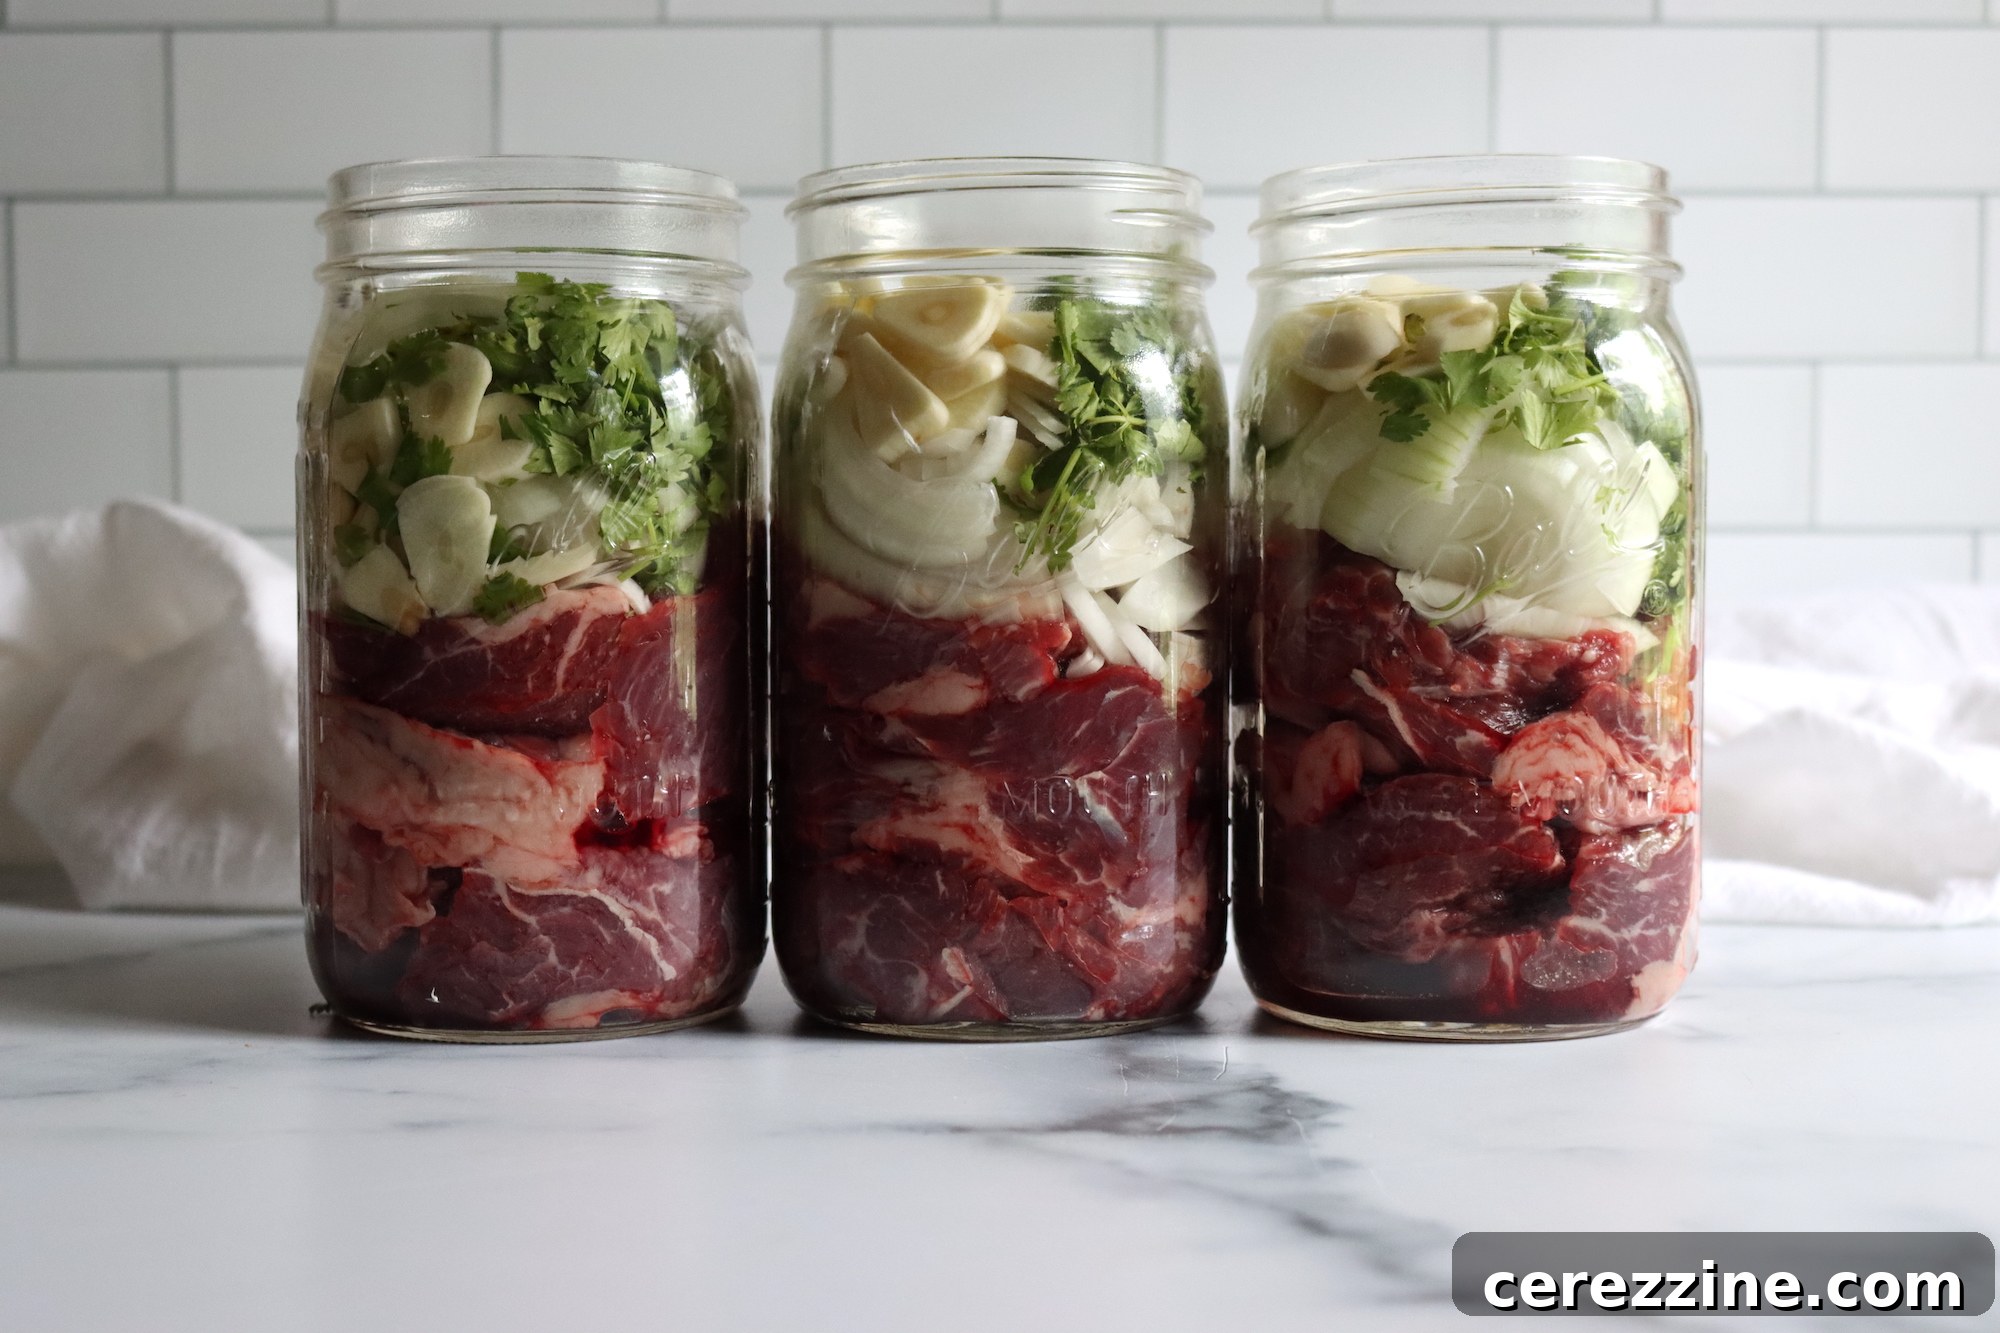
Unlock the secret to effortless, gourmet meals with Home Canned Chipotle Beef Taco Meat. This remarkable recipe, often referred to as Beef Barbacoa, transforms an inexpensive cut of beef into tender, flavorful, heat-and-serve perfection, ready whenever hunger strikes. Imagine succulent, smoky beef, infused with aromatic spices, waiting patiently on your pantry shelf – a family favorite that brings convenience and incredible taste to your table with minimal effort. This pressure canning recipe, a simple raw pack method from Ball Canning, simplifies the preservation process, allowing you to enjoy delicious, homemade meals without the daily grind of slow cooking.
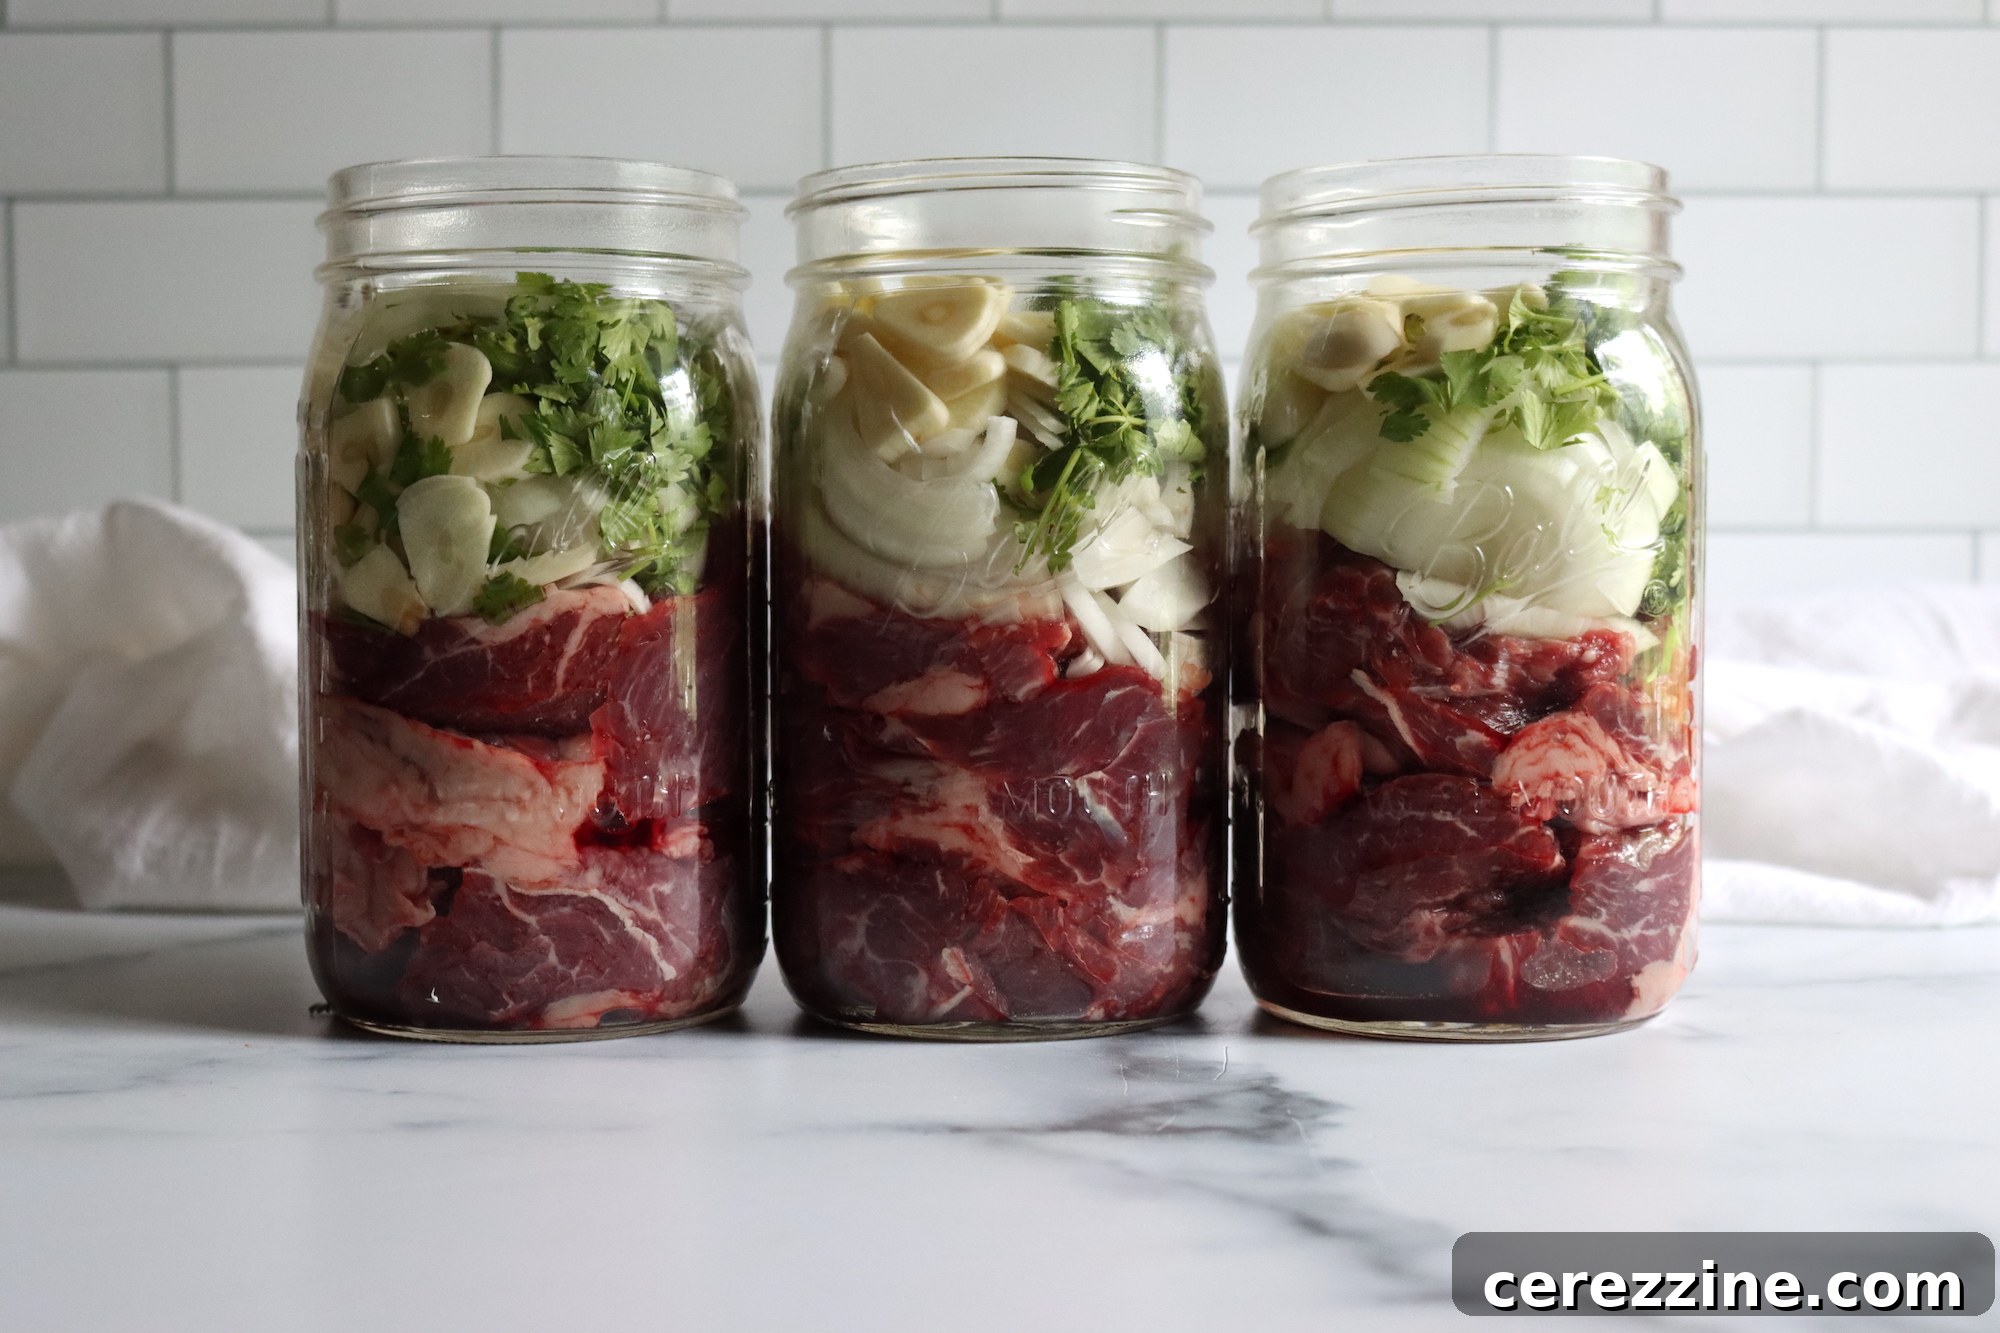
When asked for their most cherished home canning recipes, many enthusiasts consistently rave about this innovative Chipotle Beef Taco Meat recipe. It’s a culinary marvel that not only tenderizes tougher, more economical cuts of beef through the magic of pressure canning but also imbues them with an incredible depth of flavor. The star of the show, chipotles in adobo, provides a delightful smoky heat, perfectly complemented by the savory notes of onions, garlic, and fresh cilantro. This isn’t just plain meat in a jar; it’s a fully prepped, ready-to-heat, and incredibly flavorful meal starter that promises to revolutionize your weeknight dinners.
Having experienced its versatility firsthand, I can confidently say this recipe goes far beyond just taco meat. While it excels in classic tacos, its rich, savory profile makes it an ideal topping for hearty burrito bowls, a flavorful addition to chili, or even a robust accompaniment to eggs for a truly satisfying breakfast. The possibilities are endless, making it a true pantry powerhouse.
Preparing this culinary delight from the jar is wonderfully straightforward. Simply transfer the contents of a sealed jar into a pan and cook over high heat. Allow the liquid to evaporate completely, a process that typically takes about 5 to 10 minutes, depending on your stove and the amount of liquid. What remains is a rich, deeply flavored beef that crisps beautifully in its own drippings, developing an irresistible texture and an even more profound taste that pairs exquisitely with a myriad of dishes.
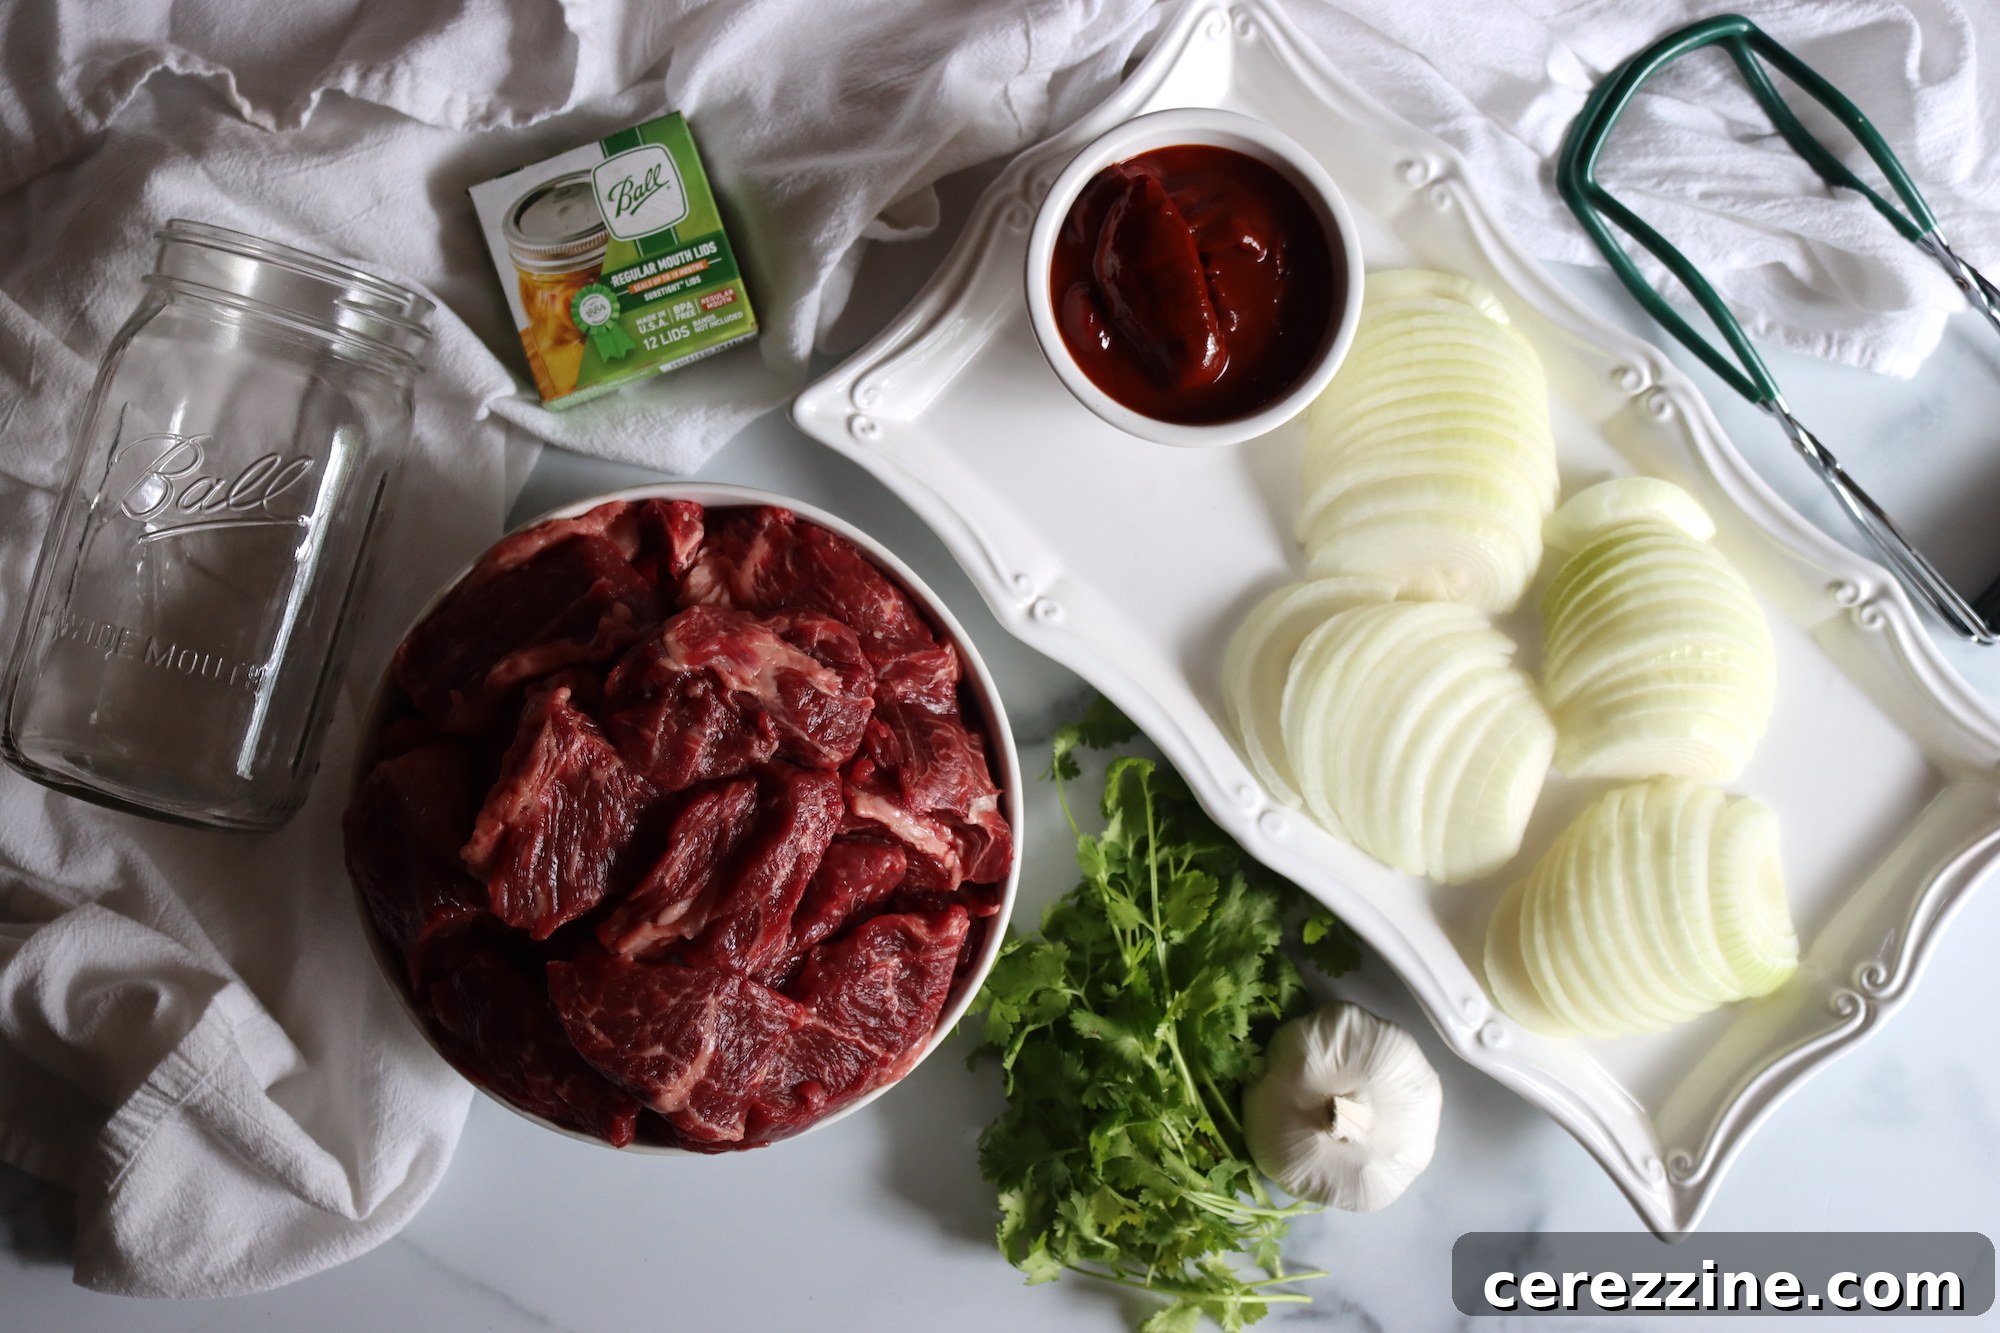
Ingredients for Chipotle Beef Taco Meat: Your Pantry Staples for Flavor
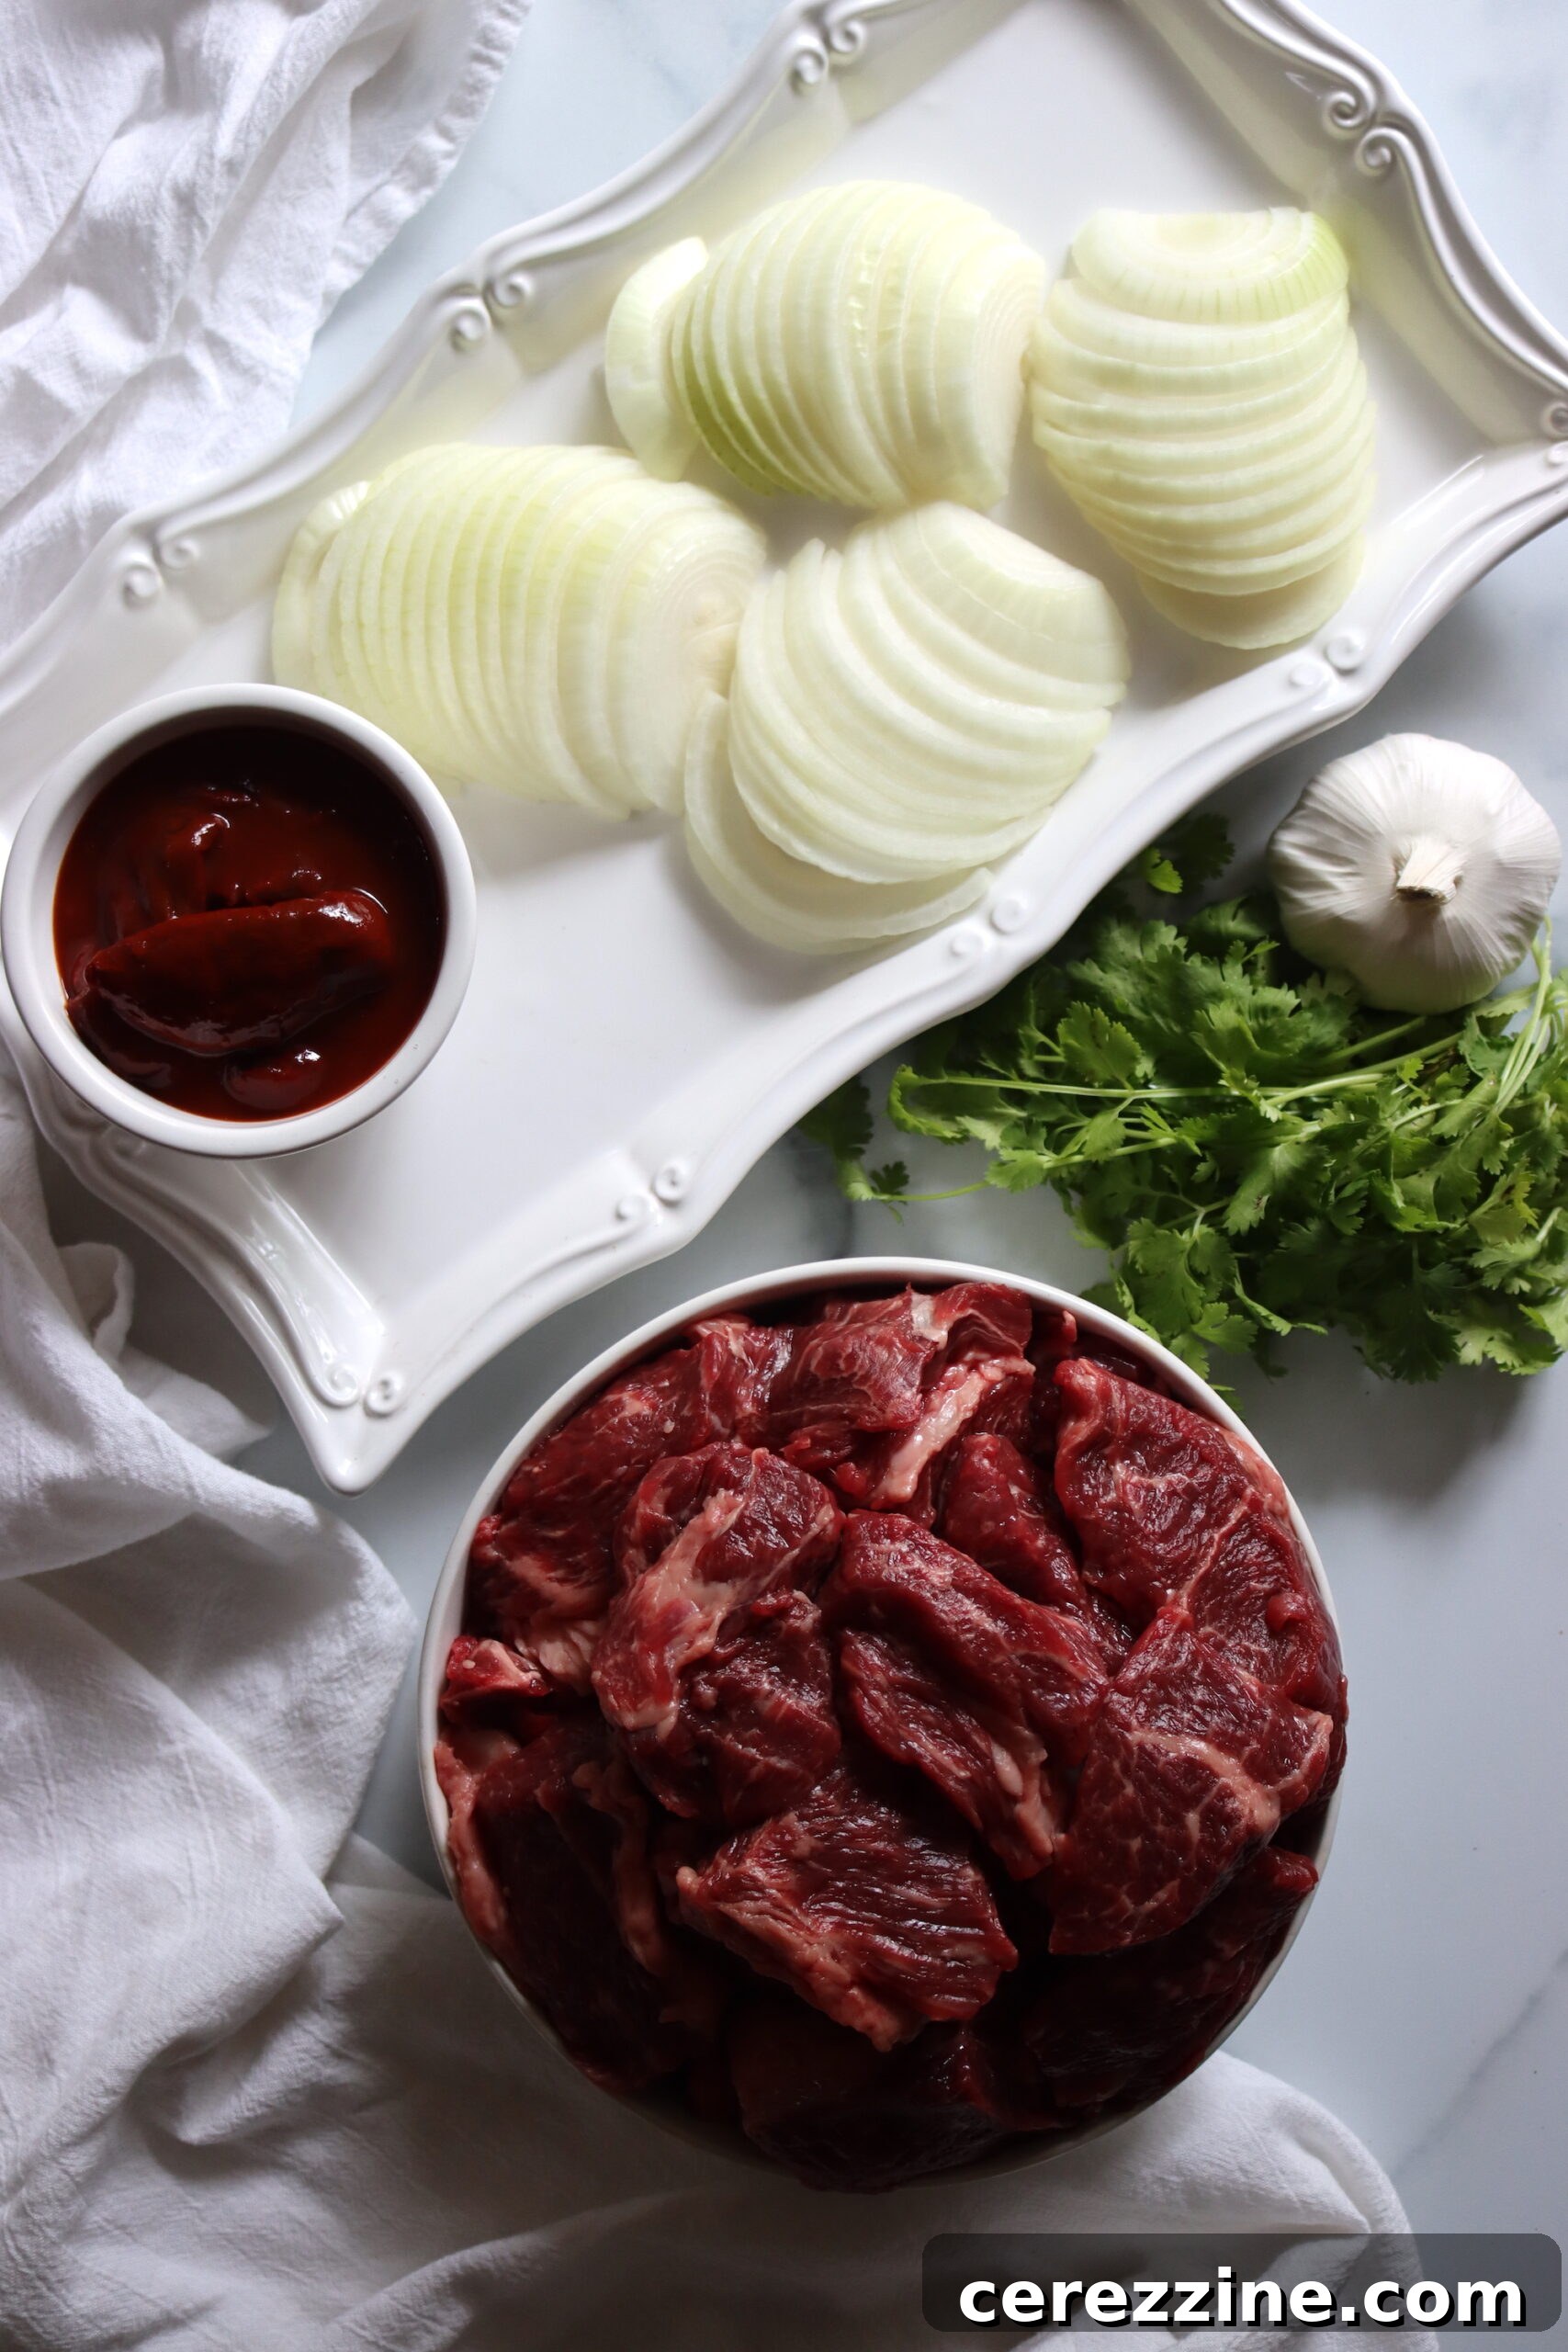
Crafting this incredible chipotle beef taco meat requires a surprisingly simple set of ingredients, carefully selected for both flavor and safe canning. This recipe is a meticulously tested creation from The All New Ball Book of Canning and Preserving, ensuring reliability and adherence to established food safety guidelines. Furthermore, it aligns with the University of Alaska’s Hearty Soup Protocol, guaranteeing a safe and delicious end product. For a standard canner batch, which typically yields two quarts, you will need the following:
- 2 lbs (1 kg) beef brisket, trimmed of excess fat and cut into uniform 2-inch (5 cm) chunks. Brisket, or other tough cuts like chuck roast, are perfect here as pressure canning tenderizes them beautifully.
- 2 cups (500 ml) sliced onions, which add a sweet and savory base to the meat’s flavor profile.
- 2 tsp (10 ml) salt. Salt is essential for flavor and also contributes to the preservation process.
- 2 tsp (10 ml) oregano, preferably Mexican oregano for an authentic flavor, but Mediterranean oregano works well too.
- 8 cloves garlic, thinly sliced. Fresh garlic provides a pungent, aromatic kick that is crucial for Mexican-inspired dishes.
- ½ cup (125 ml) fresh cilantro, chopped. Cilantro offers a bright, herbaceous note that perfectly complements the smoky chipotle.
- 2 chipotle peppers in adobo sauce, finely chopped. These peppers are the heart of the dish, delivering that signature smoky heat and rich adobo flavor.
- Beef broth, for filling the jars. You can use homemade, store-bought, or broth made from bouillon.
While a two-quart (or four-pint) batch is the minimum recommended for proper heat distribution in a pressure canner, feel free to scale this recipe up to fill your canner to its capacity. Many home canners, myself included, often opt for a larger batch given how popular and versatile this meat is. For instance, a 30-quart All-American Brand Pressure Canner can accommodate up to 14 pints, making it perfect for maximizing your efforts.
Customization is key to any family recipe. If certain vegetables are not to your family’s liking, they can be omitted. Cilantro, for example, is a love-it-or-hate-it herb; if you’re in the latter camp, feel free to leave it out without compromising the safety of the recipe. The crucial element to remember is to always fill your jars with water or broth, ensuring a precise 1-inch headspace. This ensures there is sufficient liquid to facilitate even heat penetration throughout the jar during the pressure canning process, which is vital for food safety.
Canning Chipotle Beef Taco Meat: A Simple Raw Pack Method
The beauty of this chipotle beef taco meat recipe lies in its elegant simplicity, particularly for a pressure canning application. Ball Canning thoughtfully designed this as a “raw pack” recipe, meaning the raw ingredients are packed directly into the jars, then topped with hot liquid before processing. This method significantly reduces prep time, making it an accessible project even for those new to pressure canning. Here’s a detailed, step-by-step guide to help you create this flavorful meal in a jar:
- Prepare Your Spice Base: Begin by combining the salt and oregano in a large mixing bowl. These foundational spices will infuse the beef with their aromatic qualities.
- Add Aromatics and Heat: To the same bowl, add your chopped fresh cilantro, thinly sliced garlic, and the finely chopped chipotle peppers in adobo. The chipotles are essential for that signature smoky, spicy flavor, while the garlic and cilantro contribute freshness and depth.
- Prepare the Beef Broth: While you’re assembling the solid ingredients, start heating your beef broth. You can make homemade broth from beef bones for a richer flavor, or use a convenient store-bought liquid broth, bouillon cubes, or powder dissolved in hot water. Ensure it’s hot when ready to fill the jars.
- Cut and Season the Beef: Trim any excess fat from your beef brisket and cut the meat into uniform 2-inch (5 cm) chunks. Consistency in size is important for even cooking and canning. Add these beef chunks to the bowl containing your spice and aromatic mixture.
- Combine All Ingredients: Using a sturdy wooden spoon or your impeccably clean hands, thoroughly mix all the contents of the bowl. Ensure that every piece of beef is well coated with the spices, garlic, cilantro, and chipotle peppers. This ensures a consistent, vibrant flavor throughout your finished product.
- Incorporate Onions: Add your sliced onions to the beef and spice mixture. Mix everything again meticulously. The onions will soften beautifully during canning, releasing their sweet flavor and tenderizing into the meat.
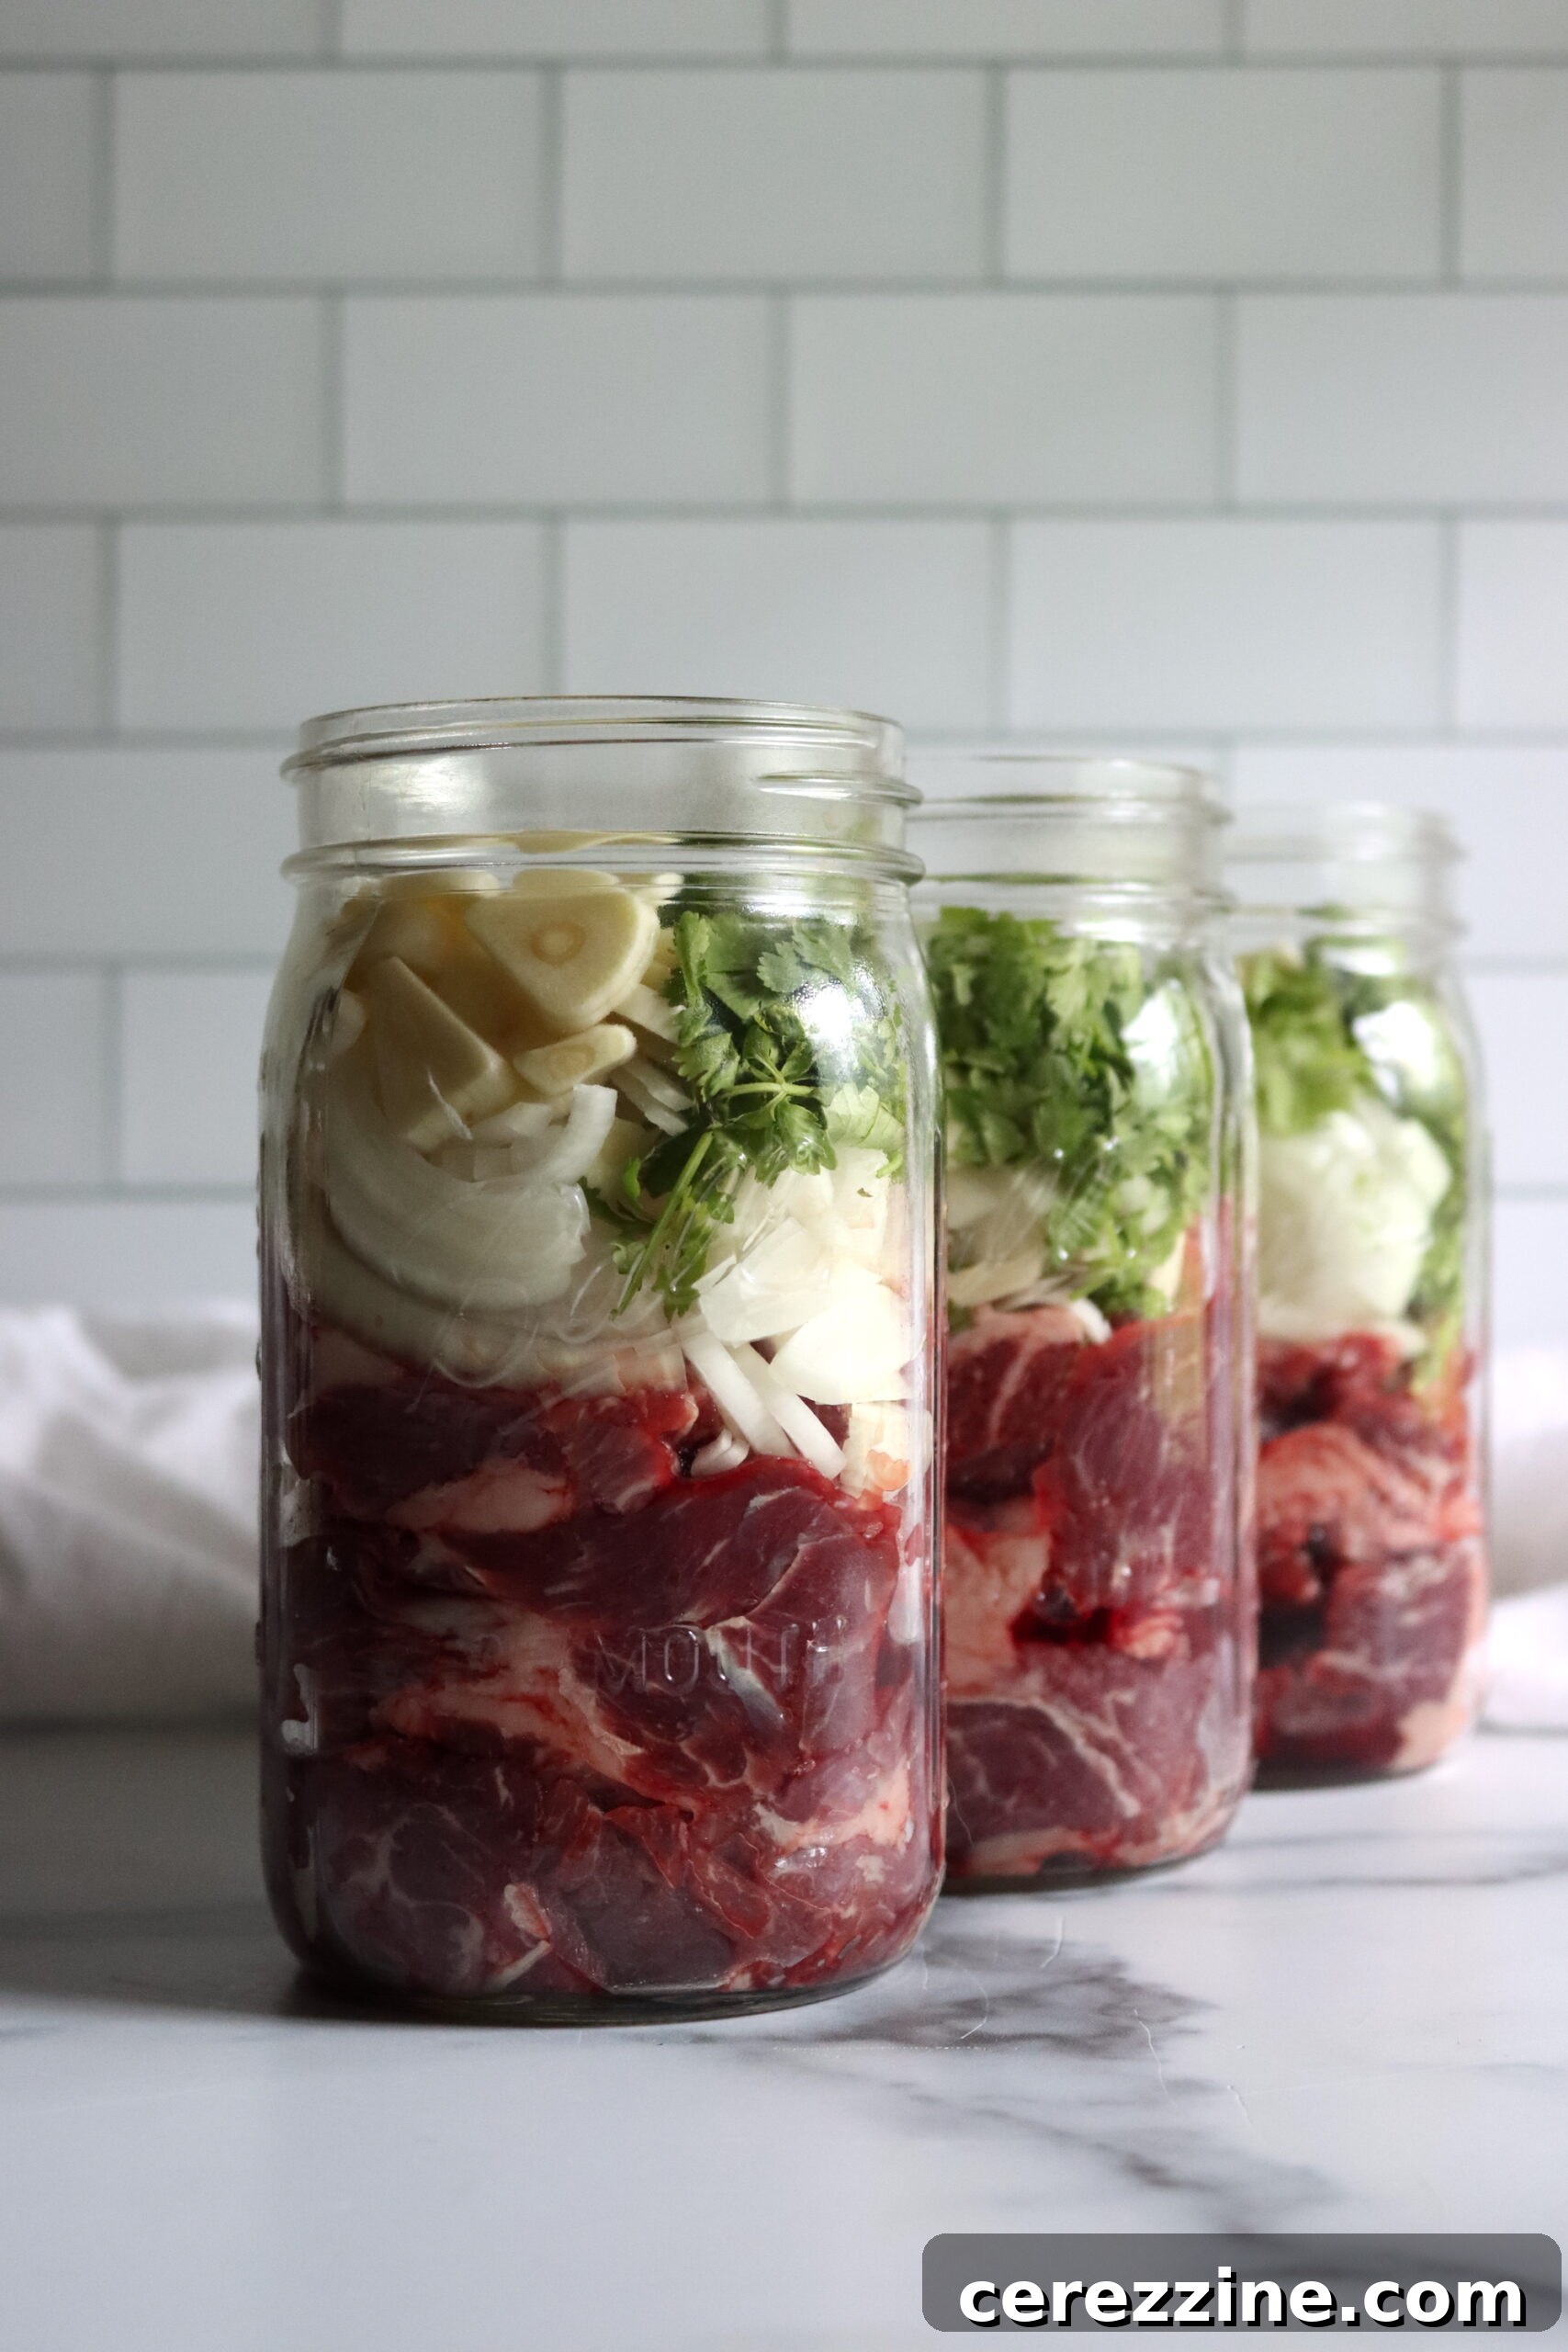
- Pack the Jars: Select your canning jars. While this recipe is designed for two-quart jars, you can also use pint jars (adjusting processing time accordingly). Carefully pack the seasoned beef and vegetable mixture into the clean, hot jars. Avoid pressing the contents down too firmly; a moderate pack is ideal. Crucially, leave precisely 1 inch of headspace from the rim of the jar. This space is essential for proper processing and seal integrity.
- Add Hot Broth: Gently pour the simmering hot beef broth over the packed beef mixture in each jar. Fill until the liquid just covers all the ingredients, while still maintaining that vital 1-inch headspace. Using a de-bubbler tool, carefully remove any air bubbles trapped within the jar. Finally, wipe the rims of the jars thoroughly with a clean, damp cloth to remove any food particles or grease, which could prevent a proper seal.
Pressure Canning Process
With your jars prepared, it’s time for the critical canning stage. Please note: Meat and other low-acid foods *must* be processed in a pressure canner to eliminate the risk of botulism. Water bath canning is not safe for this recipe.
- Load the Canner: Place the prepared jars onto the rack inside your pressure canner, ensuring they are not touching. Securely fasten the canner lid, making sure it’s locked into place according to your canner’s instructions.
- Vent the Canner: Turn the heat to high and allow a steady stream of steam to escape from the vent port for a full ten minutes. This critical step, known as venting, purges air from the canner, ensuring that the internal temperature reaches the required level for safe processing. After venting, place the weighted gauge or close the petcock.
- Achieve and Maintain Pressure: Allow the pressure canner to reach the correct pressure level. For dial gauge canners, aim for 11 lbs pressure. For weighted gauge canners, typically 10 lbs pressure is used. Always remember to adjust pressure for your specific altitude (refer to the “Altitude Adjustments” section below). Once the target pressure is reached, begin your processing time: 90 minutes for quart jars, or 75 minutes if you opted to can pint jars.
- Monitor Pressure: Throughout the entire processing time, it is paramount to maintain a consistent pressure level. If, for any reason, the pressure drops below the recommended 11 lbs (dial gauge) or 10 lbs (weighted gauge) at any point during the processing, you must immediately bring the pressure back up to the required level and restart your timer from the beginning. This ensures proper sterilization.
- Depressurize Naturally: Once the full processing time has elapsed, turn off the heat. Allow the pressure canner to depressurize naturally, without any intervention. Do not attempt to remove the lid until the pressure gauge reads zero (or, for weighted gauge canners, until no steam is escaping).
- Cool and Rest: Once the pressure has fully dropped, carefully remove the canner lid, tilting it away from your face to avoid steam. Using a jar lifter, carefully transfer the hot jars to a clean towel on your countertop. Leave the jars undisturbed for a minimum of 24 hours. This allows the seals to properly form and the contents to cool slowly.
- Check Seals and Store: After 24 hours, check each jar for a proper seal. The lid should be concave and not flex when pressed. Any unsealed jars must be refrigerated and consumed within a few days. For sealed jars, wash the outsides, label them with the contents and date, and store in a cool, dark place. And that’s it – your pantry is now stocked with delicious, ready-to-eat chipotle beef taco meat!
Crucial Altitude Adjustments for Pressure Canning
When pressure canning, maintaining food safety is paramount, and altitude plays a significant role. While the processing times for your recipes remain constant regardless of elevation, the required pressure levels must be adjusted to ensure the internal temperature of your canner reaches a safe point. Failing to adjust for altitude can compromise the safety and shelf-stability of your canned goods. Here are the essential altitude adjustments for both dial gauge and weighted gauge pressure canners:
For dial gauge pressure canners, which provide a continuous reading of internal pressure:
- 0 to 2,000 feet in elevation: Maintain 11 lbs pressure
- 2,001 to 4,000 feet in elevation: Maintain 12 lbs pressure
- 4,001 to 6,000 feet in elevation: Maintain 13 lbs pressure
- 6,001 to 8,000 feet in elevation: Maintain 14 lbs pressure
For weighted gauge pressure canners, which operate by rocking weights that release steam at specific pressure points:
- 0 to 1,000 feet in elevation: Use a 10 lbs pressure weight
- Above 1,000 feet in elevation: Use a 15 lbs pressure weight
Always consult your specific canner’s manual and refer to the latest recommendations from reputable sources like the National Center for Home Food Preservation (NCHFP) to ensure the safest canning practices.
Serving Chipotle Beef Taco Meat: Versatility Beyond Tacos
The true magic of home canned chipotle beef taco meat reveals itself when it’s time to eat. This heat-and-serve convenience is unparalleled. To transform your canned meat into a culinary masterpiece, simply follow these steps:
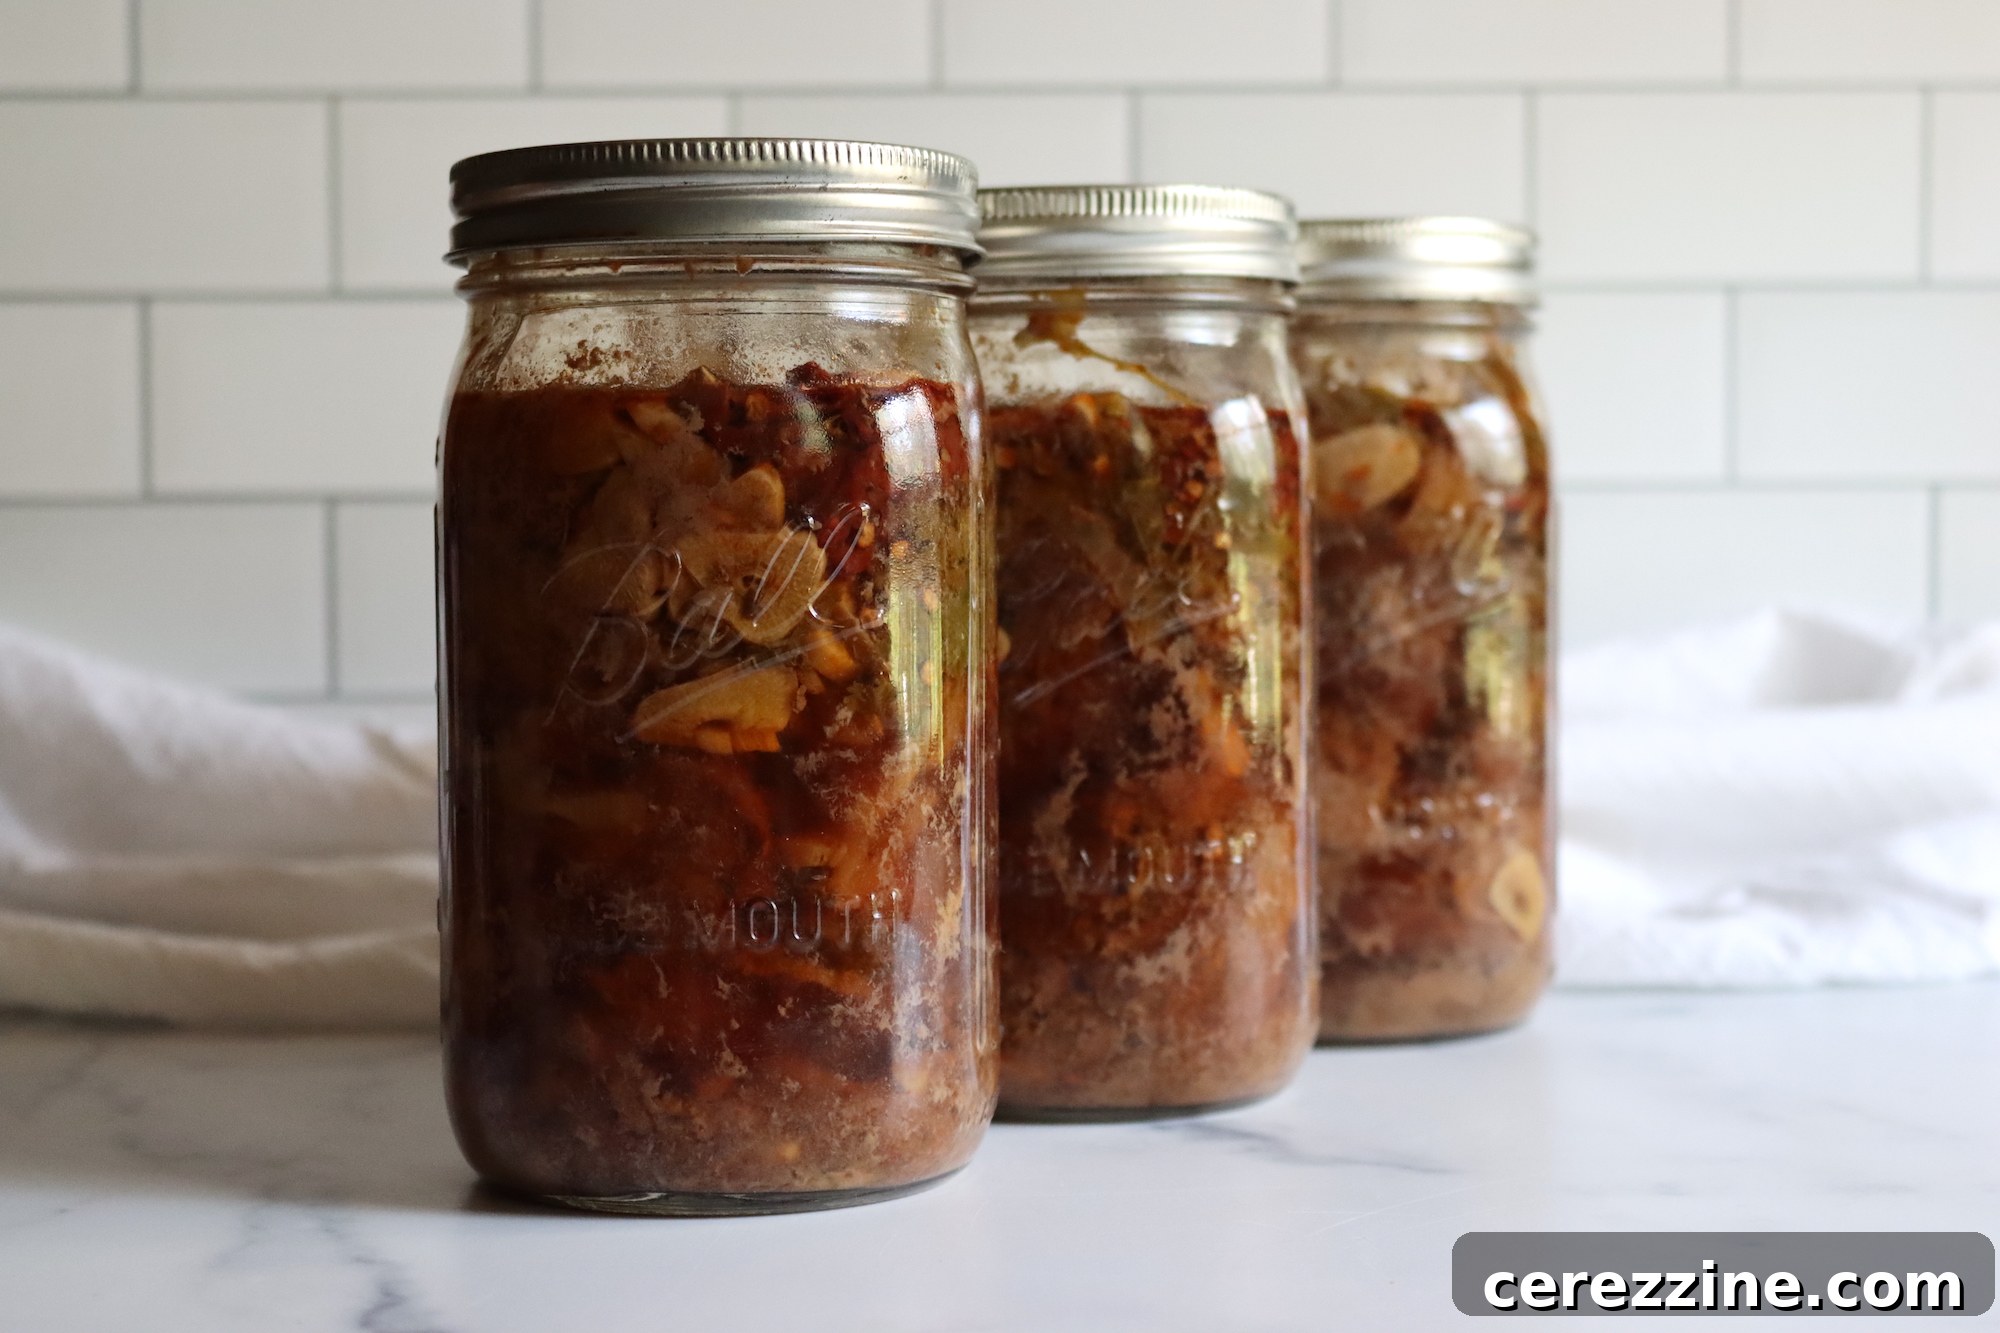
Open a jar of your flavorful chipotle beef. Pour the entire contents, including any remaining liquid, directly into a saucepan or a cast-iron skillet. Turn the heat to high and allow the liquid to cook down. The goal is for the liquid to evaporate completely, leaving the tender beef to sizzle and crisp slightly in its own rendered fat. This process typically takes about 5 to 10 minutes, but it can vary depending on the intensity of your stove and the amount of liquid. Be sure to stir frequently to prevent sticking or burning, ensuring an even crisping. The result is perfectly tender, slightly crisped beef bursting with savory, smoky flavor.
While the name suggests tacos, the versatility of this chipotle beef taco meat knows no bounds. Of course, serving it in warmed tortillas with your favorite toppings like creamy avocado slices, shredded cheese, fresh salsa, pickled red onions, or a squeeze of lime juice is a classic and highly recommended experience.
However, don’t be afraid to let your culinary imagination run wild! This flavorful beef is an excellent base for a wide array of dishes:
- Burrito Bowls: Serve it over a bed of rice with black beans, corn, and your favorite Tex-Mex toppings.
- Quesadillas & Nachos: Layer it between tortillas with cheese or pile it high on crispy tortilla chips for an elevated snack or meal.
- Enchiladas & Tamales: Use it as a rich, savory filling.
- Stews & Chilis: Add it to soups or chilis for an instant boost of complex flavor and tender meat.
- Breakfast Hash: Combine with potatoes and eggs for a hearty morning meal.
- Sandwiches: Create gourmet sliders or an incredible pressed sandwich.
- Salads: Top a vibrant salad for a protein-packed lunch.
- Stuffed Bell Peppers or Sweet Potatoes: A healthy and delicious option.
Once properly canned and sealed, your chipotle beef taco meat will maintain its peak quality on the pantry shelf for 12-18 months. Rest assured, it will remain safe to eat as long as the jar seals remain intact. This impressive shelf life makes it an invaluable staple for any well-stocked pantry, offering both convenience and peace of mind.
Any leftover meat after opening a jar should be promptly refrigerated to maintain freshness and safety.
5 from 3 votes
8 servings, Makes 2 Quarts
Chipotle Beef Taco Meat (Canning Recipe)
Canning Chipotle Beef Taco meat is an easy heat-and-serve meal in a jar that the whole family will love. This canning recipe for beef taco meat is a simple raw pack recipe from Ball Canning, meaning it’s quick to prep and get into the canner. That little bit of work ahead of time will save slow cooking later, and you’ll have tender, flavorful meals ready to eat on your pantry shelf.
Rate
Equipment
-
Pressure Canner
Ingredients
- 2 lbs beef brisket, trimmed and cut into 2″ (5 cm) chunks
- 2 cups onions, sliced
- 2 tsp salt
- 2 tsp oregano
- 8 cloves garlic, sliced
- ½ cup fresh cilantro, chopped
- 2 medium chipotle peppers in adobo, chopped
- Beef broth
Instructions
-
In a large bowl, combine oregano and salt.
-
Add chopped cilantro, sliced garlic, and finely chopped chipotle peppers to the same bowl.
-
Simmer beef broth using beef bones or bouillon cubes, liquid, or powder.
-
Trim excess fat from beef and cut into two-inch chunks.
-
Add beef chunks to the spice mixture in the bowl and mix well using a wooden spoon or clean hands.
-
Incorporate sliced onions with the beef chunks and spice mixture, ensuring thorough mixing.
-
Pack the beef mixture into your jars, without compressing, leaving an inch of headspace at the top.
-
Pour hot beef broth into the jars, covering the mixture and maintaining the one-inch headspace. Wipe jar rims clean.
-
Load jars into the pressure canner, seal, and heat.
-
Vent steam for ten minutes, then apply pressure weight accordingly.
-
Maintain 11 lbs pressure for dial gauge or 10 lbs pressure for weighted gauge for 90 minutes (quarts) or 75 minutes (pints).
-
After canning time, turn off heat and allow the canner to depressurize.
-
Wait until pressure reads zero before removing the lid.
-
Let jars sit undisturbed for 24 hours.
-
Check seals, label jars, and store them appropriately.
Notes
Pressure Canning Altitude Adjustments
With pressure canning, the processing times stay the same at higher altitudes, but the pressures change. Here are the altitude adjustments for pressure canning:
For dial gauge pressure canners:
- 0 to 2,000 feet in elevation – 11 lbs pressure
- 2,001 to 4,000 feet in elevation – 12 lbs pressure
- 4,001 to 6,000 feet in elevation – 13 lbs pressure
- 6,001 to 8,000 feet in elevation – 14 lbs pressure
For weighted gauge pressure canners:
- 0 to 1,000 feet in elevation – 10 lbs pressure
- Above 1,000 feet – 15 lbs pressure
Nutrition
Nutrition information is automatically calculated, so should only be used as an approximation.
Explore More Beef Canning Recipes
The world of home canning offers endless possibilities, especially when it comes to preserving delicious beef. If you’ve enjoyed the convenience and flavor of this chipotle beef taco meat, you’ll be thrilled to discover other creative ways to put beef in a jar. Expanding your repertoire of beef canning recipes ensures variety and keeps your pantry stocked with diverse meal solutions. Here are a few more ideas to keep your home-canned meals interesting and exciting:
- Canning Beef Stew: A hearty, complete meal ready to heat and serve, perfect for chilly evenings.
- Canning Ground Beef: A versatile staple that can be quickly turned into countless dishes, from spaghetti sauce to casseroles.
- Canning Sloppy Joe Filling: A nostalgic and flavorful sandwich filling, ideal for quick lunches or casual dinners.
- Canning Chili con Carne: Your favorite comfort food, prepped and ready for a busy day.
- Canning Beef Pot Pie Filling: A cozy, savory filling that makes assembling a homemade pot pie incredibly fast.
These recipes demonstrate the incredible potential of home canning, allowing you to prepare nutritious, delicious meals ahead of time and enjoy them at your leisure. Happy canning!