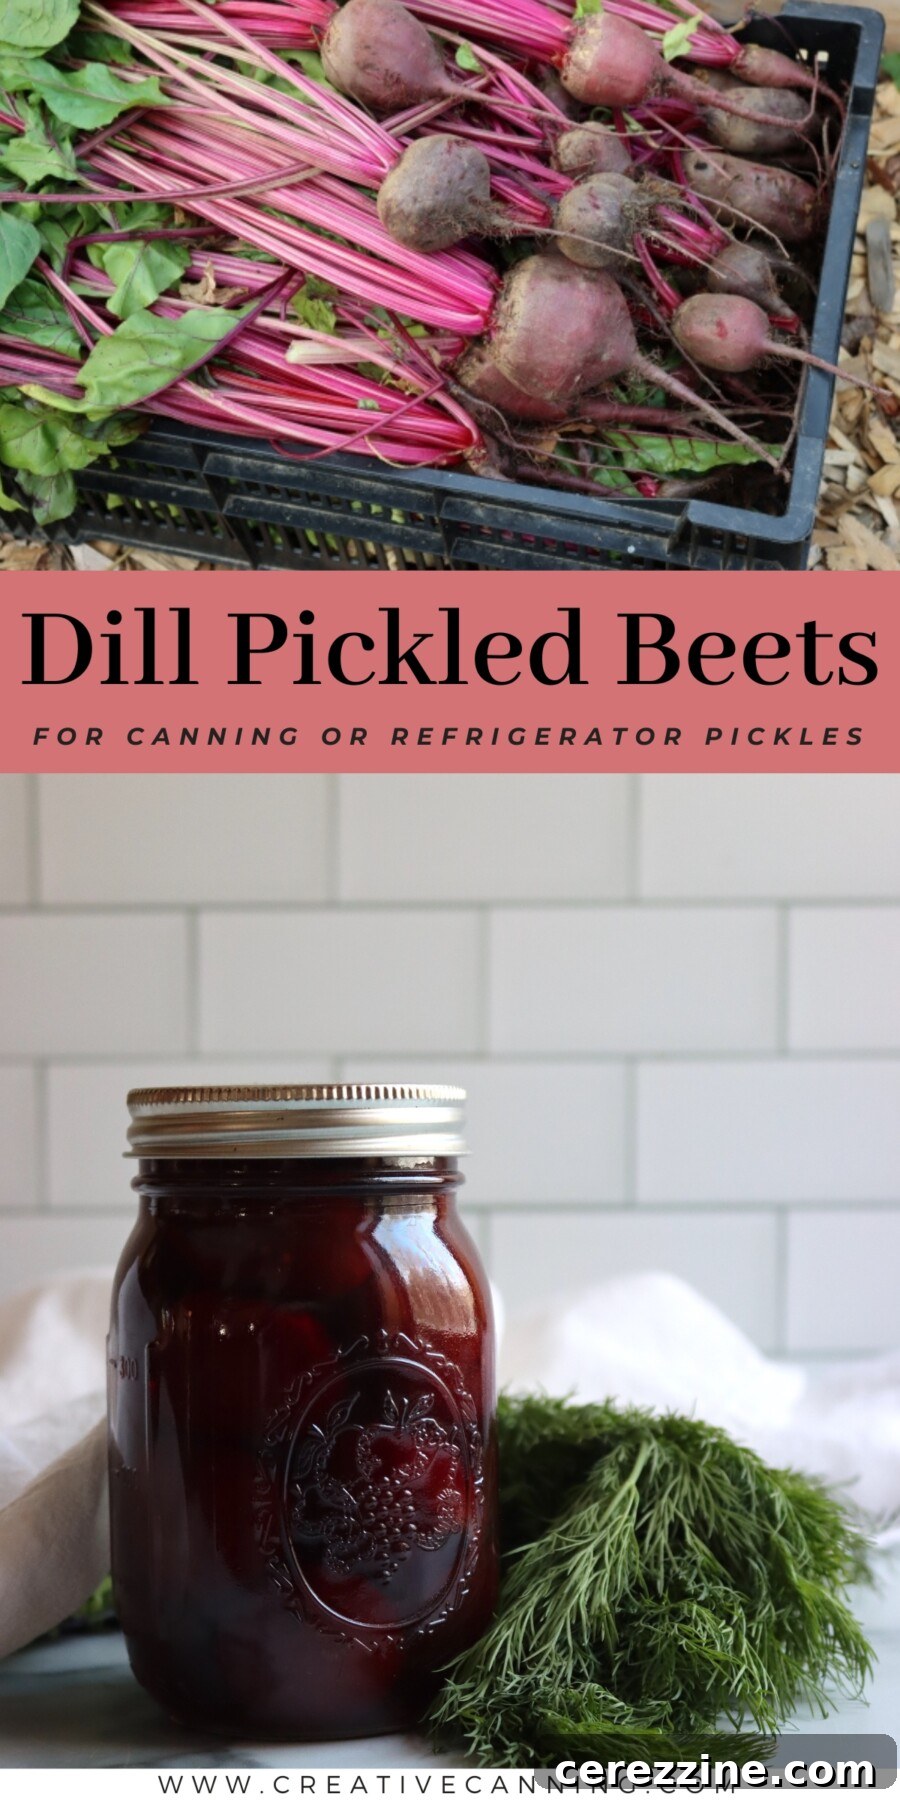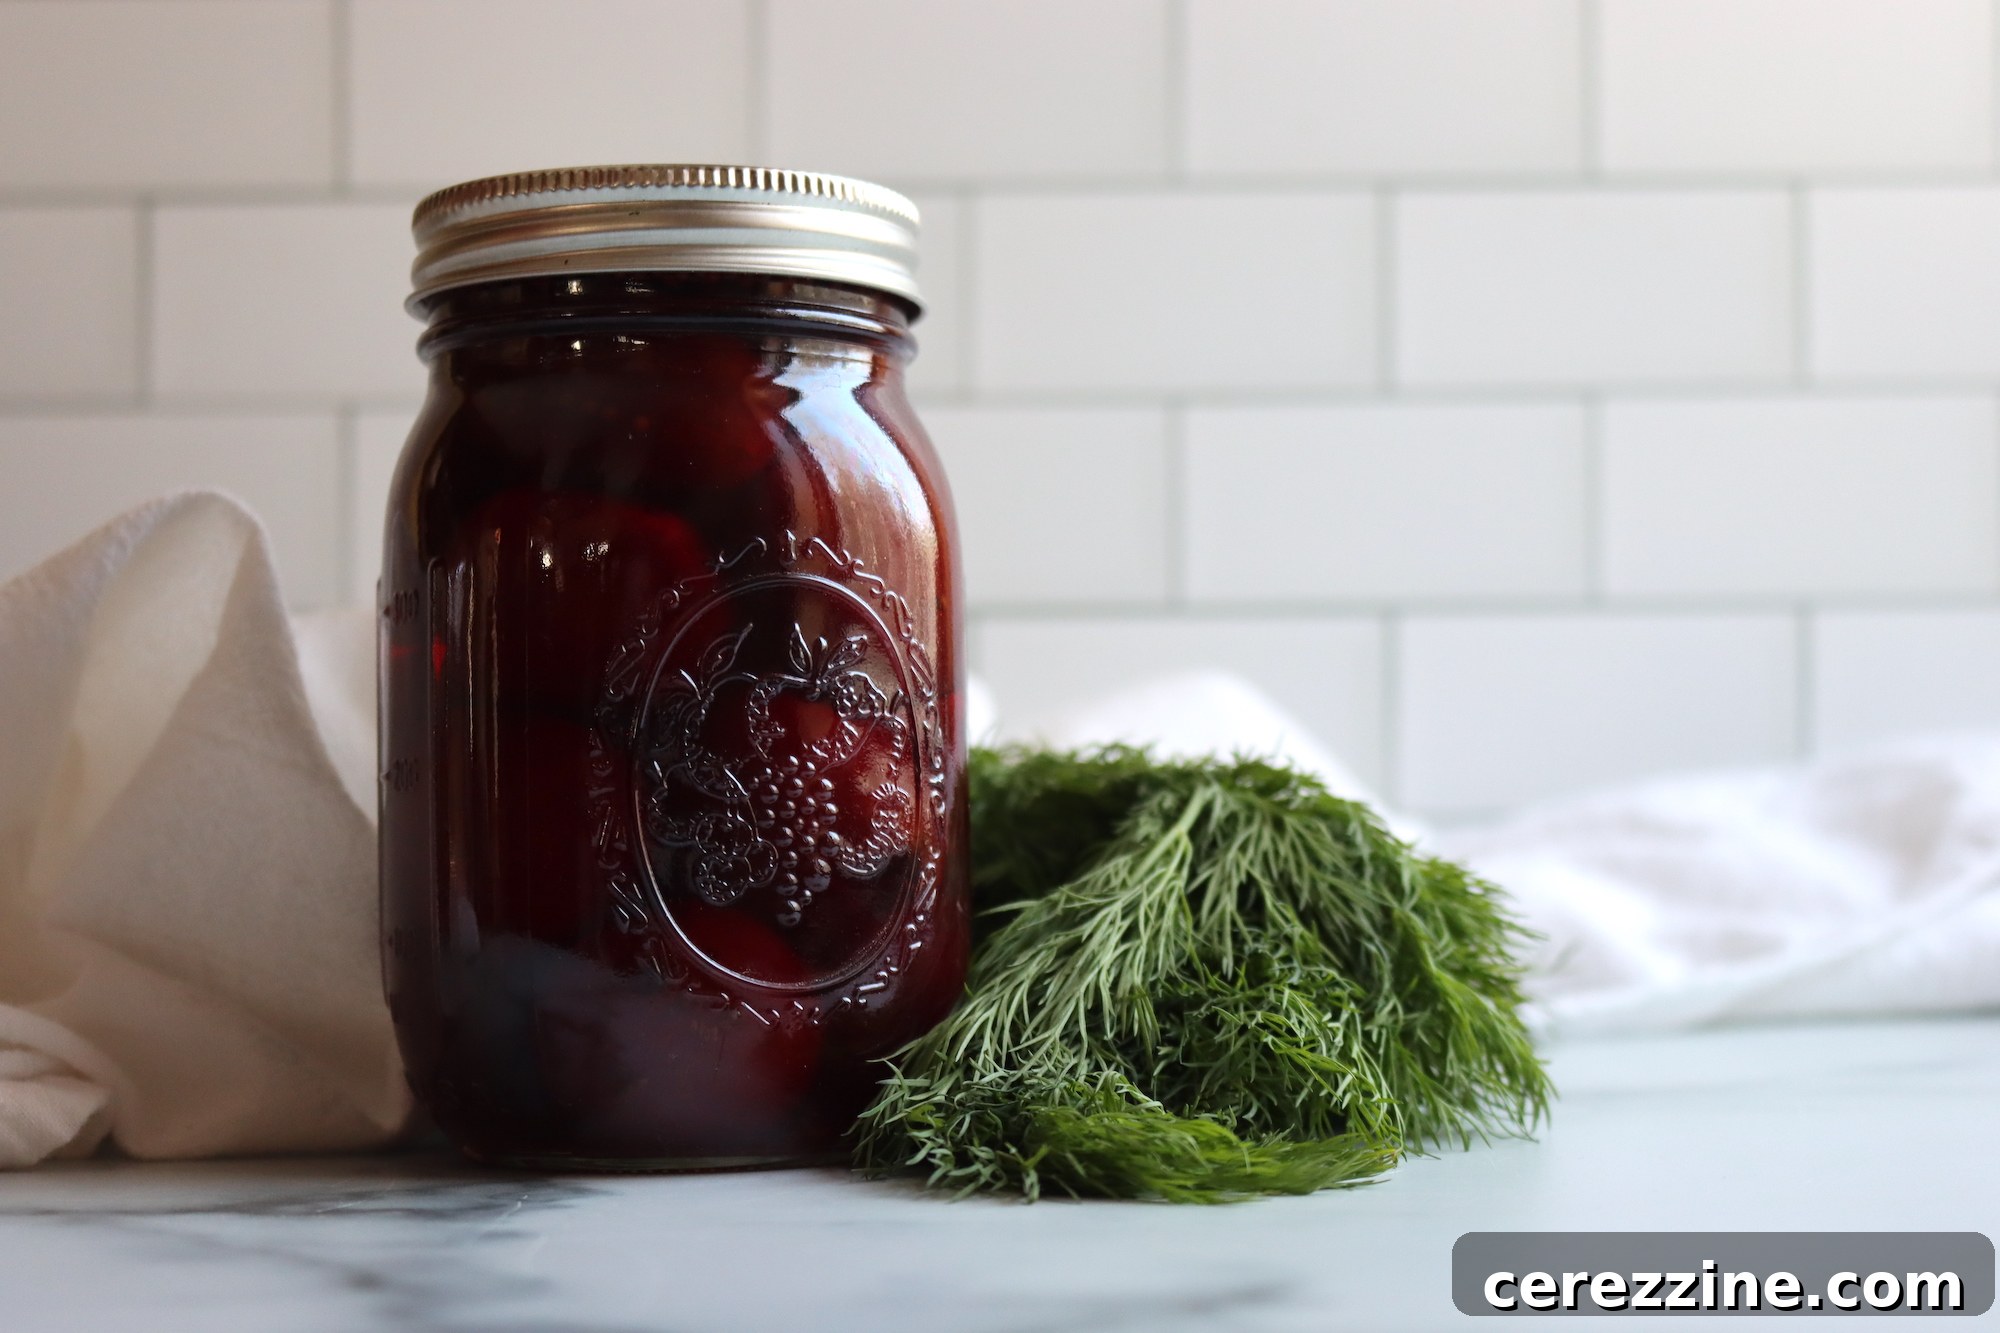
Welcome to the ultimate guide for making **Dill Pickled Beets**, a vibrant, sweet-tangy delight that brings the classic flavors of a deli pickle to your favorite root vegetable. This recipe is perfect for putting up a small batch of beets, infused with the aromatic essence of dill weed and the distinctive tang of dill seed, creating a universally loved “classic pickle” flavor profile.
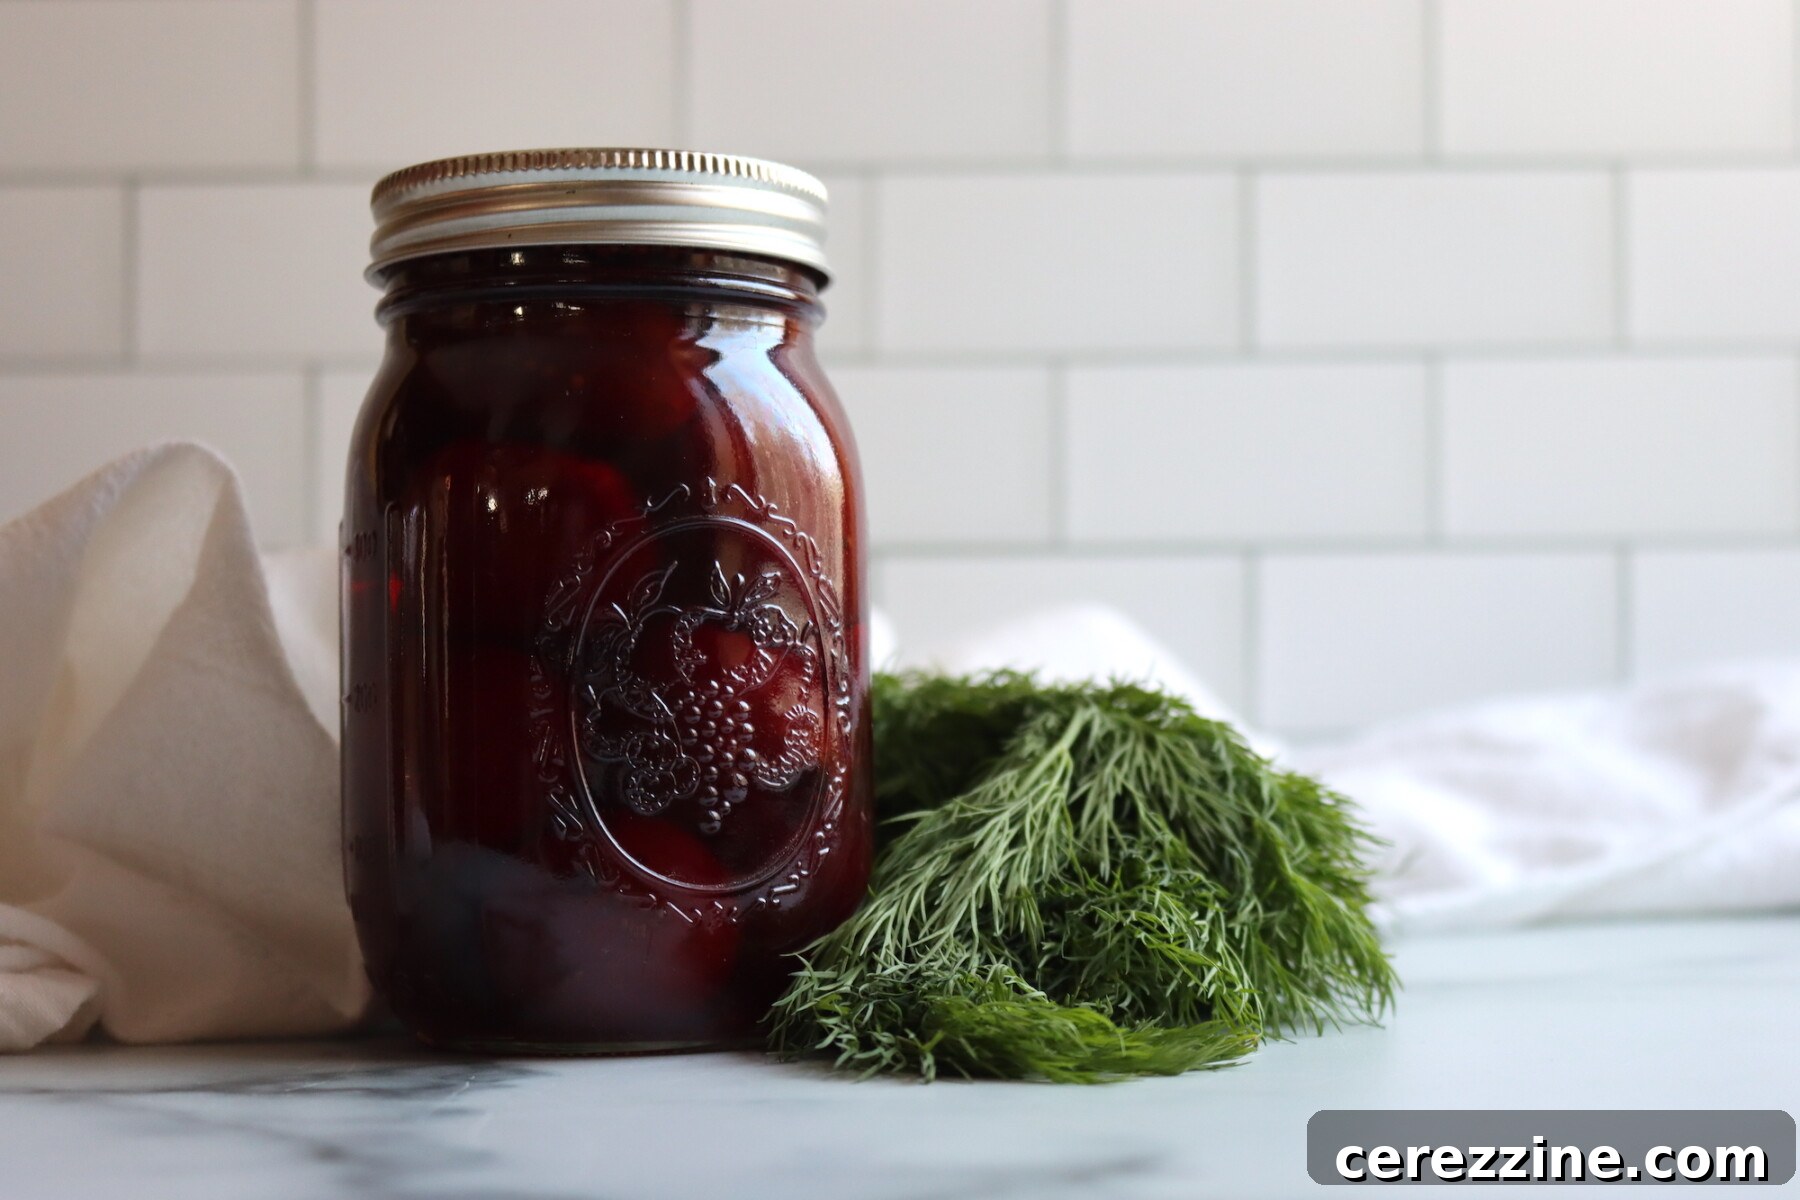
Rest assured, this recipe has been thoroughly reviewed for safety and accuracy by a Master Food Preserver, certified through the esteemed University of Cornell Cooperative Extension. Your canning endeavors are in good, safe hands!
This method for crafting delectable dill pickled beets draws inspiration from Put ’Em Up! by Sherri Vinton. This book is a treasure trove for anyone interested in practical, small-batch preserving projects, making it ideal for home canners and kitchen enthusiasts alike. The beauty of this recipe lies in its versatility: it’s a vinegar pickle (not fermented) that can serve as a quick, short-term refrigerator pickle or be processed as a shelf-stable boiling-water canned pantry staple, ready to brighten your meals year-round.
Why You’ll Love This Homemade Dill Pickled Beets Recipe!

There’s a reason I return to this dill pickled beets recipe time and again: it strikes the perfect balance between traditional pickled beets and the beloved dill pickle. The earthy sweetness of the beets remains the star, but the addition of dill seed introduces that unmistakable, old-school deli pickle flavor. It’s a surprising yet harmonious combination that feels entirely fresh when paired with beets instead of conventional cucumbers. Imagine the vibrant color and unique taste adding a gourmet touch to any dish!
Beyond its fantastic flavor, this recipe is incredibly satisfying to make, especially on those days when you’re not planning a full-blown canning marathon. You can effortlessly cook the beets, whip up a quick brine, and within a short time, you’ll have several pints of these delightful pickles. They instantly elevate everyday meals, transforming simple salads, sandwiches, and potato-based dishes into something more complete and exciting. It’s a true kitchen hack for adding flavor and flair with minimal fuss.
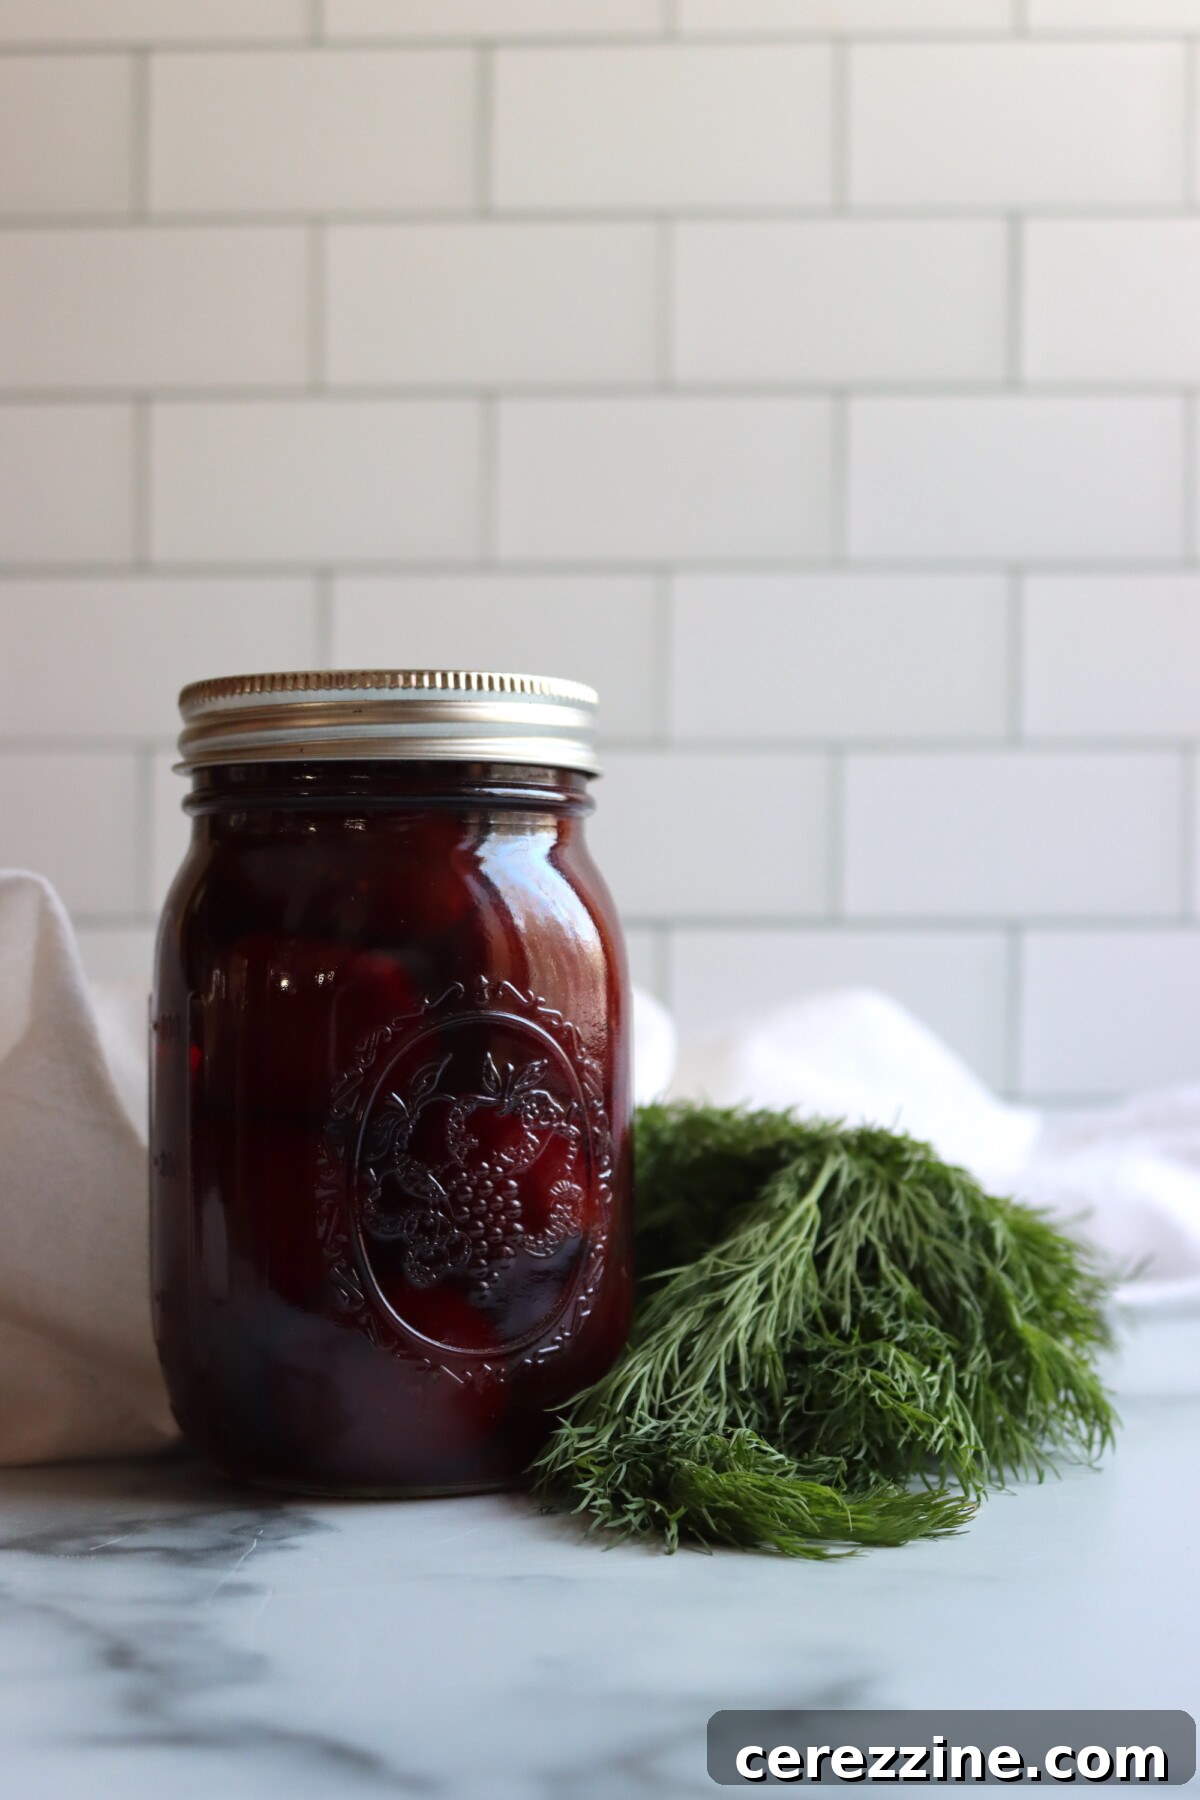
Dill Pickled Beets: Recipe Overview
Here’s a snapshot of what you can expect from this straightforward and rewarding dill pickled beets recipe:
- Recipe Name: Dill Pickled Beets
- Recipe Type: Delicious and simple Vegetable Pickling Recipe
- Canning Method: Waterbath Canning for shelf stability
- Prep/Cook Time: Approximately 60 to 90 minutes, mostly hands-off beet cooking
- Canning Time: 30 minutes (plus altitude adjustments)
- Yield: Approximately 3 pints, perfect for a small batch
- Recommended Jar Sizes: Quarter Pint, Half Pint, or Pint jars
- Essential Headspace: 1/2 inch for safe sealing
- Key Ingredients: Fresh beets, vinegar, sugar, salt, and the star: dill (both fresh weed and seeds)
- Safe Canning Recipe Source: This recipe adheres to comprehensive pickled beet guidance from the reputable University of Georgia Extension, ensuring food safety.
- Difficulty Level: Easy! The most intensive part is simply cooking and preparing the beets before they are packed into jars.
- Similar Preserving Projects: The technique mirrors other fantastic pickled vegetables such as Pickled Carrots, Pickled Cauliflower, Pickled Brussels Sprouts, or Pickled Green Beans. If you enjoy those, you’ll love these!
Essential Ingredients for Pickled Beets with Dill
Crafting exceptional dill pickled beets requires a short list of ingredients, each playing a crucial role in developing the complex and harmonious flavor. This simple root vegetable canning recipe relies on the interplay of natural sweetness from the beets, the bright tang of vinegar, and the aromatic depth of dill to achieve that perfect beet-pickle and deli-pickle fusion.
- Beets: As the primary component, beets contribute the majority of the finished product’s flavor, color, and body. For the best results, select small, firm, and richly colored beets that feel heavy for their size. These typically offer the sweetest and most concentrated flavor. Avoid overly large beets, which can sometimes be stringy or woody in texture. You’ll cook them until they are just tender enough to slice cleanly, ensuring they maintain a pleasant bite and texture even after pickling.
- Distilled White Vinegar: This is the acidic backbone of our vinegar pickle. Distilled white vinegar provides a clean, sharp brightness that perfectly complements the earthy beets. It’s imperative to use vinegar that is standardized to 5% acidity. This specific acidity level is critical for safe preservation, inhibiting the growth of harmful bacteria.
- Water: Water is used to dilute the vinegar, creating a balanced brine that is flavorful without being overly harsh or acidic. It’s crucial to adhere strictly to the recipe’s specified amount of water. Adding more water than recommended can reduce the brine’s acidity below safe levels, potentially compromising the preservation process and leading to an unsafe product.
- Sugar: A touch of sugar rounds out the sharp acidity of the vinegar and enhances the natural sweetness inherent in the beets. The goal is balance, not excessive sweetness, allowing the beet’s flavor to shine through while creating a well-rounded taste.
- Salt: Salt is more than just a seasoning here; it’s a flavor booster that deepens the overall taste profile and helps the brine achieve that distinctly “pickled” characteristic, moving beyond just sweet-sour. Use canning or pickling salt if possible, as it’s free of anti-caking agents that can sometimes cloud the brine.
- Fresh Dill Weed: This adds a beautiful, fresh herbal aroma and a bright, green flavor note to the pickles. While highly recommended for its vibrant contribution, it can be omitted if fresh dill is out of season or unavailable. The true, concentrated dill essence primarily comes from the dill seeds.
- Dill Seed: The cornerstone of that classic dill-pickle flavor! Dill seeds provide a more robust and earthy dill profile that truly defines these pickled beets. It’s what gives them that unmistakable “deli pickle” character and makes the jars taste complete and complex.
Ingredient Notes & Substitutions for Perfect Dill Pickled Beets:
If fresh dill weed isn’t an option, you can certainly use dried dill for a similar aromatic direction, though the fresh herb’s bright, verdant notes won’t be as pronounced. However, if you must choose, prioritize the dill seed, as it delivers the most authentic and concentrated dill flavor to the recipe.
For a slightly softer, more mellow flavor profile, you can substitute cider vinegar for distilled white vinegar. However, it is absolutely essential that your cider vinegar is also standardized to 5% acidity. Under no circumstances should you alter the vinegar-to-water ratio. This precise balance is fundamental to the safety and effectiveness of this vinegar-based pickling recipe. Feel free to adjust the dry spices slightly to suit your personal preference, but always maintain the integrity of the brine proportions for safe canning.
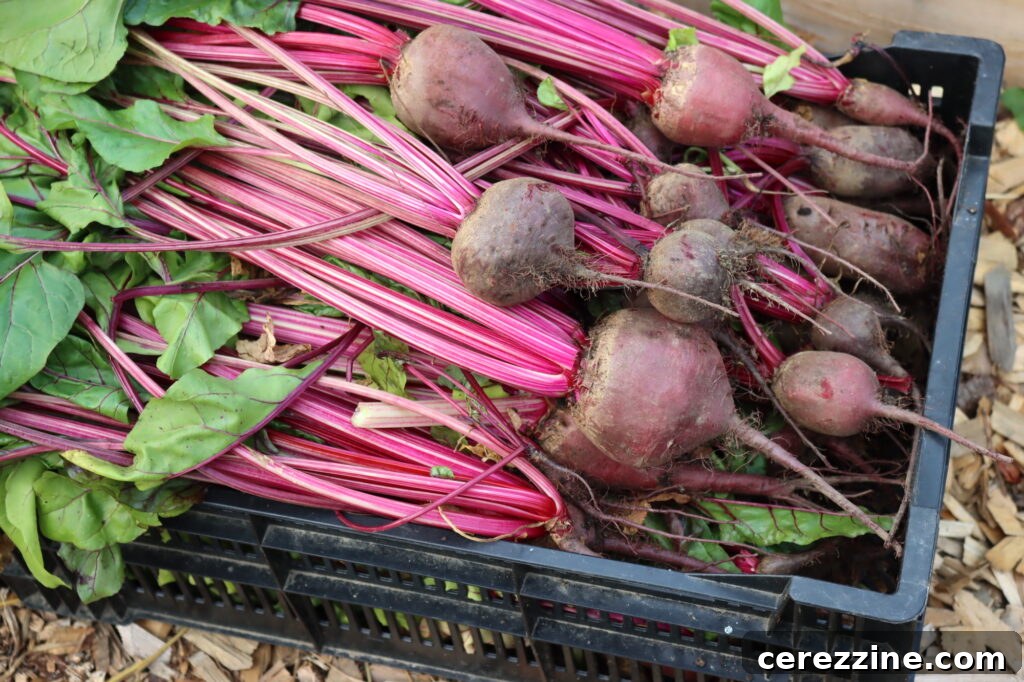
How to Make Dill Pickled Beets: A Detailed Guide
Making delicious dill pickled beets is a straightforward process that involves cooking the beets until nearly tender, preparing a flavorful hot dill brine, and then packing everything into jars. From there, you have the choice of short-term refrigeration or processing the jars in a boiling-water canner for long-term pantry storage. Follow these steps carefully for the best results and safest preservation.
Step 1: Preparing the Beets
Begin by cooking your fresh beets until they are just shy of being fully tender. You have a couple of excellent options for this stage: boiling or roasting. I often choose based on what other tasks are happening in my kitchen. Boiling beets is a quick and straightforward method, simply covering them in water and simmering until tender. Roasting, on the other hand, tends to concentrate the natural sugars and deepen the beet flavor, adding another layer of complexity to your finished pickles. Whichever method you choose, the goal is beets that are soft enough to slice with ease but still firm enough to hold their shape and not become mushy during the pickling process.
Once cooked, allow the beets to cool just enough so you can comfortably handle them. The skins should then slip off quite easily; a quick rub with a paper towel or your fingers usually does the trick. Trim off the stem and root ends, then cut the beets in half. Slice them into uniform 1/4-inch slices. Consistency in thickness is key here, as it ensures they pack evenly into jars and pickle consistently, absorbing the brine beautifully. Small beets, typically those measuring around 1 to 1 1/2 inches in diameter, can be left whole if preferred, adding a delightful visual variety to your jars.
Step 2: Crafting the Flavorful Brine
While your cooked beets are cooling, it’s the perfect time to prepare the pickling brine. In a nonreactive saucepan (stainless steel or enamel-coated is ideal to prevent metallic flavors), combine the distilled white vinegar (or cider vinegar, ensuring 5% acidity), water, sugar, and salt. Place the saucepan over medium-high heat and bring the mixture to a rolling boil, stirring frequently as it heats. Continue to stir until both the sugar and salt are completely dissolved into the liquid, creating a clear and uniform brine. As soon as the brine reaches a full boil and everything is dissolved, remove the pan from the heat. This is a quick brine, designed to be hot and fully mixed, ensuring it pours cleanly and safely into your prepared jars.
Step 3: Preparing Jars and Setting Up Your Canner
If you plan to water-bath can your dill pickled beets for shelf-stable storage, it’s crucial to get your boiling-water canner heating up concurrently with your beet and brine preparation. Fill your canner with water and bring it to a simmer (around 180°F or 82°C) or boil. Wash your canning jars thoroughly with hot, soapy water, rinse them well, and keep them hot. This can be done by leaving them in the simmering canner water or placing them in a hot dishwasher. Working with hot jars when adding hot brine helps prevent thermal shock, reducing the risk of jar breakage, and maintains a safe “hot pack” temperature. Ensure your lids and bands are also ready; lids should be new for proper sealing, and bands should be clean and in good condition. If you are opting for refrigerator pickles instead, simply use clean jars – there’s no need to keep them hot or prepare a canner.
Step 4: Packing the Jars with Beets and Dill
Carefully pack the prepared, sliced beets into your clean, hot pint jars. Arrange them snugly, but avoid overpacking to the point where the brine cannot circulate freely around the slices. The goal is a nicely filled jar that allows for proper pickling. At this stage, you’ll want to leave about 1 inch of headspace above the solids (the beets). This initial headspace ensures that all the beets will be fully submerged once the brine is added, crucial for safe preservation. Now, distribute the fresh dill weed and dill seed evenly among the jars. For best flavor distribution, tuck the dill in amongst the beet slices rather than letting it sit in one large clump at the top.
Step 5: Adding Hot Brine and Achieving Perfect Headspace
Once the beets and dill are packed, pour the hot brine over them, ensuring that all the beet slices are completely covered by the liquid. The liquid level should sit about 1/2 inch above the beets, maintaining a precise 1/2 inch of headspace at the very top of each jar. Headspace is the empty space between the food surface and the underside of the lid; it’s vital for creating a strong vacuum seal. Use a bubble remover or a non-metallic utensil (like a plastic chopstick) to gently slide down the sides of each jar, releasing any trapped air bubbles. Air pockets can lead to improper sealing. Re-check your headspace after removing bubbles and add a little more hot brine if necessary to maintain that critical 1/2 inch mark. Finally, wipe the jar rims meticulously clean with a damp cloth to ensure there’s no food residue that could interfere with the seal, then apply the lids and screw on the bands to fingertip-tight (just until resistance is met, not overly tight).
Step 6: Choosing Your Preservation Method (Refrigerator or Canning)
At this pivotal stage, you have a choice for preserving your delicious dill pickled beets: refrigerator pickles for short-term enjoyment or boiling-water canning for long-term pantry storage.
If you’re making refrigerator pickles, simply allow the filled jars to cool completely on your countertop. Once cool, cover them tightly and store them in the refrigerator. These non-canned pickles will be ready to enjoy after a few days for optimal flavor development and will last for up to 3 weeks in the fridge.
For shelf-stable pantry jars, proceed with the canning instructions provided below. This involves processing the jars in a boiling-water canner for the specified time, adjusted for your altitude. After processing, let the jars rest briefly in the canner for 5 minutes before carefully removing them. Allow them to cool undisturbed for 24 hours on a clean towel on your countertop. After cooling, check all seals to ensure they are concave and don’t flex when pressed. Any unsealed jars should be reprocessed immediately (within 24 hours) or refrigerated and consumed within a few weeks. Store sealed jars in a cool, dark place for up to one year.
Canning Dill Pickled Beets for Long-Term Storage
For safe and delicious shelf-stable dill pickled beets, follow these water-bath canning instructions carefully. Always ensure you have a properly prepared boiling-water canner and hot, clean jars ready. Once your beets are packed and covered with hot brine, double-check that you have precisely 1/2 inch of headspace. Use a non-metallic tool to remove any air bubbles from the jars, and adjust the liquid level if necessary to maintain the correct headspace. Wipe the jar rims clean to prevent sealing failures, then center new canning lids on the jars and apply the screw bands fingertip-tight.
Carefully lower the jars into the boiling-water canner, ensuring they are fully submerged by at least 1 inch of water. Bring the water back to a rolling boil, then begin your processing time. Process pint jars (or quart jars, if using) in a boiling-water canner for a minimum of 30 minutes. Remember that processing times must be adjusted according to your altitude for safety.
Critical Altitude Adjustments for Water Bath Canning Dill Pickled Beets
Adjusting canning times for altitude is non-negotiable for food safety, as water boils at lower temperatures at higher elevations. Please refer to the following guidelines:
- For Under 1,000 Feet in Elevation: Process for 30 minutes for both pints and quarts.
- For 1,001 to 3,000 Feet in Elevation: Process for 35 minutes for both pints and quarts.
- For 3,001 to 6,000 Feet in Elevation: Process for 40 minutes for both pints and quarts.
- For Above 6,001 Feet in Elevation: Process for 45 minutes for both pints and quarts.
Once the processing is complete, turn off the heat under the canner, remove the canner lid, and let the jars rest undisturbed in the hot water for an additional 5 minutes. This allows the jars to cool slightly and helps prevent siphoning (liquid loss). Carefully remove the jars from the canner using a jar lifter and place them on a clean towel or cooling rack, ensuring they are not touching each other. Let the jars cool completely and undisturbed for 24 hours. After cooling, check all seals. A properly sealed lid will be concave and will not flex when pressed. Remove the bands, wipe jars clean, and store sealed jars in a cool, dark place for up to one year. Any jars that did not seal should be reprocessed or stored in the refrigerator and consumed within three weeks.
If you opted for refrigerator pickles, simply let the jars cool to room temperature, then cover them and store them in the refrigerator for up to 3 weeks. They will be ready to eat after a couple of days when the flavors have had time to meld.
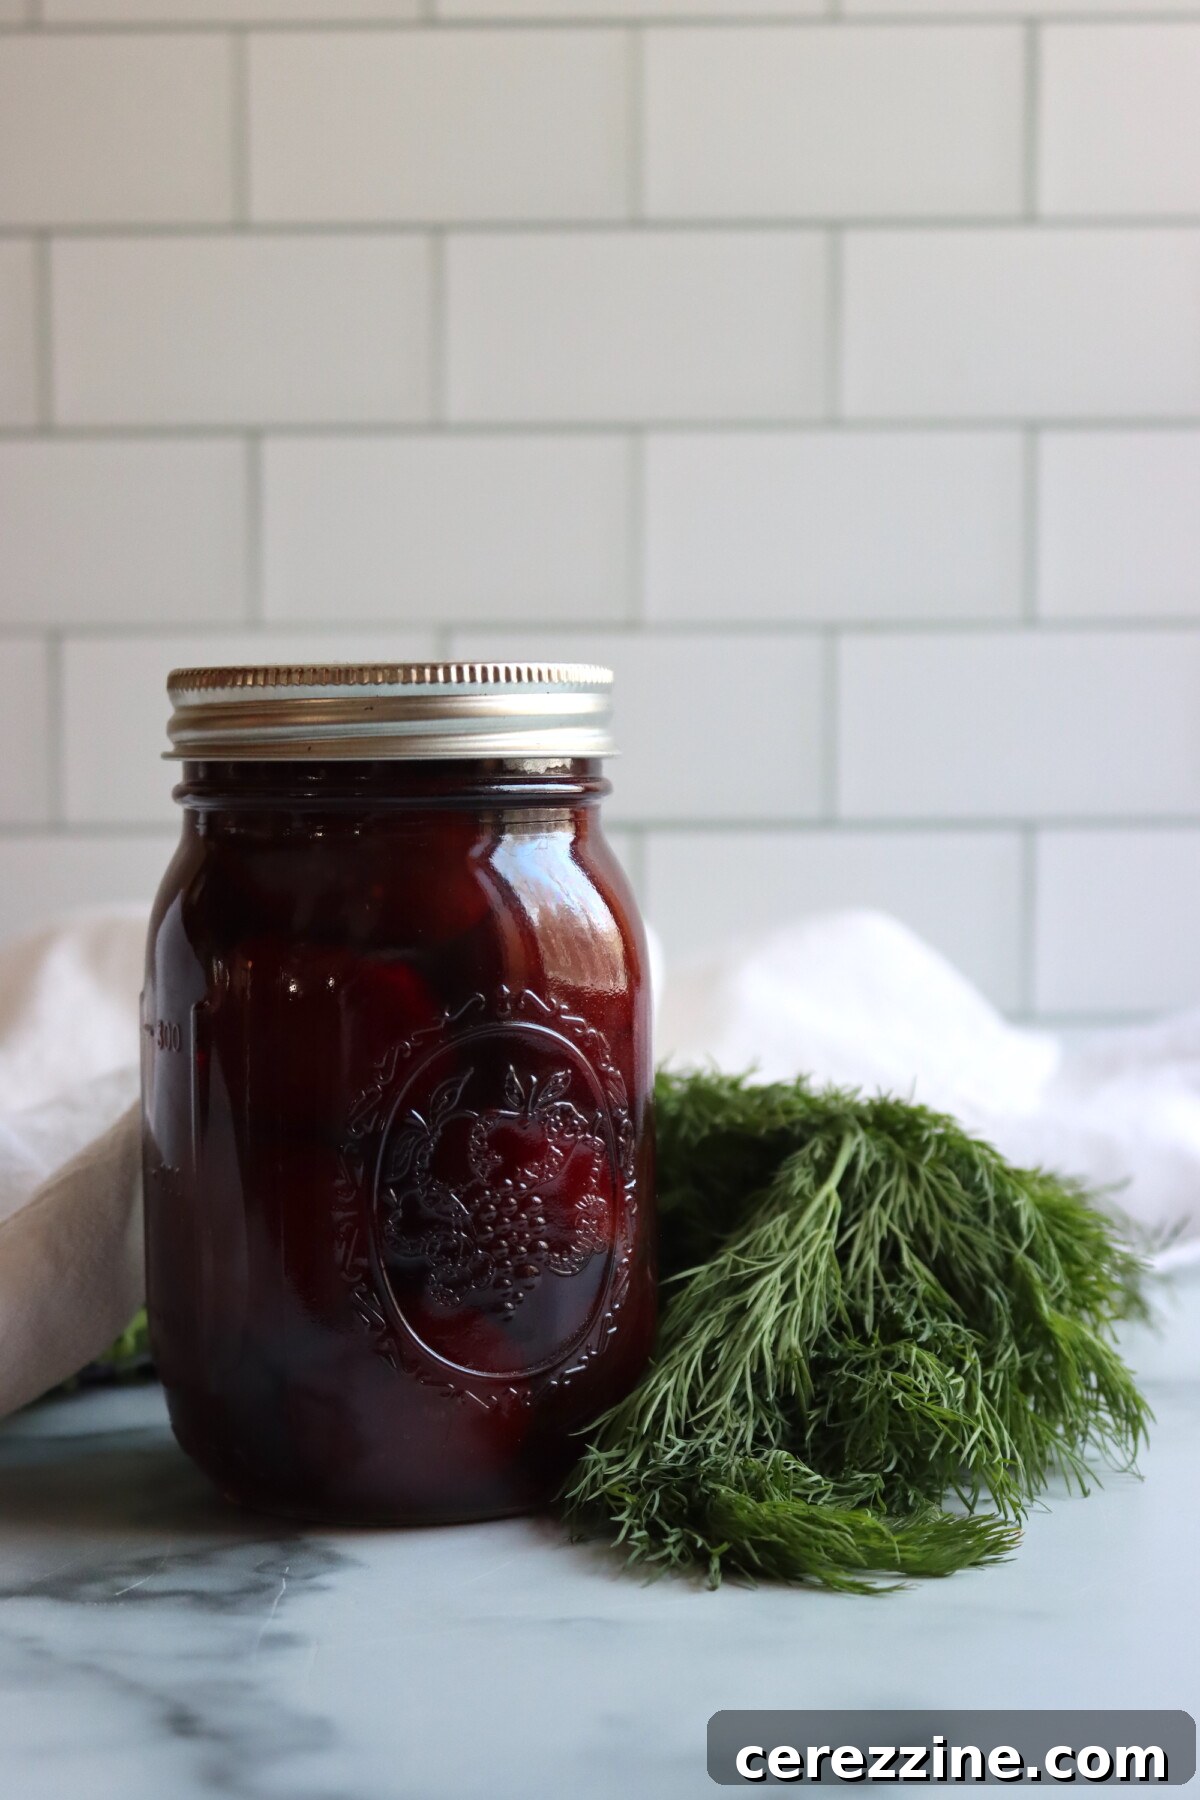
Delicious Serving Ideas for Your Dill Pickled Beets
These dill pickled beets are incredibly versatile and can elevate a wide array of dishes with their bright, sweet-tangy flavor. They are an absolute showstopper with anything potato-based, from classic potato pancakes and hearty hash to creamy roasted potatoes or a vibrant potato salad. The zesty tang cuts through the richness of potatoes beautifully.
Beyond potatoes, get creative! Try chopping them finely and stirring them into egg salad or tuna salad for a burst of color and flavor. Toss them into grain bowls or green salads to add a complex, zippy element. They pair exceptionally well with richer, savory foods; serve them alongside grilled meats, roasted chicken, or even a spoonful with a dollop of sour cream or a creamy dressing for a delightful contrast. For a quick and satisfying lunch, a forkful of these dill pickled beets served next to a simple sandwich or a hard-boiled egg can instantly perk up the entire plate, making every bite feel more gourmet and complete. Their vibrant acidity is a fantastic palate cleanser and flavor enhancer!
Frequently Asked Questions About Dill Pickled Beets
Here are some common questions to help you master your dill pickled beet-making process:
While using both fresh dill weed and dill seed provides the most complex and robust dill flavor, for a truly “classic pickle” note, the dill seed is the more critical component. If you have to choose just one, I highly recommend keeping the dill seed for that authentic taste. Fresh dill weed adds a lovely bright, herbaceous aroma that complements the seed, but its omission won’t fundamentally change the pickling essence.
These dill pickled beets are often quite tasty even shortly after being made. However, their flavor significantly deepens and mellows after a few days as the beets fully absorb the brine. For water-bath canned jars, I recommend allowing them at least a week to rest in storage. This resting period allows all the flavors to meld and mature, resulting in a more harmonious and delicious pickle.
Absolutely, either cooking method—boiling or roasting—works wonderfully for preparing the beets. Boiling is typically a quicker process and simplifies cleanup, making it a great choice for efficiency. Roasting, however, has the advantage of slightly concentrating the natural sugars in the beets, which can impart a deeper, richer flavor to your finished pickles. Choose the method that best suits your schedule and desired flavor intensity.
The 5% acidity level in vinegar is crucial for food safety in canning, particularly for water-bath canning. This specific acidity creates an environment too hostile for harmful bacteria like Clostridium botulinum to thrive and produce toxins. Altering the vinegar-to-water ratio or using vinegar with lower acidity can compromise this safety threshold, making your canned goods unsafe for consumption. Always use tested recipes and stick to the specified acidity levels.
To ensure a proper seal, follow these critical steps: use clean, hot jars with new lids, maintain the exact 1/2 inch headspace, remove air bubbles thoroughly with a non-metallic tool, wipe jar rims spotless clean before applying lids, and tighten bands to fingertip-tight (not too tight!). Process jars for the correct time, adjusted for altitude, and allow them to cool undisturbed for 24 hours. A good seal will result in a concave lid that doesn’t flex.
More Delightful Vegetable Pickling Recipes
Pickled Dilly Beans (Dill Pickled Green Beans)
Pickled Banana Peppers
Canning Sauerkraut
If you tried this Dill Pickled Beets Recipe, or any other recipe on Creative Canning, we’d love to hear from you! Please consider leaving a ⭐ star rating and share your thoughts in the 📝 comments below!
And make sure you stay in touch with me by following on social media for more preserving tips and recipes!
- Substack
No ratings yet
Servings: 24 servings, makes 3 pints
Dill Pickled Beets Recipe
Sweet-tangy dill pickled beets combine tender sliced beets with a bright vinegar brine, fresh dill weed, and dill seed for a classic pickle flavor. Make a small batch for the fridge or water-bath can pint jars for shelf-stable pantry pickles.
Prep Time: 30 mins
Cook Time: 1 hr
Canning Time: 30 mins
Total Time: 2 hrs
Rate This Recipe
Equipment
- Water Bath Canner
- Canning Jars (Pint, Half Pint, or Quarter Pint)
- Canning Lids and Bands
- Large Pot for cooking beets
- Nonreactive Saucepan for brine
- Jar Lifter
- Bubble Remover or non-metallic utensil
Ingredients
- 2 lbs fresh beets
- 1 cup white vinegar (or cider vinegar, 5% acidity)
- 1/2 cup water
- 1/2 cup granulated sugar
- 1 1/2 tsp canning or pickling salt
- 1/4 cup fresh dill weed (chopped, optional but recommended)
- 3 tsp dill seed (1 tsp per pint jar)
Instructions
- Cook the beets (either by boiling or roasting) until they are nearly tender. Total cooking time usually ranges from 20-30 minutes, depending on the size and age of your beets.
- Allow the cooked beets to cool slightly, then slip off their peels. Trim off the stem and root ends.
- Cut larger beets in half and then slice them into even 1/4-inch thick slices. Smaller beets (under 1 1/2 inches in diameter) can be left whole for aesthetic variety.
- In a nonreactive saucepan, combine the vinegar, water, sugar, and salt. Bring this mixture to a boil, stirring continuously until all the sugar and salt are fully dissolved. Once dissolved, remove the brine from the heat.
- Carefully pack the prepared beets into clean, hot canning jars. Divide the fresh dill weed and dill seed evenly among the jars, tucking the dill in among the beet slices for even flavor distribution. Ensure approximately 1 inch of headspace above the solids to allow for proper brine coverage.
- Pour the hot brine over the packed beets, ensuring they are fully covered by the liquid. Adjust the liquid level to achieve a final 1/2 inch headspace at the top of each jar.
- Using a bubble remover or non-metallic utensil, gently slide it down the sides of the jars to release any trapped air bubbles. Re-check headspace and add more brine if needed. Wipe the jar rims clean with a damp cloth, apply new lids, and screw on bands to fingertip-tight.
- For Water Bath Canning: Process pint jars in a boiling-water canner for 30 minutes. (Refer to the “Altitude Adjustments” section for necessary time modifications based on your elevation). Once processing is complete, turn off the heat, remove the canner lid, and allow jars to rest in the hot water for 5 minutes before removing. Cool jars undisturbed for 24 hours. After cooling, check seals; sealed jars can be stored in a cool, dark place for up to 1 year.
- For Refrigerator Pickles: Allow the jars to cool to room temperature, then cover them and refrigerate for up to 3 weeks. They are best enjoyed after a few days for optimal flavor development.
Notes
Always maintain the specified vinegar-to-water ratio for a safely balanced, vinegar-based pickle brine. Beets should be cooked until nearly tender before slicing to ensure they achieve a desirable finished texture within the jar.
Altitude Adjustments
The altitude adjustments for water bath canning Dill Pickled Beets are as follows:
- Under 1,000 Feet in Elevation – 30 minutes for pints and quarts.
- 1,001 to 3,000 Feet in Elevation – 35 minutes for pints and quarts.
- 3,001 to 6,000 Feet in Elevation – 40 minutes for pints and quarts.
- Above 6,001 Feet in Elevation – 45 minutes for pints and quarts.
Nutrition Information (Approximate Per Serving)
Calories: 36kcal, Carbohydrates: 8g, Protein: 1g, Fat: 0.2g, Saturated Fat: 0.02g, Polyunsaturated Fat: 0.03g, Monounsaturated Fat: 0.1g, Sodium: 177mg, Potassium: 134mg, Fiber: 1g, Sugar: 7g, Vitamin A: 50IU, Vitamin C: 2mg, Calcium: 12mg, Iron: 0.4mg
Nutrition information is automatically calculated and should only be used as an approximation.
Like this recipe? Leave a comment below!
More Root Vegetable Canning Recipes to Explore
Canning Sausage Potato and Kale Soup (Copycat Zuppa Toscana)
Canning Beef Pot Pie Filling
Canning French Fries
Find the Perfect Canning Recipe
Searching for something else to preserve? Enter keywords below to find the ideal recipe to fill your pantry!