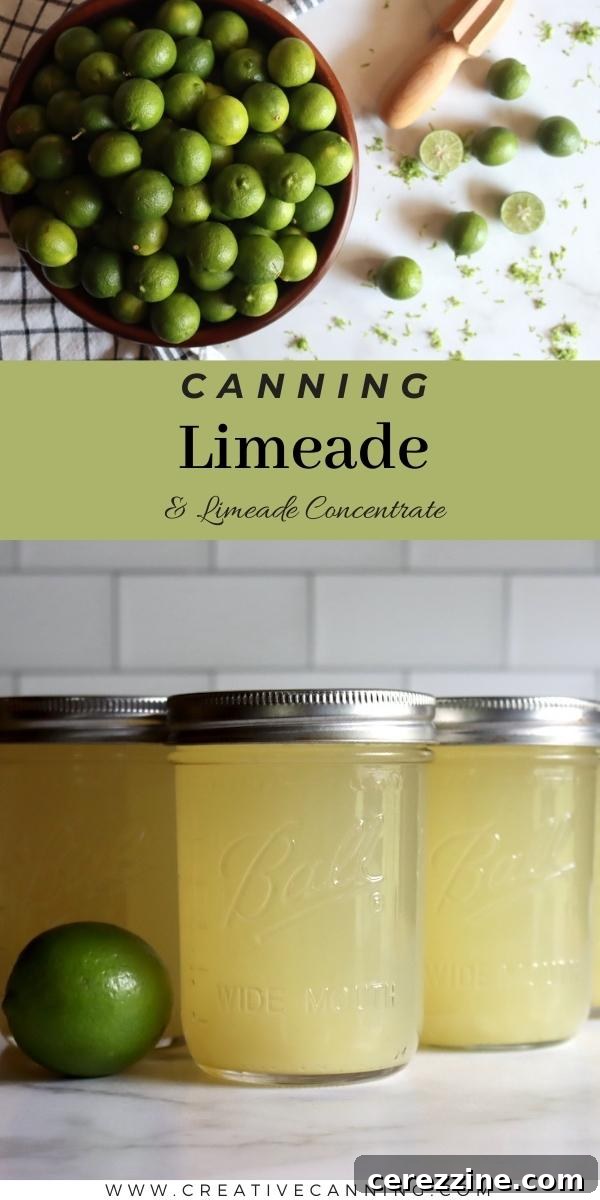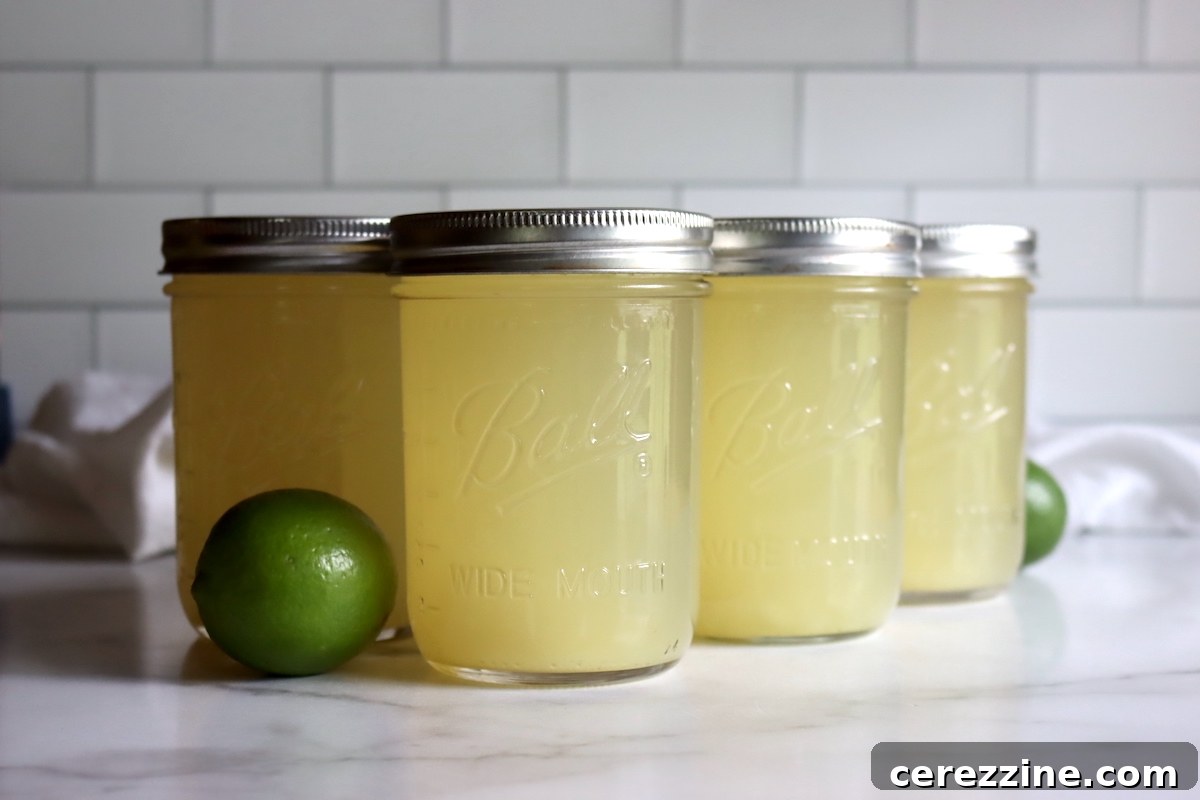
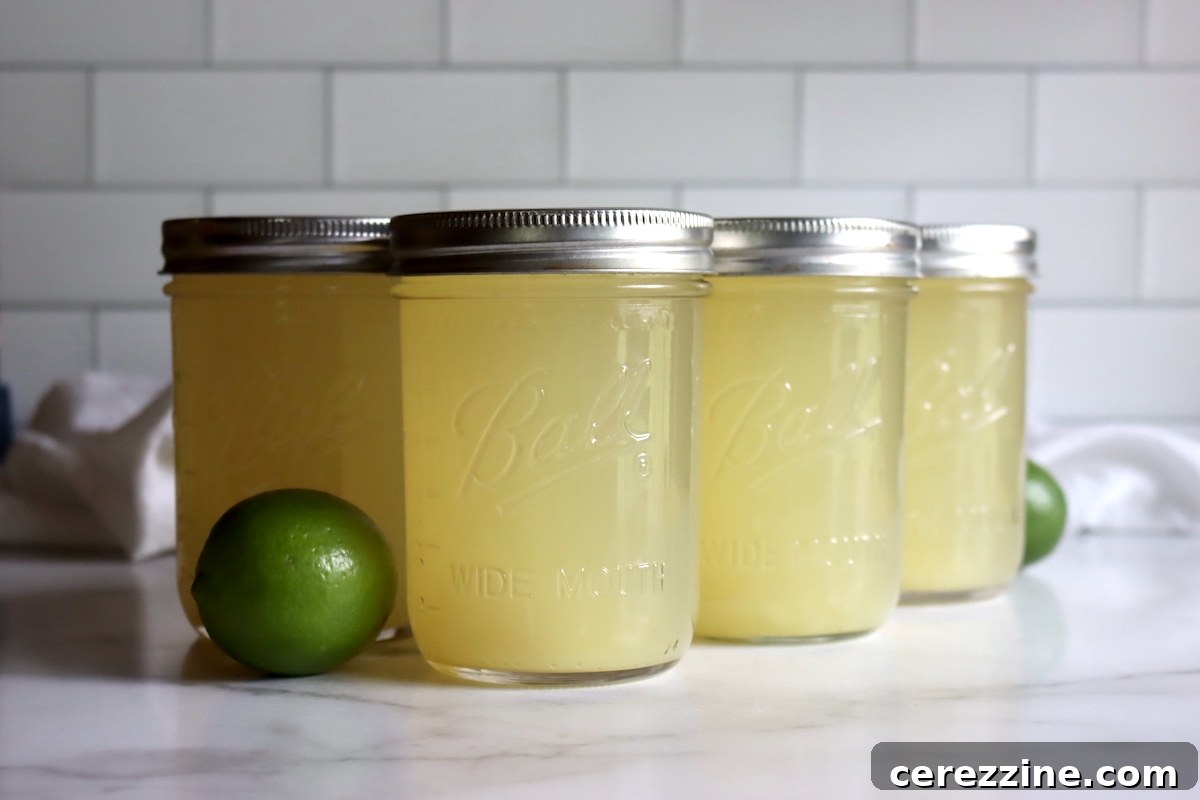
Imagine the satisfying convenience of always having a pitcher of vibrant, homemade limeade at your fingertips, regardless of the season. With home canning, this delightful vision becomes a refreshing reality. Canning limeade and limeade concentrate is a simple yet incredibly rewarding way to ensure your pantry shelves are stocked with sunshine-filled beverages. Picture yourself stepping in from a sun-drenched garden on a sweltering summer day, reaching for a cold, perfectly preserved jar of limeade, ready to quench your thirst. It’s not just a drink; it’s a taste of summer, bottled and preserved for whenever you need it most.
The Zesty World of Home-Canned Limeade: A Refreshing Alternative
While many embrace the classic tang of lemonade throughout the summer months, for some, the crisp, bright flavor of limeade is an undeniable favorite. Year after year, I dedicate time to preserving cases of home-canned lemonade and concentrate. However, fairness dictates an equal effort for limeade, ensuring my husband’s preference is well-catered for. What started as a dedicated effort for him quickly became a personal delight. Crafting limeade at home with freshly squeezed citrus, and occasionally incorporating the exquisite taste of Key lime juice, has transformed my own appreciation for this zesty beverage. Now, I find myself doubling my production, eager to savor the vibrant flavors of both.
Canning limeade offers a myriad of benefits that extend beyond simply having a delicious drink on hand. It’s about preparedness, cost-efficiency, and controlling the ingredients that go into your family’s food. When you can limeade at home, you eliminate artificial flavors, excessive preservatives, and high-fructose corn syrup often found in store-bought options. You harness the peak freshness of limes, capturing their essence at its most potent, ready to be enjoyed months down the line. It’s a sustainable practice that minimizes waste and empowers you to create custom-flavored beverages tailored to your exact preferences.
Is Canning Limeade Safe? Understanding Acidity for Preservation
One of the most common questions regarding canning citrus-based drinks like limeade is about safety. The good news is, canning limeade is perfectly safe, provided you follow tested recipes and understand the crucial role of acidity. Limes are naturally highly acidic, typically registering a pH between 2.0 and 2.35. Key limes, while slightly less acidic, still fall within a safe pH range of 2.3 to 2.6. This high acidity is what makes them suitable for water bath canning, a method reserved for foods with a pH of 4.6 or lower.
In many canning recipes, bottled lemon or lime juice is specifically called for because it has a standardized, tested acidity. This consistency is vital when altering the pH of less acidic fruits, such as figs or persimmons, to bring them into the safe canning zone. However, for a pure citrus product like limeade or its concentrate, where high-acidity citrus is the primary component and no borderline fruits are added, using fresh lime juice is entirely acceptable and often preferred for superior flavor. The natural acidity of fresh limes provides ample protection against spoilage when processed correctly.
The critical factor to remember when canning limeade is to strictly adhere to the recommended dilution ratios specified in the recipe. Limeade concentrate, being a mixture of only lime juice and sugar, is inherently very acidic. However, once you dilute it to create ready-to-drink limeade, over-dilution can reduce the acidity below the safe threshold for canning. You must maintain the minimum acidity to ensure proper preservation. While you can adjust the sugar content to your taste (increasing or decreasing it won’t affect the pH significantly), you cannot add more water than recommended for canning prepared limeade.
Most reliable limeade recipes suggest a minimum prepared ratio for safe canning, which typically balances a robust lime flavor with sufficient sweetness. For instance, a common and safe ratio for prepared limeade includes:
- 1 cup fresh lime juice
- 3/4 cup sugar
- 3 cups water
This ratio yields a delightfully strong lime flavor with just the right amount of sweetness. It’s also important to consider that when serving, you’ll likely add ice, which will further dilute the drink. Should you prefer a milder taste, you can always add a splash more water at the time of serving, but never before canning.
Essential Ingredients for Perfect Limeade Concentrate
Creating your own limeade concentrate for canning requires just a few simple ingredients, prioritizing quality for the best results. For a batch yielding approximately 16 ounces (enough for two half-pint jars) of concentrate, you will need:
- 2 cups fresh lime juice
- 1 ½ cups granulated sugar
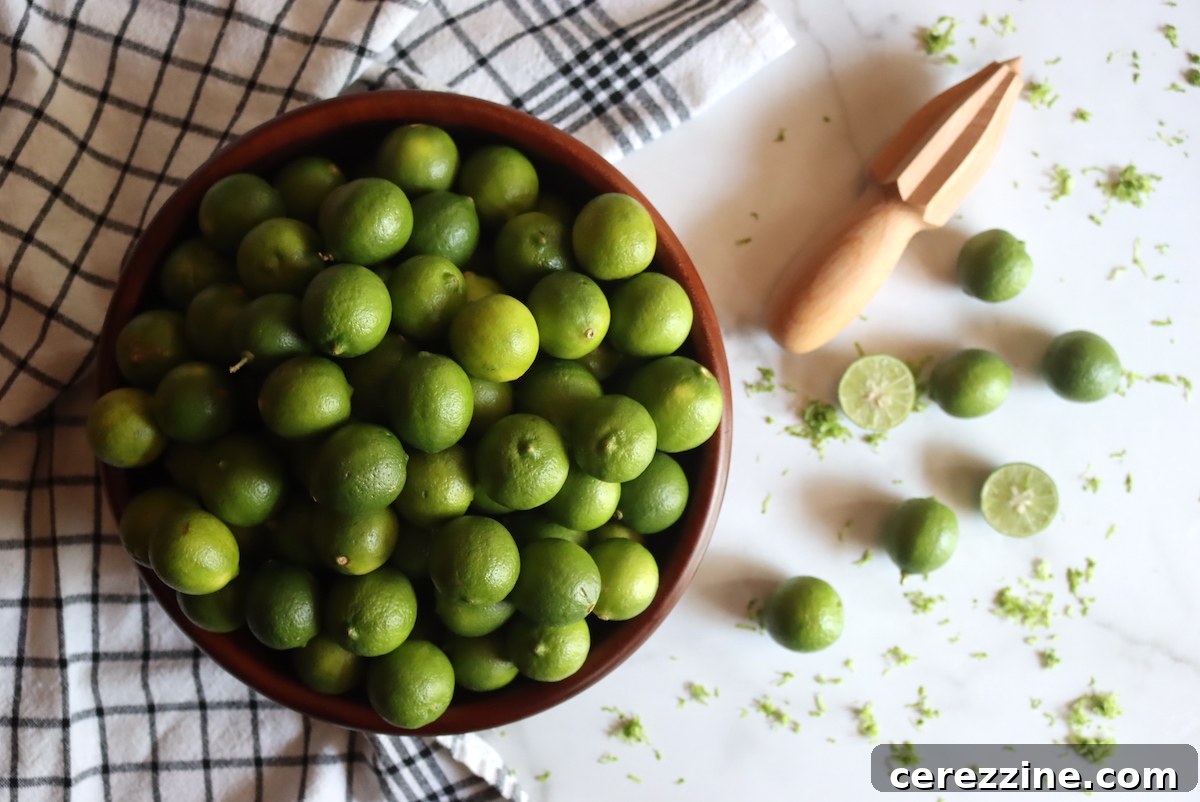
For an unparalleled flavor profile, fresh lime juice is highly recommended over its bottled counterpart. The vibrant aroma and complex taste of freshly squeezed limes cannot be replicated. When selecting limes, Persian limes are an excellent choice. They are typically larger, juicier, and easier to work with, yielding a good volume of juice. Key limes, while offering a distinct and aromatic flavor, are considerably smaller and produce less juice, meaning you’ll need a significantly larger quantity to achieve the required volume.
If you’re particularly fond of the unique taste of Key limes but want to avoid the extensive juicing process, a high-quality bottled Key lime juice, such as Floribbean Key Lime Juice, can be a practical alternative. Always ensure that any bottled juice used for canning is 100% juice with no added preservatives or flavorings that could impact acidity or safety.
This recipe specifically for concentrate will produce two half-pint jars. Each half-pint jar of concentrate, when diluted with 3 cups of water, will yield 2 pints of delicious, ready-to-drink fresh limeade. This means a single batch of concentrate results in a total of 4 pints (or 64 ounces) of regular limeade, providing ample refreshment.
Should you prefer to can prepared, ready-to-drink limeade instead of concentrate, the ingredient list adjusts slightly to include water directly:
- 2 cups fresh lime juice
- 1 ½ cups granulated sugar
- 6 cups water
This recipe for prepared limeade will typically fill about four pint-sized jars. It is absolutely crucial not to dilute this mixture further before canning, as doing so would compromise its acidity and make it unsafe for water bath processing. While the water ratio is non-negotiable for safety, you have the flexibility to increase or decrease the sugar content according to your personal preference without affecting the canning safety.
Crafting Your Homemade Limeade Concentrate: A Step-by-Step Guide
Making limeade or limeade concentrate for canning is a straightforward process that yields incredibly rewarding results. The basic method involves combining lime juice with sugar and gently warming the mixture before ladling it into prepared jars. However, for those seeking an extra layer of authentic lime flavor, there’s a simple technique involving lime zest that elevates the final product significantly.
Infusing Zest for Enhanced Flavor (Optional but Recommended):
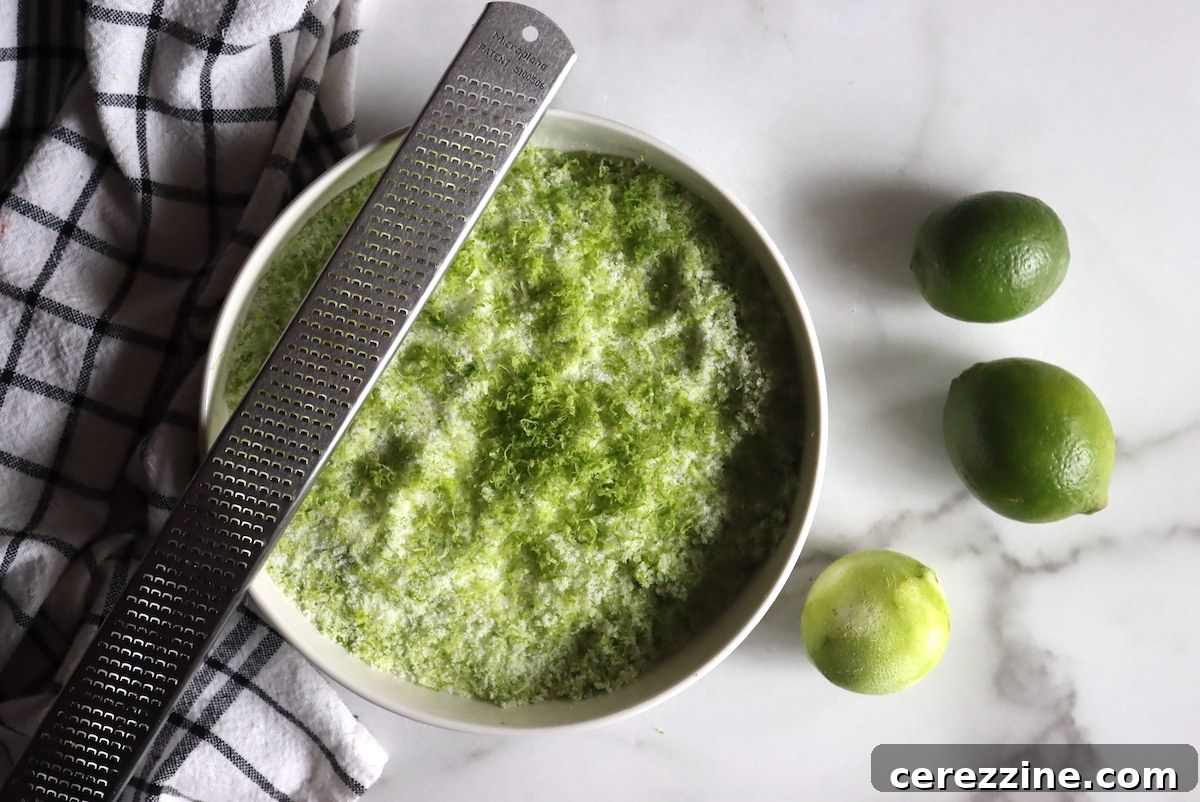
To deepen the lime flavor, consider infusing the sugar with lime zest. Carefully zest the skins of several organic limes, ensuring you only remove the green part and avoid the bitter white pith beneath. Add this vibrant zest directly to your granulated sugar. Stir the two together, gently rubbing the zest into the sugar with your fingers to release the essential oils. Allow this aromatic mixture to sit for an hour or two. This simple step allows the natural oils from the zest to permeate the sugar, imparting a more complex and intense lime essence into your concentrate.
If you choose to incorporate zest, remember a critical step: you must strain the mixture before filling your canning jars. Any remaining pulp, seeds, or zest left in the jars during canning can potentially turn bitter over time. A fine-mesh strainer will effectively remove these solids while allowing the sugar (which will have dissolved) and the infused lime flavor to pass through seamlessly.
Preparation for Canning:
Before you begin mixing your limeade, ensure all your canning equipment is ready. Sterilize your canning jars and lids according to standard canning practices. Prepare your water bath canner by filling it with enough water to cover your jars by at least an inch once they are loaded, and begin heating it.
The Limeade Making Process:
- **Juice Your Limes:** Begin by juicing your selected limes. For optimal results and to remove any stray seeds or pulp, pour the freshly squeezed juice through a fine-mesh sieve. You will need precisely 2 cups of clean lime juice for the concentrate recipe, or 2 cups for the prepared limeade recipe.
- **Combine Ingredients:** In a clean saucepan, combine the strained lime juice with the sugar (or the zest-infused sugar, if using). If you are making prepared limeade, add the 6 cups of water at this stage as well.
- **Gently Warm:** Place the saucepan over medium heat. Stir continuously until the sugar is fully dissolved. Continue to warm the mixture gently until it reaches approximately 190°F (88°C). It is crucial not to boil the mixture, as excessive heat can diminish the fresh flavor of the limes. Use a thermometer to monitor the temperature for accuracy.
- **Fill Jars:** Immediately and carefully ladle the hot limeade mixture into your prepared, sterilized canning jars. If you used lime zest for infusion, remember to pour the mixture through a fine-mesh strainer as you ladle it into the jars to remove the zest. Leave a precise ¼-inch headspace at the top of each jar.
- **Seal and Process:** Wipe the rims of the jars clean to ensure a proper seal. Center a sterilized two-part canning lid on each jar and screw on the bands finger-tight. Carefully place the filled jars into your preheated water bath canner. Ensure the jars are fully submerged in water.
- **Water Bath Processing:** Process the jars for the appropriate amount of time based on your elevation:
- **Below 1,000 feet elevation:** 10 minutes
- **Between 1,000 and 6,000 feet elevation:** 15 minutes
- **Above 6,000 feet elevation:** 20 minutes
Start timing once the water in the canner returns to a rolling boil.
- **Cool and Check Seals:** Once the processing time is complete, turn off the heat and carefully remove the canner lid. Let the jars rest in the hot water for 5 minutes before carefully removing them with a jar lifter. Place the hot jars on a clean towel on your countertop, ensuring they are not touching each other, and allow them to cool undisturbed for 12 to 24 hours.
- **Storage:** After 12-24 hours, check the seals. A properly sealed jar lid will be concave (curved inwards) and will not flex when pressed. Any unsealed jars should be refrigerated immediately and consumed within a few weeks. Properly sealed jars can be stored in a cool, dark place for up to one year. Once opened, always refrigerate your home-canned limeade or concentrate.
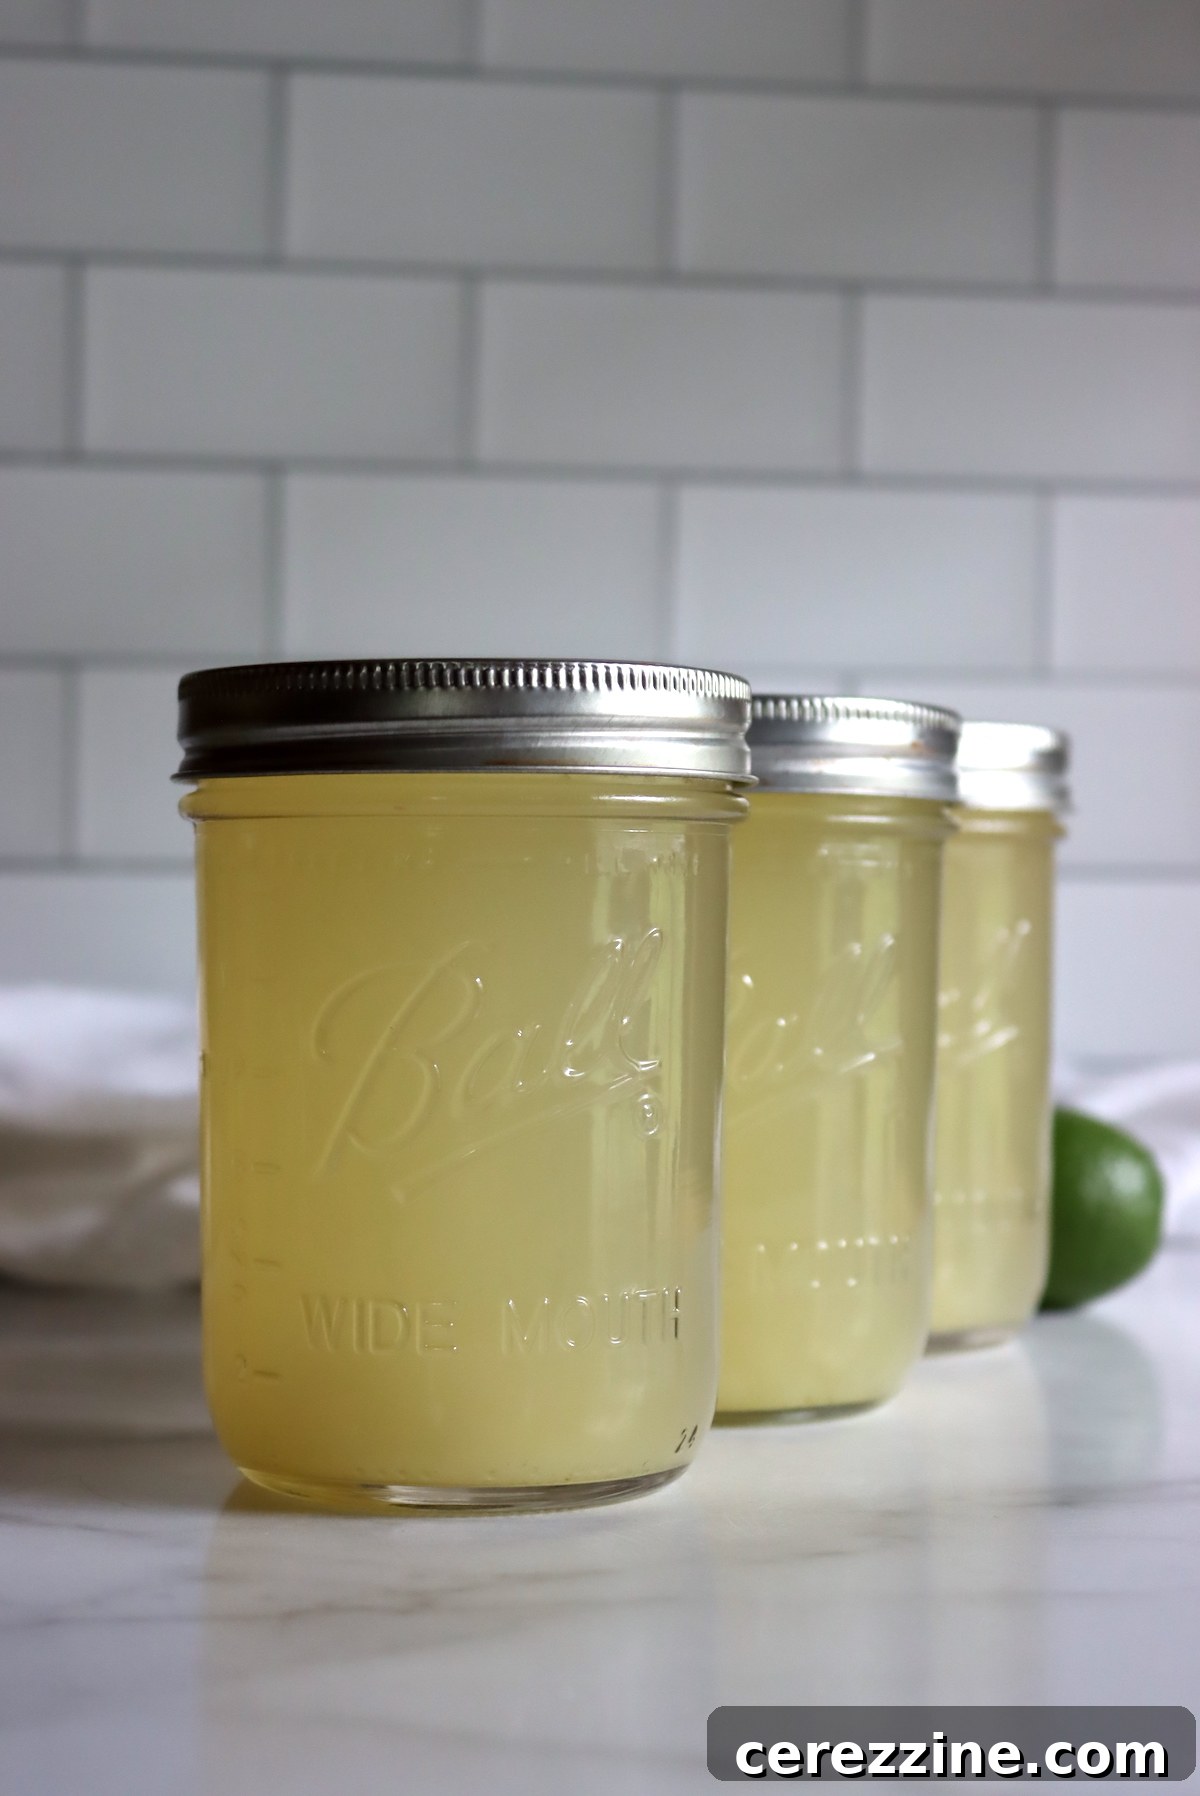
To transform your concentrate into a refreshing drink, simply add 5 to 6 cups of cold water to one-pint jar of concentrate, or 3 cups of water to one half-pint jar. Adjust to taste if desired, but only at the point of serving.
Exciting Limeade Concentrate Variations
While classic limeade is undeniably delicious, its simplicity also makes it a perfect canvas for creative flavor explorations. Don’t be afraid to experiment with variations to discover new favorites!
Sugar Substitutions and Adjustments
The role of sugar in canning limeade is primarily for flavor, not preservation (the acidity of limes handles that). This means you have significant flexibility to adjust the sugar content to suit your dietary preferences or taste. You can reduce the amount of granulated sugar if you prefer a tarter drink, or even substitute it with natural sweeteners like honey or maple syrup. These alternatives will work beautifully with this recipe, though they may slightly alter the final flavor profile and color. When using liquid sweeteners, ensure the total liquid volume remains consistent with the recipe’s recommended ratios to maintain proper acidity.
Infusions and Fruit Combinations
Elevate your limeade by infusing it with other complementary flavors. A popular choice is lemon-limeade concentrate, which combines the bright acidity of both lemons and limes for a complex citrus medley. Beyond citrus, consider adding the juice of other fruits for delightful concoctions like cherry-limeade or strawberry-limeade concentrate. For these variations, ensure the added fruit juices are also high in acidity or that their addition doesn’t significantly dilute the lime’s acidity. Always use tested recipes for fruit combinations when canning to ensure safety. Other intriguing additions could include ginger, mint, or even a hint of spice like jalapeño for a unique kick. Simply add these ingredients during the warming phase and strain them out before canning.
Canning Prepared (Regular) Limeade
While concentrate offers space-saving benefits, you can also use this recipe to can prepared, ready-to-drink limeade. The key is maintaining the correct dilution ratio for canning safety: approximately 3 cups of water for every cup of lime juice. The primary advantage of canning prepared limeade is ultimate convenience. You can simply place a few jars directly into your refrigerator in the morning, and by mid-afternoon, after a long day of outdoor activities, they are perfectly chilled and ready to enjoy. If your plans change, unopened jars can simply return to the pantry, preserving precious refrigerator space.
A Deeper Dive into Canning Limeade Concentrate
Canning limeade concentrate is an excellent long-term preservation method, providing shelf-stable refreshment for months. While refrigeration offers immediate consumption and freezing works for upcoming months, canning provides the longest shelf life without requiring freezer space. The process is relatively simple once you understand the basic principles of water bath canning high-acid foods.
To successfully can limeade concentrate, meticulous preparation is key. Begin by sterilizing your canning jars and their two-part lids (flats and rings). This step is crucial for eliminating any bacteria or yeasts that could compromise the safety and shelf stability of your product. Simultaneously, prepare your water bath canner by filling it with water and bringing it to a simmer, ready to receive your filled jars.
Once your limeade concentrate is prepared according to the recipe, it should be immediately poured, while still hot, into the sterilized jars. This “hot pack” method helps maintain a higher temperature within the jars, contributing to a more effective seal and safer product. Ensure you leave the recommended ¼-inch headspace at the top of each jar to allow for expansion during processing and to prevent siphoning.
After sealing the jars finger-tight, carefully place them into the preheated water bath canner. The water level in the canner must cover the tops of the jars by at least one inch. Bring the water to a rolling boil, and then begin timing your processing based on your elevation:
- For elevations below 1,000 feet, process for 10 minutes.
- If your elevation is between 1,000 and 6,000 feet, process for 15 minutes.
- For elevations above 6,000 feet, process for 20 minutes.
These precise timings are crucial for creating a vacuum seal and ensuring the safety of your canned goods.
Once the processing is complete, turn off the heat and allow the jars to rest in the canner for an additional 5 minutes. This helps to stabilize the temperature and reduce the risk of siphoning or thermal shock. Carefully remove the jars with a jar lifter and place them on a clean towel or cooling rack, ensuring they are not touching each other, in a draft-free area to cool completely for 12 to 24 hours.
After cooling, check the seals on all jars. A successful seal will result in a concave lid that does not spring back when pressed. Any jars that have not sealed properly should be refrigerated and consumed within a few weeks, or reprocessed immediately with a new lid if done within 24 hours. Properly sealed limeade concentrate can be stored in a cool, dark pantry for 12 to 18 months. Once a jar is opened, its contents should be refrigerated and consumed within 1-2 weeks for best quality.
Creative Ways to Utilize Your Home-Canned Limeade Concentrate
Your home-canned limeade concentrate is a versatile pantry staple, ready to transform everyday moments into refreshing experiences. While its primary role is to create a delightful beverage, its vibrant flavor and balanced sweetness make it an excellent ingredient for a myriad of culinary applications.
Refreshing Beverages:
On a scorching summer afternoon, nothing quite hits the spot like a glass of homemade limeade. Simply pop open a jar, mix it with chilled water and plenty of ice, and serve it to parched guests. It’s an instant crowd-pleaser for picnics, barbecues, or just a quiet moment of self-care after a long day of gardening. For an extra kick of effervescence, try blending your limeade with ginger ale, seltzer, or sparkling water for a sparkling refreshment. You can also muddle fresh fruits like watermelon, cucumber, or berries directly into your diluted limeade for infused flavors.
Adult & Kid-Friendly Treats:
Limeade concentrate is a fantastic base for both alcoholic and non-alcoholic frozen treats. Blend it with ice and your favorite fruit to create vibrant limeade slushies for the little ones. For adults, it forms the perfect foundation for sophisticated cocktails. Think frozen lime mojitos, margaritas, or even a unique twist on a gin fizz. Simply adjust the dilution and add your preferred spirits and garnishes.
Culinary Applications:
Beyond drinks, limeade concentrate can be a secret ingredient in your kitchen. Its sweet-tart profile makes it ideal for:
- **Desserts:** It’s the quintessential ingredient for a deliciously chilled Key lime pie. It can also be used in cheesecakes, tarts, or glazes for cakes and cookies.
- **Marinades and Dressings:** The acidity of limeade concentrate makes it a fantastic tenderizer and flavor enhancer for marinades, especially for chicken, fish, or pork. Whisk it into salad dressings for a bright, citrusy note.
- **Sorbet and Popsicles:** For a simple and refreshing dessert, combine diluted limeade with additional fruit purees and freeze into homemade sorbet or popsicles.
- **Sauces and Jams:** A splash of concentrate can brighten up fruit sauces or add depth to other citrus-based jams and jellies.
Imagine a spread featuring refreshing limeade coolers and a slice of homemade Key lime pie – sounds like the perfect party, doesn’t it?
Beyond Limeade: Other Methods to Preserve Limes
If you find yourself with an abundance of limes, or simply wish to explore other ways to capture their unique flavor, there are several fantastic preservation methods beyond limeade. Each technique offers a different culinary application, ensuring no part of your precious citrus goes to waste:
- **Lime Marmalade:** A sweet yet intensely tangy spread, perfect for toast, scones, or as a glaze for poultry.
- **Dehydrating Limes:** Create dried lime slices or powder that can be used in teas, cocktails, or as a spice for cooking and baking.
- **Salt-Cured Limes:** A traditional method that transforms limes into a wonderfully salty, umami-rich condiment, often used in North African and Middle Eastern cuisine, perfect for stews, tagines, and salads.
Yield varies, see notes
Canning Limeade (& Limeade Concentrate)
Ashley Adamant
Home-canned limeade offers a delicious, tangy alternative to lemonade. When properly water bath canned, it will be shelf-stable and ready at a moment’s notice from your pantry.
10
10
10-20
30-40
Print Recipe (coming soon)
Equipment
-
Water Bath Canner
-
Canning Jars and Lids
-
Large Pot or Saucepan
-
Fine Mesh Strainer
-
Juicer
-
Thermometer
Ingredients
For 2 half-pint jars of limeade concentrate:
-
2
cups
fresh lime juice -
1 ½
cups
granulated sugar
For 4 pint jars of prepared limeade:
-
2
cups
fresh lime juice -
1 ½
cups
granulated sugar -
6
cups
water
Instructions
-
Begin by sterilizing your canning jars and lids. Prepare your water bath canner by filling it and heating it to a simmer, ready for processing.
-
**(Optional Flavor Infusion):** For deeper lime flavor, zest the skins of a few organic limes. Mix this zest with your granulated sugar and let it sit for 1-2 hours to infuse the sugar with lime oils. Remember, you will need to strain this mixture before canning.
-
Juice your limes. Strain the juice through a fine-mesh sieve to remove any pulp or seeds, as these can turn bitter during canning. You will need 2 cups of fresh, strained lime juice.
-
In a saucepan, combine the strained lime juice and sugar (and zest-infused sugar if used). If making prepared limeade, add 6 cups of water at this stage.
-
Warm the mixture gently over medium heat, stirring until the sugar is completely dissolved. Do not boil. Use a thermometer to ensure the mixture reaches approximately 190°F (88°C).
-
Immediately ladle the hot mixture into your prepared canning jars (strain through a fine-mesh sieve again if you used lime zest), leaving ¼ inch headspace. Wipe jar rims clean. Center lids and apply bands finger-tight.
-
Carefully place jars in the preheated water bath canner, ensuring they are covered by at least 1 inch of water. Bring to a rolling boil and process for: 10 minutes (below 1,000 ft elevation), 15 minutes (1,000-6,000 ft elevation), or 20 minutes (above 6,000 ft elevation).
-
After processing, turn off heat, remove canner lid, and let jars rest in the canner for 5 minutes. Carefully remove jars and place on a towel to cool undisturbed for 12-24 hours. Check seals. Unsealed jars must be refrigerated. Sealed jars can be stored in a cool, dark place for up to 1 year and refrigerated after opening.
Notes
This recipe for limeade concentrate will yield two half-pint jars. To make fresh limeade from concentrate, add 3 cups of cold water to one half-pint jar of concentrate to make 2 pints of limeade. This means a single batch of concentrate yields a total of 16 oz of concentrate or 4 pints (64 ounces) of regular limeade.
For canning prepared (regular) limeade, use the following proportions:
- 2 cups lime juice
- 1 1/2 cups sugar
- 6 cups water
This recipe should yield approximately 4 pint jars of prepared limeade. It is crucial not to dilute this mixture further for canning, as it will no longer be acidic enough for safe water bath processing. You may, however, increase or decrease the sugar content to your taste without affecting canning safety.
Nutrition
Serving:
1
cup prepared
,
Calories:
120
kcal
,
Carbohydrates:
30
g
,
Sodium:
15
mg
,
Sugar:
28
g
Nutrition information is automatically calculated, so should only be used as an approximation.
Love this recipe? Share your thoughts below!
Explore More Home-Canned Drink Recipes
If you’ve enjoyed the process and results of canning limeade, you’ll be delighted to discover other beverages that are equally rewarding to preserve at home. Expanding your repertoire of home-canned drinks means you’ll always have delicious, natural options ready in your pantry. Consider trying these other refreshing drink canning recipes:
- Canning Lemonade (and Lemonade Concentrate): The classic citrus favorite, perfect for hot days.
- Canning Strawberry Lemonade Concentrate: A delightful twist on lemonade, bursting with berry flavor.
- Canning Berry Juice: Preserve the wholesome goodness of your favorite berries into a versatile juice.
- Canning Rhubarb Juice: A unique and tart juice, wonderful on its own or as a mixer.