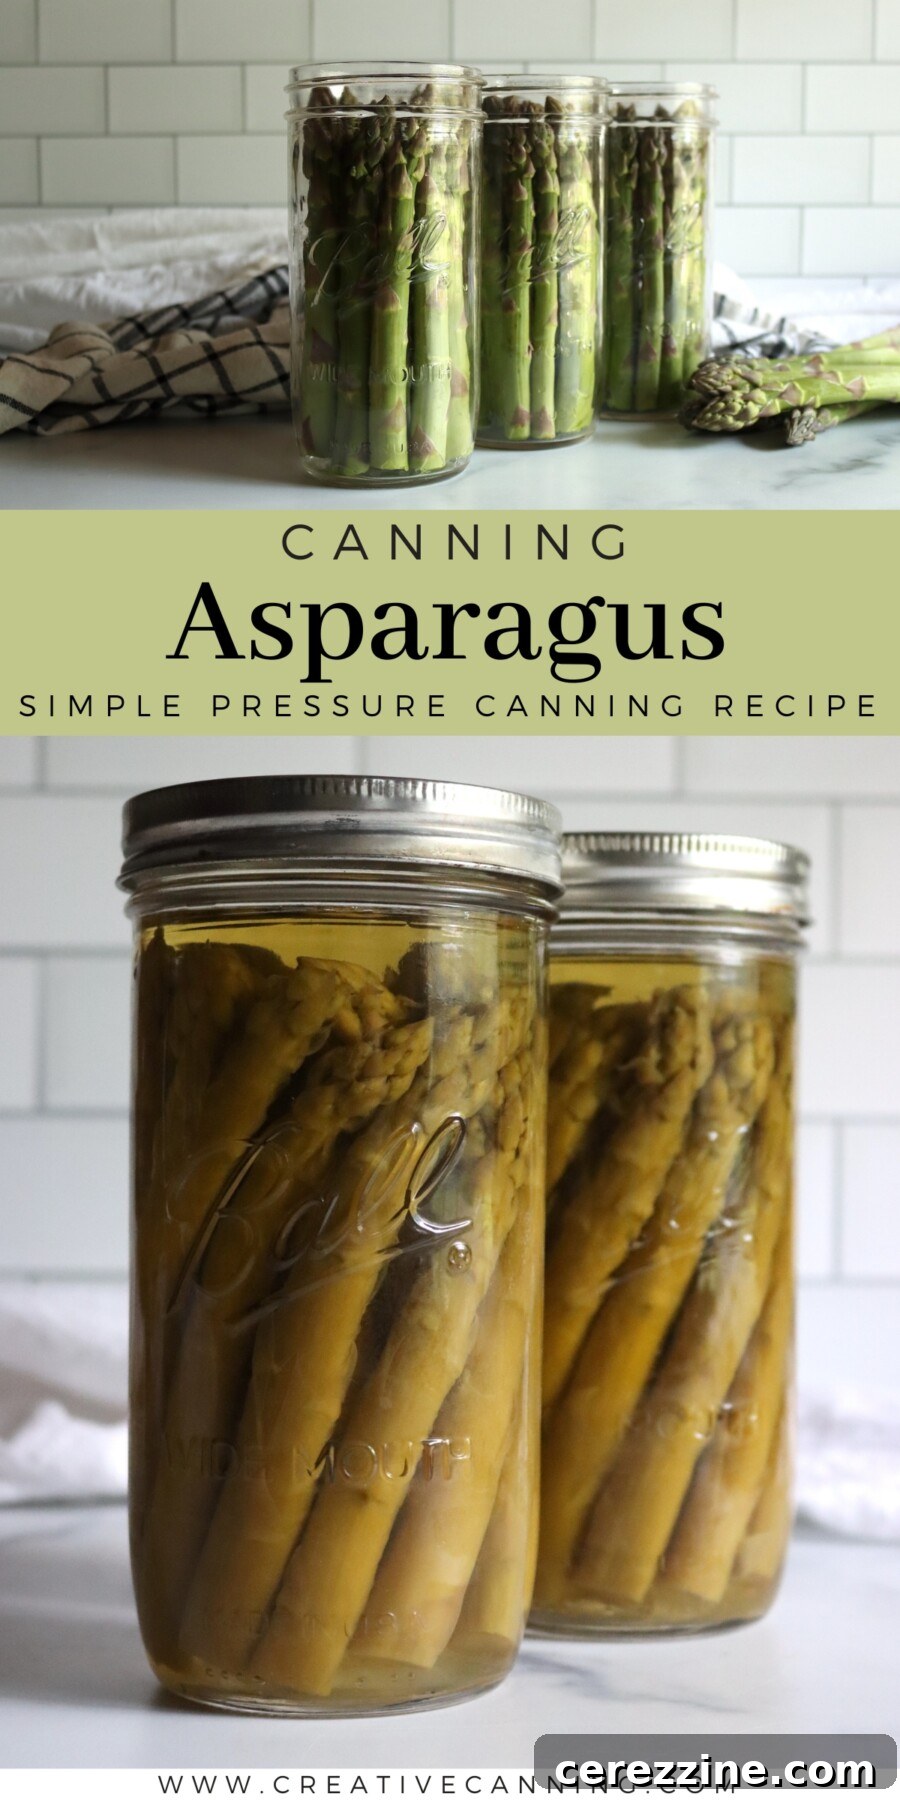
Canning Asparagus is a time-honored tradition and one of the most rewarding ways to extend the brief, delightful asparagus season. Imagine the satisfaction of reaching for a jar of vibrant green asparagus from your pantry, long after spring has faded, to effortlessly enhance any meal. These home-canned spears or pieces aren’t just a convenient side dish; they’re a taste of luxury, a connection to the harvest, and a testament to self-sufficiency. This comprehensive guide will walk you through the precise, safe, and simple method for pressure canning asparagus, ensuring a delicious, shelf-stable supply for year-round enjoyment.
This recipe has been thoroughly reviewed for safety and accuracy by a Master Food Preserver, certified through the esteemed University of Cornell Cooperative Extension. You can proceed with confidence!
Our method for canning asparagus comes directly from the National Center for Home Food Preservation (NCHFP), the gold standard for safe home canning practices. This ensures that every step is tested, reliable, and straightforward. For low-acid vegetables like asparagus, adherence to these guidelines is paramount, as safe preservation mandates the use of a pressure canner along with precise processing times and pressures. This classic, no-frills approach prioritizes both safety and achieving a pleasing texture, offering flexibility with options for either a hot pack or a raw pack method.
What makes this recipe particularly appealing is its adaptability. You have the freedom to preserve asparagus as elegant whole spears or convenient cut pieces, and you can choose between the hot pack or raw pack technique based on your preference and available time. Regardless of your choice, the ingredient list remains wonderfully simple: fresh asparagus and boiling water as the canning liquid. This simplicity underscores that high-quality, safe home-canned food doesn’t require complex steps.
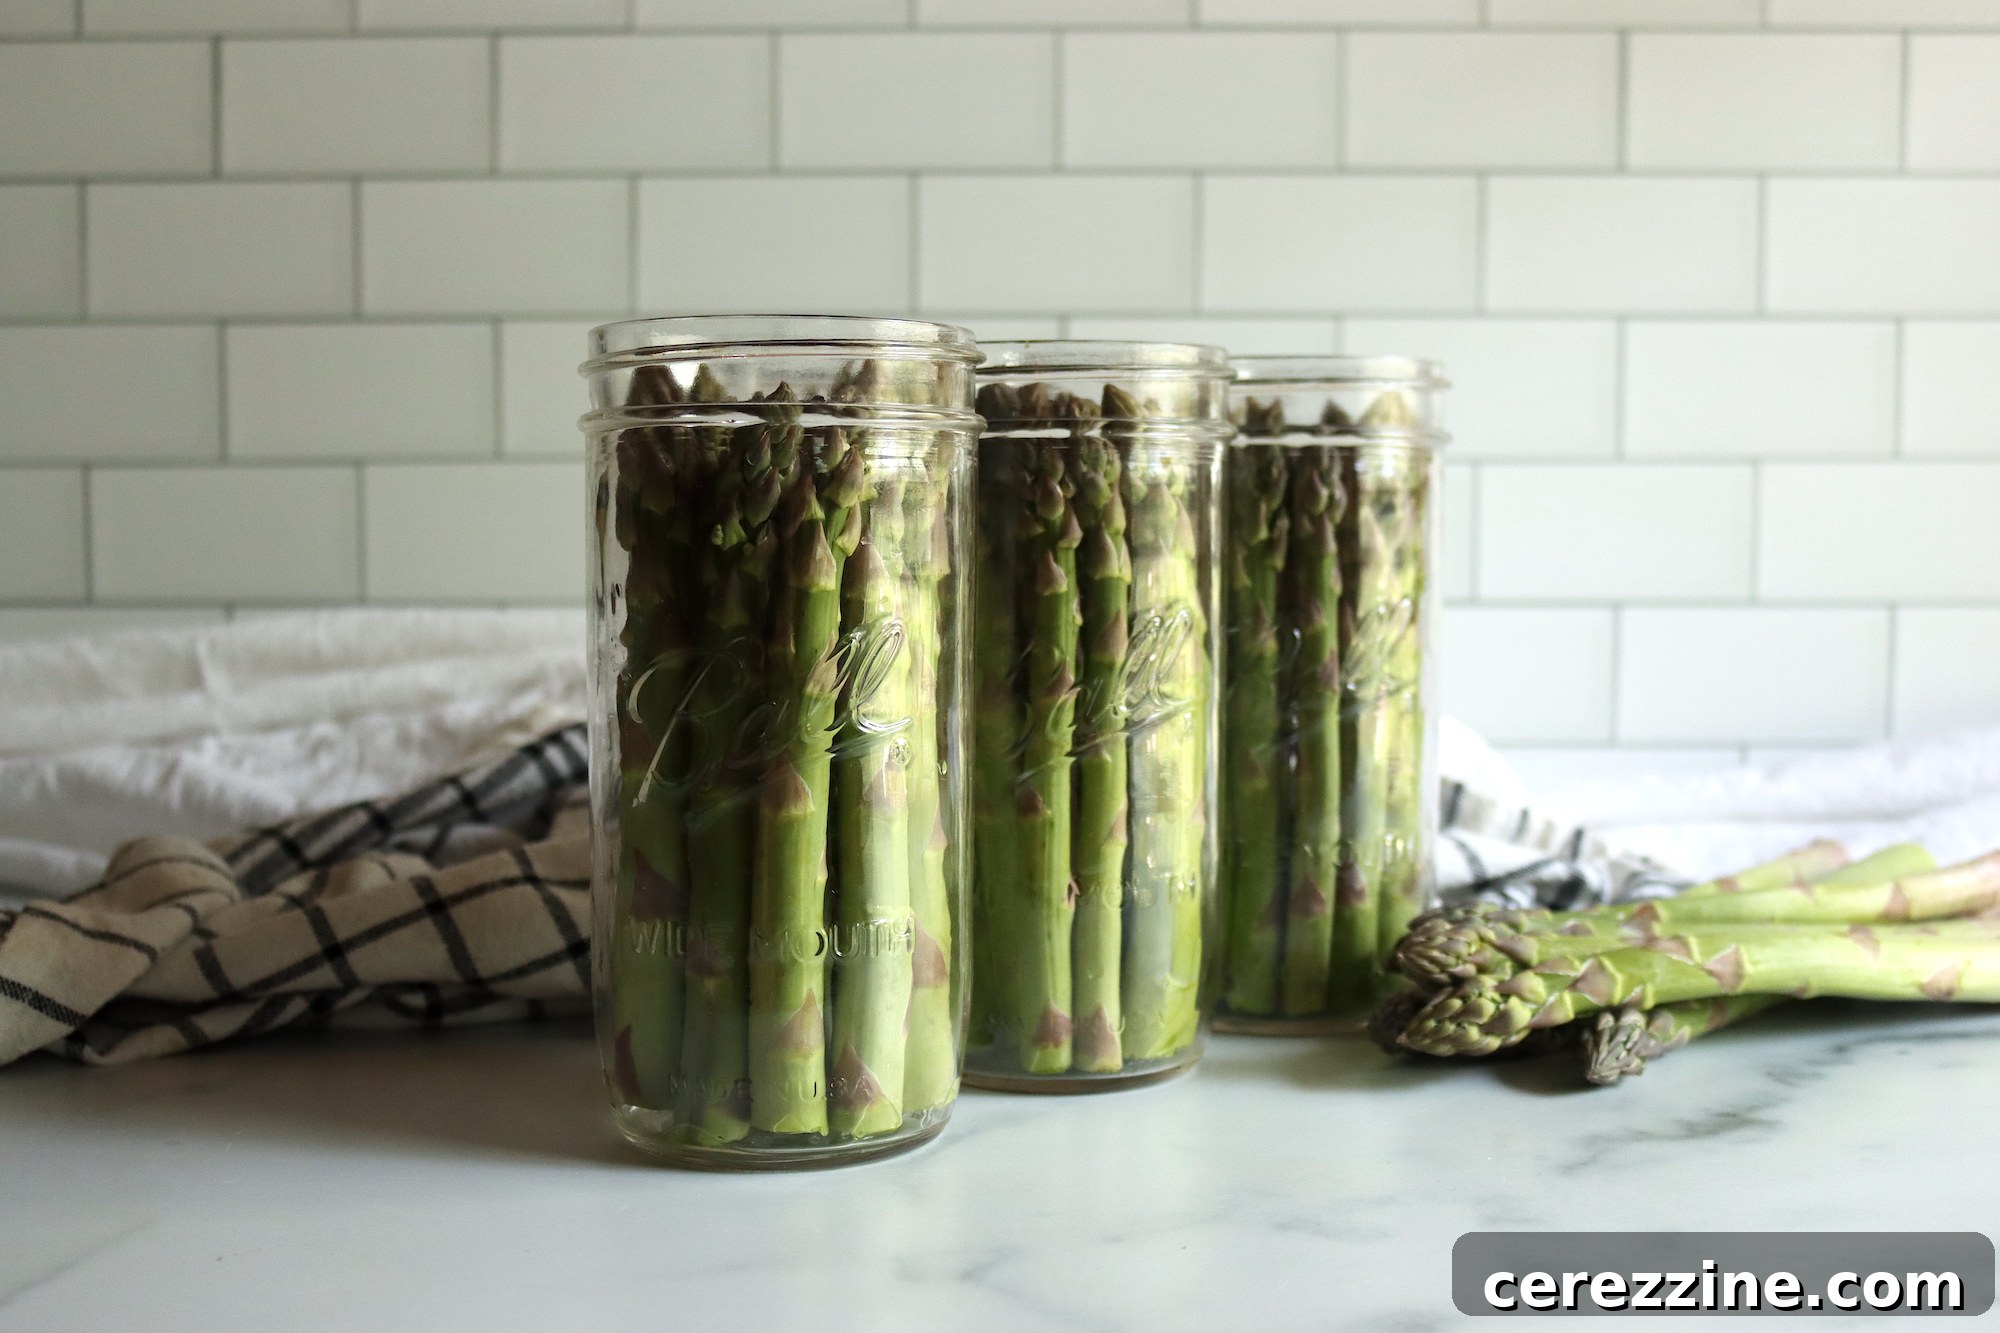
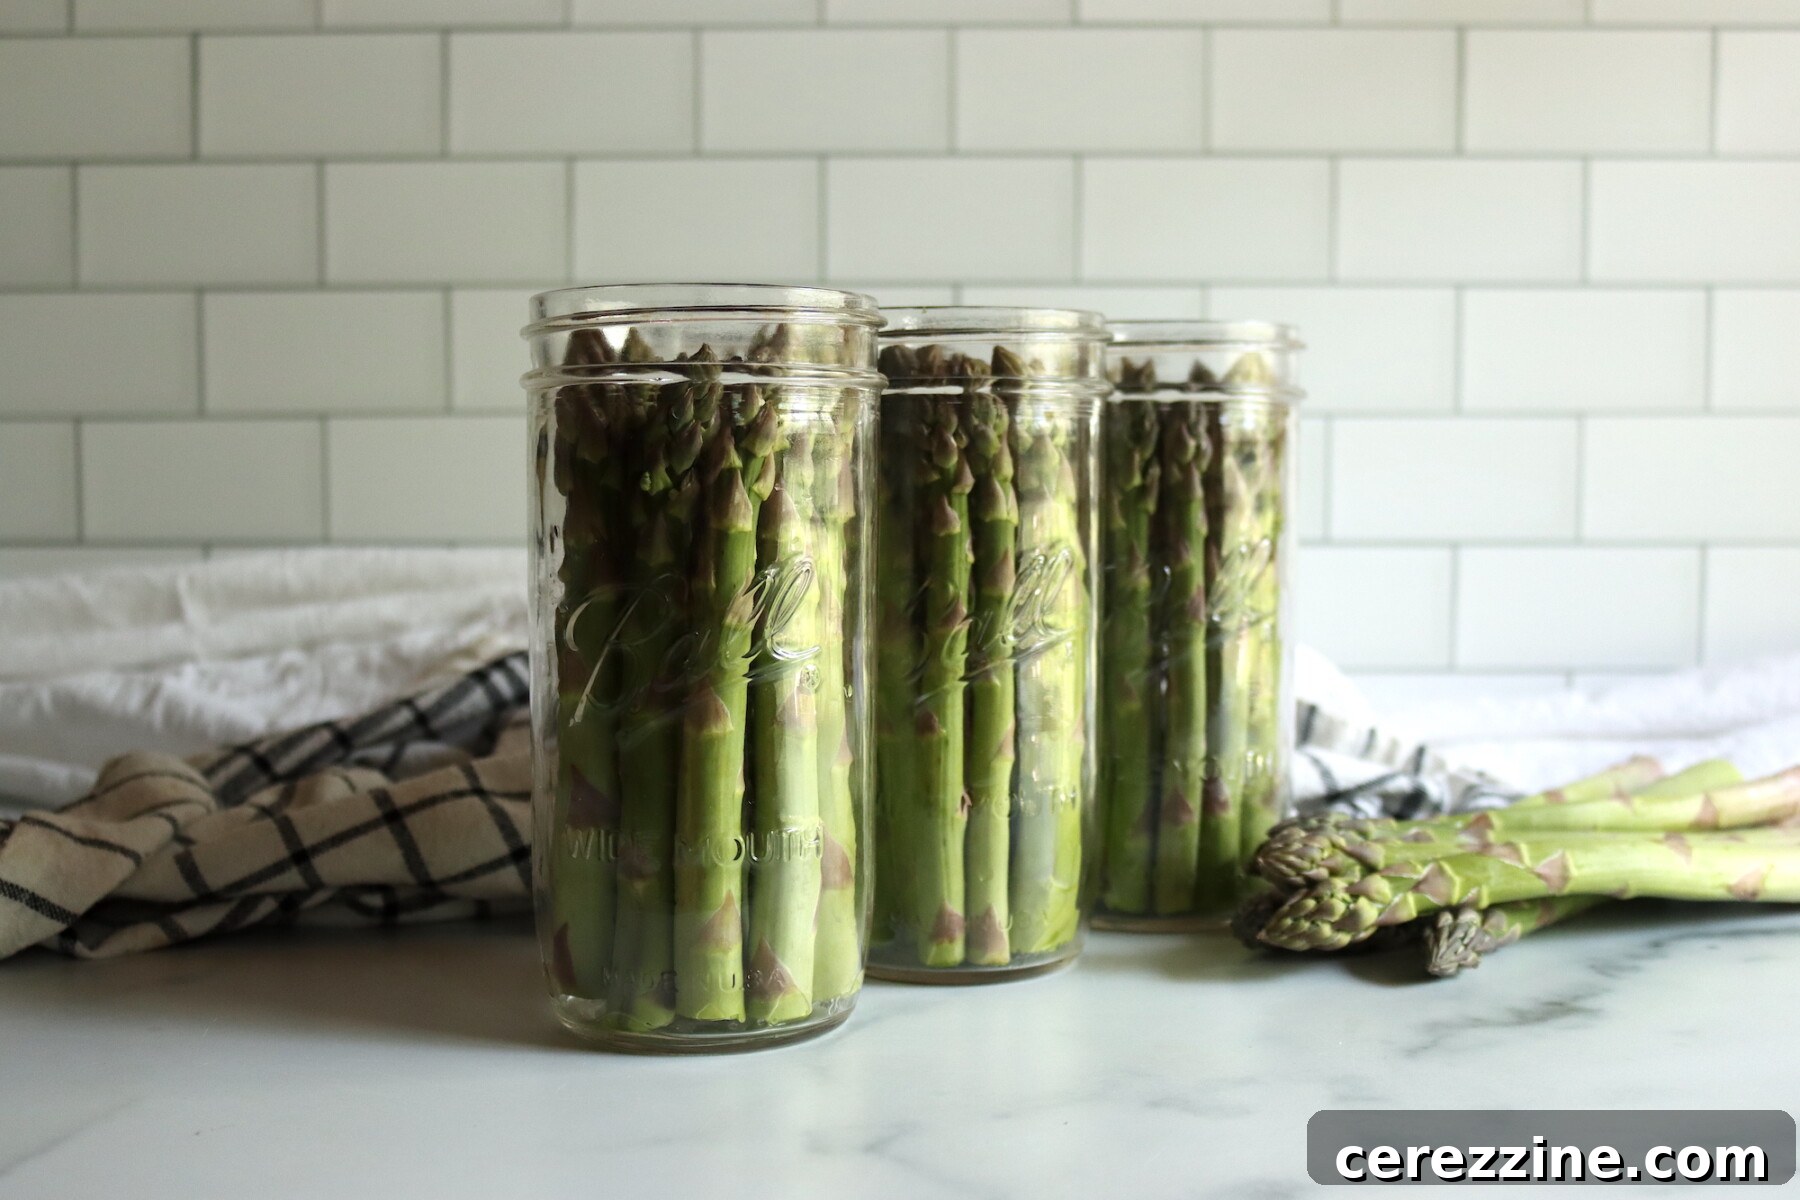
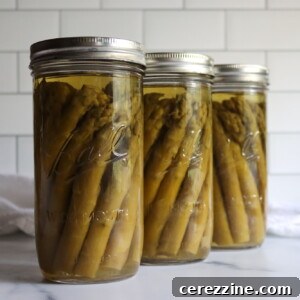
From my own experience, I find trimming the asparagus to perfectly fit the height of my jars and arranging the spears upright using a raw pack yields excellent results with minimal fuss. While the hot pack method is a tested alternative, the raw pack often delivers comparable quality with less effort, making it my preferred choice for its efficiency and ease. This means you can spend less time in the kitchen and more time enjoying the fruits (or rather, vegetables!) of your labor.
Why You’ll Love This Recipe for Canning Asparagus!

For many, including myself, canned asparagus evokes a strong sense of nostalgia. Growing up, our family pantry was often stocked with budget-friendly staples like canned corn and canned green beans. But every so often, usually to mark special occasions like birthdays or holidays, my mom would treat us to a can of asparagus. It felt like such a luxurious indulgence, a rare and fancy vegetable that we savored with every bite. That distinct, comforting flavor became synonymous with celebration and special moments.
Even today, living on our Vermont homestead where we cultivate our own fresh asparagus, I still find myself yearning for that unique “canned asparagus” taste. It’s different from fresh asparagus – which offers a crisp, bright, and distinctly garden-fresh profile – but the canned version holds its own special charm and appeal. With a pantry primarily filled with home-canned provisions, embarking on this asparagus canning project felt like the natural progression once our off-grid patch began to yield a bountiful harvest. It’s the perfect way to transform a fleeting spring delight into a pantry staple we can relish throughout the entire year, providing both a culinary treat and a connection to our sustainable lifestyle. This simple act of preservation ensures that the bounty of spring is never truly out of reach, offering a convenient and delicious vegetable option regardless of the season.
Quick Look at the Recipe
- Recipe Name: Canning Asparagus (Spears or Pieces)
- Recipe Type: Pressure Canned Vegetable
- Canning Method: Pressure Canning
- Prep/Cook Time: Approximately 1 to 2 hours, depending on trimming, preparation, and chosen pack style.
- Canning Time: 30 minutes for pint jars, 40 minutes for quart jars. (For tall pint and a half jars, use quart processing times.)
- Yield: Varies based on asparagus thickness and packing density (planning estimate: about 3.5 pounds of asparagus per quart, or roughly 16 pounds for 9 pints).
- Jar Sizes: Pint, Pint and a Half, or Quart jars are all suitable.
- Headspace: A crucial 1 inch is required for safe processing.
- Ingredients Overview: Fresh asparagus, boiling water, and optional canning salt for flavor.
- Safe Canning Recipe Source: National Center for Home Food Preservation (NCHFP).
- Difficulty: Easy, provided you use a functional pressure canner and meticulously follow the tested processing times and pressures specified.
- Similar Recipes: This safe and reliable method is comparable to pressure canning other plain vegetables in water, such as canning carrots or canning pumpkin.
Essential Ingredients for Canning Asparagus
Canning asparagus is a beautifully simple, pantry-friendly project. The magic truly lies in the quality of your fresh asparagus and meticulous preparation. While the ingredient list is minimal, the care you put into selecting and prepping your asparagus will make all the difference in the final product – ensuring both safety and a delightful eating experience.
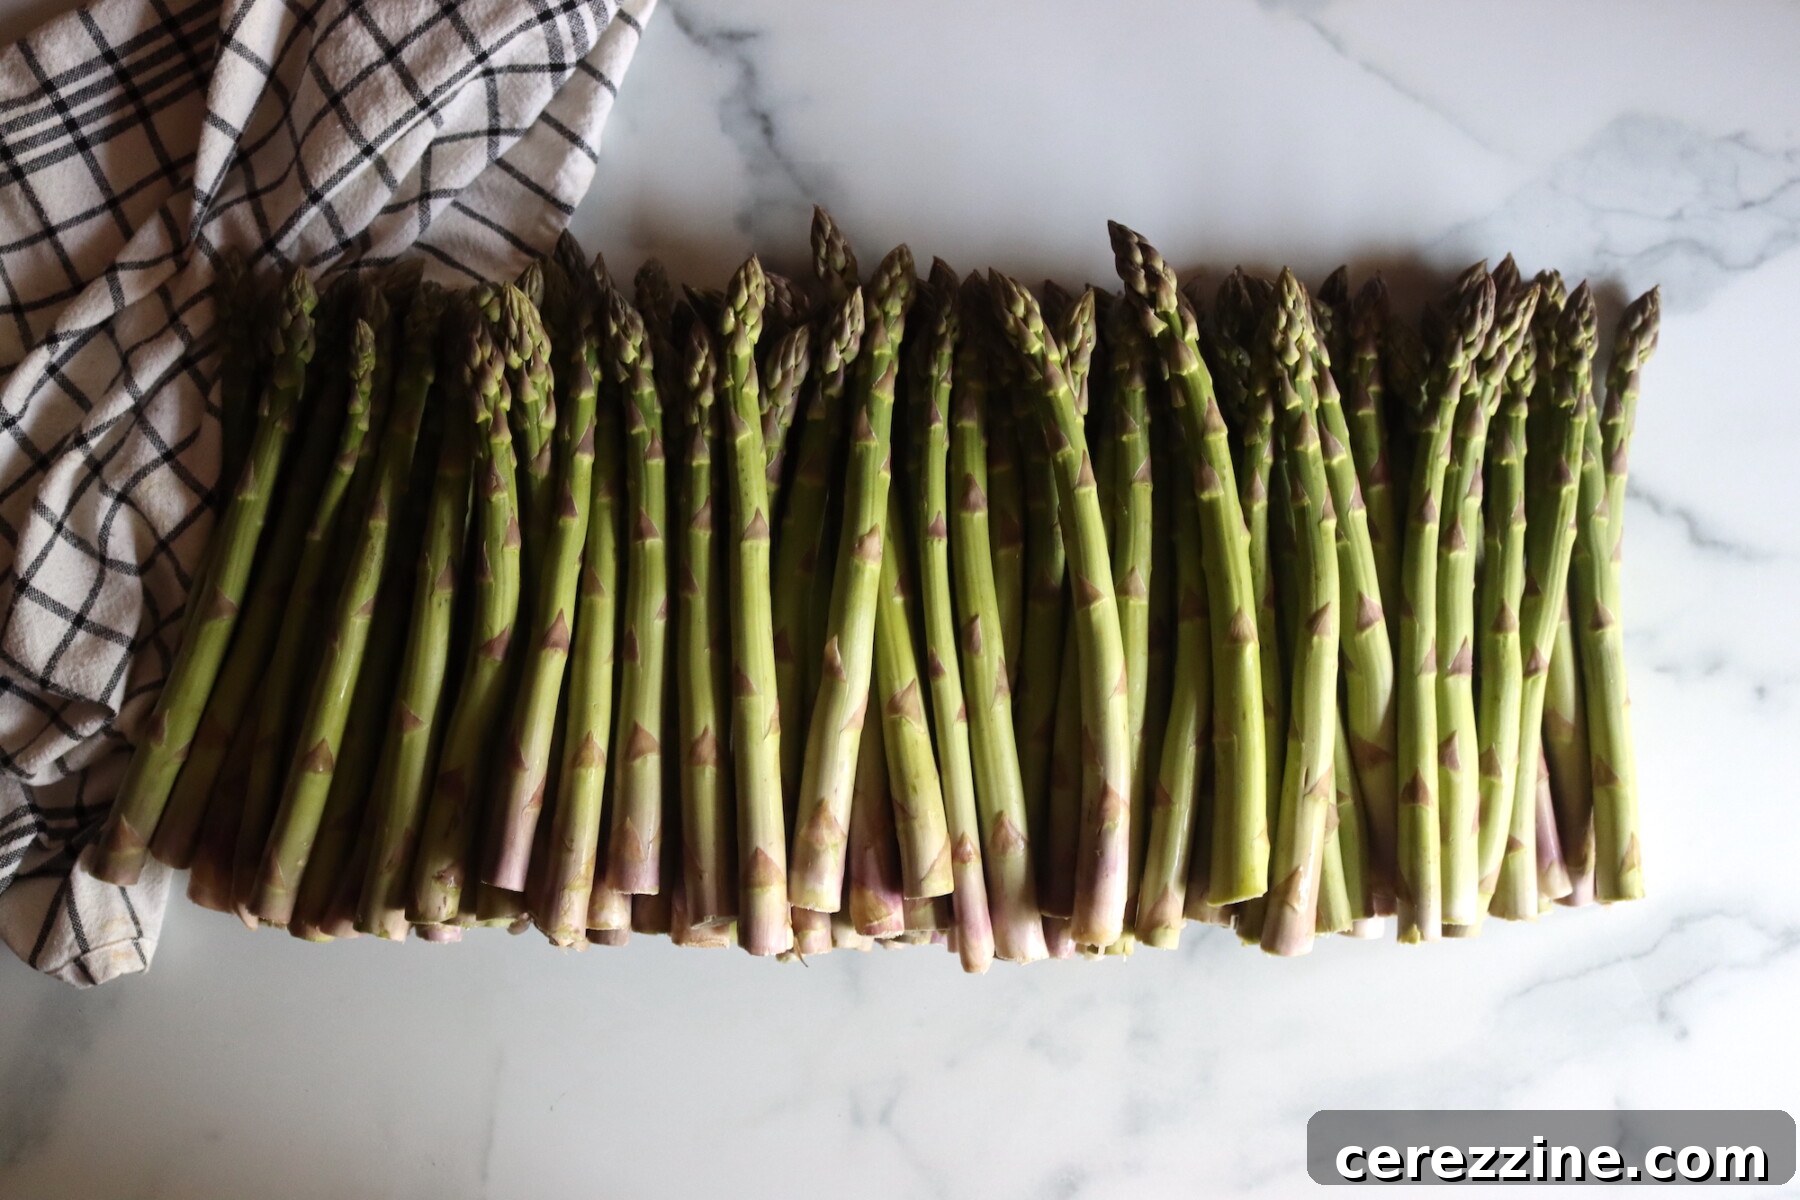
- Asparagus: The star of our show! Select fresh, tender spears with tight, compact tips. Avoid any that are wilted, discolored, or have open tips, as these indicate older or damaged produce. The goal is to preserve asparagus at its peak freshness and flavor.
- Boiling water: This serves as the essential hot canning liquid, used to cover the asparagus in your jars and ensure proper heat penetration during processing.
- Canning salt (optional): Added purely for flavor enhancement, not for preservation or safety. If you choose to include it, canning salt (also known as pickling salt) is recommended because it’s free of anti-caking agents and iodine, which can cloud the canning liquid or discolor your vegetables.
Substitutions and Variations for Your Canned Asparagus:
You have the flexibility to preserve asparagus as attractive whole spears or cut it into convenient one-inch pieces, depending on your intended use and jar type. Additionally, you can opt for either the hot pack method (briefly boiling the asparagus before packing into jars) or the raw pack method (packing raw spears tightly into jars). Both are safe and tested options. If you decide to use salt, a general guideline is 1 teaspoon per quart jar or 1/2 teaspoon per pint jar, but feel free to adjust this to suit your personal taste preferences. Remember, salt is purely for flavor here, so you can omit it entirely without compromising the safety of your canned product.
Step-by-Step Guide to Canning Asparagus
Successful canning is all about preparation and precision. Because you’ll be working with clean jars, a pressure canner, and very hot water, it’s best to establish an organized workflow. I recommend setting up all your equipment and preparing your canning station before you even begin processing the asparagus. This ensures a smooth and safe canning experience. Always start by preparing your pressure canner according to its manufacturer’s instructions and ensuring your jars are clean and heated, ready for filling.
Selecting and Preparing Your Asparagus
The foundation of great home-canned asparagus is the quality of the fresh spears. Choose tender asparagus with firm stalks and tight, compact tips. Avoid any spears that appear limp, bruised, or have opened tips, as these are past their prime. Begin by thoroughly washing the asparagus to remove any dirt or debris. Next, trim off the tough, woody stem ends – you can typically do this by snapping them where they naturally break, or by cutting off the bottom inch or two. Any small, tough scales along the stalk should also be removed. After trimming, give the spears another rinse. Now, decide on your desired presentation: whether you’re canning them as whole spears or cutting them into one-inch pieces for easier packing and versatile use.
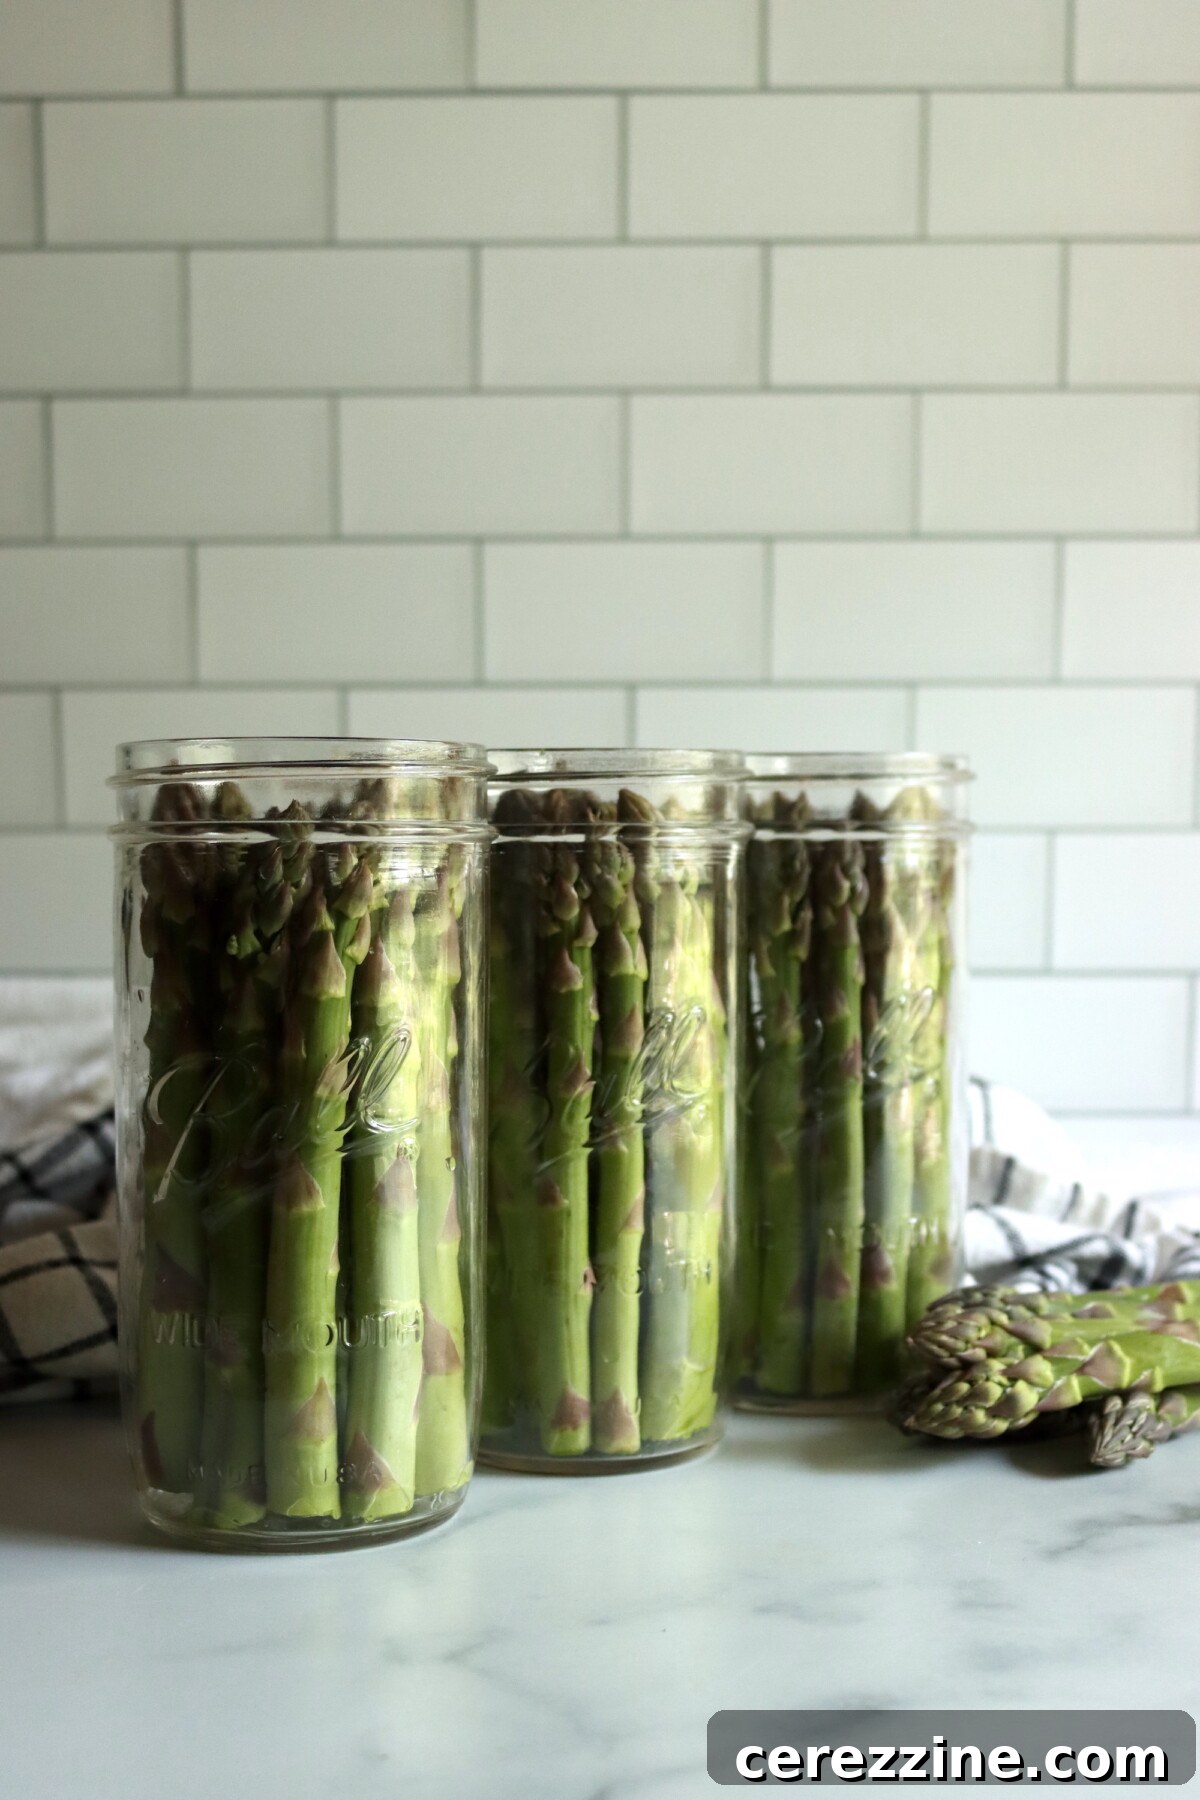
If you opt for whole spears, measure them against your canning jars. The spears should be cut to be approximately 1.5 inches shorter than the height of your chosen jars. This allows for the crucial 1-inch headspace required at the top of the jar and ensures that the asparagus remains fully submerged beneath the liquid line, typically about 0.5 inches below it, which is essential for proper processing and preservation.
Hot Pack Option: A Gentle Pre-Cook
For the hot pack method, after preparing your asparagus, gently cover the trimmed spears or pieces with boiling water. Allow them to boil for a brief period of two to three minutes. This light blanching helps to shrink the asparagus slightly, preventing excessive floating in the jars and aiding in a more consistent final product. Once blanched, use tongs to loosely fill your pre-heated jars with the hot asparagus, ensuring that you maintain the critical one inch of headspace from the rim of the jar. This space is vital for proper sealing and safe processing.
Raw Pack Option: Simplicity and Efficiency (Recommended)
The raw pack method is often preferred for its simplicity and efficiency, and it’s my personal go-to for asparagus. For this technique, simply pack the raw, trimmed asparagus spears or pieces into your pre-heated jars as tightly as possible without crushing them. While it might seem counterintuitive to pack raw vegetables tightly, this helps minimize floating. Remember to leave a consistent 1.5 inches of headspace above the spears. The raw pack yields excellent results without the extra step of pre-boiling, making it ideal for busy canning days.
Adding Liquid and Final Jar Preparation
Once your jars are packed with asparagus, you can choose to add canning salt for flavor. While optional, it does enhance the taste of the finished product. Most reputable sources recommend adding 1 teaspoon of canning salt per quart jar or 1/2 teaspoon per pint jar. Adjust this amount to match your personal taste; remember, its purpose is purely for flavor, not for the safety of preservation. After adding salt (if desired), carefully pour fresh boiling water over the asparagus in each jar, ensuring that you still leave a full one inch of headspace from the top rim. This means the liquid should cover the asparagus but remain an inch below the rim. Use a bubble remover tool or a non-metallic spatula to gently remove any trapped air bubbles from the jars. Adjust the headspace again if necessary by adding more boiling water. Finally, wipe the rims of the jars clean with a damp cloth to ensure a perfect seal, apply your lids and bands, and promptly transfer the prepared jars to your pre-heated pressure canner.
Pressure Canning Asparagus: The Critical Step
Because asparagus is classified as a low-acid vegetable, it is absolutely essential that this recipe be processed in a pressure canner. Unlike high-acid foods that can be safely preserved in a boiling water bath, low-acid foods require the higher temperatures achievable only through pressure canning to destroy harmful bacteria, particularly Clostridium botulinum, which can cause botulism. Never attempt to water bath can asparagus, as it poses a significant health risk.
Always refer to your specific pressure canner manufacturer’s directions for detailed instructions on adding the correct amount of water, properly venting the canner, and bringing it up to the required pressure. These steps are crucial for ensuring the internal temperature of the jars reaches a safe level for the duration of the processing time. Once the canner reaches the specified pressure, process pint jars for 30 minutes or quart jars for 40 minutes. These processing times are identical for both hot pack and raw pack methods. Be sure to use the pressure setting that corresponds to your specific canner type (dial gauge or weighted gauge) and your local altitude, which can significantly affect the required pressure for safety (refer to the altitude adjustments section below).
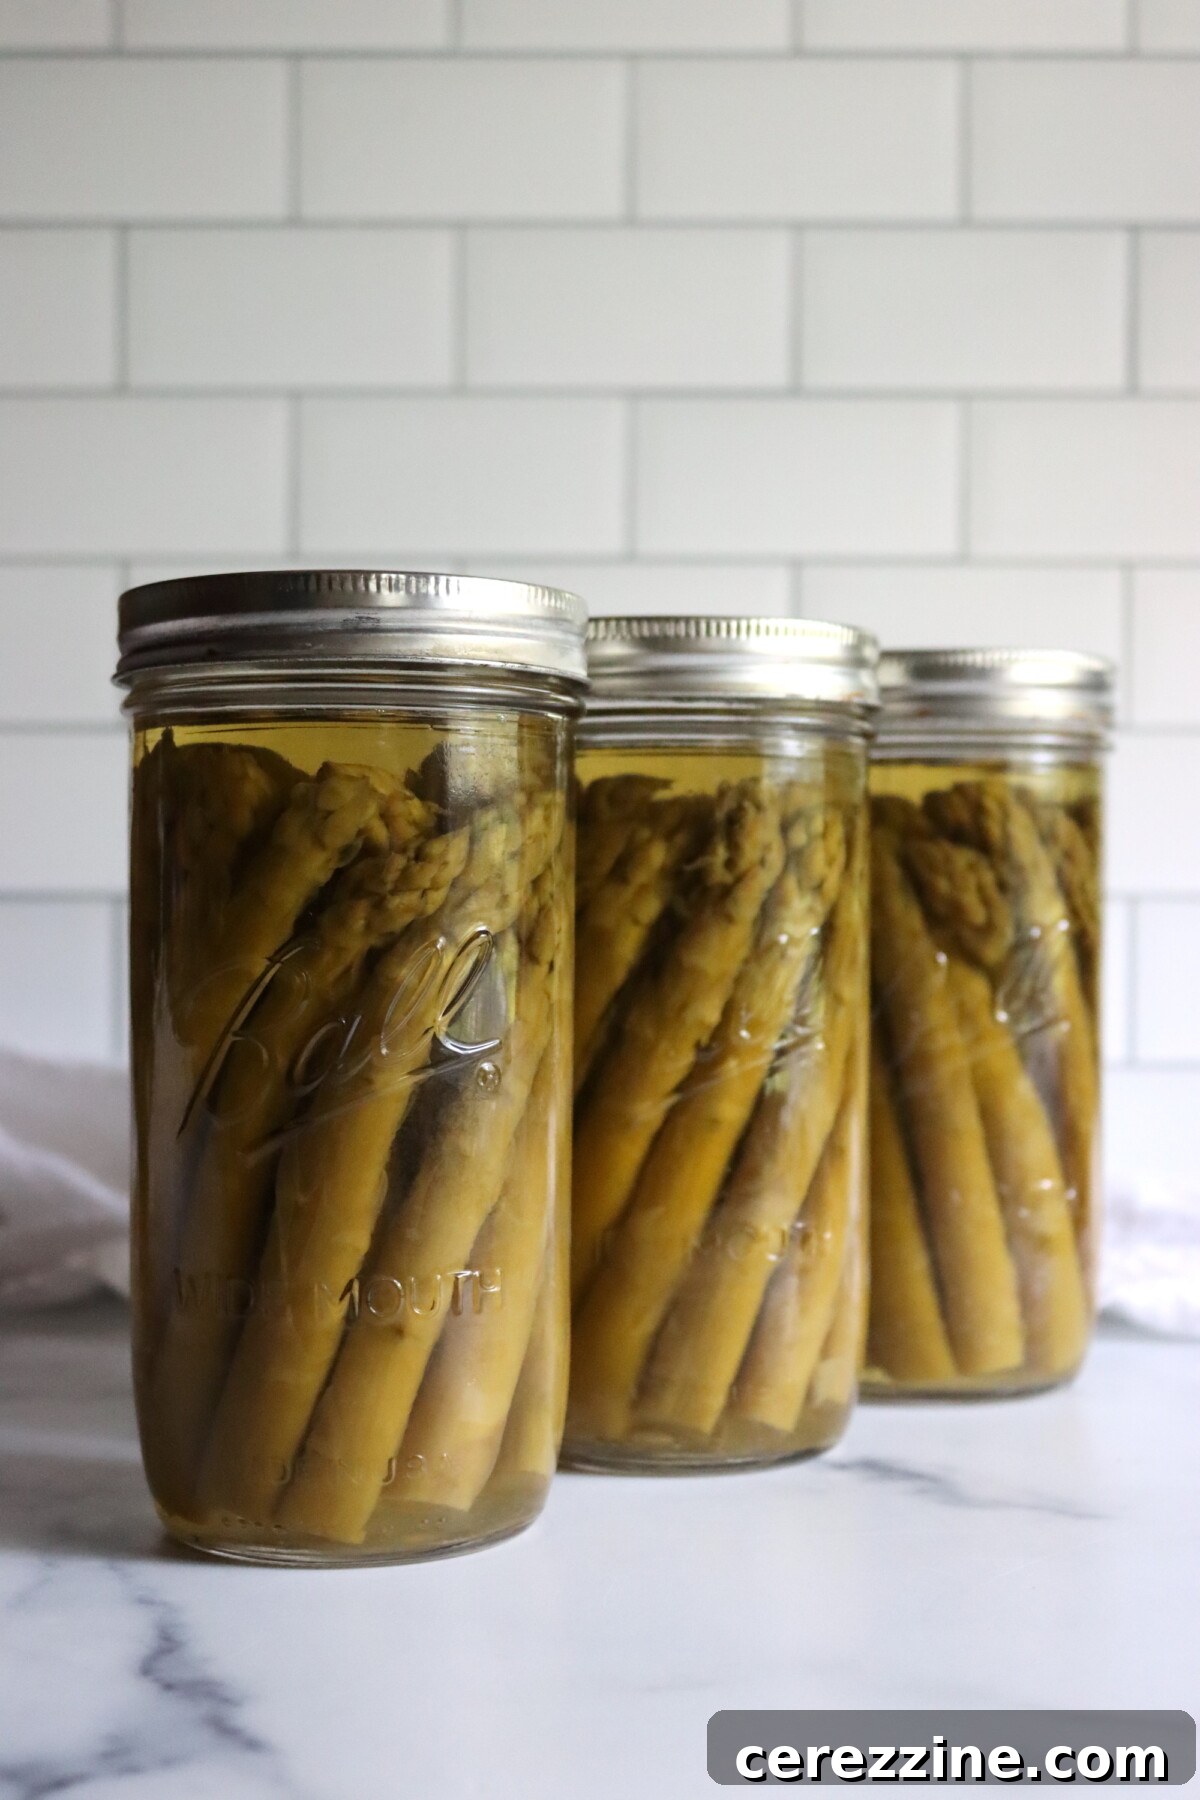
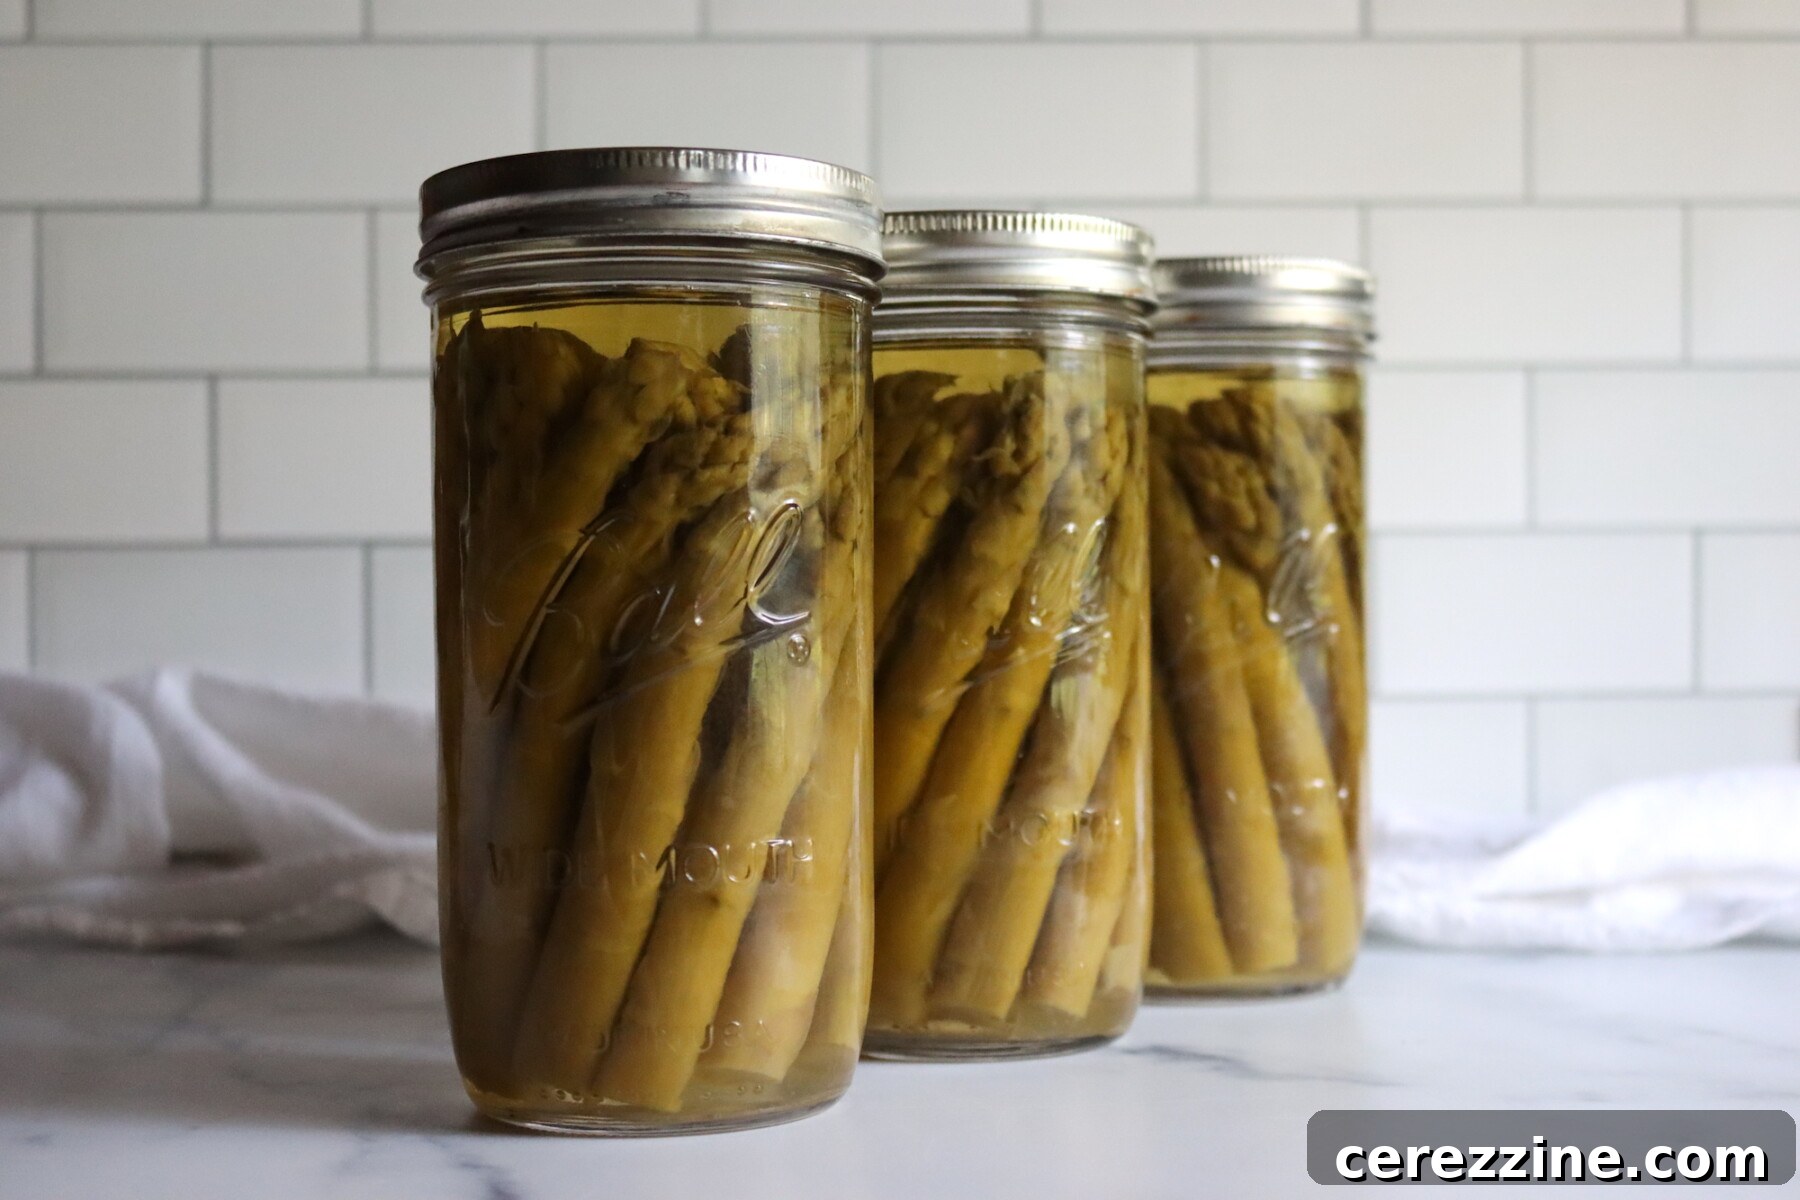
After the designated processing time is complete, turn off the heat and allow the pressure canner to depressurize naturally. This process can take anywhere from 30 to 60 minutes or more, depending on the size of your canner. Do not attempt to force open the canner lid or rapidly cool it, as this can lead to siphoning (loss of liquid from jars) and compromise seals. Once the canner has fully depressurized and the pressure gauge reads zero, wait the recommended time before carefully opening the lid away from your face. Remove the hot jars and place them on a towel-lined surface to cool undisturbed for 12 to 24 hours. After they are completely cooled, check all jar seals. Properly sealed lids will be concave and will not flex when pressed. Any unsealed jars must be reprocessed or refrigerated and consumed promptly. Label your sealed jars with the contents and date, then store them in a cool, dark, dry place.
Crucial Altitude Adjustments for Pressure Canning
When pressure canning, the processing times for your recipes remain constant regardless of elevation. However, the required pressure must be adjusted to account for higher altitudes. This is because water boils at a lower temperature at increased elevations, and to achieve the necessary internal jar temperature for safe food preservation, a higher pressure is needed. Always consult the appropriate adjustment for your specific altitude and canner type:
For dial gauge pressure canners, apply the following adjustments:
- 0 to 2,000 feet in elevation – use 11 lbs pressure
- 2,001 to 4,000 feet in elevation – use 12 lbs pressure
- 4,001 to 6,000 feet in elevation – use 13 lbs pressure
- 6,001 to 8,000 feet in elevation – use 14 lbs pressure
For weighted gauge pressure canners, the adjustments are simpler:
- 0 to 1,000 feet in elevation – use 10 lbs pressure
- Above 1,000 feet – use 15 lbs pressure
Yield Notes for Asparagus Canning
Asparagus is a unique vegetable when it comes to canning yields because the final quantity can vary significantly. Factors such as the thickness of your spears, how tightly you pack them into the jars, and whether you’re canning whole spears or cut pieces all play a role. However, the National Center for Home Food Preservation (NCHFP) provides invaluable planning numbers to help you estimate your needs accurately.
For a full pressure canner load, which typically accommodates 7 quarts or 9 pints, plan on:
- Approximately 24 to 25 pounds of asparagus for 7 quart jars.
- Roughly 16 pounds of asparagus for 9 pint jars.
The NCHFP further notes that a standard 31-pound crate of fresh asparagus typically yields about 7 to 12 quarts of canned product. This calculates to an average of approximately 3.5 pounds of asparagus needed per quart jar.
What About Pint-and-a-Half Jars?
Pint-and-a-half jars, often referred to as “extra tall pints,” are a popular choice for canning whole asparagus spears due to their ideal height. These jars hold 24 ounces, which equates to one and a half pints, or precisely three-quarters of a quart. Using the NCHFP’s average yield per quart as a helpful guide, we can estimate:
- Estimated asparagus required per pint-and-a-half jar: approximately 2.5 to 2.75 pounds.
While this isn’t an exact, precise measurement – as asparagus will never pack with perfect consistency – it serves as a highly reliable planning estimate if you are purchasing or harvesting a specific quantity of asparagus with these taller jars in mind. This guidance helps you minimize waste and ensure you have enough fresh produce for your canning session.
Delightful Serving Ideas for Canned Asparagus
Home-canned asparagus isn’t just a pantry staple; it’s a versatile ingredient ready to transform into a delicious dish with minimal effort. Here are some inspiring ways to enjoy your preserved bounty:
For a quick and comforting side, simply warm a jar of asparagus, drain it well, and serve it with a generous pat of butter, a squeeze of fresh lemon juice, and a grind of black pepper. This classic preparation truly highlights the tender texture and subtle flavor of the asparagus, making it an instant and elegant accompaniment to any meal.
Elevate your everyday cooking by incorporating drained, canned asparagus into various recipes. Add it to hearty casseroles for a boost of green, stir it into creamy soups for added texture and flavor, or fold it into a savory quiche. It’s also fantastic in a quick skillet pasta dish when you need tender vegetables fast, reducing cooking time significantly.
Get creative with cold dishes too! Chop your canned asparagus and fold it into potato salad or egg salad for a vibrant, spring-inspired twist. For a more sophisticated starter, blend the drained asparagus with vegetable or chicken stock and a splash of cream to create a luscious, creamy asparagus soup base, ready to be seasoned and served.
Asparagus Canning FAQs
Absolutely not. Asparagus is a low-acid vegetable, which means it requires the high temperatures achieved only through pressure canning to ensure safe shelf storage. Water bath canning does not reach temperatures high enough to destroy harmful bacteria like Clostridium botulinum, making it unsafe for low-acid foods. Always use a tested pressure canning recipe for asparagus.
Both hot pack and raw pack are approved and tested methods for canning asparagus, and both utilize the same processing times in the pressure canner. Hot pack involves briefly boiling the asparagus before packing it into jars, which can help reduce floating and remove some air. Raw pack, on the other hand, skips this pre-boiling step and packs raw spears tightly into the jars. From my personal experience, I don’t observe a significant difference in the final product’s quality or texture between the two methods, which is why I consistently opt for the raw pack for asparagus due to its greater efficiency and ease of preparation.
Canning salt is optional and is included solely for flavor enhancement. You can certainly add small amounts of dry spices, such as a pinch of black pepper, a bay leaf, or a few peppercorns, to your jars for added flavor. These dry additions do not affect the safety or processing times for plain vegetables. However, it’s generally best to avoid adding fresh herbs, oils, butter, or other untested ingredients directly to the jars, as these can alter the pH and density, potentially compromising safety. I typically prefer to season my asparagus on serving, allowing for maximum versatility.
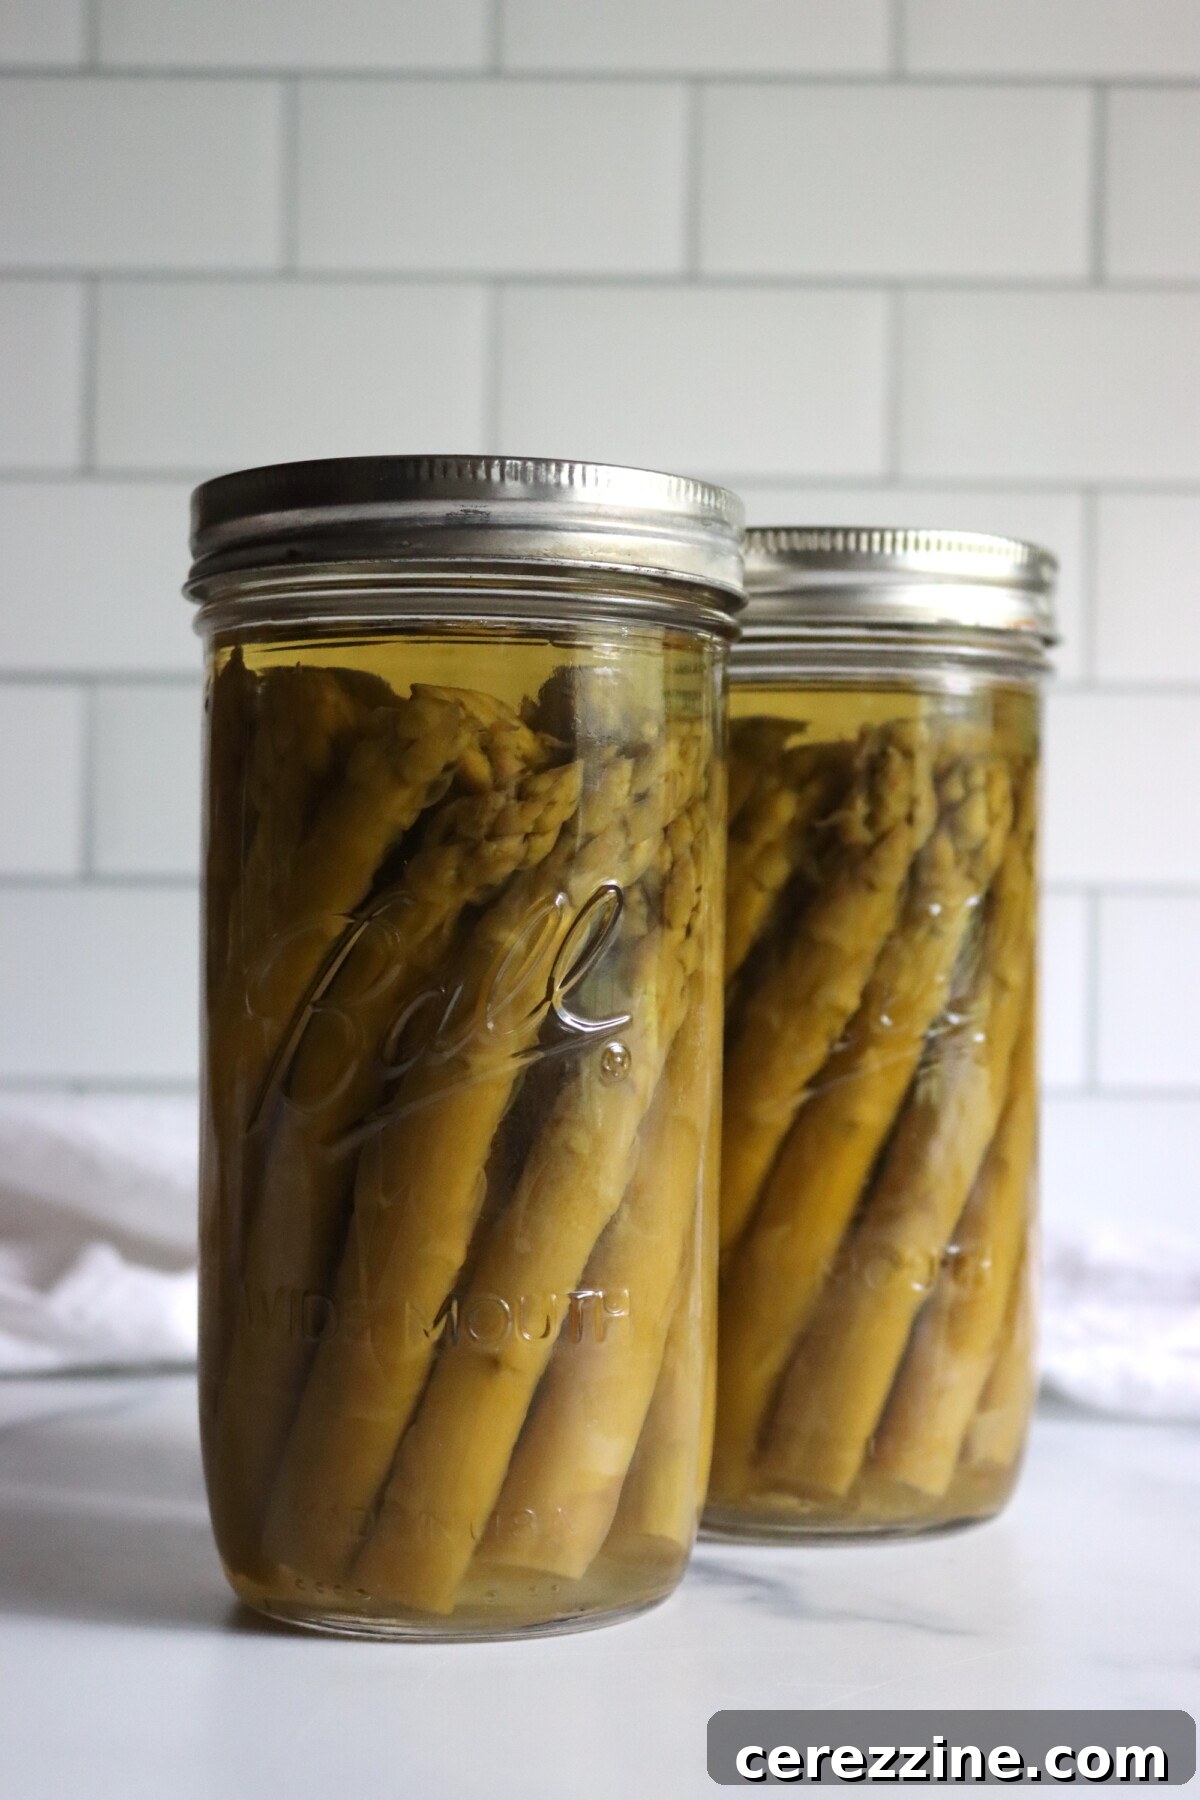
When it comes to canning asparagus spears, your choice of jar can significantly streamline the entire process. While you can technically use either pint or quart jars, the shape of the jar is often just as important as its size. For preserving whole spears, straight-sided jars are by far the easiest to work with. Their uniform interior walls allow you to neatly slip the stalks in without struggling against a narrowing “shoulder” near the top. Wide-mouth jars also offer an advantage, but the true key is a jar with straight walls, ensuring the spears pack upright and can be easily removed later without breakage.
Historically, one jar style was considered perfect for tall, tidy asparagus spears: Ball’s pint-and-a-half jars, often known as “extra tall pints.” These were ideally sized for asparagus, and many home canners cherished them for this purpose. While Ball no longer manufactures them, you can still find similar pint-and-a-half style jars from brands like Kilner or Azure Standard today. They provide a wonderful option when you desire that aesthetically pleasing “spears standing straight in the jar” look without needing to use full quart-sized jars.
That being said, if you are planning on canning asparagus pieces rather than whole spears, you don’t need to be overly concerned about jar shape. Cut pieces pack easily into any jar, and any standard pint or quart jar will work perfectly fine, even those with traditional shoulders.
More Asparagus Canning Recipes
Canning Asparagus
Canning Asparagus Soup Base
Canning Asparagus Potato & Leek Soup
If you tried this recipe for pressure canning asparagus, or any other recipe on Creative Canning, we’d love to hear from you! Please consider leaving a ⭐ star rating and sharing your thoughts in the 📝 comments section below!
And make sure you stay in touch with me by following on social media for more canning tips and delicious recipes!
Canning Asparagus
Pin
Rate
Equipment
-
Pressure Canner
Ingredients
- 24 1/2 pounds asparagus, spears or cut into 1-inch pieces
- Boiling water, for covering asparagus in jars
- Canning salt, optional, 1 teaspoon per quart
Instructions
-
Prepare a pressure canner according to the manufacturer’s directions. Thoroughly wash and heat clean quart jars, keeping them warm until ready to pack.
-
Select fresh, tender asparagus spears. Wash them exceptionally well, trim off any tough scales along the stalks, and snap off the tough, woody stem ends. Wash again to ensure cleanliness. Decide whether to leave them as whole spears (trimmed to fit your jars, approximately 1.5 inches shorter than the jar height) or cut them into 1-inch pieces.
-
For raw pack (recommended for ease), meticulously pack the raw, trimmed asparagus tightly into the hot, clean quart jars. Ensure not to crush the spears, and leave 1.5 inches of headspace from the rim of the jar to allow for expansion during processing.
-
For hot pack, bring a pot of water to a rolling boil. Add the prepared asparagus and boil for 2 to 3 minutes. This step helps to slightly pre-shrink the asparagus. Using tongs, loosely fill the hot quart jars with the blanched asparagus, still maintaining 1.5 inches of headspace.
-
If you are using salt for flavor, add 1 teaspoon of canning salt to each quart jar (or 1/2 teaspoon for pint jars). Carefully pour fresh boiling water over the asparagus in each jar, ensuring the liquid covers the spears while leaving a precise 1 inch of headspace from the top rim of the jar. Use a non-metallic tool to remove any air bubbles. If the headspace decreases significantly, add a little more boiling water to restore the 1-inch headspace. Wipe the jar rims thoroughly with a clean, damp cloth to ensure a good seal. Place new, pre-warmed lids and bands on the jars, tightening to fingertip-tight.
-
Process the jars in your prepared pressure canner. Follow your canner’s manufacturer directions for venting and bringing to pressure. Process quart jars for 40 minutes or pint jars for 30 minutes, using the correct pressure specified for your canner type and altitude (refer to the altitude adjustments section in the notes below). Once processing is complete, turn off the heat and allow the canner to depressurize naturally and completely. Do not rush this step. After depressurization, remove the jars and let them cool undisturbed on a protected surface for 12 to 24 hours. Once cool, check for proper seals (lids should be concave and not flex). Label your jars with contents and date, then store in a cool, dark, and dry place.
Notes
Yield Notes
The yield of canned asparagus can vary depending on factors such as spear thickness and how tightly you pack your jars. For planning purposes, you can estimate that you will need about 3 1/2 pounds of asparagus per quart jar. A full pressure canner load (typically 7 quarts) will require approximately 24 1/2 pounds of asparagus, or about 16 pounds for 9 pint jars. For pint-and-a-half jars (which hold 24 ounces or 3/4 quart), plan on roughly 2 1/2 to 2 3/4 pounds of asparagus per jar.
Pressure Canning Altitude Adjustments
It is critical to adjust pressure according to your altitude when using a pressure canner, as boiling points change at higher elevations. Processing times, however, remain constant. Refer to these guidelines for safe canning:
For dial gauge pressure canners:
- 0 to 2,000 feet in elevation – use 11 lbs pressure
- 2,001 to 4,000 feet in elevation – use 12 lbs pressure
- 4,001 to 6,000 feet in elevation – use 13 lbs pressure
- 6,001 to 8,000 feet in elevation – use 14 lbs pressure
For weighted gauge pressure canners:
- 0 to 1,000 feet in elevation – use 10 lbs pressure
- Above 1,000 feet – use 15 lbs pressure
Nutrition
Nutrition information is automatically calculated, so should only be used as an approximation.
Like this? Leave a comment below!
More Vegetable Canning Recipes
Canning Carrots
Canning Sauerkraut
Canning Parsnips
Find the perfect recipe
Searching for something else? Enter keywords to find the perfect recipe!