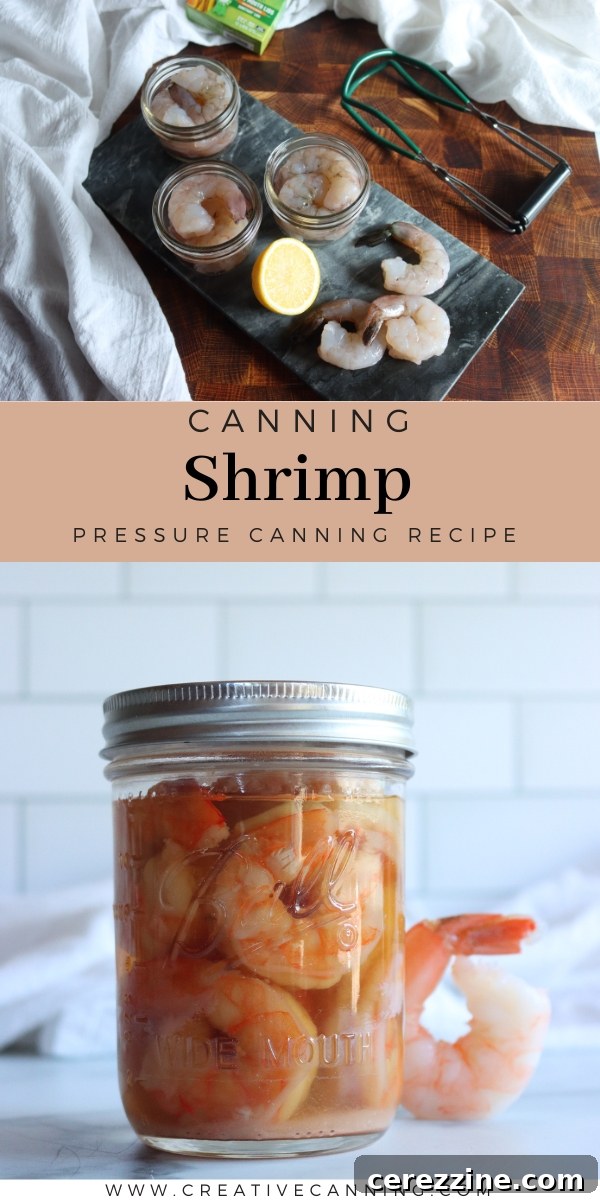
Preserving the bounty of the sea has never been easier or more satisfying than through home canning. For seafood enthusiasts, canning shrimp is an exceptional method to extend the availability of this highly perishable delicacy, transforming it into a convenient, shelf-stable staple for your pantry. Imagine enjoying succulent shrimp year-round, without worrying about freezer malfunctions or seasonal availability. With homemade canned shrimp, you unlock a world of culinary possibilities, ready to elevate impromptu meals or act as a reliable protein source for busy days. This comprehensive guide will walk you through every step of safely and effectively canning shrimp, ensuring you can savor its fresh taste anytime, anywhere.
The satisfying pop of a perfectly cooked piece of shrimp is a true culinary pleasure, but fresh shrimp can often be elusive or costly. If you find yourself with an abundant supply of fresh shrimp, whether from a successful fishing trip or a great market deal, home canning offers a brilliant solution. Beyond simply preserving your catch, this method provides numerous advantages that make it an invaluable skill for any home cook.
Canning shrimp allows you to capture its fresh flavor at its peak, making it accessible regardless of the season. By undertaking the process yourself, you gain complete control over the ingredients, ensuring no unnecessary additives or preservatives compromise the pure, wholesome taste. This means you’re enjoying nothing but delicious, high-quality shrimp, prepared exactly to your standards.
Unrivaled Benefits of Canning Shrimp at Home
The decision to can shrimp at home goes far beyond simple preservation; it offers a multitude of practical and rewarding benefits:
- Year-Round Enjoyment: Fresh shrimp is often seasonal and expensive. Canning allows you to stock your pantry with this versatile ingredient, ready for use whenever a craving strikes, regardless of market availability.
- Ingredient Control and Purity: When you can at home, you dictate what goes into your jars. This means no artificial flavors, colors, or chemical preservatives found in some commercially canned products. You get pure, unadulterated shrimp.
- Cost-Effectiveness: Purchasing shrimp in bulk when prices are favorable and canning it yourself can lead to significant savings over time compared to buying pre-canned or fresh out-of-season shrimp.
- Reduced Food Waste: Canning is an excellent way to prevent fresh shrimp from spoiling, ensuring that your valuable catch or purchase is utilized entirely. This mindful approach contributes to a more sustainable kitchen.
- Emergency Preparedness: Shelf-stable canned shrimp provides a vital protein source that doesn’t rely on refrigeration. This makes it an ideal component of your emergency food supply, offering peace of mind during power outages or unforeseen events.
- Culinary Versatility: Having ready-to-use shrimp on hand dramatically simplifies meal preparation. It’s perfect for quick salads, pasta dishes, tacos, and more, turning everyday cooking into an effortless gourmet experience.
- Self-Sufficiency and Satisfaction: There’s immense satisfaction in looking at a pantry stocked with homemade goods. Canning shrimp empowers you with a valuable skill, fostering a sense of independence and connection to your food supply.
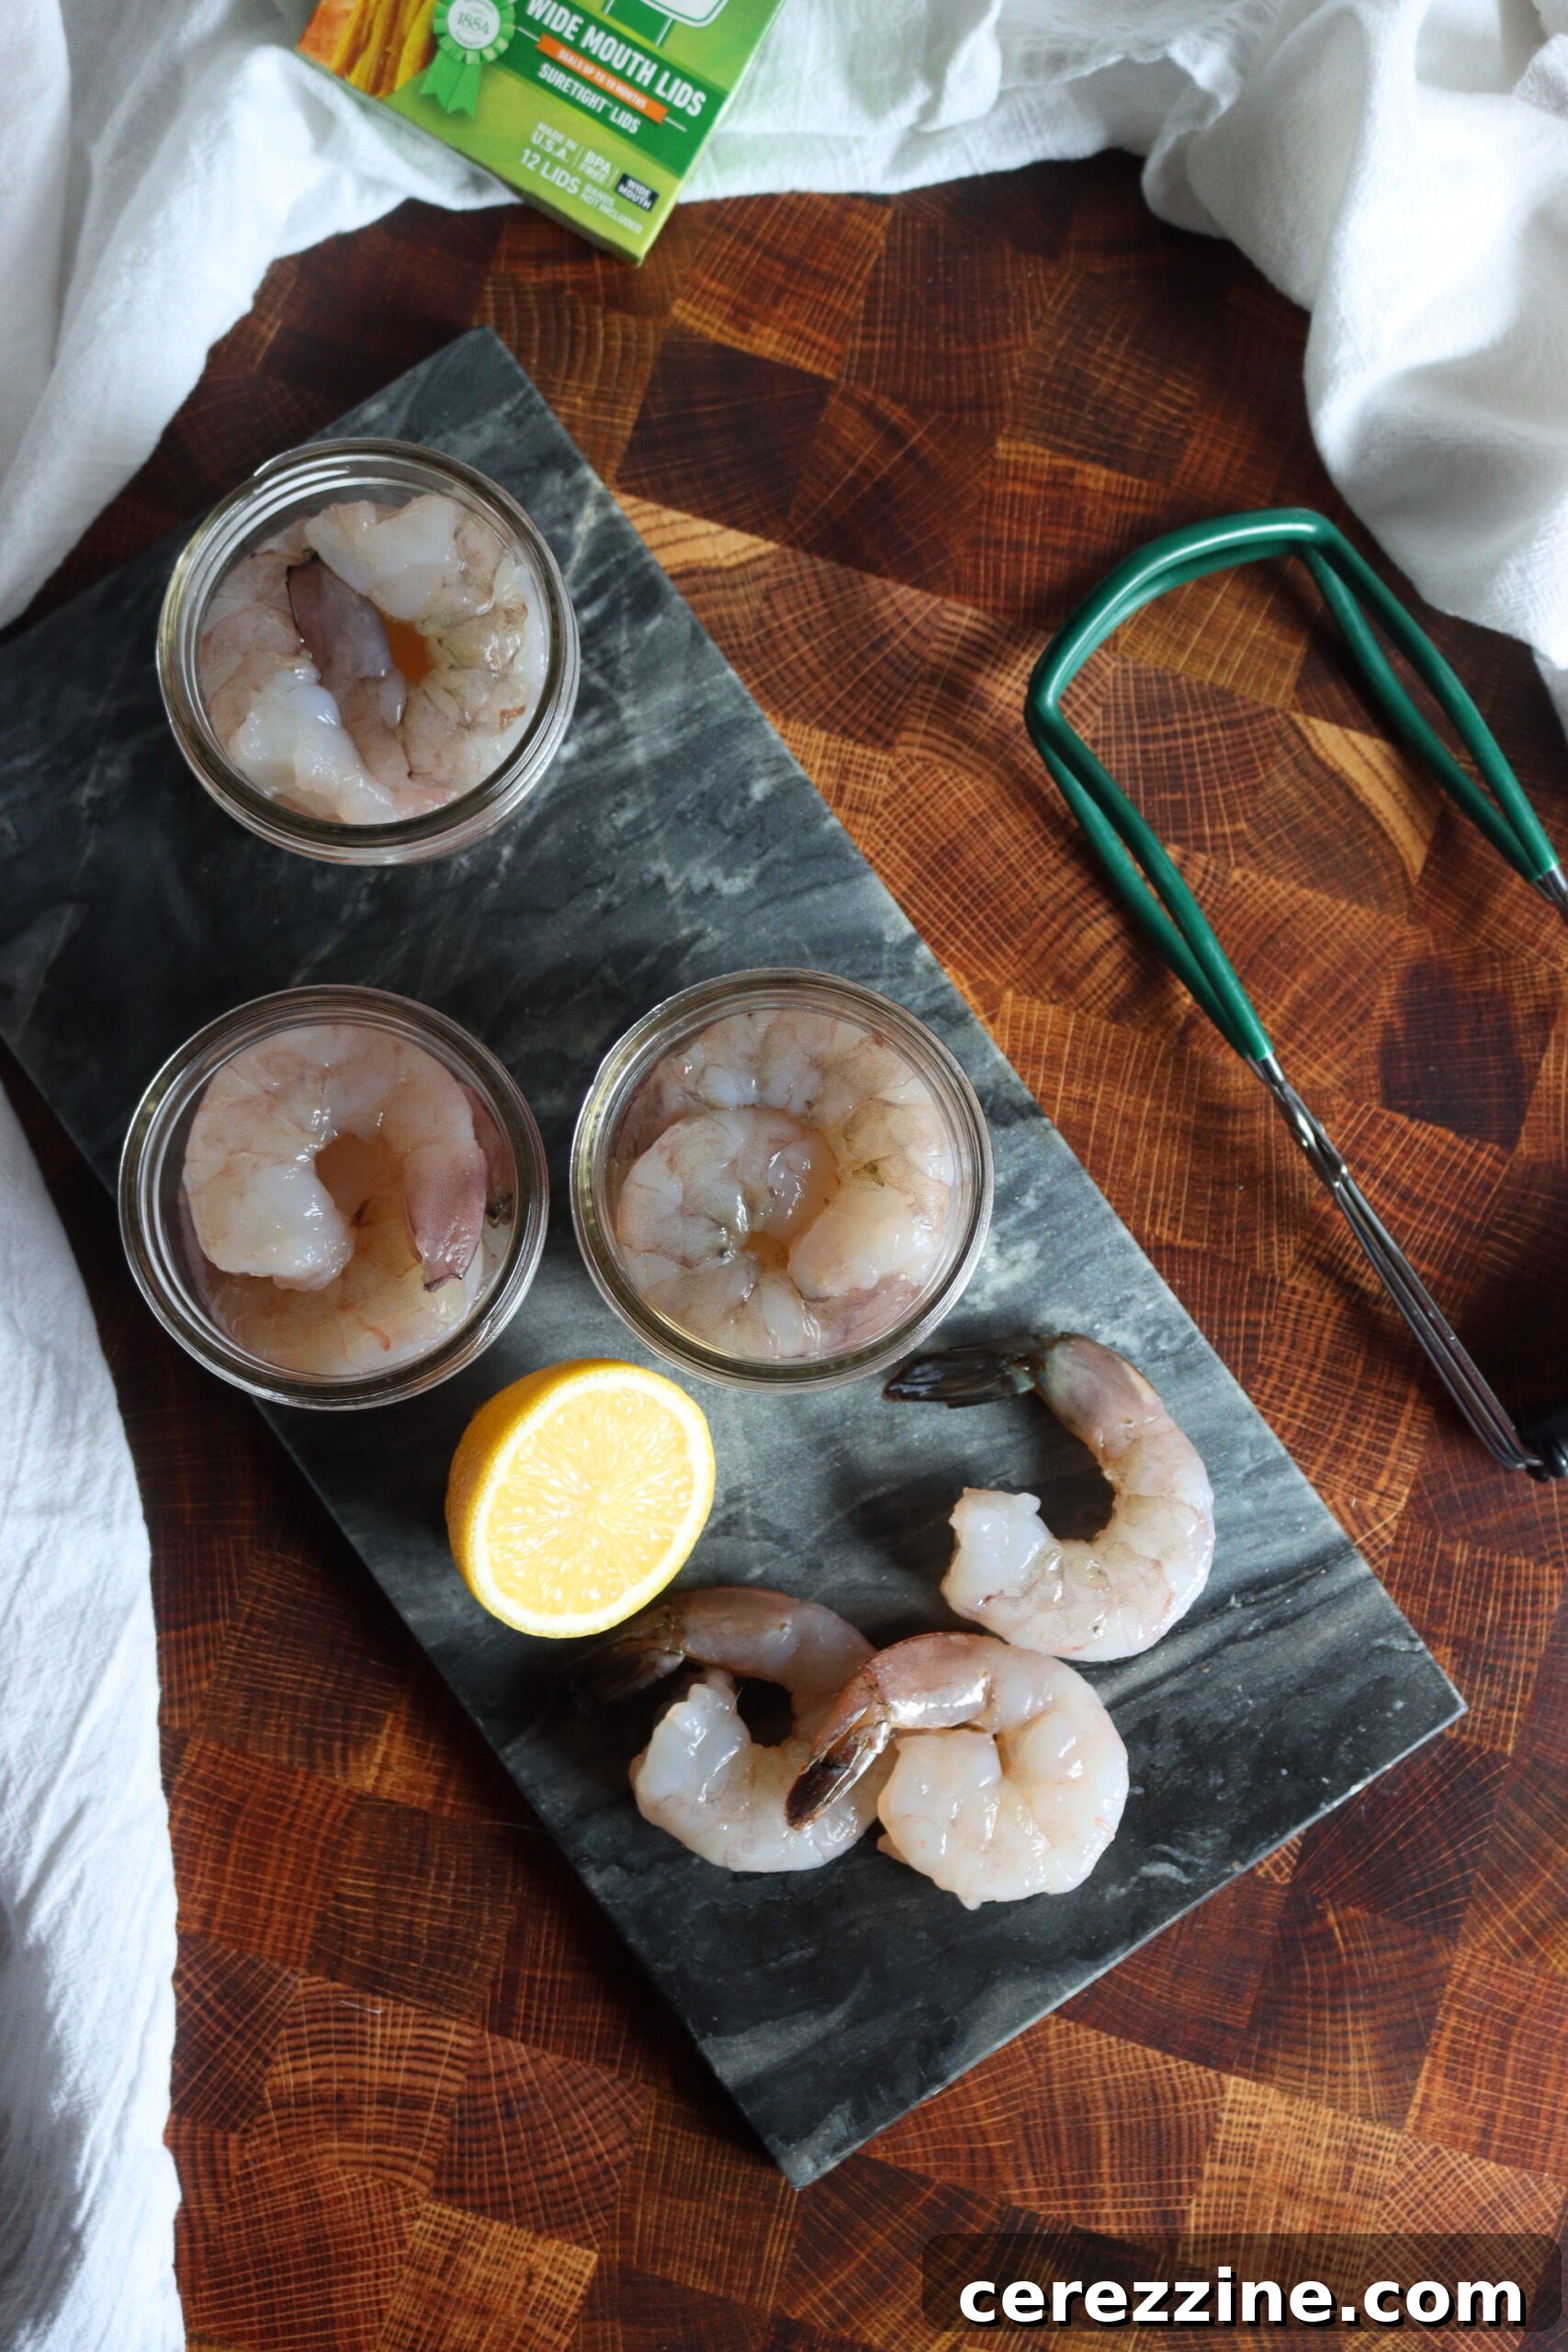
Essential Ingredients for Canning Shrimp
This tested recipe for canning shrimp at home comes from the trusted Pacific Northwest Extension Service (publication PNW194), ensuring safety and quality. The beauty of this process lies in its simplicity, requiring only a few fundamental ingredients:
- Fresh or Frozen Shrimp: The star of our show. When purchasing, remember that approximately 1 ½ pounds of raw, whole shrimp will yield about 1 pound of prepared, cleaned shrimp. If using frozen shrimp, ensure they are completely thawed and patted dry before you begin the canning process. High-quality shrimp will result in superior canned product.
- Water: Used for preparing the brines that both pre-cook and preserve the shrimp.
- Salt: Essential for both flavor and its role in the brine solution. Use canning or pickling salt, which is free of anti-caking agents and iodine that can cloud your brine or discolor your shrimp.
- Vinegar: A crucial ingredient for the initial acidic brine, which helps firm the shrimp and adds a subtle flavor. Use white vinegar with 5% acidity.
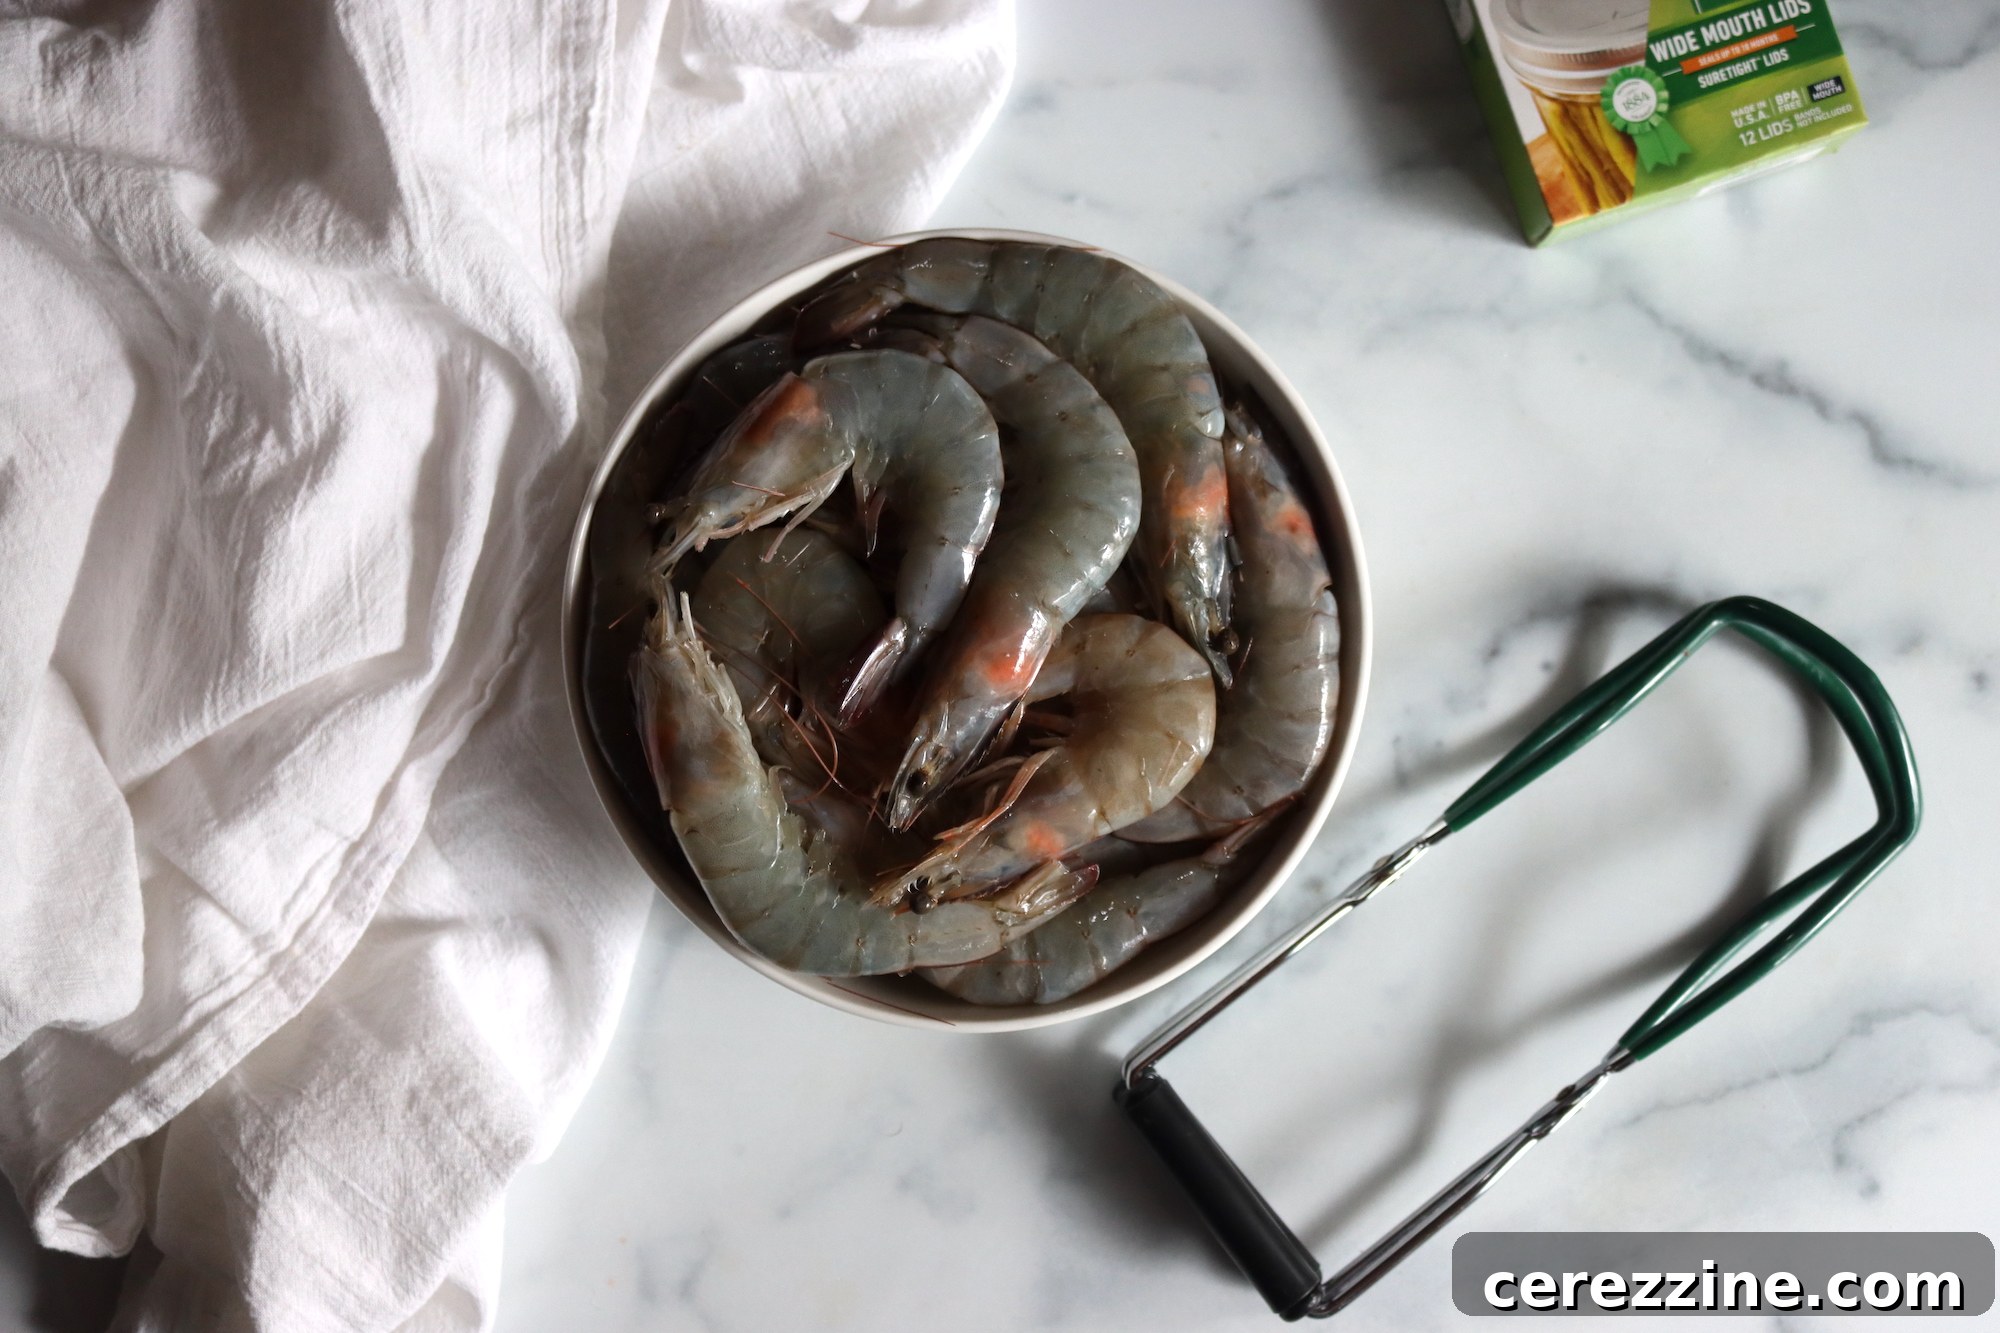
Necessary Equipment for Safe Home Canning
Successful and safe home canning, especially with low-acid foods like shrimp, relies on having the right equipment. Here’s what you’ll need:
- Pressure Canner: This is non-negotiable for canning shrimp. Shrimp is a low-acid food, which means it requires processing at high temperatures achievable only in a pressure canner to eliminate the risk of botulism. Ensure your pressure canner is in good working order, with a properly functioning dial gauge (if applicable) or weighted gauge.
- Canning Jars: Use standard glass canning jars (pint or half-pint sizes) designed for home canning. Inspect them for any chips, cracks, or imperfections, especially around the rims.
- Lids and Bands: New, self-sealing lids are required for each canning session. Bands can be reused as long as they are free from rust or dents.
- Jar Lifter: A tool specifically designed to safely lift hot jars out of the canner, preventing burns and spills.
- Canning Funnel: Helps guide food into jars cleanly, keeping jar rims free of debris for a proper seal.
- Headspace Tool: A simple tool to accurately measure the recommended headspace in your jars.
- Bubble Remover/Debubbler: A plastic or wooden utensil used to remove air bubbles from packed jars, ensuring even heating and a good seal.
- Large Stockpot: For preparing the brine and pre-cooking the shrimp.
- Clean Towels: For wiping jar rims and general clean-up.
Step-by-Step Guide to Canning Shrimp
Achieving perfectly canned shrimp is a meticulous process that guarantees safety and quality. Follow these steps carefully for the best results:
1. Prepare Your Shrimp
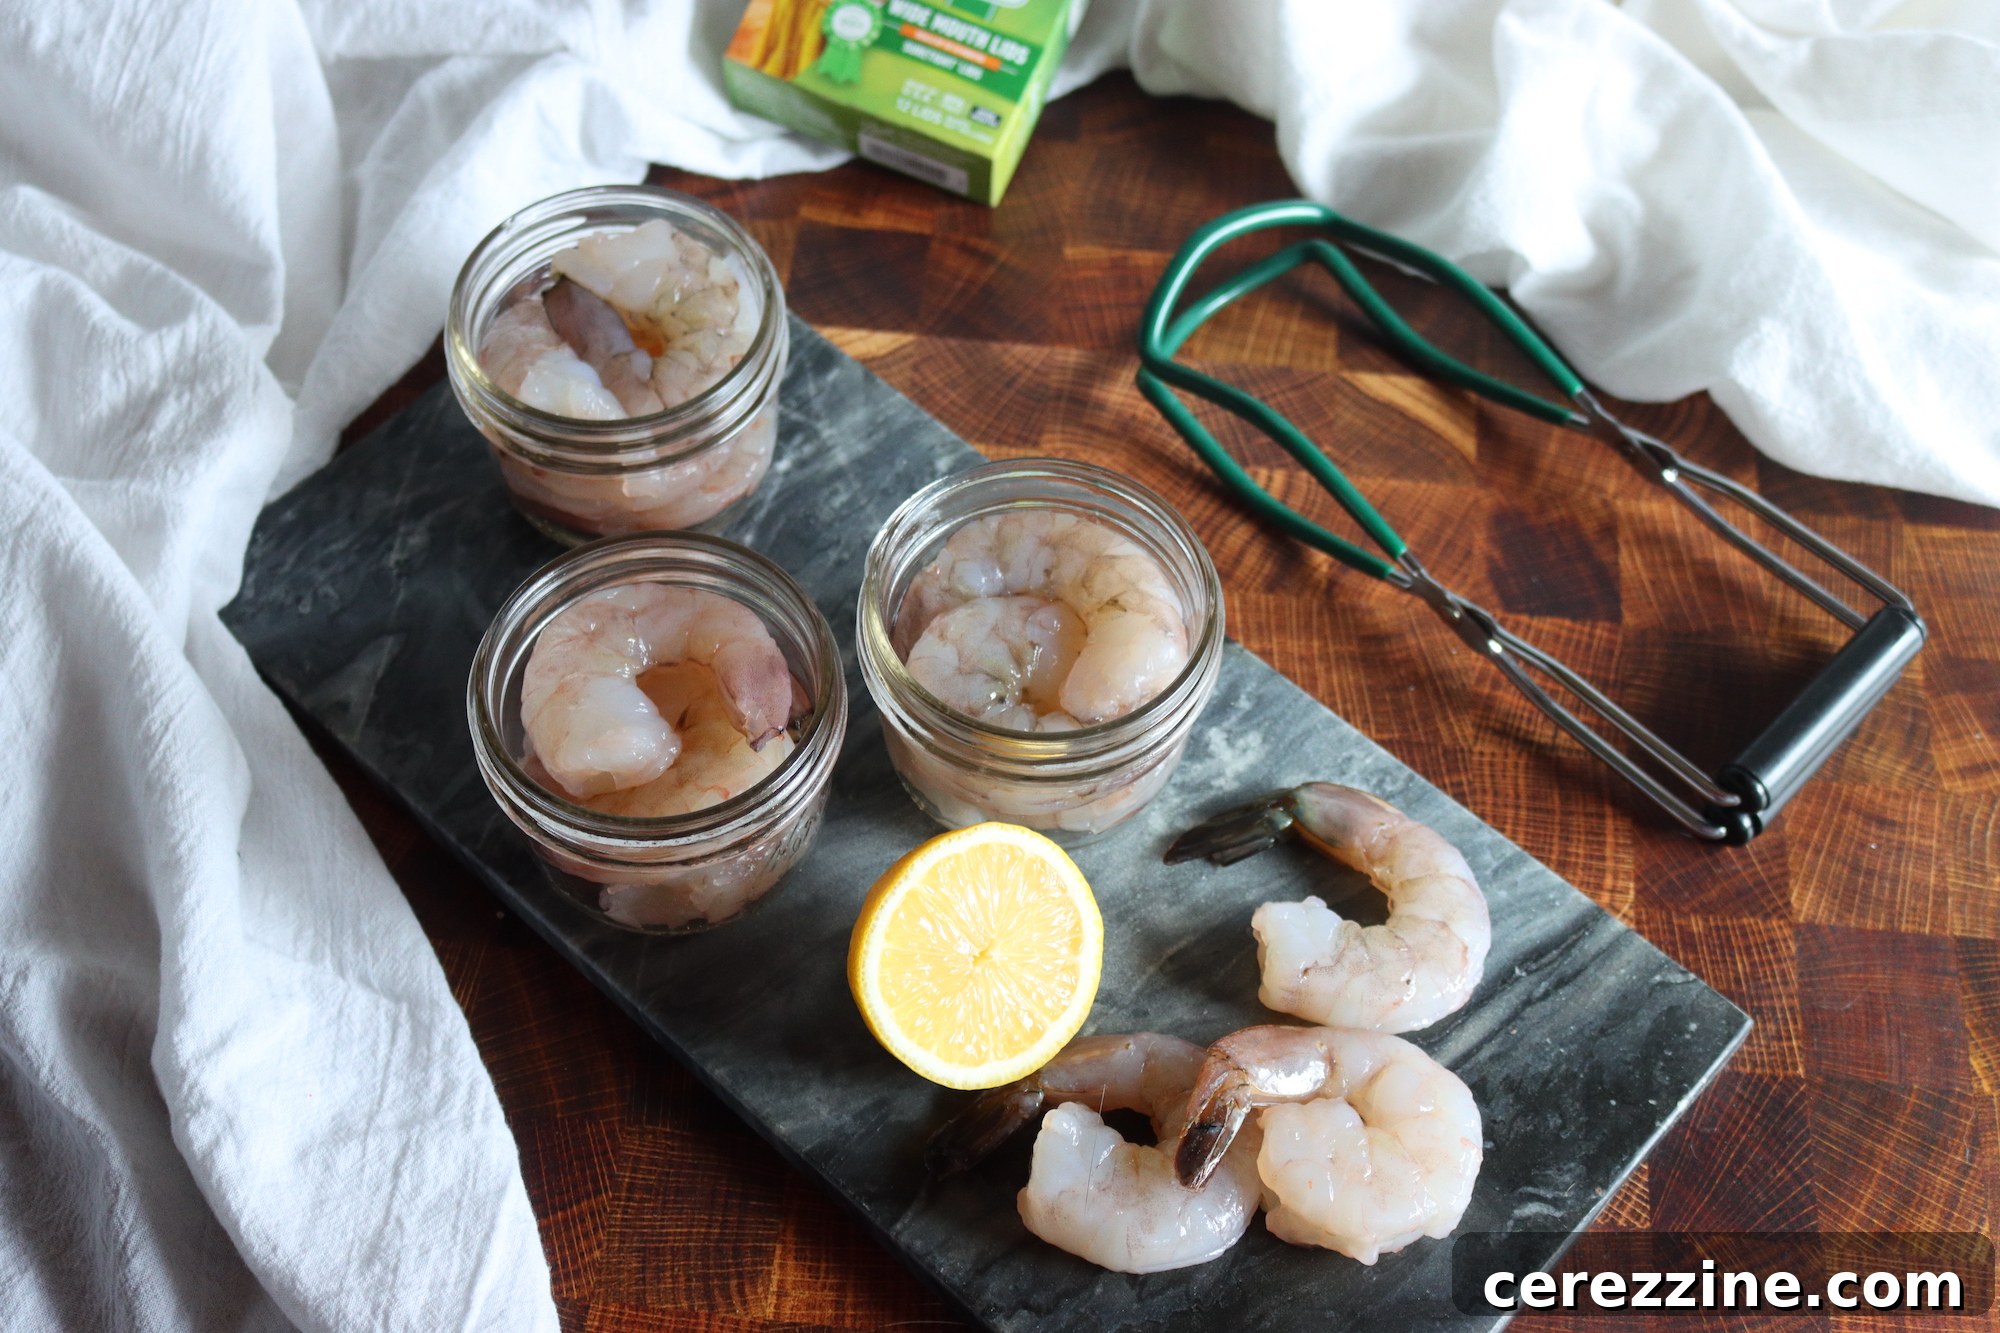
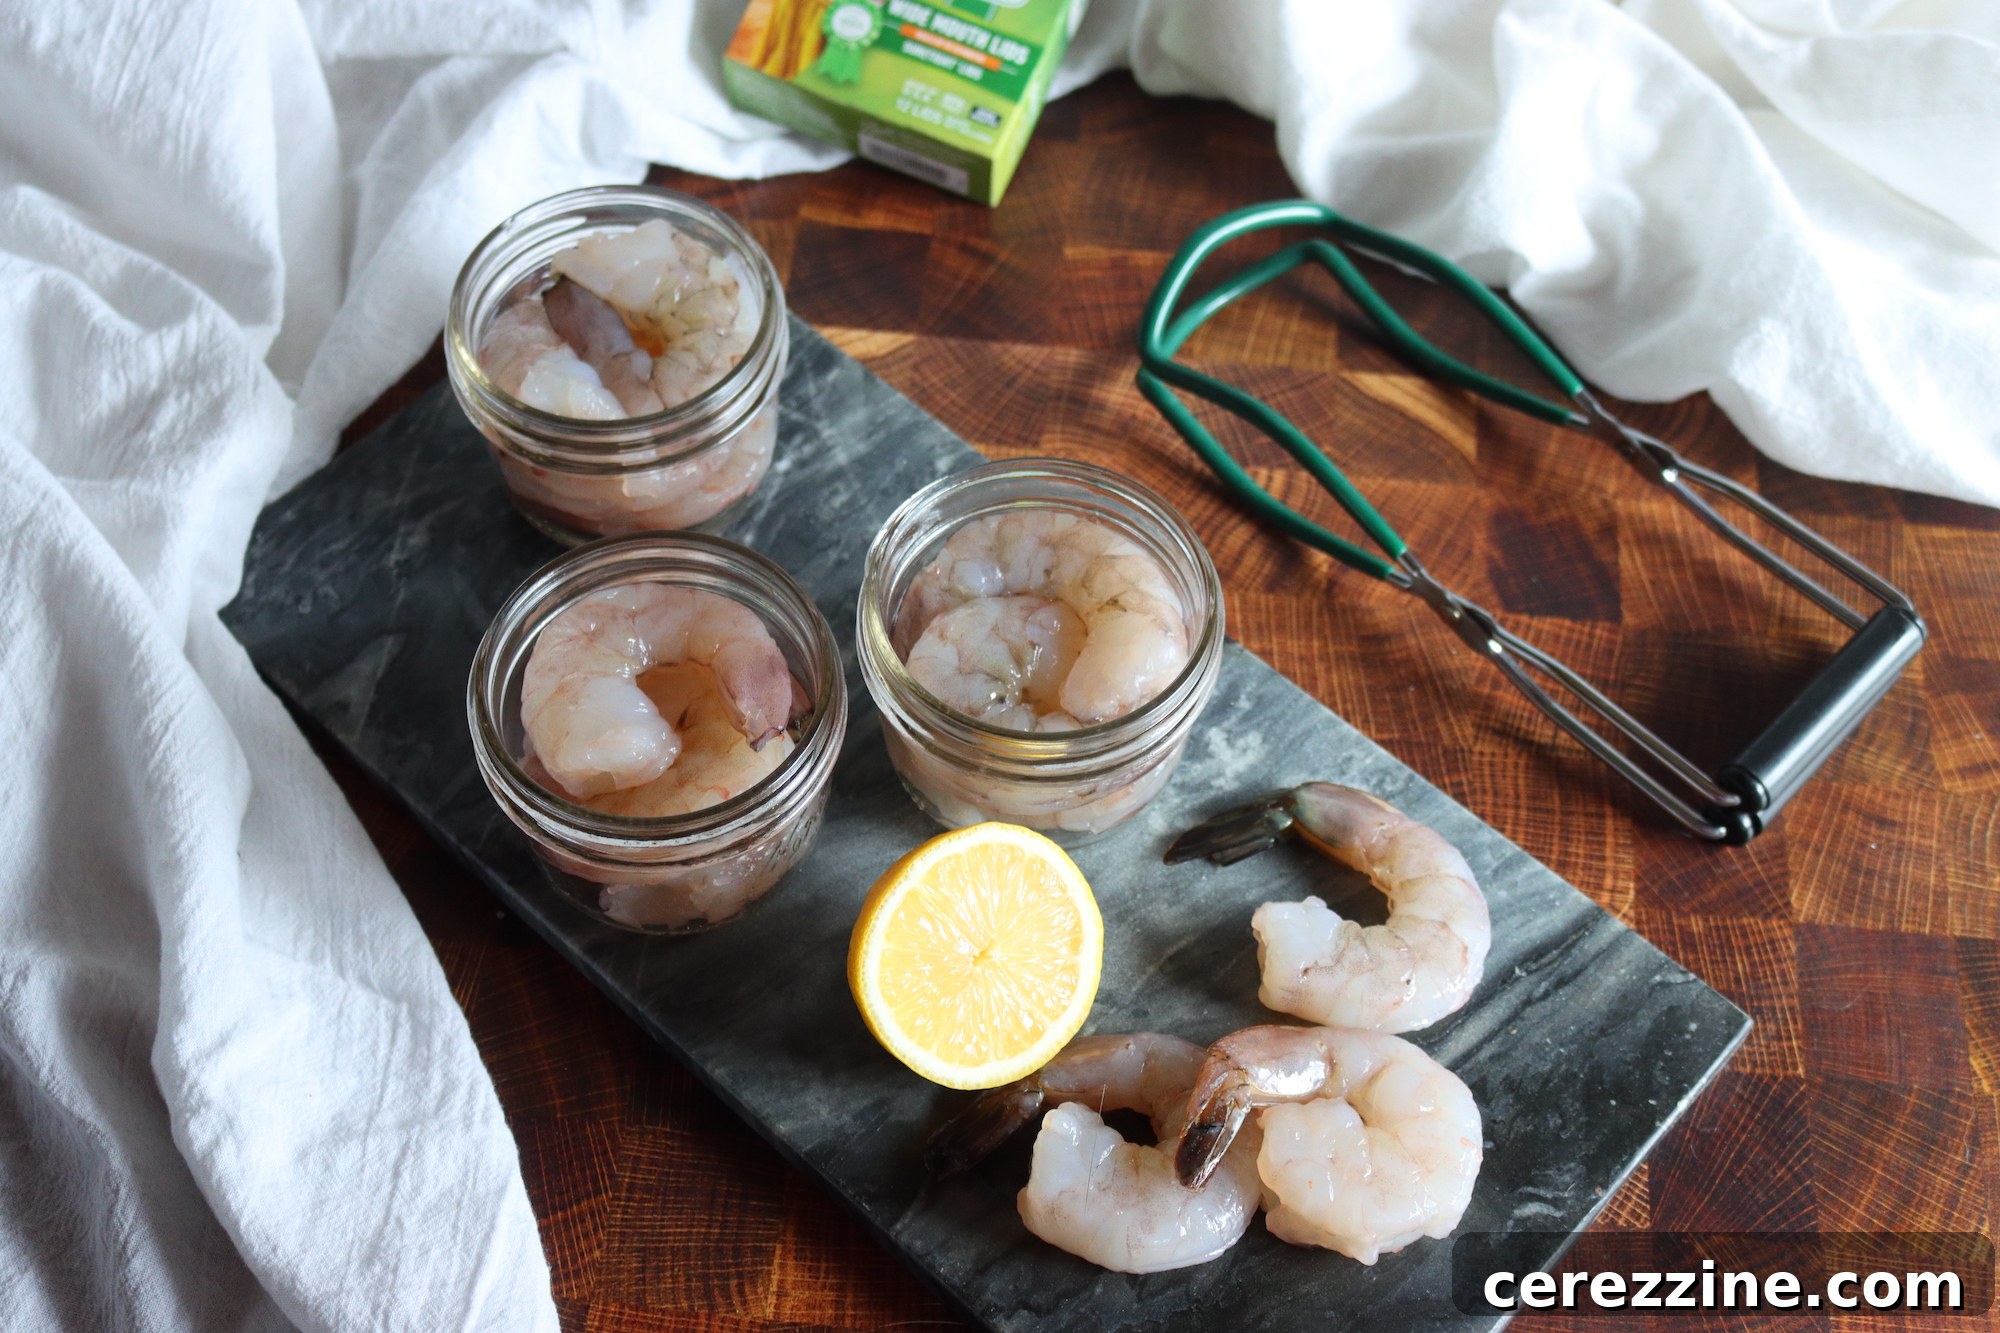
Begin by removing the heads from the shrimp as soon as possible after catching or purchasing them to maintain freshness. Thoroughly wash and drain the shrimp under cold running water. This critical step removes any dirt, sand, or impurities that could affect the quality and safety of your canned product. Once cleaned, chill the shrimp in the refrigerator until you are ready for the next step.
2. Pre-Cook in Acidic Brine
In a large stockpot, prepare an acidic brine by combining 1 cup of vinegar and ¼ to 1 cup of canning salt per gallon of water. Bring this solution to a rolling boil. Carefully add the cleaned shrimp to the boiling brine and cook for 8 to 10 minutes. The acidic environment helps to firm the shrimp, enhancing its texture, and adds a subtle flavor.
3. Rinse and Peel
After cooking, immediately rinse the shrimp in cold water to stop the cooking process and cool them down quickly. Drain them thoroughly. Once cooled, peel the shrimp. You can remove the veins at this stage if desired for aesthetics, though it’s not strictly necessary for canning safety.
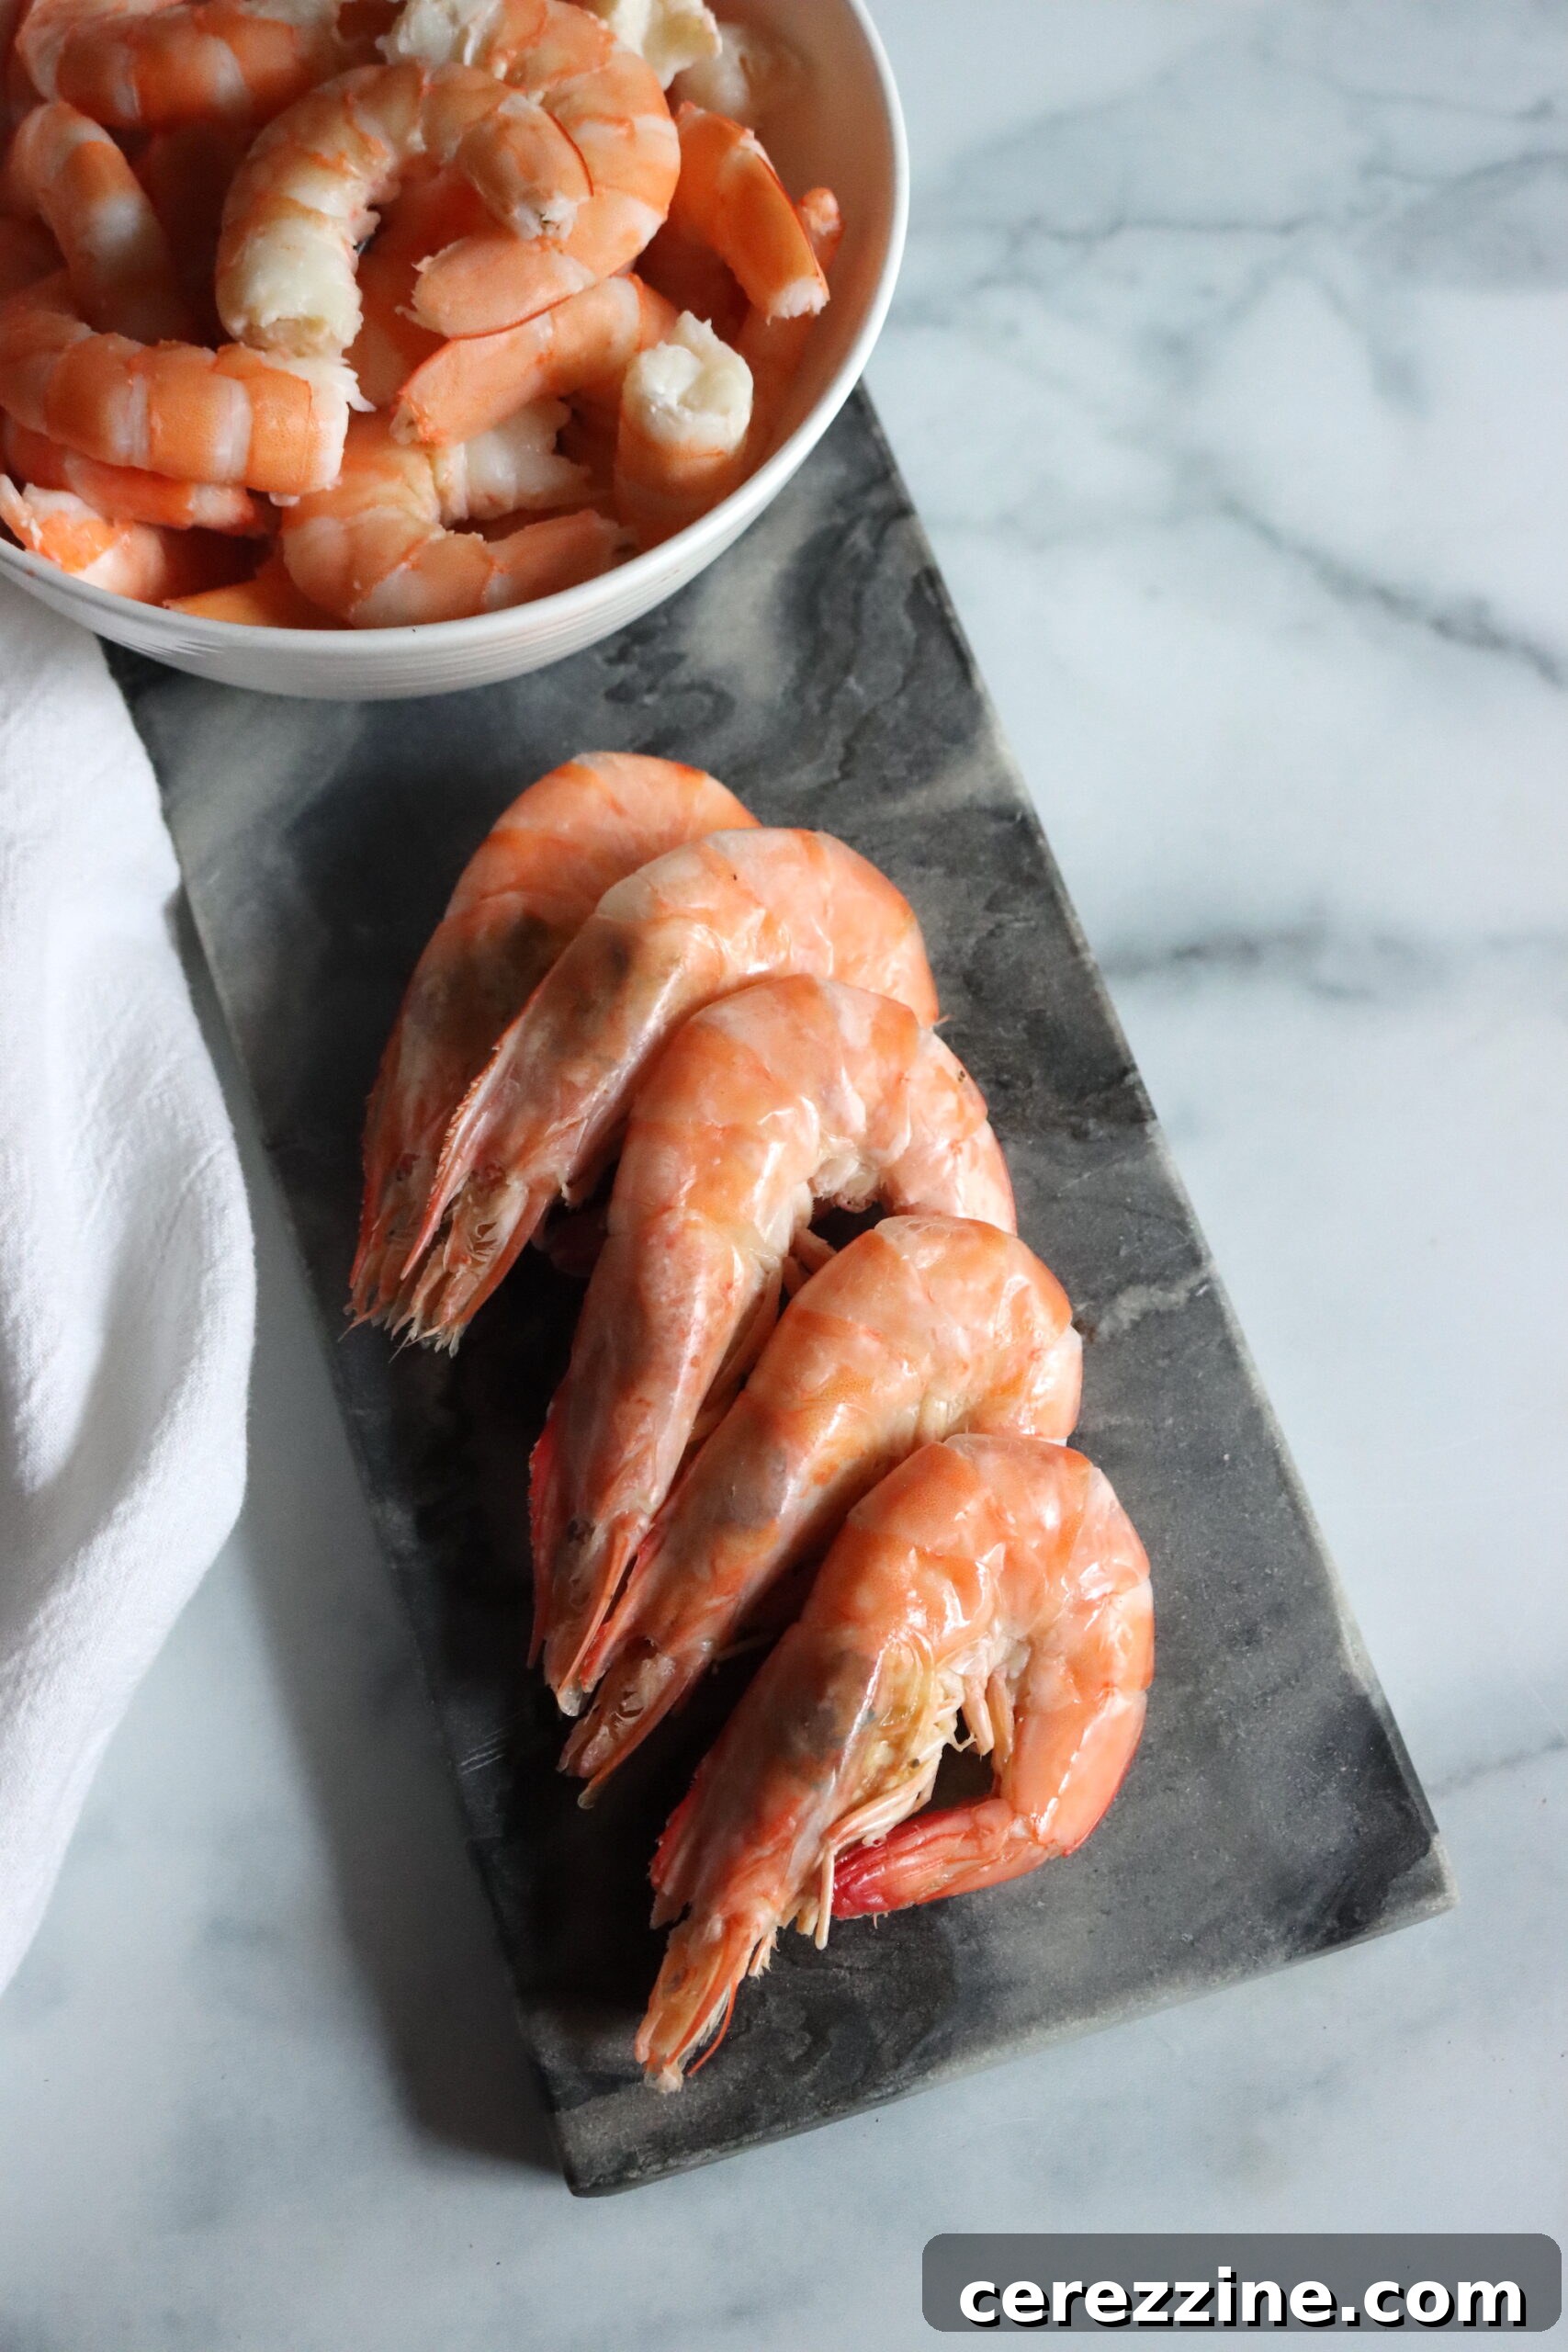
4. Pack Jars and Prepare Canning Brine
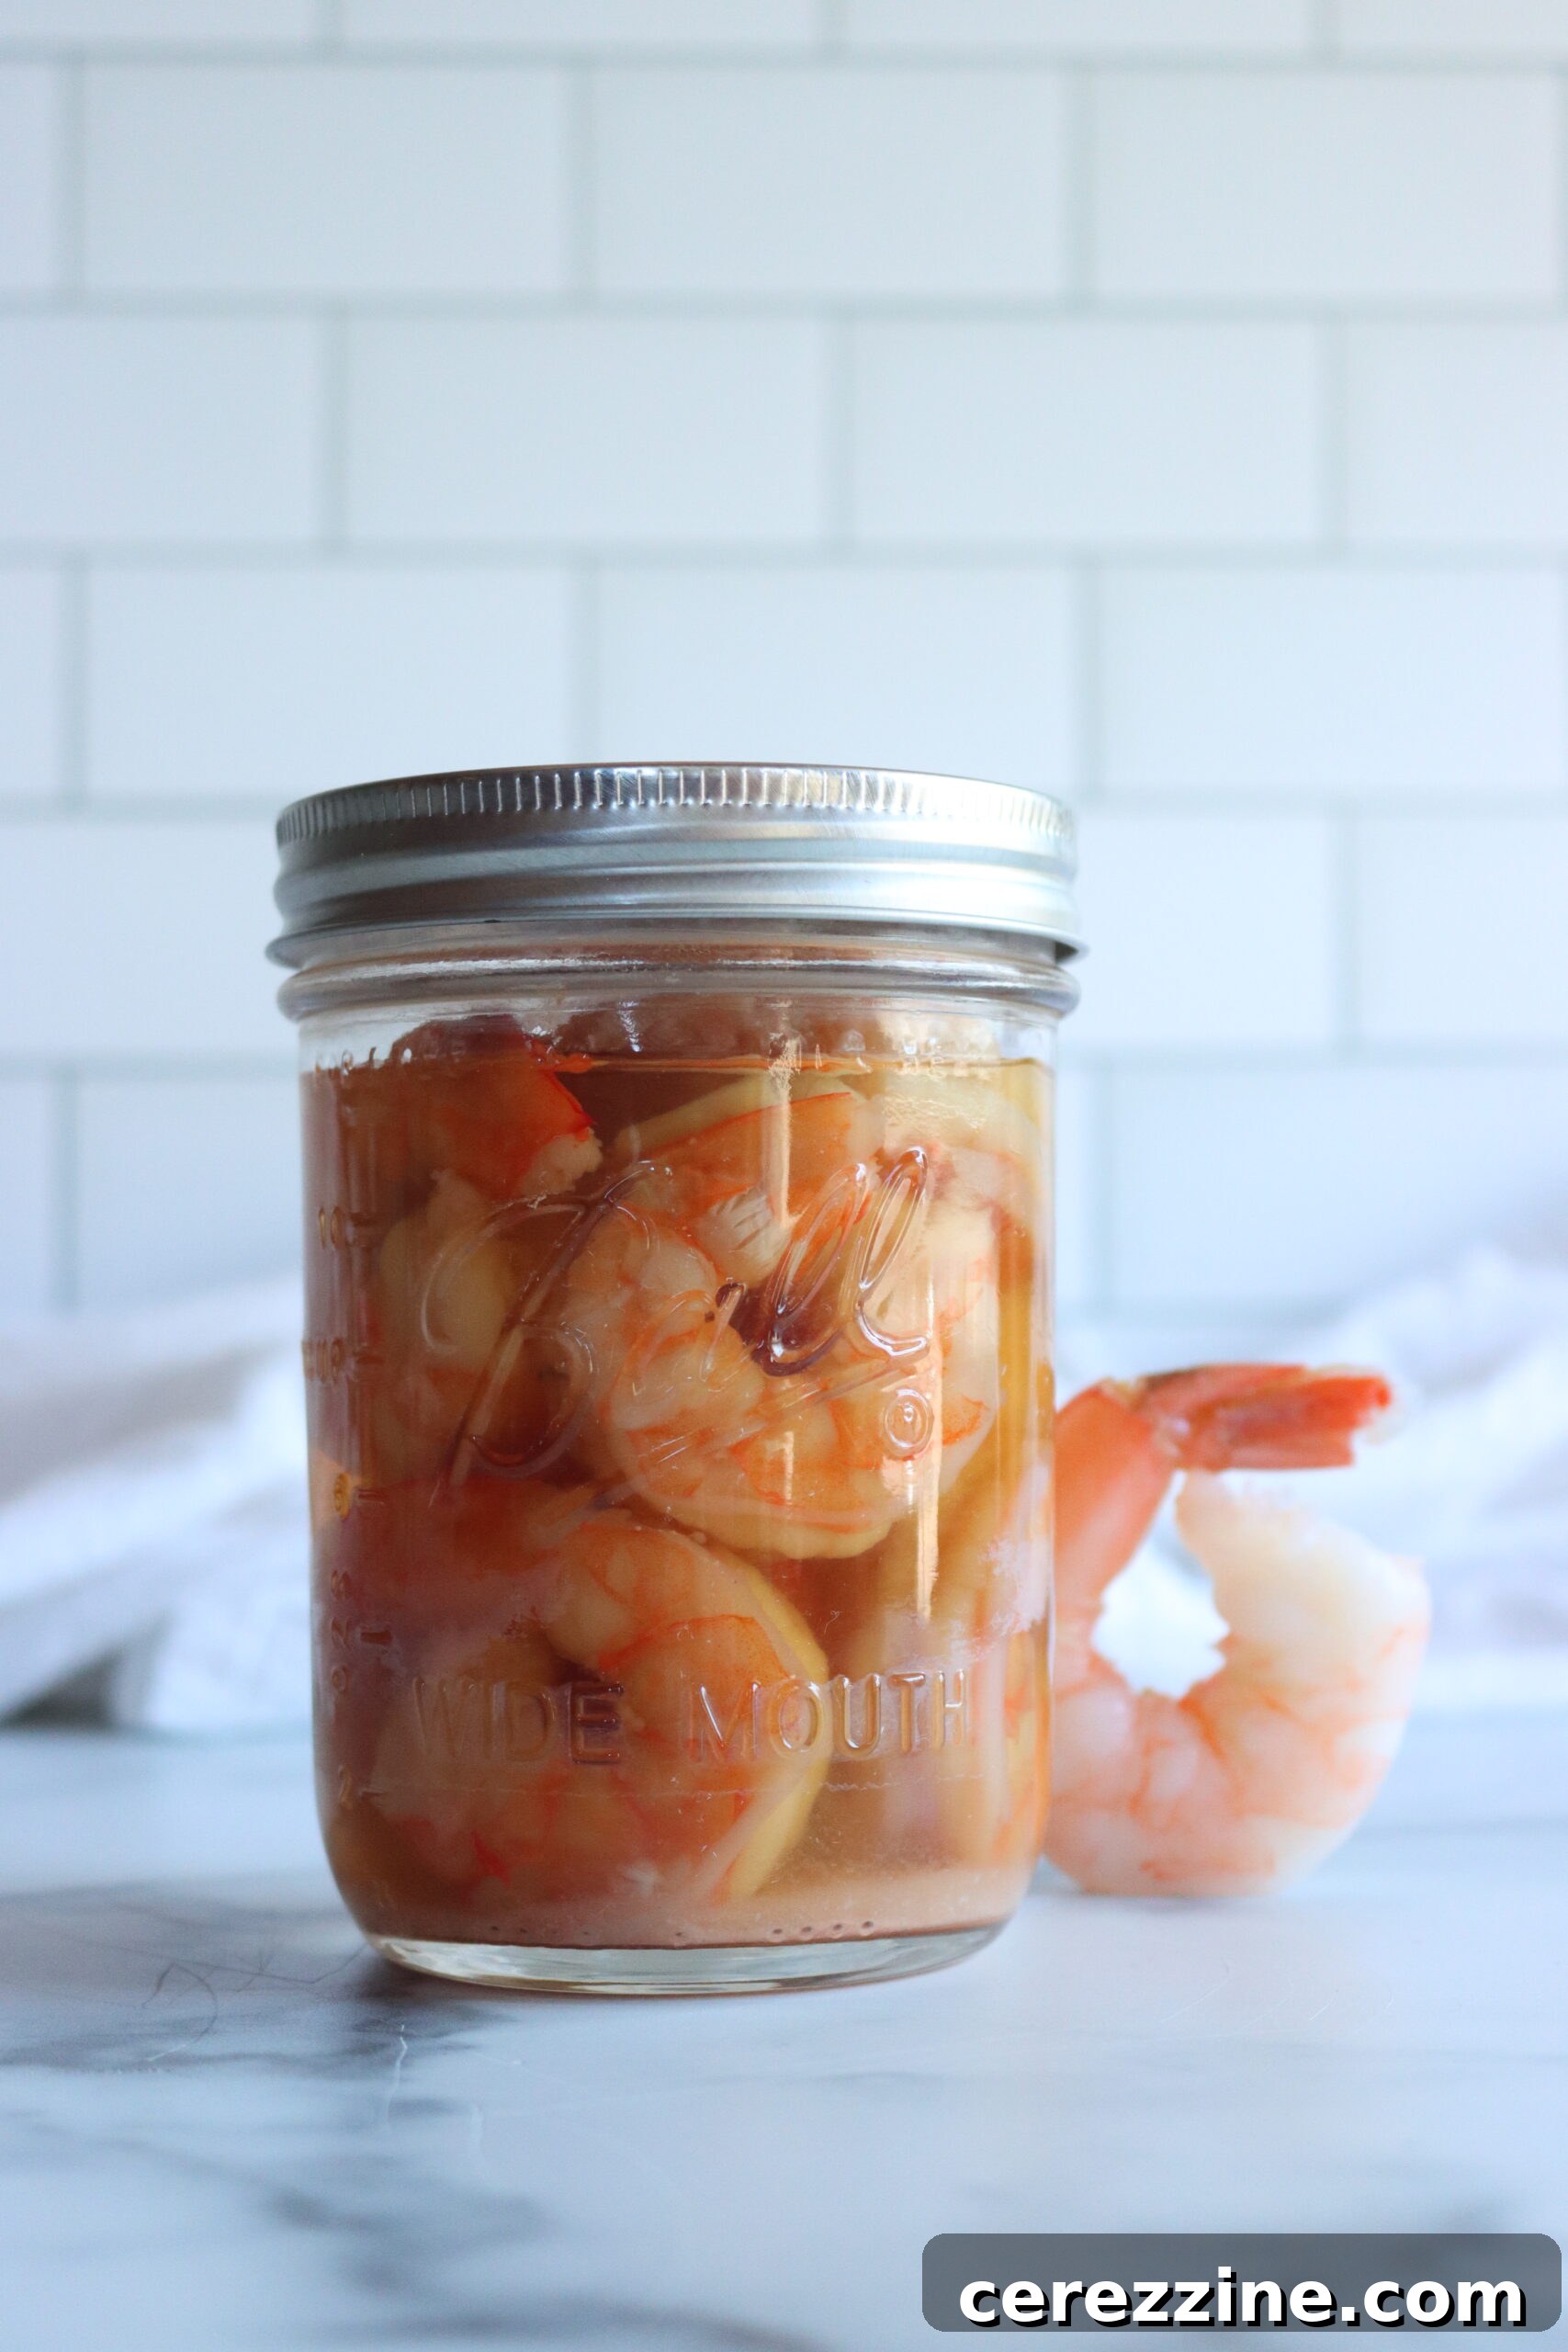
Carefully pack the peeled shrimp into clean, hot pint or half-pint canning jars. Leave a crucial 1 inch of headspace at the top of each jar. This space is essential for proper sealing and to prevent overflow during the pressure canning process. Next, prepare a fresh boiling salt brine using 1 to 3 tablespoons of canning salt per gallon of water. Pour this hot brine over the packed shrimp, ensuring the liquid fully covers the shrimp while maintaining the 1-inch headspace. Use a bubble remover to release any trapped air bubbles by gently running it around the inside of the jar. Wipe the jar rims clean with a damp cloth to ensure a perfect seal.
5. Set Up the Pressure Canner
Add the recommended amount of hot water to your pressure canner, typically around 3 quarts, or according to your manufacturer’s instructions. This hot water helps prevent thermal shock to the jars. Place the hot, filled jars onto the canner rack using a jar lifter, ensuring they are not touching each other. Securely lock the canner lid in place and place the canner on high heat to bring it to a boil.
6. Vent and Pressurize
Allow the canner to vent a steady stream of steam for a full 10 minutes. This critical step ensures all air is exhausted from the canner, creating a pure steam environment for accurate pressure readings. After venting, close the vent (or add the weighted gauge). Continue heating until the canner reaches the target pressure: 11 PSI for a dial gauge or 10 PSI for a weighted gauge. Always adjust pressure for your specific altitude as needed (see altitude adjustment table below).
7. Process the Jars
Once the correct pressure is achieved, process both pint and half-pint jars for 45 minutes. Maintain a consistent pressure throughout the entire processing time, adjusting heat as necessary. Never let the pressure drop below the recommended level; if it does, you must restart the processing time from the beginning.
8. Natural Depressurization
After the 45-minute processing time is complete, turn off the heat. Allow the pressure canner to cool down naturally until the pressure returns completely to zero PSI. This can take 30 minutes or even longer, depending on the canner size. Do not attempt to force cool the canner, as this can be dangerous and may lead to jar seal failures.
9. Cool and Store
Once the pressure gauge reads zero, wait an additional 10 minutes before carefully removing the lid, tilting it away from your face to avoid escaping steam. Allow the jars to sit undisturbed in the canner for another 10 minutes before carefully removing them with a jar lifter. Place the hot jars on a clean towel or cutting board, ensuring they are not touching, and let them cool undisturbed for at least 8 hours, or preferably overnight. After they are completely cool, check the seals. Lids should be concave and not flex when pressed. Remove the bands, wipe down the jars, label each with the contents and date, and store them in a cool, dark, dry place.
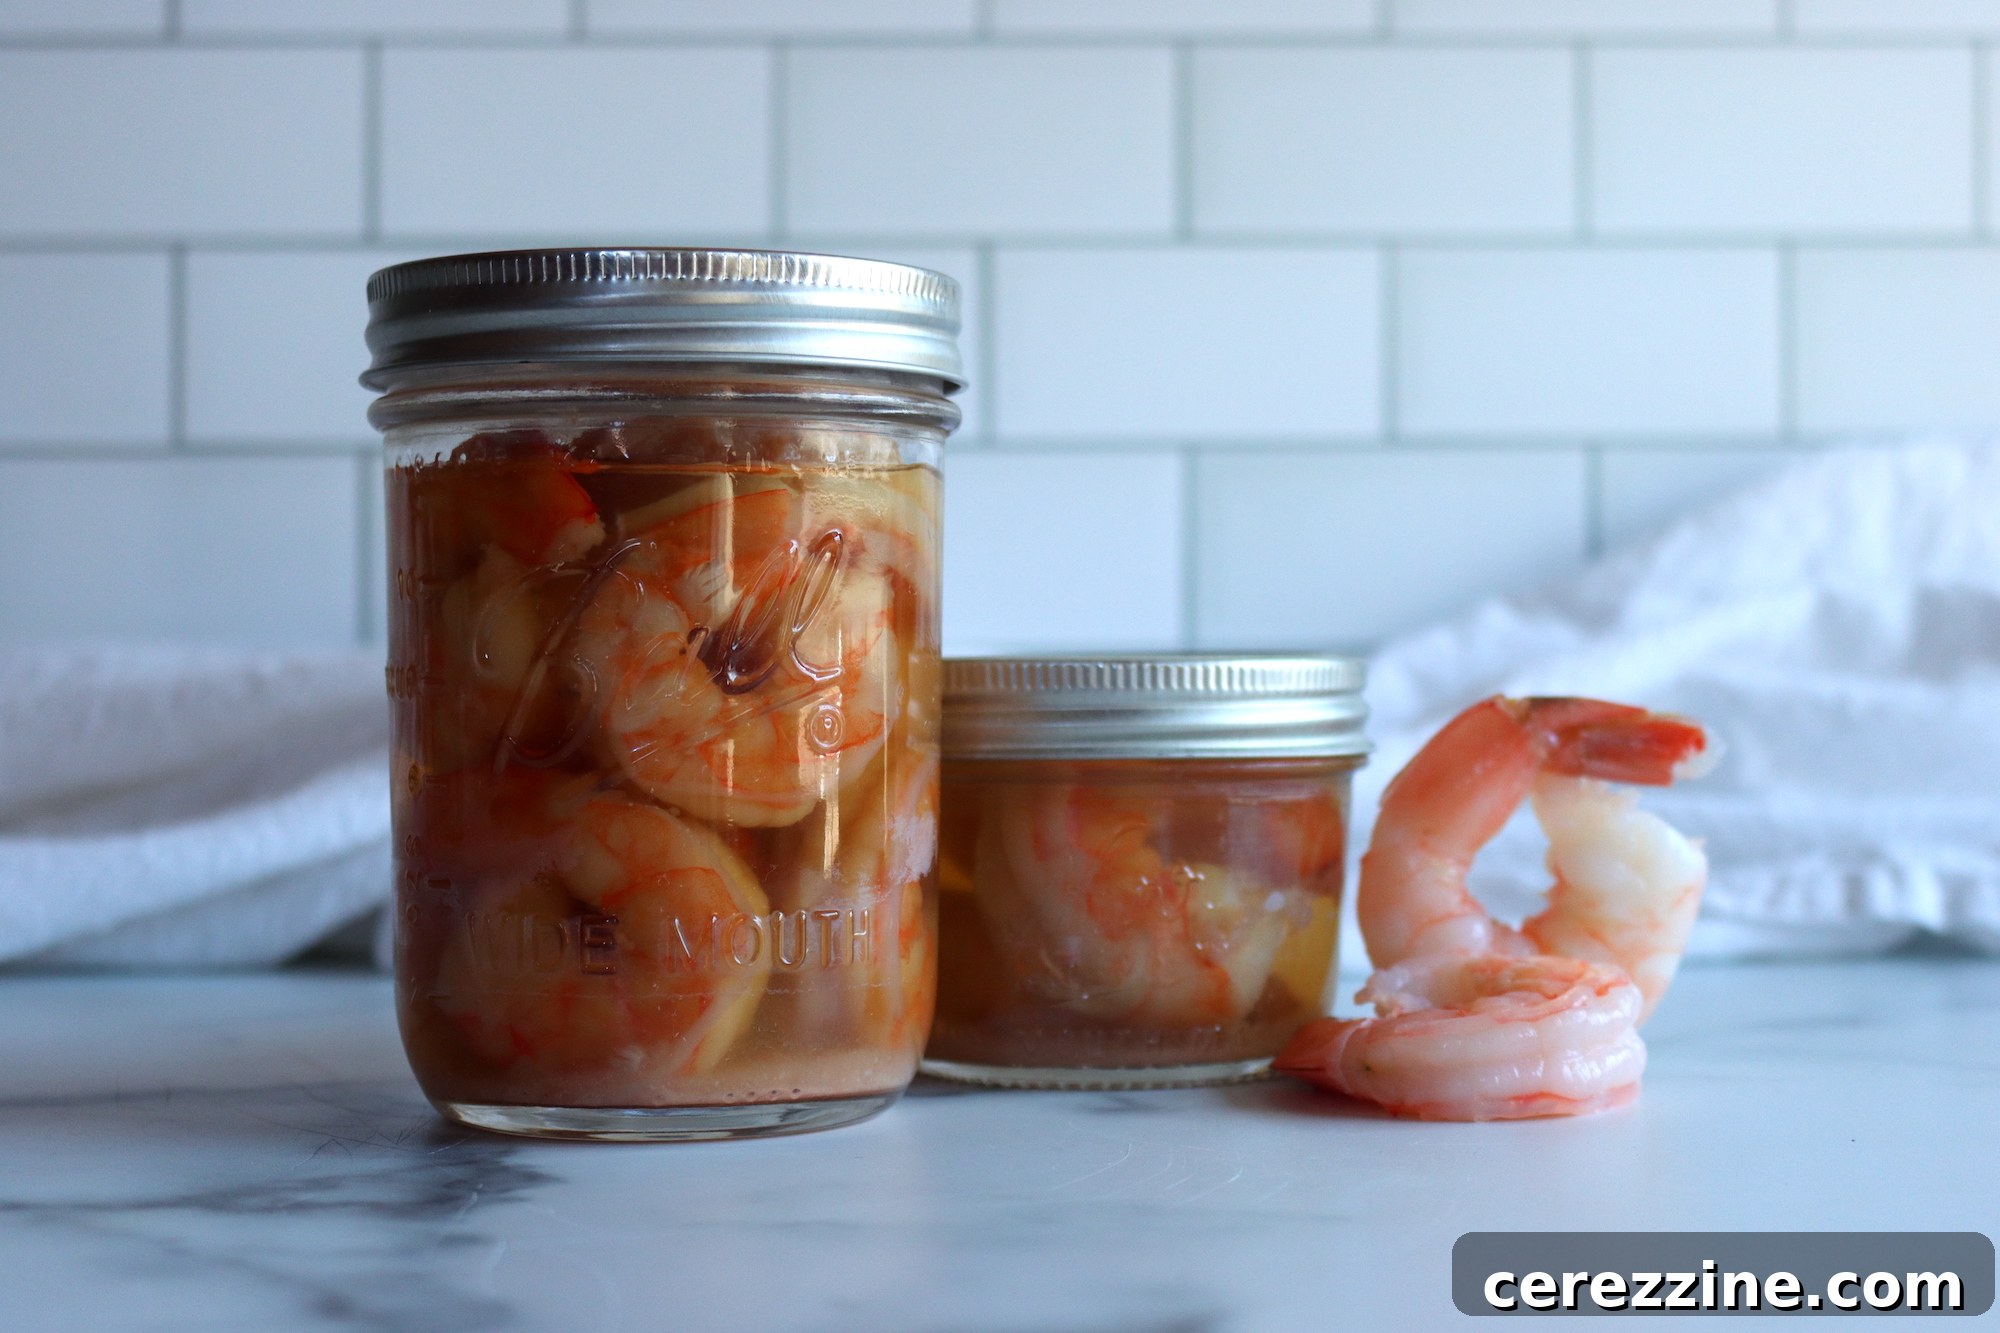
Serving Your Homemade Canned Shrimp
Canned shrimp are incredibly versatile, offering a convenient and flavorful addition to countless dishes. Here are some delicious serving suggestions to inspire your culinary creativity:
- Classic Shrimp Salad: Flake the canned shrimp and mix with mayonnaise, finely chopped celery, red onion, fresh dill, and a squeeze of lemon juice. Serve on a bed of crisp lettuce, in a sandwich, or as a topper for crackers.
- Quick Shrimp Pasta: Toss drained canned shrimp with cooked pasta, garlic, olive oil, cherry tomatoes, and a sprinkle of red pepper flakes. Finish with fresh parsley and Parmesan cheese for a gourmet-feeling weeknight meal.
- Flavorful Shrimp Tacos: Warm the shrimp gently in a skillet with your favorite taco seasoning. Serve in warm tortillas with vibrant toppings like shredded cabbage, fresh salsa, avocado slices, and a dollop of lime crema.
- Zesty Shrimp Cocktail: A timeless appetizer! Chill the canned shrimp and serve with a tangy cocktail sauce and fresh lemon wedges.
- Hearty Shrimp Stir-Fry: Add canned shrimp to your favorite vegetable stir-fry during the last few minutes of cooking for a quick and nutritious meal.
- Savory Omelets and Scrambles: Incorporate flaked shrimp into your morning eggs for a protein-packed and flavorful breakfast or brunch.
Storage and Safety of Canned Shrimp
Properly canned and stored shrimp can last up to one year in a cool, dark place. Always ensure the seal remains intact before consumption. A bulging lid, leakage, or any off-odor indicates spoilage, and the contents should be discarded immediately. Never taste canned food to test for spoilage. When in doubt, throw it out.
Ingredients
- Fresh or Frozen Shrimp
- Water
- Canning Salt
- White Vinegar, for pre-cook brine
Instructions
- Remove the heads from the shrimp immediately after catching or purchasing. Chill the shrimp until ready to can.
- Thoroughly wash and drain the shrimp to remove any impurities.
- Prepare the acidic pre-cook brine: Combine ¼ to 1 cup of canning salt and 1 cup of white vinegar per gallon of water in a large stockpot. Bring to a boil.
- Cook the shrimp in the boiling acidic brine for 8-10 minutes.
- After cooking, rinse the shrimp in cold water and drain well.
- Peel the cooked shrimp and pack them into hot, clean pint or half-pint jars, leaving about 1 inch of headspace.
- Prepare the canning brine: Make fresh boiling salt brine using 1 to 3 tablespoons of canning salt per gallon of water. Cover the packed shrimp with this hot brine, maintaining 1 inch of headspace. Remove air bubbles and wipe jar rims clean.
- Add hot water to the pressure canner according to the manufacturer’s instructions (usually about 3 quarts). Place the hot jars in the canner, lock the lid, and bring to a boil.
- Allow the canner to vent a steady stream of steam for 10 minutes. Then, close the vent (or add the weighted gauge) and continue heating to achieve 11 PSI for a dial gauge or 10 PSI for a weighted gauge, adjusting for your specific altitude.
- Process both pints and half-pints for 45 minutes at the specified pressure. Maintain constant pressure throughout.
- After processing, turn off the heat and allow the pressure canner to depressurize naturally until the gauge reads zero. Do not force cool.
- Once depressurized, wait 10 minutes, then carefully remove the lid. Let the jars sit in the canner for another 10 minutes before removing them.
- Place the jars on a cutting board or towel, leaving space between them, and allow them to cool undisturbed for at least 8 hours or overnight.
- Check seals (lids should be concave), remove bands, label jars with contents and date, and store in a cool, dark place.
Notes
Altitude Adjustments for Pressure Canning Shrimp
With pressure canning, the processing times remain constant at higher altitudes, but the required pressure changes to ensure food safety. Refer to the tables below for appropriate adjustments:
For Dial Gauge Pressure Canners:
- 0 to 2,000 feet in elevation – 11 lbs pressure
- 2,001 to 4,000 feet in elevation – 12 lbs pressure
- 4,001 to 6,000 feet in elevation – 13 lbs pressure
- 6,001 to 8,000 feet in elevation – 14 lbs pressure
For Weighted Gauge Pressure Canners:
- 0 to 1,000 feet in elevation – 10 lbs pressure
- Above 1,000 feet – 15 lbs pressure
Like this? Leave a comment below!
Expand Your Canning Skills with Seafood Recipes
Once you’ve mastered canning shrimp, you’ll discover the joy of a well-stocked pantry filled with homemade seafood delights. Pair this delicious recipe with other fantastic options like Canning Crab for truly gourmet meals, or Canning Tuna for everyday convenience and cost savings. For those who love comforting soups, consider adding your home-canned shrimp to bases such as Canning Fish Chowder Base or the rich Canning Salmon Chowder Base. Dive deeper into the world of seafood preservation with the comprehensive guide, 12+ Fish Canning Recipes, to explore even more delicious possibilities.