Canning green tomatoes is an incredibly rewarding way to preserve the bounty of your garden, especially when the growing season nears its end. These firm, tart beauties, often overlooked, can be transformed into a versatile pantry staple, ready to be enjoyed in countless recipes, including the much-loved classic fried green tomatoes!
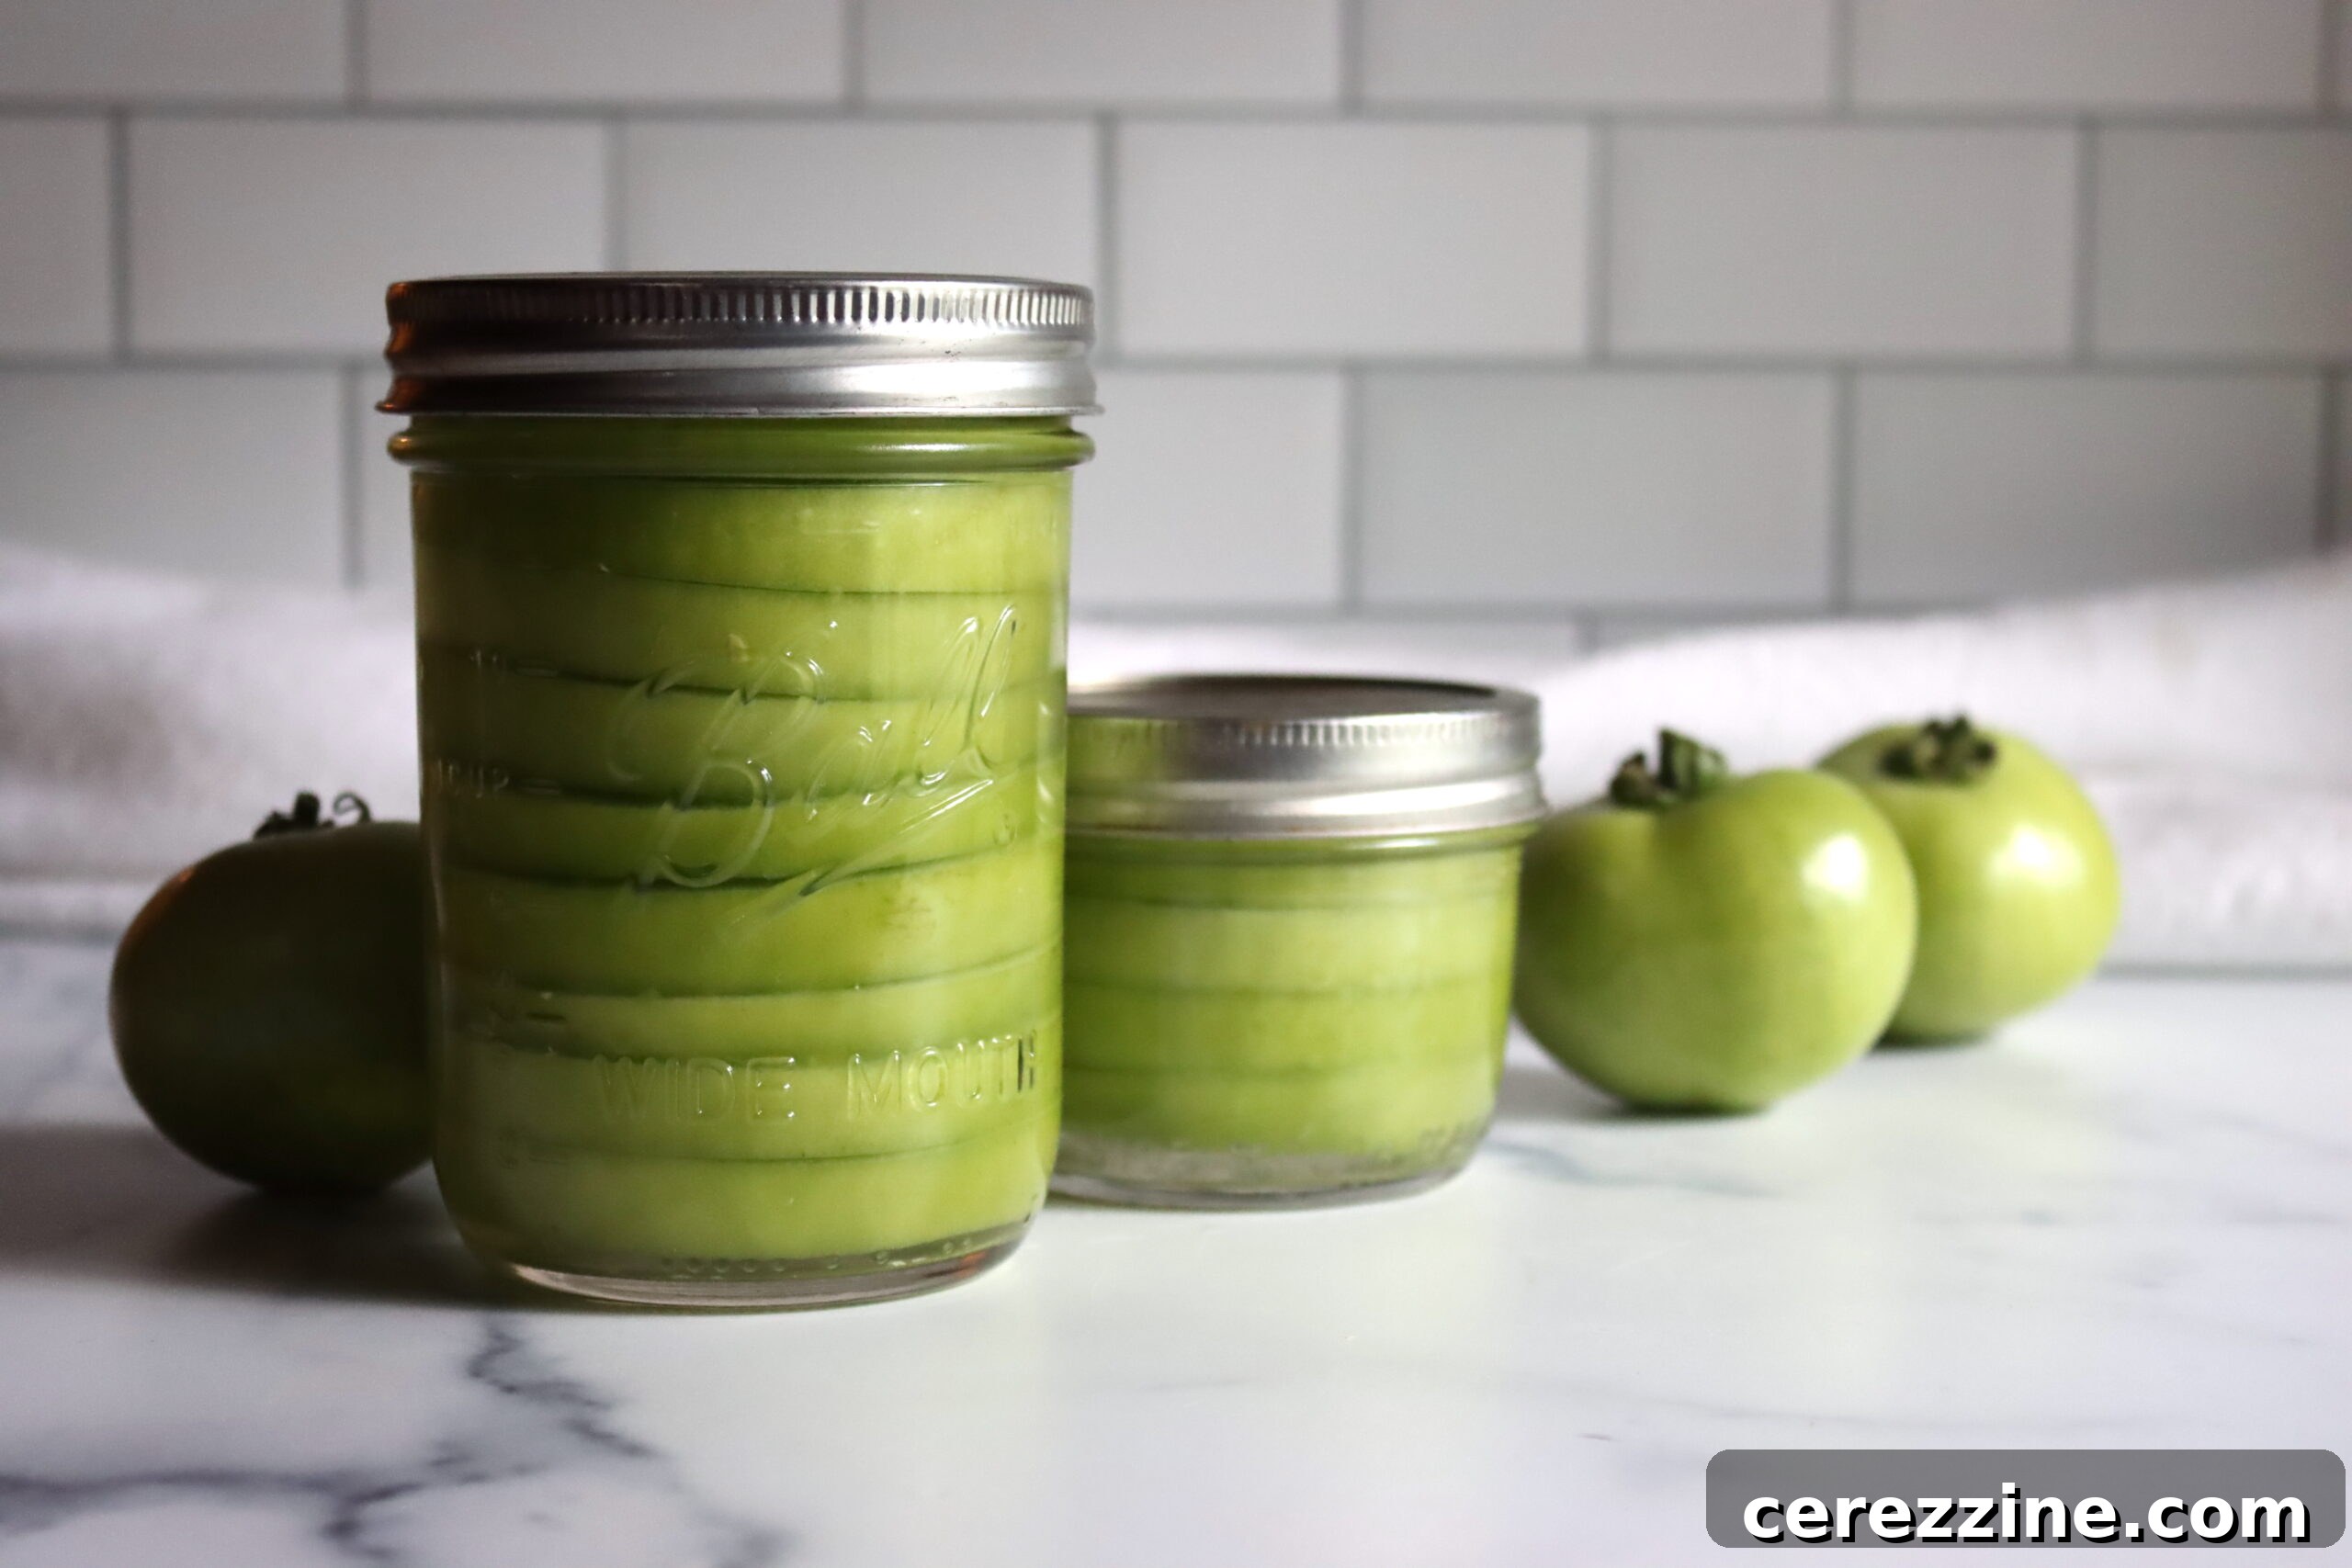
Unlock the Flavor: Why Can Green Tomatoes?
Many gardeners face a dilemma as autumn approaches: what to do with all those unripe green tomatoes still clinging to the vines? Instead of letting them go to waste, canning them offers a brilliant solution. You might be surprised, as I once was, at how perfectly suited green tomatoes are for preservation. Initially, I was skeptical about whether they would maintain their integrity through the canning process. Would the slices turn to mush?
The answer, to my delight, is a resounding no! Green tomatoes possess a higher natural pectin content compared to their ripe counterparts, which is precisely why they hold their shape so beautifully after being processed. This inherent firmness makes them ideal for slicing and canning, a method that simply isn’t viable for ripe tomato slices. It’s the very characteristic that makes them perfect for frying, and equally perfect for extending their season through canning.
Beyond extending their shelf life, canning green tomatoes opens up a world of culinary possibilities. Their distinct tangy flavor adds a unique twist to dishes year-round, making them a valuable addition to any home preserver’s pantry. Forget the myth that green tomatoes are toxic; they are perfectly safe and deliciously tart, offering a refreshing alternative to their ripe, sweet relatives.
For those eager to diversify their home canning repertoire, this method is a must-try. It’s a simple, reliable process that ensures you can savor the unique taste of green tomatoes long after the last frost.
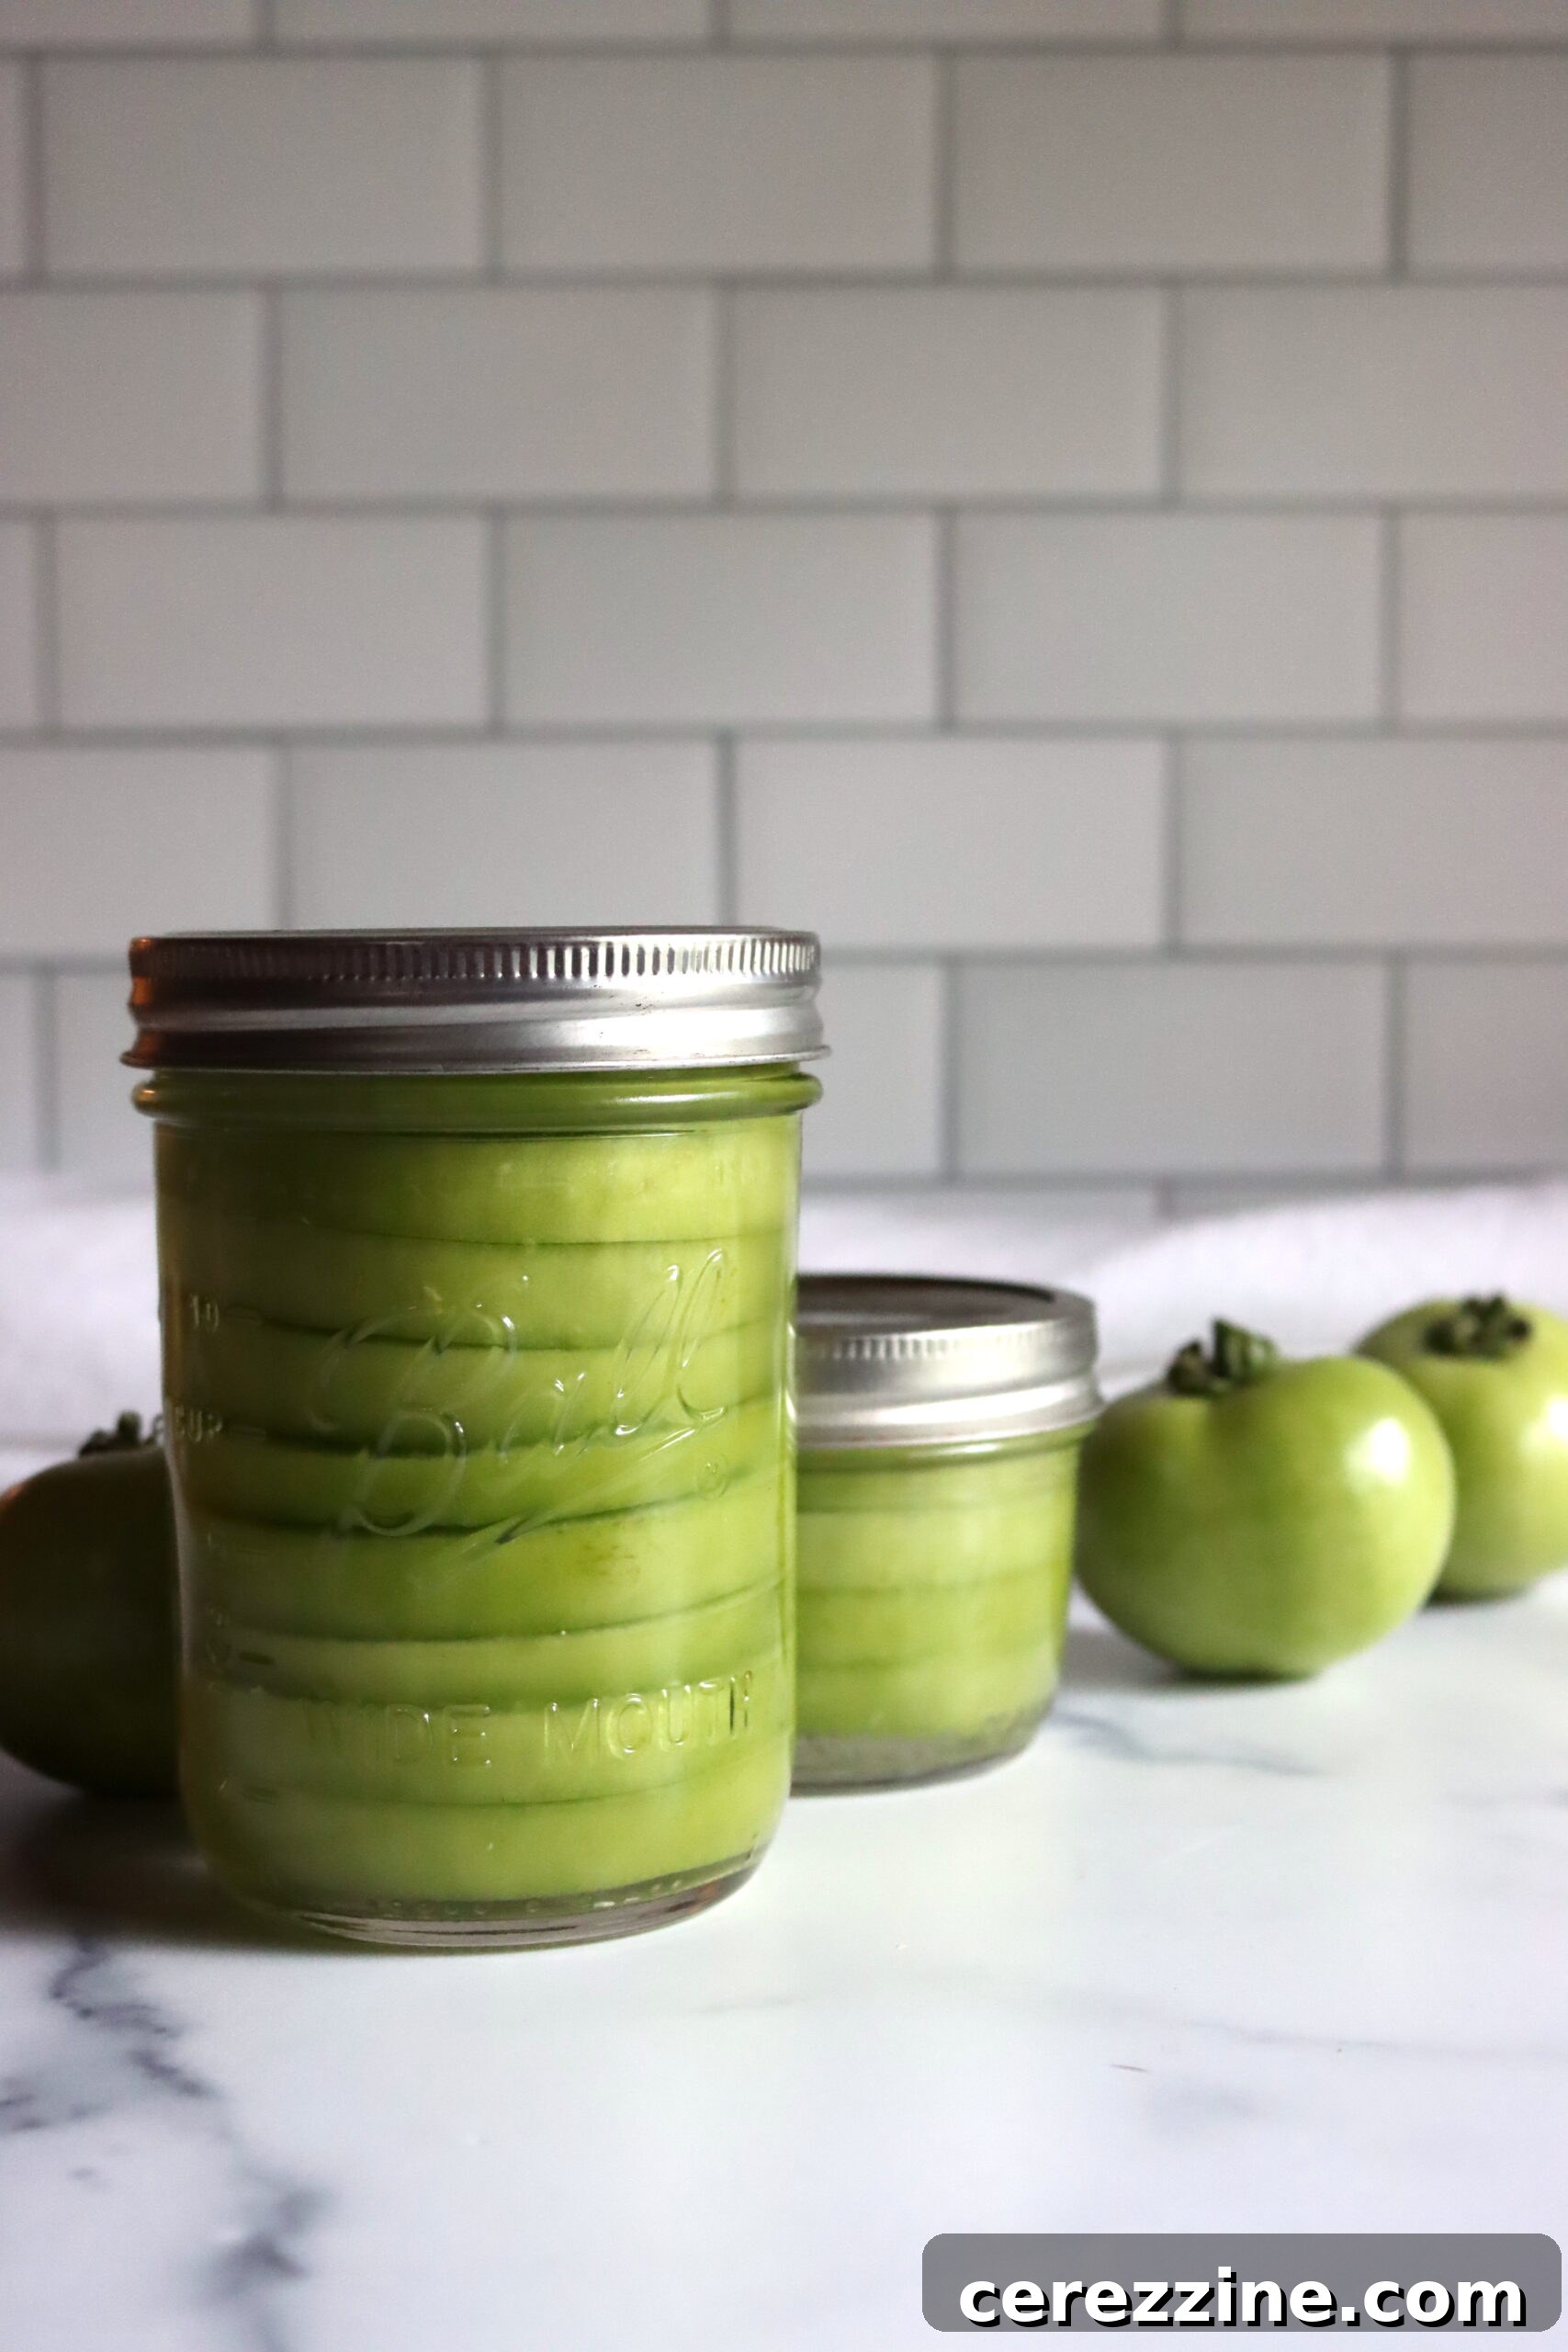
Essential Ingredients for Canning Green Tomato Slices
To embark on your green tomato canning journey, gathering the right ingredients and tools is key. This simple recipe focuses on preserving the natural taste of the tomatoes, making them versatile for future use.
Choosing Your Tomatoes
Select firm, unblemished green tomatoes that have not yet begun to show any signs of ripening. Their firmness is crucial for maintaining their shape during canning. Ideally, choose tomatoes that are small enough to fit comfortably into wide-mouth quart jars, but large enough to yield substantial slices that won’t disintegrate. While organic, unsprayed tomatoes are always preferred, ensure any tomatoes used are thoroughly washed.
Required Ingredients:
- Firm Green Tomatoes: Quantity depends on how many jars you plan to fill.
- Boiling Water: For filling the jars.
- Kosher or Pickling Salt: 1 teaspoon per quart jar (or ½ teaspoon per pint jar). This is optional for flavor but doesn’t affect safety. Avoid iodized salt as it can discolor your tomatoes.
- Bottled Lemon Juice: 2 tablespoons per quart jar (or 1 tablespoon per pint jar). This is absolutely critical for food safety in water bath canning. Do not substitute with fresh lemon juice, as its acidity can vary.
Choosing the Right Jars
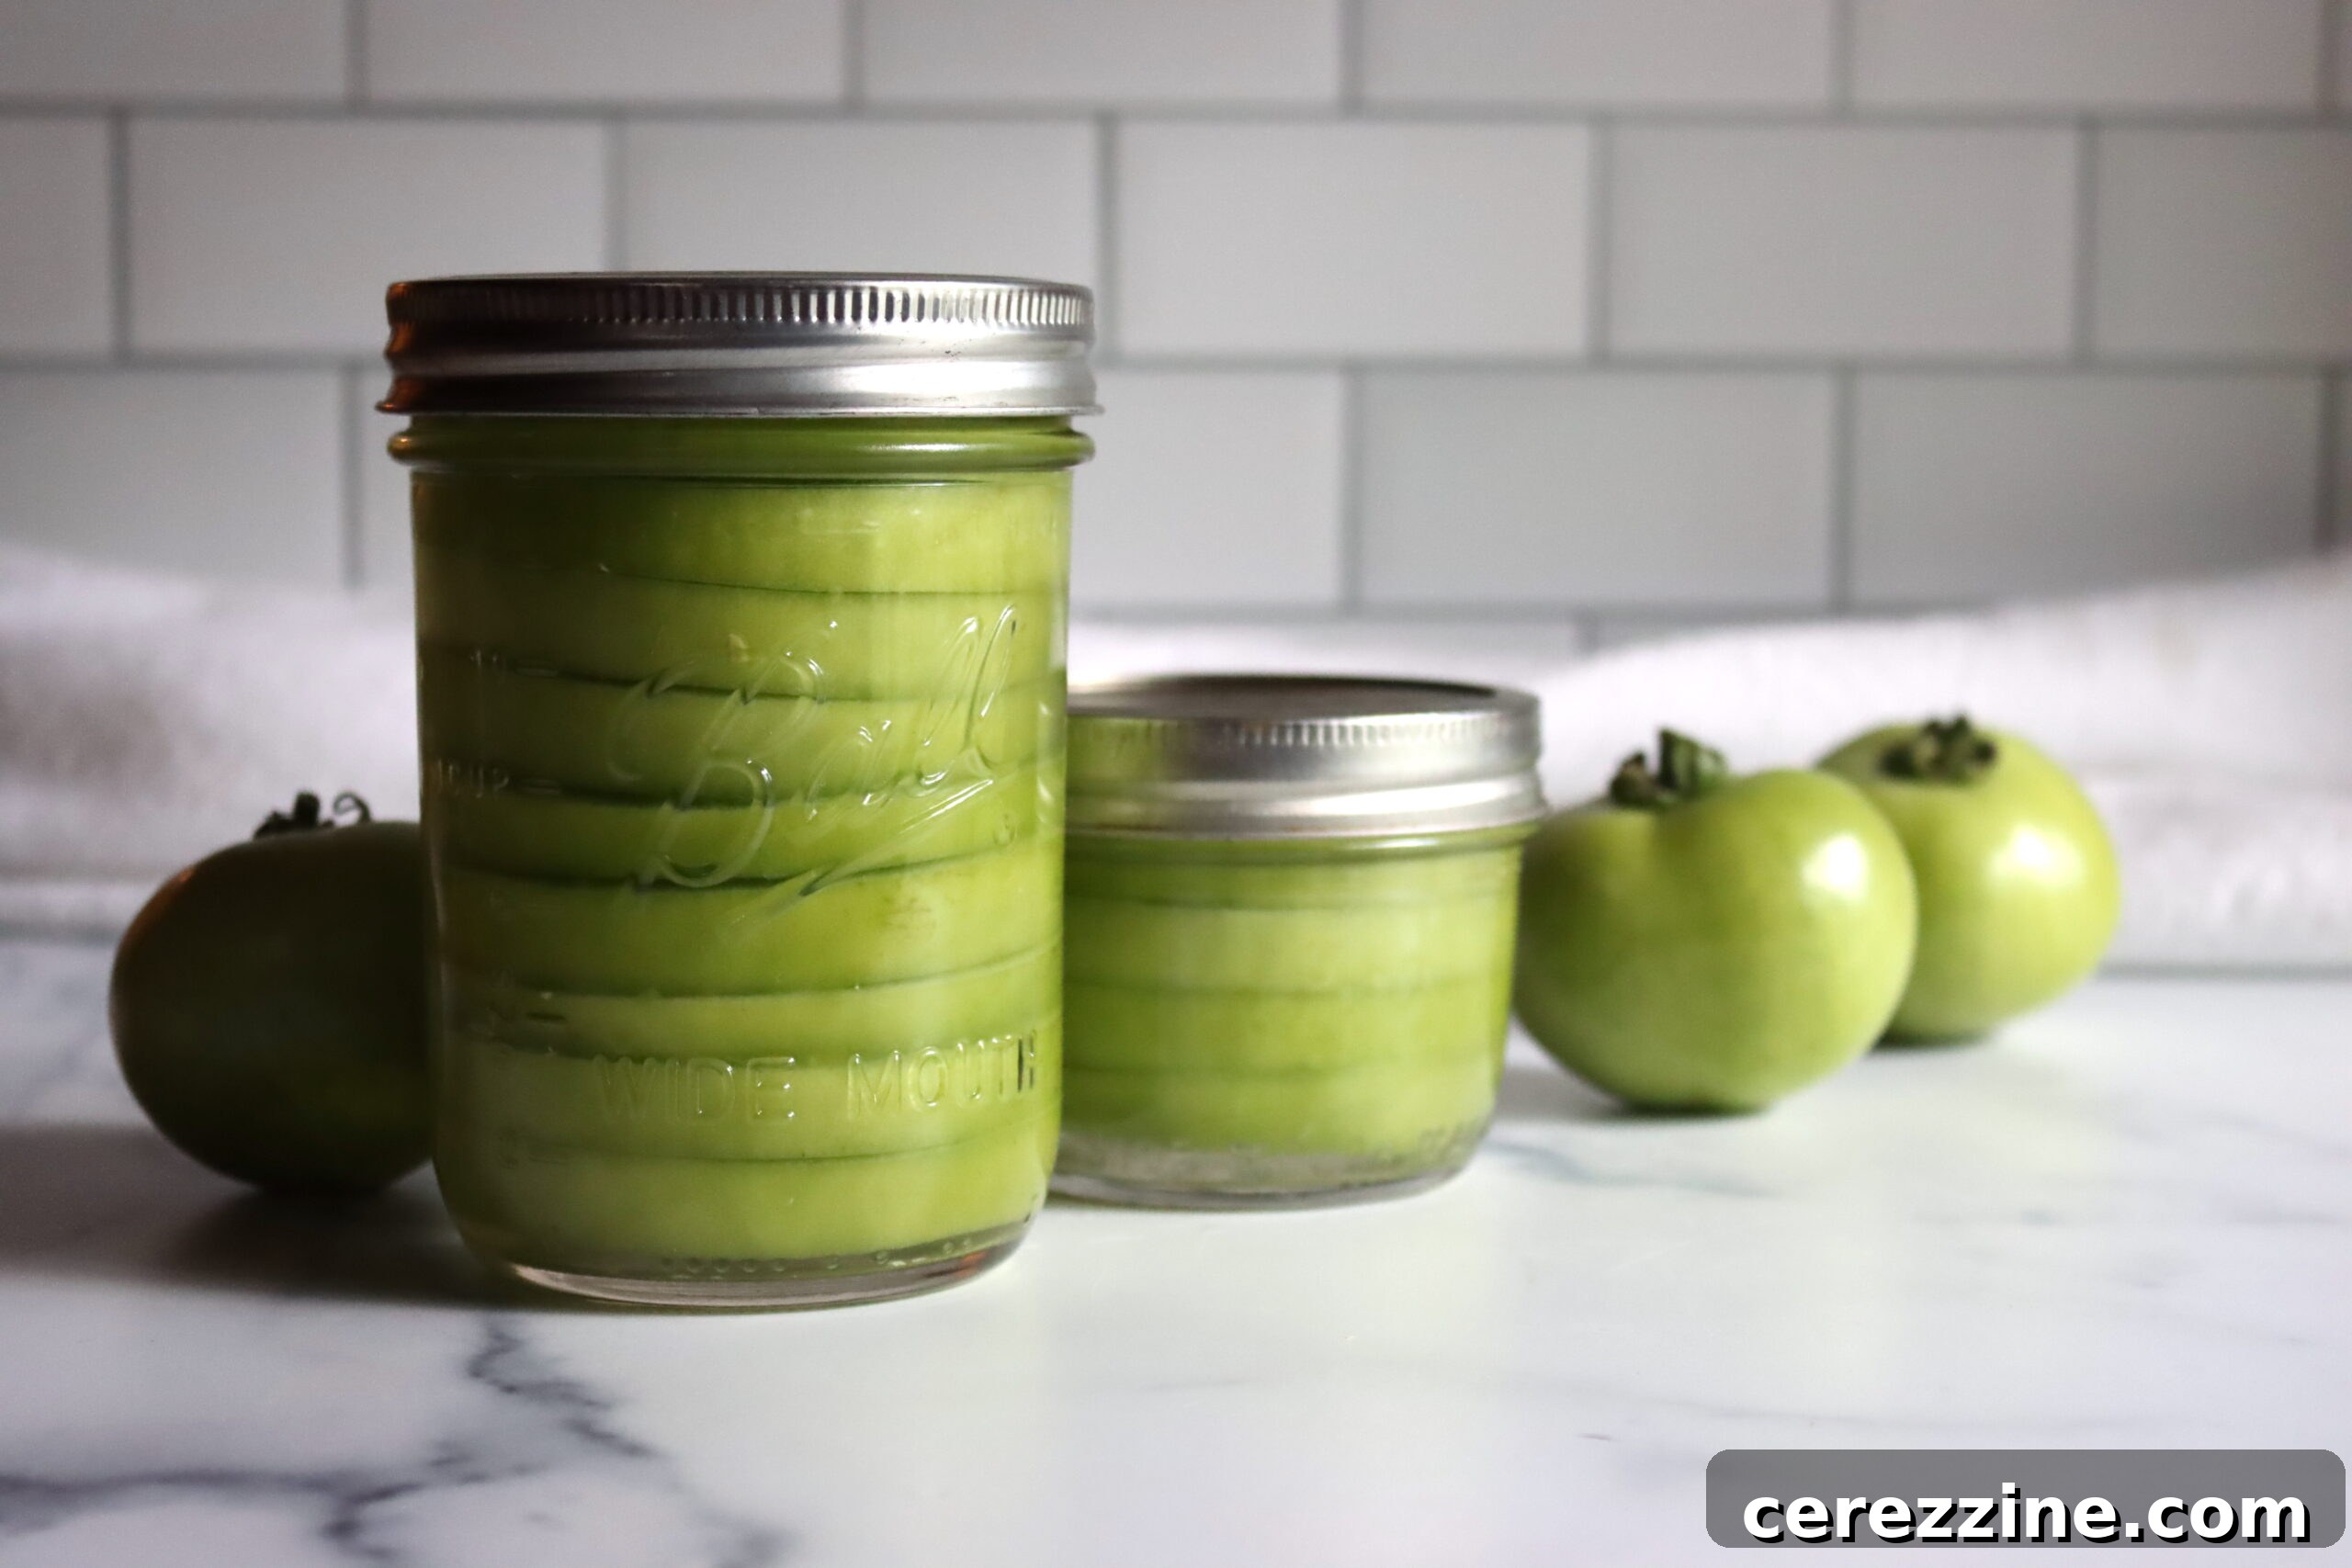
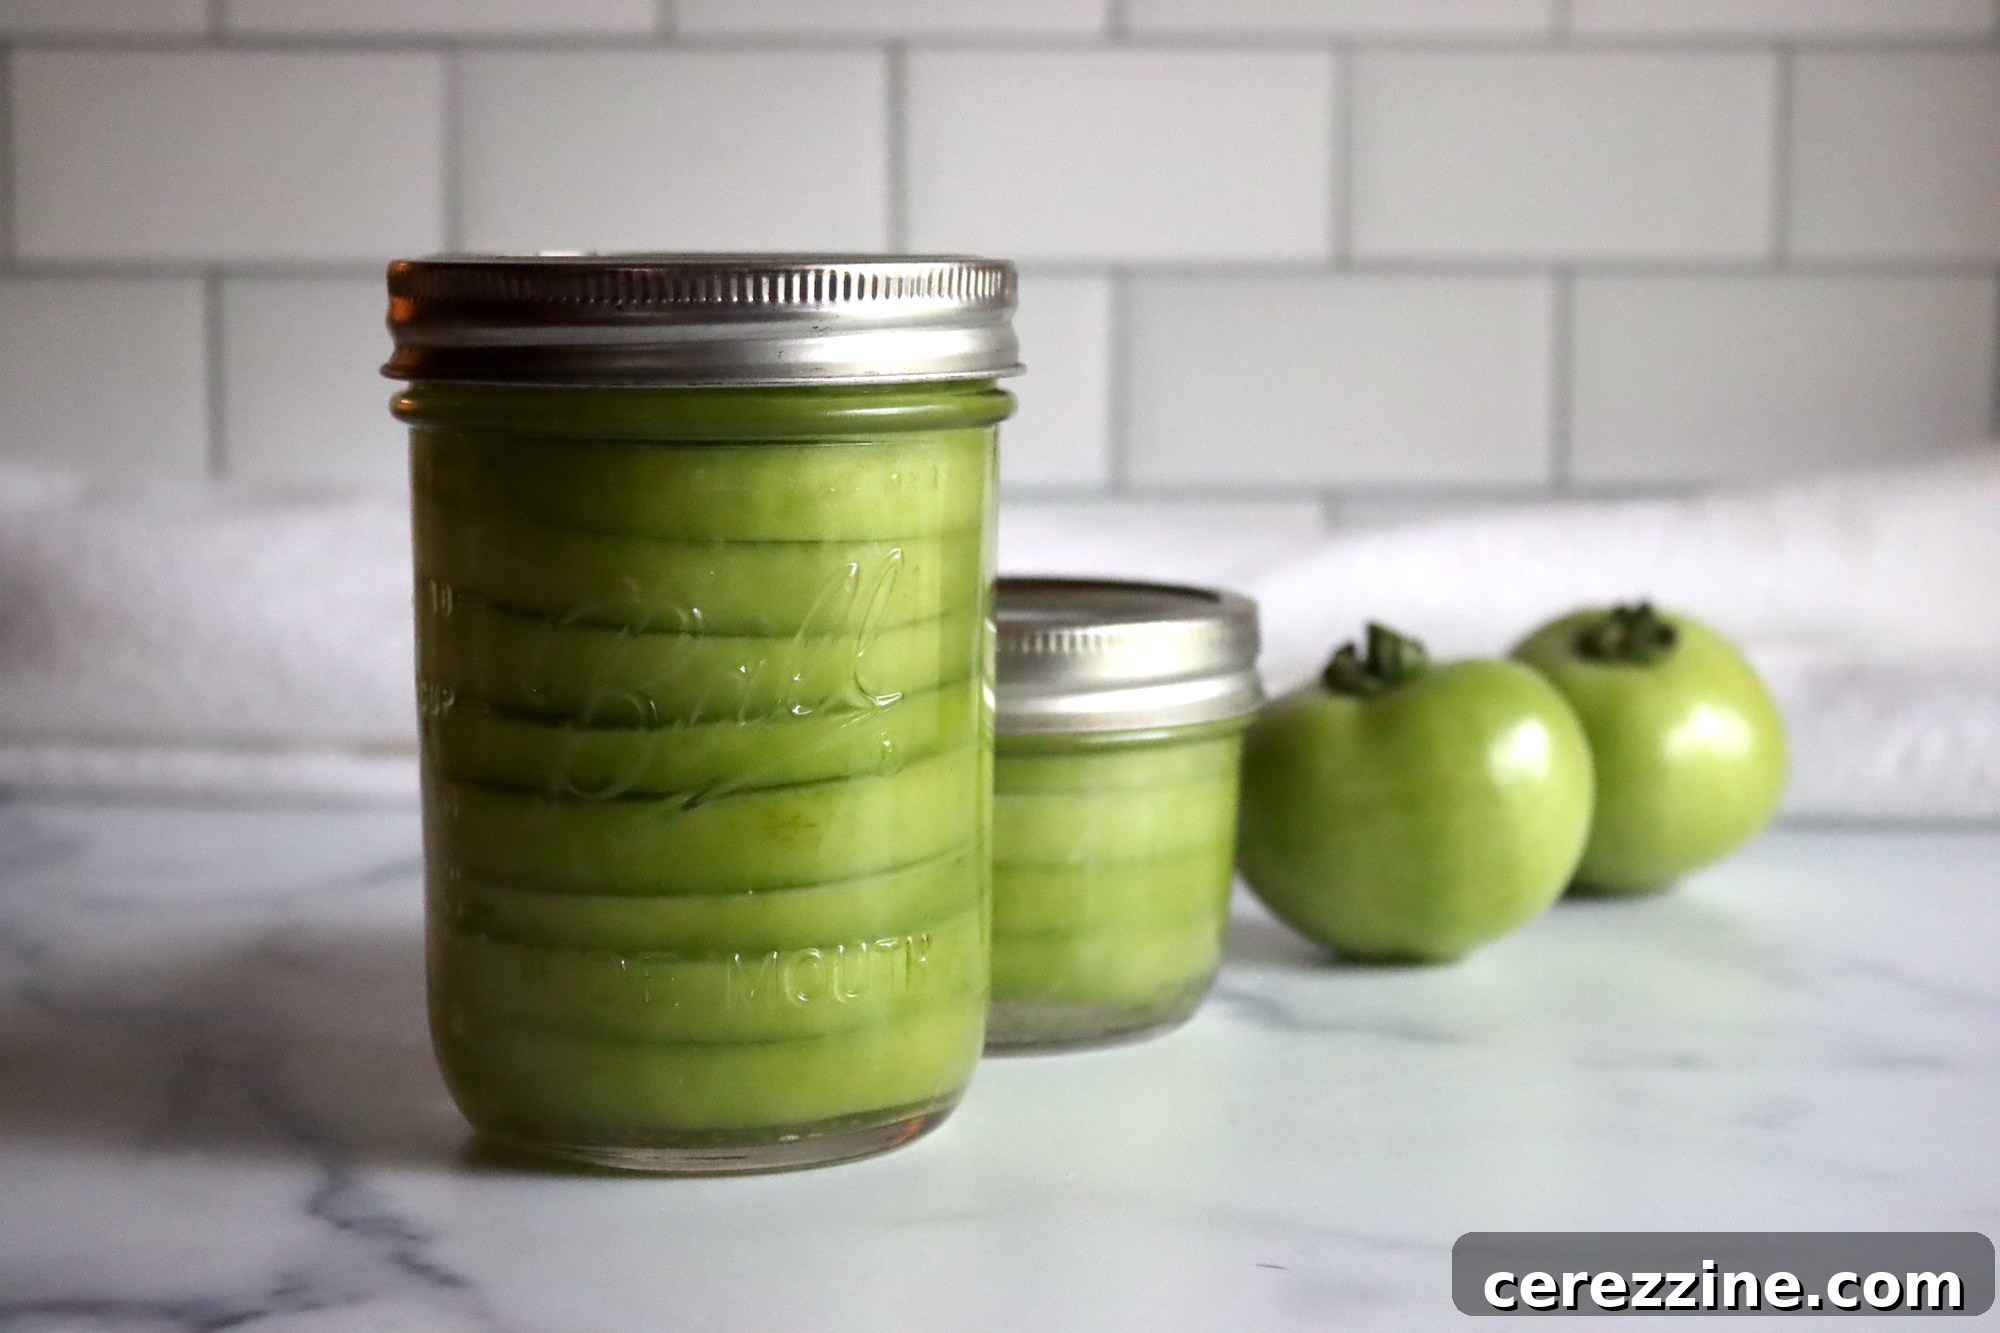
For canning green tomato slices, wide-mouth quart jars are highly recommended. Their design allows for easy packing of the slices without having to force or bend them, and makes removal after canning much simpler. Once processed, green tomato slices become quite tender, necessitating careful handling. Wide-mouth jars minimize the risk of breakage or damage to the slices when you take them out. Always use standard 2-part canning lids (flats and rings) that are in good condition.
Step-by-Step Preparation for Canning Green Tomatoes
Proper preparation is paramount for safe and successful home canning. Follow these steps meticulously to ensure your green tomato slices are perfectly preserved.
1. Prepare Your Canning Setup
Before you even touch the tomatoes, get your water bath canner ready. Fill it with enough water to cover your jars by at least 1 inch once they are loaded. Begin heating the water to a simmer (around 180°F or 82°C). This preheating ensures the jars aren’t subjected to sudden temperature changes, which can cause breakage.
2. Wash and Sterilize Jars and Lids
Wash your wide-mouth quart jars thoroughly with hot, soapy water, rinse well, and sterilize them. You can do this by boiling them for 10 minutes, running them through a dishwasher’s sterilize cycle, or keeping them hot in the preheated canner. Prepare your new 2-part canning lids (flats and rings). Simmer the flat lids in a separate small saucepan of hot (not boiling) water to soften the sealing compound.
3. Prepare the Green Tomatoes
- Wash Tomatoes: Rinse green tomatoes under cool, running water. Since the skins will remain on, ensure they are exceptionally clean.
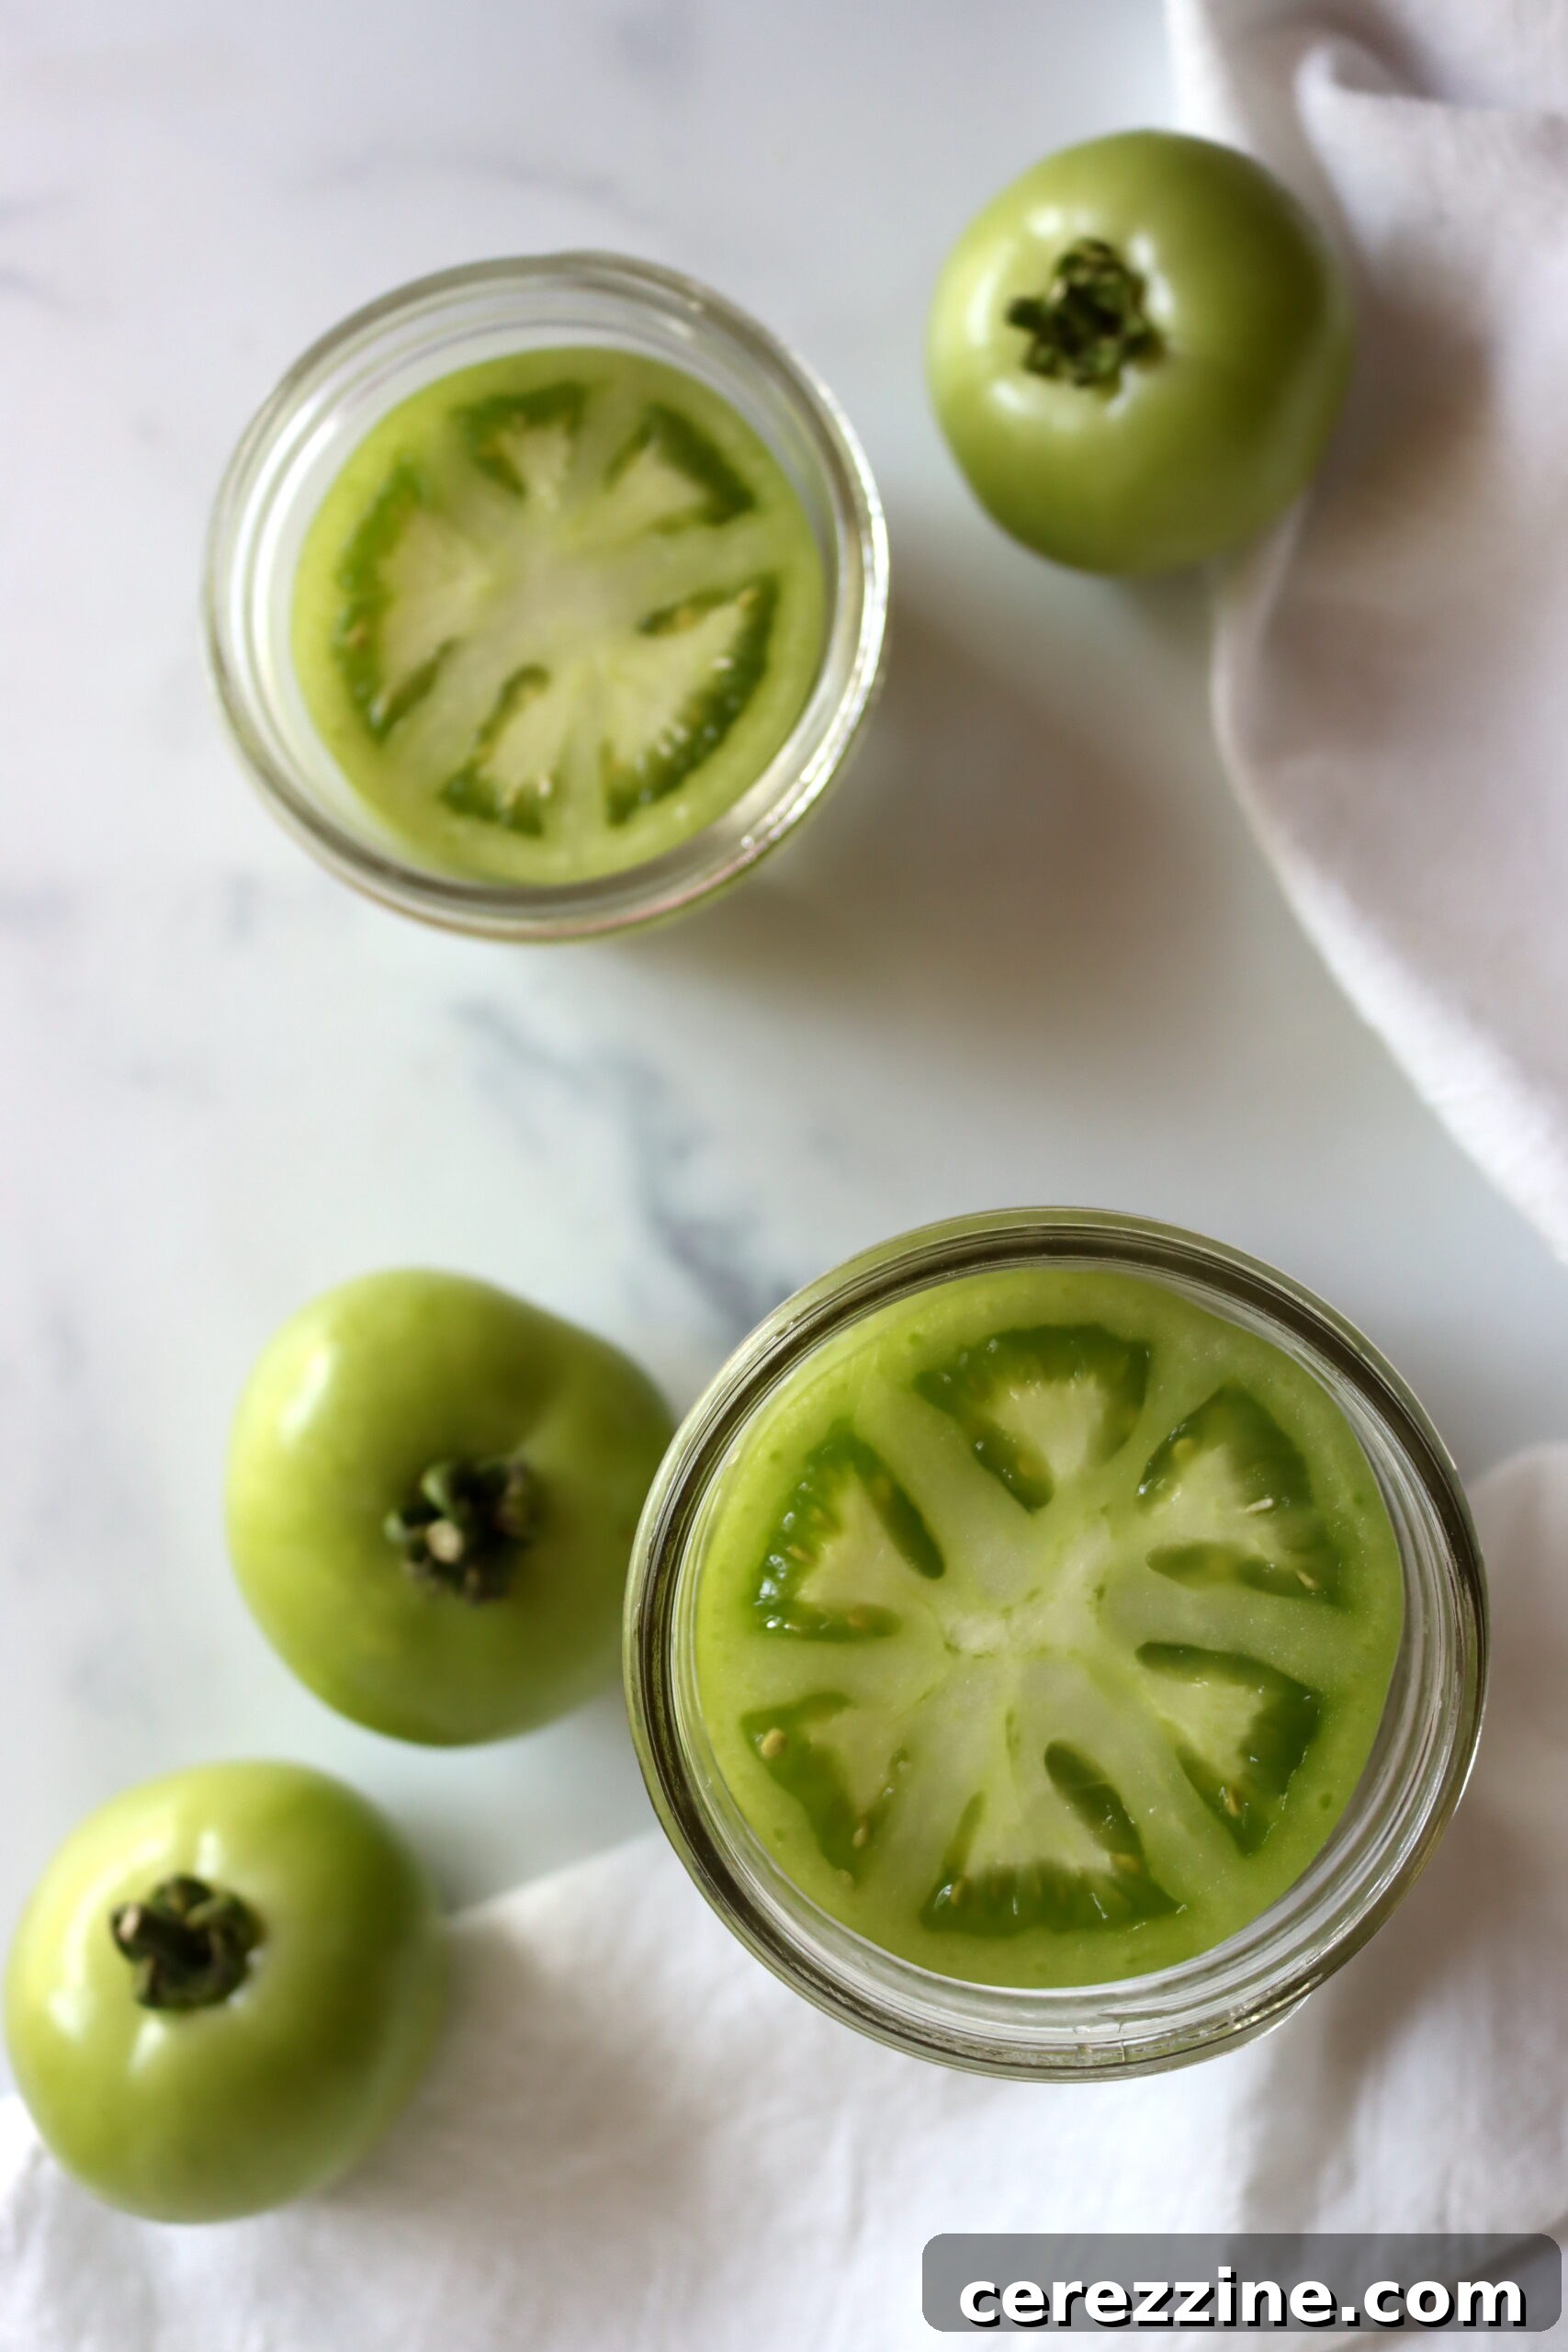
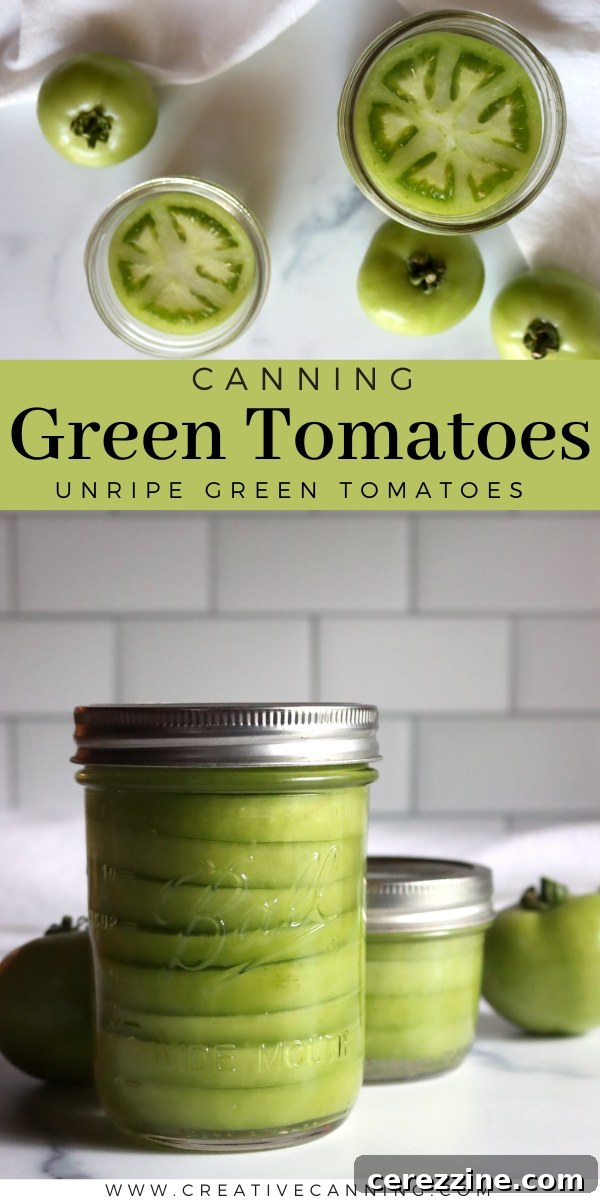
- Slice Tomatoes: Using a sharp knife, carefully remove a thin slice from the top of each tomato, discarding the stem end. Then, slice the remaining tomato into uniform ½-inch thick rounds. Consistency in thickness helps ensure even processing.
- Pack Jars: Carefully stack the tomato slices into the sterilized wide-mouth quart jars. Pack them snugly but avoid crushing. Fill the jars, leaving approximately ½-inch headspace at the top. If you don’t have enough slices for a full quart, use a smaller pint jar instead; do not partially fill a larger jar for processing.
4. Add Acidification and Seasoning
For each filled quart jar, add 2 tablespoons of bottled lemon juice directly over the tomatoes. For pint jars, use 1 tablespoon. This step is non-negotiable for safety, as it ensures adequate acidity for water bath canning. You can also add 1 teaspoon of kosher or pickling salt per quart jar (½ teaspoon per pint) for flavor, but remember, salt is optional for safety.
5. Hot Pack and Remove Air Bubbles
Bring a kettle of water to a rolling boil. Carefully pour this boiling water over the packed tomato slices in each jar until they are fully covered, maintaining the ½-inch headspace. Use a small, non-metallic utensil (like a rubber spatula or plastic knife) to gently dislodge any trapped air bubbles. Run the utensil along the inside of the jar, pressing gently against the tomato slices. If the water level drops below the ½-inch headspace after removing air bubbles, top it off with more boiling water.
Once filled, wipe the rims of the jars clean with a damp cloth. This ensures a clean surface for the lids to seal properly. Place the warmed flat lids onto the jars, then screw on the bands (rings) until they are just finger-tight. Avoid overtightening, as this can prevent proper sealing.
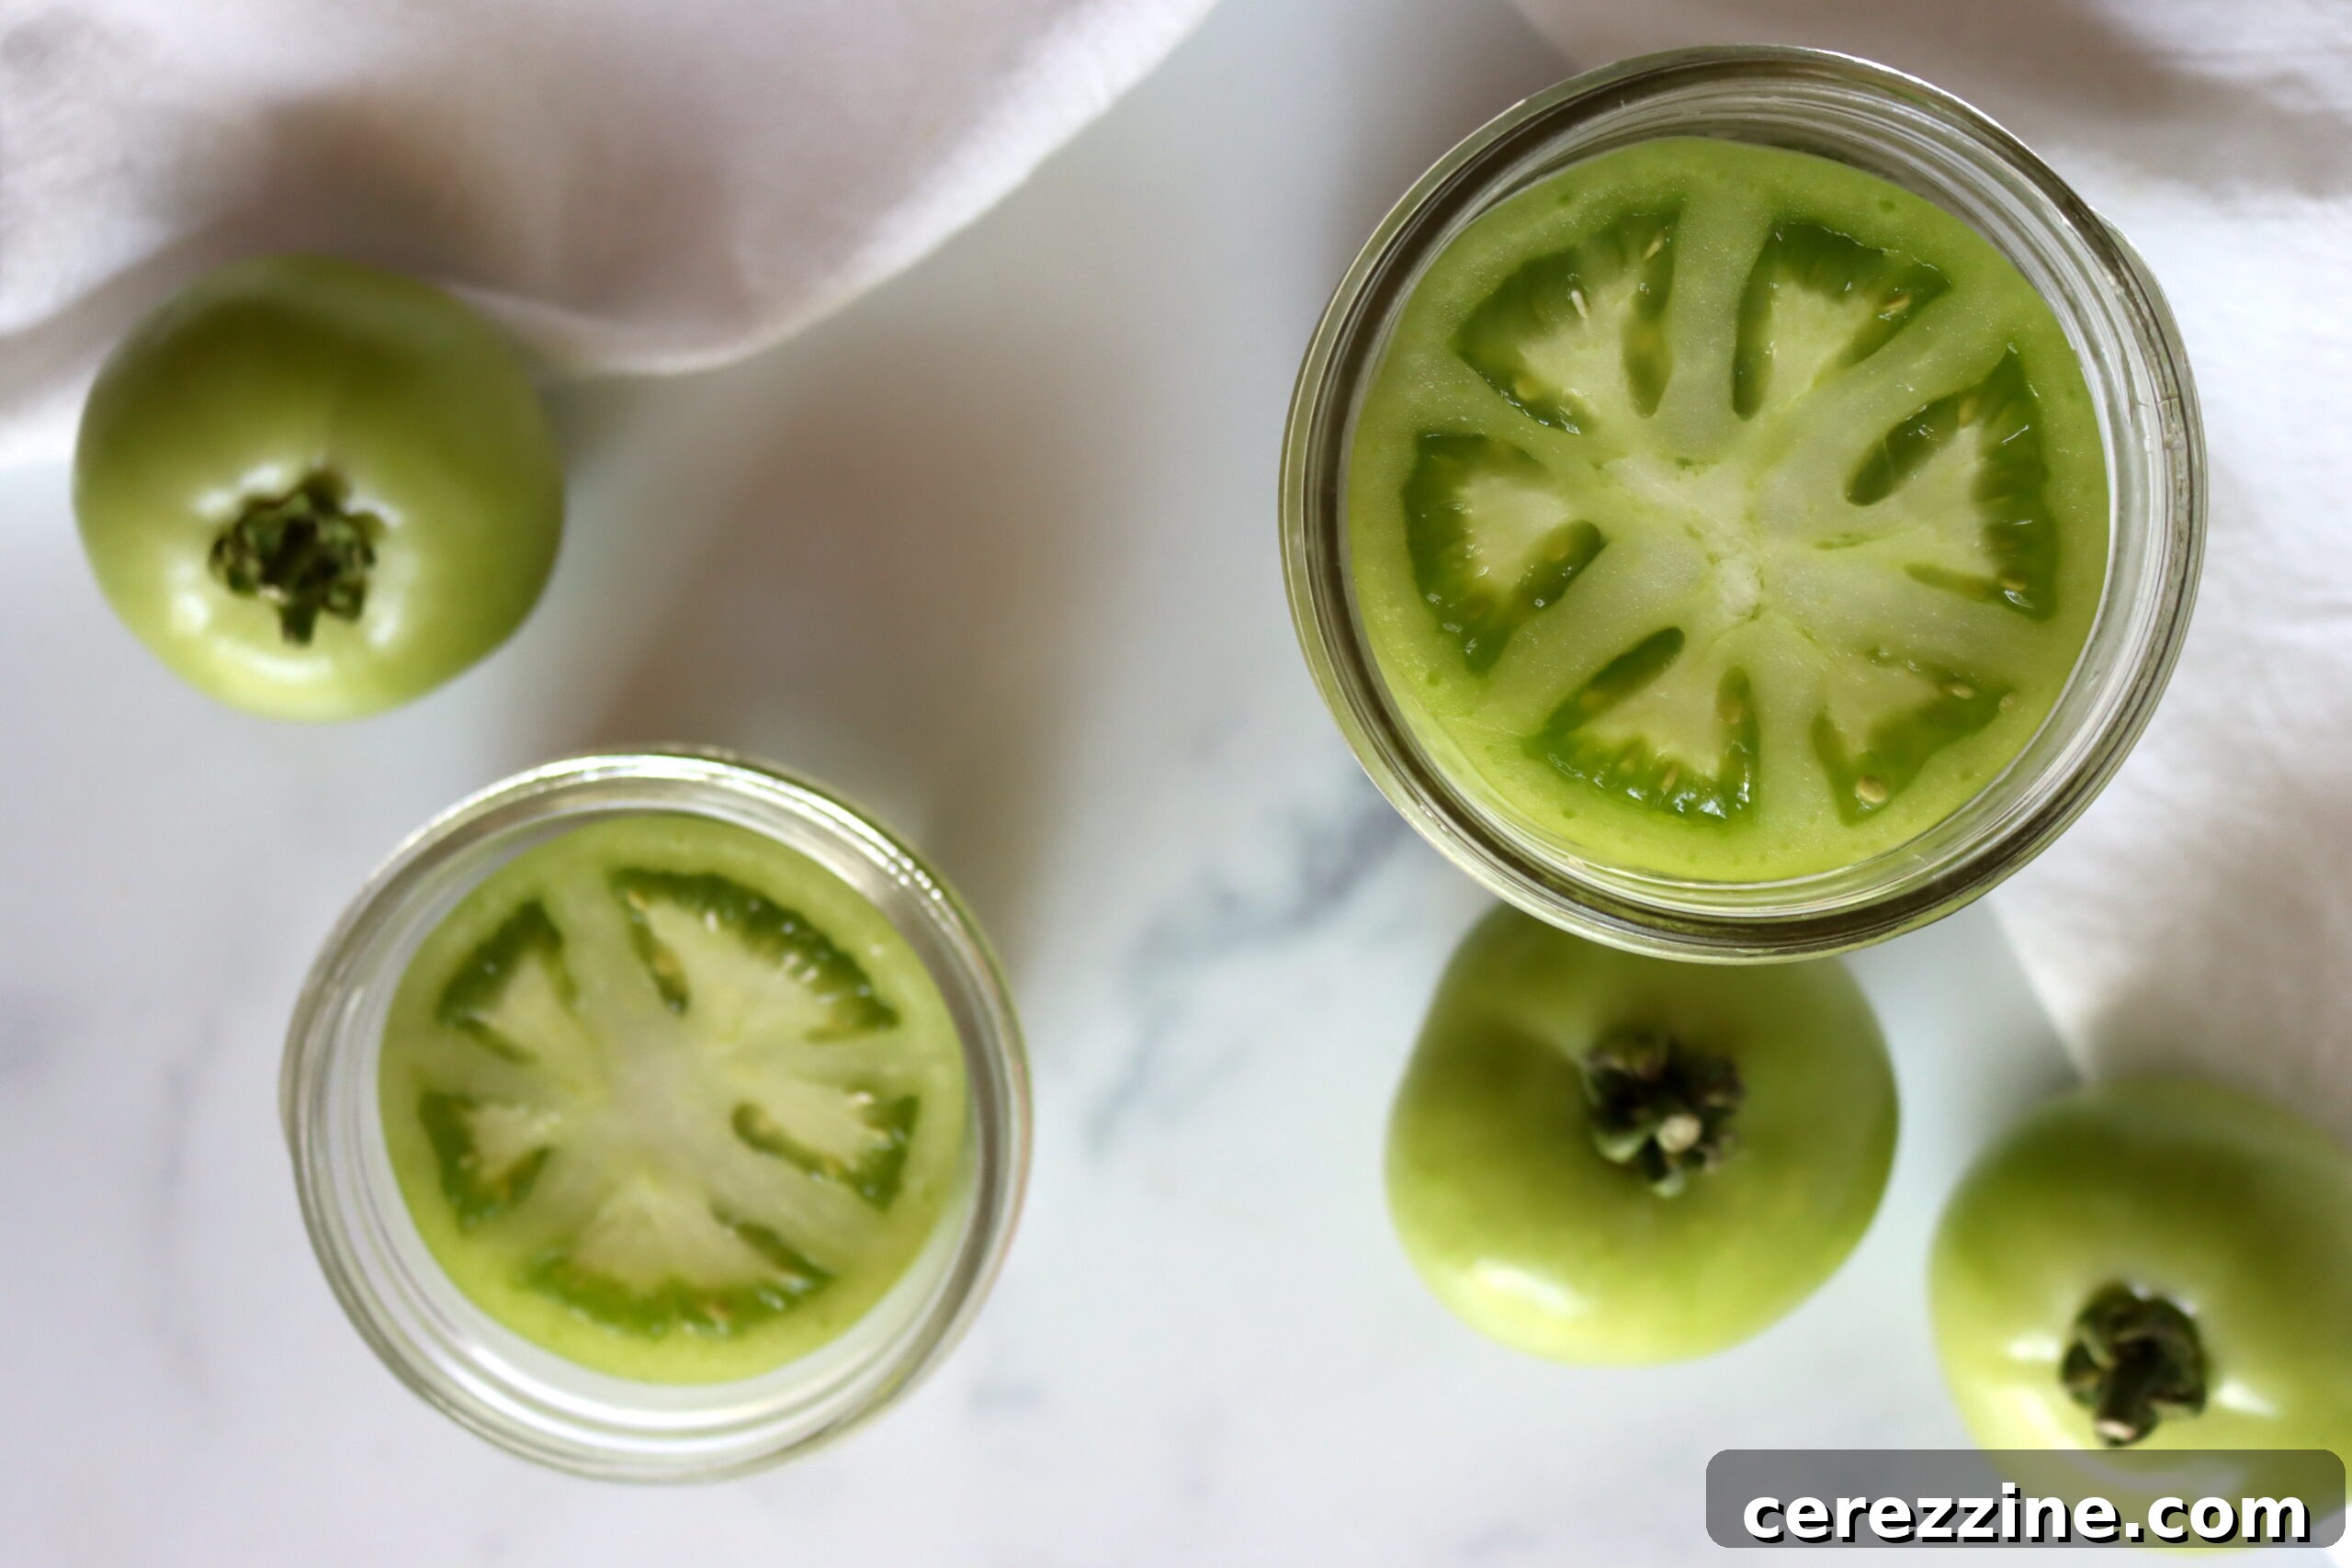
Water Bath Canning Green Tomatoes: The Final Steps
Canning green tomatoes is a straightforward process once you understand the fundamentals of water bath canning. If you’re new to this method, it’s highly recommended to consult a beginner’s guide to water bath canning for comprehensive safety information.
1. Load the Canner
Carefully load the prepared jars of green tomato slices into your preheated water bath canner. Ensure the jars are upright and not touching each other. The water level in the canner should cover the tops of the jars by at least 1 inch. If needed, add more boiling water to achieve this coverage.
2. Process the Jars
Bring the water in the canner to a vigorous, rolling boil over high heat. Once the water reaches a full boil, start your timer. Process quart jars for 45 minutes and pint jars for 40 minutes. Remember to adjust your processing time for altitude, as detailed in the section below. Maintaining a consistent boil throughout the entire processing time is crucial for safety.
3. Cooling and Sealing
Once the processing time is complete, turn off the heat but leave the canner lid on. Allow the jars to rest in the hot water for an additional 5 minutes. This helps to equalize the temperature and reduce the risk of siphoning (loss of liquid from the jars).
After 5 minutes, carefully remove the jars from the canner using a jar lifter. Place them on a sturdy surface, such as a folded towel on your counter, ensuring there is adequate space between jars for air circulation. Do not disturb the jars or tighten the bands further as they cool. You should hear characteristic “ping” sounds as the lids seal.
4. Check Seals and Store
Allow the jars to cool completely, undisturbed, for 12 to 24 hours. After this period, check the seals. Press down on the center of each lid; if it doesn’t flex, the jar is sealed. If a lid yields, it has not sealed, and that jar should be refrigerated and consumed within a few days or reprocessed with a new lid (if within 24 hours of initial canning). Remove the screw bands for long-term storage, as they can rust and make it difficult to open the jar later.
Wipe the sealed jars clean, label them with the contents and date, and store them in a cool, dark, dry place, such as a pantry. Canned green tomato slices will maintain their peak quality for about 12 to 18 months, but will remain safe to eat for longer as long as the seal is intact. Refrigerate promptly after opening.
Altitude Adjustments for Safe Canning
Altitude significantly affects boiling temperatures, which in turn impacts the effectiveness of the canning process. To ensure the safety of your canned green tomatoes, it is crucial to adjust processing times according to your elevation above sea level. This applies whether you’re canning whole, halved, chunked, or sliced green tomatoes:
- Under 1,000 Feet in Elevation: Process pints for 40 minutes and quarts for 45 minutes.
- 1,001 to 3,000 Feet in Elevation: Process pints for 45 minutes and quarts for 50 minutes.
- 3,001 to 6,000 Feet in Elevation: Process pints for 50 minutes and quarts for 55 minutes.
- 6,001 to 8,000 Feet in Elevation: Process pints for 55 minutes and quarts for 60 minutes.
- 8,001 to 10,000 Feet in Elevation: Process pints for 60 minutes and quarts for 65 minutes.
Creative Ways to Use Canned Green Tomatoes
Once you’ve successfully canned your green tomatoes, a world of culinary possibilities awaits! While their classic application is fried, their tart flavor and firm texture make them incredibly versatile in many dishes.
Classic Fried Green Tomatoes
The most iconic way to enjoy green tomatoes! Carefully drain the canned slices and pat them dry. Prepare a breading mixture with cornmeal, seasoned flour, salt, black pepper, and a pinch of cayenne for heat. Dip each slice into an egg wash, then coat thoroughly with the breading. Fry in hot vegetable oil or lard for about 3-5 minutes per side, or until golden brown and crispy. Serve immediately with a side of spicy aioli, chutney, or a dollop of relish.
Beyond Frying: Other Delicious Applications
- Relishes and Chutneys: The inherent tartness of canned green tomatoes makes them an excellent base for vibrant relishes or sweet and savory chutneys. Just chop them up and incorporate them into your favorite recipe.
- Salsas: Create a unique green tomato salsa with a punchy, zesty flavor. Combine chopped canned green tomatoes with onions, cilantro, jalapeños, and lime juice for a fresh topping for tacos or grilled meats.
- Pies and Crumbles: Don’t limit green tomatoes to savory dishes! Their firmness and tartness are reminiscent of apples, making them a fantastic substitute in sweet applications like pies, crumbles, or even a unique green tomato cake.
- Stews and Casseroles: Add a tangy depth to hearty stews, chili, or casseroles. Their ability to hold shape means they won’t disappear into the dish, adding texture and flavor.
- Pickles and Preserves: While you’ve already canned them, their tartness can be further enhanced in quick pickles or unique preserves, offering another layer of flavor.
Canning Green Tomato Slices
Rate
Equipment
-
Water Bath Canner
Ingredients
- Green tomatoes, firm
- Boiling water
- 1 tsp pickling or kosher salt per quart jar
- 2 tbsp bottled lemon juice per quart jar
Instructions
-
Wash the tomatoes thoroughly under cool water and drain.
-
Sterilize wide-mouth quart canning jars and prepare 2-part canning lids. Fill the canner with water and heat over high heat to a simmer.
-
Using a sharp knife, cut a thin slice off the top of the tomato, removing the stem with the slice. Discard this piece.
-
Cut the remainder of the tomato into ½” slices and carefully stack the slices in sterilized wide-mouth quart jars, leaving ½-inch headspace. Continue slicing tomatoes and filling jars.
-
Add 1 teaspoon of kosher or pickling salt for each filled quart jar and 2 tablespoons of bottled lemon juice. (For pints, use 1/2 tsp salt and 1 Tbsp lemon juice.)
-
Pour boiling water over the tomatoes until covered, leaving a ½” headspace at the top of the jar. Use a small rubber spatula or knife to remove air bubbles. If necessary, top off with more boiling water to maintain the ½” headspace required.
-
Wipe the rims of the jars with a clean, damp cloth and apply 2-part canning lids, screwing on the bands until finger-tight.
-
Load the filled jars into the canner, ensuring water covers them by at least 1 inch, and bring the water back to a vigorous boil over high heat.
-
Once the water is boiling, process quart jars for 45 minutes and pint jars for 40 minutes, adjusting for altitude (see notes).
-
After the time has elapsed, turn off the heat and allow the jars to sit in the canner for 5 minutes.
-
Using a jar lifter, remove the jars from the canner and set them on a towel on the counter, leaving airspace between the jars. After 12-24 hours, check the seals on the jars. Label and store sealed jars in a cool, dark place or pantry; they will maintain quality for 12-18 months. Unsealed jars should be refrigerated for immediate use.
Notes
Altitude Adjustments
Water boils at a lower temperature at higher altitudes, so you’ll need to process the jars a bit longer if you’re above 1,000 feet in elevation. Here are the altitude adjustments for canning green tomatoes (whole, halves, chunks, or in slices):
-
- For Under 1,000 Feet in Elevation – 40 minutes for pints and 45 minutes for quarts
- For 1,001 to 3,000 Feet in Elevation – 45 minutes for pints and 50 minutes for quarts
- For 3,001 to 6,000 Feet in Elevation – 50 minutes for pints and 55 minutes for quarts
- For 6,001 to 8,000 Feet in Elevation – 55 minutes for pints and 60 minutes for quarts
- For 8,001 to 10,000 Feet in Elevation – 60 minutes for pints and 65 minutes for quarts
Nutrition
Calories: 10kcal,
Carbohydrates: 2g,
Protein: 1g,
Fat: 0.1g,
Saturated Fat: 0.01g,
Polyunsaturated Fat: 0.04g,
Monounsaturated Fat: 0.01g,
Sodium: 6mg,
Potassium: 92mg,
Fiber: 1g,
Sugar: 2g,
Vitamin A: 289IU,
Vitamin C: 11mg,
Calcium: 6mg,
Iron: 0.2mg
Nutrition information is automatically calculated, so should only be used as an approximation.
Like this? Leave a comment below!
Explore More Green Tomato Canning Recipes
Once you’ve mastered canning green tomato slices, you might find yourself eager to explore other ways to preserve these versatile garden treasures. Green tomatoes are fantastic for a variety of sweet and savory creations. Here are some ideas to inspire your next canning project:
- 30+ Green Tomato Canning Recipes
- Green Tomato Jam
- Pickled Green Tomatoes
- Green Tomato Piccalilli (New England Style)
- Green Tomato Pie Filling
Conclusion
Canning green tomatoes is more than just a method of preservation; it’s a testament to sustainable living and culinary creativity. By saving those end-of-season unripe tomatoes, you’re not only reducing waste but also stocking your pantry with a versatile ingredient that can elevate meals throughout the year. From the classic comfort of fried green tomatoes to innovative pies and robust relishes, the possibilities are endless.
This detailed guide provides you with all the necessary steps and safety precautions to confidently can green tomato slices. Remember the importance of proper acidification, consistent processing times, and vigilant sealing checks. With a little effort, you can enjoy the tangy, unique flavor of garden-fresh green tomatoes, straight from your jar, no matter the season. Happy canning!