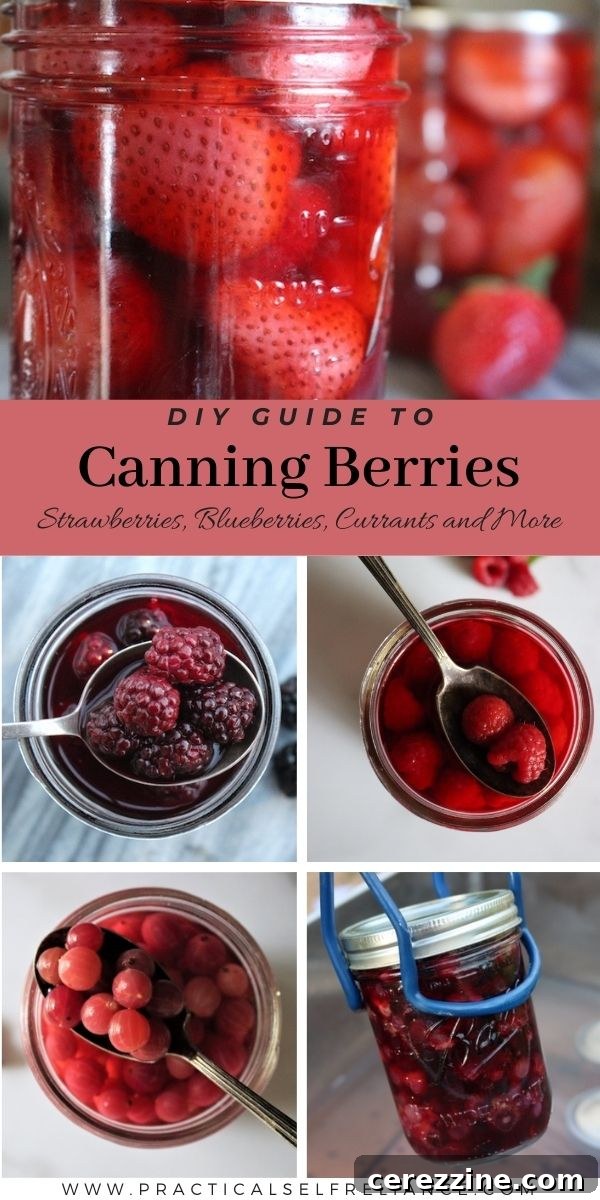
Mastering Berry Preservation: Your Definitive Guide to Home Canning Fresh Berries
There’s an undeniable magic in capturing the vibrant essence of summer’s berry harvest and preserving it for year-round enjoyment. Imagine reaching into your pantry on a chilly winter morning and pulling out a jar brimming with sweet, jewel-toned berries, ready to transform into luscious muffins, comforting cobblers, or simply be savored by the spoonful. This comprehensive guide will walk you through everything you need to know about canning berries at home, ensuring you can enjoy the taste of summer long after the season ends.
Why Preserve Berries Through Canning?
Canning berries offers a myriad of benefits that extend beyond simply keeping fruit from spoiling. It’s a fantastic way to enjoy peak-season flavor, reduce food waste, and create homemade pantry staples free from artificial preservatives. Berries are wonderfully versatile, and having a stash of home-canned goodness means you’re always prepared to elevate your meals and desserts. From enriching your morning oatmeal and pancakes to crafting exquisite tarts, pies, and sauces, canned berries are a culinary secret weapon. Plus, the satisfaction of opening a jar of fruit you preserved yourself is truly unmatched.
Choosing the Best Berries for Canning Success
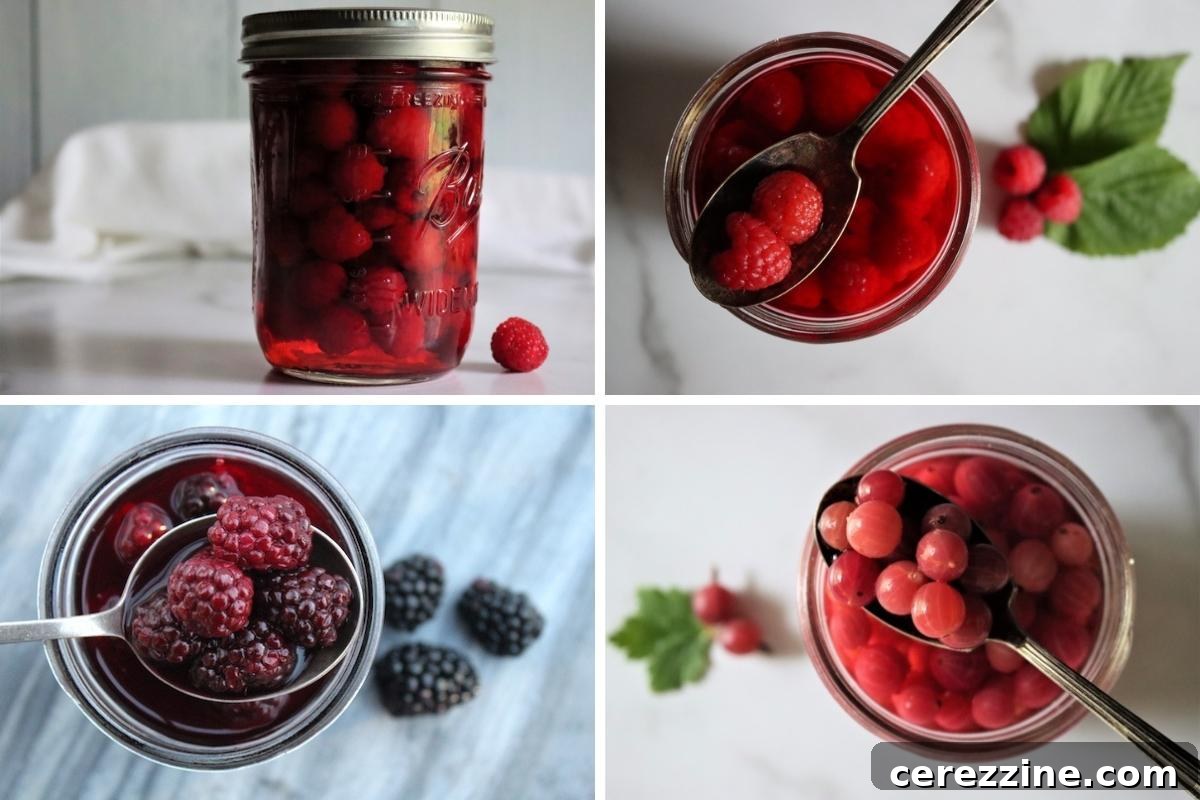
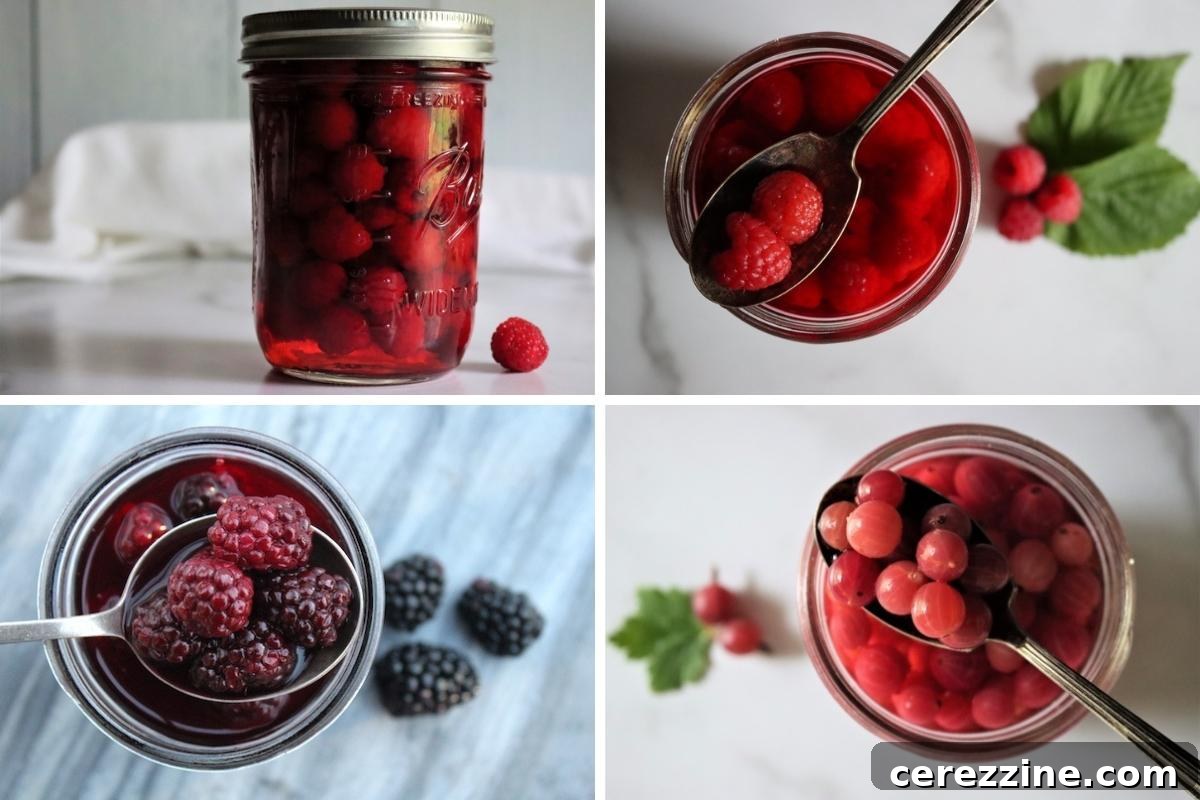
While many types of berries lend themselves beautifully to home canning, selecting the right variety and ensuring proper preparation are key to a successful and delicious outcome. These instructions are suitable for a wide range of popular berries:
- Blackberries
- Blueberries
- Currants
- Dewberries
- Gooseberries
- Huckleberries
- Loganberries
- Mulberries
- Raspberries
It’s crucial to note that these berry canning instructions are **not suitable for elderberries**. Elderberries typically have a pH of around 5.0, which is too high for safe water bath canning (which requires a pH below 4.6 to inhibit the growth of harmful bacteria). While elderberries are not acidic enough for safe water bath canning on their own, they can be safely preserved through other methods like freezing, dehydrating, freeze-drying, or in specific, tested recipes such as elderberry jam or elderberry jelly, where their acidity is adjusted with other ingredients.
When selecting berries for canning, prioritize those that are firm and free from blemishes. Slightly underripe fruit can sometimes be advantageous, as it tends to hold its shape better during the canning process. Avoid overly soft or bruised berries, as these can break down and result in a mushy product.
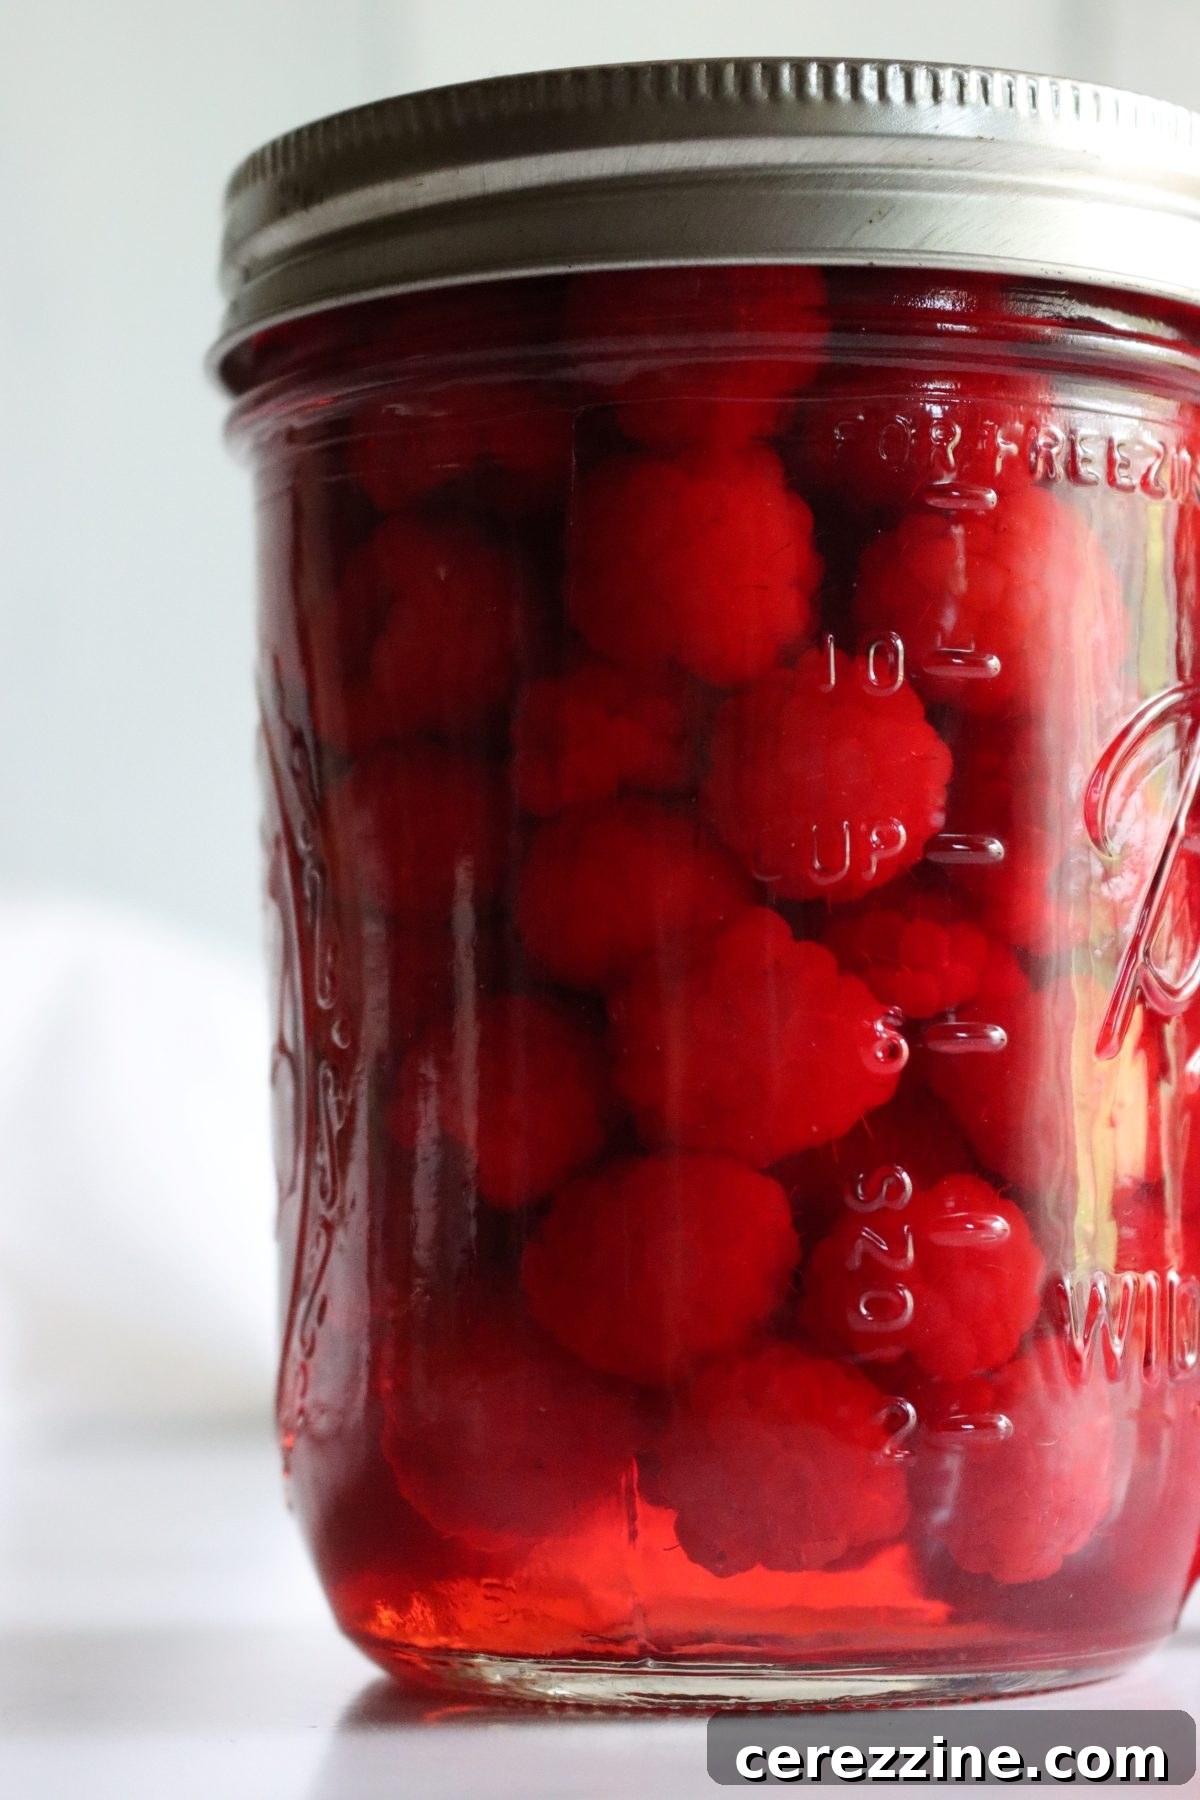
For more delicate berries, such as raspberries, a “raw pack” method directly into the jars is often recommended to minimize handling and preserve their delicate structure. Some experienced canners even pick raspberries directly into their canning jars in the patch to maintain their pristine condition, ensuring beautifully intact raspberries in the finished product.
Essential Ingredients for Canning Berries
Canning berries requires just a few simple ingredients, allowing the natural flavor of the fruit to shine. For a standard canner batch (typically seven quarts or nine pints), you’ll generally need the following:
- Approximately 8-12 lbs of suitable berries (blueberries, blackberries, currants, dewberries, huckleberries, loganberries, raspberries, or mulberries).
- Liquid for packing: sugar syrup, fruit juice (apple or grape), or water (optional).
The quantity of berries will depend on whether you are canning pints or quarts and how densely you pack them. Always ensure your chosen berries are ripe, sweet, and uniform in color for the best results. The liquid you choose to pack your berries in is technically optional, but it plays a crucial role in enhancing preservation, flavor, and maintaining the berries’ texture. Select a liquid that complements or boosts the natural sweetness and character of your berries.
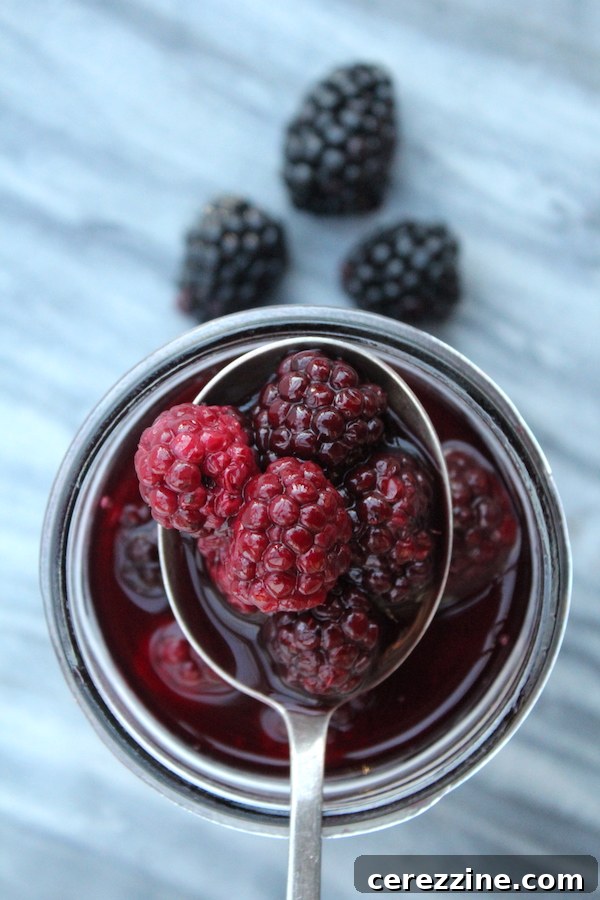
For an added layer of flavor complexity, you might consider incorporating a small amount of liqueur or brandy into your canning liquid. This subtle addition can wonderfully enhance the taste of fruits like blackberries and raspberries, making them even more indulgent when served.
Crafting the Perfect Syrup for Canned Berries
Berries can be canned in plain water, fruit juice, or various strengths of sugar syrup. While plain water is an option, it often results in a diluted flavor, as the natural sweetness of the berries can leach into the water. For this reason, it’s generally not recommended if you want to preserve the berries’ full taste.
Fruit juices like apple or cherry can be excellent natural sweetening options, imparting their own flavor profile to the berries. This can be a delightful combination, but be aware that the berries will absorb some of the juice’s taste. For a more neutral enhancement, sugar syrup is often preferred.
Many home canners opt for an extra light syrup when canning most berries. This choice effectively mirrors the berries’ natural sweetness, preventing them from becoming overly sweet from a heavy syrup or losing their intrinsic flavor to plain water. For tarter varieties, such as gooseberries, a light to medium syrup might be more suitable to balance their tartness. The strength of the syrup can be adjusted to your personal preference and the natural sweetness of the berries.
Below are common syrup ratios for various strengths, useful for either a 9-pint or 7-quart canner load:
Syrup Ratios for a 9-Pint Canner Batch:
- Extra-light syrup: 3/4 cups sugar to 6 1/2 cups water
- Light syrup: 1 1/2 cups sugar to 5 3/4 cups water
- Medium syrup: 2 1/4 cups sugar to 5 1/4 cups water
- Heavy syrup: 3 1/4 cups sugar to 5 cups water
- Extra-Heavy Syrup: 4 1/4 cups sugar to 4 1/4 cups water
Syrup Ratios for a 7-Quart Canner Batch:
- Extra-light syrup: 1 1/4 cups sugar to 10 1/2 cups water
- Light syrup: 2 1/4 cups sugar to 9 cups water
- Medium syrup: 3 3/4 cups sugar to 8 1/4 cups water
- Heavy syrup: 5 1/4 cups sugar to 7 3/4 cups water
- Extra-Heavy Syrup: 6 3/4 cups sugar to 6 1/2 cups water
Remember, the choice of syrup strength, fruit juice, or water is entirely up to you and how you plan to use your canned berries. For those who wish to add a touch of alcohol for flavor, a quarter cup of liqueur or brandy per jar is a good guideline, adding depth without compromising safety.
Step-by-Step Guide to Canning Berries
Canning berries is a rewarding process, but it requires adherence to safe practices to ensure a quality, shelf-stable product. If you are new to water bath canning, familiarizing yourself with basic canning principles is highly recommended before you begin. Safety is paramount in home food preservation.
Gathering Your Canning Equipment
Before you start, make sure you have all the necessary tools clean and ready:
- Boiling Water Canner: A large, deep pot with a fitted lid and a removable jar rack.
- Canning Jars: Mason-type jars designed for canning, in pint or quart sizes.
- Lids and Rings: New lids are required for each canning batch to ensure a proper seal; rings can be reused.
- Jar Lifter: For safely moving hot jars.
- Canning Funnel: To help fill jars neatly.
- Non-Metallic Spatula or Bubble Remover: To release trapped air bubbles.
- Optional: Pressure Canner: If you prefer pressure canning, ensure you have either a weighted-gauge or dial-gauge canner.
Preparing Your Berries
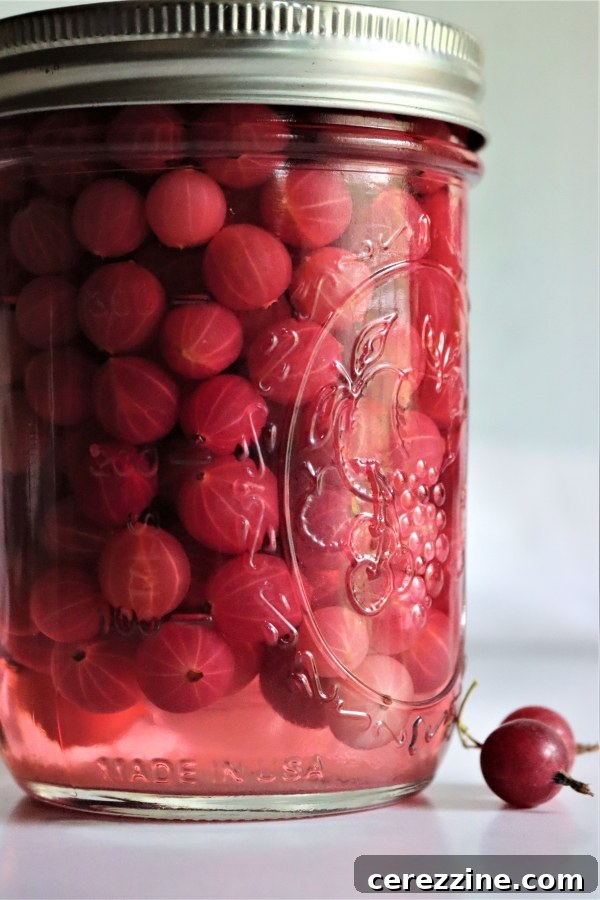
The first step is to thoroughly prepare your chosen berries. Wash them gently under cool running water, then drain them well. Remove any caps, stems, or leaves. For gooseberries, you’ll need to snip off both the heads and tails with a pair of kitchen scissors. It’s best to complete this preparation stage immediately before canning to maintain maximum freshness and firmness.
Heating Your Canning Liquid
If you’ve decided to use syrup, water, or fruit juice for packing, prepare it now. Heat your chosen liquid to a boil in a separate saucepan, then reduce the heat to a simmer to keep it hot while you pack your berries into the jars. Having the liquid hot ensures a more efficient canning process and helps to remove air from the berries.
Packing Methods: Raw Pack vs. Hot Pack
There are two primary methods for packing berries into jars, each suited to different berry types and desired outcomes:
Raw Pack Berry Canning Method
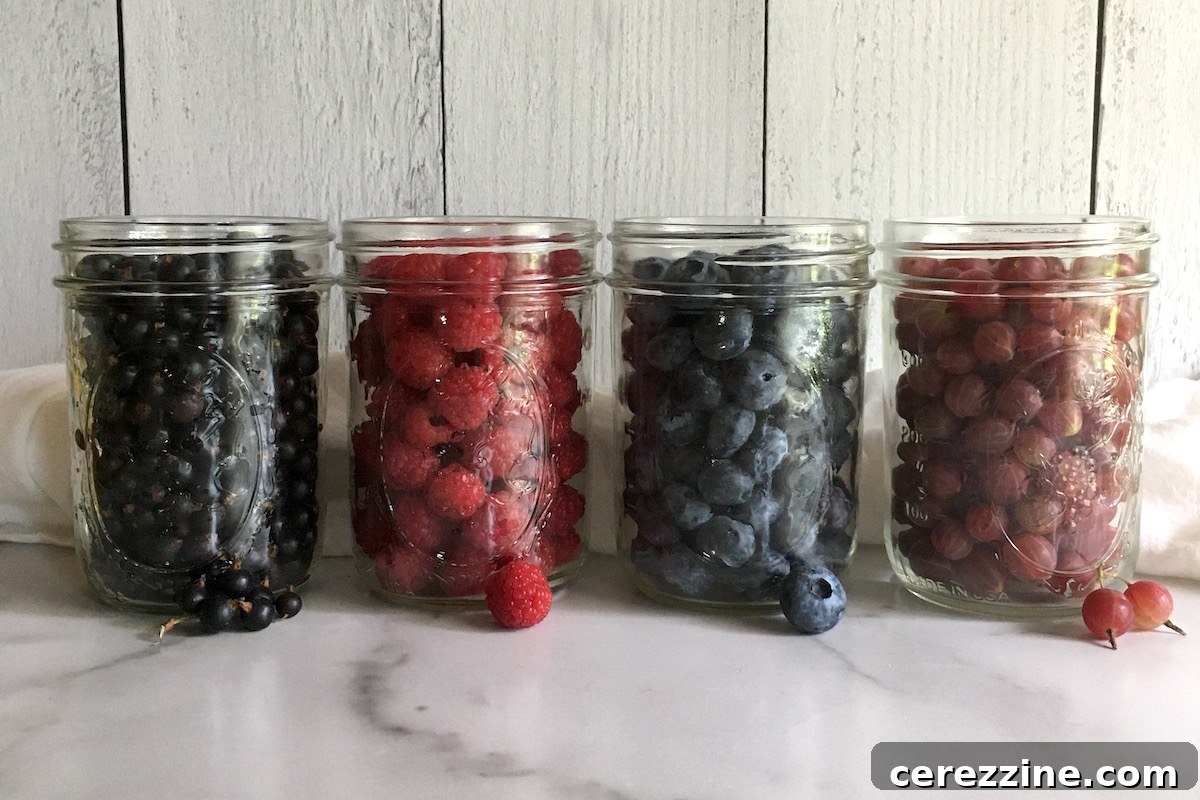
The raw pack method involves packing fresh, unheated berries directly into your sterilized canning jars. Fill the jars, leaving a 1/2 inch headspace at the top. Once packed, cover the berries with your boiling-hot syrup, water, or fruit juice, still maintaining the 1/2 inch headspace. Use a non-metallic spatula to remove any trapped air bubbles by gently sliding it down the sides of the jar. This method is particularly recommended for delicate fruits like raspberries, which can break down easily with pre-cooking.
Hot Pack Berry Canning Method
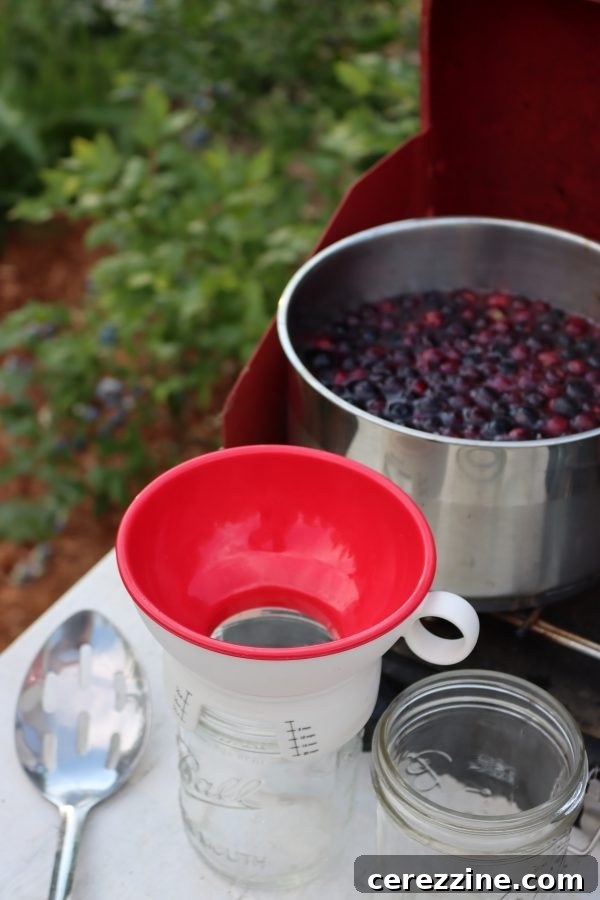
For the hot pack method, you’ll gently simmer the berries in water or syrup for about 30 seconds to a minute before packing. This brief heating helps to drive off some of the air from the fruit tissues, which can prevent floating and improve the overall pack. After simmering, strain the berries with a slotted spoon and pack them into your sterilized canning jars, leaving 1/2 inch headspace. Then, cover the berries with the boiling hot blanching liquid (or fresh hot syrup/juice), again maintaining 1/2 inch headspace. Remove air bubbles with a non-metallic spatula. The hot pack method is generally recommended for firmer berries like blueberries and gooseberries, as they tend to hold up better to the pre-heating process.
Sealing and Processing Your Jars
Once your jars are packed with berries and liquid, use your non-metallic spatula to remove any air bubbles. This step is critical to ensure a good seal and prevent spoilage. Next, wipe the jar rims clean with a damp cloth – even a tiny bit of food on the rim can prevent a seal. Place new, clean lids on the jars, followed by the screw bands, tightened only “fingertip tight” (snug, but not overly tight). Over-tightening can prevent air from escaping during processing, leading to seal failures.
Carefully lower your filled jars into your boiling water canner using a jar lifter. Ensure the water level covers the tops of the jars by at least one inch. Bring the water to a rolling boil, then begin timing according to the method and jar size.
Water Bath Canning Times for Berries
The processing times for water bath canning berries vary based on the pack method and jar size:
| Jar Size | Raw Pack Processing Time | Hot Pack Processing Time |
|---|---|---|
| Pints (500ml) | 15 minutes | 15 minutes |
| Quarts (1 Litre) | 20 minutes | 15 minutes |
Note that for raw packed quarts, the canning time is longer. For pints, both raw and hot pack times are the same. For better results and to minimize overall cook time, especially for delicate berries, canning in pint or half-pint jars is often recommended.
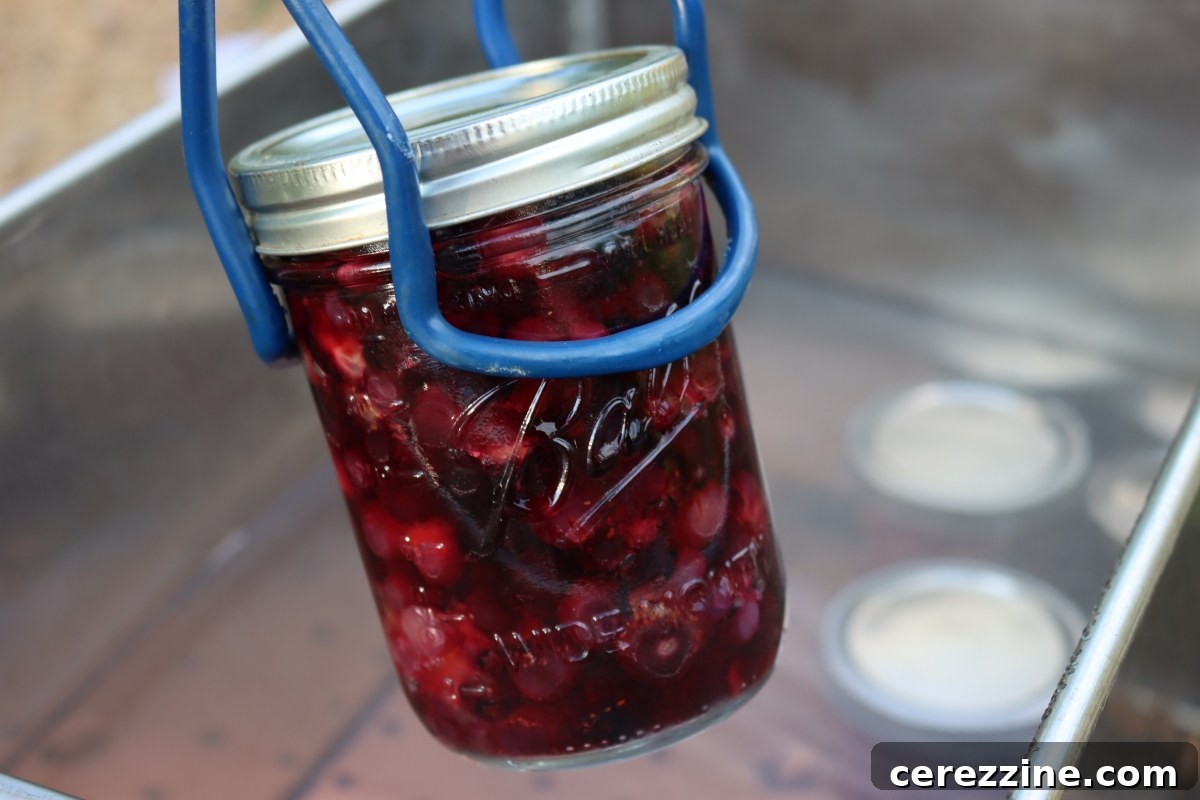
After the processing time is complete, turn off the heat and allow the jars to rest in the canner for 5 minutes. This cooling period helps to prevent siphoning (liquid loss from jars) and strengthens the seal.

Pressure Canning Times for Berries
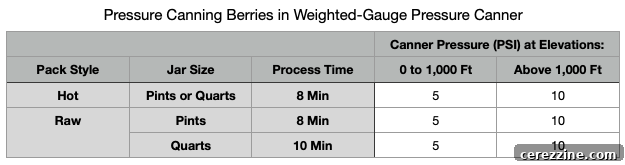
While water bath canning is the standard and generally preferred method for acidic fruits like berries, some individuals prefer pressure canning for its efficiency or because it’s their only available equipment. If using a pressure canner for berries (which can also function as a water bath canner by not sealing the lid), adhere to these times and pressures:
| Jar Size | Dial-Gauge Canner (PSI) | Weighted-Gauge Canner (PSI) | Processing Time (Minutes) |
|---|---|---|---|
| Pints (500ml) | 6 lbs | 5 lbs | 10 |
| Quarts (1 Litre) | 6 lbs | 5 lbs | 10 |
When pressure canning, it’s vital to allow the canner to depressurize completely before opening the lid. Rushing this step can be dangerous and may compromise your jar seals.

Storing and Enjoying Your Home-Canned Berries
After the brief cooling period in the canner, carefully remove the jars using the jar lifter and place them on a clean towel or cloth on your countertop. Leave ample space between jars to allow for even cooling. Do not disturb them for at least 12-24 hours. During this time, you’ll likely hear the satisfying “pop” sound as the lids seal, indicating successful preservation. Once completely cool, check all seals by pressing on the center of the lid – it should not flex. If a lid does not seal, refrigerate the contents and consume within a few days, or reprocess the jar with a new lid within 24 hours.
Before storing, label each jar with the canning date and the type of berry. Store your sealed jars in a cool, dark, and dry place, such as a pantry or cellar. Properly canned berries can be safely stored for up to one year, allowing you to enjoy the taste of summer well into the colder months.
Creative Ways to Serve Canned Berries
Home-canned berries are incredibly versatile and can add a burst of fruity flavor to a wide array of dishes and desserts. Here are some delicious ideas to inspire you:
- Simple Desserts: Spoon them generously over vanilla ice cream, plain yogurt, or creamy puddings for an easy yet elegant treat.
- Baked Goods: Fold them into muffin batter, incorporate them into fruit tarts, or layer them in cakes for moist and flavorful results.
- Breakfast Staples: Brighten up your morning by adding canned berries to pancakes, waffles, oatmeal, or even overnight oats.
- Savory Pairings: Don’t limit berries to sweet dishes! They can offer a delightful contrast when paired with savory items like salads, roasted poultry, or a cheese platter.
- Compotes & Sauces: Gently heat the berries with a touch of sugar or spice to create a quick compote or a vibrant sauce for various dishes.
- Beverages: Blend them into smoothies or muddle them for refreshing cocktails and mocktails.
Since your canned berries are preserved in syrup or juice, they are typically ready to eat straight from the jar. However, a gentle warming can enhance their aroma and flavor, making them even more inviting for many recipes. The possibilities are truly endless, making home-canned berries a valuable asset to any kitchen.
Berry Canning Recipe Summary
Below is a condensed summary of the process and ingredients for canning berries, focusing on the core steps for successful preservation.
Ingredients
- 8-12 lbs blueberries, blackberries, currants, dewberries, huckleberries, loganberries, raspberries, or mulberries
- Syrup, fruit juice (apple or grape), or water for packing
Instructions
- Gather all canning equipment: boiling water canner, jars, lids, rings, jar lifter, funnel, spatula. A pressure canner can be used as an alternative.
- Wash and drain berries thoroughly. Cap, stem, and remove heads/tails (for gooseberries) just before canning.
- If using syrup, water, or juice, heat it to a boil and keep it simmering.
- For Raw Pack: Pack raw berries into jars, leaving 1/2 inch headspace. Cover with hot liquid.
- For Hot Pack: Simmer berries briefly, drain, then pack into jars, leaving 1/2 inch headspace. Cover with hot liquid. (Recommended for blueberries/gooseberries only).
- Remove air bubbles with a spatula. Wipe jar rims clean. Place lids and screw on rings fingertip tight.
- Process jars in a boiling water canner:
- Pints: 15 minutes (Raw or Hot Pack)
- Quarts: 20 minutes (Raw Pack), 15 minutes (Hot Pack)
Alternatively, for pressure canning (not generally recommended but possible):
- Pints/Quarts: 10 minutes at 6 lbs pressure (dial-gauge) or 5 lbs pressure (weighted-gauge).
- After processing, turn off heat. Let jars cool in the canner for 5 minutes (or depressurize completely if using a pressure canner).
- Remove jars and place on a towel to cool undisturbed for 12-24 hours. Check for seals.
- Label jars with the date and berry type. Store in a cool, dark place for up to one year.
Notes
You’ll need approximately 8 pounds of berries for a 9-pint canner load, or 12 pounds for a 7-quart canner load. Canning berries in pint jars is often preferred due to shorter processing times and better retention of berry shape.
Syrup for Canning Berries
The syrup strength can be adjusted to your preference. Extra-light syrup is often recommended to maintain the berries’ natural sweetness without making them overly sugary or tasting watered down. Berries can also be canned in fruit juice (apple, grape, cranberry, or pineapple) or plain water. For added flavor, you can include up to 1/4 cup of liqueur or brandy per jar.
Explore More Summer Canning Recipes
Once you’ve mastered canning berries, expand your home preservation skills with these other delicious summer canning recipes:
- Canning Corn
- Tomato Canning Recipes
- Dill Pickles
- Bread and Butter Pickles
- Zucchini Canning Recipes