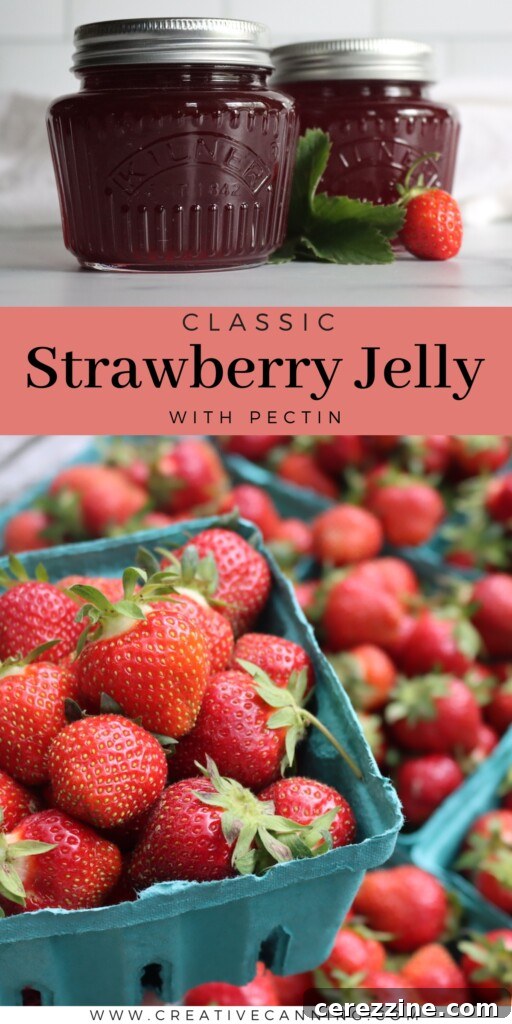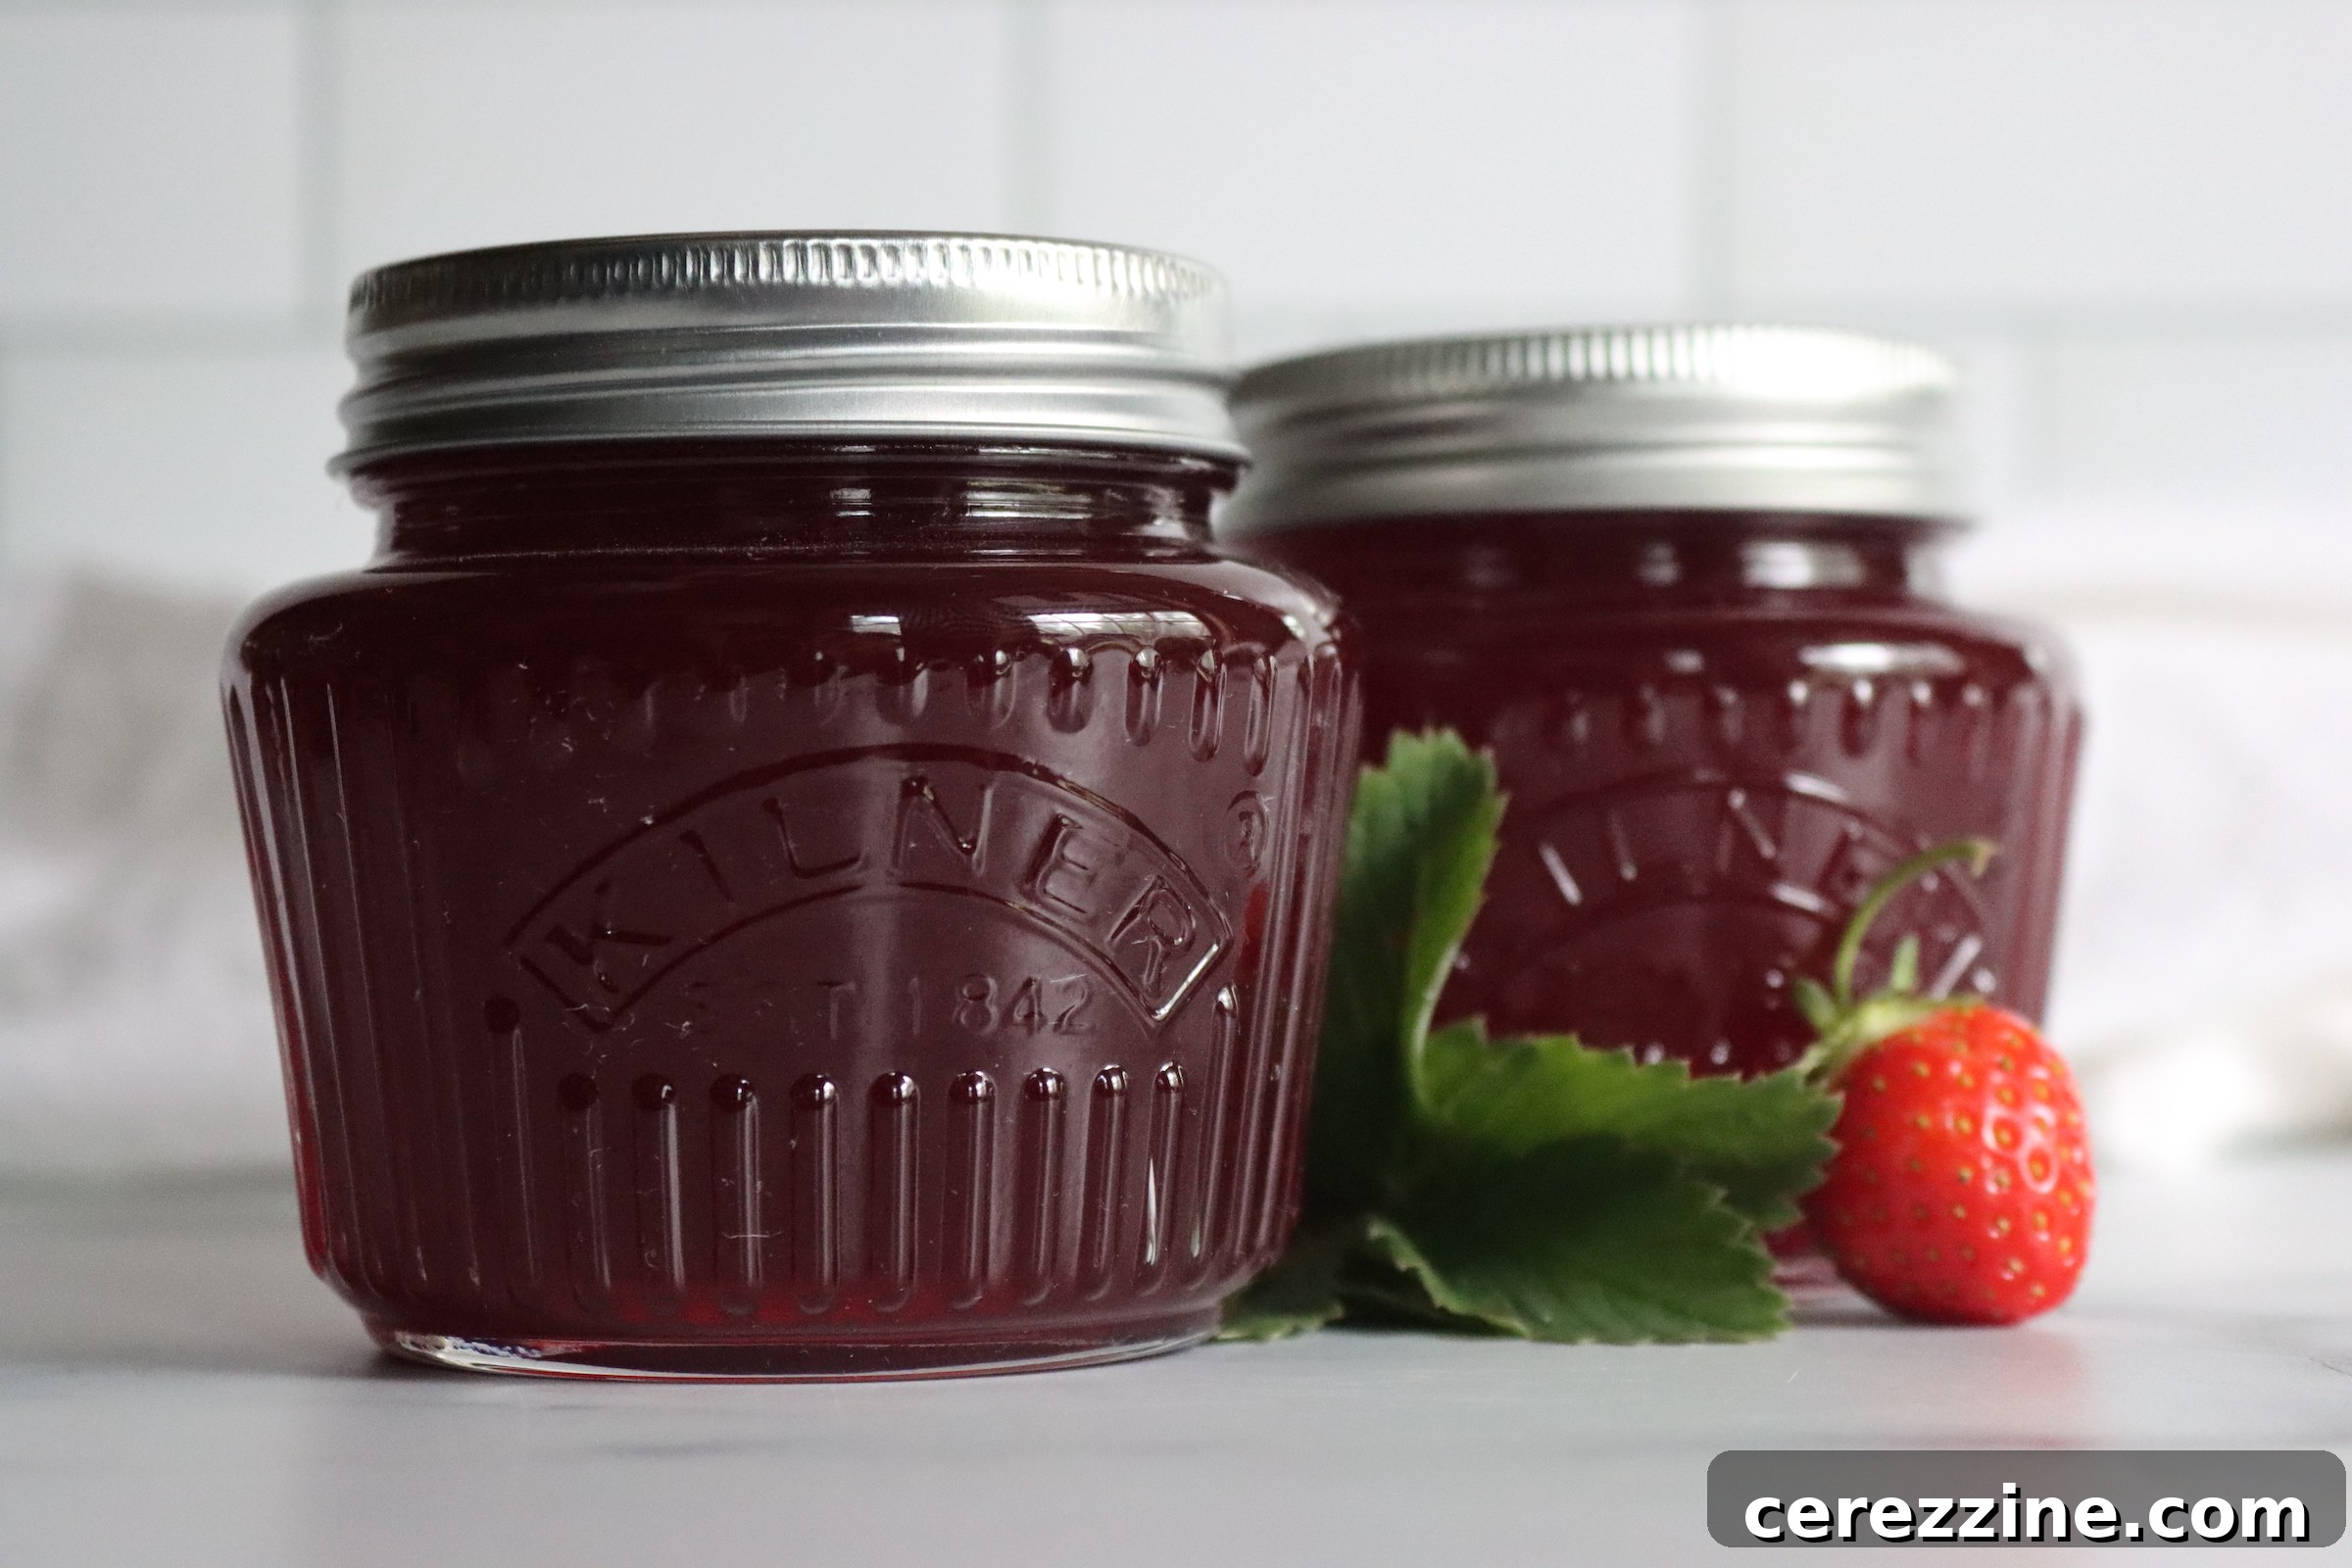
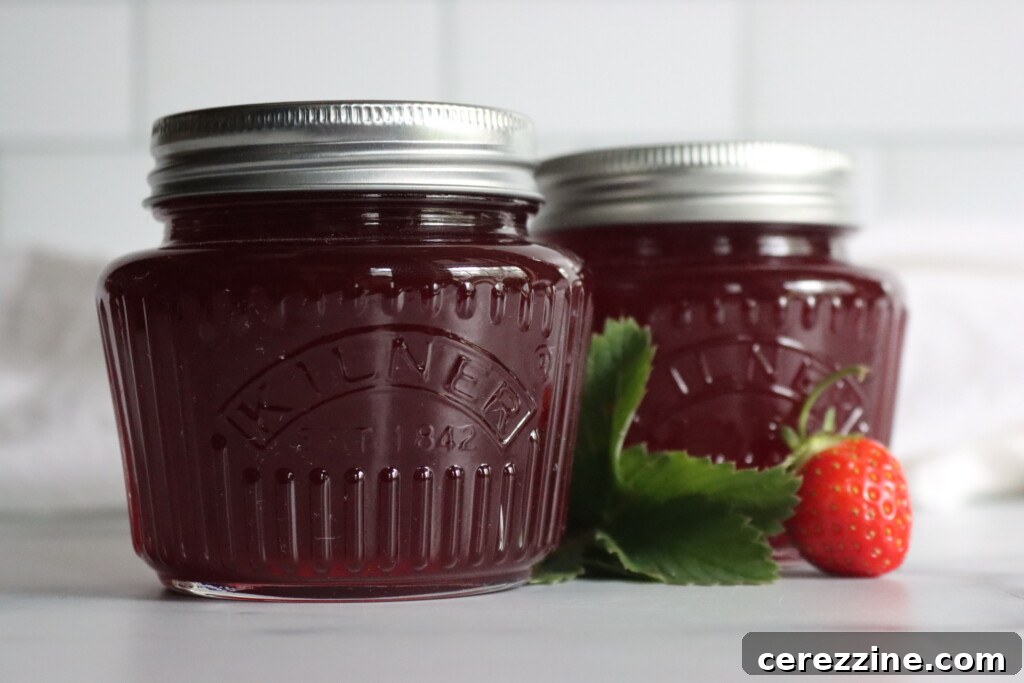
There’s nothing quite like the vibrant flavor and silky texture of homemade strawberry jelly. This classic preserve perfectly encapsulates the essence of early summer, transforming fresh, juicy strawberries into a bright, fruit-forward spread. Unlike jam, which features crushed fruit and seeds, jelly is crafted solely from the fruit’s pure, strained juice, resulting in a beautifully clear, smooth, and seedless delight. It’s a versatile staple, perfect for elevating your morning toast, enhancing a peanut butter and jelly sandwich, glazing pastries, or sweetening yogurt. While strawberry jam holds a special place in many hearts, sometimes you crave the refined elegance and unadulterated fruit essence that only a meticulously prepared jelly can deliver.
Throughout strawberry season, I dedicate time to making various strawberry preserves, and setting aside a portion of berries specifically for jelly is always a priority. There’s a profound sense of nostalgia in seeing those clear, ruby-red jars gleaming on the pantry shelf, ready to be enjoyed or shared as thoughtful gifts. Making jelly is also an excellent method for utilizing less-than-perfect berries, including frozen strawberries or those picked at the very end of the harvest. Since the fruit solids are strained out anyway, their appearance isn’t paramount, making this recipe incredibly forgiving and efficient for preserving an abundant bounty.
This comprehensive guide focuses on a traditional, full-sugar strawberry jelly recipe, specifically designed for use with boxed powdered pectin (such as popular brands like Sure-Jell or Ball Classic Pectin). This tried-and-true method ensures a consistent, reliable set and a generous yield, guaranteeing that satisfying “plop” when you open a freshly sealed jar and a firm yet wonderfully spreadable texture. Mastering this classic approach will give you the confidence to explore other fruit jellies and embrace the rewarding art of home canning.
Why Choose Jelly Over Jam? Unveiling the Differences
While both jams and jellies are beloved fruit preserves, they offer distinct textural and culinary experiences. Understanding their fundamental differences can help you decide which one best suits your preferences and culinary applications:
- Texture: The most significant difference lies in their texture. Jam is made from crushed fruit or fruit pieces suspended in a thickened fruit syrup, resulting in a rustic, spreadable consistency with palpable fruit chunks and seeds. Jelly, on the other hand, is crafted exclusively from fruit juice that has been carefully extracted and strained from the fruit pulp. This process yields a perfectly smooth, translucent, and seedless preserve that spreads like silk.
- Clarity and Appearance: Jelly is renowned for its brilliant clarity and often jewel-like appearance. The meticulous straining process removes all solids, allowing light to pass through and showcase the fruit’s pure color. Jam, due to the presence of fruit pulp, is typically opaque and less uniform in appearance.
- Flavor Profile: Because jelly contains only the pure fruit juice, its flavor is often described as more concentrated, clean, and refined. It delivers the unadulterated essence of the fruit without any textural distractions. Jam offers a broader, more complex flavor, combining the taste of the fruit pulp with the sweetness of the syrup.
- Versatility in Baking: The firm set and smooth texture of jelly make it exceptionally versatile for baking and layered desserts. It holds its shape well when used as a filling for cakes, tarts, and pastries, or as a glaze that sets beautifully. While jam can also be used, its fruit pieces may sometimes interfere with desired smoothness or presentation in certain delicate applications.
The primary trade-off when opting for jelly is the slightly increased preparation time and the larger quantity of fruit required to achieve the same number of finished jars compared to jam. This is because you are extracting only the juice, leaving the pulp behind. However, for those who appreciate the unparalleled smoothness and pure flavor, the extra effort is undoubtedly a worthwhile investment.
Essential Ingredients for Homemade Strawberry Jelly
This meticulously tested recipe uses powdered pectin and a full complement of sugar, ensuring reliable gelling and a perfectly balanced flavor profile. Achieving that ideal set hinges on these precise ratios, especially when using standard pectin. Here’s what you’ll need to create approximately six half-pint jars of exquisite strawberry jelly:
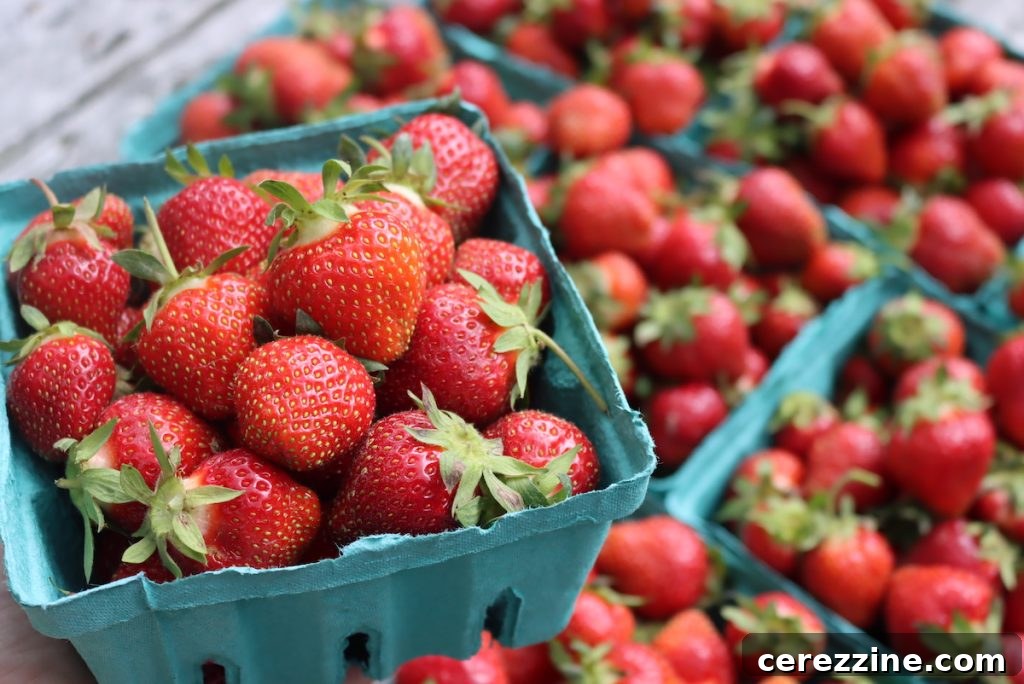
- Strawberry Juice (4 cups): Begin with roughly 8 cups of fresh strawberries, hulled and halved, combined with ½ cup of water. This quantity will yield approximately 4 cups of pure strawberry juice after straining. Choose ripe, fragrant berries for the best flavor.
- Powdered Pectin (1 standard box): A 1.75 oz box of powdered pectin, such as Sure-Jell Classic or Ball Classic Pectin, is essential for achieving a proper set with traditional recipes. If you are using bulk or “flex batch” pectin, you will need 6 tablespoons.
- Granulated Sugar (4 cups): This recipe calls for a full amount of granulated sugar, which is crucial for both setting the jelly and balancing its sweetness. Do not reduce the sugar quantity unless you are specifically using a low-sugar pectin, as regular pectin requires at least a 1:1 ratio of juice to sugar to gel correctly.
This recipe is designed to yield approximately 6 half-pint (8 oz) jars of delicious strawberry jelly. For best results, ensure all your ingredients are measured accurately before you begin the cooking process.
Crafting Your Own Strawberry Jelly: A Step-by-Step Guide
Making homemade strawberry jelly is a rewarding process that transforms simple fruit into a cherished preserve. Follow these steps carefully to ensure a perfectly set, clear, and flavorful jelly.
Step 1: Preparing the Strawberries and Extracting Juice
- Rinse and Hull: Thoroughly rinse approximately 8 cups of fresh strawberries. Remove the green hulls and any bruised spots, then slice the berries in half.
- Simmer for Juice Extraction: Place the prepared strawberries into a large, deep saucepan. Add ½ cup of water. Gently simmer the berries over medium heat, using a potato masher or fork to mash them as they soften. Mashing helps release the fruit’s natural juices more efficiently. Continue to cook for 10 to 15 minutes, stirring occasionally to prevent sticking, until the fruit has broken down and released ample juice.
- Strain the Juice: Set up a damp jelly bag or a colander lined with several layers of cheesecloth over a large bowl. Carefully pour the cooked strawberry mixture into the prepared bag or colander. For the clearest possible jelly, allow the juice to drip undisturbed for at least 2 hours. If time permits, letting it drip overnight in the refrigerator is even better. It is crucial to resist the temptation to squeeze or press the fruit pulp, as this will force tiny particles through the cloth, resulting in cloudy jelly.
Step 2: Preparing Your Canning Setup
- Sanitize Jars and Equipment: While the strawberry juice is straining, prepare your canning equipment. Wash your half-pint jars, lids, and rings thoroughly with hot, soapy water. Rinse them well. Keep the jars hot by placing them in a simmering water bath canner or a warm oven (set to its lowest temperature) until you are ready to fill them. Lids should be kept in hot (not boiling) water as per manufacturer instructions to soften the sealing compound.
Step 3: Cooking the Jelly
- Measure Juice and Combine with Pectin: Once the juice has fully strained, measure out exactly 4 cups of the clear strawberry juice and pour it into a large, deep saucepan. This precise measurement is vital for the pectin to set correctly. Whisk in one 1.75 oz box of powdered pectin (or 6 tablespoons of bulk pectin) until thoroughly dissolved.
- Bring to a Rolling Boil: Place the saucepan over high heat and bring the mixture to a full rolling boil. A “full rolling boil” is one that continues to bubble vigorously even when stirred.
- Add Sugar and Boil Hard: Once a full rolling boil is achieved, add all 4 cups of granulated sugar at once. Stir constantly to dissolve the sugar and prevent scorching. Return the mixture to a full rolling boil and boil hard for exactly 1 minute, maintaining continuous stirring. This rapid, intense boil is critical for activating the pectin and achieving a proper set.
- Remove from Heat and Skim: After 1 minute of hard boiling, remove the saucepan from the heat. Skim off any foam that has accumulated on the surface using a clean spoon. This step contributes to a clearer, more aesthetically pleasing jelly.
Step 4: Filling Jars and Water Bath Canning
- Ladle into Jars: Carefully ladle the hot strawberry jelly into your prepared hot jars, leaving ¼ inch of headspace at the top. Headspace is essential for proper sealing and preventing siphoning during processing.
- Clean Rims and Seal: Wipe the rims of the jars clean with a damp cloth to remove any jelly residue, which could interfere with the seal. Center the lids on the jars, then apply the bands and tighten them to fingertip tightness (just until resistance is met, avoid overtightening).
- Process in Water Bath Canner: Place the filled jars onto the rack in your boiling water bath canner. Ensure the jars are covered by at least 1-2 inches of water. Bring the water to a full rolling boil and process the jars for 10 minutes. If you live at an elevation above 6,000 feet, increase the processing time to 15 minutes.
- Cool and Check Seals: Once the processing time is complete, turn off the heat and let the jars sit in the canner for 5 minutes before carefully removing them. Place the hot jars on a towel-lined counter, spaced apart, to cool undisturbed for 12 to 24 hours. After cooling, check the seals: the lids should be concave and not flex when pressed. Any unsealed jars should be refrigerated and consumed within a few weeks.
Canning and Storage for Long-Lasting Freshness
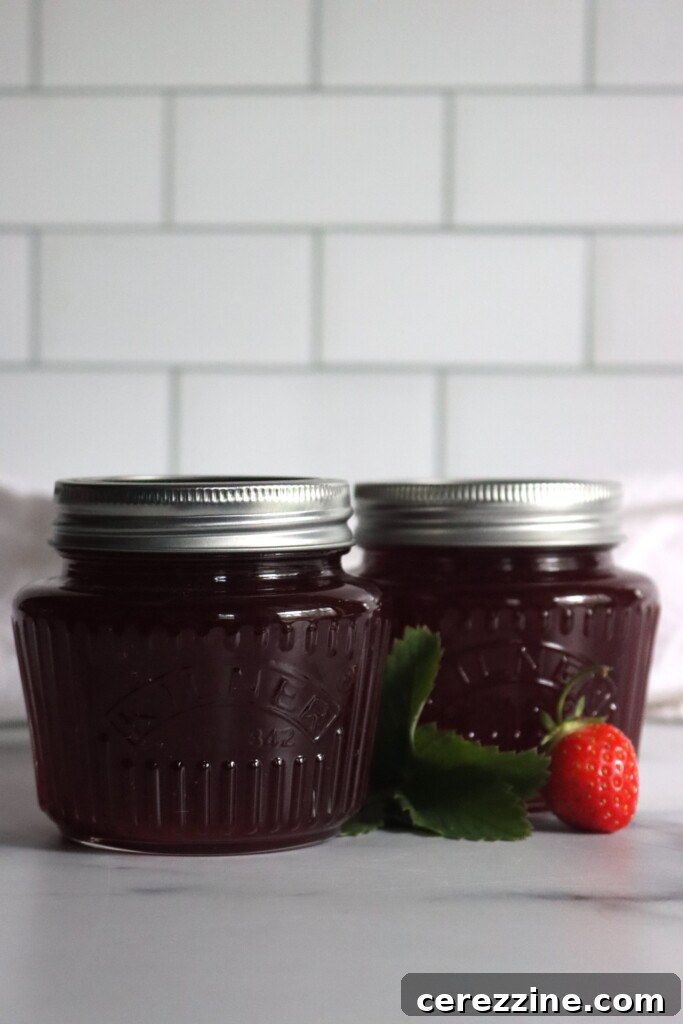
Proper water bath canning is essential for creating shelf-stable jelly that you can enjoy throughout the year. Once your jars have cooled and sealed, store them in a cool, dark place away from direct sunlight. Correctly canned jelly can last for at least a year, often longer, though the quality may slowly diminish over extended periods. Always check for proper seals before storage, and ensure jars are clean and free of cracks. Any jars that do not seal should be refrigerated and consumed within a few weeks, or reprocessed with new lids within 24 hours.
Exploring Low-Sugar Strawberry Jelly Options
For those mindful of sugar intake or preferring a less sweet preserve, making low-sugar strawberry jelly is a fantastic alternative. However, it requires a different type of pectin, as traditional pectin relies on high sugar content for its gelling properties. The method will vary slightly depending on the specific low or no-sugar pectin you choose:
- Sure-Jell or Ball Low Sugar Pectin: These popular brands offer specific low-sugar pectin formulations. When using these, you can typically use 4 cups of fruit juice with one box of low-sugar pectin and reduce the sugar significantly, often to as little as 1½ to 4 cups, according to the package directions. The overall cooking and canning process remains largely similar to the full-sugar method but always refer to the instructions provided with your specific pectin product.
- Pomona’s Universal Pectin: Pomona’s Pectin is a highly versatile option that allows you to sweeten your jelly to taste, using sugar, honey, or even fruit juice concentrates. This pectin requires the addition of calcium water to the fruit juice to activate its gelling properties, as it sets based on calcium and acid levels rather than sugar. For detailed instructions on using Pomona’s Pectin, you can refer to dedicated guides for low-sugar jams, keeping in mind that the jelly process is identical, simply using strained juice instead of mashed fruit.
Troubleshooting Common Jelly-Making Issues
Even experienced canners can encounter challenges. Here are some common issues and how to address them:
- Jelly Not Setting (Runny Jelly): This is often due to insufficient cooking time, incorrect pectin-to-sugar ratio, or pressing the pulp during straining. If your jelly doesn’t set after 24-48 hours, you can reprocess it. Re-boil the runny jelly, adding a small amount of additional pectin and sugar according to a reliable re-jelling recipe (often found with pectin packages), then re-process in new, sterile jars.
- Cloudy Jelly: The most common cause of cloudy jelly is pressing the fruit pulp when straining the juice. Allowing the juice to drip naturally for an extended period is key to clarity. Using slightly under-ripe fruit can also contribute to cloudiness. While cloudy jelly might not have the pristine appearance, it is still perfectly safe and delicious to eat!
- Crystallized Jelly: Crystallization usually occurs when too much sugar is used relative to the fruit’s natural pectin and acid, or if the jelly is overcooked. Ensure accurate measurements and follow cooking times precisely.
- Jelly Separating: This can happen if the jelly is not boiled hard enough for the pectin to properly activate and bind. Ensure you achieve and maintain a full, rolling boil as instructed.
Culinary Uses & Serving Suggestions for Strawberry Jelly
Homemade strawberry jelly is far too versatile to be confined solely to toast (though it truly excels there!). Here are some delightful ways to incorporate this vibrant preserve into your culinary repertoire:
- Classic Spreads: The quintessential use for any jelly! Slather it generously on warm biscuits, scones, croissants, or your favorite breakfast bread.
- PB&J Elevated: Upgrade your peanut butter and jelly sandwiches with the pure, smooth strawberry flavor of your homemade jelly.
- Dessert Fillings: Its firm set and smooth texture make it an ideal filling for layer cakes, thumbprint cookies, tarts, and pastries. It can also be warmed slightly and drizzled over cheesecakes or panna cotta.
- Savory Pairings: Don’t limit jelly to sweet dishes. Strawberry jelly can be a delightful accompaniment to a cheese board, especially with soft, creamy cheeses like brie or goat cheese. It also makes an excellent glaze for pork or poultry, adding a touch of sweet fruitiness.
- Yogurt & Oatmeal: Stir a spoonful into plain yogurt or hot oatmeal for a burst of natural fruit flavor and sweetness.
- Cocktail Enhancer: A small amount of strawberry jelly can be muddled into cocktails for a unique fruity twist.
Classic Strawberry Jelly Recipe
Strawberry Jelly
Bright and clear with that nostalgic strawberry flavor, this classic jelly is perfect for toast, baking, and gift giving. Made with fruit juice and a full amount of sugar, it sets firm and smooth every time.
Servings: 48 servings, makes about 6 half-pint jars
Prep Time: 10 minutes
Cook Time: 10 minutes
Canning Time: 10 minutes
Total Time: Approximately 30 minutes active time (plus straining & cooling)
Equipment
- Water Bath Canner
- Large, Deep Saucepan
- Jelly Bag or Cheesecloth-lined Colander
- Canning Jars (half-pint), Lids, and Bands
Ingredients
- 4 cups strawberry juice (from about 8 cups of hulled and halved fresh strawberries)
- 1 box powdered pectin (1.75 oz, such as Sure-Jell or Ball Classic)
- 4 cups granulated sugar
Instructions
- Prepare strawberries by hulling and slicing. Add to a pot with ½ cup water. Simmer and mash gently for 10–15 minutes until softened.
- Strain the fruit mixture through a damp jelly bag or cheesecloth-lined colander into a large bowl. Let it drip undisturbed for at least 2 hours, or overnight, for clear juice. Do not press the pulp.
- While juice is straining, prepare your canning jars and lids by washing and keeping them hot in a water bath canner or warm oven.
- Measure exactly 4 cups of the strained strawberry juice into a large, deep saucepan. Whisk in the entire box of powdered pectin. Bring the mixture to a full rolling boil over high heat, stirring constantly.
- Add all 4 cups of sugar at once, stirring to dissolve. Return the mixture to a full rolling boil and boil hard for exactly 1 minute, stirring constantly to prevent scorching.
- Remove the jelly from the heat and skim off any foam with a spoon.
- Ladle the hot jelly into prepared hot jars, leaving ¼ inch of headspace. Wipe rims clean, center lids, and apply bands to fingertip tightness.
- Process the jars in a boiling water bath canner for 10 minutes (15 minutes if above 6,000 feet elevation).
- Turn off heat, let jars sit in the canner for 5 minutes, then remove and cool on a towel-lined counter for 12–24 hours. Check seals before storing.
Notes
Do not attempt to reduce the sugar in this recipe unless you are using a specifically designed low-sugar pectin; it will not set properly with traditional pectin. To achieve the clearest jelly, use a damp jelly bag and allow ample time for dripping without pressing the fruit pulp. Pressing the pulp will result in a cloudy (though still delicious) jelly. This recipe typically makes about 6 to 7 half-pint jars. Any extra jelly that doesn’t fit into your canning jars can be refrigerated and enjoyed immediately.
Nutrition (Approximate per serving)
Calories: 68 kcal, Carbohydrates: 18g, Protein: 0.003g, Fat: 0.1g, Saturated Fat: 0.001g, Polyunsaturated Fat: 0.001g, Sodium: 2mg, Potassium: 0.4mg, Fiber: 0.1g, Sugar: 17g, Vitamin A: 0.03 IU, Calcium: 0.2mg, Iron: 0.04mg
Nutrition information is automatically calculated and should only be used as an approximation.