
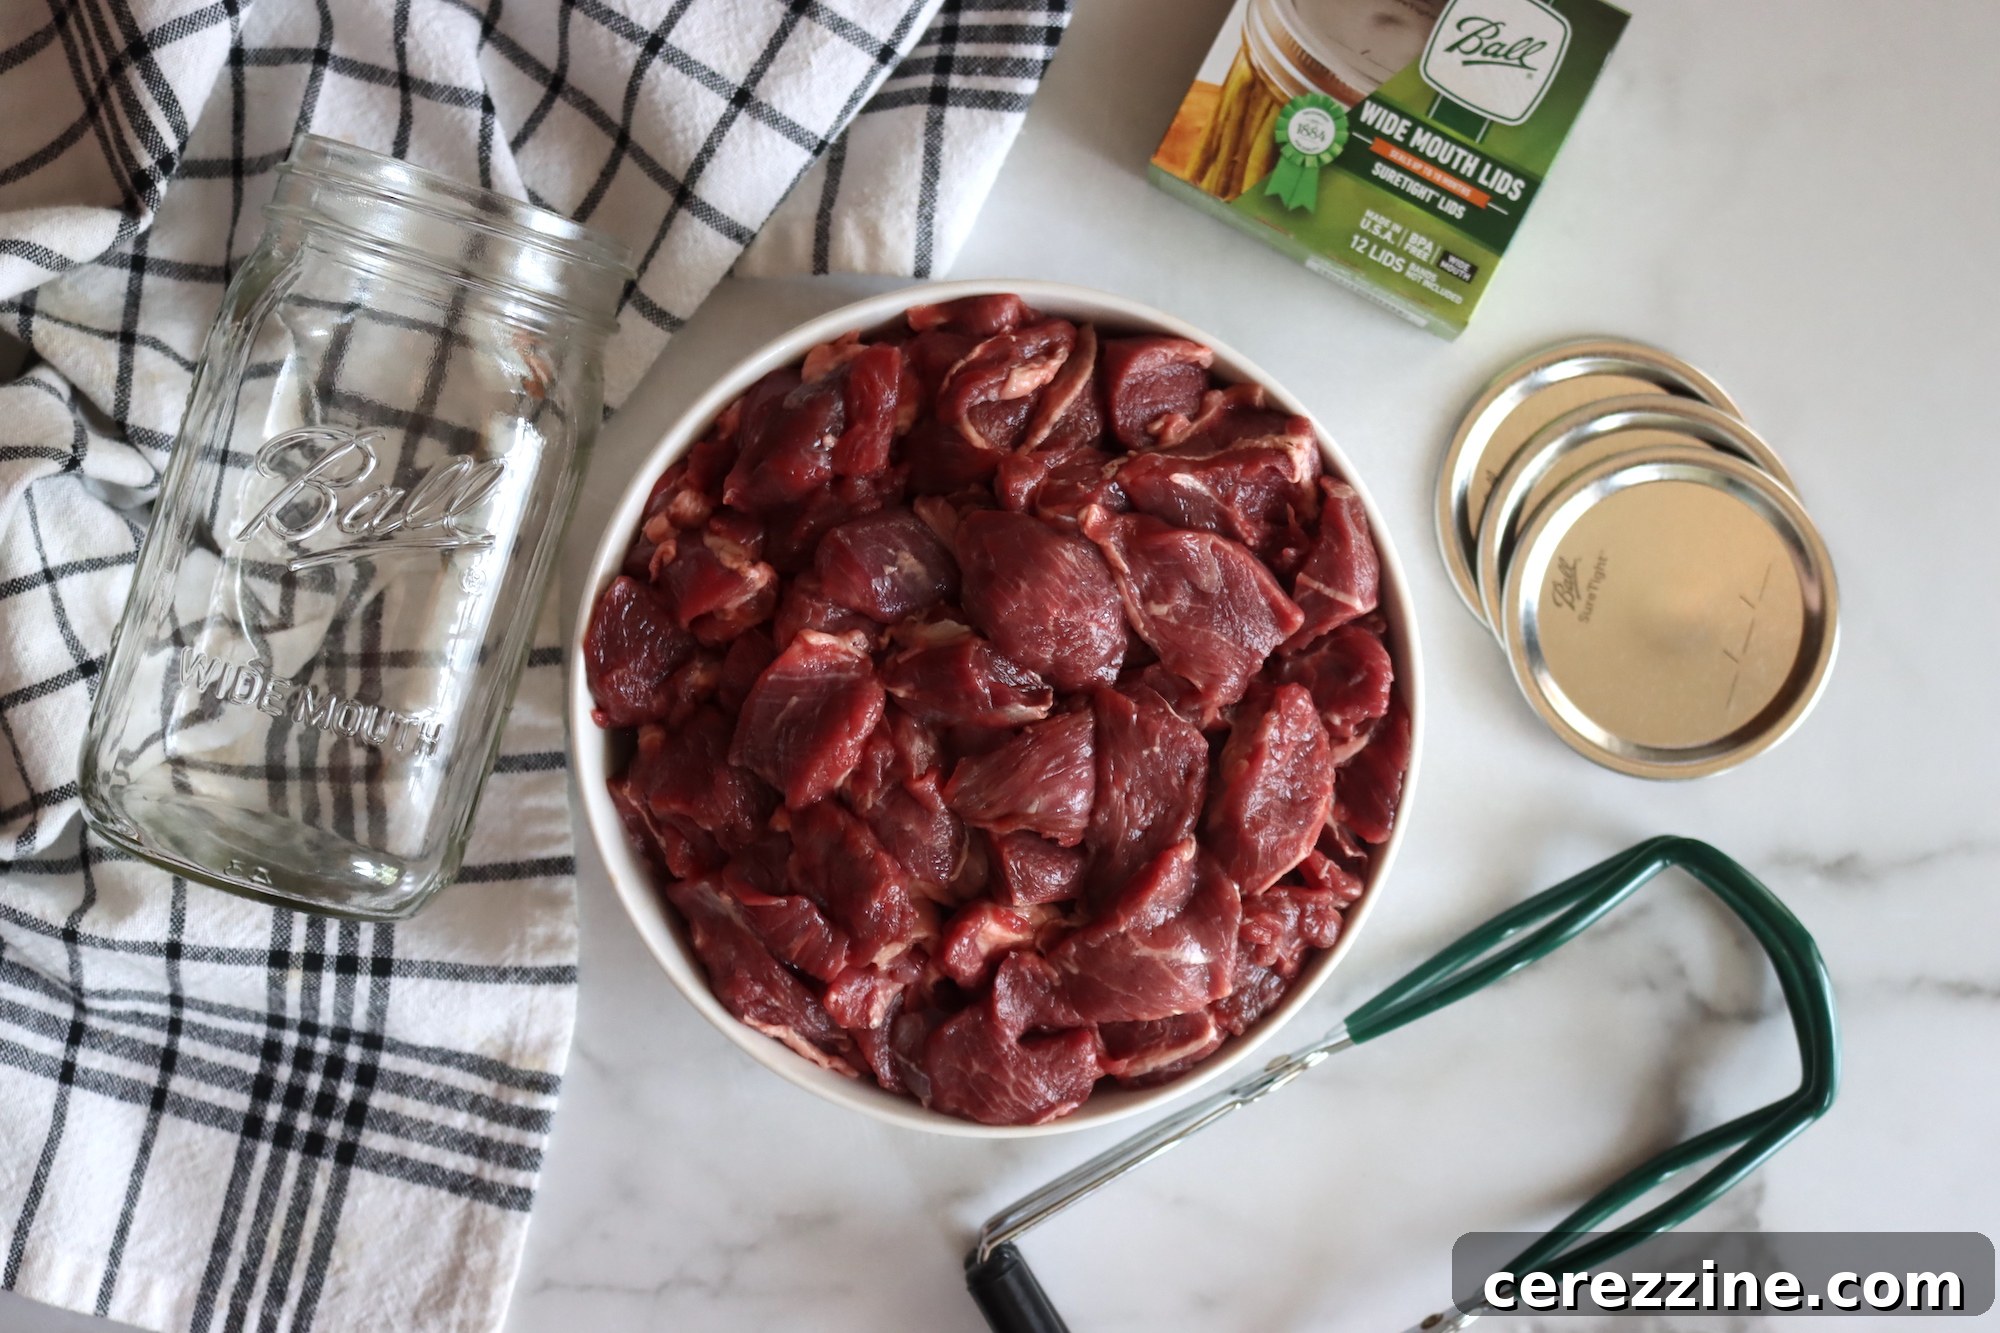
Preserving lamb and mutton through canning is an excellent way to diversify your pantry, ensuring you have delicious, shelf-stable meals readily available. This traditional preservation method offers unparalleled convenience, allowing you to enjoy flavorful meat without relying on freezer space.
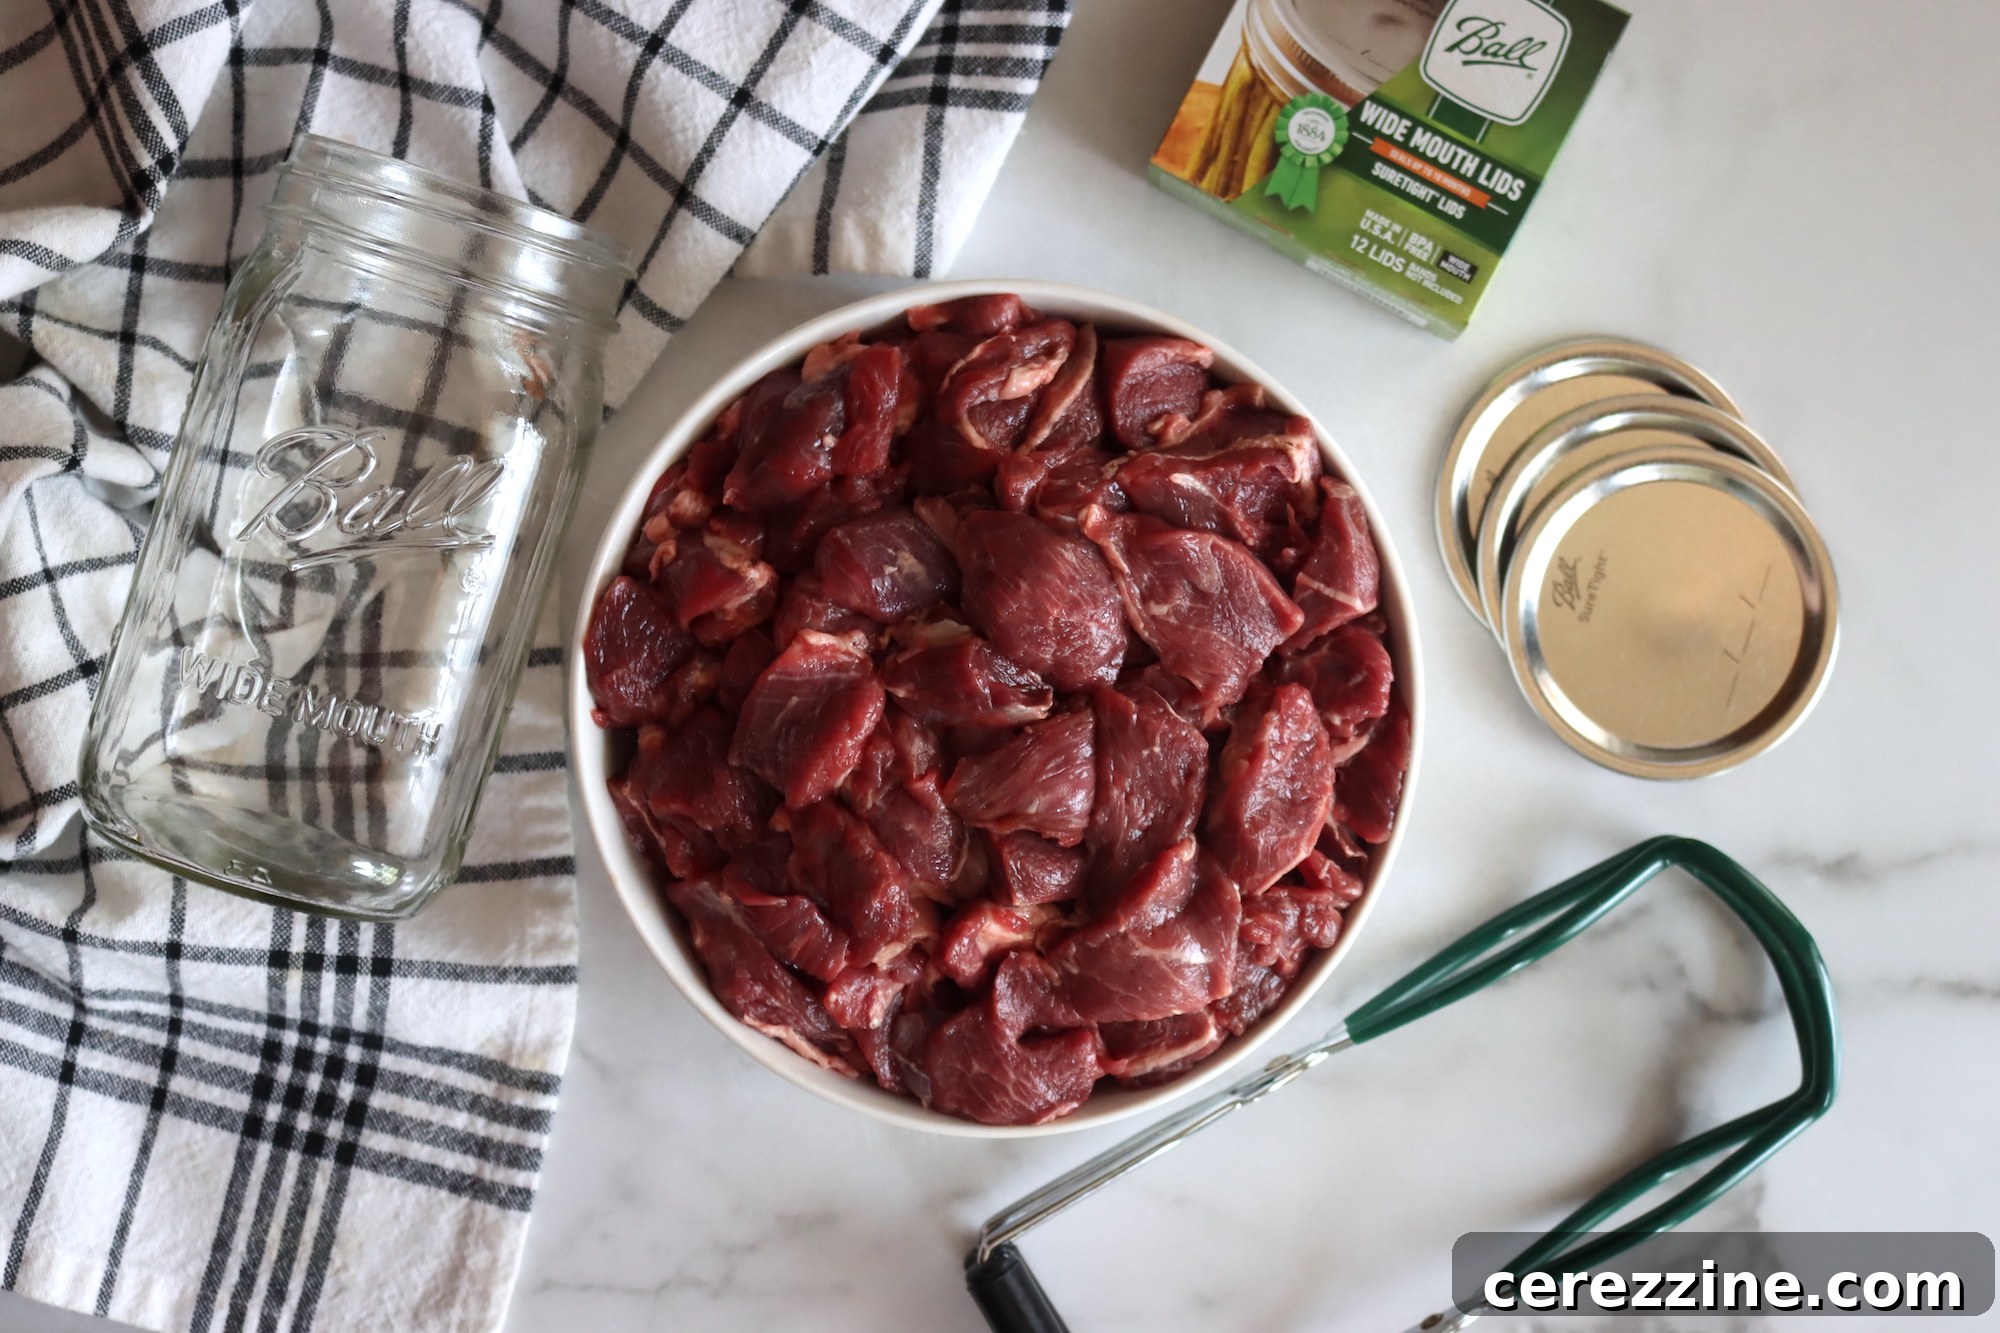
Our family holds a deep appreciation for both lamb and mutton, and we’ve discovered that both cuts yield exceptional results when prepared through pressure canning. Canned lamb is incredibly versatile, perfect for classic dishes like shepherd’s pie, hearty stews, or simply served with a rich gravy over creamy mashed potatoes.
Mutton, known for its more robust flavor and tougher texture, particularly benefits from the pressure canning process. This method tenderizes the meat beautifully, transforming it into succulent, fall-apart pieces. We frequently incorporate mutton into curries, where its intense flavor and now tender consistency truly shine, often outperforming younger lamb cuts in slow-cooked recipes.
Recently, when a local sheep farm offered us meat from their retiring breeding ewes (animals aged 10+ years), we knew exactly how to preserve this valuable resource. Pressure canning proved to be the ideal solution, yielding remarkably tender and succulent mutton. This approach allowed us to store a substantial quantity of meat efficiently, freeing up precious freezer space.
While a significant portion was transformed into our homemade Canned Mutton Vindaloo Curry, a generous amount remained available for simply canning the meat in jars, ready for a myriad of culinary applications.
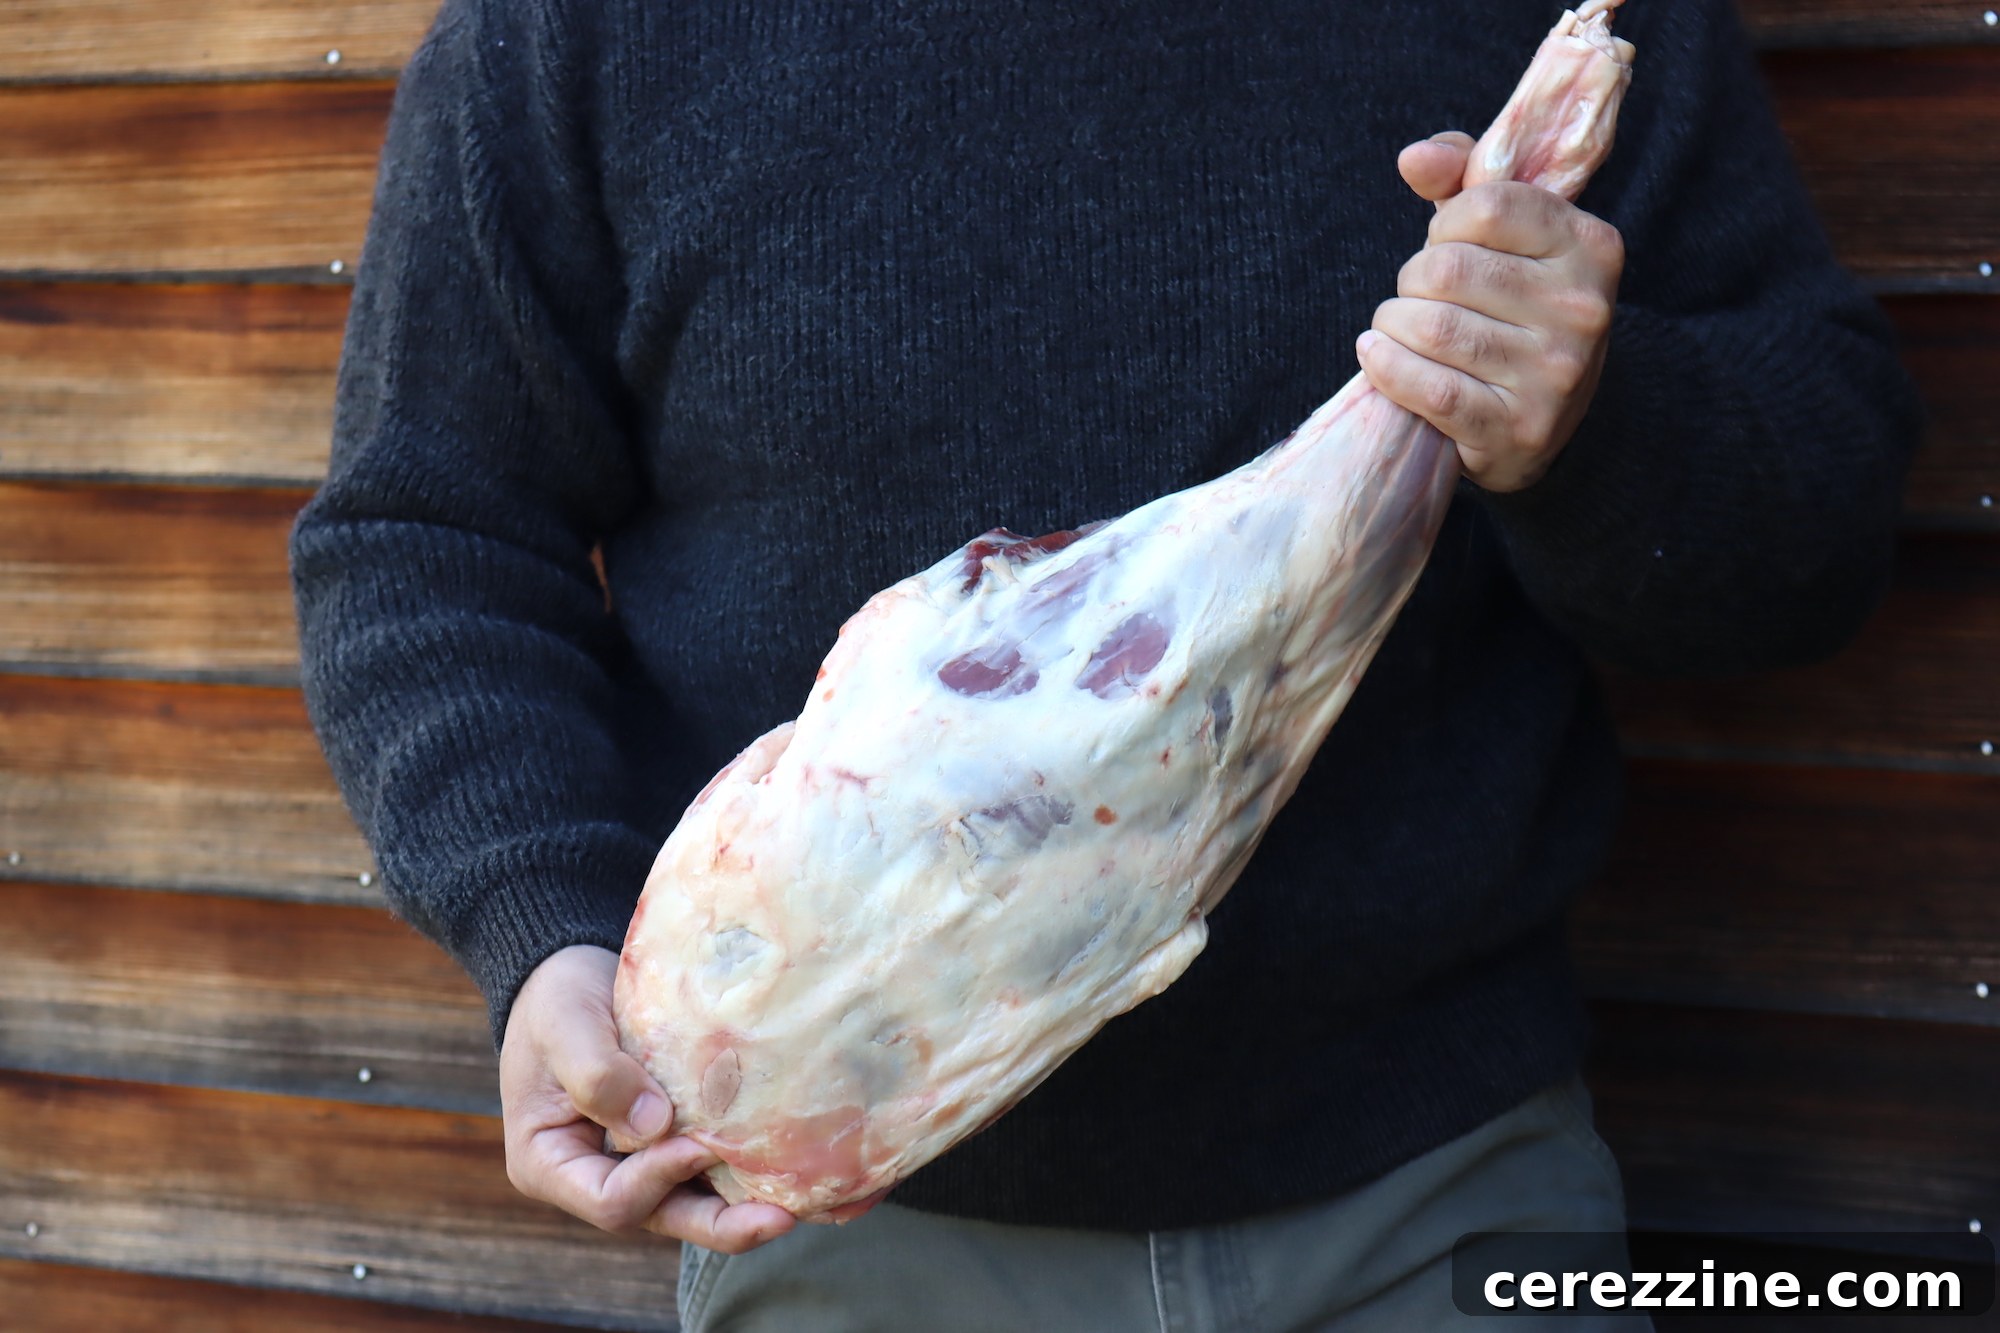
Canning lamb and mutton is more than just a delicious preservation method; it’s a smart strategy for long-term food storage. Whether you’re building an emergency food supply, preparing for camping trips, or simply seeking convenient options for weeknight meals, having home-canned lamb and mutton in your pantry provides peace of mind and culinary flexibility.
What makes canned lamb and mutton so appealing? The process of pressure canning breaks down connective tissues, resulting in incredibly tender, juicy, and flavor-packed meat. This preserved meat adapts effortlessly to almost any meal or dish. Imagine it as the star of a hearty stew, a vibrant curry, or even a flavorful addition to your favorite sandwich or salad. The versatility of home-canned lamb and mutton is truly remarkable, inspiring countless culinary creations.
Beyond convenience and flavor, canning your own lamb and mutton offers significant financial advantages. By purchasing meat when it’s on sale or in bulk, you can preserve it for future use, effectively locking in savings. This proactive approach ensures you never have to worry about food waste or overspending on expensive cuts of meat, making it an economical choice for any household.
Lamb vs. Mutton: Understanding the Differences
Before delving into our comprehensive guide on processing these meats, let’s clarify the distinction between lamb and mutton. Lamb refers to the meat of young sheep, typically under one year old. It is generally more tender and has a milder flavor. Mutton, on the other hand, is derived from mature sheep, usually two to three years old or older. Mutton boasts a richer, more pronounced flavor and a firmer texture, which makes it particularly well-suited for slow-cooking methods like pressure canning that enhance its tenderness.
Regardless of whether you have tender lamb or robust mutton on hand, this tested canning recipe is designed to work perfectly for both. It’s a reliable method for transforming your meat into a ready-to-eat, pantry staple. Here’s how you can achieve perfectly canned lamb or mutton at home.
Essential Equipment for Pressure Canning Lamb and Mutton
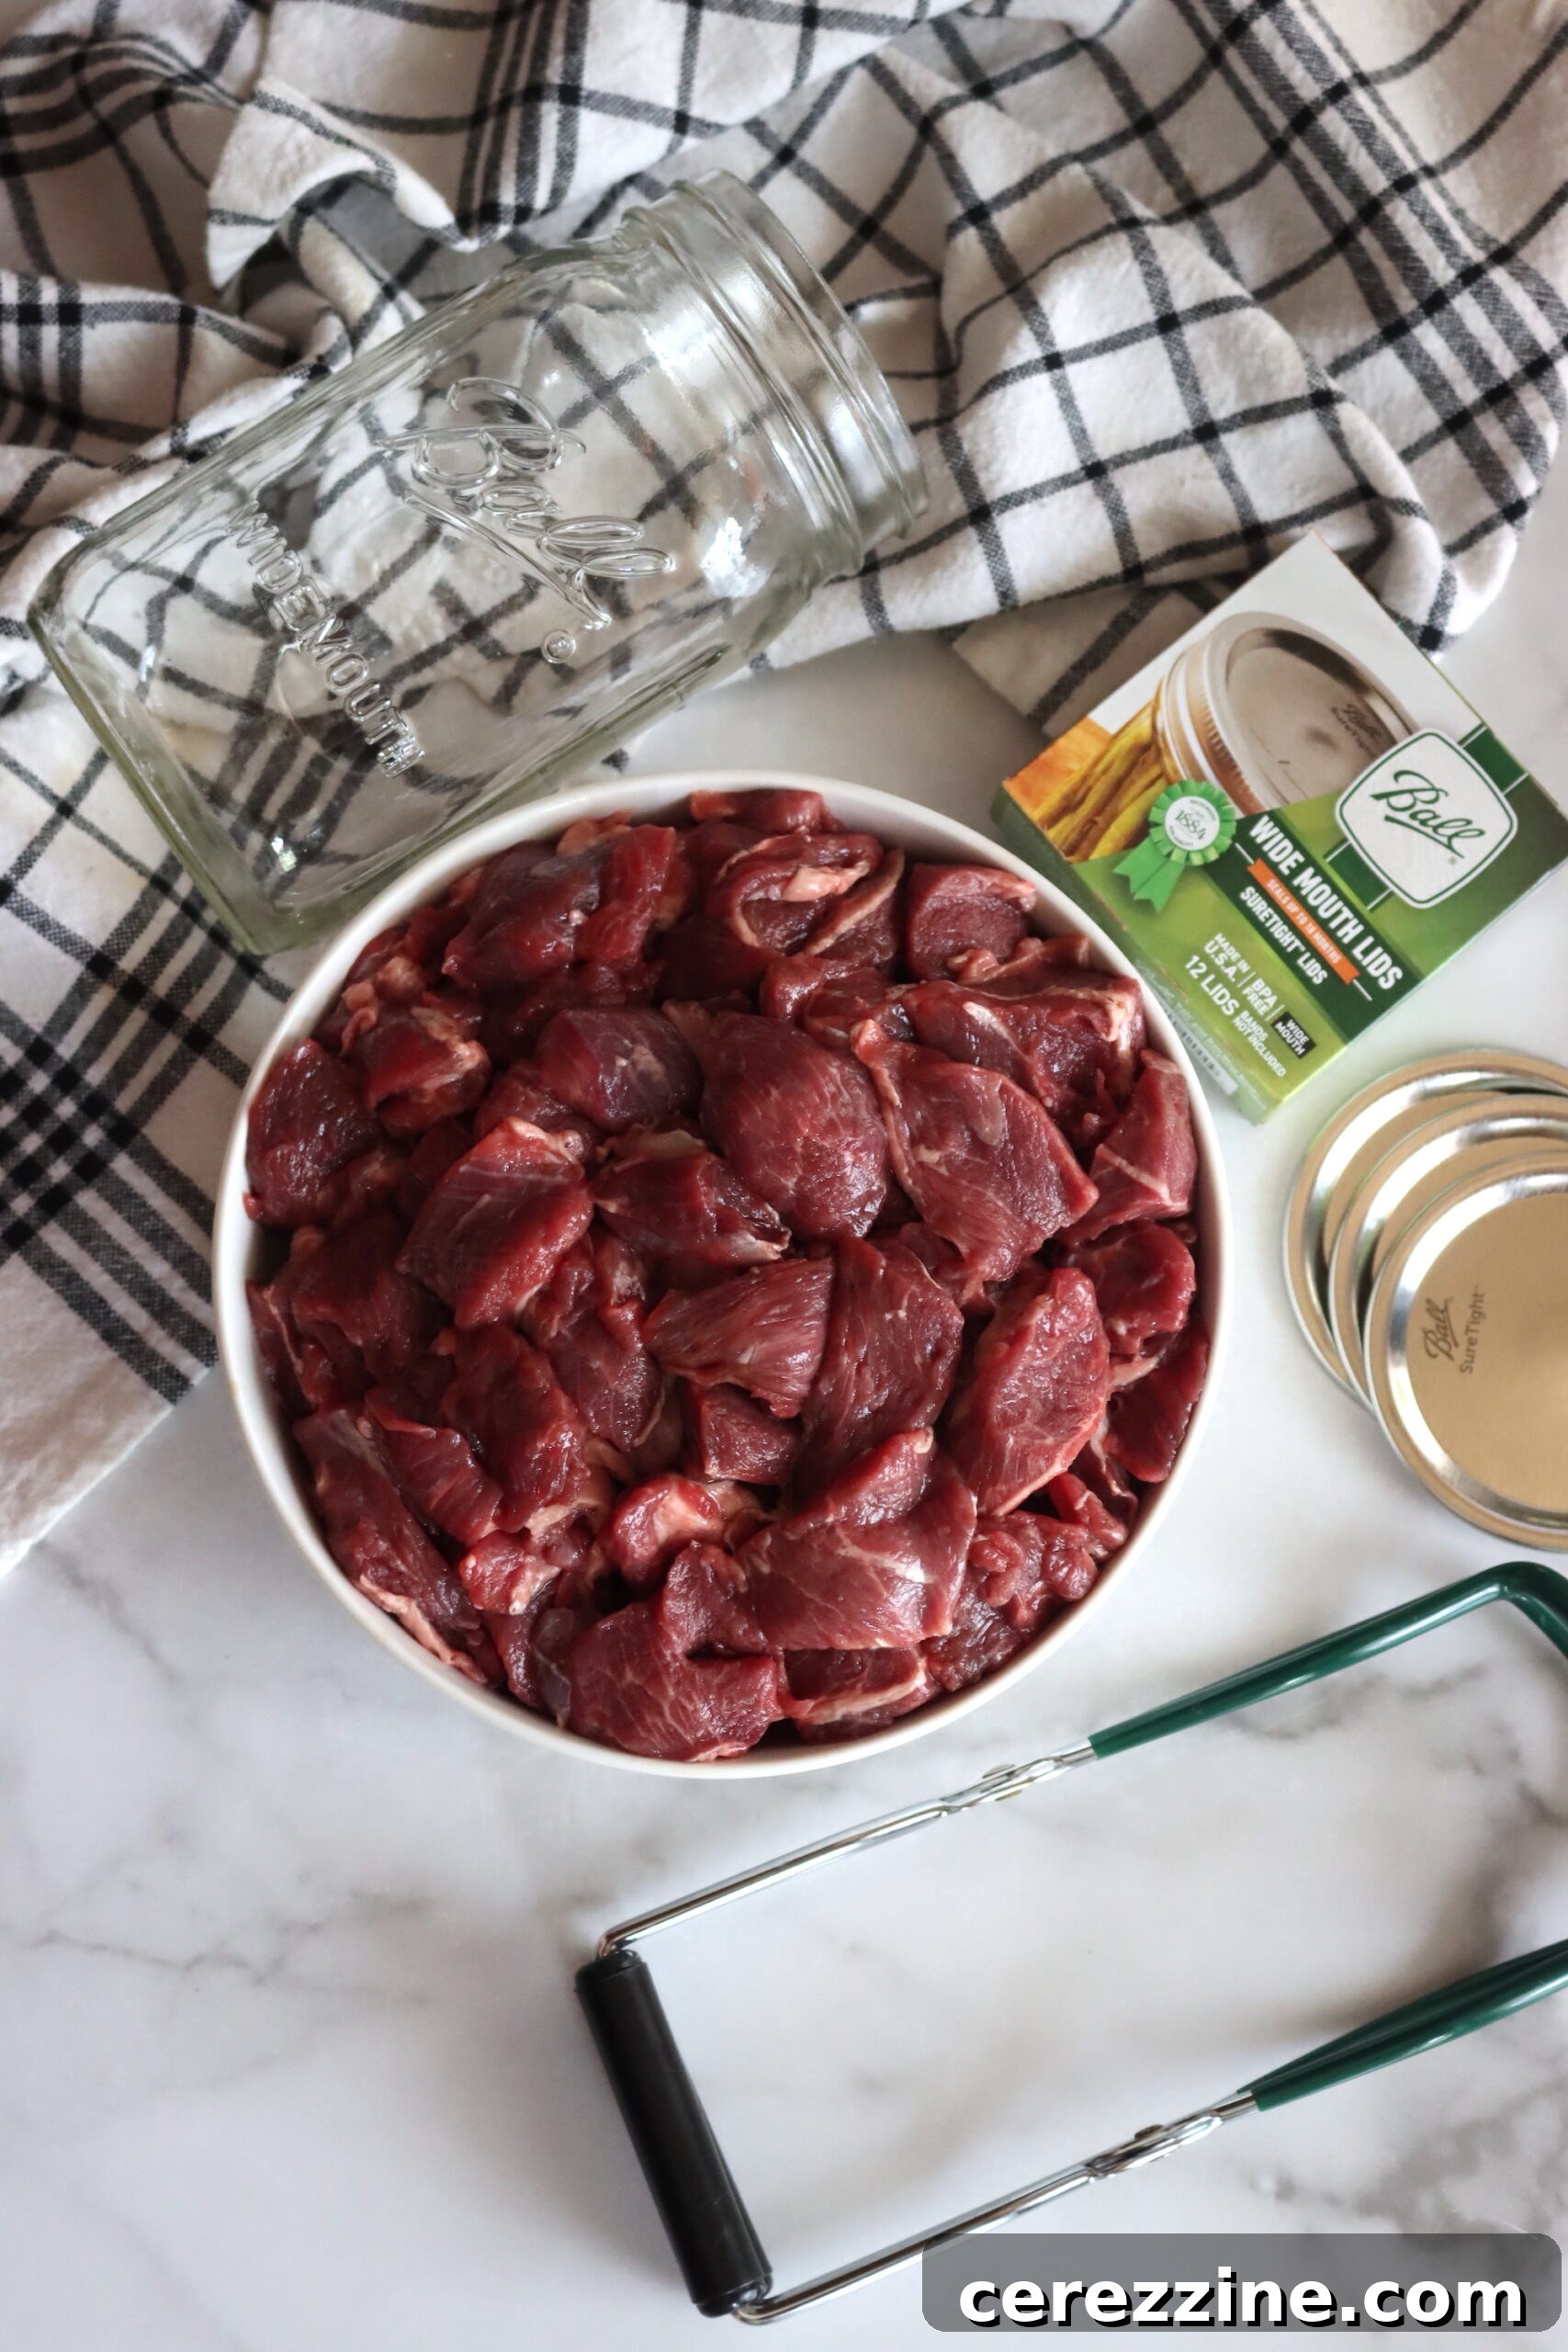
To safely and effectively can lamb or mutton, having the right equipment is crucial. Pressure canning is the only safe method for preserving low-acid foods like meat. Here’s what you’ll need:
- Pressure Canner: This is non-negotiable for canning meat. Ensure it’s in good working condition, with a functional gauge (for dial-gauge canners) or appropriate weights (for weighted-gauge canners).
- Canning Jars: Use standard Mason jars designed for canning. Pint or quart-sized jars are most common for meat. Always inspect jars for cracks or chips before use.
- Lids and Bands: New lids are essential for a proper seal. Bands can be reused if they are rust-free and not bent.
- Jar Lifter: For safely placing and removing hot jars from the canner.
- Canning Funnel: Helps in cleanly filling jars without spillage.
- Headspace Tool/Ruler: Crucial for measuring the correct headspace, which is vital for safe sealing.
- Bubble Remover Tool: A non-metallic utensil to remove air bubbles from jars before sealing.
- Large Pot or Skillet: For browning meat if using the hot pack method.
- Basic Kitchen Utensils: Knives, cutting boards, spoons, and tongs.
Ingredients for Canning Lamb and Mutton
This recipe is a tested canning method, adhering to guidelines from reputable sources like “So Easy to Preserve” by the University of Georgia Cooperative Extension, ensuring safety and quality.
The ingredients for canning lamb and mutton are wonderfully simple, focusing on the quality of the meat itself. To prepare a standard canner batch of seven quart jars, you will typically need the following:
- High-Quality and Chilled Lamb or Mutton: Select fresh, healthy meat. Approximately two pounds of meat are needed per quart jar, meaning you’ll require about 14 pounds for a full batch of seven quarts. This quantity can be adjusted based on the amount of meat you wish to preserve.
- Salt (Optional): Canning meat safely does not require salt, but it can be added for flavor. If using, a teaspoon per quart jar is generally recommended for hot pack, or two teaspoons per quart jar for raw pack. Use canning or pickling salt, as other salts may contain anti-caking agents that can cloud the liquid.
- Broth or Tomato Juice (Optional for Hot Pack): For the hot pack method, you’ll need boiling liquid to fill the jars. Homemade or store-bought broth (beef, chicken, or vegetable) works well, adding to the flavor. Hot tomato juice is an excellent choice for strong-flavored meats like mutton, as its acidity can help balance the richness. Ensure the liquid is boiling hot before adding to the jars.
Always aim for the freshest possible meat for the best results. The quality of your starting ingredients directly impacts the taste and texture of your finished canned product.
Step-by-Step Guide: Canning Lamb and Mutton
Achieving perfectly canned lamb or mutton involves careful preparation and adherence to safe pressure canning practices. Here’s a detailed guide:
Meat Preparation
1. Start with High-Quality Chilled Meat: The foundation of excellent canned meat is quality. Whether sourced from a grocery store or home-processed, ensure your lamb or mutton is fresh, clean, and thoroughly chilled before you begin. Chilling helps maintain meat integrity and safety during preparation.
2. Trim and Clean: Carefully remove any excess fat, gristle, or large bones. While some fat adds flavor, too much can interfere with the sealing process and lead to an undesirable texture or off-flavors in storage. Bones also take up valuable jar space and can conduct heat unevenly.
3. Optional Brine Soak: For particularly strong-flavored cuts, especially older mutton or ram meat, a brine soak can help temper the gamey notes. Prepare a brine by dissolving one tablespoon of salt per quart of water. Submerge the meat in this solution for about an hour. After soaking, rinse the meat thoroughly under cold running water to remove excess salt and flavors before proceeding. However, many find this step unnecessary for good quality lamb or mutton. It’s often best to cook a small test piece without brining first to see if you prefer the natural flavor.
Choosing Your Canning Method: Hot Pack or Raw Pack
There are two primary methods for canning meat: hot pack and raw pack. While raw pack is quicker, the hot pack method is generally recommended for superior liquid coverage and overall quality during long-term storage, as it minimizes siphoning (loss of liquid from jars).
Hot Pack Method (Recommended)
1. Precook the Meat: Cut the meat into uniform cubes or chunks, roughly 1-inch to 1.5-inch pieces. Briefly precook the meat until it’s rare to medium-rare. You can achieve this by browning the pieces in a skillet with a small amount of fat, or by boiling or steaming them until the color is no longer raw throughout. This step helps shrink the meat and releases some juices, which will fill the jar spaces better. Do not fully cook the meat, as it will undergo further cooking in the canner.
2. Season and Fill Jars: If desired, add a teaspoon of canning or pickling salt per quart jar (or half a teaspoon for pint jars). Tightly pack the pre-cooked meat into clean, hot canning jars, leaving an inch of headspace from the rim of the jar. Headspace is crucial for creating a proper vacuum seal.
3. Add Hot Liquid: Pour boiling broth, hot water, or hot tomato juice (especially recommended for stronger-flavored mutton) over the meat in each jar. Ensure the liquid also covers the meat, maintaining the one-inch headspace. Using broth enhances the flavor profile of the canned meat.
Raw Pack Method
1. Fill Jars with Raw Meat: Cut the raw meat into uniform 1-inch to 1.5-inch pieces. Pack the raw meat tightly into clean, hot canning jars. As raw meat does not shrink as much before processing, it might be challenging to achieve a dense pack. Leave an inch of headspace. Do not add any liquid; the meat will release its own juices during processing.
2. Season (Optional): If desired, add two teaspoons of canning or pickling salt per quart jar (or one teaspoon for pint jars). The slightly higher salt content for raw pack accounts for the absence of added liquid which might dilute the flavor.
Sealing and Processing
1. Prepare Lids and Bands: Wipe the rims of the jars clean with a damp cloth to ensure a good seal. Center new, pre-warmed canning lids on top of the jars. Apply the screw bands and tighten them until they are fingertip-tight – snug but not overly tight, allowing air to escape during processing.
2. Load the Canner: Place the filled, lidded jars onto the rack in your pressure canner. Ensure there is enough water in the canner (usually 2-3 inches, or as per your canner’s instructions). Lock the canner lid securely.
3. Vent the Canner: Turn the burner to high heat. Allow the canner to heat up and release a steady stream of steam for a full 10 minutes. This critical “venting” step purges air from the canner, ensuring that the internal temperature reaches a true and safe canning temperature.
4. Build Pressure: After venting, place the weighted gauge (or close the petcock for dial-gauge canners). Allow the pressure to build to the required level: 11 lbs for dial-gauge canners (at elevations up to 2,000 feet) or 10 lbs for weighted-gauge canners (at elevations up to 1,000 feet). Refer to the altitude adjustment section below for higher elevations.
5. Process for Recommended Time: Once the correct pressure is reached, begin your processing time. Maintain consistent pressure throughout the entire period.
- Pints: Process for 75 minutes.
- Quarts: Process for 90 minutes.
6. Cool Down Naturally: When the processing time is complete, turn off the heat. Do not remove the canner lid or attempt to cool it rapidly. Allow the canner to depressurize naturally until the pressure gauge reads zero (or until the weighted gauge no longer jiggles/hisses). Wait an additional 10 minutes after depressurization before carefully removing the lid, tilting it away from your face to avoid steam burns.
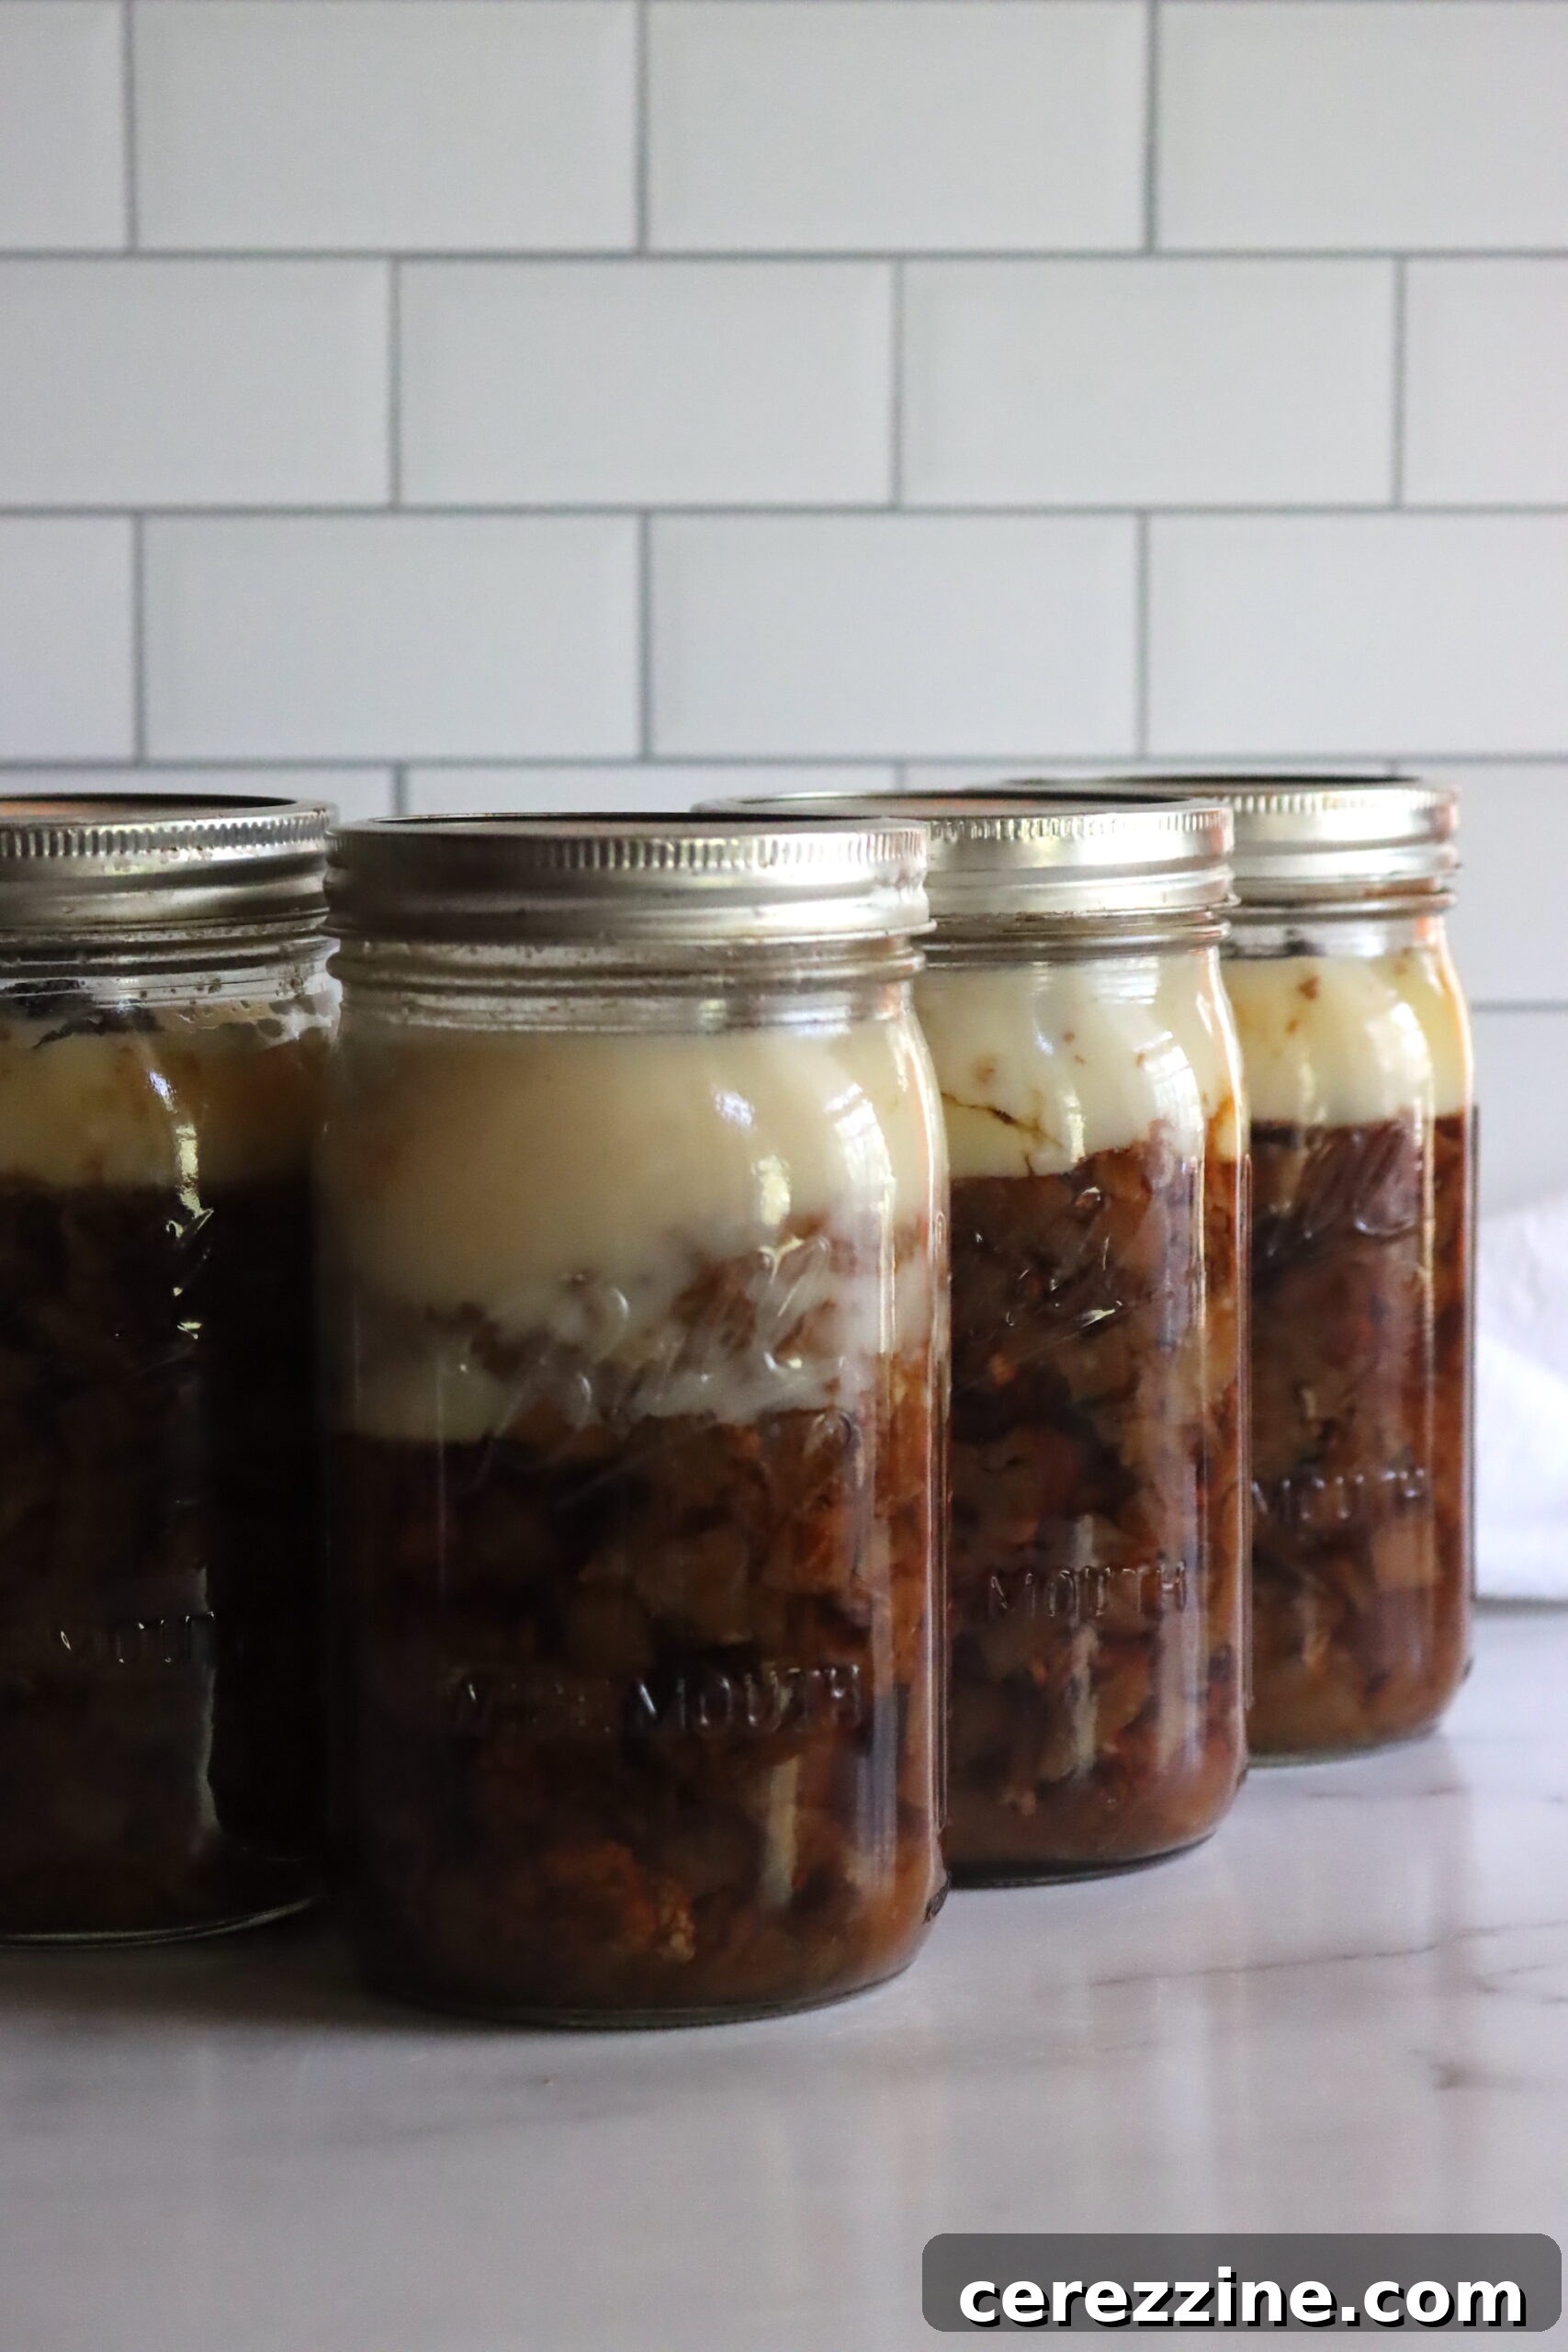
7. Final Cooling and Storage: Let the jars sit undisturbed in the opened canner for another 30 minutes to allow their internal pressure to stabilize. Then, using a jar lifter, carefully remove the hot jars and place them on a clean towel or cooling rack at room temperature, ensuring they are not touching each other. Allow them to cool for 12 to 24 hours. During this time, you should hear the satisfying “ping” sound as the lids seal.
8. Check Seals and Store: After cooling, check all jar seals. A properly sealed lid will be concave (curved downwards) and will not flex when pressed. Remove the bands, wipe the jars clean, label them with the contents and date, and store them in a cool, dark, dry place. Any unsealed jars must be reprocessed with a new lid within 24 hours or refrigerated and consumed promptly.
Altitude Adjustments for Canning Lamb or Mutton
When pressure canning, the processing times remain constant, but the required pressure must be adjusted based on your altitude to ensure a safe canning temperature. Here are the necessary adjustments:
For dial gauge pressure canners:
- 0 to 2,000 feet in elevation – 11 lbs pressure
- 2,001 to 4,000 feet in elevation – 12 lbs pressure
- 4,001 to 6,000 feet in elevation – 13 lbs pressure
- 6,001 to 8,000 feet in elevation – 14 lbs pressure
For weighted gauge pressure canners:
- 0 to 1,000 feet in elevation – 10 lbs pressure
- Above 1,000 feet – 15 lbs pressure
Safety Tips for Pressure Canning
Canning meat requires strict adherence to safety guidelines to prevent foodborne illnesses, particularly botulism. Always remember:
- Only Use a Pressure Canner for Meat: Meat is a low-acid food. Water bath canning is NOT safe for meat and cannot reach the temperatures required to kill harmful bacteria.
- Follow Tested Recipes: Always use recipes from reliable sources like university extensions (e.g., USDA, National Center for Home Food Preservation) or trusted canning guides. Do not deviate from processing times or pressures.
- Inspect Jars and Lids: Use only canning-specific jars free of chips or cracks. Always use new lids to ensure a proper seal.
- Maintain Headspace: Correct headspace is critical. Too little can prevent a seal, too much can lead to discolored food or floating.
- Check Seals Thoroughly: After cooling, ensure all jars are properly sealed. If a jar doesn’t seal, refrigerate and consume its contents within a few days, or reprocess with a new lid and band immediately.
- Proper Storage: Store canned goods in a cool, dark, dry place away from direct sunlight or freezing temperatures.
- Inspect Before Eating: Before opening, check for signs of spoilage: bulging lids, leaks, or unusual odors. If any are present, do not taste; discard the food safely.
Serving Canned Lamb and Mutton
The true beauty of home-canned meats like lamb and mutton lies in their incredible convenience. They are essentially pre-cooked and ready to use, making meal preparation a breeze. Simply pop open a jar, heat the contents, and you’re halfway to a delicious meal!
For a quick and comforting dinner, serve your canned meat with classic sides. Creamy mashed potatoes, fluffy rice, or roasted seasonal vegetables are perfect companions. The rich flavors of the meat and its accompanying broth will meld beautifully with these simple additions.
Canned lamb and mutton also make exceptional additions to your favorite soup or stew recipes. Stir them in during the final stages of cooking to add a delicious depth of flavor and a significant boost of protein. They’re fantastic in hearty vegetable soups, minestrone, or even a spicy chili, transforming a simple dish into a gourmet experience.
Feeling a bit more adventurous? Unleash your culinary creativity by jazzing up your canned meat with additional ingredients and flavors:
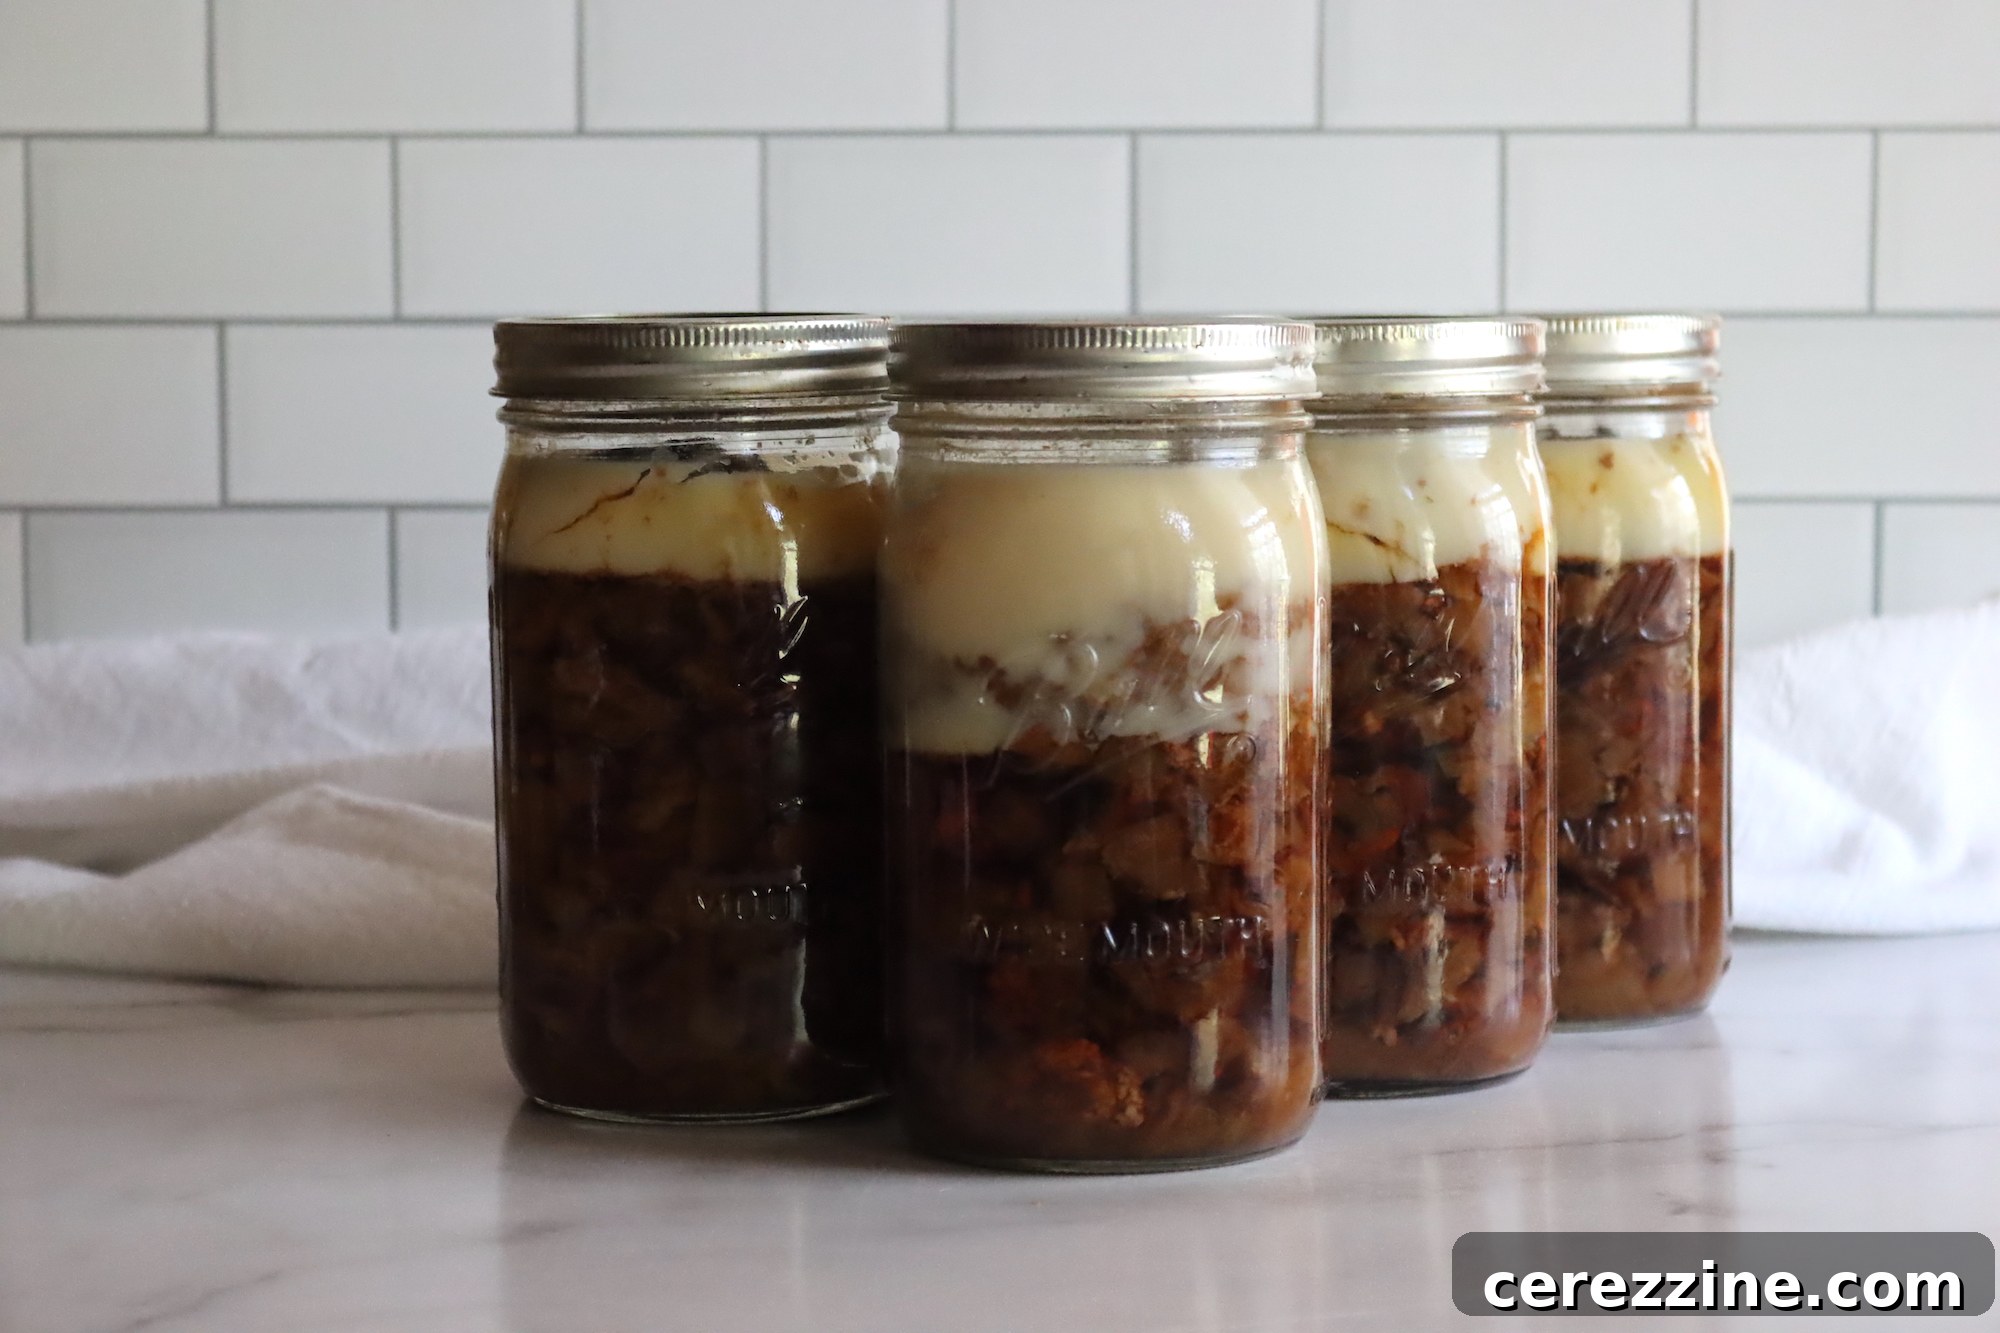
- Shepherd’s Pie or Pot Pie: Use canned mutton as the star ingredient in a comforting shepherd’s pie, topped with cheesy mashed potatoes. Or, mix canned lamb with peas, carrots, and a savory gravy for a quick pot pie filling.
- Pasta Dishes: Combine canned lamb with a simple tomato sauce, fresh herbs, and a touch of red wine for a quick and easy pasta sauce. Serve over tagliatelle or rigatoni for a satisfying weeknight meal.
- Tacos or Wraps: Shredded canned mutton, seasoned with cumin and chili powder, makes a fantastic filling for tacos, burritos, or lettuce wraps. Top with fresh salsa, avocado, and a squeeze of lime.
- Curries and Tagines: As mentioned, mutton particularly shines in curries. Reheat with your favorite curry paste, coconut milk, and vegetables for an instant, authentic meal. Lamb also works wonderfully in North African-inspired tagines with dried fruits and warming spices.
- Gourmet Sandwiches: Elevate a simple sandwich by layering slices of warmed canned lamb with fresh greens, a tangy chutney, and perhaps some feta cheese on crusty bread.
- Salads: For a protein-packed salad, flake cold canned lamb over a bed of mixed greens, adding cherry tomatoes, cucumbers, and a lemon-herb vinaigrette.
In terms of flavor pairings, lamb generally harmonizes beautifully with bold, aromatic herbs like rosemary, garlic, and mint. A simple marinade made with olive oil, lemon juice, minced garlic, and fresh rosemary would be a delicious way to enhance canned lamb before serving. Mutton, with its stronger profile, pairs exceptionally well with warming spices such as cinnamon, cloves, cumin, coriander, and turmeric. Incorporating these seasonings into your canned mutton dishes will create rich, complex, and deeply flavorful meals. And, for an extra touch of indulgence, remember that a glass of robust dry red wine often complements these hearty meat dishes perfectly.
Canning Lamb (and Mutton) Recipe
Ingredients
- High-quality, fresh, and chilled lamb or mutton (approx. 2 lbs per quart jar)
- Canning or pickling salt (optional, 1 tsp per quart for hot pack, 2 tsp per quart for raw pack)
- Boiling broth, hot water, or hot tomato juice (optional, for hot pack method)
- Clean canning jars (pint or quart size), new lids, and bands
- Pressure Canner
Instructions
-
Prepare the Meat: Trim any excess fat and remove large bones from the lamb or mutton. Cut the meat into uniform 1-inch to 1.5-inch pieces. For strong-flavored meat, you may soak it in a brine solution (1 tbsp salt per quart water) for an hour, then rinse thoroughly.
-
Choose Your Method:
- Hot Pack Method: Briefly precook the meat by browning in a little fat until rare to medium-rare. Pack the pre-cooked meat into hot, clean jars, leaving 1-inch headspace. Add 1 teaspoon of salt per quart jar (optional). Pour boiling broth, hot water, or hot tomato juice over the meat, maintaining 1-inch headspace.
- Raw Pack Method: Pack raw meat tightly into hot, clean jars, leaving 1-inch headspace. Do not add any liquid. Add 2 teaspoons of salt per quart jar (optional).
-
Seal Jars: Wipe jar rims clean. Center new lids on jars and apply screw bands fingertip-tight.
-
Load Canner: Place jars on the rack in your pressure canner with 2-3 inches of water. Secure the canner lid.
-
Vent Canner: Heat on high and allow steam to escape for a full 10 minutes.
-
Process Meat: Place the weighted gauge (or close petcock for dial-gauge) and allow pressure to build. Maintain 11 lbs pressure (dial-gauge) or 10 lbs pressure (weighted-gauge) for altitudes up to 1,000/2,000 feet. Adjust pressure for higher altitudes (see notes below). Process pints for 75 minutes; quarts for 90 minutes.
-
Cool Naturally: Turn off heat and let the canner depressurize completely without disturbance. Wait an additional 10 minutes, then carefully remove the lid.
-
Final Cooling: Let jars sit in the canner for 30 minutes. Remove jars and place them on a towel or rack at room temperature to cool for 12-24 hours.
-
Check Seals and Store: Confirm all lids are concave and sealed. Remove bands, clean jars, label, and store in a cool, dark, dry place.
Notes
Altitude Adjustments for Canning Lamb or Mutton
For safe pressure canning, processing times remain constant, but the required pressure must be adjusted based on your elevation.
For dial gauge pressure canners:
- 0 to 2,000 feet in elevation – 11 lbs pressure
- 2,001 to 4,000 feet in elevation – 12 lbs pressure
- 4,001 to 6,000 feet in elevation – 13 lbs pressure
- 6,001 to 8,000 feet in elevation – 14 lbs pressure
For weighted gauge pressure canners:
- 0 to 1,000 feet in elevation – 10 lbs pressure
- Above 1,000 feet – 15 lbs pressure
More Meat Canning Recipes for a Fully Stocked Pantry
Expanding your home canning repertoire to include other meats ensures a well-stocked pantry filled with convenient, nutritious options. Keep your shelves organized with these additional meat canning recipes:
- Canning Beef Chunks
- Canning Ground Beef
- Canning Leftover Turkey
- Canning Duck or Goose
- Canning Chicken Breast
Beef Canning Recipes with a Lamb Twist
Lamb and mutton can often be used as flavorful substitutes for beef in many recipes, offering a unique taste profile. Feel free to experiment by swapping lamb into any of these beef canning recipes for an exciting culinary variation:
- Canning Beef Stew (or Lamb Stew!)
- Canning Ground Beef (or Ground Lamb!)
- Canning Sloppy Joe Filling (Lamb Sloppy Joes!)
- Canning Chili con Carne (Lamb Chili!)
- Canning Beef Pot Pie Filling (Lamb Pot Pie!)
Conclusion: Embrace the Art of Canning Lamb and Mutton
Canning lamb and mutton is a rewarding skill that offers a wealth of benefits, from enhanced food security to culinary versatility. By following these proven pressure canning methods, you can transform fresh meat into tender, delicious, and shelf-stable meals that are ready whenever you are. This not only optimizes your food budget by allowing you to preserve bulk purchases but also ensures that flavorful, home-cooked goodness is always within reach. Whether you’re a seasoned canner or new to the art of food preservation, mastering the technique of canning lamb and mutton is a valuable addition to your self-sufficiency journey. Enjoy the rich flavors and convenience that come with a well-stocked pantry, made possible by your own hands.