
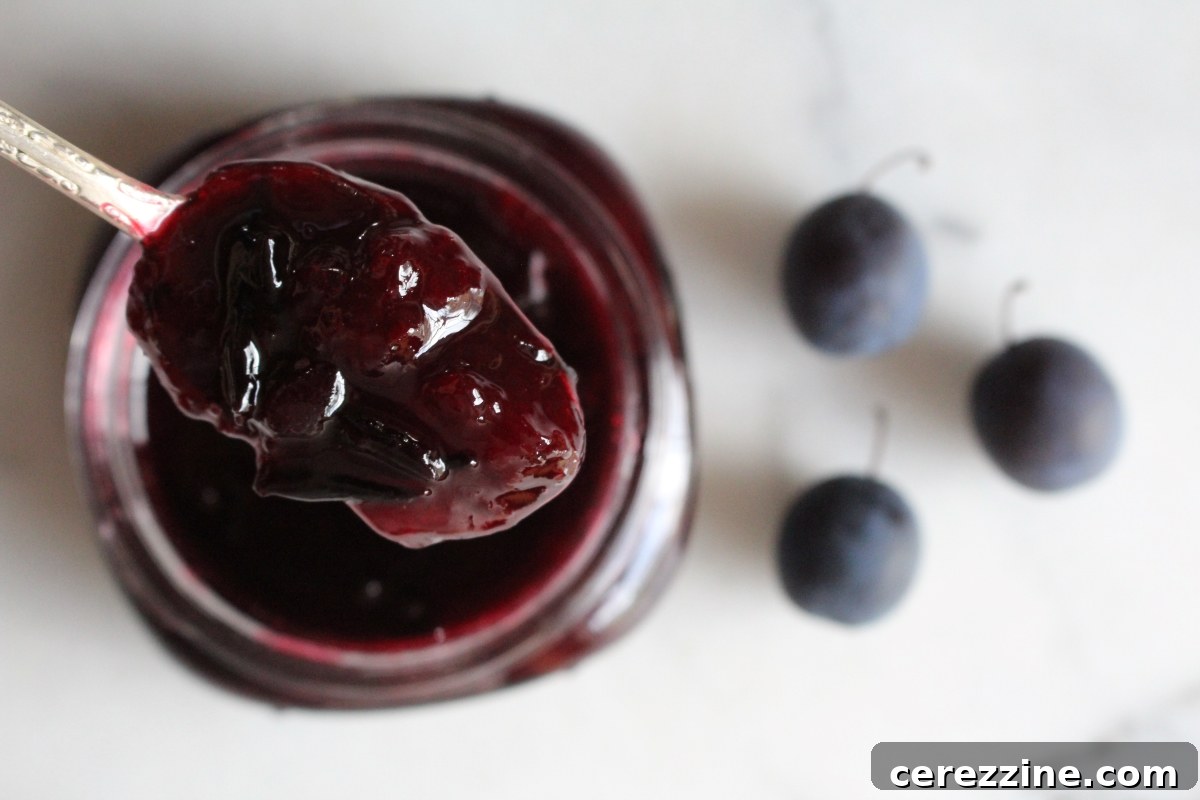
Damson jam is a true seasonal delicacy, offering a delightful way to capture the intense flavor of damson plums when they are at their peak. This traditional recipe comes together quickly with just a few simple ingredients and, thanks to the plums’ naturally high pectin content, requires no added commercial pectin.
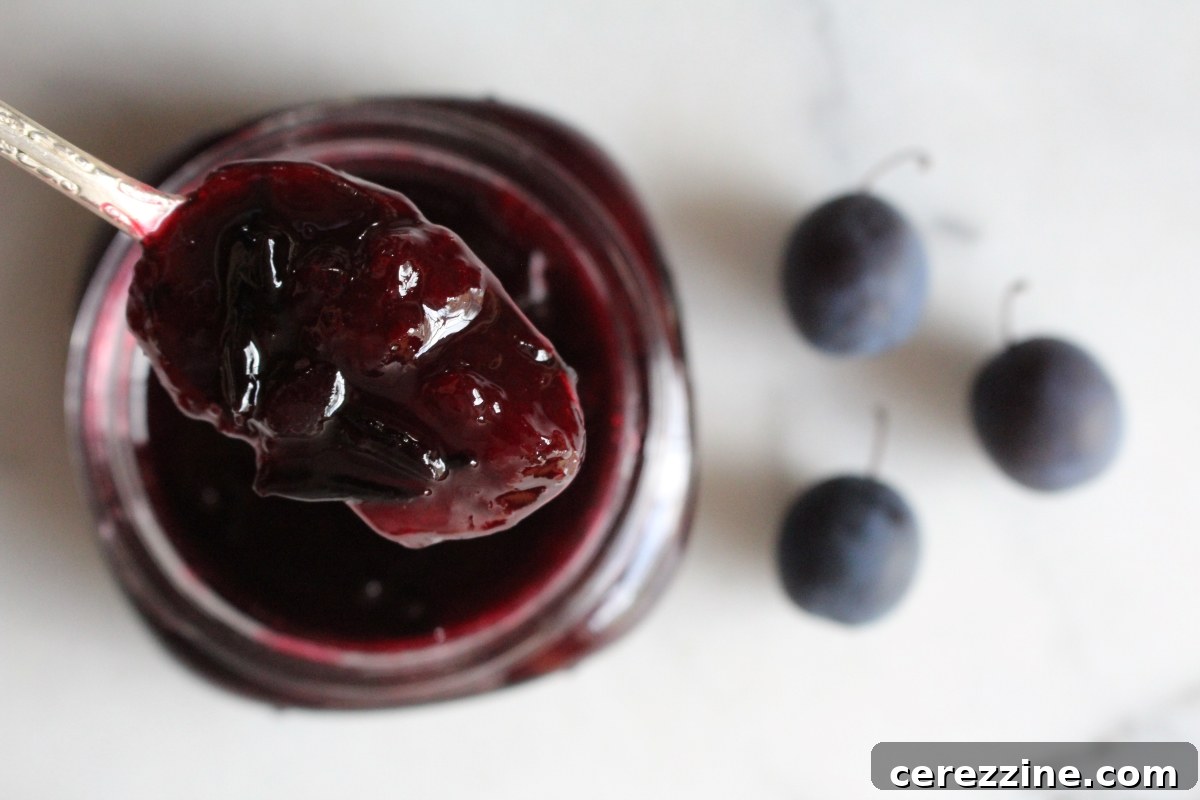
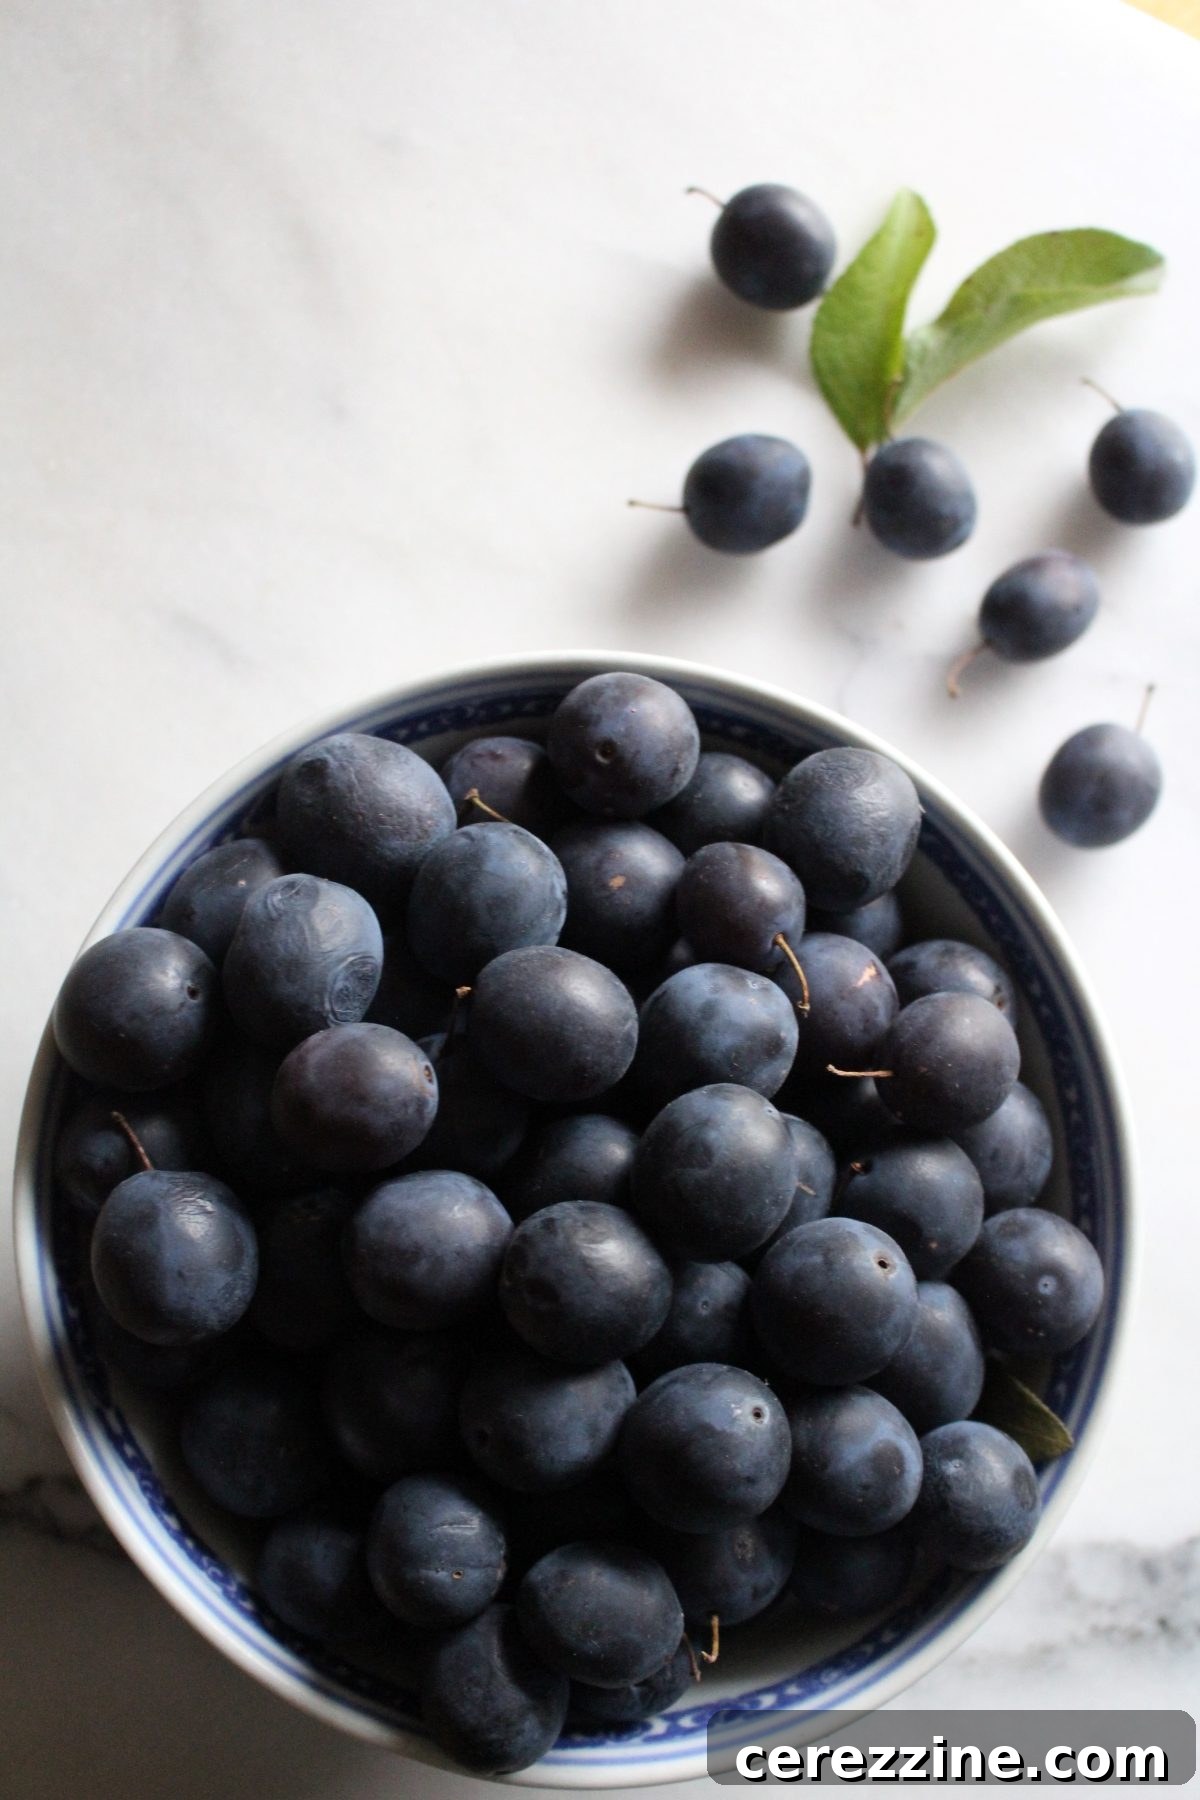
Damson plums, though botanically part of the plum family, truly stand in a class of their own. These small, intensely flavored fruits are renowned for their distinctive tartness and deep, almost inky purple hue. Unlike many other plum varieties, damsons are rarely eaten fresh due to their astringent taste. However, this very characteristic makes them absolutely perfect for preserves, transforming into a rich, complex jam that is both sweet and wonderfully tangy.
Damson trees are famously prolific, often yielding an abundant harvest that can literally carpet the ground with fruit if not gathered promptly. Harvesting these petite, deep purple treasures each August is a labor of love, but one that is profoundly rewarding. Beyond making an exceptional jam, damsons are also cherished for crafting robust damson wine and imparting a spectacular, fruity infusion to gin. But for today, our culinary journey centers on the star of the show: homemade damson jam.
Essential Ingredients for Perfect Damson Jam
Crafting damson jam requires remarkably few ingredients, highlighting the natural goodness of the fruit. The most significant advantage of using damson plums is their inherent richness in pectin, a natural gelling agent. This means you can entirely skip the expense and artificiality of boxed pectin, relying solely on the fruit’s own ability to set beautifully. This not only simplifies the process but also keeps the ingredient list clean and natural.
Our recipe draws from classic preservation techniques, ensuring a safe and reliable method for canning. It’s a tried-and-true approach recommended by trusted sources like the University of Georgia cooperative extension’s “So Easy to Preserve” guide. While ideal for long-term canning, this recipe also yields a fantastic preserve for short-term storage in the refrigerator or freezer.
To make approximately six half-pint (8 oz) jars of this exquisite jam, you will need:
- 5 cups of pitted and coarsely chopped damson plums (this typically equates to about 2 lbs of fresh, unpitted damsons)
- 3 cups of granulated sugar
- 3/4 cup of water
The addition of water to this recipe serves a crucial purpose: it prevents the plums from scorching at the bottom of your pot as they begin to cook. Damsons, despite their juiciness, need a little time for their natural pectin to activate and for the fruit to soften and release its full liquid content. Without that initial bit of water, the mixture can become too dry and stick to the pan before the gelling process properly begins. Always add the specified amount of water at the very start of your cooking process to ensure even heating and prevent burning.
Mastering Damson Plum Preparation for Jam
The journey to homemade damson jam begins with careful fruit preparation. The most challenging aspect can be removing the pits, especially if attempted by hand with a paring knife. Damson plums are quite small, comparable in size to large cherries, and possess “cling stone” pits, meaning the pit adheres stubbornly to the fruit’s soft flesh, making separation difficult.
However, their small size actually works to your advantage! Since they are so similar to cherries, a standard cherry pitter becomes your best friend. A simple hand pitter can make remarkably quick work of removing damson stones, transforming a potentially tedious task into an efficient one. This tool is a game-changer for anyone regularly processing these wonderful fruits.
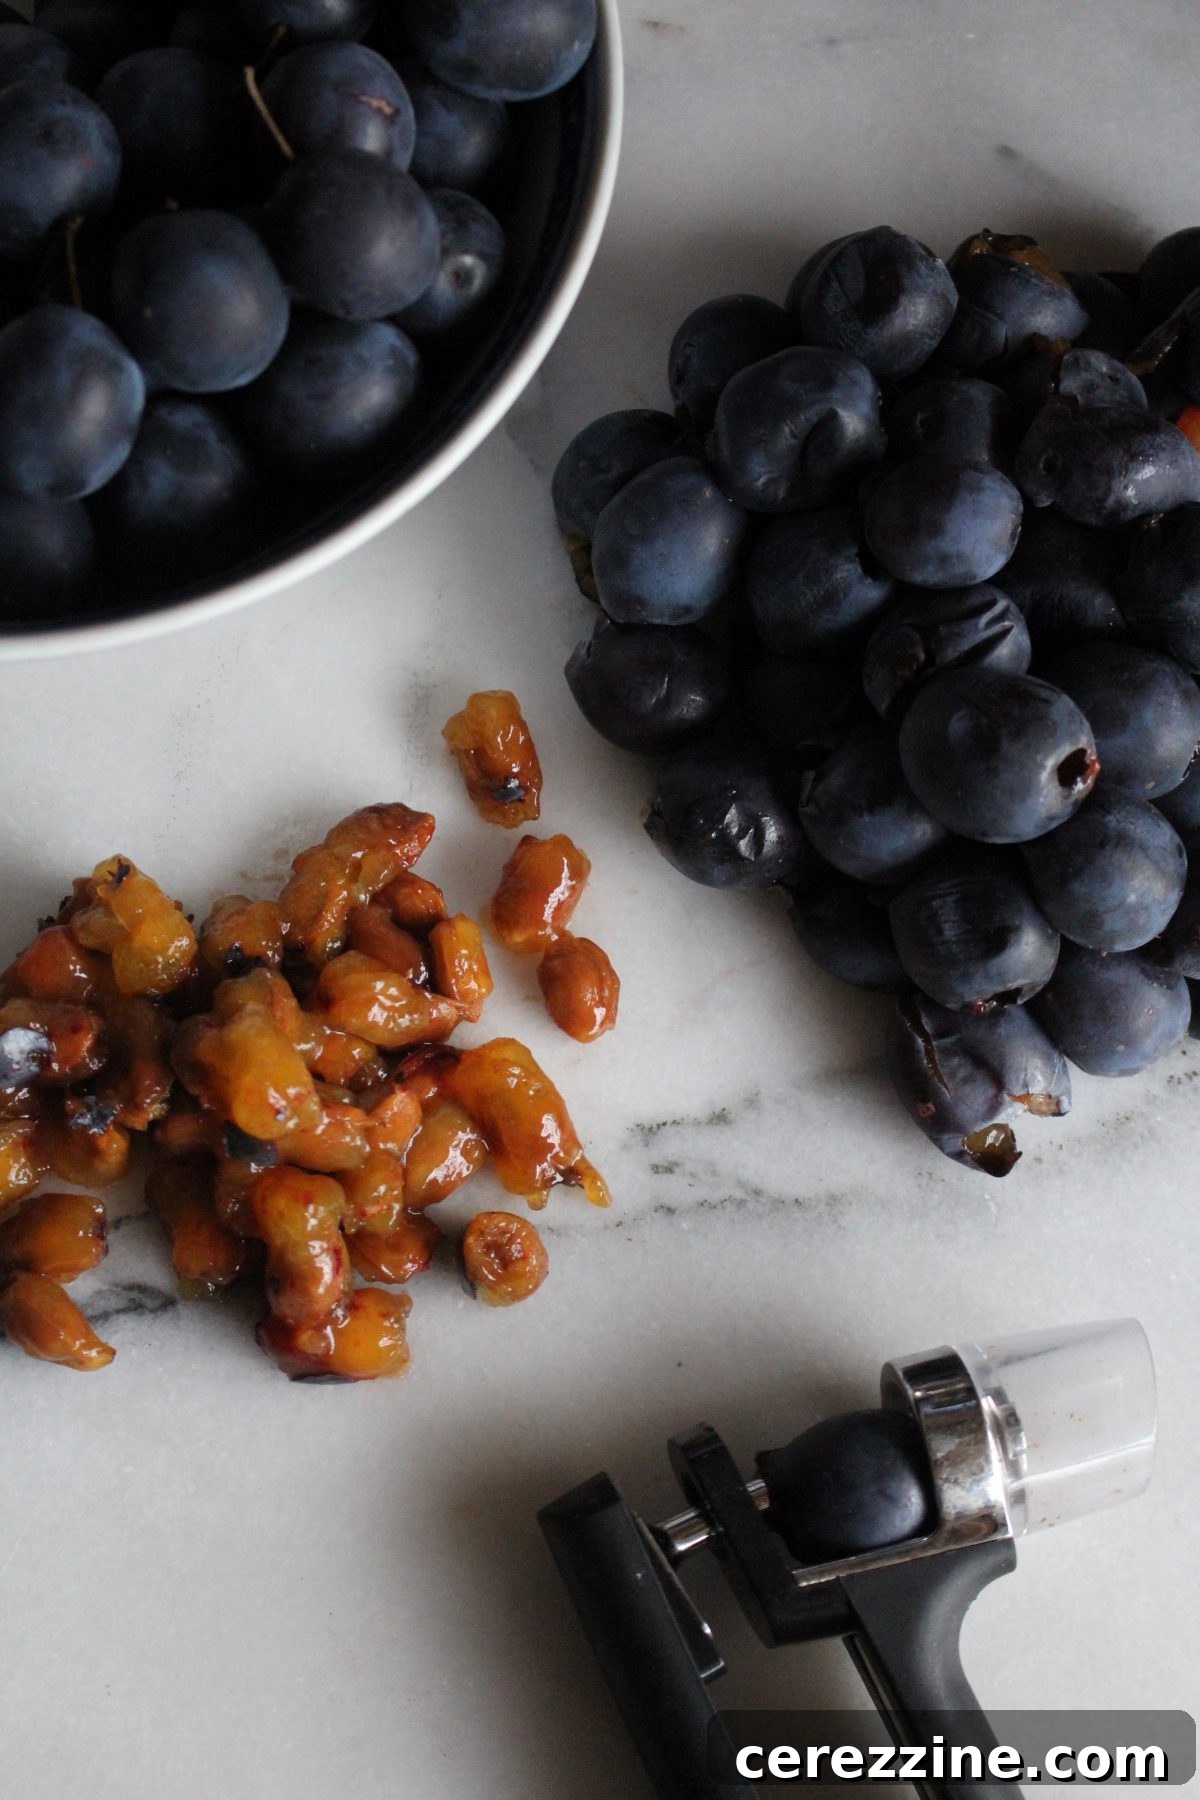
Once the plums are pitted, a coarse chop is recommended. This step ensures that the pieces of damson peel aren’t overly large in your finished jam, contributing to a pleasant eating experience. It is absolutely essential to leave the peels in for several compelling reasons:
- Pectin Contribution: The peels are a primary source of natural pectin, vital for achieving the perfect jam set without relying on commercial alternatives.
- Vibrant Color: Damson peels lend their magnificent deep purple color to the jam, creating a visually stunning preserve.
- Distinctive Flavor: A significant portion of the unique, complex flavor profile of damson plums resides within their skins. Removing them would significantly diminish the jam’s characteristic taste.
- Enhanced Texture: Small, softened chunks of peel provide a delightful textural element, distinguishing jam from smoother purees.
While some might be tempted to strain out the peels for a smoother product, doing so would result in something quite different from traditional damson jam. The outcome would more closely resemble a damson plum butter, but crucially, it would lack the profound depth of flavor that the peels provide. If your aim truly is a smooth plum butter, a better approach would be to use an immersion blender to fully incorporate all the fruit pulp and peels, followed by a longer, slow cooking process, similar to making homemade apple butter.
Therefore, embrace the peels! Coarsely chop the pitted fruit, skins and all. With this preparation complete, you are now perfectly ready to embark on the exciting process of making your own exquisite damson jam.
The Art of Making Homemade Damson Jam
With your damson plums prepped, the jam-making process is delightfully straightforward. Begin by combining the coarsely chopped, pitted damson plums with the sugar and water in a large, heavy-bottomed jam pot or Dutch oven. A wide, shallow pot is ideal as it allows for quicker evaporation and more efficient cooking.
Stir all the ingredients together thoroughly to ensure the sugar begins to dissolve and is evenly distributed, and to prevent the fruit from sticking. Then, place the pot over medium-high heat. As the mixture heats, the plums will gradually begin to break down and release their juices, assisted by the initial water.
Initially, the mixture might resemble a bubbling sea of plum pulp with pieces of peel floating throughout. Continue to stir frequently to prevent any scorching and to ensure even cooking. As the jam cooks, the peels will soften considerably, and the entire mixture will deepen in color, gradually transforming into a more uniform and rich consistency.
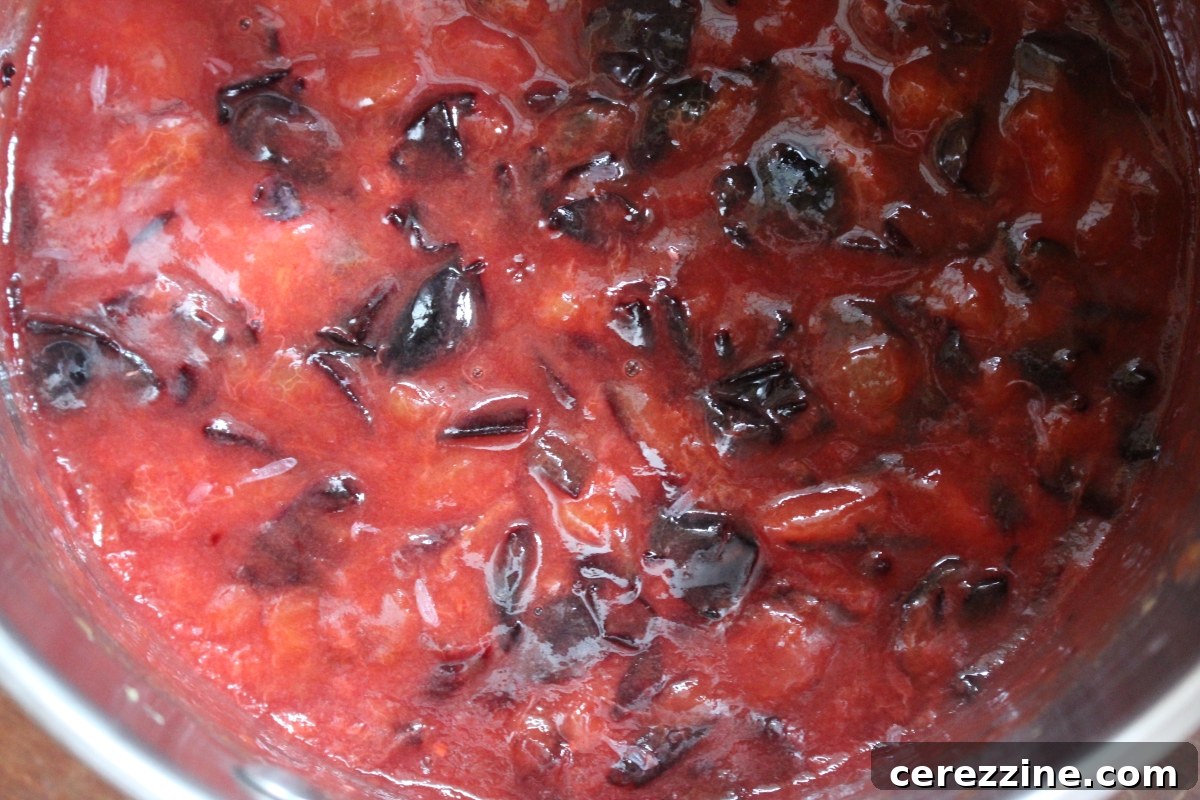
Continue cooking until the damson jam thickens beautifully and reaches its critical “gel stage.” This is the point where the jam will set correctly upon cooling. There are two primary methods to test for set:
- Freezer Plate Test: Keep a small plate in the freezer while the jam cooks. Spoon a small amount of hot jam onto the chilled plate, let it sit for a minute, then push it with your finger. If the surface wrinkles, the jam has reached its set point.
- Thermometer Test: For precise results, use an instant-read thermometer. Damson jam is considered set when it reaches 220 degrees Fahrenheit (104.4 degrees Celsius) at sea level. If you live at a higher elevation, remember to adjust this temperature: subtract 1 degree Fahrenheit for every 500 feet above sea level. For instance, at 1000 feet elevation, your jam will set around 218 degrees F.
Thanks to their generous pectin content, damson plums typically set quite quickly. Expect the active boiling and gelling phase to last anywhere from 5 to 15 minutes. The exact cooking time can vary based on your stove’s heat intensity and the specific characteristics of your plums, which can be influenced by growing conditions. Regardless, it’s vital to watch your jam closely during this period and stir frequently to prevent it from overflowing, sticking, or burning.
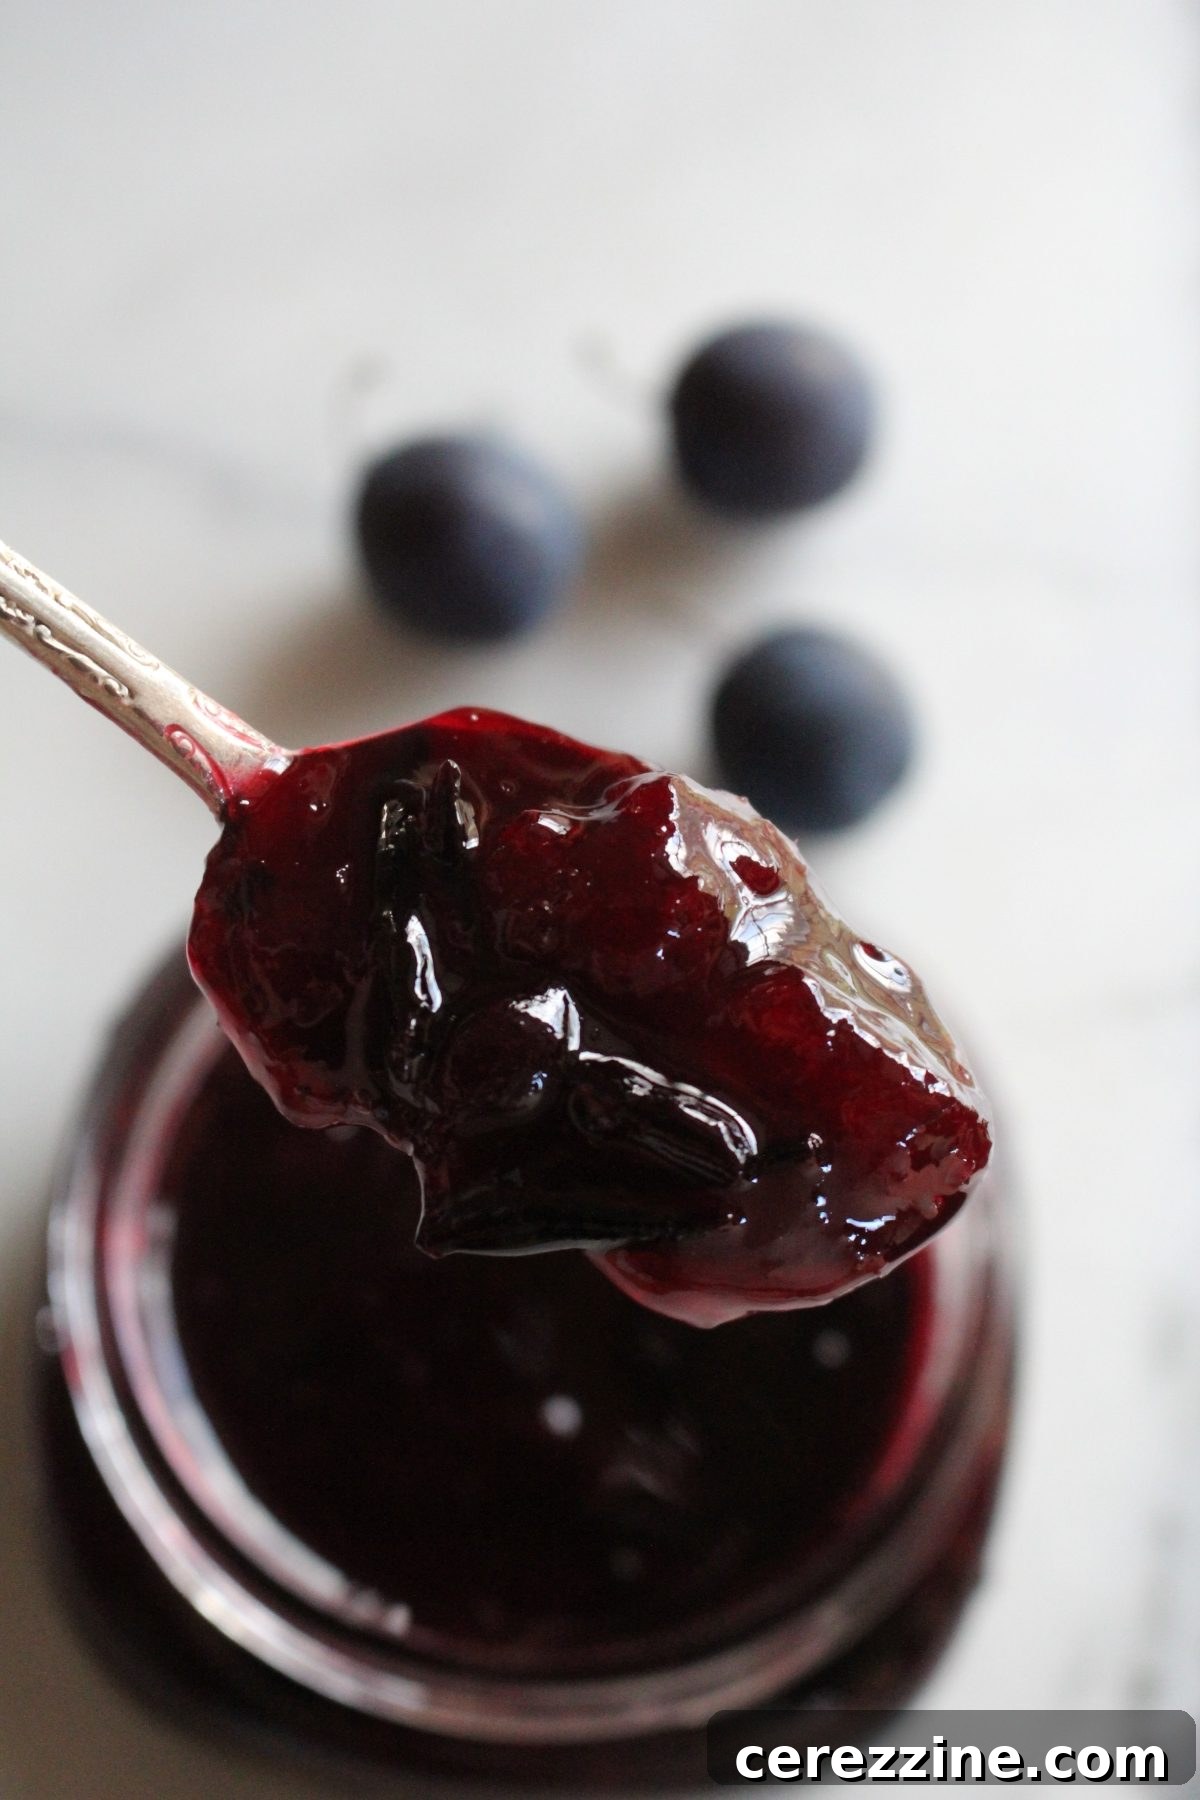
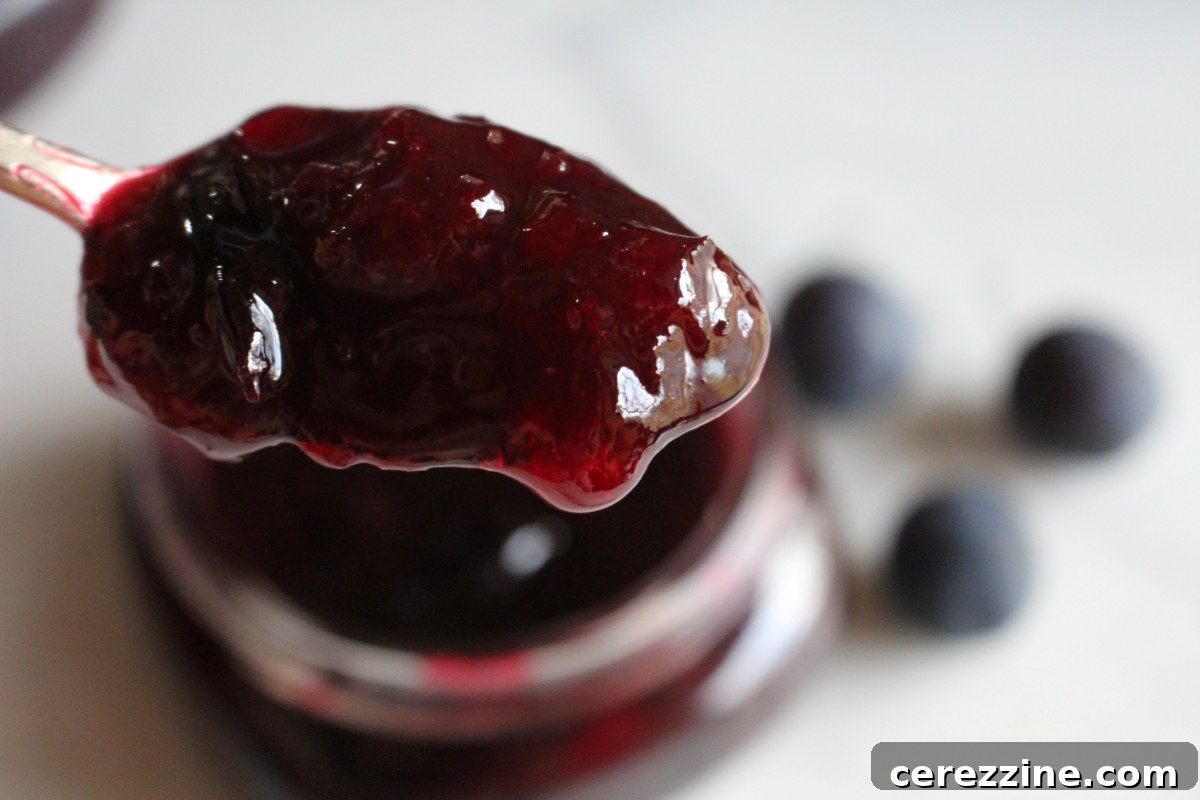
Once the jam has confidently reached its desired set point, immediately remove the pot from the heat. Carefully ladle the hot jam into prepared canning jars, ensuring you leave a consistent 1/4 inch of headspace at the top of each jar. The finished damson jam will boast a rich, glossy sheen and include those wonderful, softened chunks of damson skin that contribute both to its texture and its authentic, deep flavor.
Canning Homemade Damson Jam for Lasting Enjoyment
While canning is an optional step, it is highly recommended if you wish to enjoy your homemade damson jam throughout the year. Properly canned preserves are shelf-stable, meaning they can be stored at room temperature for extended periods. They maintain their peak quality for at least 18 months and remain safe to consume for much longer, provided the seals remain intact. Without canning, your delicious damson jam will need to be stored in the refrigerator for several weeks or frozen for up to six months.
If you choose the canning route using a water bath canner, it’s crucial to prepare your equipment before you begin cooking the jam. Fill your water bath canner with enough water to cover your jars by at least an inch, and begin preheating it to approximately 180 degrees Fahrenheit (just a gentle simmer). Have your clean canning jars and two-part lids (new flats and clean bands) ready and hot.
Once your jam has reached its gel stage, ladle it carefully into the hot, prepared canning-safe jars, leaving precisely 1/4 inch of headspace at the top. This headspace is essential for proper sealing and to prevent liquid from boiling out during processing.
After filling, use a non-metallic utensil (like a chopstick or plastic knife) to gently remove any air bubbles trapped within the jam. Recheck the headspace and add a little more jam if necessary to maintain that 1/4-inch space. Carefully wipe the rims of the jars clean with a damp cloth to ensure a perfect seal. Place the new flat lids on top, followed by the bands, tightening them only to “finger-tight”—snugly, but not overly tight.
This recipe is suitable for quarter-pint, half-pint, or pint-sized canning jars; the processing times are consistent for all three. Avoid using jars larger than pint-size for this recipe to ensure proper heat penetration and safety.
Carefully lower the filled jars into your preheated water bath canner. Ensure they are fully submerged in water. Bring the canner to a full, rolling boil. Once boiling vigorously, process the jars for 10 minutes if you are below 6,000 feet in elevation. If you reside above 6,000 feet, increase the processing time to 15 minutes to account for the lower boiling point of water at higher altitudes.
After the designated processing time is complete, turn off the heat and carefully remove the jars of damson jam from the canner. Place them on a towel-lined surface on your counter, ensuring they are not touching each other, and allow them to cool undisturbed for 12 to 24 hours. During this cooling period, you should hear the satisfying “ping” sound as the lids seal. Once completely cool, check all seals by pressing on the center of each lid. If the lid does not flex, it is sealed. Any unsealed jars should be stored in the refrigerator for immediate consumption.
Properly canned and sealed jars of damson jam will retain their peak quality on your pantry shelf for 18 months and remain safe to eat for an even longer duration. Always remember to refrigerate any opened jars to maintain freshness and prevent spoilage.
Damson Jam
By Ashley Adamant
Damson jam is the perfect way to preserve damson plums in season, capturing their unique tart-sweet flavor in a delightful spread.
Prep Time: 10 mins
Cook Time: 20 mins
Canning Time (optional): 10 mins
Total Time: 40 mins
Yields: Approximately 6 half-pint (8 oz) jars
Equipment
- Water Bath Canner (if canning)
- Large, heavy-bottomed pot or Dutch oven
- Cherry pitter (highly recommended for ease)
- Canning jars (half-pint or pint), lids, and bands
- Ladle
- Funnel (for canning)
Ingredients
- 5 cups damson plums, pitted and coarsely chopped (approximately 2 lbs of whole, unpitted damsons)
- 3 cups granulated sugar
- 3/4 cup water
Instructions
- If planning to can, prepare your water bath canner, ensuring it’s preheating, and have clean jars and lids ready.
- Pit the damson plums. A cherry pitter is highly effective for this task. Alternatively, cut the plums in half with a paring knife and carefully remove the cling stone pits by hand.
- Coarsely chop the pitted damson plums (leaving the peels intact for flavor and pectin) and place them in a large, heavy-bottomed jam pot along with the water and sugar.
- Turn the heat to medium-high and bring the damson mixture to a full, rolling boil, stirring frequently to prevent sticking and ensure even cooking.
- Continue to cook the damsons, stirring often, until the mixture thickens and reaches the gel stage. Test for set using either the cold plate test (place a spoonful on a chilled plate, let cool, then push with a finger to check for wrinkles) or a candy thermometer (aim for 220°F at sea level, adjusting down 1°F for every 500 feet of elevation).
- Once the jam has set, remove the pot from the heat. Carefully ladle the hot jam into your prepared jars, leaving 1/4 inch of headspace.
- Use a non-metallic tool to remove any air bubbles from the jars, re-adjusting headspace if needed. Wipe the rims clean, then center the lids and apply the bands finger-tight.
- If canning, process the jars in a boiling water bath canner for 10 minutes. For elevations above 6,000 feet, increase processing time to 15 minutes.
- After processing, carefully remove the jars from the canner and place them on a towel-lined counter to cool undisturbed for 12-24 hours. Once cool, check seals. Any unsealed jars should be stored in the refrigerator for immediate use.
- Properly canned and sealed jars of damson jam will maintain peak quality on the pantry shelf for up to 18 months and remain safe to eat for longer. Refrigerate after opening.
Notes
You can use quarter-pint, half-pint, or pint canning jars for this recipe. The processing times are the same for all three sizes. Do not can in jars larger than pint.
Nutrition (per serving, approximate)
Calories: 56 kcal, Carbohydrates: 14g, Protein: 0.1g, Fat: 0.1g, Saturated Fat: 0.003g, Polyunsaturated Fat: 0.01g, Monounsaturated Fat: 0.02g, Sodium: 0.3mg, Potassium: 27mg, Fiber: 0.2g, Sugar: 14g, Vitamin A: 59IU, Vitamin C: 2mg, Calcium: 1mg, Iron: 0.04mg
Nutrition information is automatically calculated and should be used as an approximation only.
Enjoyed making this delicious damson jam? We’d love to hear from you! Share your experience and leave a comment below!
Explore More Plum Preserve Recipes
If you’ve fallen in love with preserving damsons, you’ll find endless enjoyment in exploring other ways to preserve the versatility of plums. These plum canning recipes are sure to keep your kitchen busy and your pantry stocked with homemade goodness!
- 30 Plum Canning Recipes (a comprehensive guide)
- Classic Plum Jelly
- Simple Plum Jam without Pectin
- How to Can Whole or Halved Plums
- Plum Butter (recipe coming soon!)
More Delightful Jam Recipes
Looking for a few more fruit-filled jam recipes to perfect your preserving skills and fill your pantry shelves?
- Sweet Nectarine Jam
- Luscious Apricot Jam
- Vibrant Raspberry Jam
- Exotic Fig Jam
- Aromatic Quince Jam
Essential Summer Canning Recipes
Is your garden overflowing, or have you found a bounty at your local market? Expand your canning repertoire beyond just damsons with these fantastic summer canning recipes:
- Canning Fresh Blackberries
- Canning Juicy Peaches
- Canning Tart Gooseberries
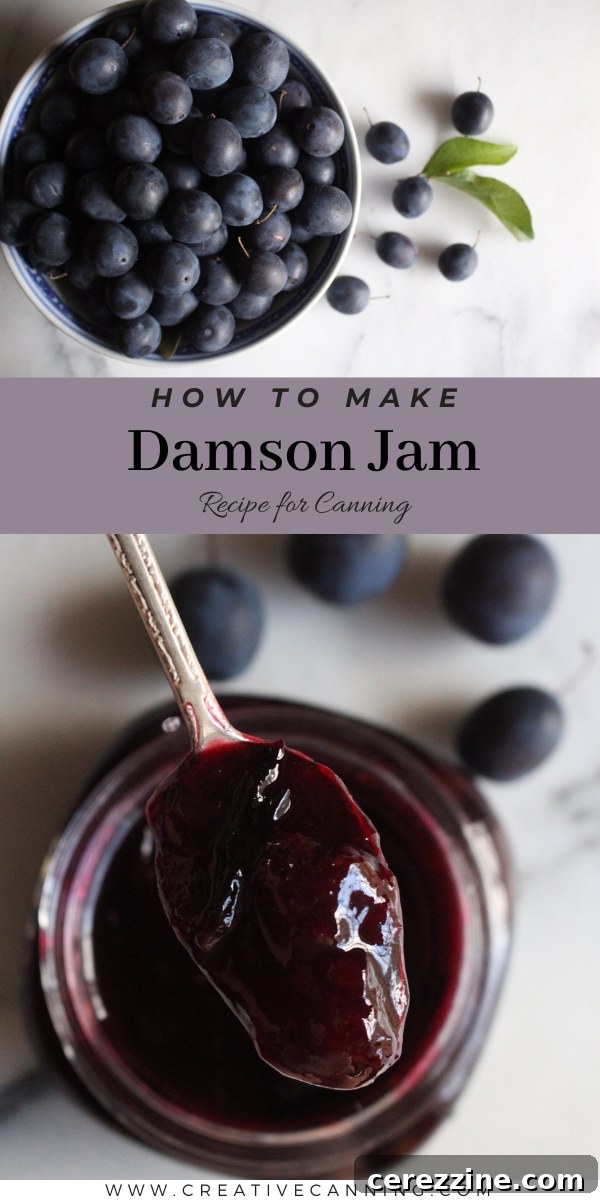
Making damson jam is more than just a recipe; it’s an annual ritual that celebrates the abundance of nature and the joy of homemade goodness. From the satisfying thunk of a cherry pitter to the sweet aroma filling your kitchen, every step is a delight. Enjoy the rich, authentic taste of summer captured in every jar!