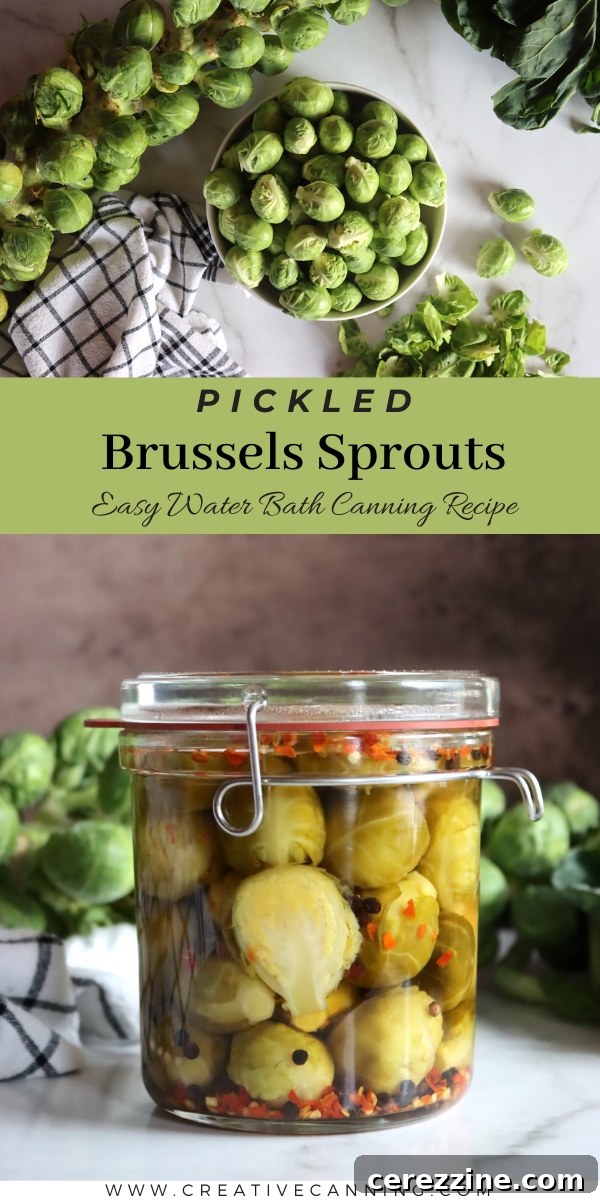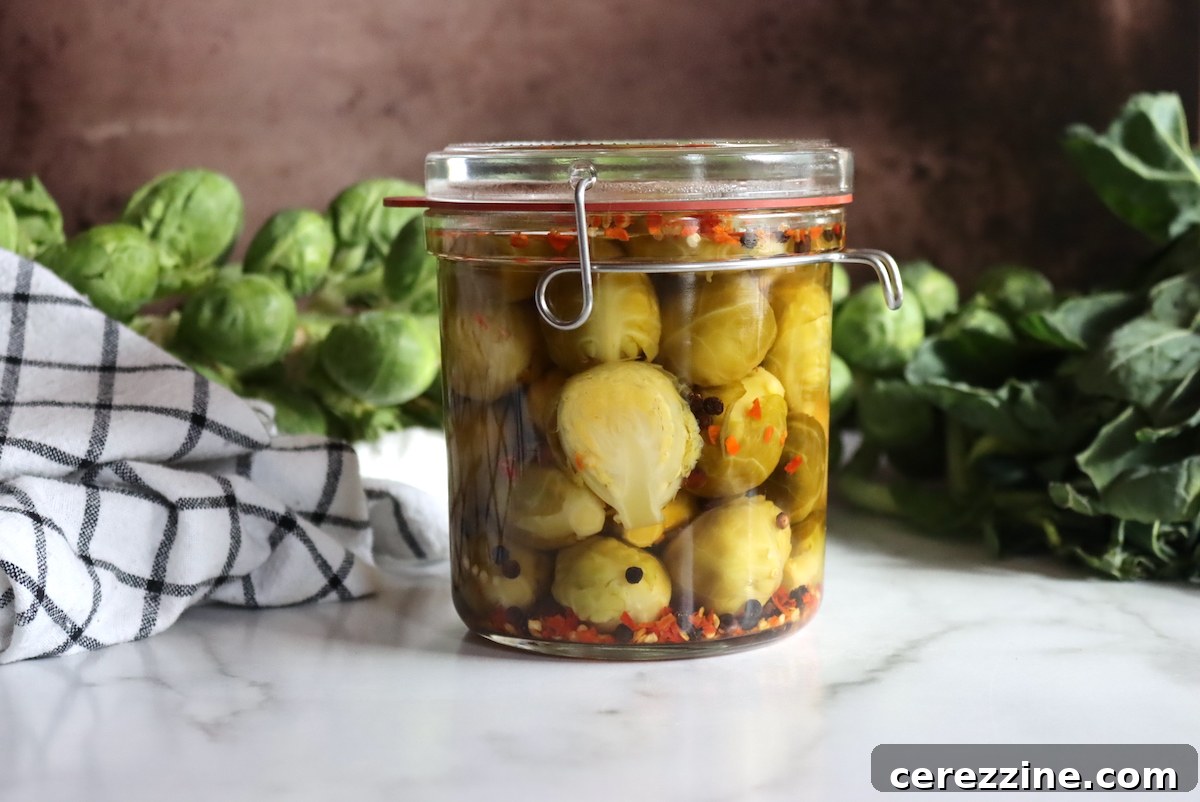
Welcome to the wonderful world of home canning! If you’re looking for a delightful and safe way to preserve the seasonal bounty of Brussels sprouts, you’ve landed in the right place. While the USDA does not recommend canning plain Brussels sprouts due to their tendency to develop an unpleasant sulfurous taste and undesirable texture, transforming them into crisp, tangy pickled Brussels sprouts offers a fantastic and safe alternative. This tried-and-true recipe, adapted from the trusted Ball Canning guidelines, provides a reliable method for enjoying this unique delicacy from your pantry shelves all year long.
The Joy of Brussels Sprouts and the Need for Preservation
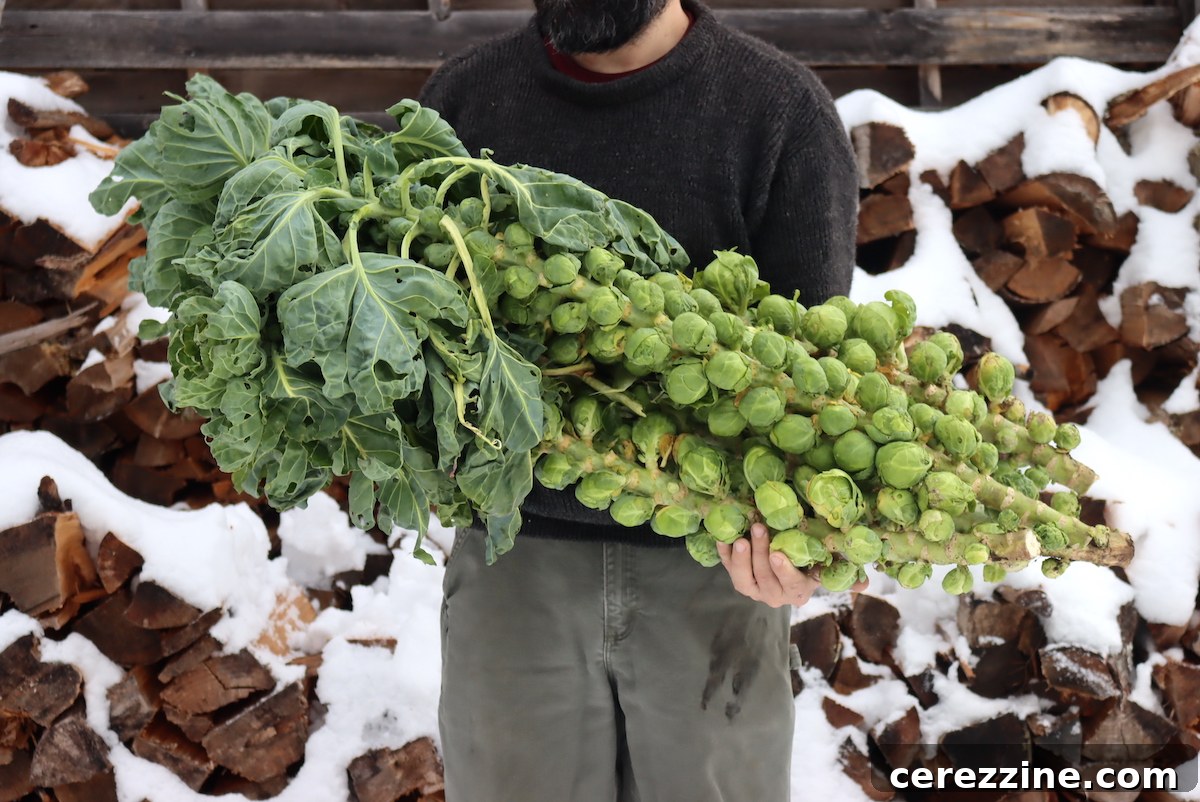
Brussels sprouts are truly a gardener’s delight and a chef’s versatile ingredient. We cherish their harvest throughout the autumn, patiently plucking them from their towering stalks until the very last ones are cut just before the first heavy snowfall, typically around Thanksgiving. These little green globes often take center stage on our holiday table, roasted on the stalk as a delectable appetizer that signals the start of a festive meal.
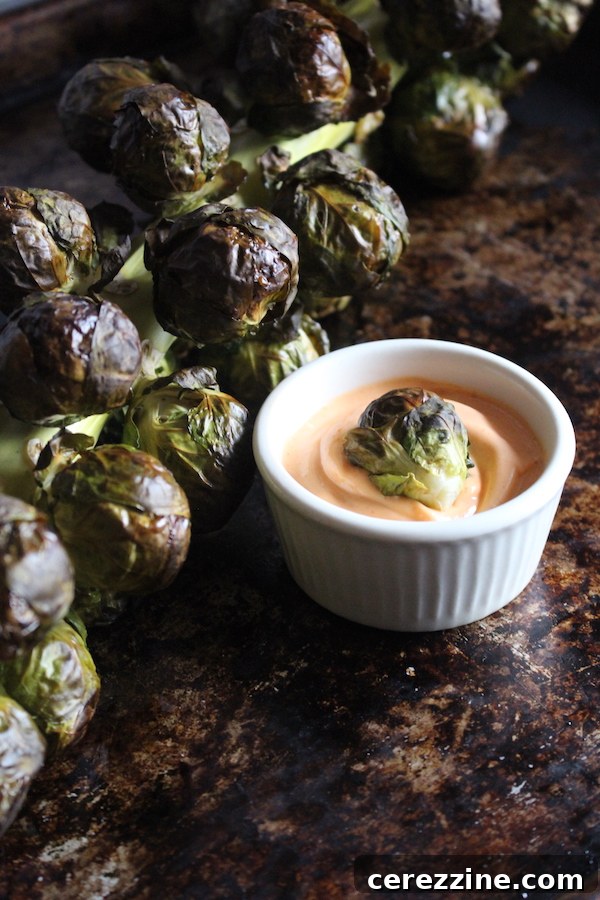
This past season, our garden yielded an exceptionally abundant crop of Brussels sprouts. While they can be stored for a period in a root cellar or refrigerator, we’re always seeking innovative ways to extend their shelf life beyond immediate consumption, especially without relying on precious freezer space, a common challenge for those living off-grid. This quest led us back to the time-honored art of pickling.
Why Pickling is the Best Way to Preserve Brussels Sprouts
You might wonder why plain canning is off the table for Brussels sprouts. The main reason is both taste and safety. When pressure canned plain, Brussels sprouts tend to turn mushy and release an incredibly strong, sulfurous odor and flavor that most find unpalatable. In fact, the USDA once explored safe pressure canning methods for plain Brussels sprouts but abandoned the project because all tested recipes resulted in such poor quality that they were deemed unsuitable for home canning. This is why you won’t find a tested pressure canning recipe for them.
However, the magic of pickling changes everything. By immersing Brussels sprouts in an acidic brine, we not only create a safe environment for preservation through water bath canning but also transform their flavor profile entirely. The pickling process tenderizes them slightly, infuses them with bright, tangy notes, and gives them a satisfying crispness. This makes them not just safe, but wonderfully delicious for long-term storage.
Enjoying Your Pickled Brussels Sprouts
Once pickled, Brussels sprouts become an incredibly versatile ingredient. We love enjoying them straight from the jar as a zesty snack throughout the colder months, a vibrant burst of flavor that carries us through until fresh greens reappear in spring. They make a fantastic addition to charcuterie boards, their tangy bite perfectly complementing rich cheeses and cured meats. Sliced thinly, they elevate sandwiches, add a gourmet touch to wintertime hamburgers, especially when paired with a dollop of homemade tomato jam, or even serve as a unique relish for sausages.
Crafting Your Perfect Pickled Brussels Sprouts: The Essential Ingredients
Creating safe and delicious pickled Brussels sprouts hinges on understanding a few key principles, particularly regarding the pickling brine. While many ingredients offer flexibility for customization, the ratio of water to vinegar is non-negotiable for safety. As with any pickling recipe, whether you’re pickling carrots or making classic dill pickles, the brine must contain at least 50% vinegar, standardized to 5% acidity. This acidic environment is what prevents the growth of harmful bacteria and ensures your canned goods are safe for pantry storage. Using more vinegar is perfectly acceptable and can lead to a tangier pickle, but never use less than the recommended 1:1 vinegar-to-water ratio. For a sweeter or more balanced pickle, you might increase the vinegar proportion and then add a bit more sugar to achieve your desired sweet and sour balance.
Recommended Brine and Spices
Beyond the critical vinegar-to-water ratio, the rest of your pickling ingredients offer wonderful opportunities for personalization. You can experiment with various dry spices, and the amounts of sugar and salt are flexible, primarily serving to enhance flavor rather than ensure preservation (the vinegar takes care of that). This recipe, adapted from the comprehensive The All New Ball Book of Home Canning and Preserving, yields 6 pints of exquisite pickled Brussels sprouts. Here’s what you’ll need:
Core Ingredients:
- 3 lbs Brussels Sprouts, fresh and firm
- 5 cups Vinegar (at 5% acidity, e.g., white, cider, or red wine vinegar)
- 2 cups Water
Flavor Enhancers (Adjust to taste):
- 1/4 cup pickling and canning salt
- 6 to 12 cloves garlic (1 to 2 per pint jar, peeled)
- 6 tsp black peppercorns (1 tsp per pint jar)
- 6 to 12 tsp red pepper flakes (1 to 2 tsp per pint jar, for a hint of heat)
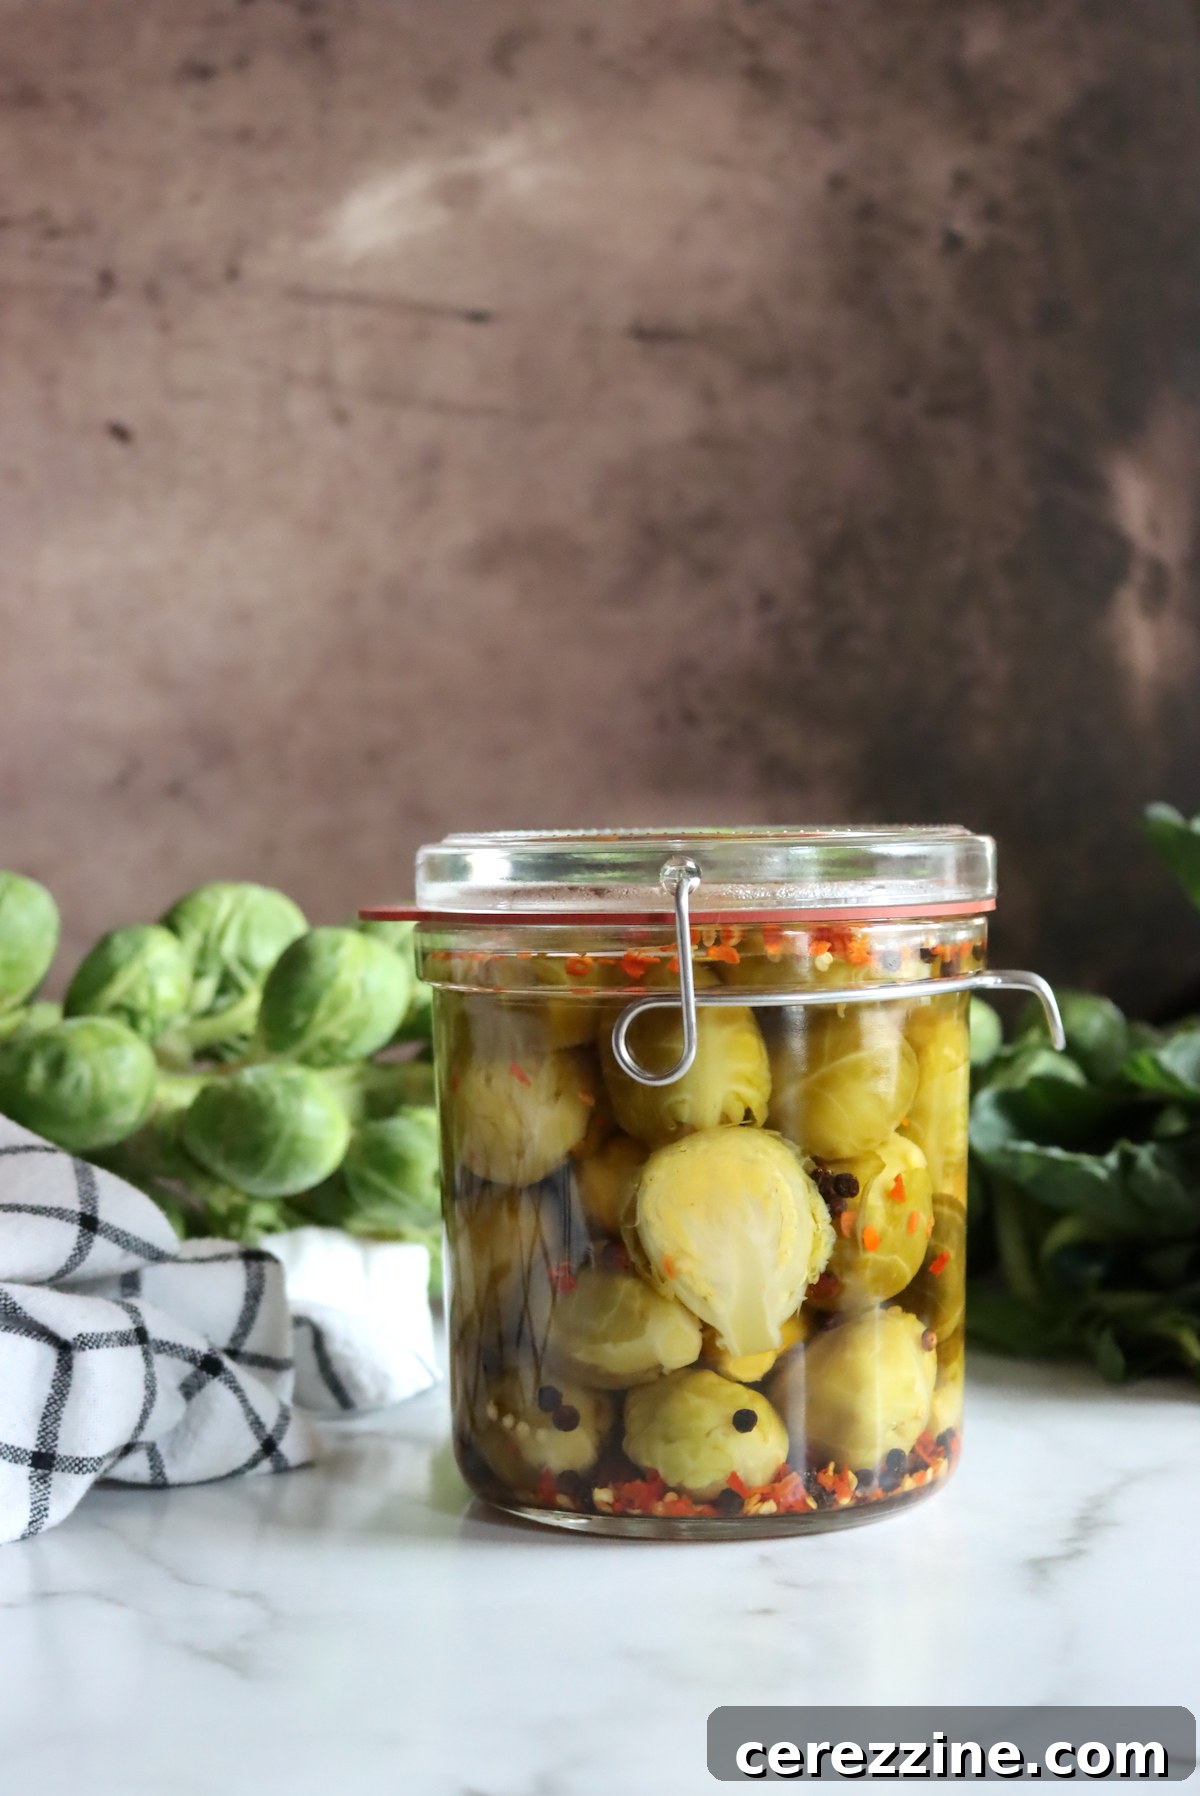
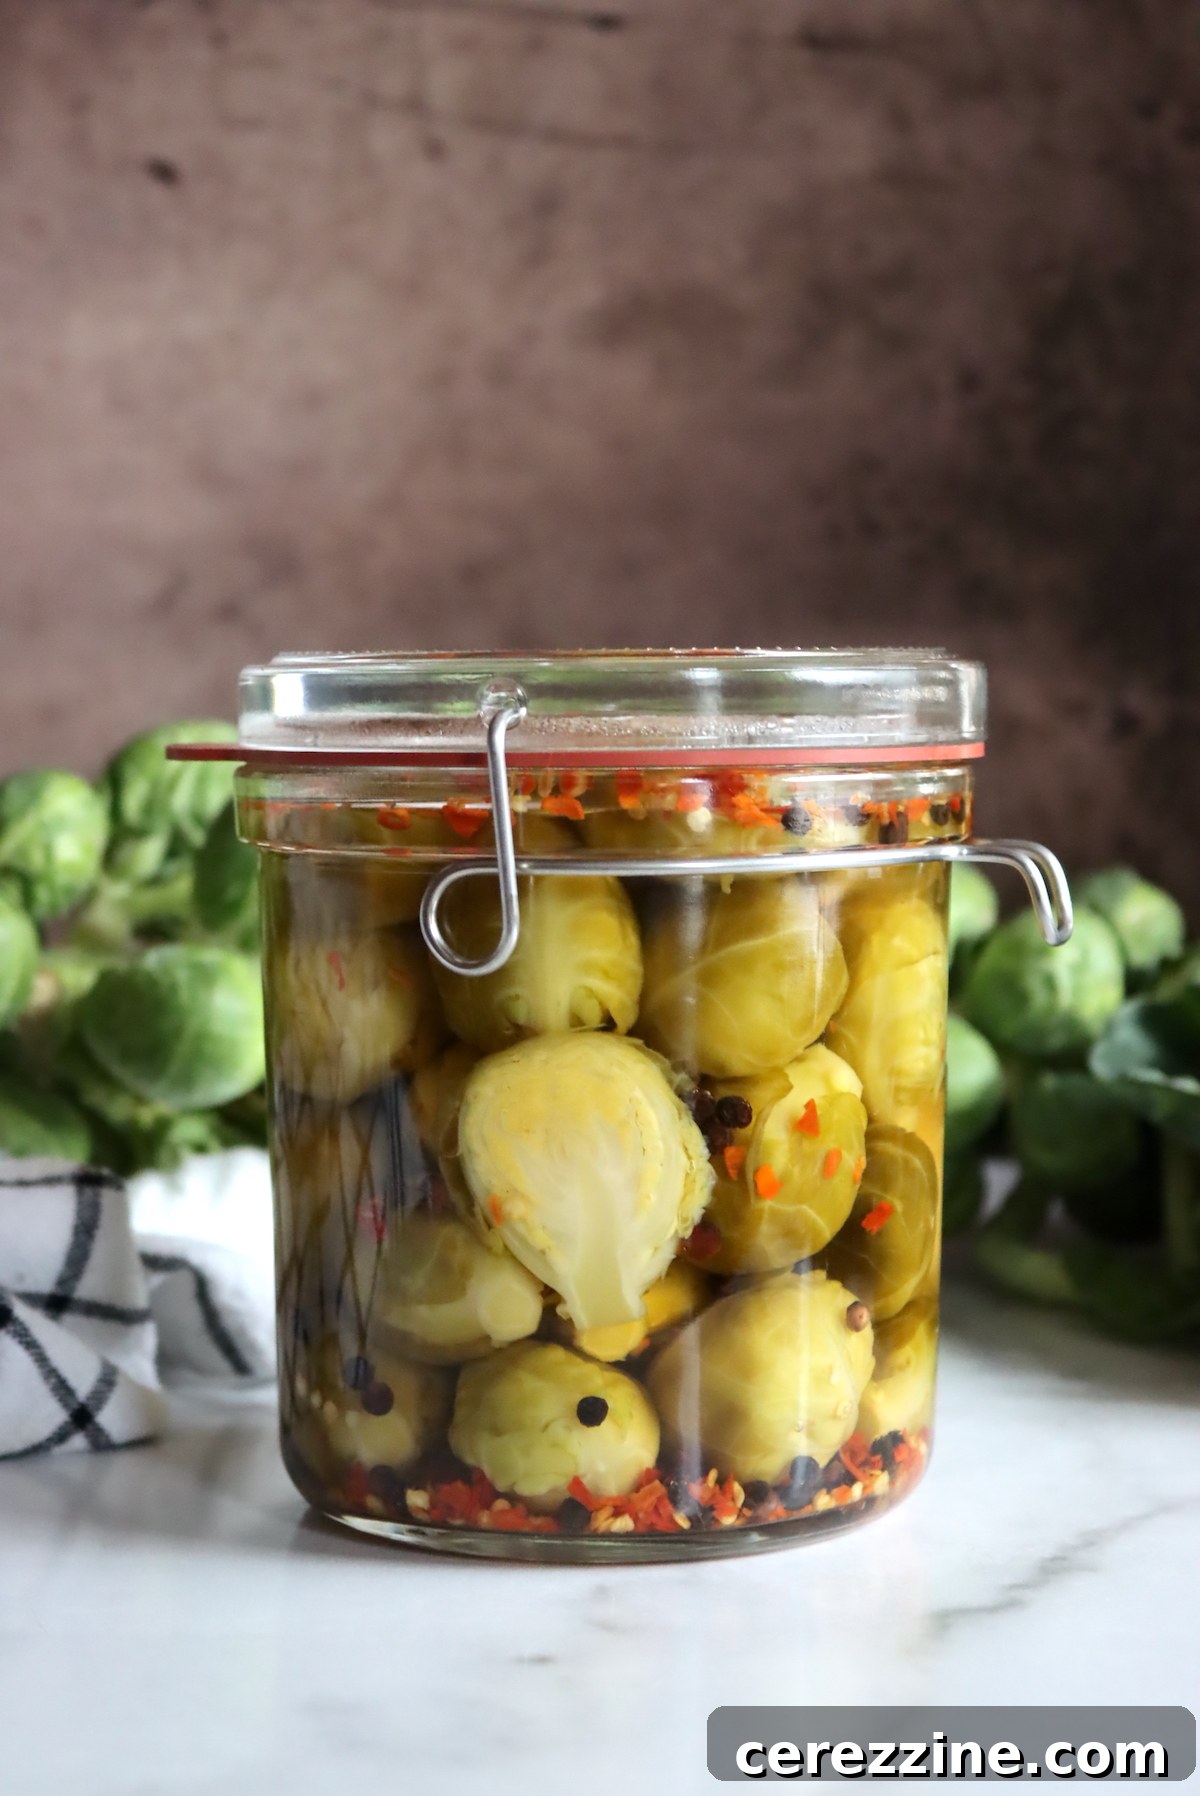
The suggested salt quantity might seem generous, but it works harmoniously within the pickled Brussels sprouts, contributing to their balanced flavor. This simple spicing combination of garlic and pepper creates a well-rounded taste that is neither overpowering nor bland. A small amount of red pepper flakes introduces a pleasant warmth without excessive heat, making them enjoyable for most palates.
Creative Spice Variations:
Feel free to get creative with your spices! Other excellent options include fresh dill sprigs, whole cumin seeds, coriander seeds, thin slices of fresh jalapeño peppers for more pronounced heat, or a touch of lemon zest for brightness. For an adventurous twist, consider making Asian-inspired pickled Brussels sprouts by incorporating a hint of soy sauce (ensure it doesn’t dilute the vinegar acidity), sriracha for spice, and aromatic Sichuan peppercorns.
A crucial reminder: always ensure that at least half of your pickling brine is vinegar with a standardized 5% acidity. This is paramount for food safety. Common choices like white vinegar, apple cider vinegar, or red wine vinegar typically meet this requirement. However, always double-check labels, as some specialty vinegars, such as rice vinegar, often have lower acidity levels and are not suitable for canning recipes unless explicitly stated or combined with higher acidity vinegars.
How to Make Pickled Brussels Sprouts: A Step-by-Step Guide
Making delicious pickled Brussels sprouts is a straightforward process, but attention to detail ensures safety and quality. Follow these steps carefully for successful home canning:
- Prepare Your Canning Equipment (If Canning): Before you begin preparing the sprouts, set up your water bath canner. Fill it with water, ensuring it covers jars by at least an inch, and begin heating it to a gentle simmer (around 180°F for hot pack). Wash and sterilize your canning jars, lids, and bands according to manufacturer instructions.
- Clean and Trim Brussels Sprouts: Start by giving your Brussels sprouts a thorough wash under cold running water, checking for any hidden bugs or debris. Trim off the tough stem ends and peel away any loose or discolored outer leaves until you’re left with compact, tight heads. Smaller sprouts are ideal for pickling; if yours are particularly large, cut them in half to ensure even pickling and packing.
- Blanch the Sprouts: Bring a large pot of water to a rolling boil. Carefully add the cleaned Brussels sprouts and blanch them for approximately 4 minutes. This critical step serves multiple purposes: it cooks them through to the center to prevent spoilage, drives out air pockets so they don’t float excessively in the jars, and removes some of their natural bitter, cruciferous taste (as the blanching water is discarded). Remove the blanched sprouts with a slotted spoon and immediately pack them into your prepared canning jars, leaving 1/2 inch of headspace from the rim.
- Prepare Your Brine: In a separate saucepan, combine the vinegar, water, and pickling salt. Bring this mixture to a rolling boil, stirring occasionally to ensure the salt completely dissolves.
- Add Spices to Jars: While the brine is heating, add your dry spices (garlic, peppercorns, red pepper flakes, or your chosen variations) directly into each canning jar, distributing them evenly. This ensures consistent flavor in every jar.
- Pour Hot Brine: Carefully pour the boiling hot brine over the packed Brussels sprouts and spices in each jar. Maintain the 1/2 inch headspace.
- Debubble and Seal: Using a non-metallic utensil (like a plastic spatula or chopstick), gently slide it down the sides of each jar to release any trapped air bubbles. Adjust the headspace if necessary by adding more hot brine. Wipe the jar rims clean with a damp cloth, center the lids, and secure them with bands to fingertip tight.
Pickled Brussels Sprouts Recipe
Yields: 6 pints (approximately 48 servings)
Prep time: 15 minutes | Cook time: 5 minutes (blanching) | Canning time (optional): 10-20 minutes
Ingredients:
- 3 lbs fresh Brussels Sprouts
- 5 cups Vinegar (5% acidity, e.g., white, cider, or red wine)
- 2 cups Water
- 1/4 cup pickling and canning salt
- 6 to 12 cloves garlic (1-2 per jar, peeled)
- 6 tsp black peppercorns (1 tsp per jar)
- 6 to 12 tsp red pepper flakes (1-2 tsp per jar, optional for heat)
Instructions:
- If canning, prepare a water bath canner, jars, lids, and bands. Heat the canner to a gentle simmer (around 180°F).
- Wash and clean Brussels sprouts thoroughly. Trim stem ends and remove any loose outer leaves. Cut large sprouts in half.
- Bring a pot of water to a boil and blanch the sprouts for about 4 minutes. Remove with a slotted spoon and pack into prepared jars, leaving 1/2 inch headspace. Discard blanching water.
- Add dry spices (garlic, peppercorns, red pepper flakes) to each jar.
- In a saucepan, combine vinegar, water, and pickling salt. Bring to a hard boil, stirring until salt dissolves.
- Pour the boiling brine over the Brussels sprouts and spices in jars, maintaining 1/2 inch headspace.
- De-bubble jars, adjust headspace if needed, and wipe rims clean. Center lids and apply bands to fingertip tight.
- If canning, process jars in the prepared water bath canner for 10 minutes (adjust for altitude, see notes below).
- Remove jars from the canner and place them on a towel on the counter to cool undisturbed for 12-24 hours.
- After cooling, check seals. Lids should be concave and not flex when pressed. Store any unsealed jars in the refrigerator for immediate use. Properly sealed jars will maintain quality on the pantry shelf for 12-18 months.
- For best flavor, wait at least 1 week before eating to allow the flavors to fully meld and the sprouts to pickle properly.
Notes:
Altitude Adjustments for Water Bath Canning:
- Below 1,000 Feet: Process jars for 10 minutes.
- 1,001 to 6,000 Feet: Process jars for 15 minutes.
- Above 6,000 Feet: Process jars for 20 minutes.
Important: Ensure sprouts are blanched before canning; this processing time is insufficient for raw Brussels sprouts.
Recipe Variations:
Beyond garlic and pepper, consider adding fresh dill, cumin seeds, coriander seeds, thinly sliced jalapeños, or a touch of lemon zest. For an Asian twist, a hint of soy sauce (careful not to dilute acidity), sriracha, and Sichuan peppercorns can be delicious.
Remember, the brine must always be at least 50% vinegar (5% acidity) by volume for safe pickling. Always check vinegar labels for acidity.
Nutrition Information (Approximation per serving):
Calories: 20kcal, Carbohydrates: 3g, Protein: 1g, Fat: 0.1g, Saturated Fat: 0.03g, Polyunsaturated Fat: 0.1g, Monounsaturated Fat: 0.02g, Sodium: 602mg, Potassium: 125mg, Fiber: 1g, Sugar: 1g, Vitamin A: 291IU, Vitamin C: 24mg, Calcium: 18mg, Iron: 1mg
Nutrition information is automatically calculated, so should only be used as an approximation.
Canning Pickled Brussels Sprouts for Pantry Storage
Once your jars are filled and sealed, the final step for long-term preservation is water bath canning. If you’re making quick refrigerator pickles, you can simply cap the jars and refrigerate them for a few days to allow flavors to develop. They’ll keep well in the fridge for several weeks. However, for true pantry stability, water bath canning is the way to go.
Place your prepared jars carefully into the preheated water bath canner. Ensure the water level covers the jars by at least an inch. Bring the water to a full rolling boil, then begin timing the processing. Process pint jars for 10 minutes, making sure to adjust this time for your altitude as specified below. This processing time creates a vacuum seal and further ensures the acidity of the pickles stabilizes for safe, shelf-stable storage.
Altitude Adjustments for Canning Pickled Brussels Sprouts:
Processing times need to be adjusted based on your elevation to ensure proper heat penetration and safety. This is crucial for successful home canning:
- For elevations below 1,000 feet: Process for 10 minutes.
- For elevations between 1,000 to 6,000 feet: Process for 15 minutes.
- For elevations above 6,000 feet: Process for 20 minutes.
It’s vital to remember that these processing times are formulated for blanched Brussels sprouts. If you attempt to use raw sprouts, the canning time will be insufficient to cook them properly, potentially compromising both safety and quality.
Beyond the Jar: Creative Culinary Uses
Pickled Brussels sprouts offer a delightful contrast to many dishes. While they are famously enjoyed straight from the jar, often as part of a vibrant charcuterie spread, their sharp acidity and distinct green flavor cut through the richness of fatty foods beautifully. They pair exceptionally well with rich pork dishes, sausages, or alongside a hearty steak.
Consider finely shredding them after they come out of the jar and using them as a unique relish. Their flavor profile is somewhat reminiscent of sauerkraut but often more nuanced and less intensely sour, tasting more like a vibrant green relish. This makes them an excellent topping for hot dogs, grilled burgers, or even tacos. You can also chop them and fold them into potato salad, egg salad, or grain bowls for an unexpected burst of flavor and texture. Don’t be afraid to experiment; their tangy crunch can brighten up almost any meal!
This recipe for pickled Brussels sprouts is carefully adapted from The All New Ball Book of Home Canning and Preserving and is a thoroughly tested canning recipe, ensuring both safety and delicious results.
Like this recipe? We’d love to hear your thoughts! Leave a comment below and share your pickling adventures.
More Delicious Pickling Recipes to Try
If you’ve enjoyed the process of pickling and are looking for more simple and satisfying recipes to expand your pantry, here are some fantastic suggestions:
- Pickled Corn Salad
- Pickled Three Bean Salad
- Pickled Green Tomatoes
- Pickled Green Beans (Dilly Beans)
- Pickled Jalapenos
- Pickled Fiddleheads
Embrace the Season with Autumn Canning Recipes
Keep your canner warm and busy throughout the fall season with these wonderful recipes that capture the essence of autumn’s harvest:
- Cranberry Apple Jam
- How to Make Fruit Butter
- Pear Butter
- Pear Sauce