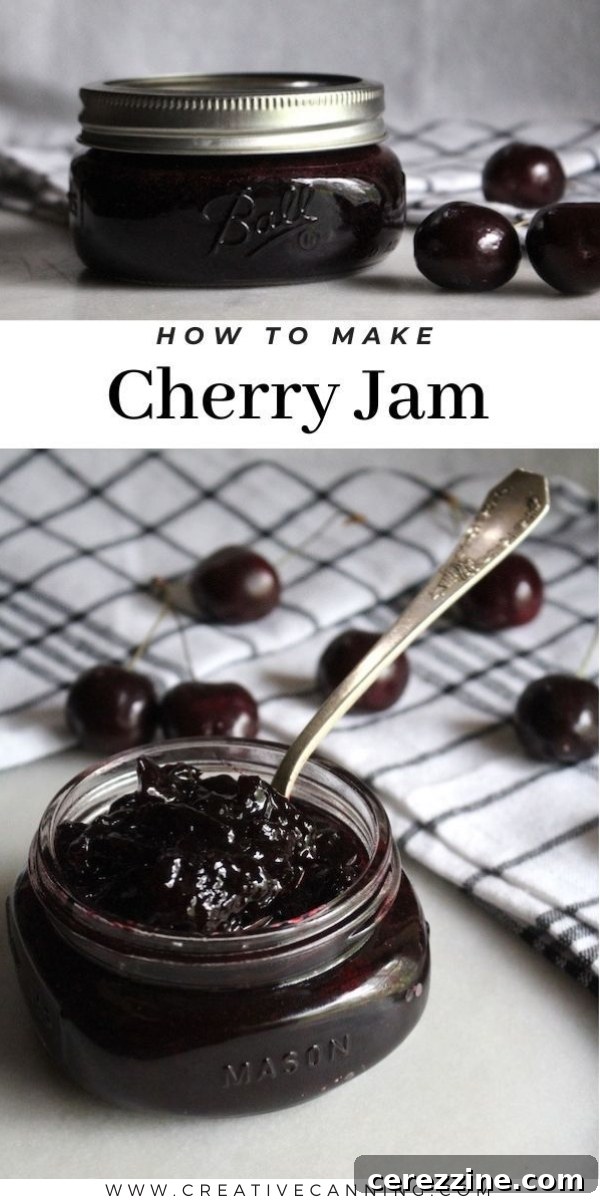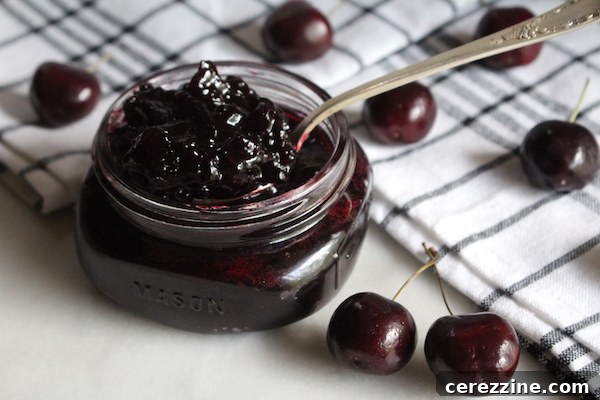
There’s an undeniable charm and depth of flavor that only homemade cherry jam can offer. Forget the mass-produced jars on supermarket shelves; crafting your own allows you to capture the peak sweetness and tartness of fresh cherries. This versatile recipe empowers you to create delicious jam from any variety of cherries. Black cherries, with their intense, almost wine-like flavor and deep, jewel-toned hue, make an exceptionally rich jam. Sour cherries, on the other hand, brighten up beautifully when sweetened, maintaining their vibrant red color and offering a delightful tang. Even delicate Rainier cherries can be transformed into a delectable spread with this straightforward approach to jam making.
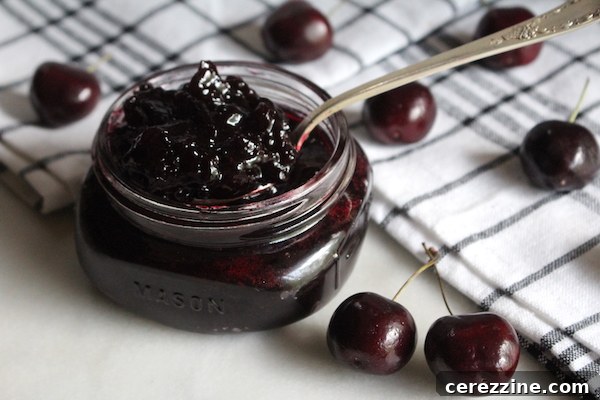
The satisfaction of spreading a spoonful of homemade cherry jam on your morning toast is truly unparalleled. It’s an easy project to undertake at home, especially during the summer months when cherries are abundant and at their freshest. Finding authentic black cherry jam in stores can be a real challenge, but with fresh black cherries readily available during their season, you can enjoy this gourmet treat whenever you desire.
Whether you’re fortunate enough to harvest fresh, sun-ripened cherries directly from your own backyard trees or you’re picking up a bounty of sweet cherries from your local farmer’s market or grocery store, you’ll be whipping up luscious homemade cherry jam in no time at all. This recipe is designed to be simple, ensuring even novice preservers can achieve a perfect batch of glossy, flavorful jam.
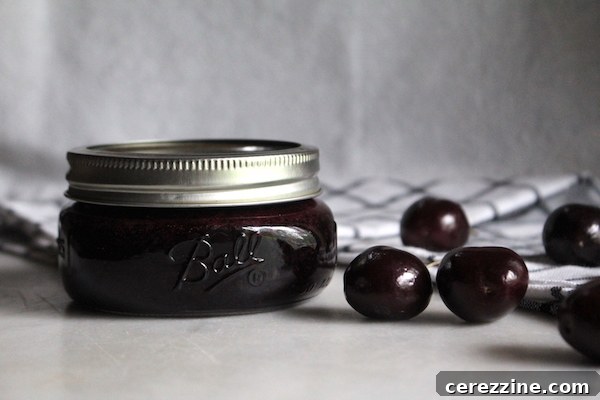
Essential Ingredients for Perfect Black Cherry Jam
Making a truly exceptional homemade black cherry jam requires just three core ingredients. Simplicity is key to letting the natural fruit flavor shine. For a batch that yields approximately three half-pint (8 oz) jam jars, you’ll need the following:
- 2 lbs. black cherries, unpitted (refer to guidance below for pitted weight)
- 2 cups granulated sugar (approximately 1 pound)
- 1/4 cup fresh or bottled lemon juice
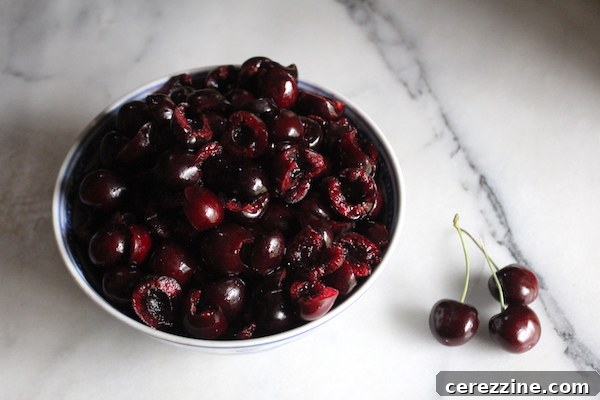
When purchasing whole cherries, aim for 2 pounds. This quantity typically translates to about 1 ¾ pounds of cherries once the pits have been removed. If you happen to start with already pitted and halved cherries, you’ll need approximately 5 cups for this recipe. Precision in measurement, especially for the fruit, ensures the correct fruit-to-sugar ratio for optimal setting and flavor.
One of the many advantages of using black cherries for jam is their naturally high pectin content, particularly within their skins. This means you won’t need to add any commercial pectin to achieve a beautiful, firm set. Furthermore, black cherries boast a good level of natural acidity, which is crucial for activating the pectin and contributing to the overall balance and safety of the jam. The natural pectin in these cherries reacts with the sugar and acid to create that wonderful gelled texture we all love.
The addition of lemon juice serves a dual purpose: it boosts the acidity, further aiding the pectin in setting the jam, and it subtly brightens the rich cherry flavor without overpowering it. While its tartness helps balance the sweetness, the lemon flavor itself is barely discernible in the final product. You can confidently use either freshly squeezed lemon juice for an extra touch of brightness or bottled lemon juice for convenience; both will work perfectly.
With your fresh black cherries, granulated sugar, and a touch of lemon juice gathered, you are now perfectly poised to begin your delightful journey into homemade jam creation!
Step-by-Step Guide: Crafting Your Own Cherry Jam
The journey to exquisite homemade cherry jam begins with proper cherry preparation. First, thoroughly rinse your whole cherries under clean, cool water to remove any dirt or debris. Next, carefully remove all the stems. This seemingly small step is vital for ensuring a clean, enjoyable jam texture.
If you’re as passionate about cherries and black cherry jam as I am, and anticipate making jam regularly or canning cherries annually, investing in a good quality cherry pitter is highly recommended. These handy tools are surprisingly affordable and will dramatically reduce the time and effort involved in removing the pits. They are incredibly efficient, saving your fingers from staining and simplifying the entire process. As an added bonus, many cherry pitters are also effective for pitting olives!
I personally use a simple cherry pitting tool that is so user-friendly, I often delegate the task to my children. It turns pitting into a fun, competitive activity for my preschoolers, who eagerly vie to see who can pit the most cherries. This makes the preparation process a joy, not a chore.
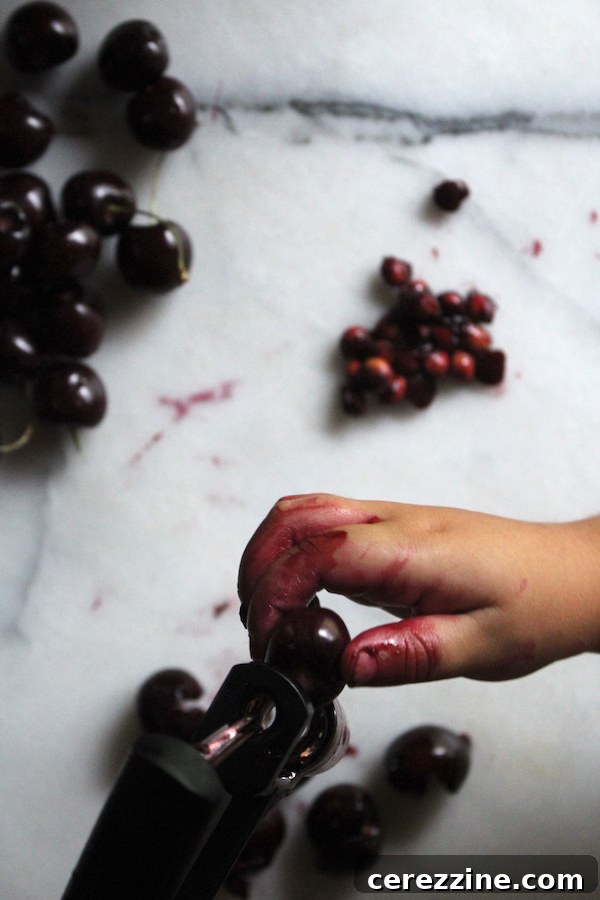
Should you not have a cherry pitter on hand, a small paring knife works just as well. Simply slice each cherry in half and carefully use the tip of the knife to extract the pit. Be sure to discard all pits, as they contain compounds that can be harmful if consumed in large quantities. Once pitted, collect your prepared cherries in a bowl, along with any juices that accumulate.
After pitting, you might want to chop the cherries a bit further before cooking. The size you cut them will dictate the texture of your finished jam. For a chunkier, more rustic jam, you can leave them in larger pieces or simply halved. If you prefer a smoother, more spreadable jam, chop them into smaller, more uniform pieces. The choice is entirely up to your personal preference. After pitting and halving or chopping, you should have approximately 5 cups of prepared cherries.
Now, it’s time to combine your ingredients. Transfer the pitted cherries and any accumulated juice into a medium-sized, heavy-bottomed saucepan. Add the 2 cups of granulated sugar directly over the cherries. Finally, pour the 1/4 cup of lemon juice on top. Stir all the ingredients together thoroughly to ensure they are well blended.
Begin cooking the mixture over medium heat, stirring frequently. As the mixture gently heats, the cherry and lemon juices will slowly dissolve the sugar, transforming into a thin, glistening syrup with the cherry pieces suspended within. Continue stirring to prevent any sugar from sticking to the bottom of the pan and burning.
Once the sugar has fully dissolved and the mixture is warm, increase the burner temperature to high. Bring the cherry mixture to a vigorous, rolling boil. It’s crucial to stir often at this stage to prevent scorching, which can ruin the flavor and color of your jam. Maintain this high heat and stirring for about 15-20 minutes, or until the jam reaches the crucial gel stage. You can accurately measure this stage using a candy thermometer; the target temperature is 220 degrees Fahrenheit (104 degrees Celsius). At this temperature, the pectin has been activated, and the jam will set correctly upon cooling.
To test for the gel stage without a thermometer, you can use the “cold plate” method. Place a small plate in the freezer before you start cooking. When you think the jam is ready, spoon a small amount onto the cold plate, wait 30 seconds, then push it with your finger. If it wrinkles, it’s ready. If not, continue cooking for a few more minutes and retest.
Once your jam has reached the perfect gel stage, carefully remove it from the heat. Ladle or pour the hot jam into your prepared jars or containers. Remember to leave a ¼” headspace at the top of each jar. This headspace is essential for proper sealing if you plan to can the jam, or to allow for expansion if you’re freezing it.
Using a clean, damp cloth, meticulously wipe the rim of each container to remove any drips or sticky residue. A clean rim is vital for ensuring a good seal.
For immediate enjoyment or short-term storage, cherry jam is incredibly easy to keep fresh in your refrigerator or freezer. In the refrigerator, your homemade jam will remain fresh and delicious for several weeks. For longer preservation, it can be stored in the freezer for up to 6 months. If you choose to freeze your jam, make sure to use freezer-safe containers and lids, which are designed to withstand freezing temperatures without cracking. Allow the hot jam to cool completely for several hours at room temperature before placing the containers in the refrigerator or freezer. They should be cool enough to handle comfortably without the need for a hot pad.
For extended shelf life, canning your jam is the ideal method, allowing you to store it for 18 months or even longer when properly processed and kept in a cool, dry pantry. If you intend to can your jam, please refer to the detailed canning instructions provided below.
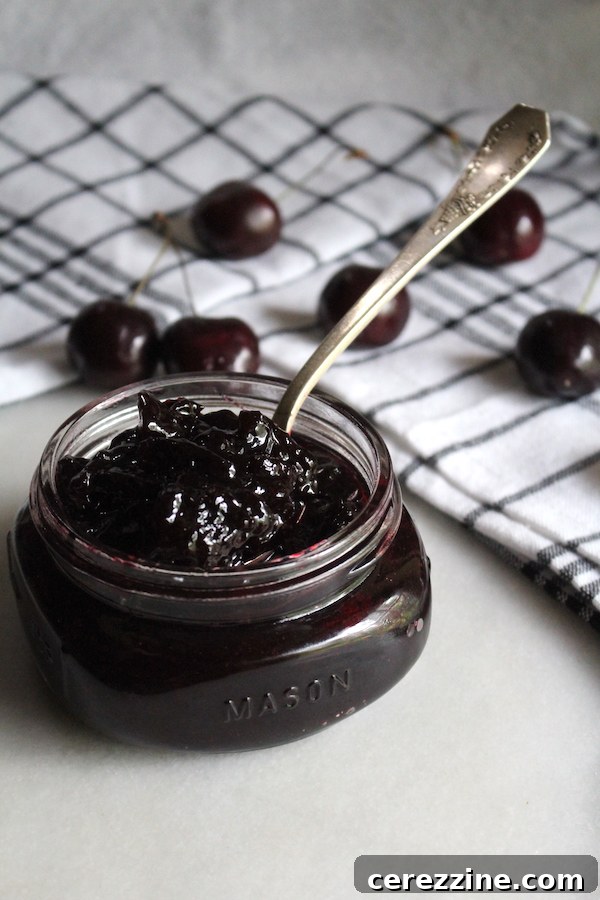
Exciting Black Cherry Jam Variations
Black cherries possess a wonderful depth that makes them an excellent base for blending with other fruits, opening up a world of delightful jam variations. Experimenting with different fruit combinations can yield truly unique and flavorful spreads.
One of my absolute favorite combinations is black cherry and raspberry jam. The bright tartness of raspberries beautifully complements the rich sweetness of black cherries. To create this blend, simply divide the total 5 cups of fruit (after pitting) into roughly equal parts, using about 2 ½ cups of pitted cherries and 2 ½ cups of raspberries. You can adjust this ratio to your liking, as long as the total fruit volume remains 5 cups. Crucially, retain the 1/4 cup of lemon juice; it ensures there’s ample acidity to activate the natural pectin from both fruits, guaranteeing a good set without needing extra pectin.
Beyond raspberries, black cherries also marry well with other stone fruits and berries. Consider combining them with the exotic notes of blood oranges, the succulent sweetness of peaches or apricots, the rich complexity of plums, the aromatic tartness of quince, or the unique tang of rhubarb. Each addition will bring a distinct character to your cherry jam.
Another fantastic option for elevating this black cherry jam is to infuse it with vanilla. Vanilla adds a warm, aromatic note that deepens the fruit flavor and creates a truly gourmet spread. You can achieve this by using either one vanilla bean or three teaspoons of high-quality pure vanilla extract. If using a vanilla bean, split it lengthwise and scrape out the tiny seeds, adding both the seeds and the pod to the jam as it cooks. Remove the pod before jarring. If using extract, stir it in just after the jam comes off the heat, before pouring into jars, to preserve its delicate aroma.
Safely Canning Your Black Cherry Jam for Long-Term Storage
For those who wish to enjoy their homemade black cherry jam year-round or gift it to loved ones, water bath canning is an excellent preservation method. Before you even begin cooking your jam, it’s essential to prepare your water bath canner and sterilize your jars. If you are new to the world of water bath canning, I highly recommend consulting a comprehensive beginner’s guide to water bath canning to familiarize yourself with the process and ensure safety.
Once your delicious jam has reached the optimal gel stage and is piping hot, carefully ladle it into your preheated, sterilized jars. It is critical to leave a precise ¼” headspace at the top of each jar. This ensures proper vacuum sealing and prevents spoilage. Avoid overfilling the jars, as this can interfere with the sealing process. A dedicated canning funnel equipped with headspace measurements is an invaluable tool that makes this step much easier and significantly reduces mess.
After filling, meticulously wipe the rims of the jars with a clean, damp cloth. Any jam residue on the rim can prevent a proper seal. Apply two-part canning lids (flats and bands), tightening the bands to fingertip tight. This means screwing them on until you feel resistance, then giving them just a slight extra turn.
If you find yourself with a jar that is only partially filled, do not attempt to can it. Partially filled jars do not create a safe vacuum seal. Instead, simply place this jar in the refrigerator for immediate consumption.
Should you have a small amount of jam remaining after filling your full jars – perhaps just a bit more than three jars – a delightful treat awaits! I often pour this remainder into a shallow bowl or saucer, allow it to cool and set on the counter, and then enjoy it later the same day as a well-deserved reward for all the hard work.
Gently load the filled jars into your preheated water bath canner, ensuring they are fully submerged in water by at least an inch. Bring the canner to a full, rolling boil. Once the water reaches a vigorous boil, start your timer. Process the jars for 10 minutes. If you live at an altitude above 6,000 feet, you will need to increase the processing time to 15 minutes to account for the lower boiling point of water. Always consult reliable canning resources for altitude adjustments.
Once the processing time is complete, turn off the heat and carefully remove the canner lid. Allow the jars to rest in the hot water for 5 minutes before removing them. This helps prevent siphoning (loss of liquid from the jars). Using a jar lifter, carefully remove the hot jars from the canner and place them on a towel-lined counter, leaving some space between each jar to allow for even cooling. Do not disturb the jars for 12-24 hours. After 24 hours, check all seals by pressing the center of each lid. If the lid does not flex, it is sealed. Any jars that have not sealed should be stored in the refrigerator for immediate use.
Store your properly canned jam in a cool, dark, and dry pantry or cellar. Under optimal storage conditions, it will maintain its peak quality on the shelf for approximately 18 months, though it will often remain safe to eat beyond that period as long as the seal remains intact. Always refrigerate the jam promptly after opening.
Creative Ways to Savor Your Black Cherry Jam
Black cherry jam is far too versatile to be confined solely to breakfast toast! Its unique balance of sweet and subtly tart flavors makes it a fantastic accompaniment to a wide array of dishes, both sweet and savory.
For a sophisticated culinary experience, black cherry jam makes an excellent side sauce or glaze for wild game. Its robust flavor profile beautifully enhances dishes like pheasant, goose, duck, or venison, cutting through the richness of the meat with a burst of fruity brightness. Try reducing a spoonful with a splash of balsamic vinegar for an even deeper, more complex sauce.
I also particularly enjoy using black cherry jam as a luscious glaze on grilled pork chops or pork loin. Brush it on during the last few minutes of cooking for a caramelized finish and an exceptional flavor boost that will impress any diner. It also works wonderfully as a component in marinades for poultry or pork.
Of course, the classic applications remain unbeatable: black cherry jam is absolutely perfect spread generously on warm toast, flaky croissants, chewy English muffins, or freshly baked biscuits. Its rich texture and vibrant taste elevate these simple staples into something truly special.
Beyond breakfast pastries, consider topping your favorite fruit muffins – whether blueberry, raspberry, or apple-cinnamon – with a dollop of black cherry jam. The combination of fruit flavors creates a harmonious and delightful treat. For an even more integrated flavor, try adding a tablespoon or two of black cherry jam directly into your homemade muffin batter (for blueberry or raspberry muffins). It acts as a secret ingredient, infusing the muffins with deeper fruit notes and contributing to a wonderfully moist crumb.
Don’t limit its use to just breakfast! Black cherry jam can be a star in desserts. Swirl it into plain yogurt or oatmeal for an elevated breakfast or snack. Use it as a filling for tarts, thumbprint cookies, or even a layer in a sponge cake. It can also be warmed and drizzled over vanilla bean ice cream or stirred into a chocolate milkshake for a decadent twist. The possibilities are truly endless for this homemade delight.
Cherry Jam Recipe
Equipment
-
Water Bath Canner
Ingredients
- 2 lbs black cherries, or 5 cups pitted and halved
- 2 cups granulated sugar
- 1/4 cup lemon juice
Instructions
-
Wash the cherries, and remove the stems and pits.
-
Cut the cherries in half or into smaller pieces if preferred for a smoother jam.
-
Place the cherries and any captured juice into a medium saucepan.
-
Add 2 cups of sugar and 1/4 cup of lemon juice, and stir to mix thoroughly.
-
Over medium heat, stir the cherry mixture constantly until the sugar is completely dissolved and the liquid has formed a thin syrup.
-
Increase the heat to high and bring the mixture to a vigorous, rolling boil, stirring often to prevent scorching.
-
Boil the black cherry jam for about 15-20 minutes, or until the temperature reaches the gel stage at 220°F (104°C) using a candy thermometer.
-
Ladle or pour the hot jam into prepared jars or containers. Leave 1/4 inch headspace for canning, or 1 inch headspace if you plan to freeze the jam.
-
Preserve the jam using a hot water bath canning method as described in the article, or allow the jam to cool completely before refrigerating or freezing until ready to eat.
-
If canning, process in a water bath canner for 10 minutes (15 minutes if above 6,000 feet in elevation). After 24 hours, check seals and store any unsealed jars in the refrigerator for immediate use.
-
Properly canned and sealed jars of cherry jam will maintain quality on the pantry shelf for 12-18 months. Always refrigerate after opening.
Nutrition
Nutrition information is automatically calculated, so should only be used as an approximation.
Like this? Leave a comment below!
More Old-Fashioned Jam Recipes (No Added Pectin)
If you cherish the traditional method of jam making, relying solely on the natural pectin in fruit, sugar, and a touch of acid, then these classic recipes are for you. Experience the true essence of fruit, with a little bit of love in every jar:
- Homemade Raspberry Jam
- Cranberry Apple Jam
- Delicious Nectarine Jam
- Classic Apricot Jam
- Sweet Persimmon Jam
Essential Summer Fruit Canning Recipes
Are you planning to preserve more of summer’s bounty? Extend the flavors of the season with these fantastic fruit canning recipes, perfect for stocking your pantry:
- Canning Fresh Peaches
- Canning Juicy Plums
- Canning Sweet Blueberries
- Canning Ripe Blackberries
- Canning Abundant Raspberries