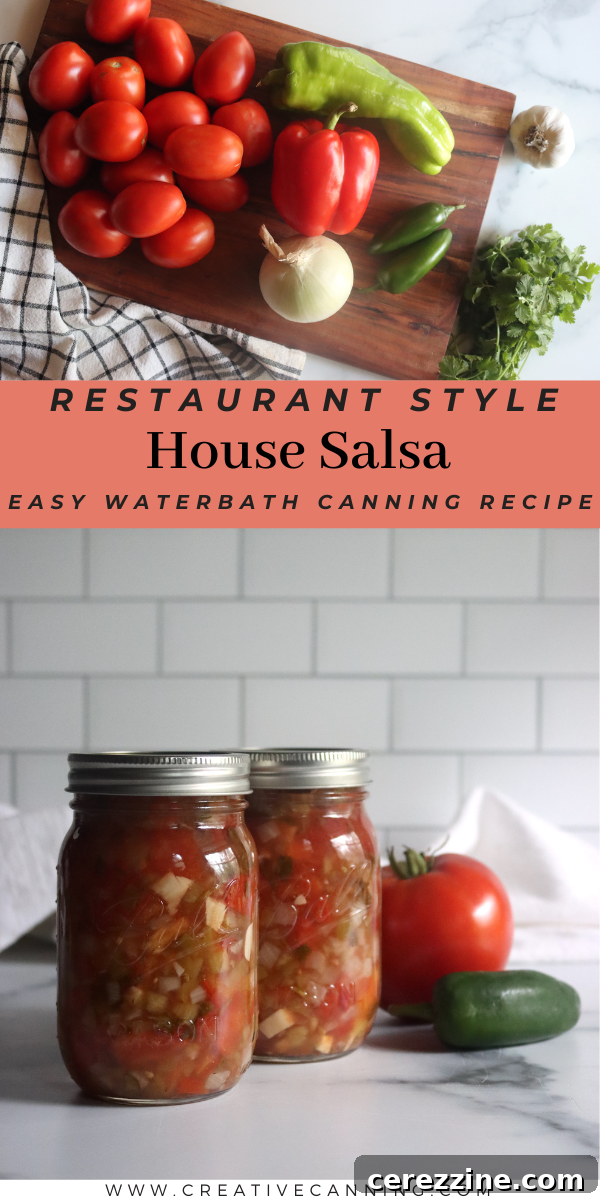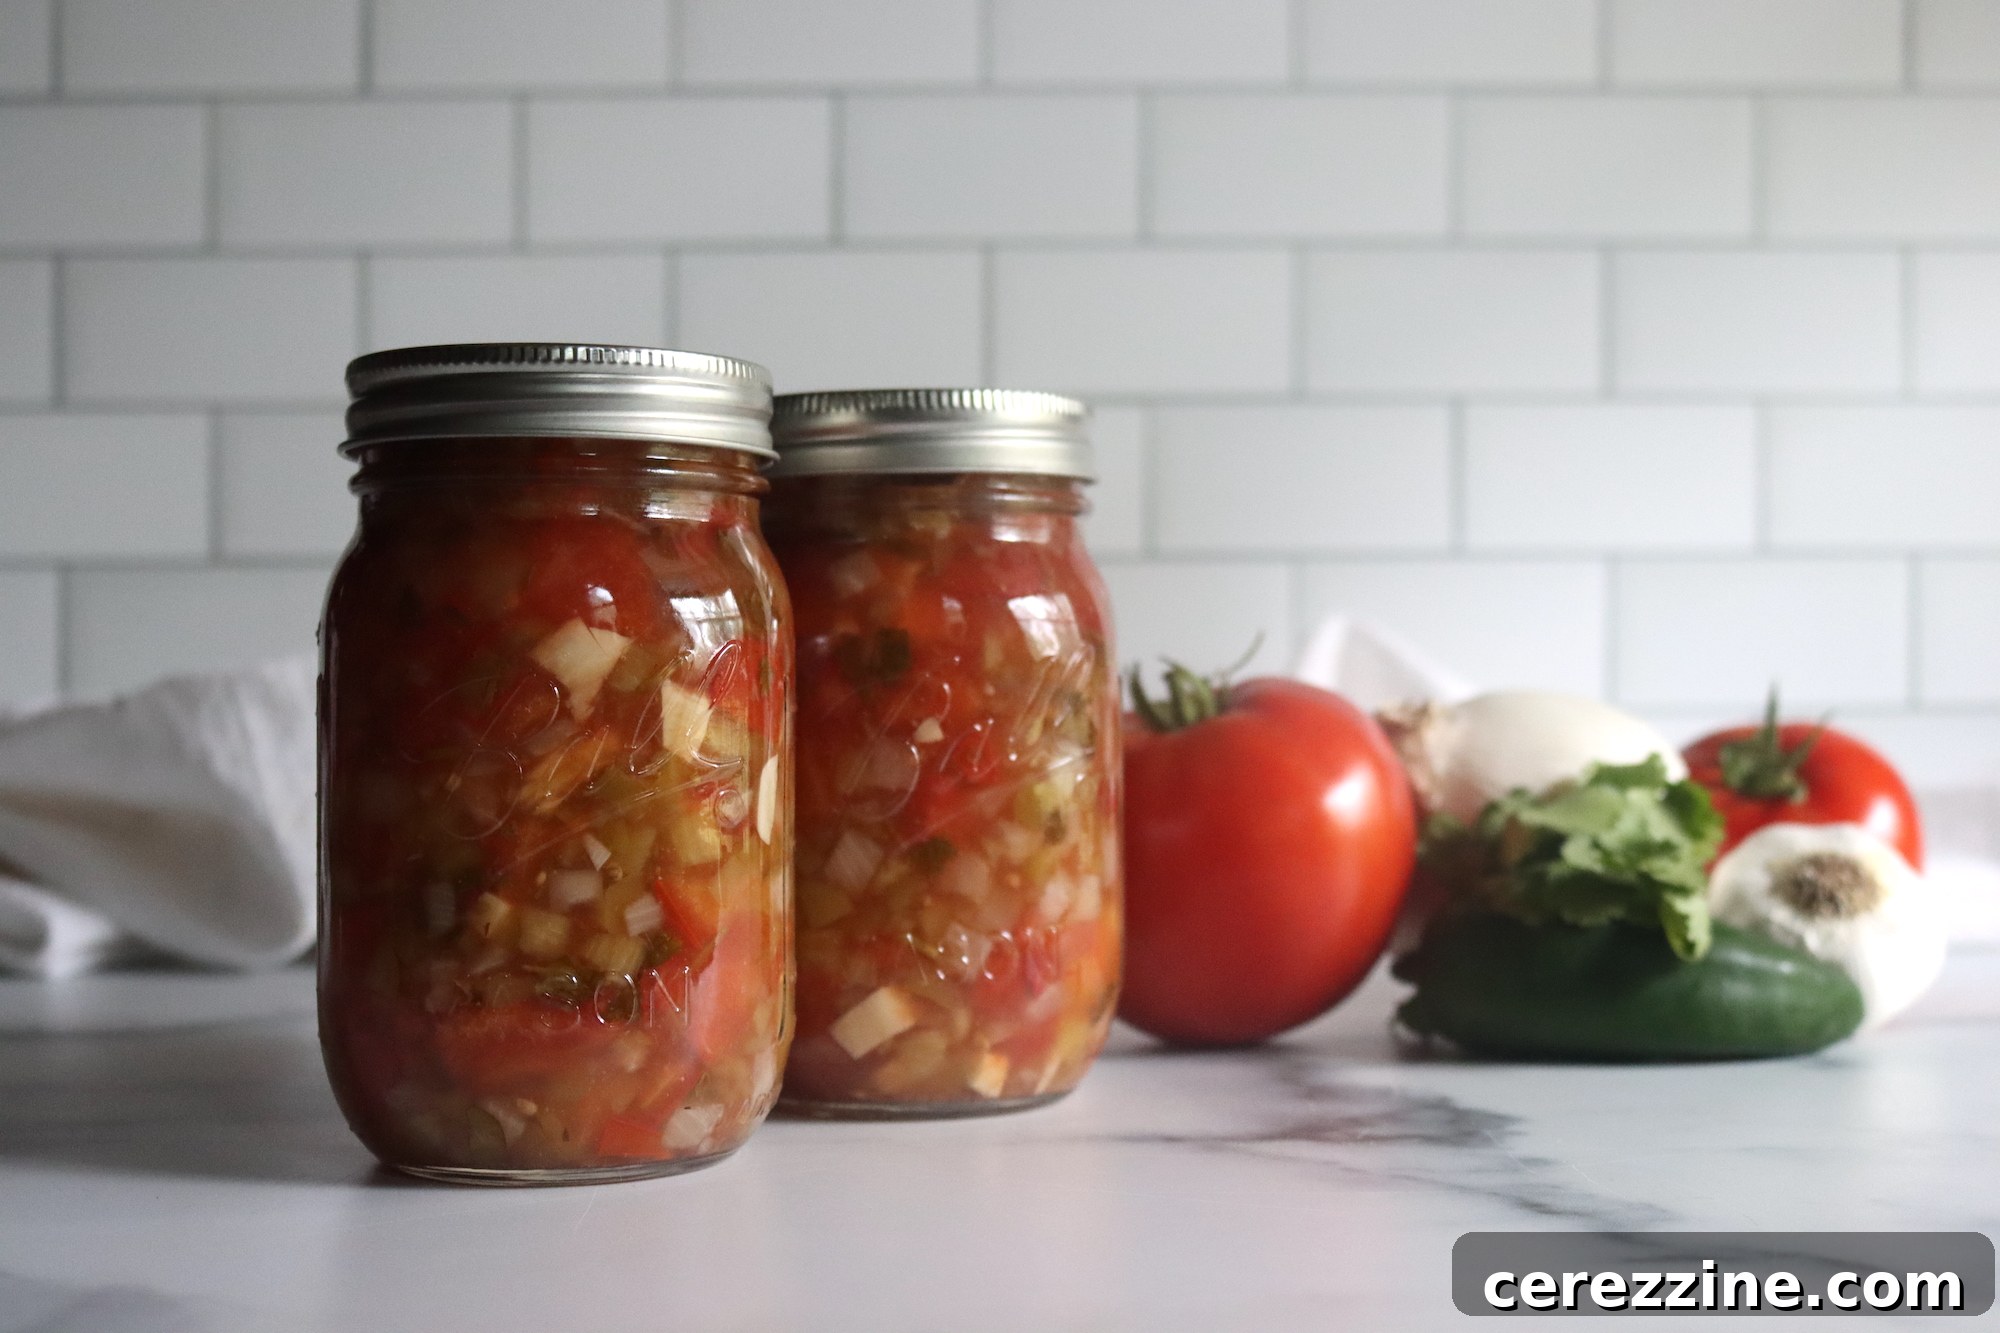
Welcome to the taste of your favorite Mexican restaurant, right in your own home! This incredible house salsa recipe isn’t just quick and easy to make; it’s also perfectly suited for canning, allowing you to enjoy that authentic flavor all year round. Imagine pulling a jar of vibrant, homemade salsa from your pantry, ready to elevate any meal or snack. This recipe captures the essence of those beloved restaurant-style salsas, characterized by their fresh ingredients and a delightfully rustic texture.
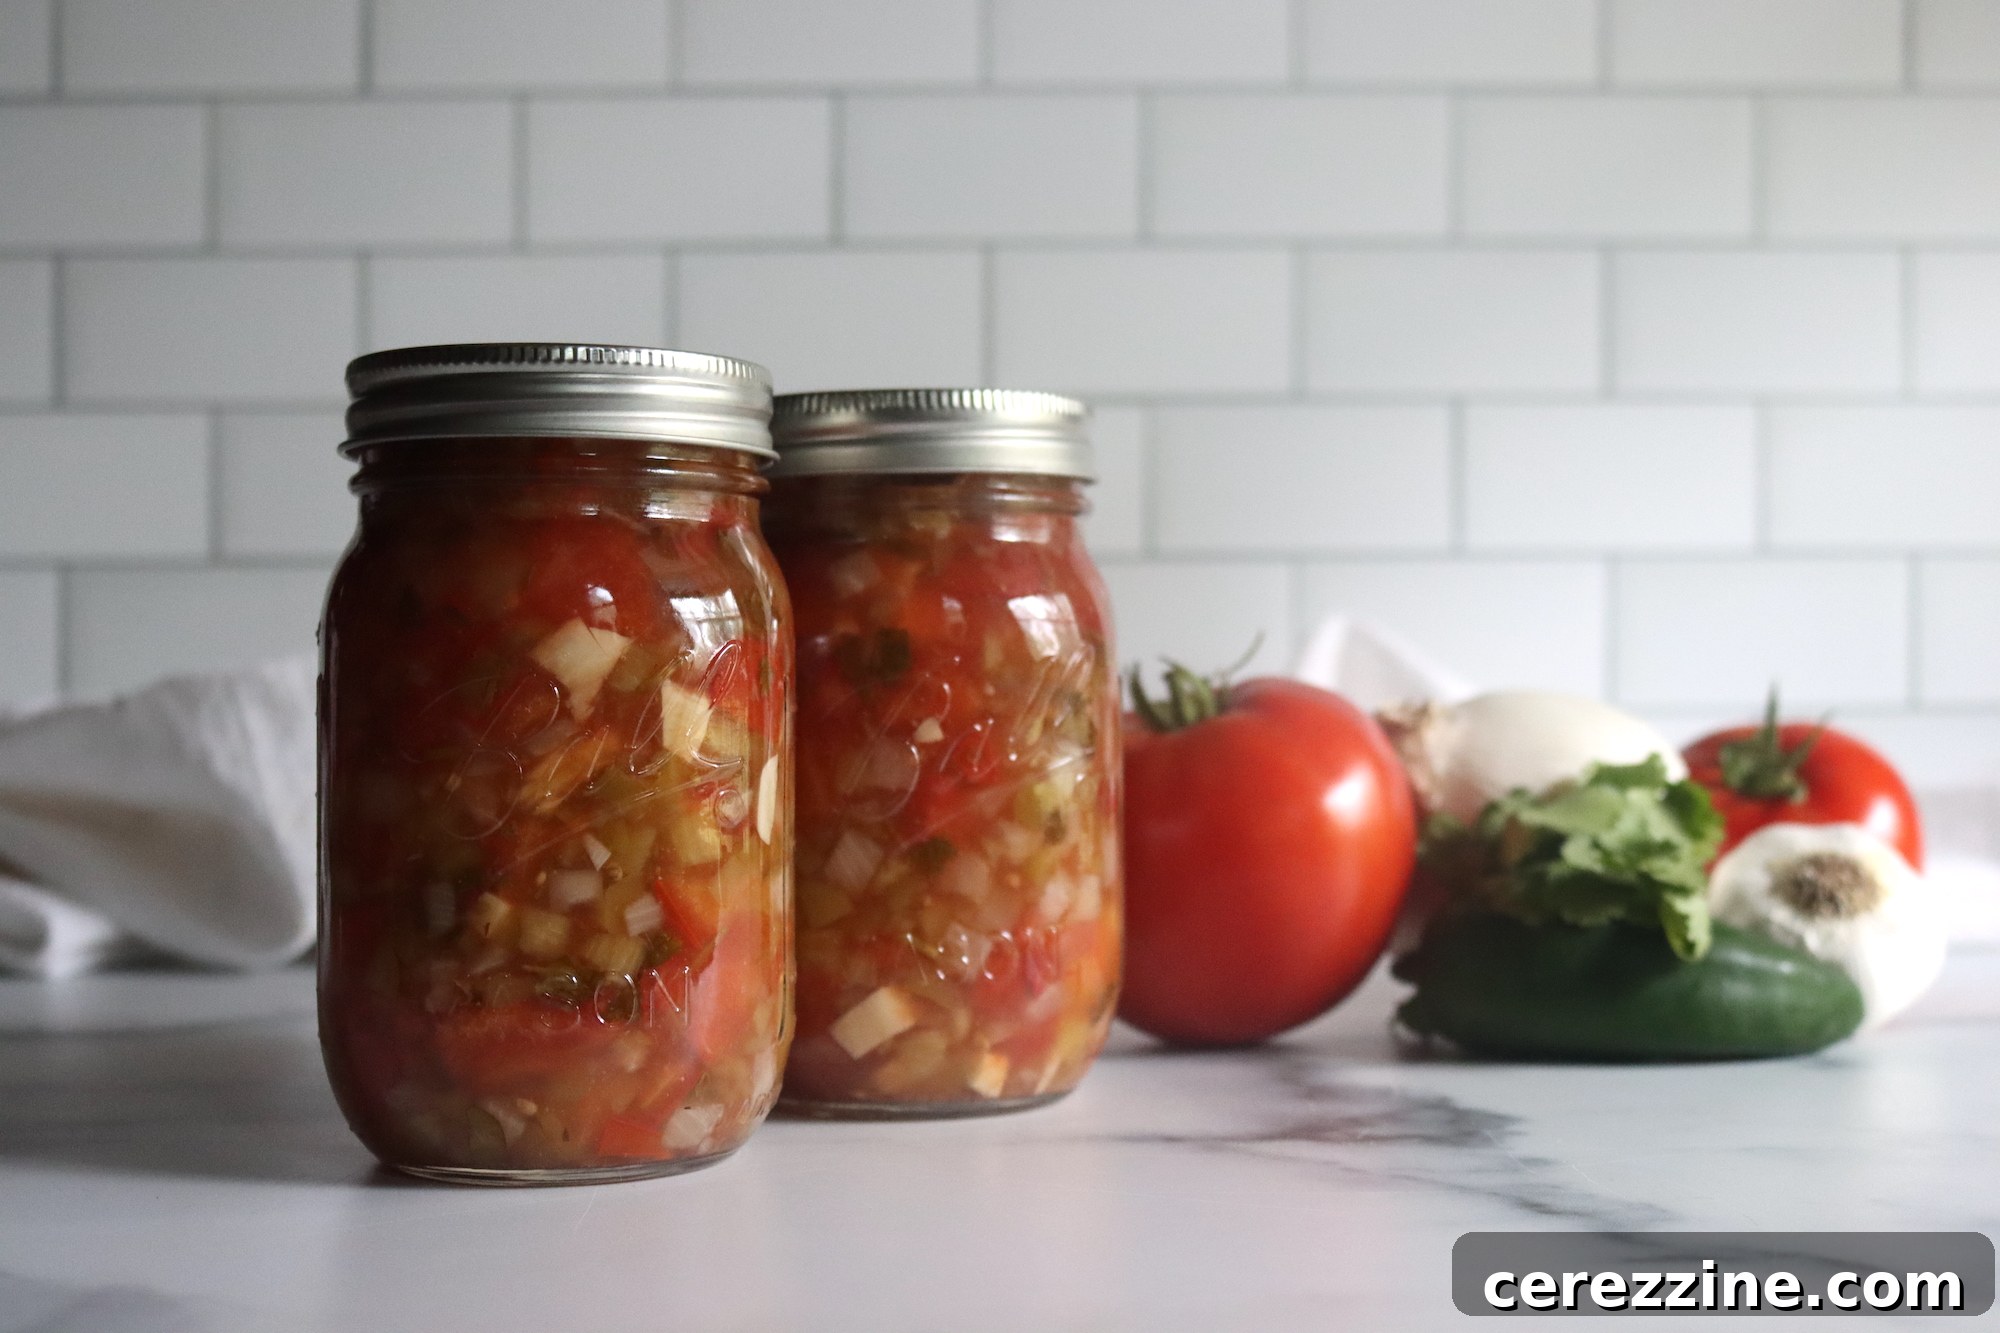
Growing up near Los Angeles, the simple house salsa served at nearly every Mexican eatery was a staple. It’s the inviting starter that arrives with a basket of warm, crispy tortilla chips, perfectly whetting your appetite as you peruse the menu. There’s something truly special about its straightforward charm, a freshness that feels both authentic and comforting. This recipe aims to replicate that experience, bringing the genuine flavor of a West Coast Mexican restaurant directly to your kitchen.
What makes this particular salsa recipe stand out, beyond its delicious flavor, is its incredible simplicity and adaptability. This makes it an ideal candidate for large-batch home canning. Unlike many traditional salsa recipes that demand the tedious task of peeling tomatoes, this recipe embraces efficiency without sacrificing taste or safety. The tomato peels are left on, contributing to a richer texture and ensuring the salsa holds up beautifully after canning. It’s a win-win: less prep work for you, and a robust, flavorful salsa ready for your pantry.
The Secret to Effortless & Flavorful No-Peel House Salsa
One of the most appealing aspects of this restaurant-style house salsa is its minimal fuss. Traditional canning often involves blanching and peeling tomatoes, a time-consuming step that can deter even enthusiastic home canners. However, this recipe, carefully adapted from The Ball Complete Book of Home Preserving, is specifically tested and approved for use with unpeeled tomatoes. This means you save significant time and effort in the kitchen, making the canning process much more enjoyable and accessible.
Leaving the peels on offers more than just convenience. The tomato skins actually add a subtle, desirable texture to the finished salsa, preventing it from becoming overly mushy or thin during the cooking and canning process. They contribute to the salsa’s body, giving it a hearty, rustic feel that is characteristic of authentic house-style preparations. Plus, you retain all the beneficial nutrients found just beneath the skin. This no-peel method ensures your homemade salsa is not only delicious and safe for canning but also boasts a wonderful, consistent texture that you’ll love with every scoop.
This recipe provides instructions for making a canner batch of approximately 4 pints, perfect for stocking your pantry. The versatility of this salsa also means you can easily customize it to your preferred spice level and flavor profile, making it a truly personal culinary creation.
Ingredients for Your Authentic House Salsa
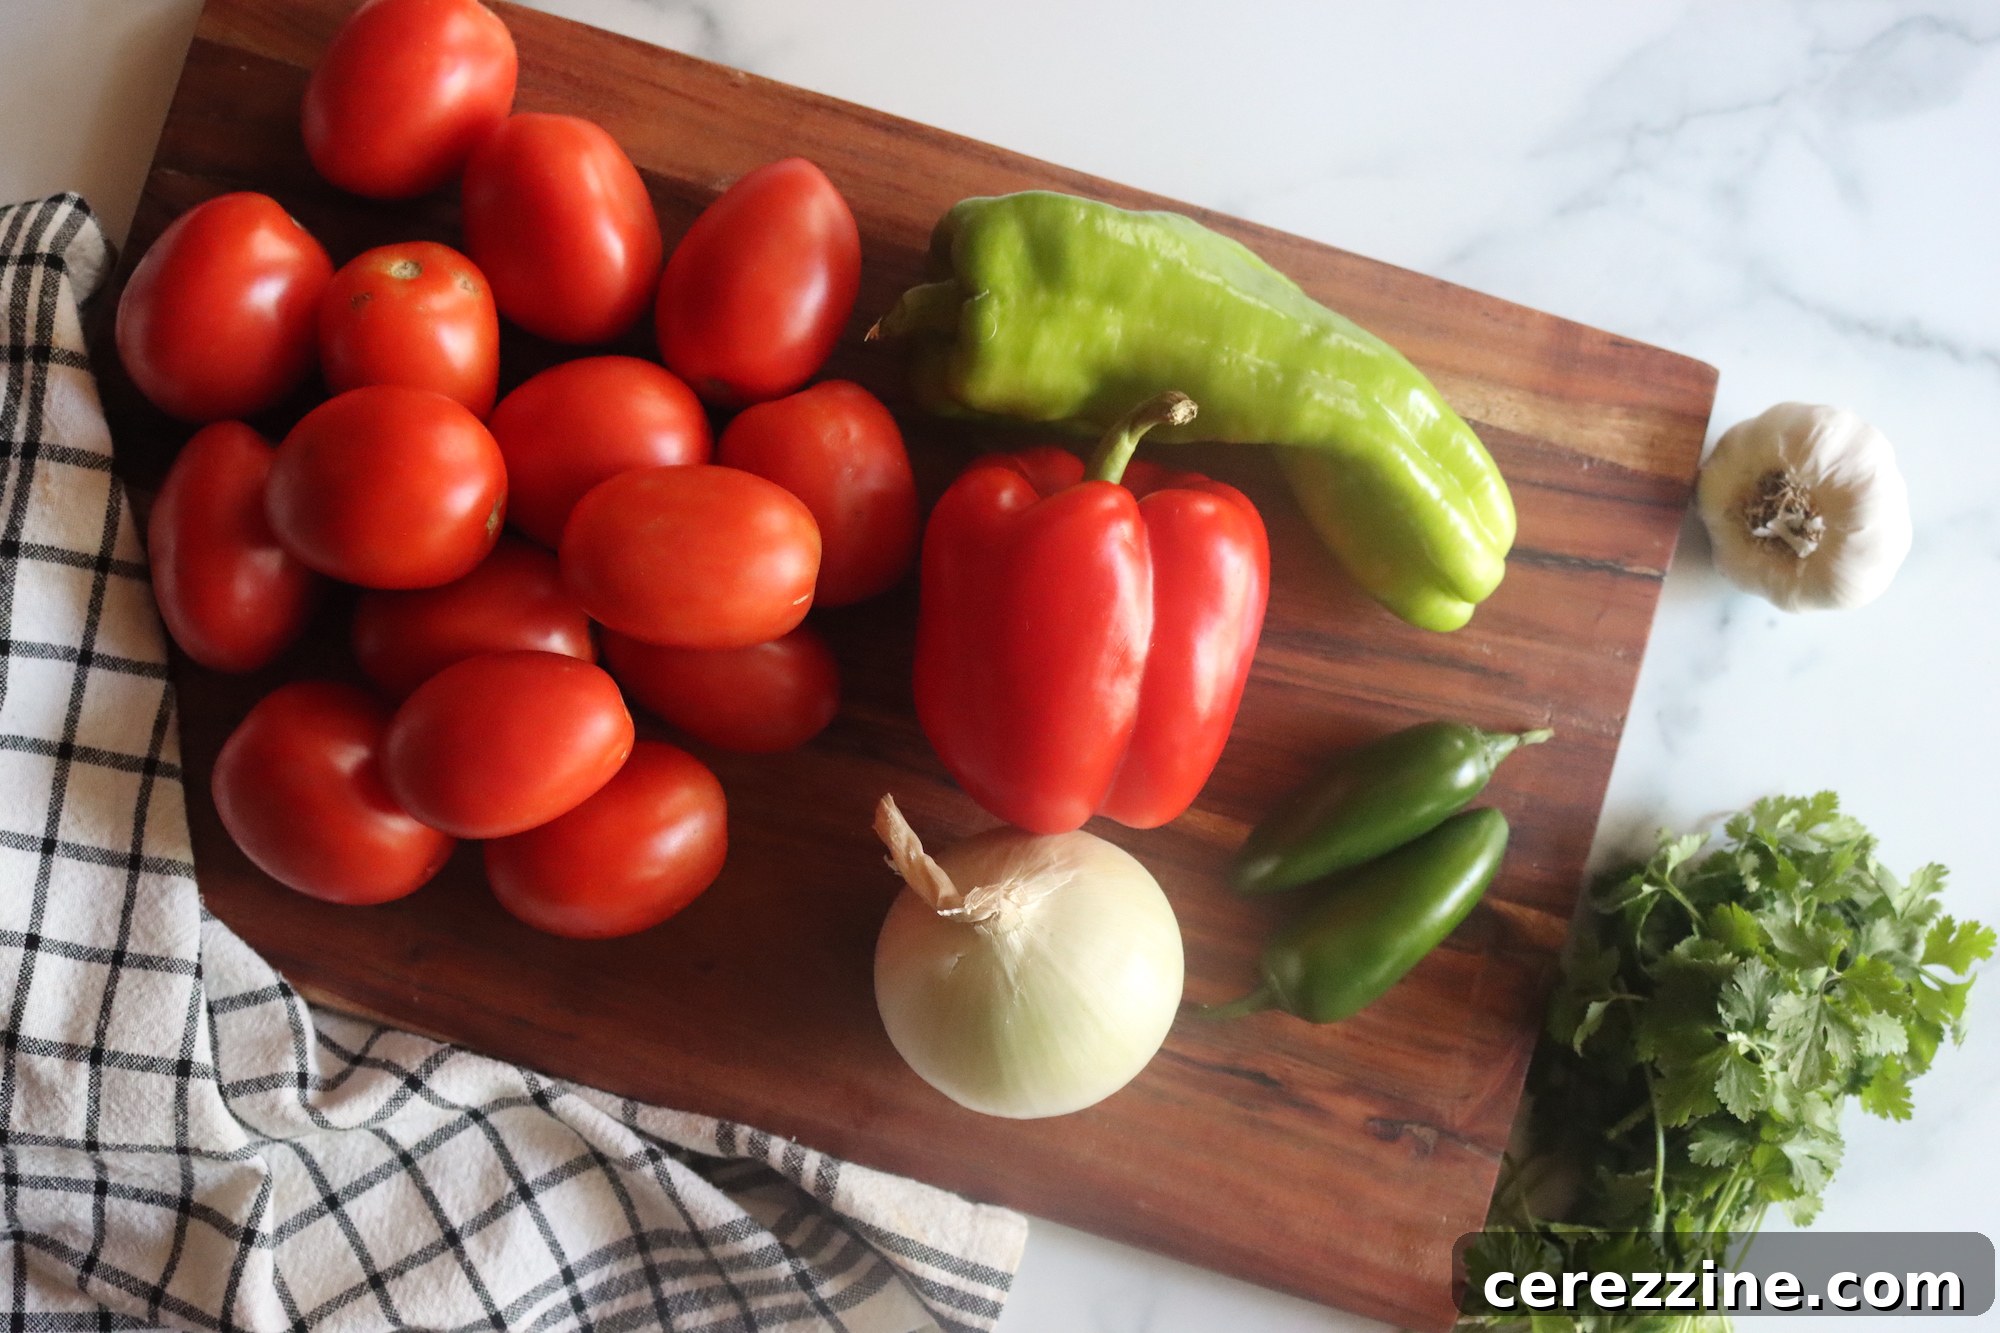
Crafting this simple yet profoundly flavorful house salsa requires a careful selection of fresh, high-quality ingredients. This tested canning recipe is designed for safety and taste, ensuring a superior product every time. For a standard batch yielding 4 pints, gather the following:
- 10 cups plum tomatoes, thoroughly seeded, cored, and coarsely chopped. Plum tomatoes are preferred for their firm flesh and lower water content, which is ideal for salsa.
- 2 cups peppers, chopped and seeded. You can use a mix of bell peppers (for mildness) and jalapeños or serranos (for heat), adjusting to your preference.
- 1 ½ cups chopped onions. White or yellow onions work best, providing a foundational savory note.
- 1 cup fresh cilantro, chopped and loosely packed. Fresh cilantro is crucial for that authentic Mexican flavor.
- 1 cup cider vinegar. This is a critical ingredient for canning safety, providing the necessary acidity. Do not reduce this amount.
- 1 tablespoon minced garlic. Freshly minced garlic offers the best aroma and taste.
- 1 tablespoon dried oregano. Mexican oregano is traditional, but standard dried oregano works beautifully too.
- 1 tablespoon sugar. A touch of sugar helps balance the acidity of the tomatoes and vinegar.
- 1 tablespoon hot sauce (or 3 chipotles in adobo, seeded and minced). This allows you to control the heat. Chipotle peppers add a wonderful smoky depth.
- 1 ½ teaspoons ground cumin. Cumin is essential for the characteristic earthy, warm flavor of Mexican salsa.
- 1 ½ teaspoons salt. Salt enhances all the flavors; feel free to adjust to your taste.
While many salsa recipes insist on peeling tomatoes, the beauty of this particular Ball Canning tested recipe is that it explicitly allows you to keep the peels on. For an appealing and consistent texture, I personally recommend dicing the tomatoes into small ¼-inch pieces. However, a coarser chop will also yield fantastic results, adding to the rustic charm of this homemade house salsa.
Flavorful Variations for Your House Salsa
This base recipe is incredibly versatile, allowing for delicious adaptations. For those who appreciate a smoky kick, consider a chipotle salsa variation. Simply substitute the 1 tablespoon of hot sauce with 3 finely chopped chipotle peppers in adobo sauce. This will infuse your salsa with a deep, smoky heat that is absolutely divine.
If fresh tomatoes aren’t readily available or you prefer the convenience, you can make this recipe with canned tomatoes. Substitute 6 ⅓ cups (approximately 1.575 liters) of thoroughly drained canned diced tomatoes. This usually equates to four 28-ounce cans of whole tomatoes, or one extra-large 100 oz can, which you’ll need to chop and drain thoroughly before incorporating into the recipe. Proper draining is key to maintaining the correct consistency and acidity for safe canning.
Simple Steps to Craft Your House Salsa
Beyond gathering your fresh ingredients, the preparation of this house salsa is remarkably straightforward, emphasizing ease and efficiency. You don’t need to be a culinary expert to achieve outstanding results.
Begin by ensuring all your ingredients are prepped as specified: tomatoes seeded, cored, and chopped; peppers and onions chopped and seeded; cilantro loosely packed and chopped; garlic minced. Precision in chopping can affect the final texture, so aim for a consistent size. Once prepared, simply combine all the ingredients—the chopped tomatoes, peppers, onions, fresh cilantro, cider vinegar, minced garlic, dried oregano, sugar, hot sauce (or chipotles), ground cumin, and salt—into a large stockpot or Dutch oven. A large pot is essential to prevent overflow once the mixture starts boiling.
Give all the ingredients a thorough mix to ensure everything is well combined and the flavors can begin to meld. Place the pot on your stovetop and bring the mixture to a full boil over medium-high heat. Once it reaches a rolling boil, reduce the heat slightly to maintain a low, gentle boil. Allow the salsa to cook at this low boil for approximately 5 minutes. This simmering step is crucial for two reasons: it ensures all the ingredients are heated through uniformly, and it allows the flavors to deepen and harmonize, creating a more robust and complex salsa.
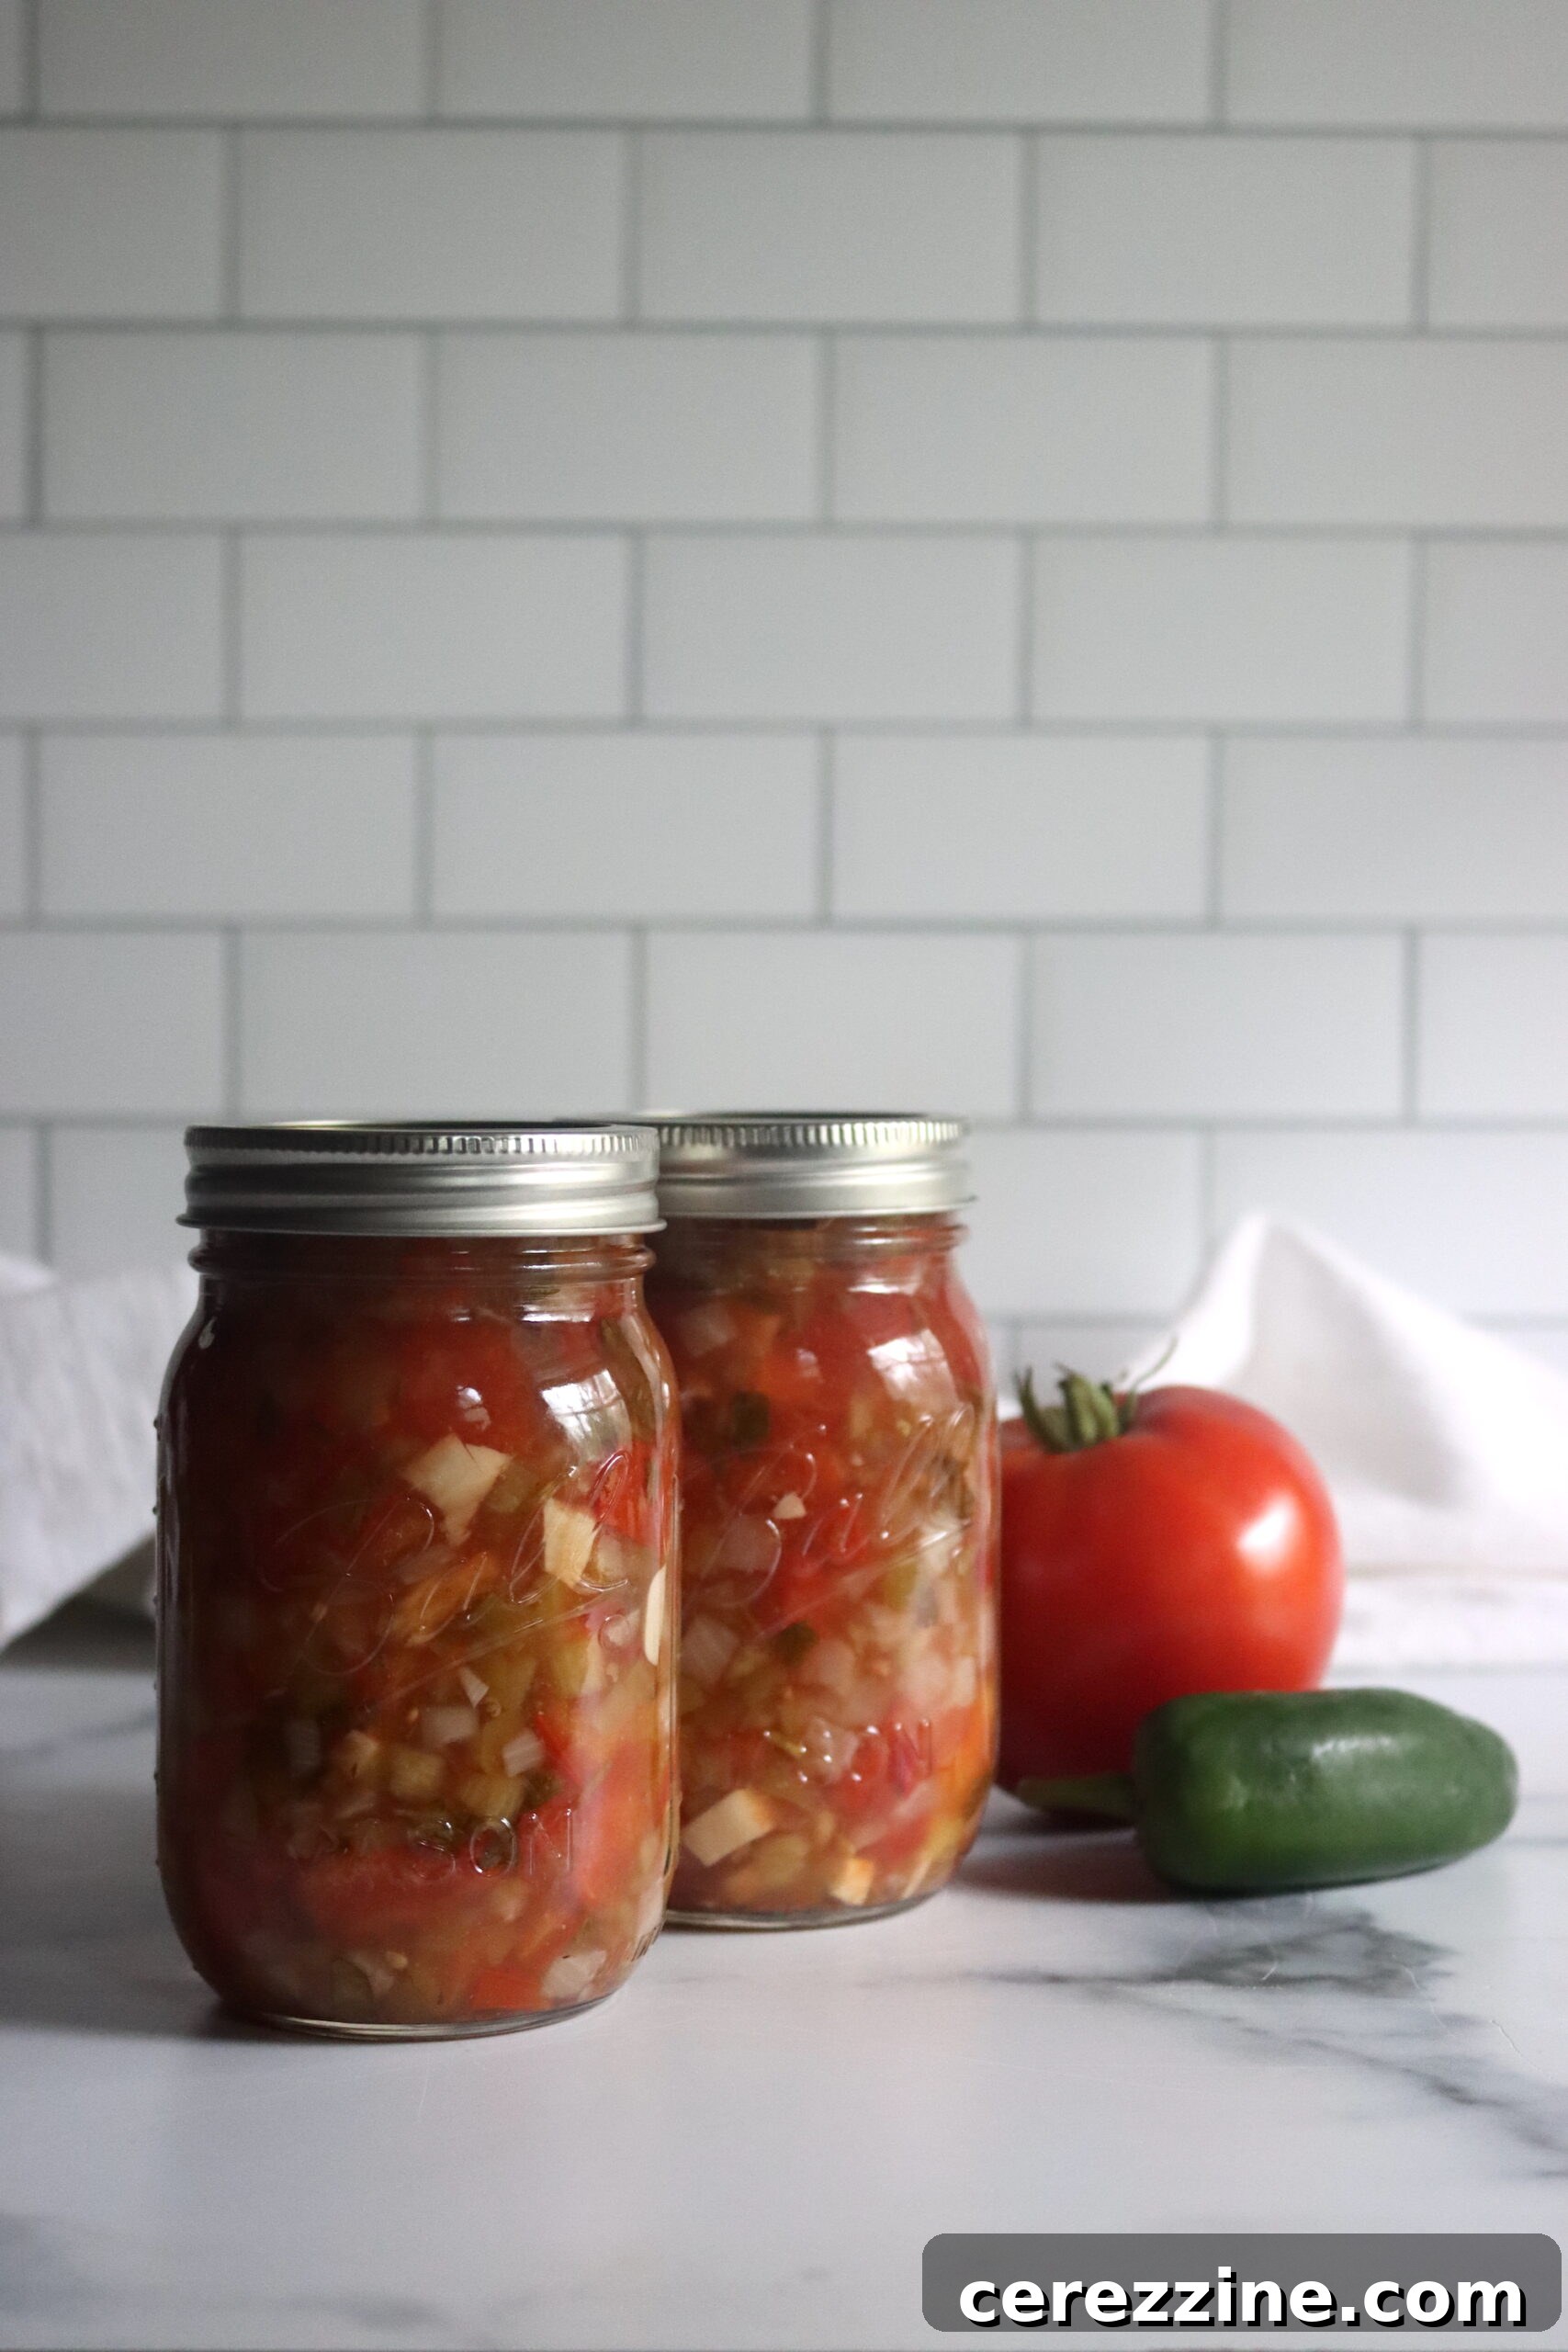
After simmering, your salsa is ready for the next phase. It will be fragrant and slightly thickened. Proceed to ladle the hot salsa into your prepared canning jars, making sure to leave exactly ½ inch of headspace. This headspace is vital for proper sealing and to prevent food from expanding too much during processing, which could compromise the seal.
Mastering the Canning Process for Safe Long-Term Storage
While this versatile house salsa can be safely stored in the refrigerator for a few weeks or frozen for up to 6 months (ensure you use freezer-safe jars or containers if freezing), I highly recommend canning it. Canning offers the unparalleled convenience of having delicious, homemade salsa readily available directly from your pantry shelf, regardless of the season. Moreover, it frees up valuable refrigerator and freezer space.
Properly canned salsa, processed in a water bath canner, maintains its peak quality for 12-18 months and remains safe to eat as long as the jar seals remain intact. Remember to refrigerate any opened jars after use.
This recipe adheres to standard water bath canning instructions, ensuring maximum safety and quality. Here’s a detailed guide to the canning procedure:
- **Prepare Your Jars:** Wash your canning jars and lids thoroughly. While not strictly necessary for water bath canning process times less than 10 minutes, heating the jars helps prevent thermal shock when adding hot food. Keep jars hot until filling.
- **Fill Jars:** Carefully ladle the hot salsa into the clean, hot jars. Ensure you leave exactly ½-inch headspace at the top of each jar. This space is crucial for creating a proper vacuum seal.
- **Remove Air Bubbles:** Use a non-metallic utensil (like a plastic spatula or wooden chopstick) to gently remove any trapped air bubbles from the jars. Slide the utensil between the salsa and the inside of the jar.
- **Adjust Headspace:** After de-bubbling, recheck the headspace. If necessary, add a little more salsa to maintain the ½-inch space.
- **Wipe Rims:** Wipe the rims of the jars clean with a damp paper towel. Any food residue on the rim can prevent a proper seal.
- **Apply Lids:** Place new, two-part canning lids (flats and rings) onto the jars. Screw the rings on “fingertip tight”—just snug enough to hold the lid in place, but not overly tightened. Over-tightening can prevent air from escaping during processing, leading to seal failure.
- **Load Canner:** Carefully load the filled jars into a preheated water bath canner. Ensure the jars are completely submerged in water by at least 1 inch.
- **Process Jars:** Bring the water in the canner to a full, rolling boil. Once a strong boil is achieved, begin timing the processing. Process pint and half-pint jars for 15 minutes.
- **Altitude Adjustment:** If you live at an altitude above 1,000 feet, you will need to adjust your processing time accordingly (see the detailed altitude chart below).
- **Cool Jars:** After the processing time is complete, turn off the heat and let the canner stand for 5 minutes before carefully removing the jars with a jar lifter. Place them on a wire rack or thick towel, spaced apart, in a draft-free location to cool for 12-24 hours.
- **Check Seals:** Once cooled, check the seals. The center of the lid should be concave and not flex when pressed. If any jars haven’t sealed, refrigerate and consume within a few weeks, or reprocess with a new lid within 24 hours.
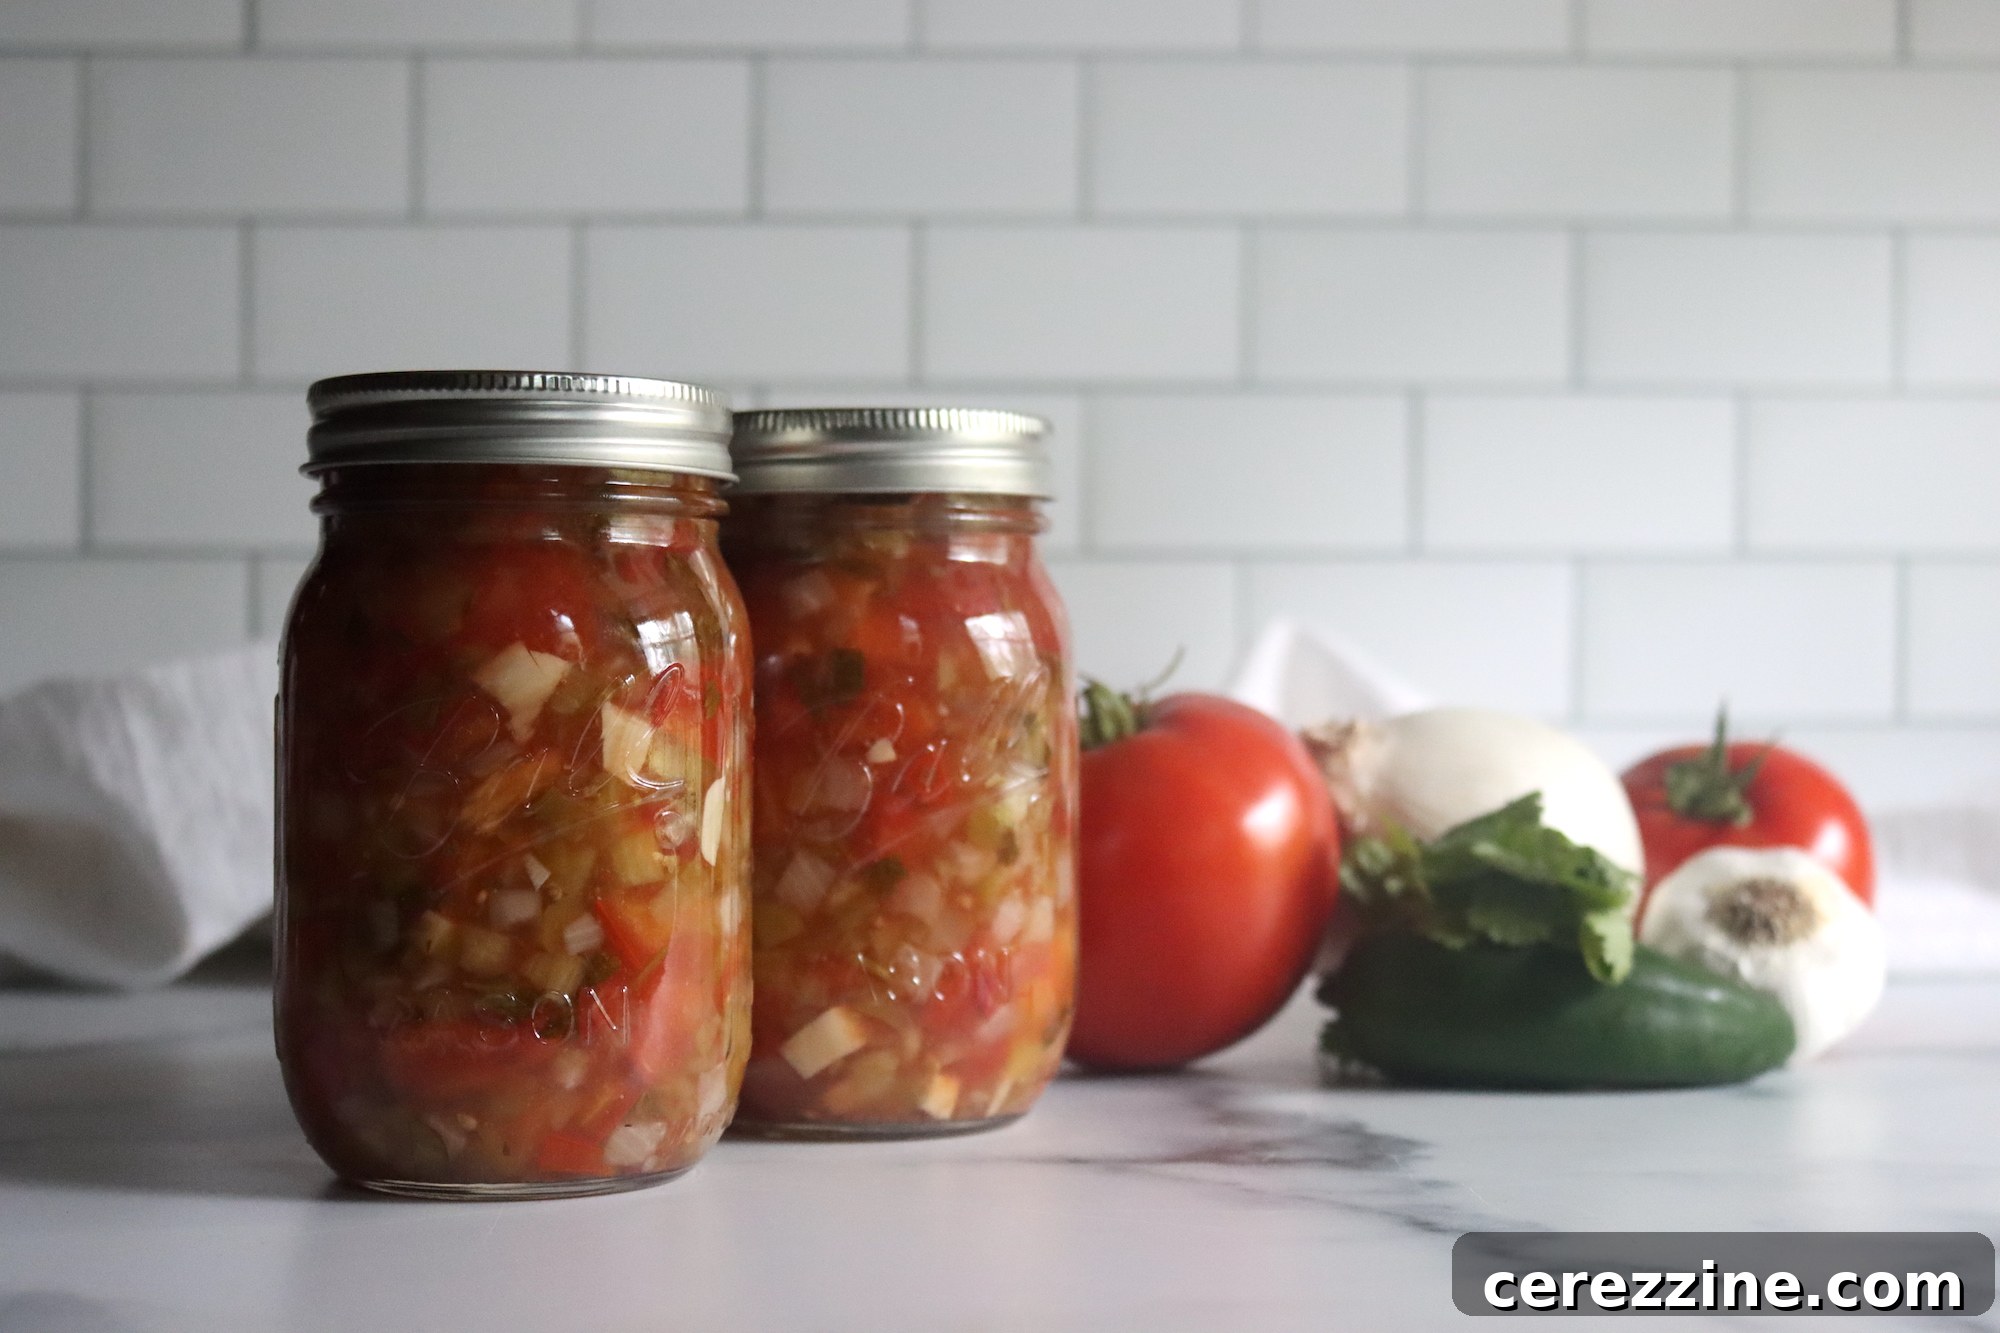
This recipe is suitable for both pint and half-pint canning jars. However, for safety reasons, do not use jars larger than a pint for this salsa recipe.
Essential Altitude Adjustments for Canning
For safe home canning, it’s crucial to adjust processing times based on your elevation. Water boils at a lower temperature at higher altitudes, which means food needs to be processed for a longer duration to ensure proper sterilization. Please refer to the following altitude adjustments for this salsa canning recipe:
- For 0 to 1,000 Feet in Elevation: Process pint and half-pint jars for 15 minutes.
- For 1,001 to 6,000 Feet in Elevation: Process pint and half-pint jars for 20 minutes.
- Above 6,001 Feet in Elevation: Process pint and half-pint jars for 25 minutes.
Ensuring Safety with This Salsa Canning Recipe
The safety of home-canned foods is paramount. This simple house salsa recipe is a safe, tested recipe, adhering to the rigorous guidelines established by the National Center for Food Preservation (NCFP). While you can certainly enjoy this recipe as a fresh refrigerator salsa or a convenient freezer salsa, if you choose to can it, strict adherence to the recipe and canning instructions is absolutely essential for food safety.
When canning salsa, the precise amount of acid is non-negotiable. Therefore, you must never decrease the amount of vinegar (or any other acidic ingredient like lime juice, lemon juice, or citric acid) specified in the recipe. Similarly, do not alter or increase the proportion of acidic ingredients like tomatoes and fruits, as this balance is critical for preventing the growth of harmful bacteria. Always ensure your vinegar is at least 5% acidity.
However, you do have some flexibility with low-acid ingredients. You can safely decrease or even omit ingredients like peppers or onions to suit your taste preferences. The key is *not* to increase their quantity, as this could lower the overall acidity of the salsa and compromise its safety for water bath canning. All types of peppers are generally considered equal in canning recipes regarding their impact on acidity, so feel free to substitute one variety for another, provided the total amount remains the same or less. The same rule applies to onions; different types can be interchanged, but the total volume should not be increased.
For dry spices, such as ground cumin and oregano, and for salt, you have complete freedom to adjust them to your liking. Salt is used solely for flavor in salsa canning recipes, not for preservation, so you can increase, decrease, or omit it as you see fit without impacting safety. This flexibility allows you to truly personalize the flavor profile of your homemade house salsa while maintaining the integrity of a safe canning process.
House Salsa Recipe
This simple house salsa is a staple in Mexican restaurants and perfect for easy home canning.
Servings: 32 servings (4 pint jars)
Prep Time: 25 mins
Cook Time: 5 mins
Canning Time: 15 mins
Total Time: 45 mins
Equipment
- Water Bath Canner
- Regular Mouth Pint Mason Jars
- Regular Mouth Canning Lids
- Canning Funnel
- Jar Lifter
Ingredients
- 10 cups plum tomatoes, seeded, cored, and coarsely chopped
- 2 cups peppers, chopped and seeded
- 1 ½ cup chopped onions
- 1 cup fresh cilantro, chopped and loosely packed
- 1 cup cider vinegar
- 1 Tbsp minced garlic
- 1 Tbsp dried oregano
- 1 Tbsp sugar
- 1 Tbsp hot sauce, or 3 chipotles in adobo, seeded and minced (for smoky flavor)
- 1 ½ tsp ground cumin
- 1 ½ tsp salt
Instructions
- Combine all ingredients (chopped tomatoes, peppers, onions, cilantro, vinegar, garlic, oregano, sugar, hot sauce/chipotles, cumin, and salt) in a large stockpot or Dutch oven. Mix thoroughly.
- Bring the mixture to a full boil over medium-high heat, then reduce heat to maintain a low boil. Simmer for 5 minutes, allowing flavors to meld and the salsa to heat through.
- Ladle the hot salsa into prepared, hot canning jars, leaving ½ inch headspace. Remove air bubbles with a non-metallic tool, wipe rims clean, and apply two-part canning lids fingertip tight.
- Process the jars in a preheated water bath canner for 15 minutes for pint and half-pint jars. Remember to adjust processing time for your altitude.
Notes
Altitude Adjustments
To ensure safe canning, adjust processing times based on your elevation:
- 0 to 1,000 Feet in Elevation: Process for 15 minutes.
- 1,001 to 6,000 Feet in Elevation: Process for 20 minutes.
- Above 6,001 Feet in Elevation: Process for 25 minutes.
Nutrition
Calories: 22kcal, Carbohydrates: 5g, Protein: 1g, Fat: 0.2g, Saturated Fat: 0.03g, Polyunsaturated Fat: 0.1g, Monounsaturated Fat: 0.04g, Sodium: 125mg, Potassium: 216mg, Fiber: 1g, Sugar: 3g, Vitamin A: 689IU, Vitamin C: 19mg, Calcium: 15mg, Iron: 0.4mg
Nutrition information is automatically calculated and should be used as an approximation.
Discover More Delicious Canning Recipes
If you’re eager to expand your home preserving skills beyond this fantastic house salsa, there’s a world of delicious possibilities waiting. Canning is a wonderful way to enjoy the bounty of the harvest, extend the shelf life of fresh produce, and create homemade pantry staples that elevate your everyday meals. Explore these other tested and beloved recipes for your canning adventures:
Tomato Canning Recipes
Tomatoes are incredibly versatile for canning. From rich sauces to zesty pickles, here are more ways to preserve your tomatoes in a jar:
- 25+ Pasta Sauce Recipes for Canning: A comprehensive collection of sauces perfect for pasta, pizzas, and more.
- Pickled Cherry Tomatoes: A tangy, flavorful snack or garnish that adds a burst of freshness.
- Roasted Tomato Basil Soup: Capture the comforting flavors of summer tomatoes and aromatic basil in a can.
Summer Canning Recipes
Summer offers an abundance of fresh fruits and vegetables perfect for canning. Beyond salsa, consider preserving these seasonal delights to enjoy long after the warm weather fades:
- Canning Peaches: Sweet, succulent peaches preserved in light syrup, ideal for desserts or snacking.
- Old Fashioned Strawberry Jam: A classic, fruit-forward jam made without added pectin, bursting with strawberry flavor.
- Dill Pickle Spears: Crunchy, tangy dill pickles, perfect for sandwiches or as a refreshing side.
Happy canning, and enjoy the incredible flavors of your homemade preserves!