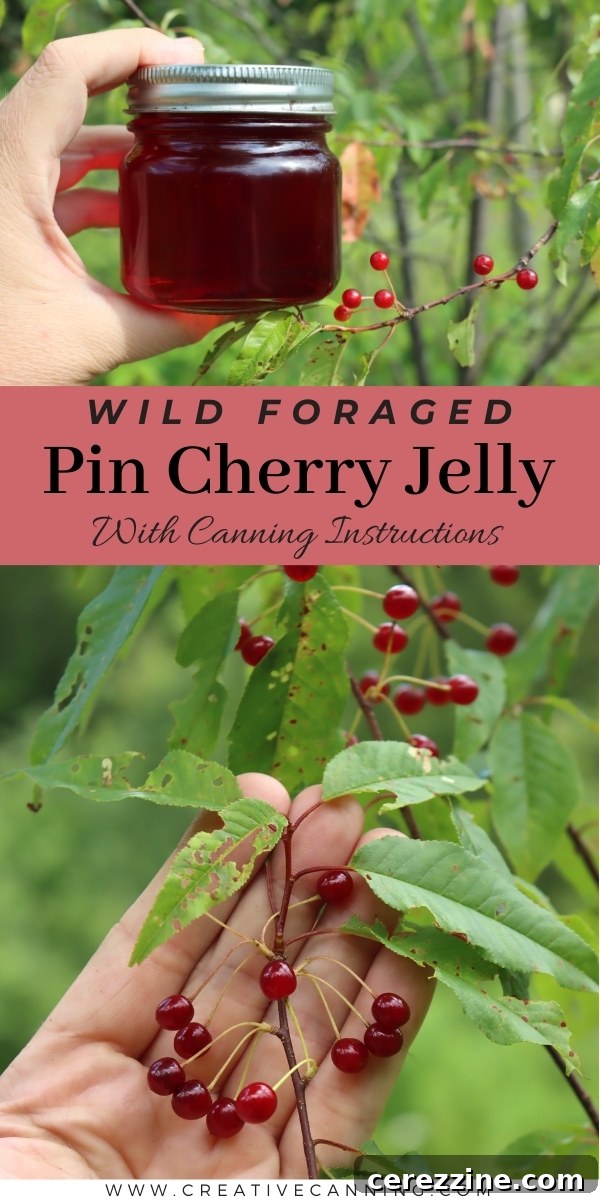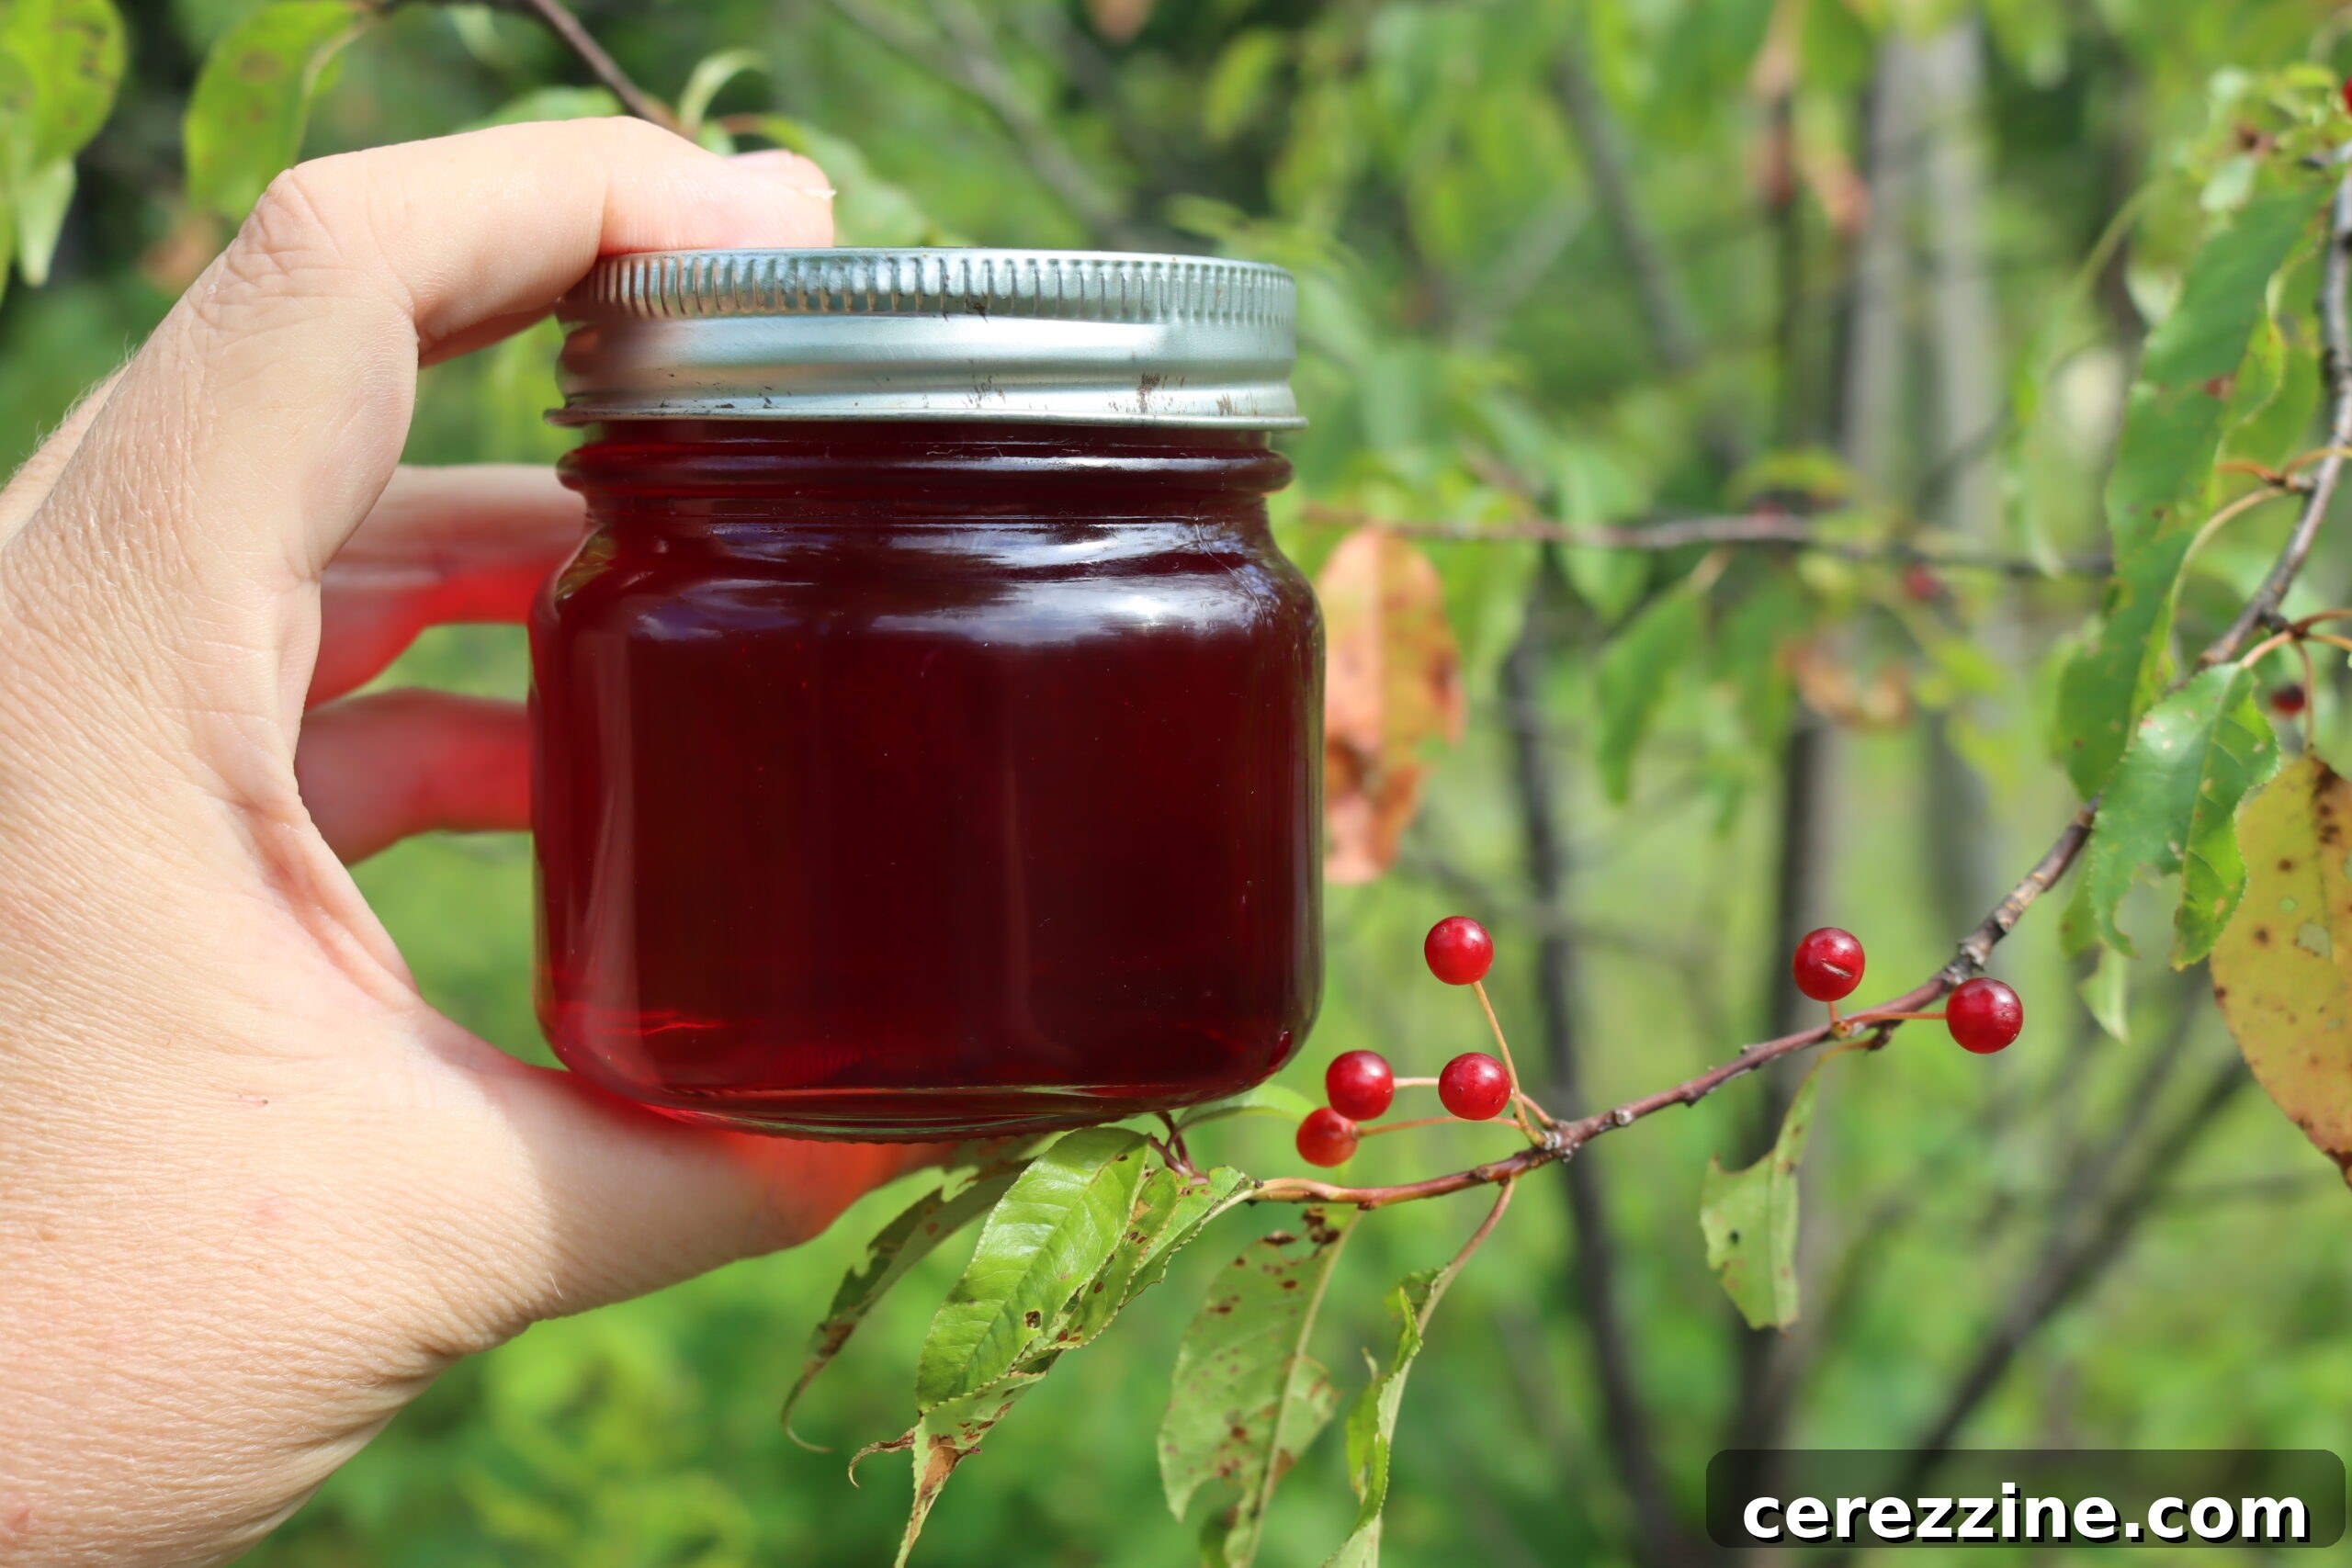
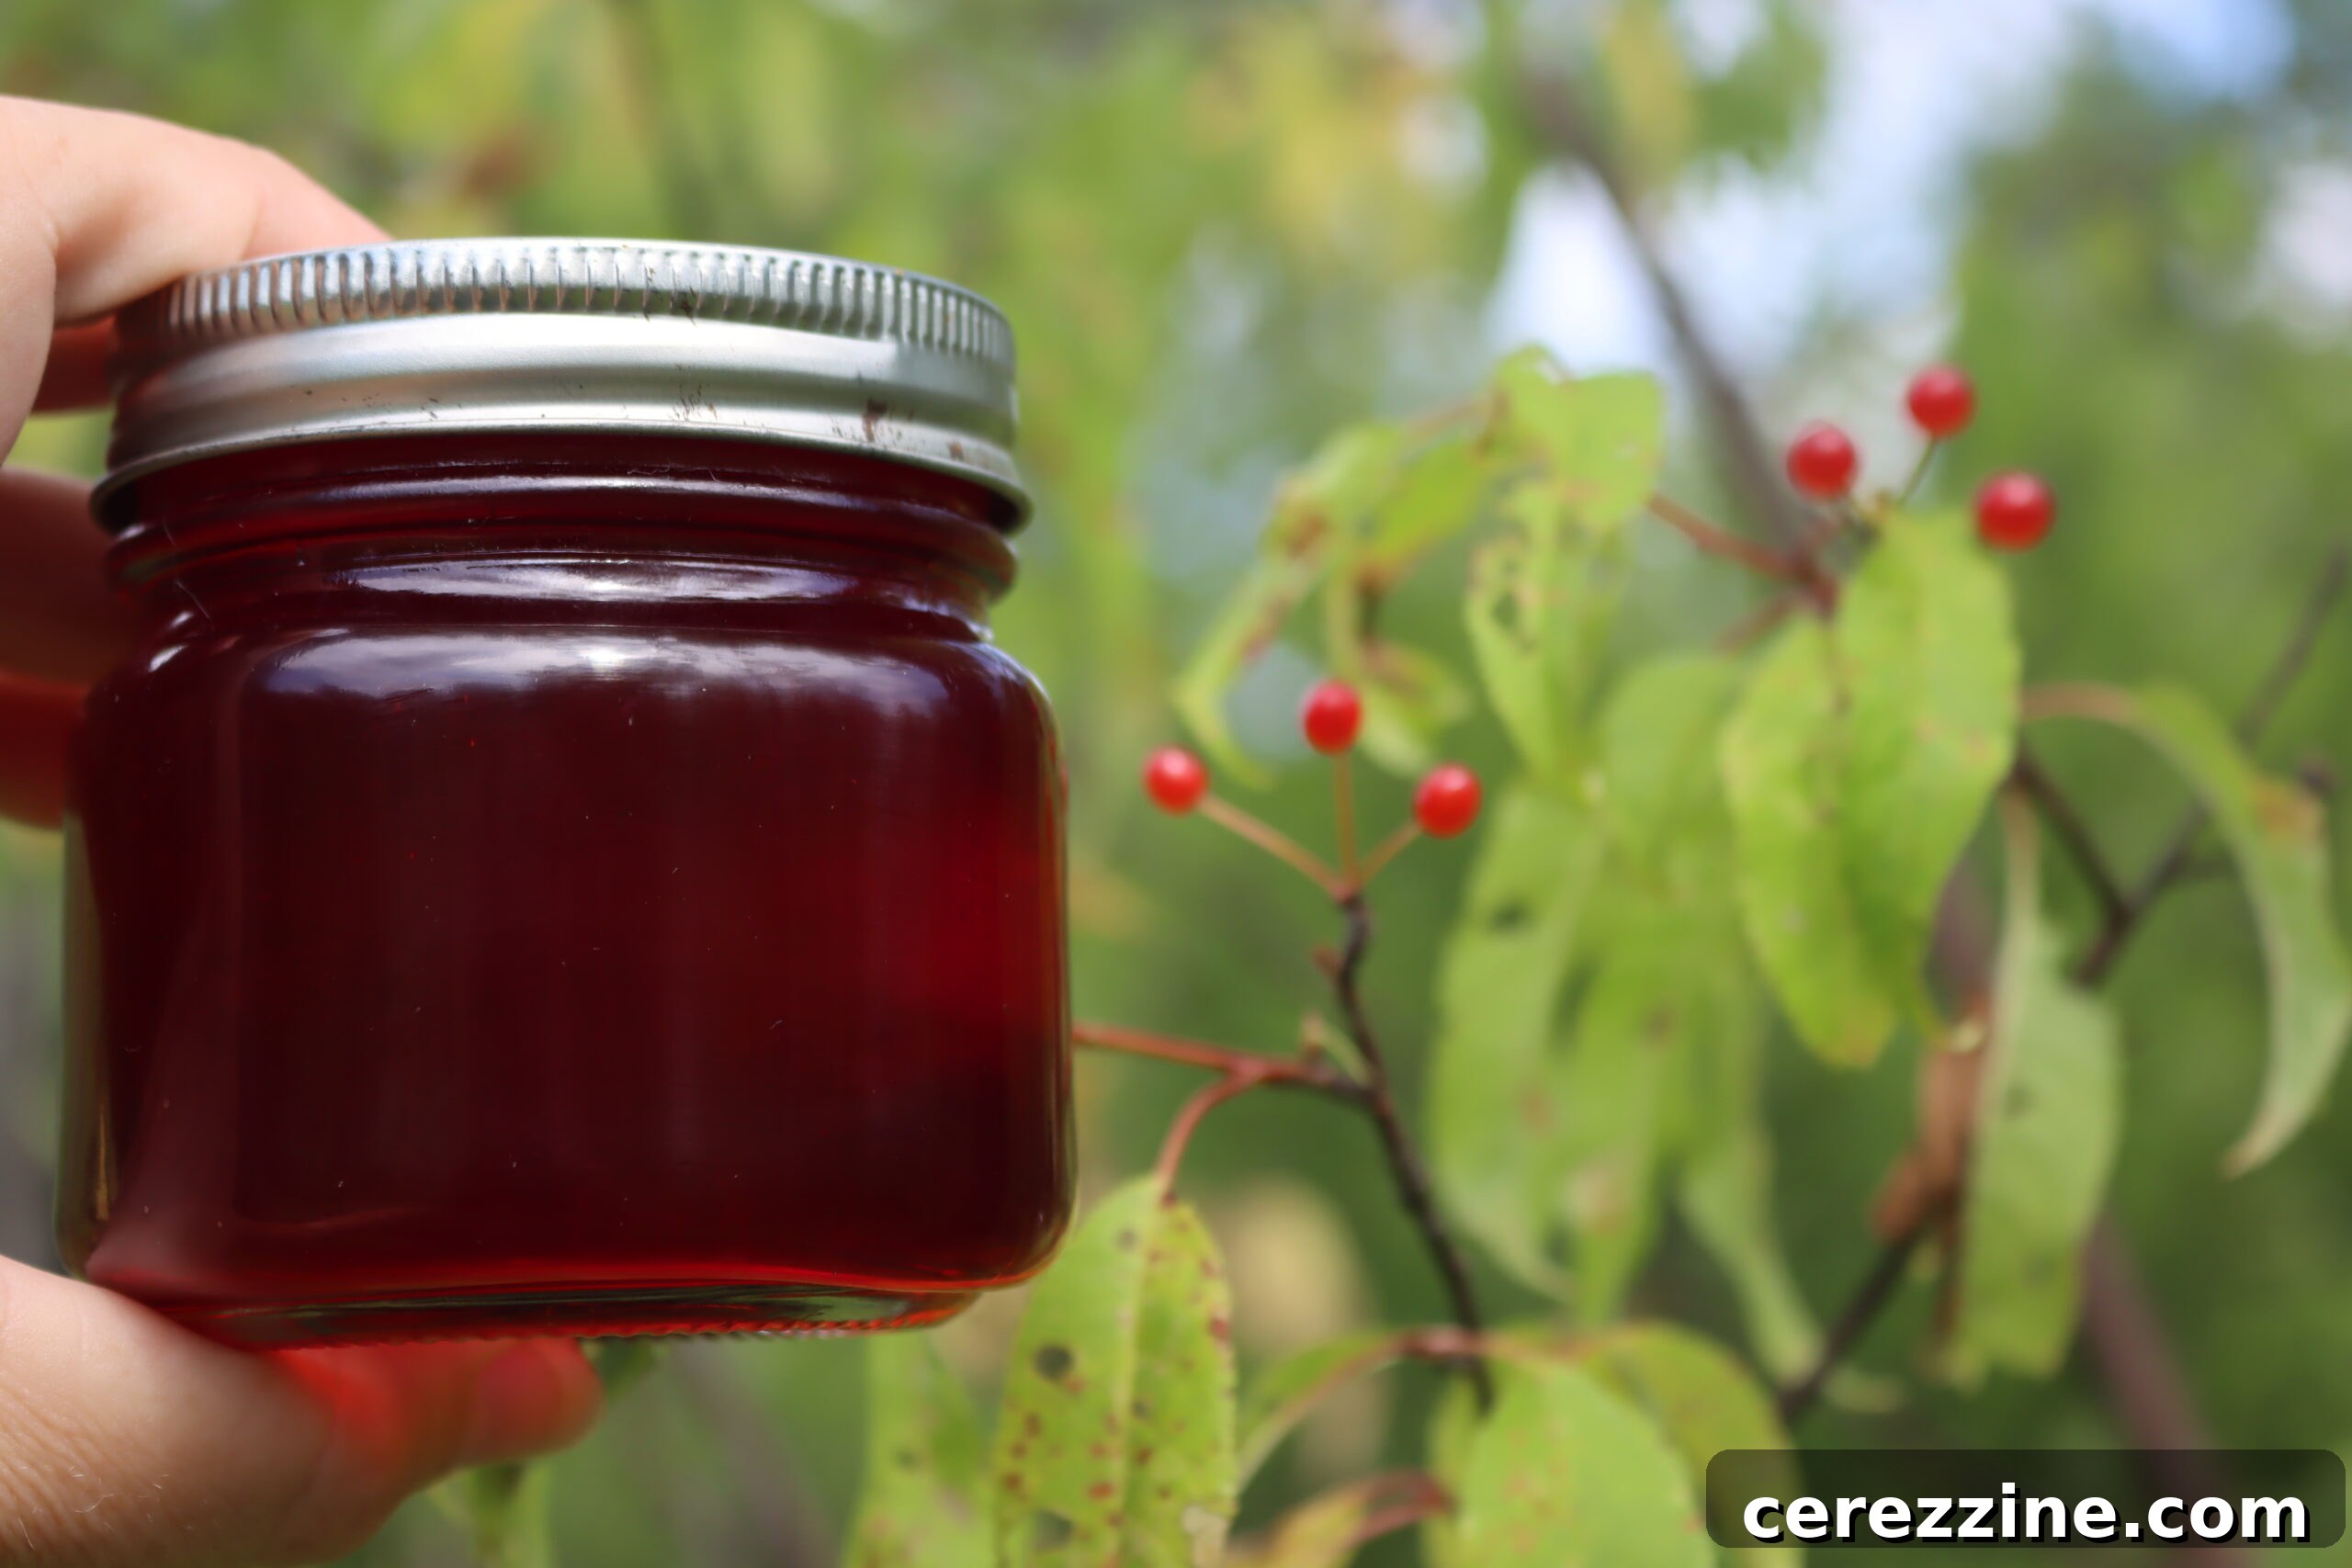
Pin cherry jelly stands out as a true culinary gem, offering a delightful way to capture the fleeting essence of wild-foraged pin cherries. This unique fruit, abundant in many North American landscapes during its season, yields a jelly with an irresistible sweet-tart flavor profile and a captivating, vibrant red hue. Preserving these tiny treasures in a jar allows you to savor their distinct taste long after the summer sun has set.
Discovering the Delight of Pin Cherry Jelly
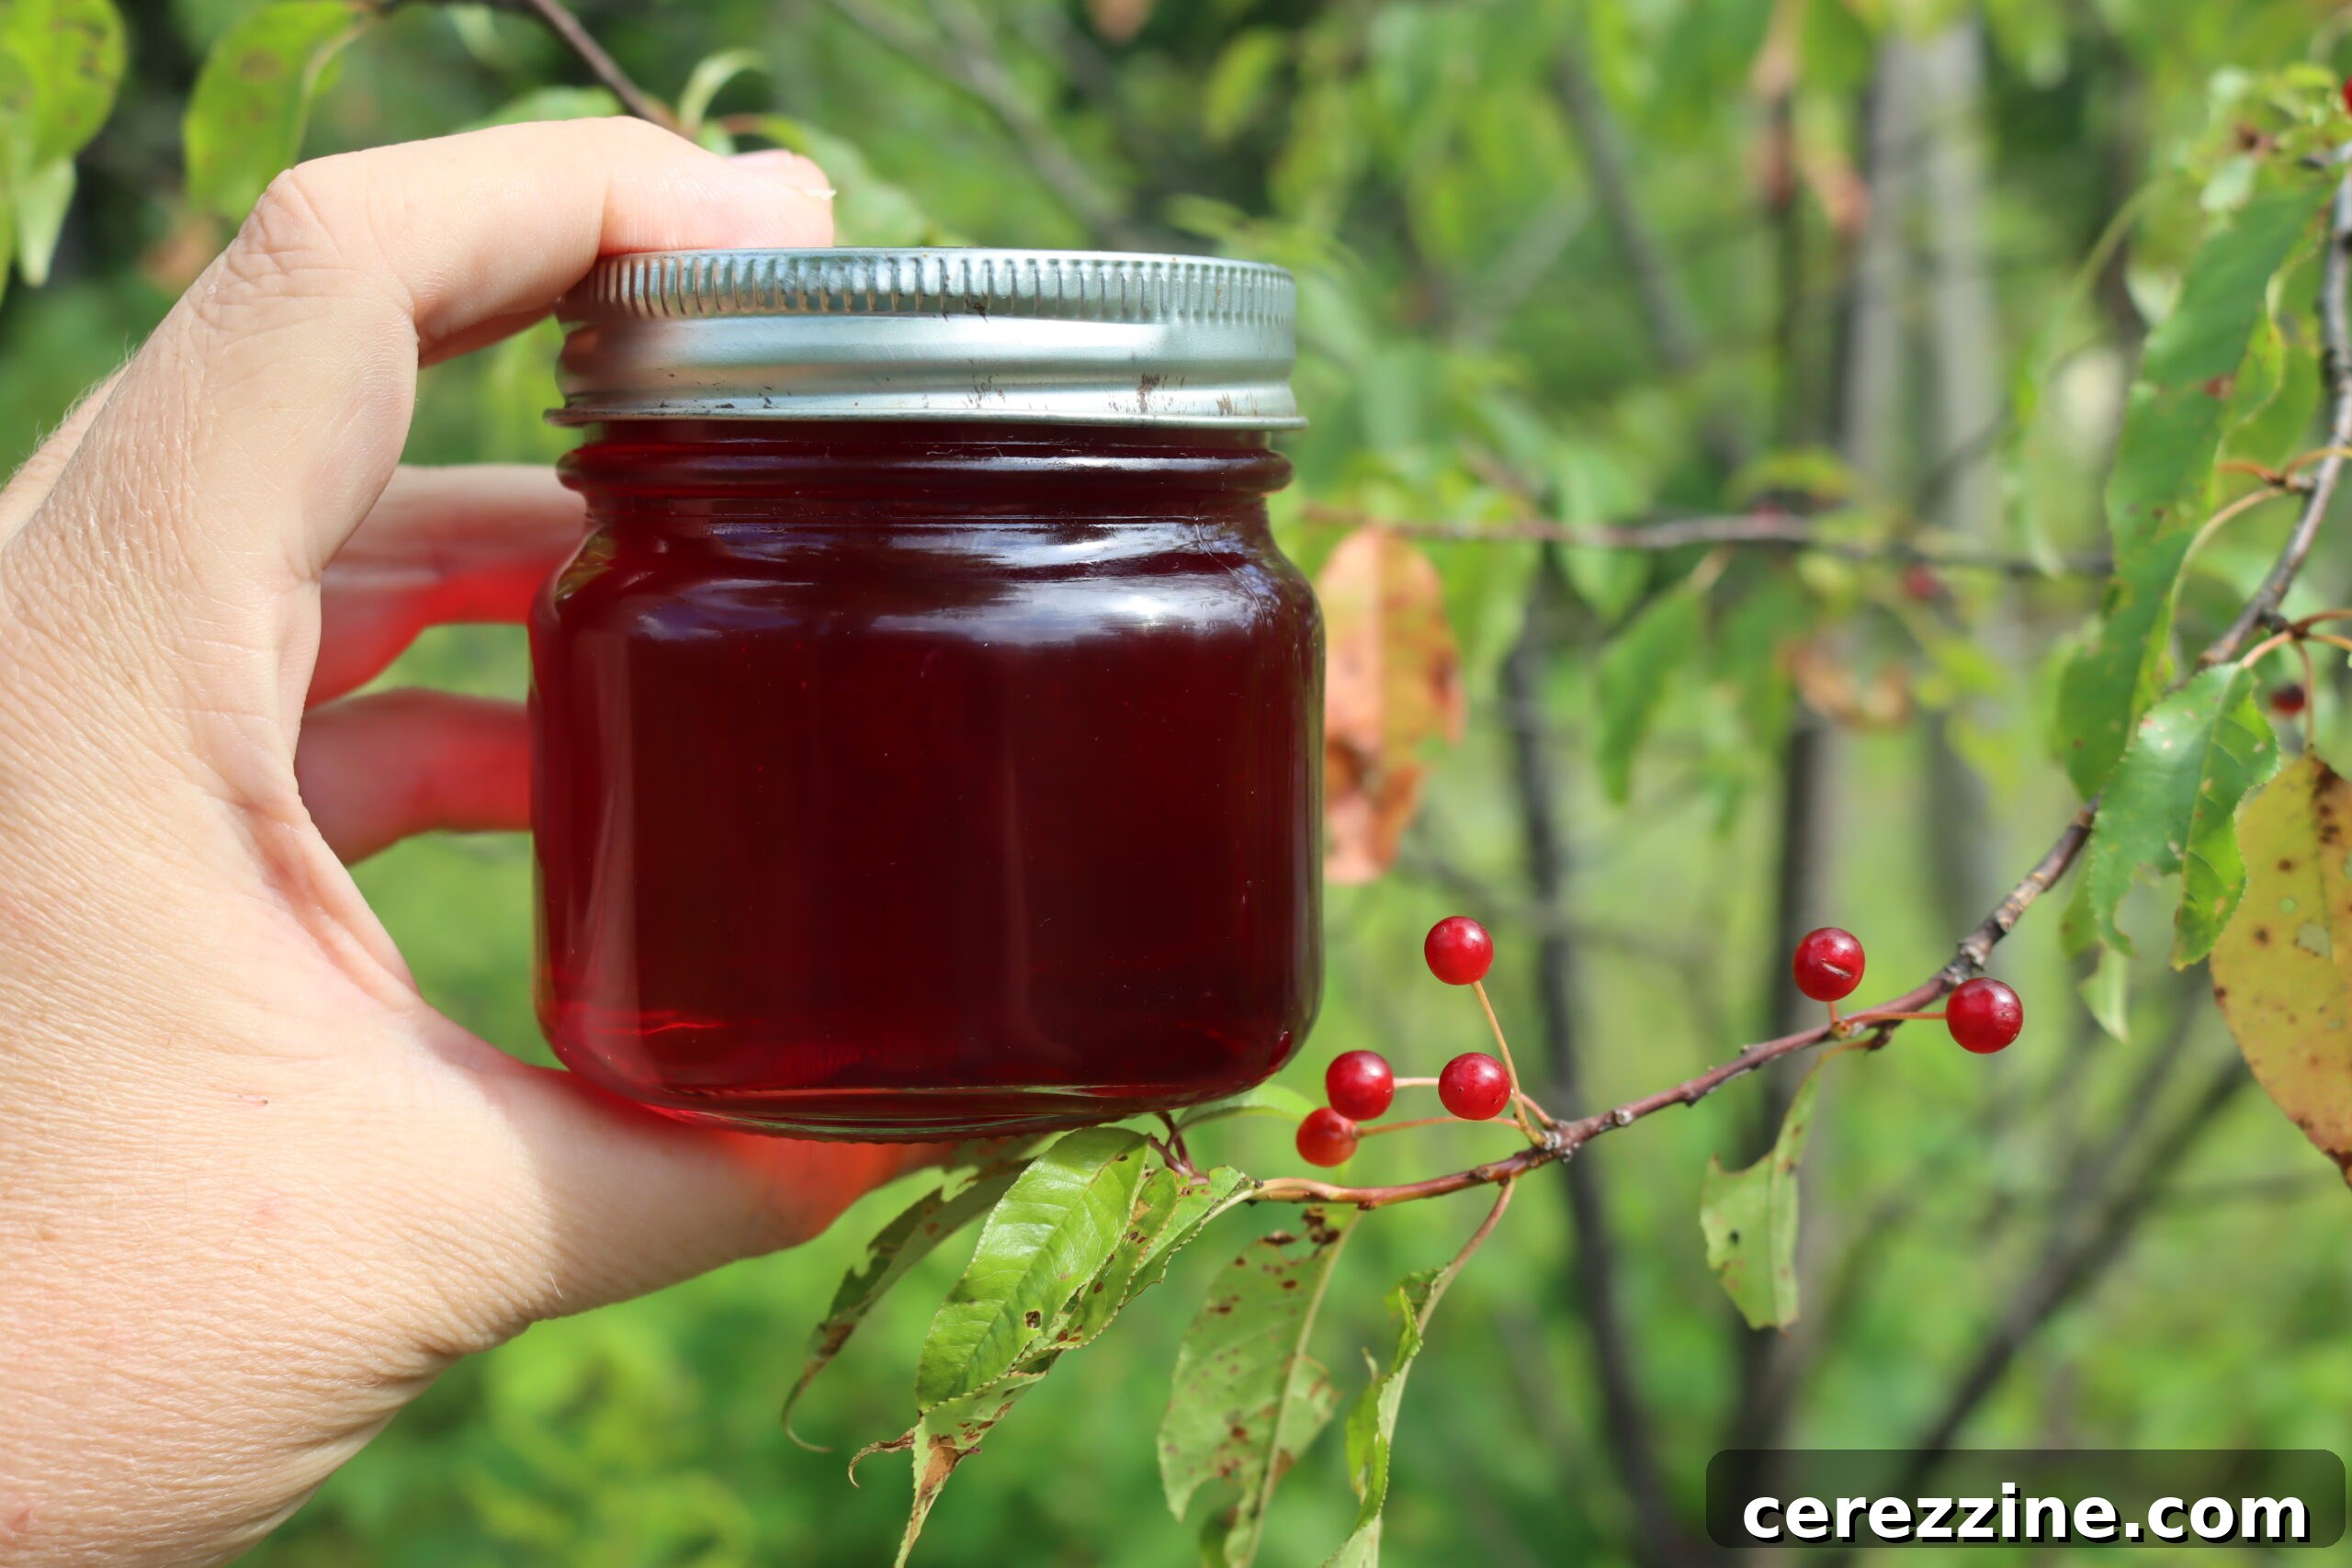
Pin cherry jelly is crafted from the clear, ruby-red juice of pin cherries, small yet powerfully flavored fruits that thrive in the wild across vast regions of North America. Known scientifically as Prunus pensylvanica, these berries are distinguished by their bright red color, relatively small size, and a pronounced sweet-tart character. This unique flavor balance makes pin cherry jelly an incredibly versatile addition to any pantry, far exceeding the typical breakfast spread.
The beauty of homemade pin cherry jelly lies in its ability to perfectly encapsulate the fresh, vibrant taste of the fruit in a way no store-bought product ever could. Because pin cherries are primarily a wild-foraged fruit, their distinct and untamed flavor is truly a luxury that money cannot simply buy off a shelf. Making your own batch is not just about creating a delicious condiment; it’s about connecting with nature and embracing the rewarding experience of self-reliance.
Canning pin cherry jelly is a practical and immensely satisfying endeavor, ensuring you can enjoy this wild bounty throughout the entire year. Beyond its role as an exquisite spread on toast or a luscious topping for desserts, the process itself offers a fun and fulfilling DIY project, bringing a sense of accomplishment and a taste of the wilderness right into your home kitchen.
Foraging for Pin Cherries: Identification and Alternatives
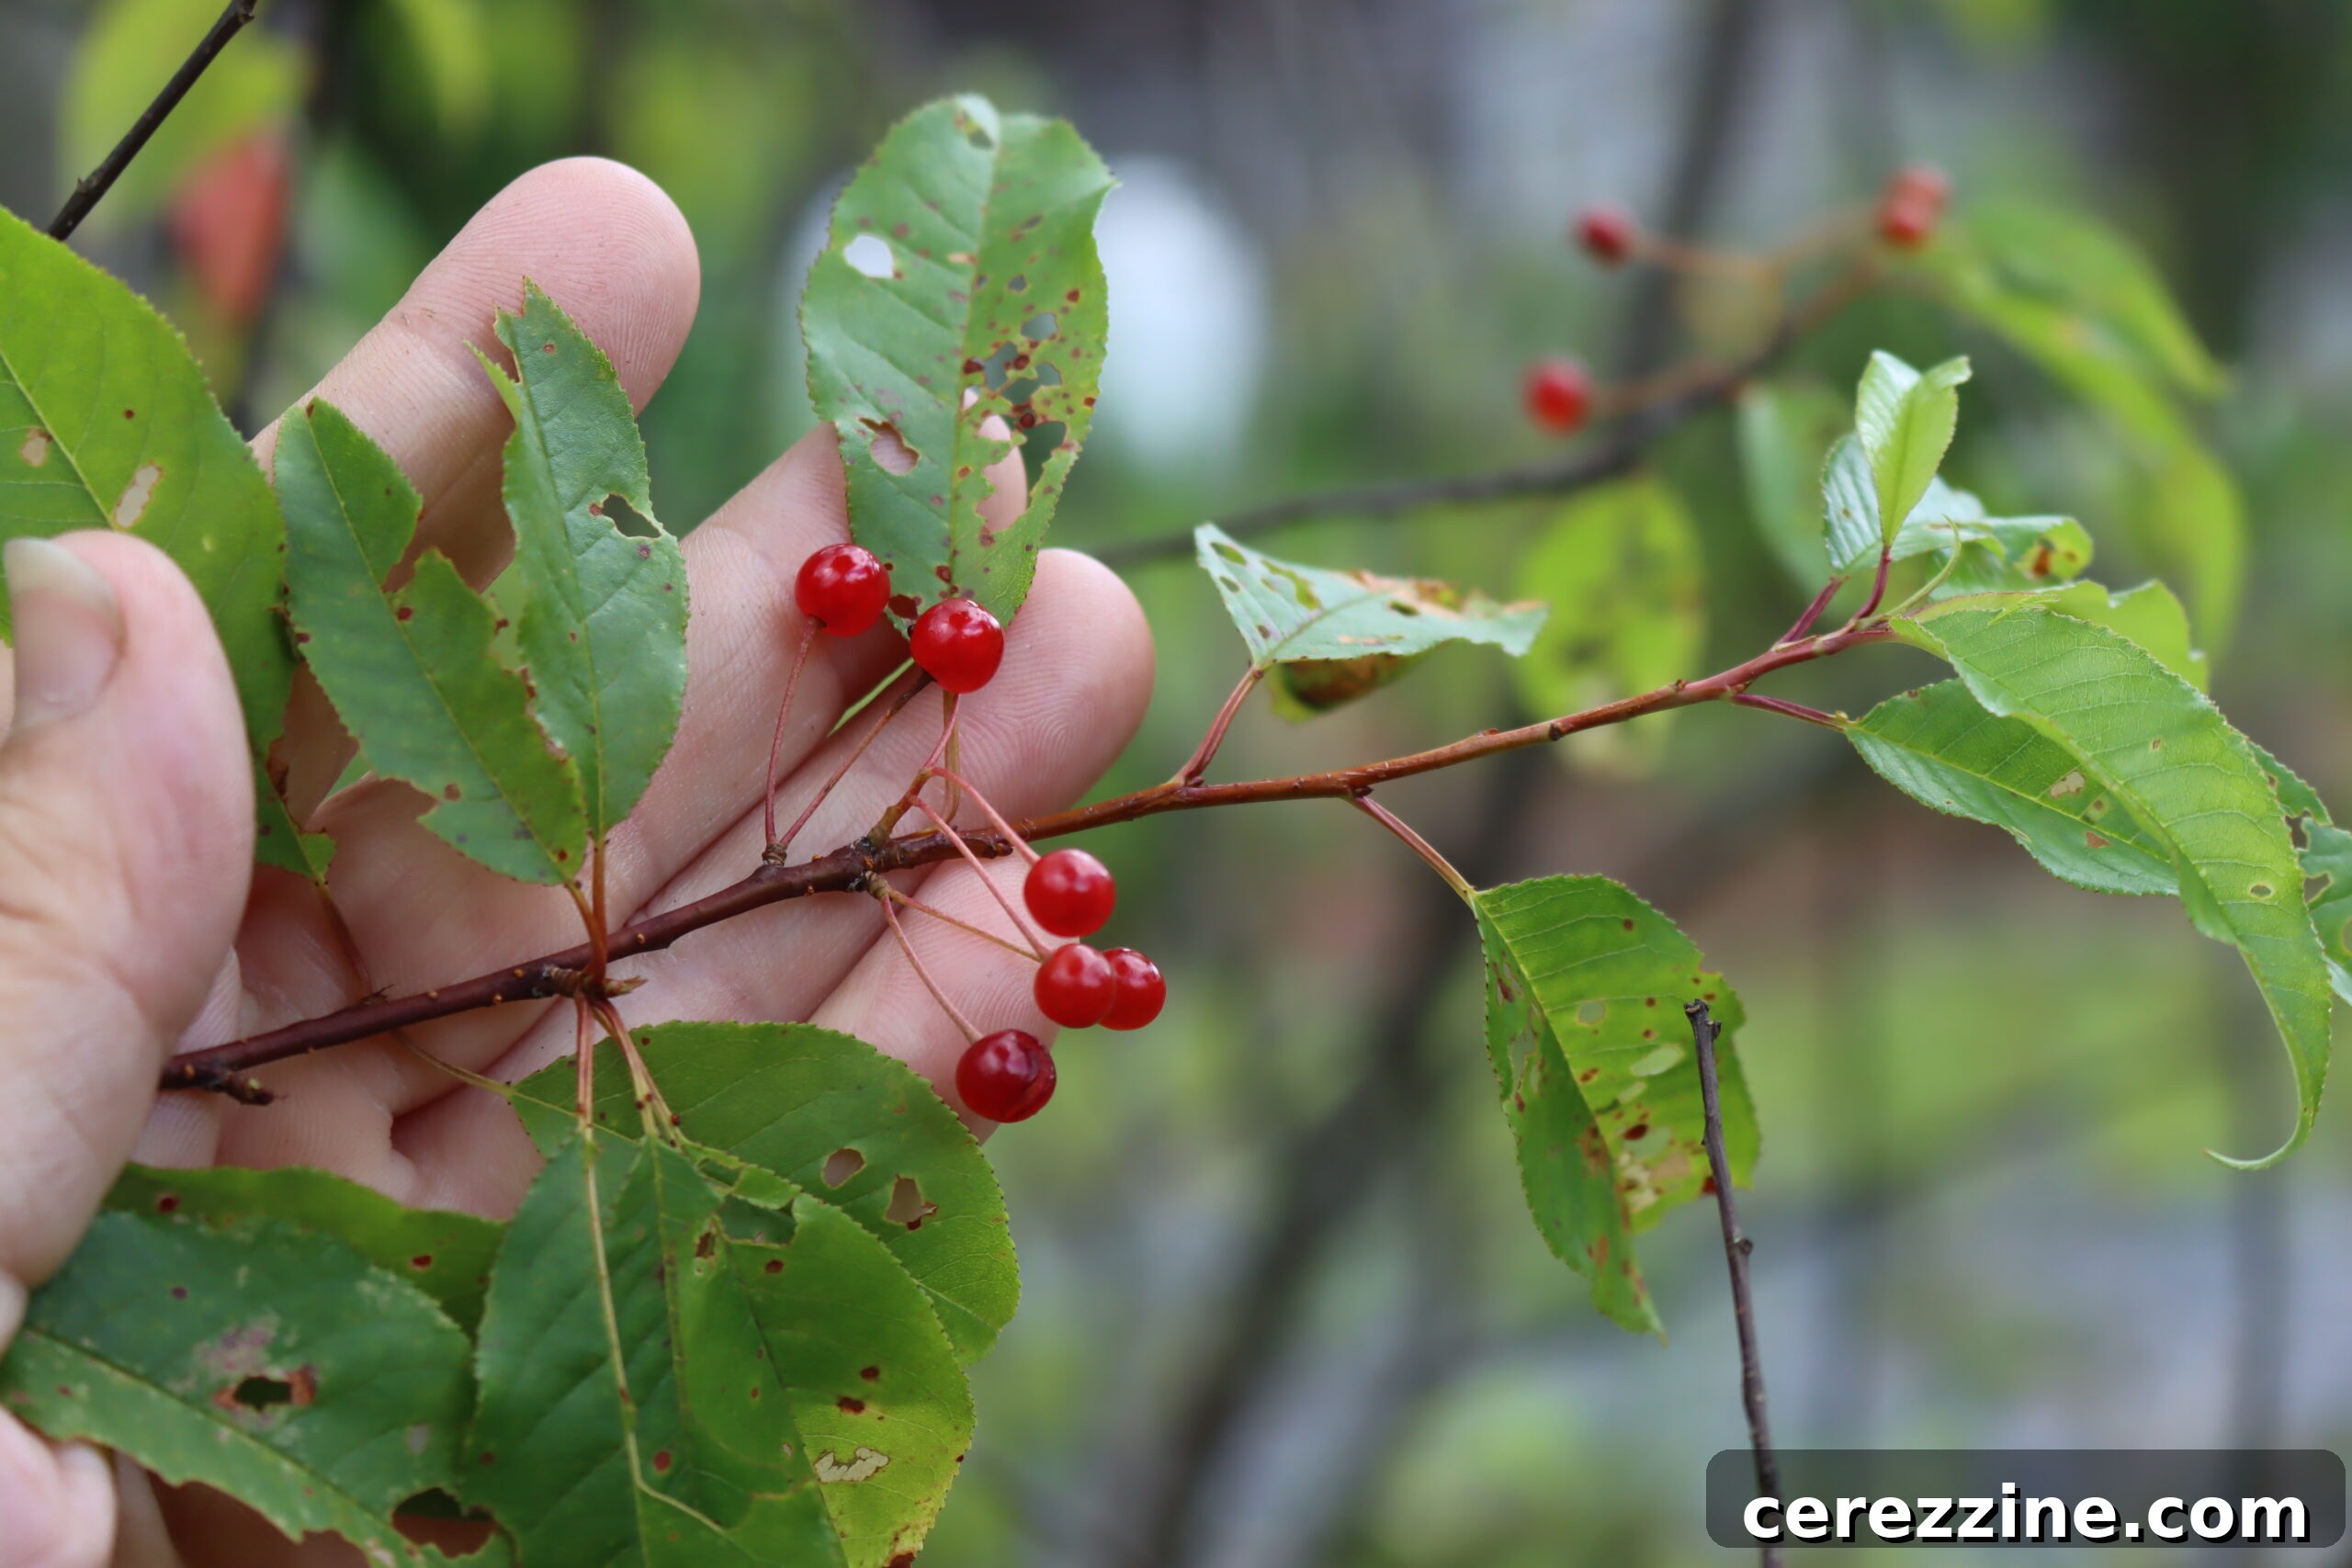
Pin cherries are remarkably abundant across the United States and Canada, often found in disturbed areas, along roadsides, and in forest clearings. Their identification is relatively straightforward once you know what to look for. These small, bright red cherries grow in clusters, typically ripening in mid to late summer. The leaves are slender, finely toothed, and the bark is smooth and reddish-brown, often peeling horizontally.
If you’re new to foraging, it’s crucial to be absolutely certain of your identification before consuming any wild fruit. A reliable guide, such as the one referenced for identifying pin cherries, can be an invaluable resource. Always gather from areas free of pesticides and pollution, and practice sustainable foraging by only taking a portion of the available fruit, leaving plenty for wildlife and for the plant to regenerate.
While this recipe specifically celebrates pin cherries, its methodology can also be adapted for other wild stone fruits that share similar characteristics. You might experiment with wild black cherries, known for their darker color and deeper flavor, or the distinctively tart chokecherries. Even the often-overlooked aronia berries (chokeberries), with their deep purple hue and robust flavor, can be transformed into a delectable jelly using a similar process, though their higher pectin content might require slight adjustments to the recipe.
Essential Ingredients for Pin Cherry Jelly: A Simple List
Creating this exquisite pin cherry jelly requires only a few core ingredients, making it an accessible project for any home preserver. This recipe is based on a safe, tested canning method developed by the University of Minnesota Extension, ensuring reliable results and food safety. Remember, accurate identification of pin cherries is the first and most critical step before you begin.
To prepare a standard canner batch, which typically yields about eight half-pint jars of luscious jelly, you will need the following:
- 6 1/2 cups pin cherry juice
- 7 cups granulated sugar
- 1 box powdered pectin (1.75 ounces) or 6 tablespoons
To obtain the necessary 6 1/2 cups of pin cherry juice, you’ll generally need approximately 6 to 7 pounds of fresh pin cherries. As a rule of thumb, most fruits yield about 1 to 1-1/3 cups of juice per pound of fruit. The fresher your pin cherries are, the better; fresh fruit not only boasts superior flavor but also contains higher natural pectin levels, which are crucial for a proper gel set.
For sweetening, standard granulated sugar is recommended as it interacts optimally with the pectin to achieve the desired consistency and sweetness balance. While it is possible to experiment with sugar substitutes, be aware that they can sometimes alter the jelly’s final texture and set. If considering a low-sugar option, it is best to use a specialized low-sugar pectin designed for such recipes, which often requires less sugar for a firm set.
Crafting Pin Cherry Jelly: A Step-by-Step Guide
The process of transforming fresh pin cherries into a gleaming jar of jelly is a rewarding one. Follow these detailed steps to ensure a perfect batch every time:
1. Preparing the Pin Cherries for Juice Extraction
Begin by thoroughly rinsing your freshly gathered pin cherries under cool, running water. This removes any dirt, small leaves, or debris. Place the cleaned cherries into a large, heavy-bottomed pot. Add half a cup of water for every pound of pin cherries. Cover the pot and bring the mixture to a gentle boil over medium-high heat. Once boiling, reduce the heat and simmer for five to ten minutes, or until the cherries have softened and released a significant amount of their juice. This gentle cooking helps extract maximum flavor and juice.
After simmering, allow the mixture to cool slightly. Carefully strain the cooked cherries through a piece of cheesecloth lining a colander or, ideally, a dampened jelly bag suspended over a bowl. Allow the juice to drip naturally; resist the urge to squeeze or press the fruit. Crushing the seeds can release compounds that impart a bitter flavor to your finished jelly, so avoid using a food processor or blender for juice extraction. Patience here will be rewarded with clear, pure pin cherry juice.
2. Cooking the Jelly
Once you have your strained pin cherry juice, you’re ready to create the jelly. In a very large, clean pot (a 6 to 8-quart pot is ideal to prevent boil-overs), combine the measured pin cherry juice, granulated sugar, and powdered pectin. Stir these ingredients thoroughly to ensure the pectin is fully dissolved and incorporated.
Place the pot over high heat and bring the mixture to a full rolling boil. This means a boil that cannot be stirred down. Stir constantly during this phase to prevent scorching the bottom of the pot. Boil hard for precisely 1 minute. After 1 minute of vigorous boiling, promptly remove the pot from the heat. Overboiling can lead to a stiff, rubbery jelly or one that fails to set. Using a clean spoon, quickly skim off any foam that may have risen to the surface during boiling; this helps ensure a clear, attractive jelly.
If you’re unsure whether your jelly will set, perform a quick set test: place a small spoonful of the hot jelly onto a chilled plate and allow it to cool for a minute or two. If it wrinkles when pushed with your finger, it’s ready. If not, you may need to boil for another minute, though this is rarely necessary with tested recipes and powdered pectin.
3. Canning and Storing Your Homemade Jelly
Before beginning the jelly-making process, ensure your canning jars and lids are sterilized and ready. Pour the hot jelly into clean, hot jars, leaving 1/4 inch of headspace at the top of each jar. This space is crucial for creating a proper vacuum seal. Carefully wipe the rims of your jars with a clean, damp cloth to remove any food residues or stickiness, which could prevent a good seal. Place the prepared lids and bands on the jars, tightening the bands only until they are fingertip tight – do not overtighten.
Process the filled jars in a boiling water bath canner. For half-pint jars, process for 5 minutes. For pint jars, process for 10 minutes. Adjust processing time for higher altitudes if necessary (e.g., 15 minutes above 6,000 feet). Once the processing time is complete, carefully remove the jars from the canner and place them upright on a clean dish towel or cooling rack, ensuring they are not touching each other. Allow them to cool undisturbed for a full 24 hours.
After 24 hours, check the seals: the center of the lid should be concave and not flex when pressed. If any jars have not sealed, refrigerate them and use within a few weeks, or reprocess them with new lids. Label your sealed jars with the contents and date, and store them in a cool, dark place, such as a pantry or cupboard. Properly canned pin cherry jelly can be stored for up to one year. Once a jar is opened, it should be refrigerated and consumed within one month to maintain optimal freshness and flavor.
Beyond Toast: Creative Ways to Savor Pin Cherry Jelly
Pin cherry jelly is far too dynamic to be confined solely to a slice of toast. Its unique sweet-tart flavor profile and vibrant color make it a versatile ingredient in a myriad of culinary applications. Here are some inspiring ideas to expand your enjoyment of this homemade delight:
- Classic Spread: Begin your day the comforting way by spreading a generous dollop of pin cherry jelly on warm, freshly toasted bread, muffins, or scones.
- PB & Jelly Twist: Reimagine the classic peanut butter sandwich by replacing traditional grape or strawberry jelly with the tangy zest of pin cherry jelly for an exciting flavor explosion.
- Elegant Cheese Pairing: Elevate your next cheese board by pairing sharp cheddar, creamy brie, or robust goat cheese with a spoonful of sweet and tart pin cherry jelly.
- Savory Marinade Magic: Utilize pin cherry jelly as the star ingredient in a flavorful marinade for grilled chicken, pork chops, or even duck. Its acidity and sweetness tenderize meat and create a beautiful glaze.
- Yogurt & Oatmeal Mix-In: Stir a spoonful of pin cherry jelly into your morning yogurt, cottage cheese, or oatmeal for a burst of fruity sweetness and natural flavor.
- Decadent Ice Cream Topping: Warm the jelly slightly and drizzle it over vanilla bean ice cream or a scoop of homemade frozen yogurt for an instantly decadent dessert.
- Unique Salad Dressing: Whisk pin cherry jelly with balsamic vinegar, olive oil, a touch of Dijon mustard, and a pinch of salt and pepper for a distinctive and delightful salad dressing.
- Sophisticated Cocktail Enhancer: Add a small splash of pin cherry jelly to your favorite cocktails, like a whiskey sour or a gin fizz, for a fruity, complex twist.
- Baking Bliss: Incorporate pin cherry jelly as a delightful filling for thumbprint cookies, tartlets, or as a layer in a sponge cake for a surprising burst of flavor in every bite.
- Asian-Inspired Dipping Sauce: Combine pin cherry jelly with soy sauce, fresh ginger, garlic, and a hint of red pepper flakes for an incredible dipping sauce for spring rolls, dumplings, or grilled skewers.
With its vibrant flavor and endless possibilities, pin cherry jelly is sure to become a cherished staple in your kitchen. Remember, proper canning ensures its longevity, but once opened, store it in the refrigerator and enjoy it within a month.
64
servings, Makes 8 half pint jars
Pin Cherry Jelly
Ashley Adamant
10
10
10
30
Equipment
-
Water Bath Canner
-
Jelly Strainer with Bag
Ingredients
-
6 1/2
cups
pin cherry juice -
7
cups
sugar -
1
box
powdered pectin,
1.75 ounces or 6 tablespoons
Instructions
-
In a large pot, mix 6 1/2 cups of pin cherry juice with 1 box (1.75 ounces) or 6 tablespoons of powdered pectin.
-
Bring the mixture to a full rolling boil, stirring constantly to prevent burning. Boil hard for 1 minute.
-
Add the sugar, and then boil the mixture hard for one minute, then promptly remove from heat to avoid overboiling.
-
Carefully skim off any foam that forms on the surface.
-
Pour the hot jelly into sterilized jars, leaving a 1/4 inch of headspace.
-
Secure the jars with your lids and bands.
-
Process the jars in a boiling water bath for 10 minutes (or 15 minutes above 6,000 feet in elevation).
-
Remove the jars from the canner and allow them to cool for 24 hours at room temperature.
-
Check the seals, label, and store for up to one year.
Notes
Nutrition
Calories:
100
kcal
,
Carbohydrates:
26
g
,
Protein:
0.1
g
,
Fat:
0.1
g
,
Polyunsaturated Fat:
0.001
g
,
Sodium:
4
mg
,
Potassium:
41
mg
,
Fiber:
0.1
g
,
Sugar:
24
g
,
Vitamin A:
0.02
IU
,
Calcium:
2
mg
,
Iron:
0.2
mg
Nutrition information is automatically calculated, so should only be used as an approximation.
Like this? Leave a comment below!
Explore More Homemade Jelly Recipes
If you’ve enjoyed the process of making pin cherry jelly, you might be inspired to try other delightful homemade jelly creations. Here are some more easy and rewarding recipes to expand your preserving repertoire:
- Gooseberry Jelly
- Black Raspberry Jelly (Seedless)
- Quince Jelly
- Raspberry Jelly
- Rose Petal Jelly
Discover Wild Foraged Canning Recipes
Embrace the bounty of nature with these additional recipes for preserving wild-foraged goodness. There’s more than one way to capture the unique flavors of the wild and enjoy them all year long!
- Autumn Olive Jam
- Saskatoon Jam
- Pickled Ramps
- Wild Grape Jelly
- Thimbleberry Jelly
- Saskatoon Jelly