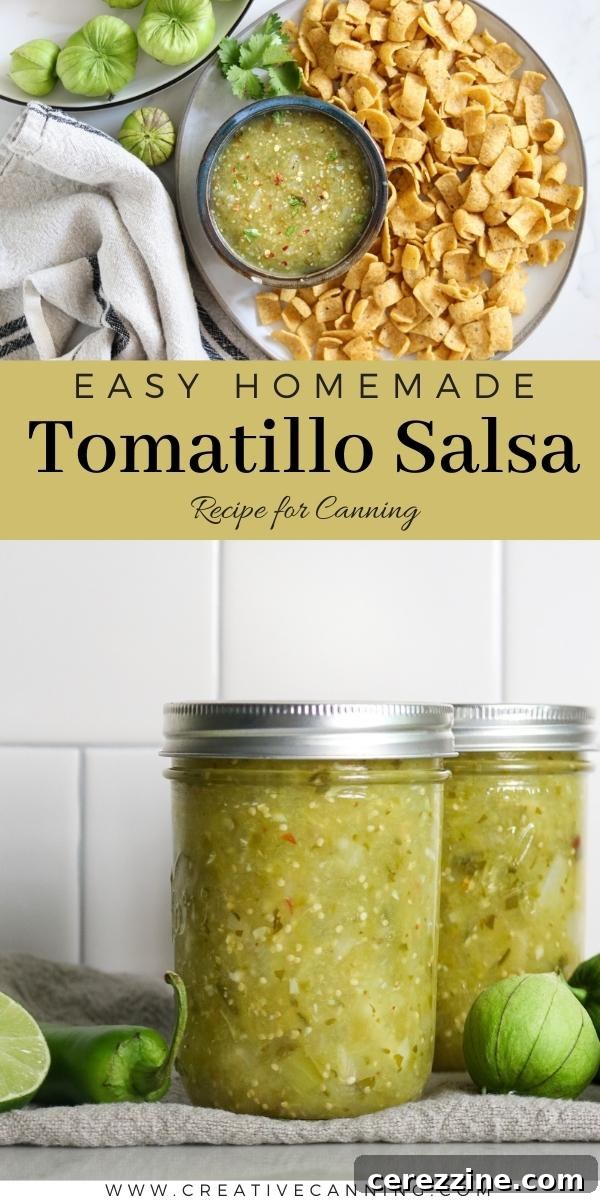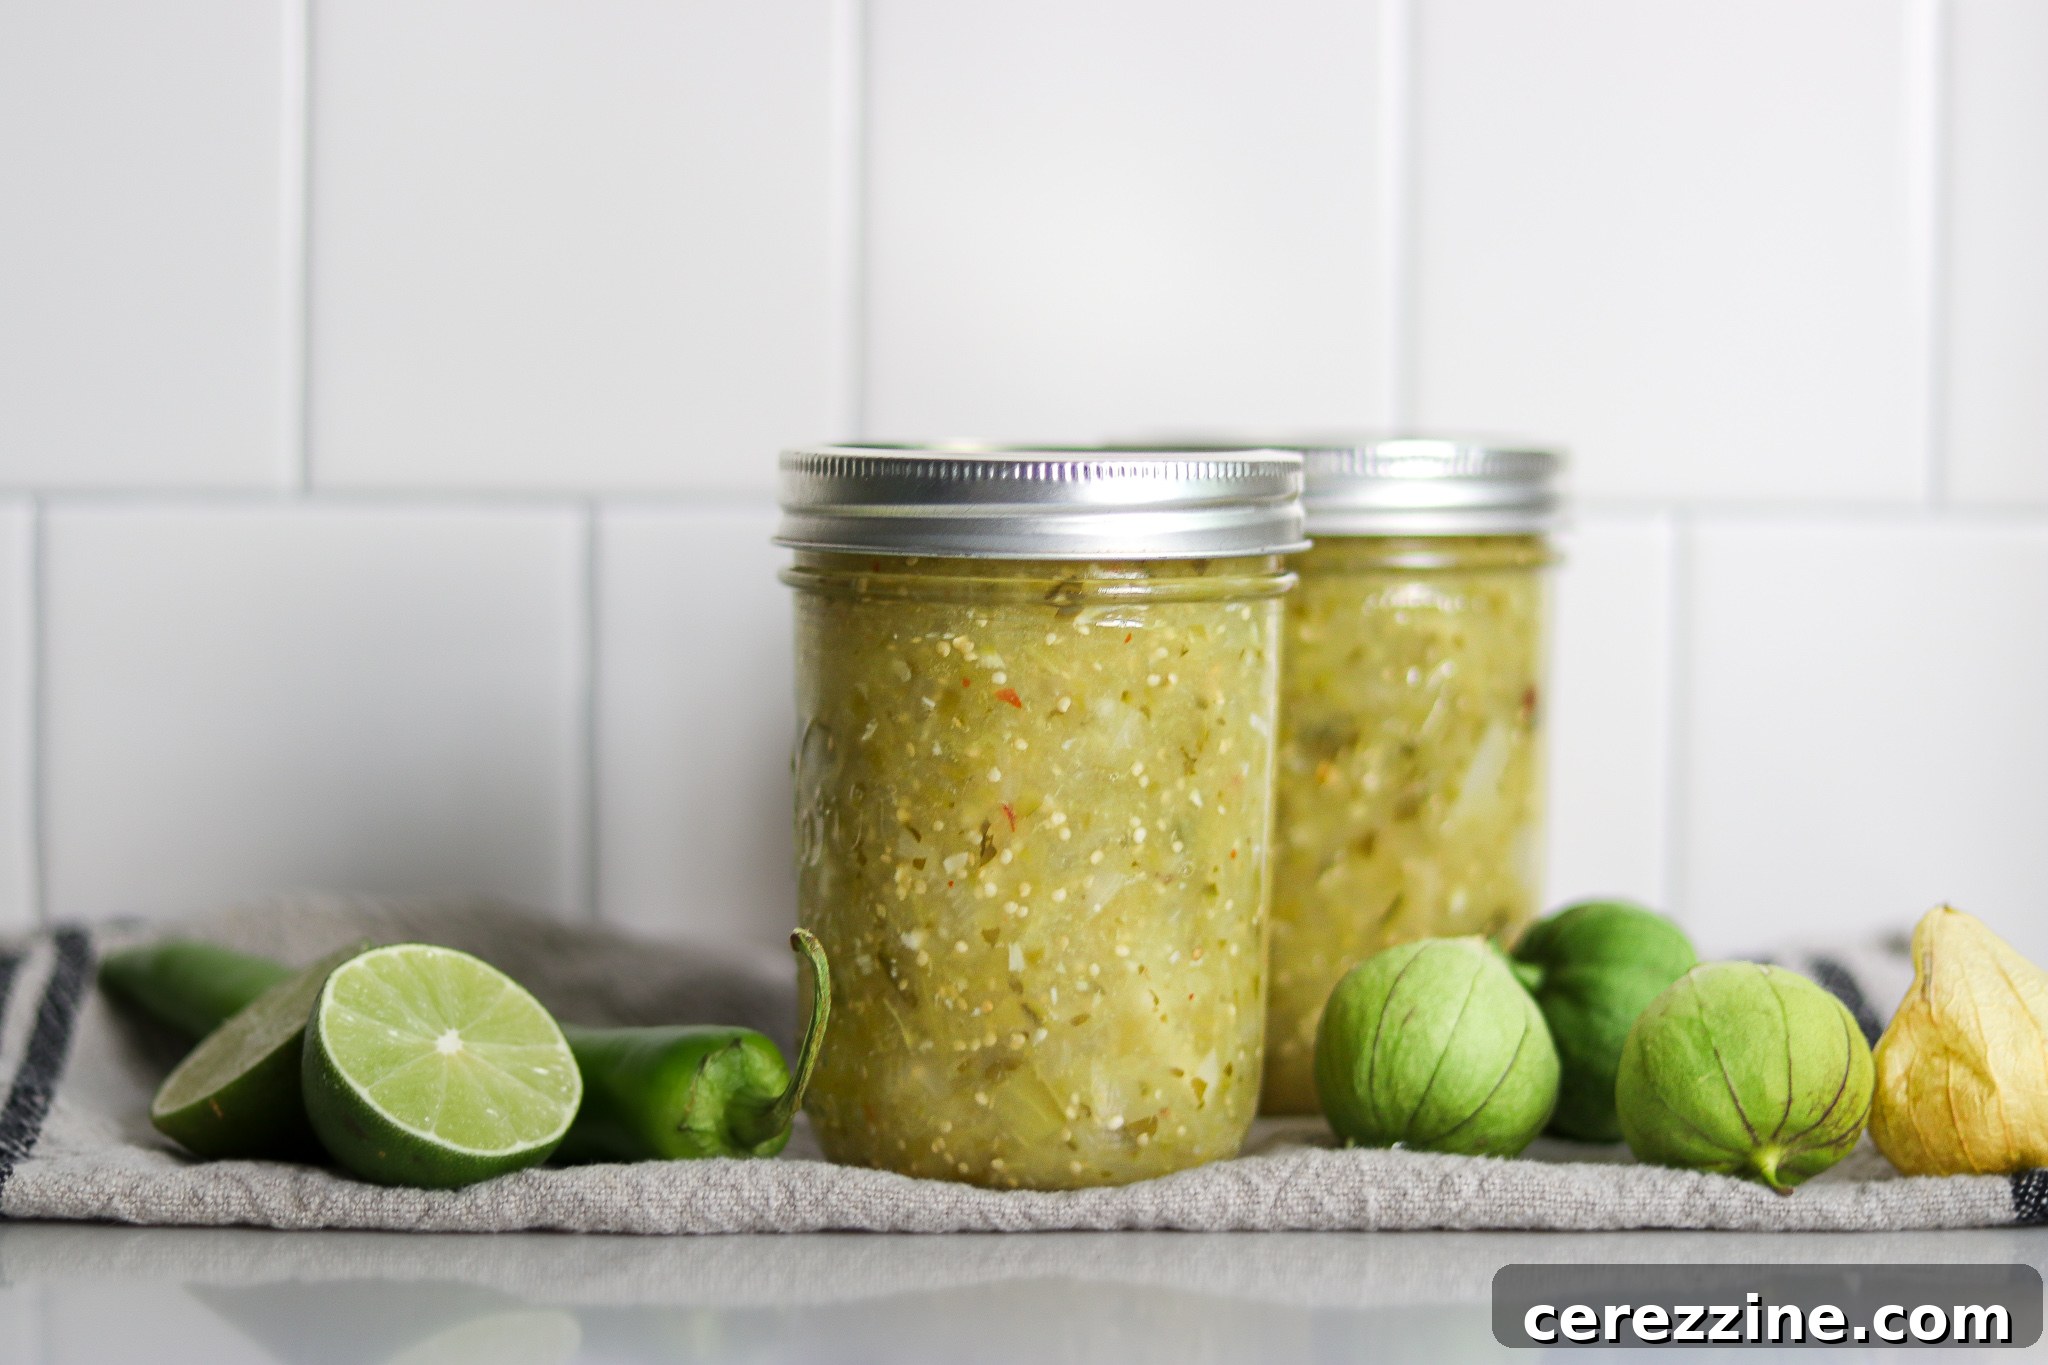
Welcome to the ultimate guide for creating and preserving delectable homemade tomatillo salsa. If you’ve ever cultivated tomatillos, you know they are incredibly prolific, often yielding harvests far exceeding expectations. This makes canning tomatillo salsa not just a culinary delight but a practical necessity for anyone with a thriving garden. Imagine having jars of vibrant, tangy salsa verde ready to elevate any meal, right on your pantry shelf. This comprehensive, tested canning recipe ensures both safety and exceptional flavor, transforming your abundant harvest into a year-round pantry staple.
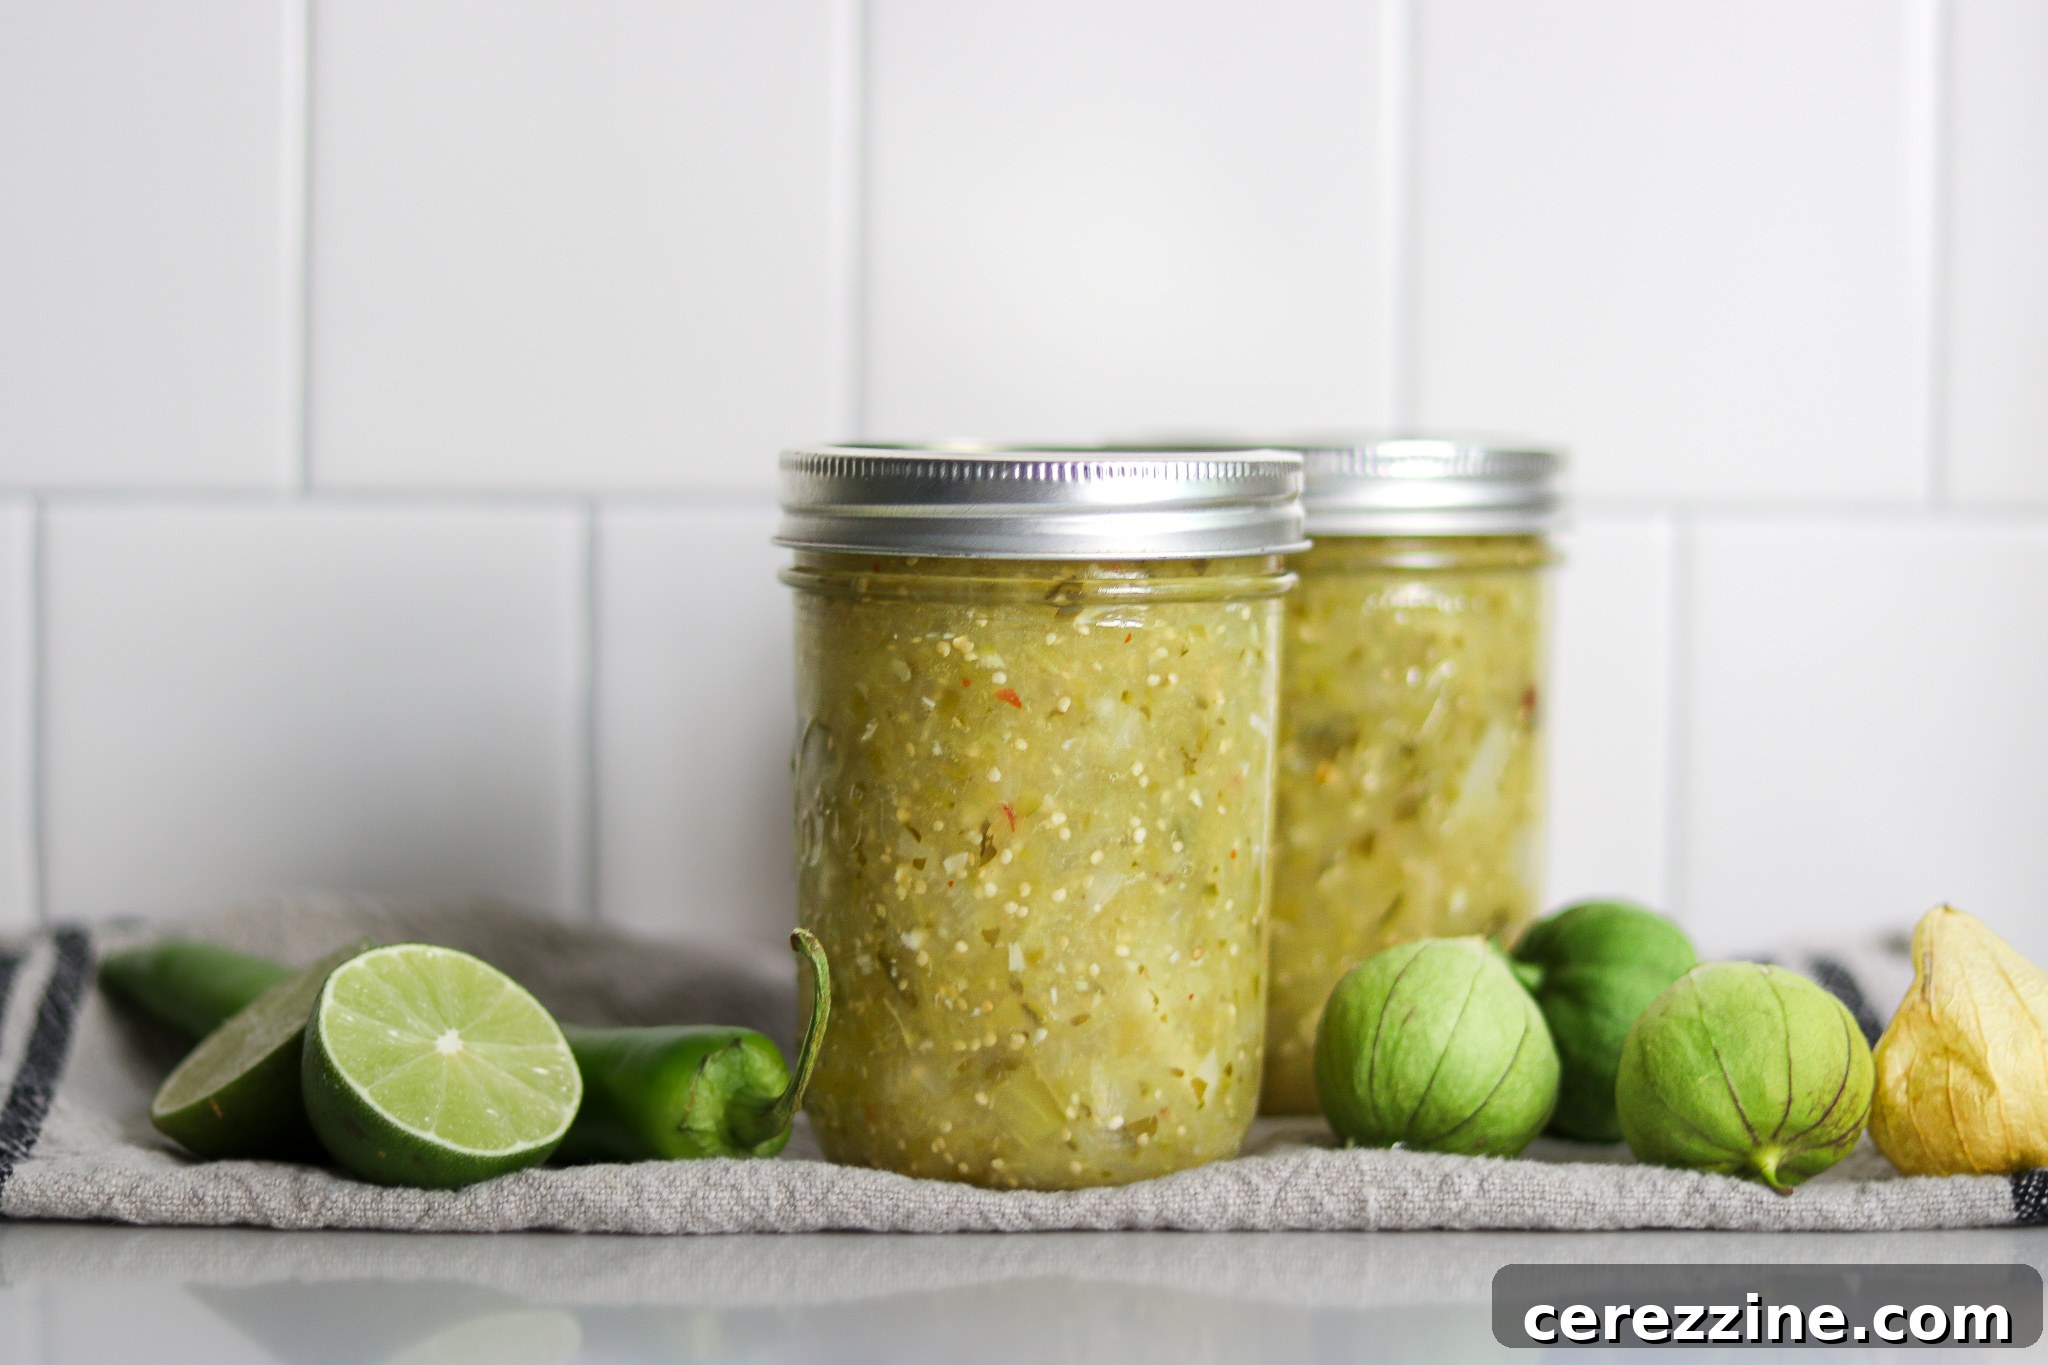
Tomatillos are truly a gardener’s dream and challenge rolled into one. These vibrant, husk-covered fruits (often mistaken for green tomatoes) grow with astonishing vigor. Even a modest planting of just a few tomatillo plants can lead to a harvest measured in buckets, or even wheelbarrow loads. It’s not uncommon to gather 20 pounds from a single plant, and their relentless growth seems unstoppable. I once witnessed a garden turn into an overgrown field, yet at the end of the season, we still managed to rake in huge quantities of tomatillos from amidst waist-high grass. Their determination to produce, even when neglected, underscores the importance of having reliable preservation methods at hand.
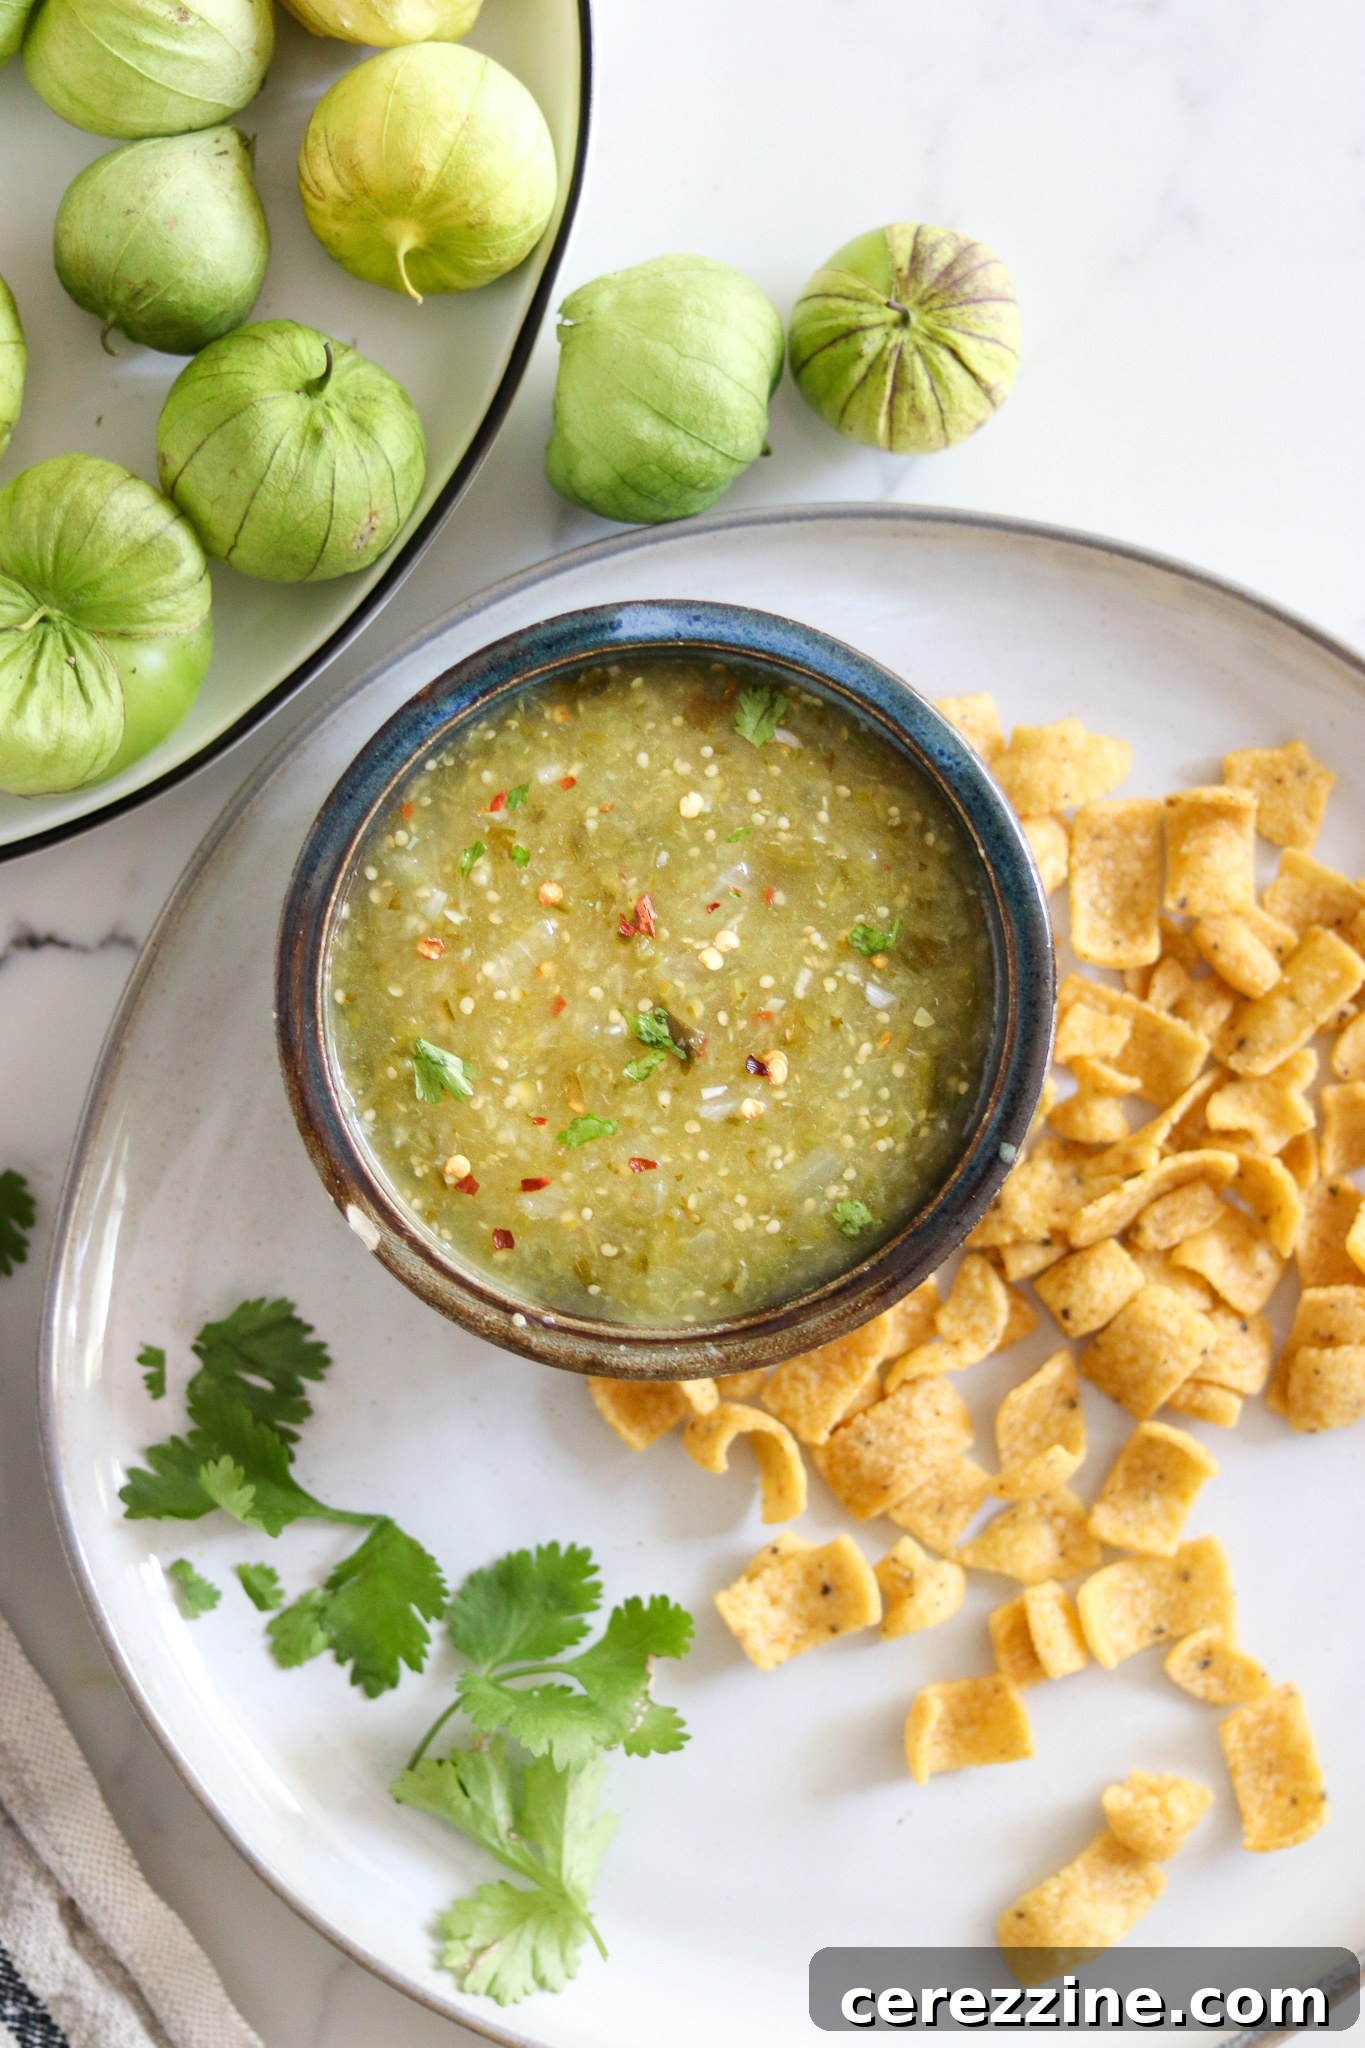
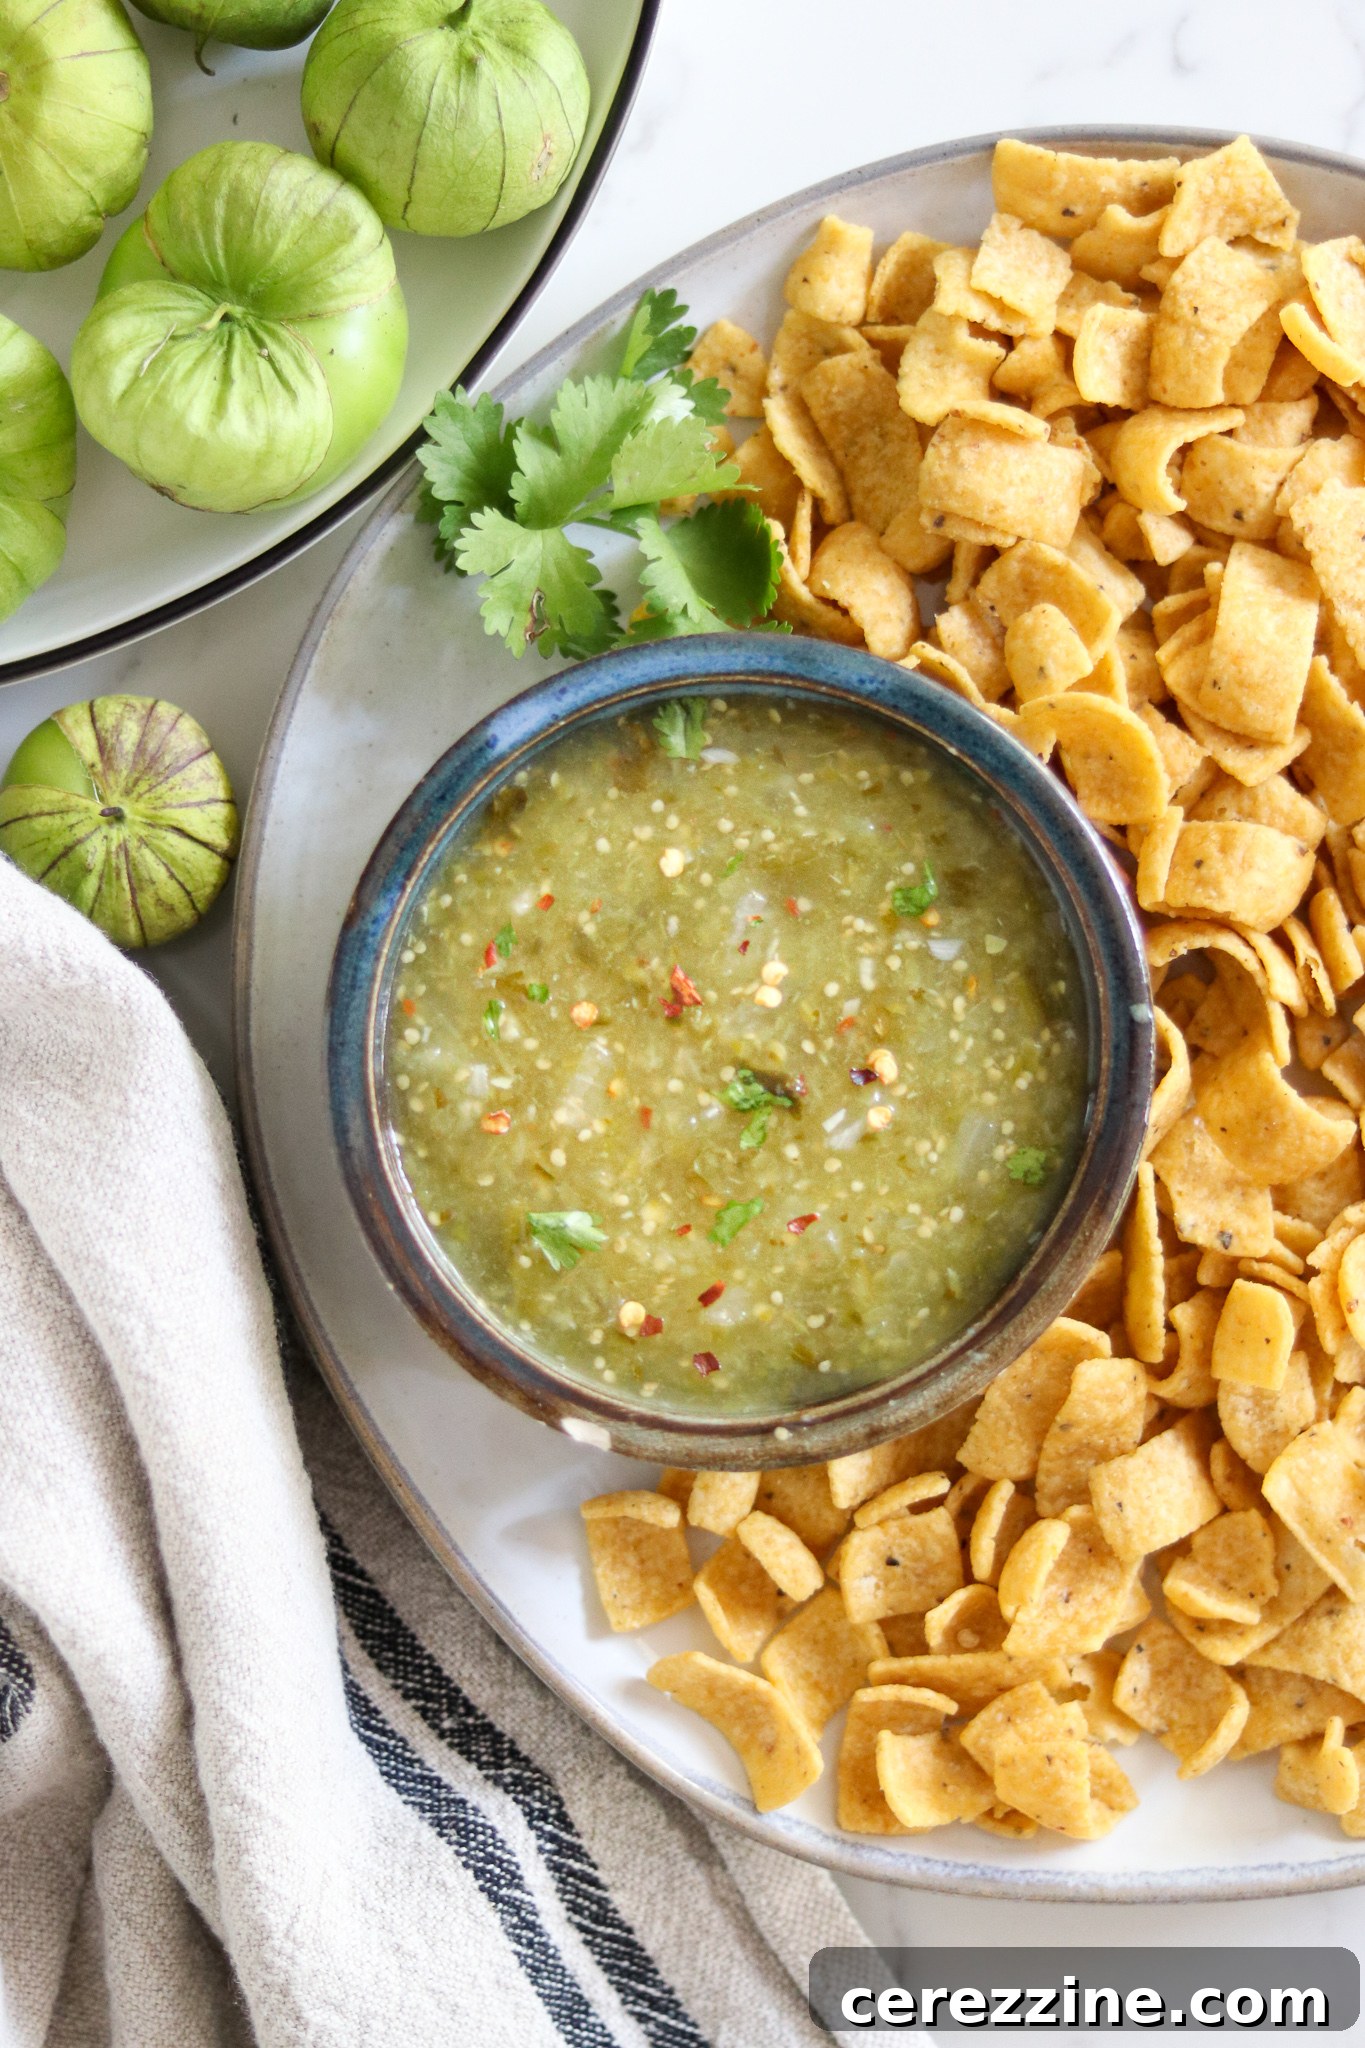
Therefore, if you’re planning to plant tomatillos this year, preparing a selection of tested canning recipes is highly advisable. Trust me, you’ll be grateful for them. This particular canning recipe for tomatillo salsa stands out as a personal favorite. Its bright, zesty flavor is perfect on its own – simply grab a bag of chips and enjoy. Beyond dipping, its versatility shines in countless dishes, making it an indispensable addition to your homemade pantry.
Understanding Tomatillo Canning Safety: Acidity is Key
When it comes to home canning, safety is paramount, and understanding the role of acidity is crucial. Tomatillos, with their natural tartness, fall right on the borderline for safe water bath canning. Their pH level can vary, meaning they might not always be acidic enough on their own to inhibit the growth of harmful bacteria, particularly Clostridium botulinum, which thrives in low-acid, oxygen-free environments like sealed jars. For this reason, tested canning recipes often require the addition of an acid, such as bottled citrus juice or vinegar, to ensure the pH is consistently safe.
This specific recipe is carefully adapted from The Ball Complete Book of Home Preserving, a trusted authority in home preservation. Ball’s experts rigorously test their recipes to guarantee canning safety. Our tomatillo salsa recipe incorporates a generous amount of fresh lime juice, which contributes significantly to its bright flavor profile. More importantly, it includes a full cup of vinegar, standardized to 5% acidity, specifically to lower the overall pH to a safe level for water bath canning. This amount of vinegar cannot be reduced if you intend to can the salsa, as doing so would compromise its safety. Fortunately, the vinegar complements the tomatillos beautifully, enhancing their tangy character and adding a delightful “zip” that makes this salsa truly exceptional.
Essential Ingredients for Perfect Tomatillo Salsa
To yield approximately 6 pint jars of this fantastic salsa, gather the following high-quality ingredients. Each component plays a vital role in achieving the optimal flavor and safe acidity for canning:
- 12 cups tomatillos, husked and chopped (roughly 5 pounds)
- 2 ½ cups onion, chopped (white or yellow onions work well)
- 2 cups fresh peppers (a versatile mix, see notes below for heat customization)
- 1 cup white vinegar (or other vinegar, such as apple cider vinegar, standardized to 5% acidity – this is non-negotiable for canning safety)
- Fresh juice from 4 small limes or 2 large limes (or ¼ cup bottled lime juice, though fresh is highly recommended for flavor)
- 7 cloves garlic, minced
- 2 tsp salt (non-iodized canning or sea salt is preferred)
- 6 tbsp cilantro, chopped (optional, but adds authentic flavor)
- 1 tsp red pepper flakes (optional, for an extra kick)
While many canning recipes specify bottled lemon juice due to its standardized acidity, this recipe primarily relies on vinegar for safe acidification. The lime juice is incorporated primarily for its vibrant flavor contribution. I strongly encourage using fresh lime juice if possible; its bright, citrusy notes significantly enhance the salsa’s overall taste. However, bottled lime juice can be used in a pinch without compromising safety, thanks to the vinegar.
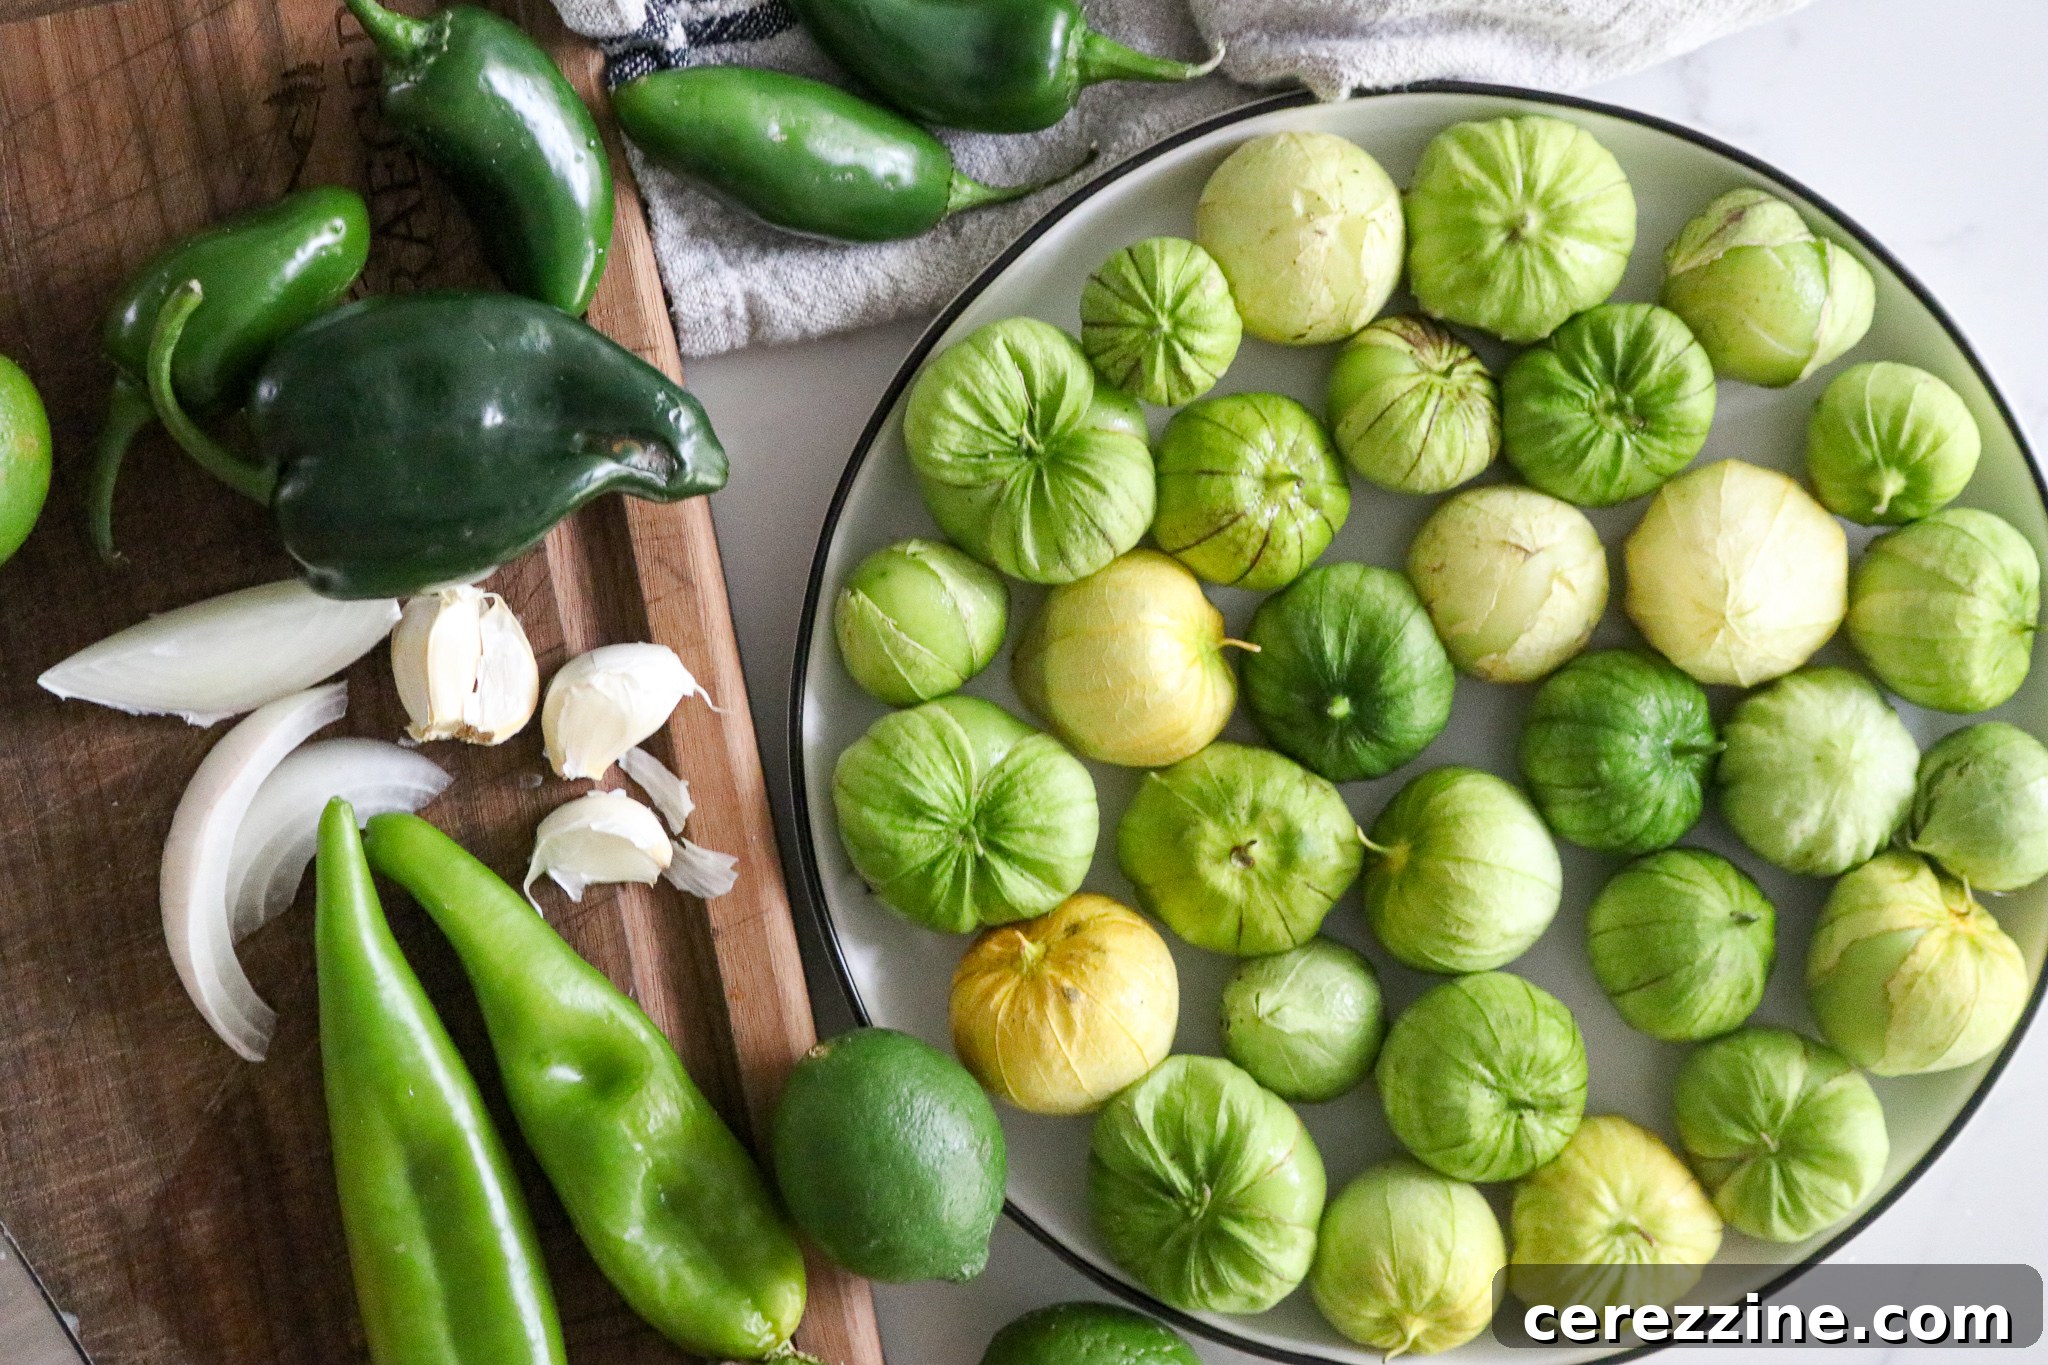
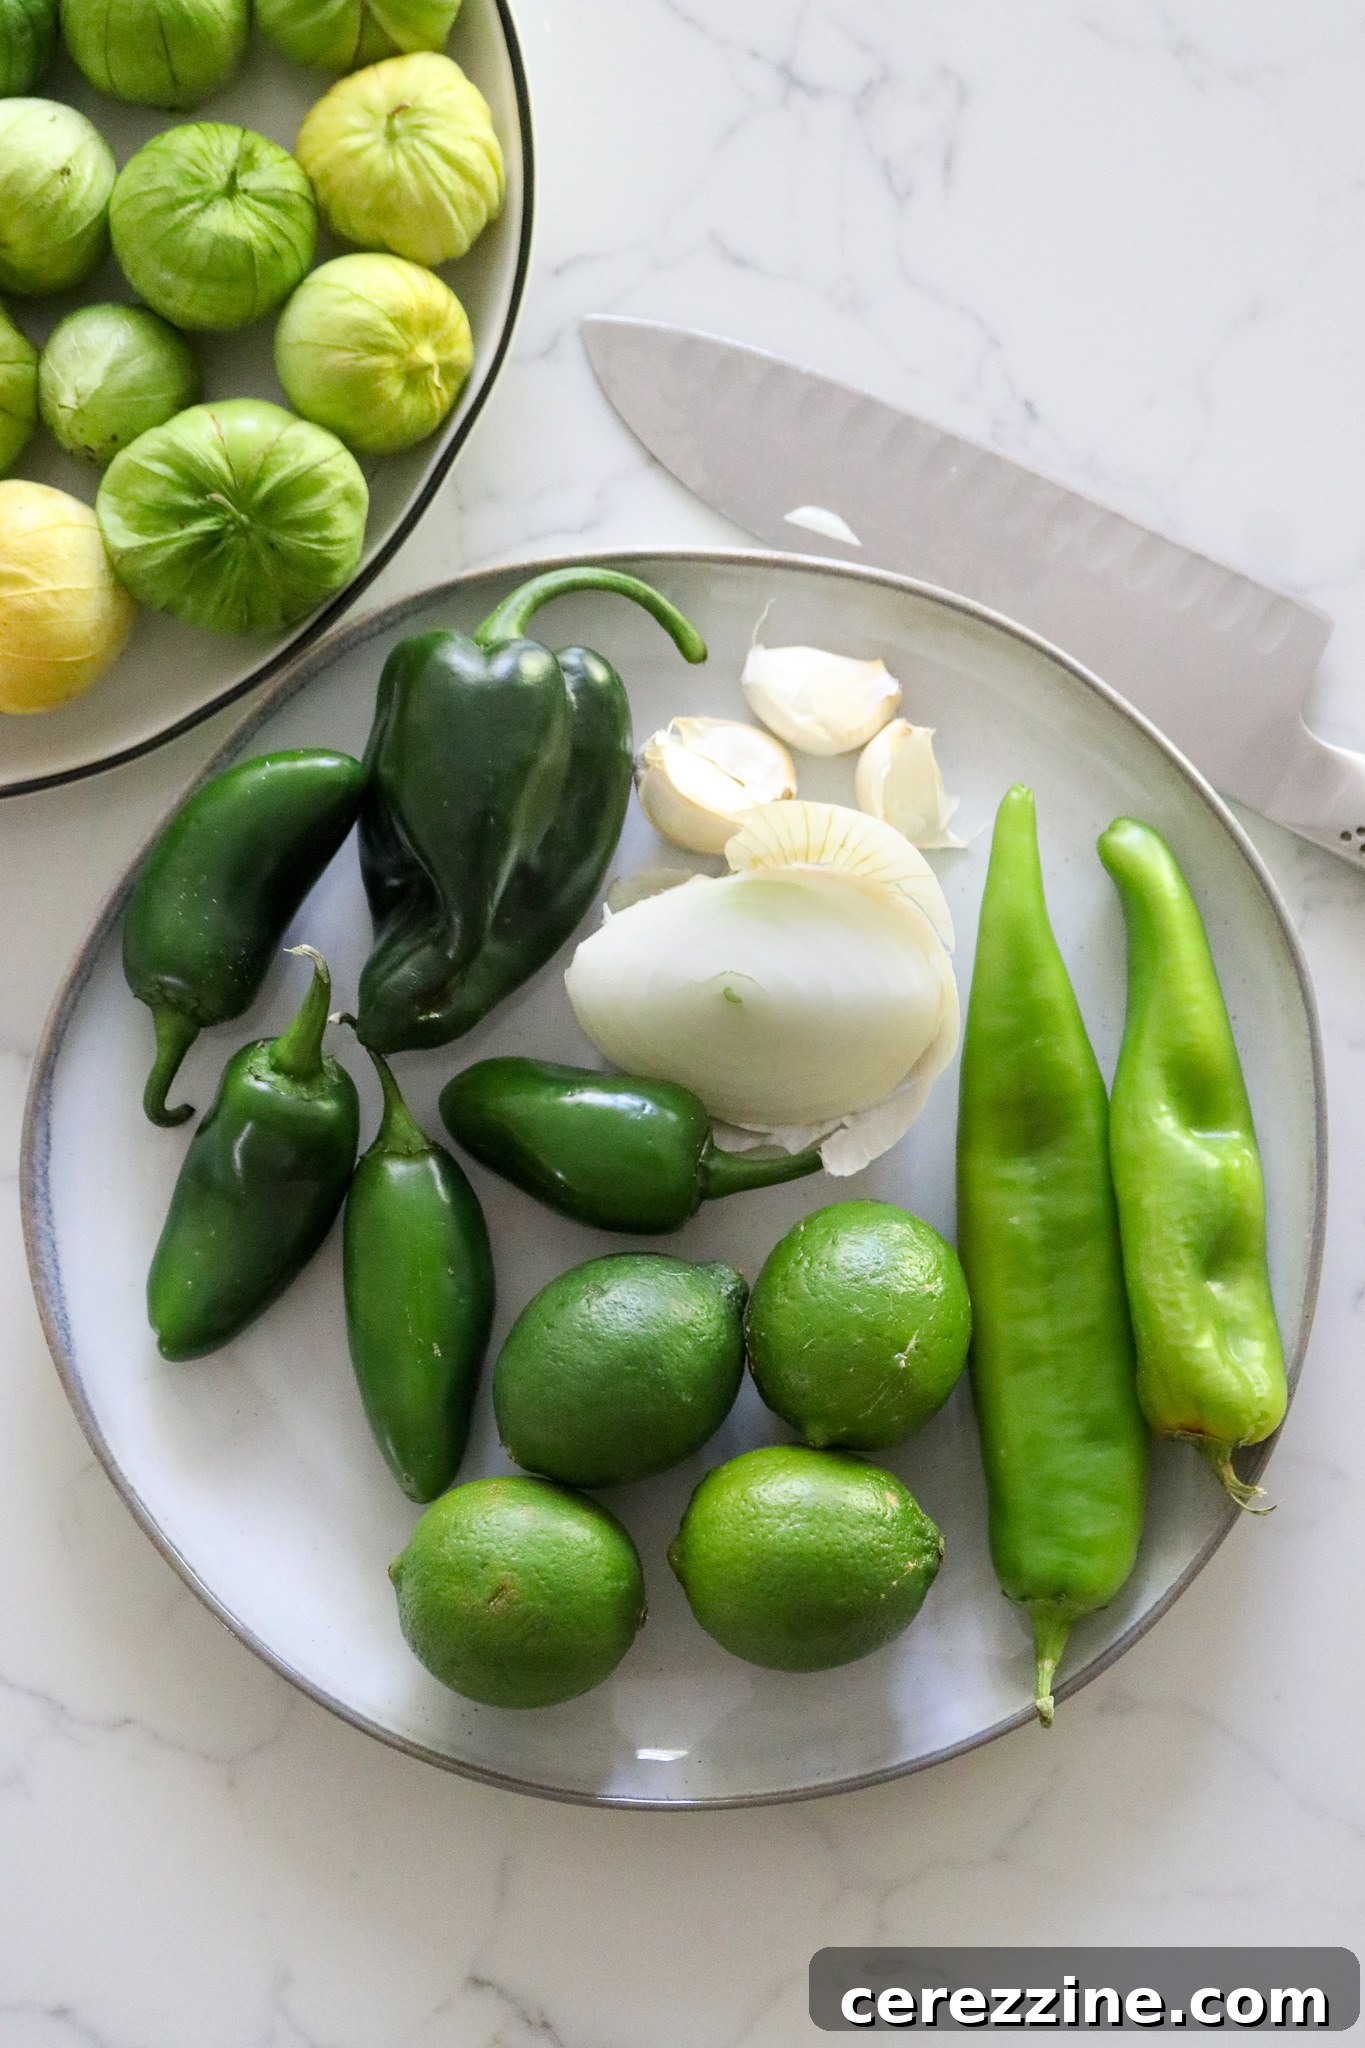
The choice of peppers allows for complete customization of your salsa’s heat level. For a very mild salsa, consider using green or red bell peppers. If you prefer a medium heat, Anaheim chilies or Poblano peppers are excellent choices, offering a pleasant warmth without being overwhelming. For those who enjoy more heat, jalapeños are a classic choice. Feeling adventurous? Incorporate a touch of habanero or even ghost pepper for an intensely spicy experience. To achieve a well-balanced salsa, I often use a mix of jalapeño, Anaheim, and poblano peppers, providing layers of flavor and a moderate kick. Remember, any pepper variety will work in this canning recipe, so feel free to experiment with what you have on hand or what suits your palate.
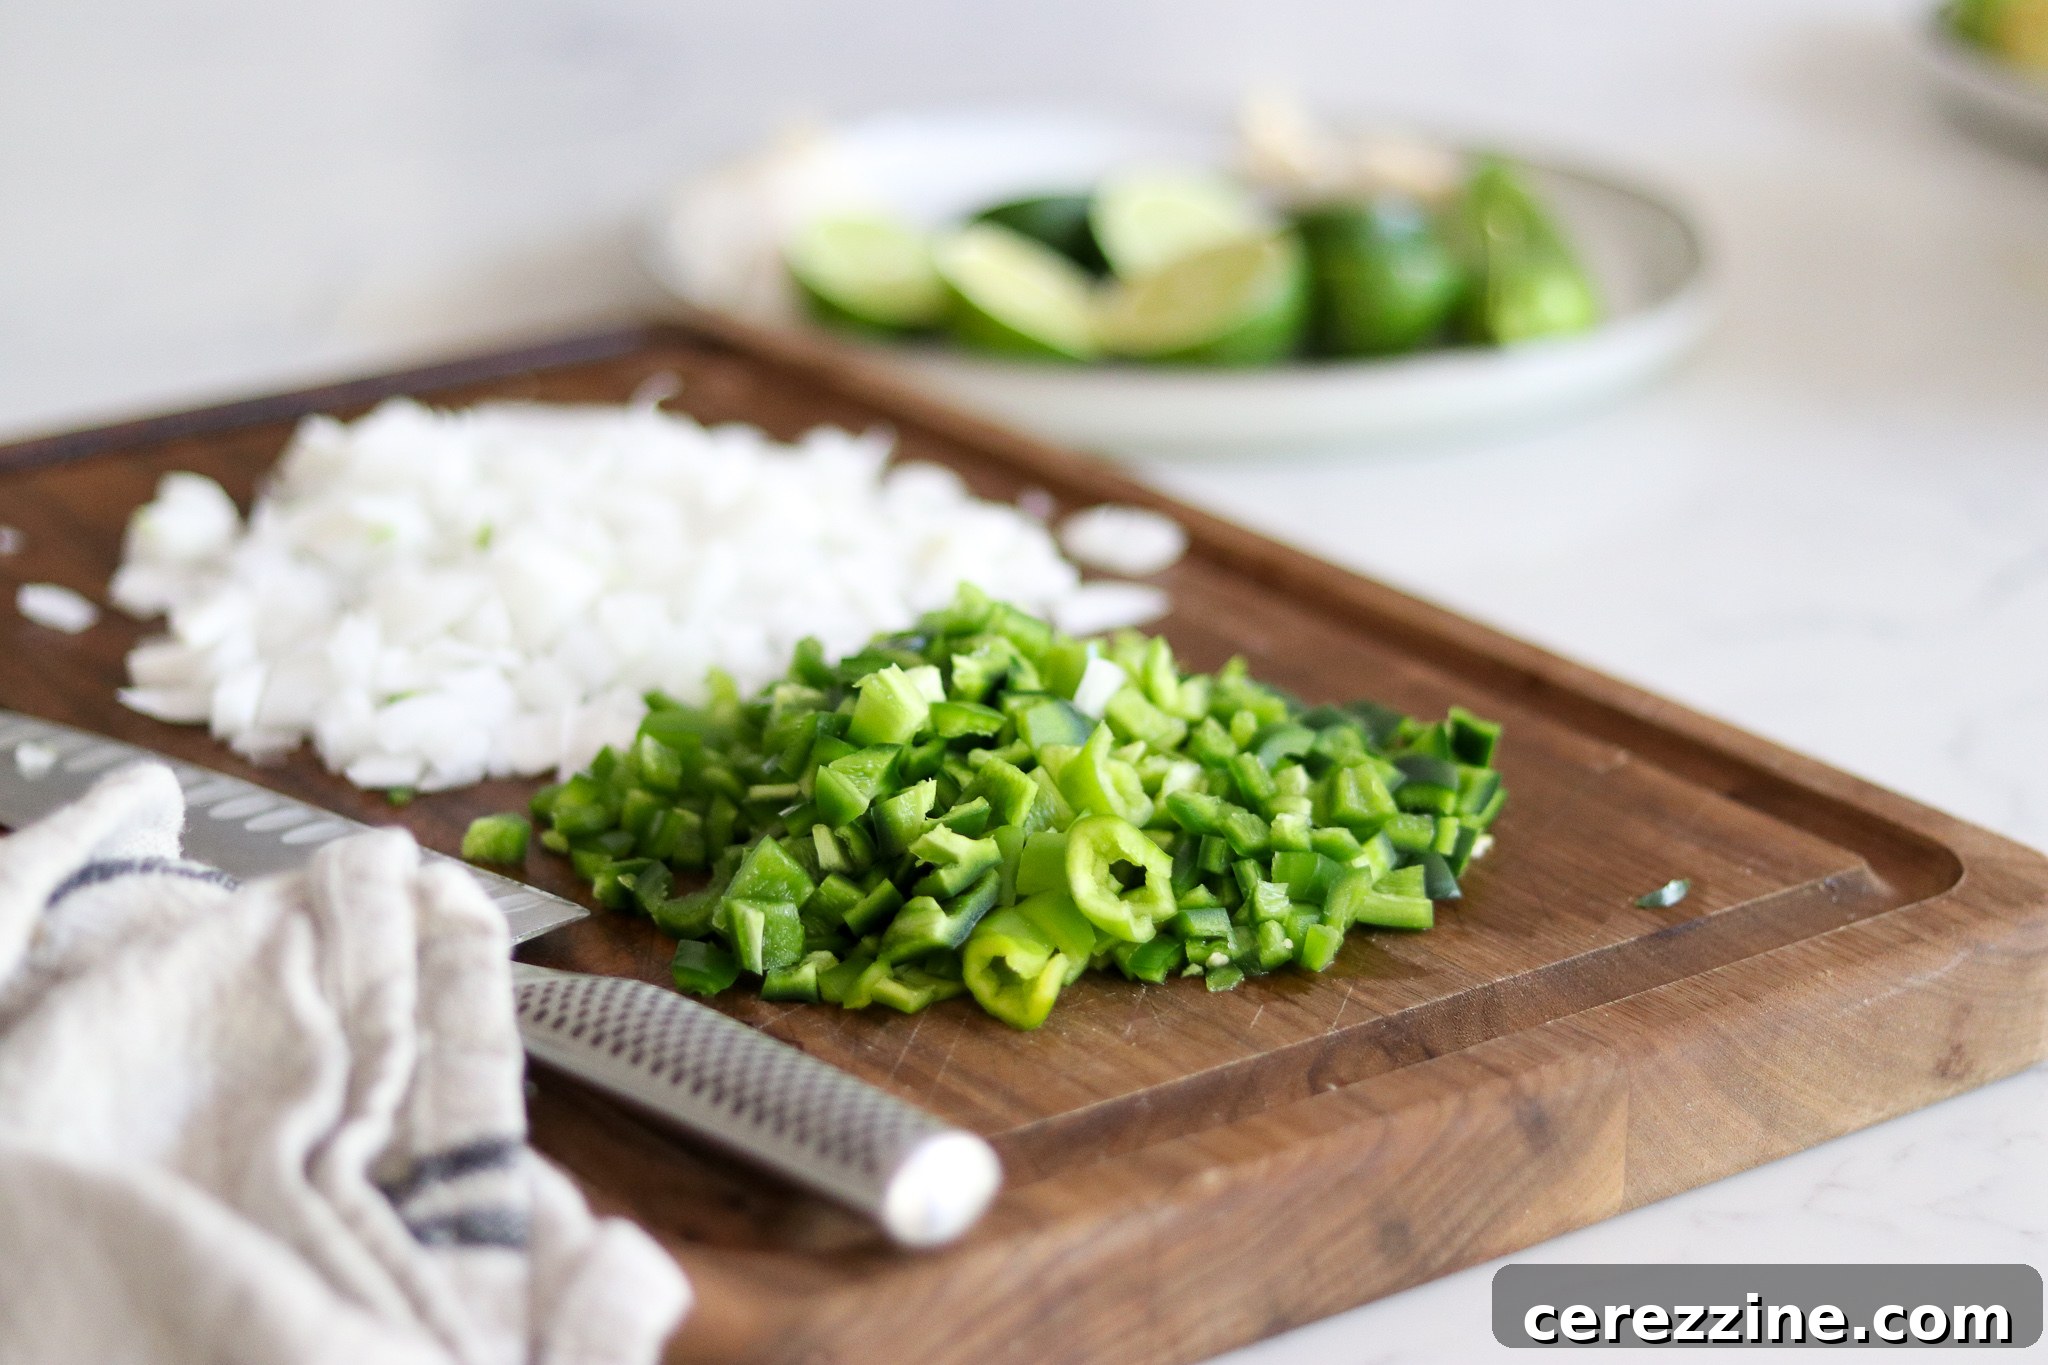
When preparing your peppers, you can choose to leave the seeds in for an extra boost of heat, or remove them for a milder product. Regardless of your heat preference, it’s important to dice the peppers relatively finely. Aim for ¼-inch slices for smaller, elongated peppers or ¼-inch dice for larger varieties like poblanos. Consistent sizing ensures even cooking and a pleasant texture in the finished salsa.
For the tomatillos themselves, almost any variety will work wonderfully. While the standard green tomatillos are most common and will give your salsa its characteristic deep green color and classic tangy flavor, don’t shy away from exploring other types. You might encounter purple-fleshed tomatillos or very mild yellow-fleshed varieties that offer notes of pineapple and can even be eaten raw like fruit. Each brings its own subtle nuances to the salsa, making experimentation a delightful part of the process.
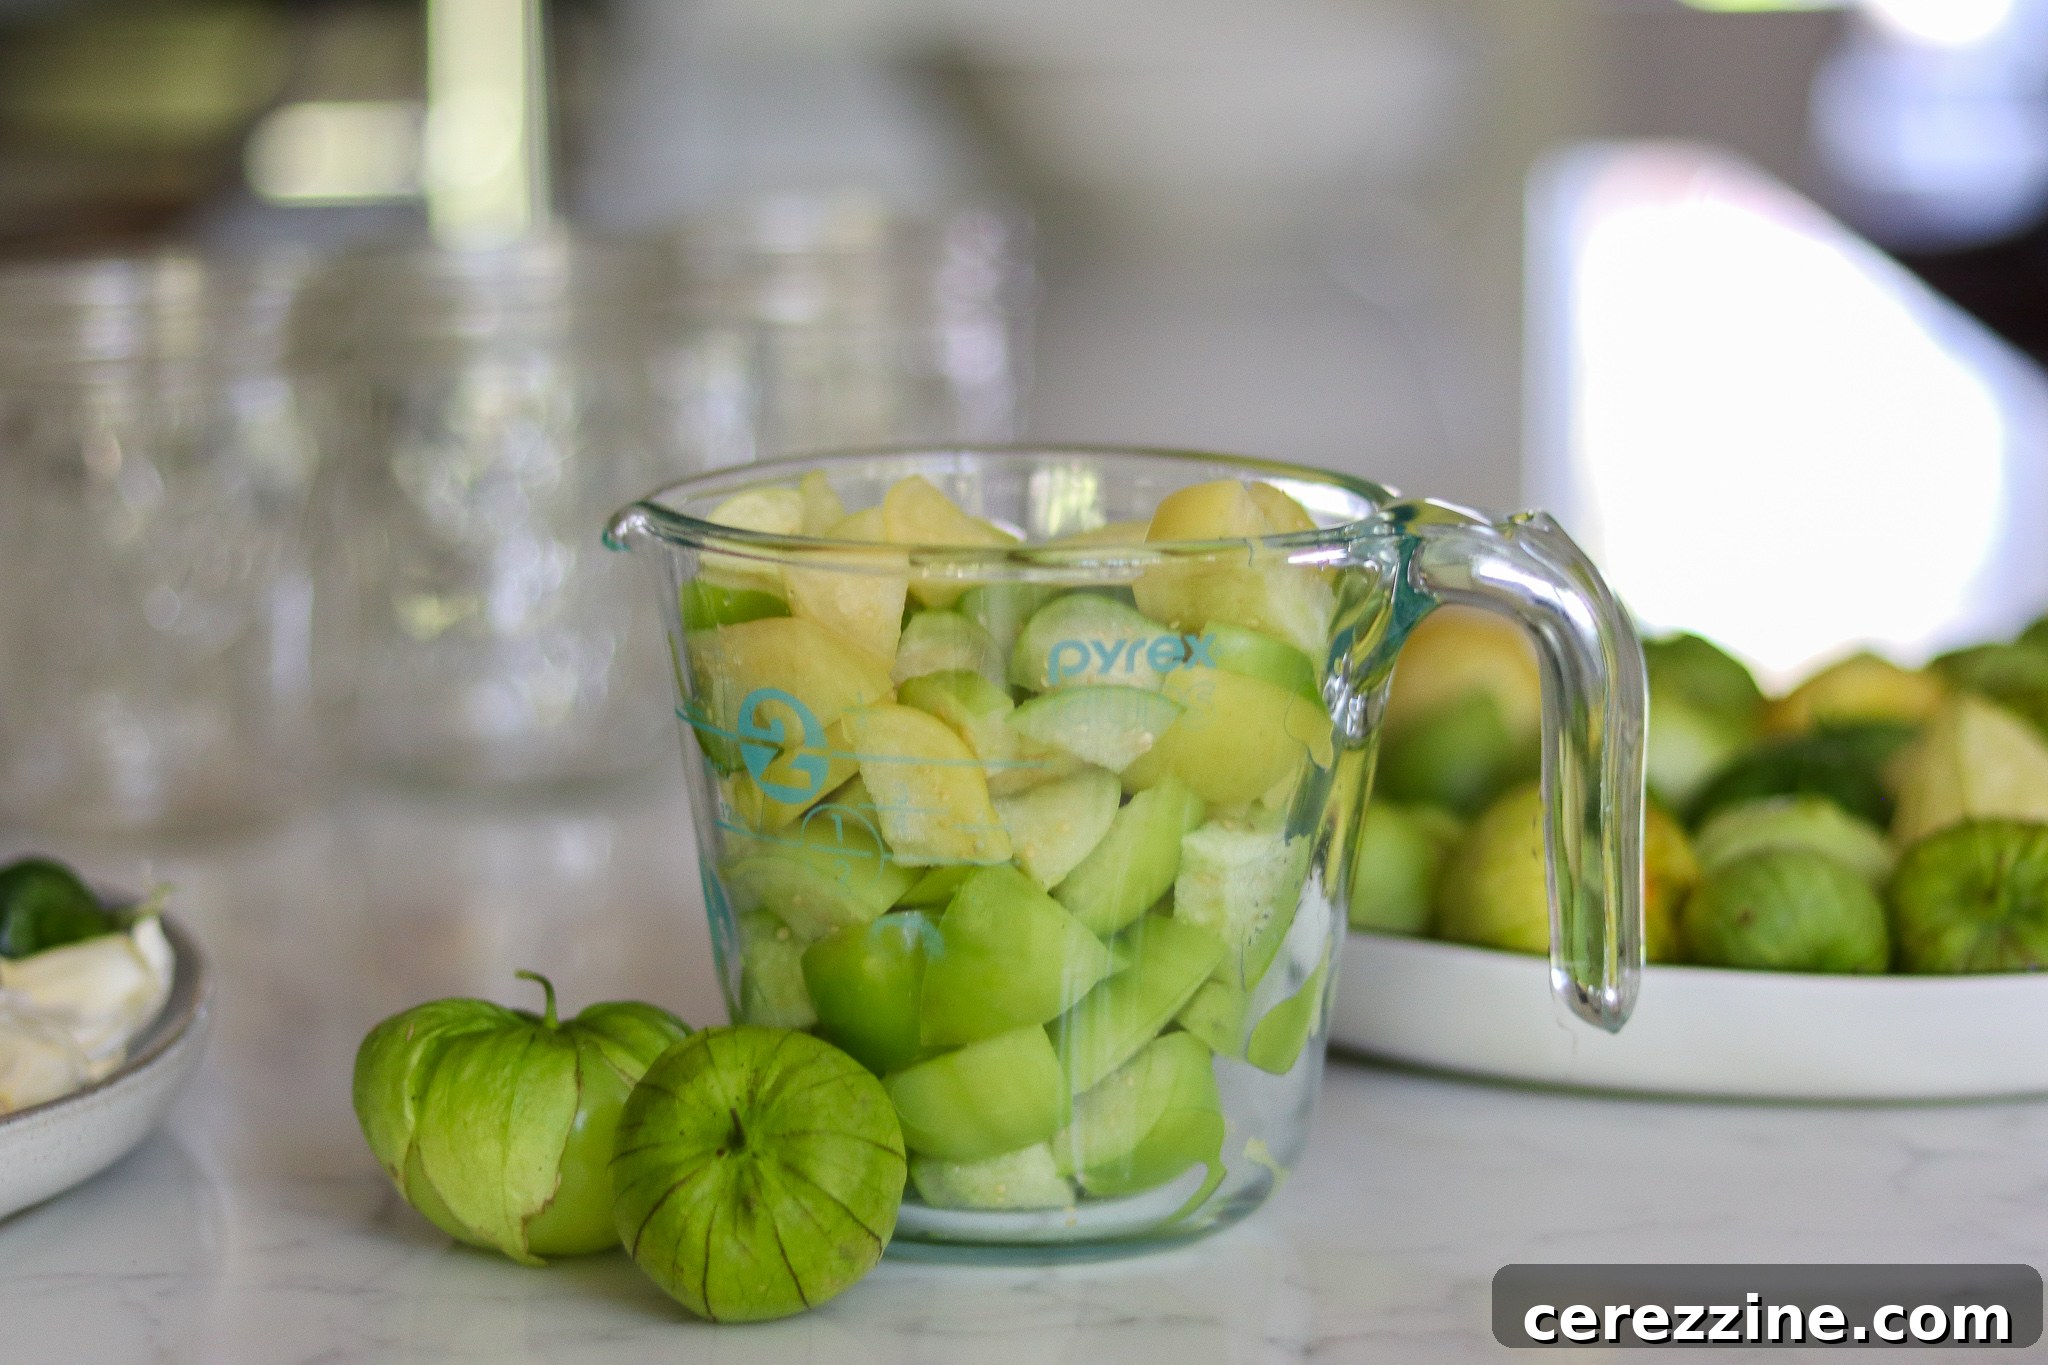
Interestingly, if your garden also boasts other species of physalis, such as the sweeter, tiny varieties known as ground cherries, husk cherries, or cape gooseberries, they can also be used in this recipe. While these fruits are often preserved in jams or jellies due to their sweetness and pineapple-like flavor, they will create a wonderfully unique and fruity salsa when incorporated here. Essentially, any husked physalis fruit can be a delightful addition to this versatile recipe, offering a twist on the traditional tomatillo salsa.
Step-by-Step Guide: Crafting Your Tomatillo Salsa
Making this tomatillo salsa is a straightforward process, but efficient preparation is key. Begin by thoroughly chopping and measuring all your vegetables. This initial step is often the most time-consuming part of the recipe, so getting it out of the way first ensures a smooth cooking process. While you’re preparing your vegetables, start pre-heating your water bath canner and sterilize your canning jars, lids, and rings (if you plan to can the salsa). This recipe comes together fairly quickly once the chopping is done, so having your canning equipment ready in advance is essential for seamless execution.
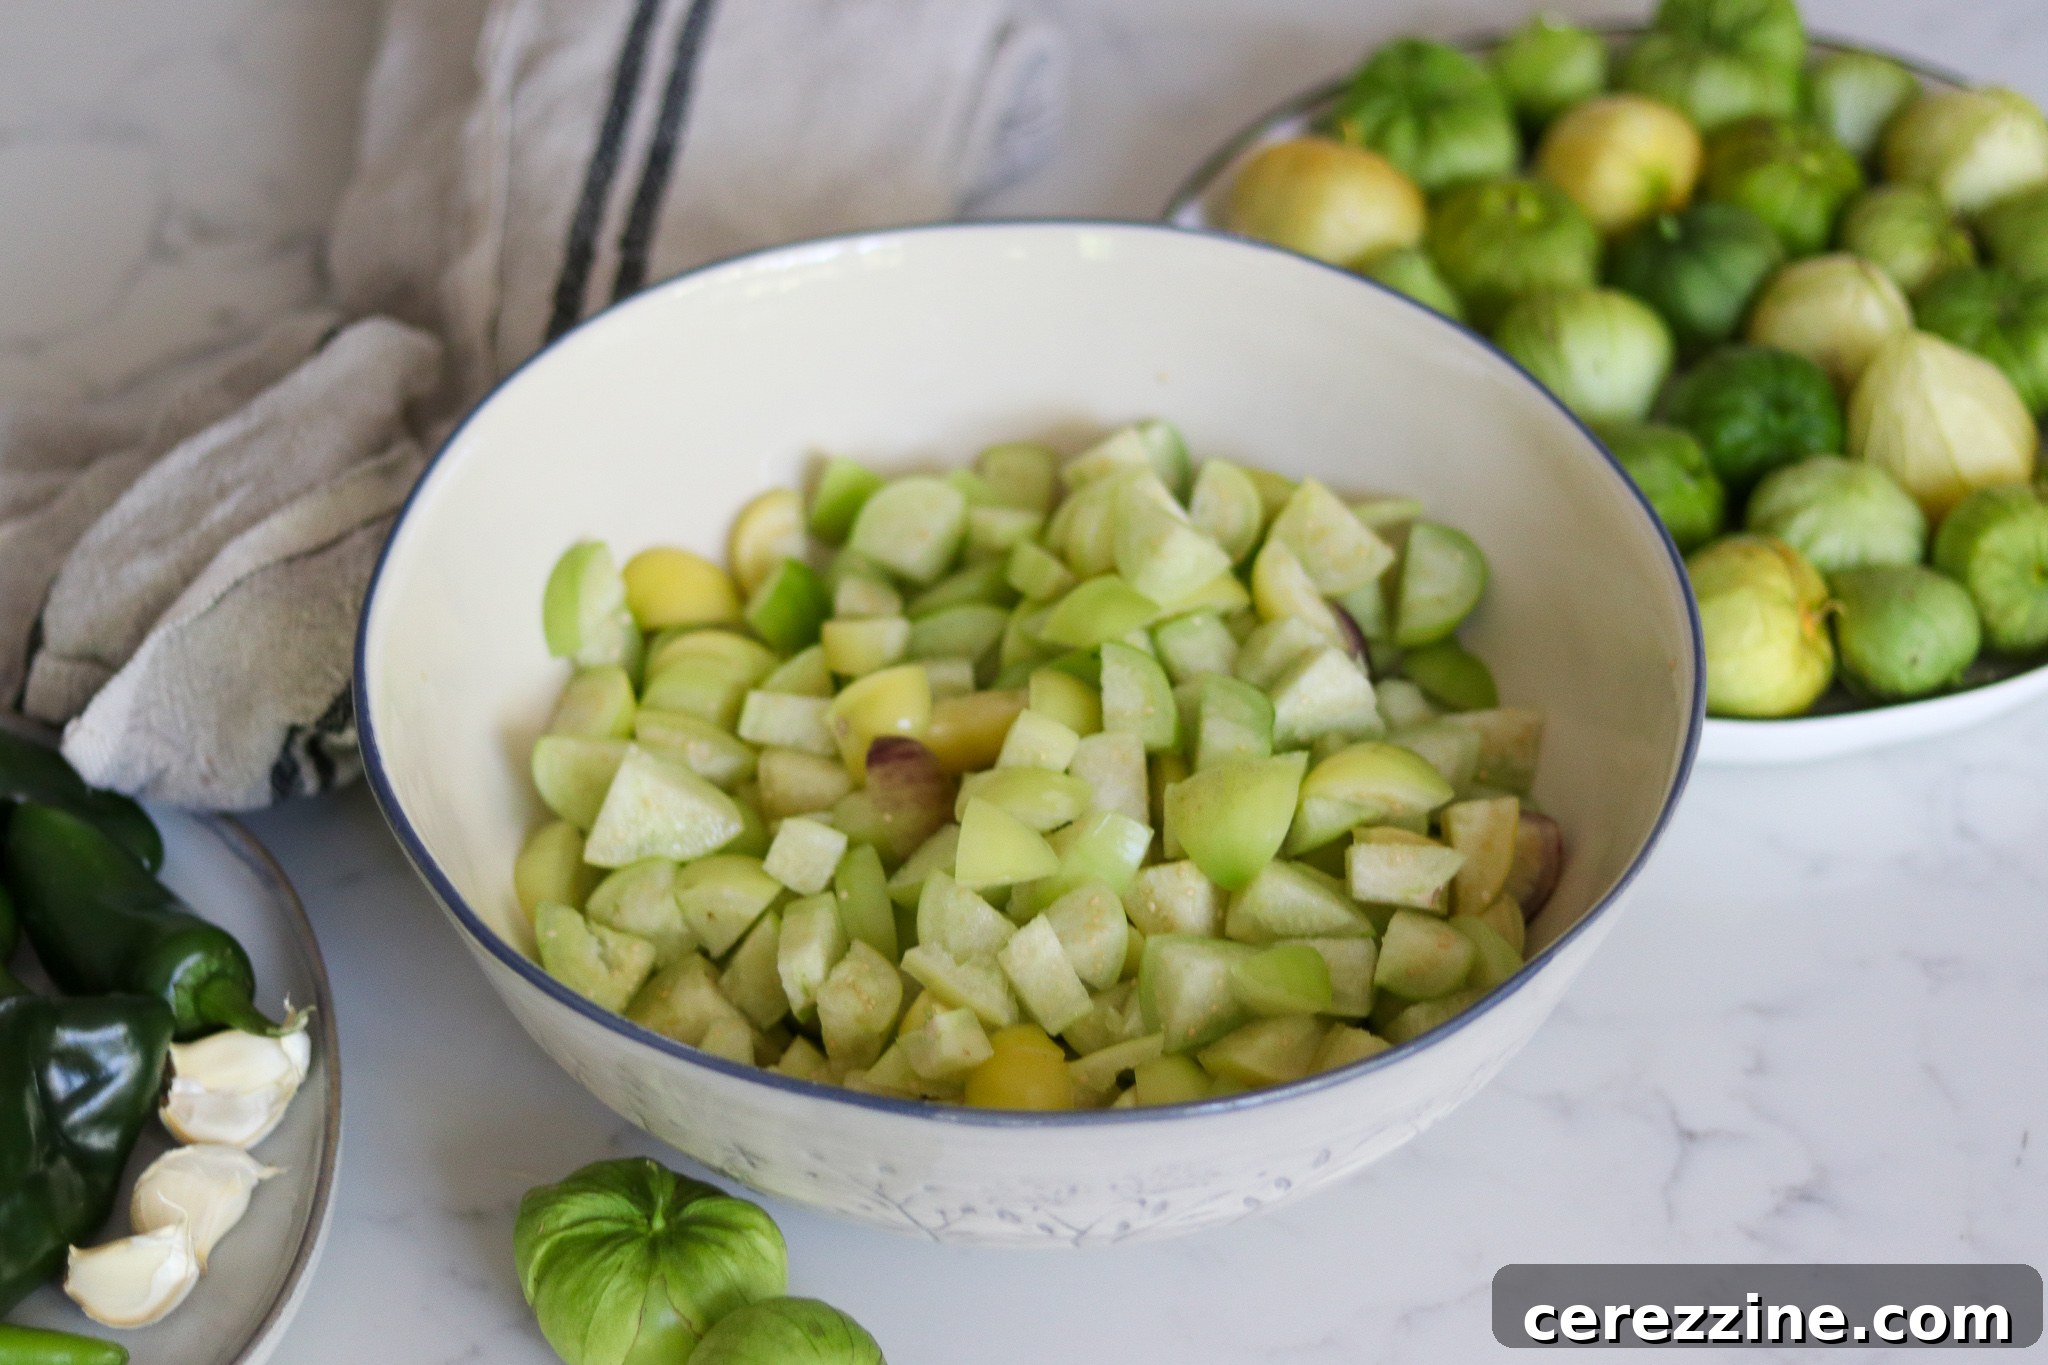
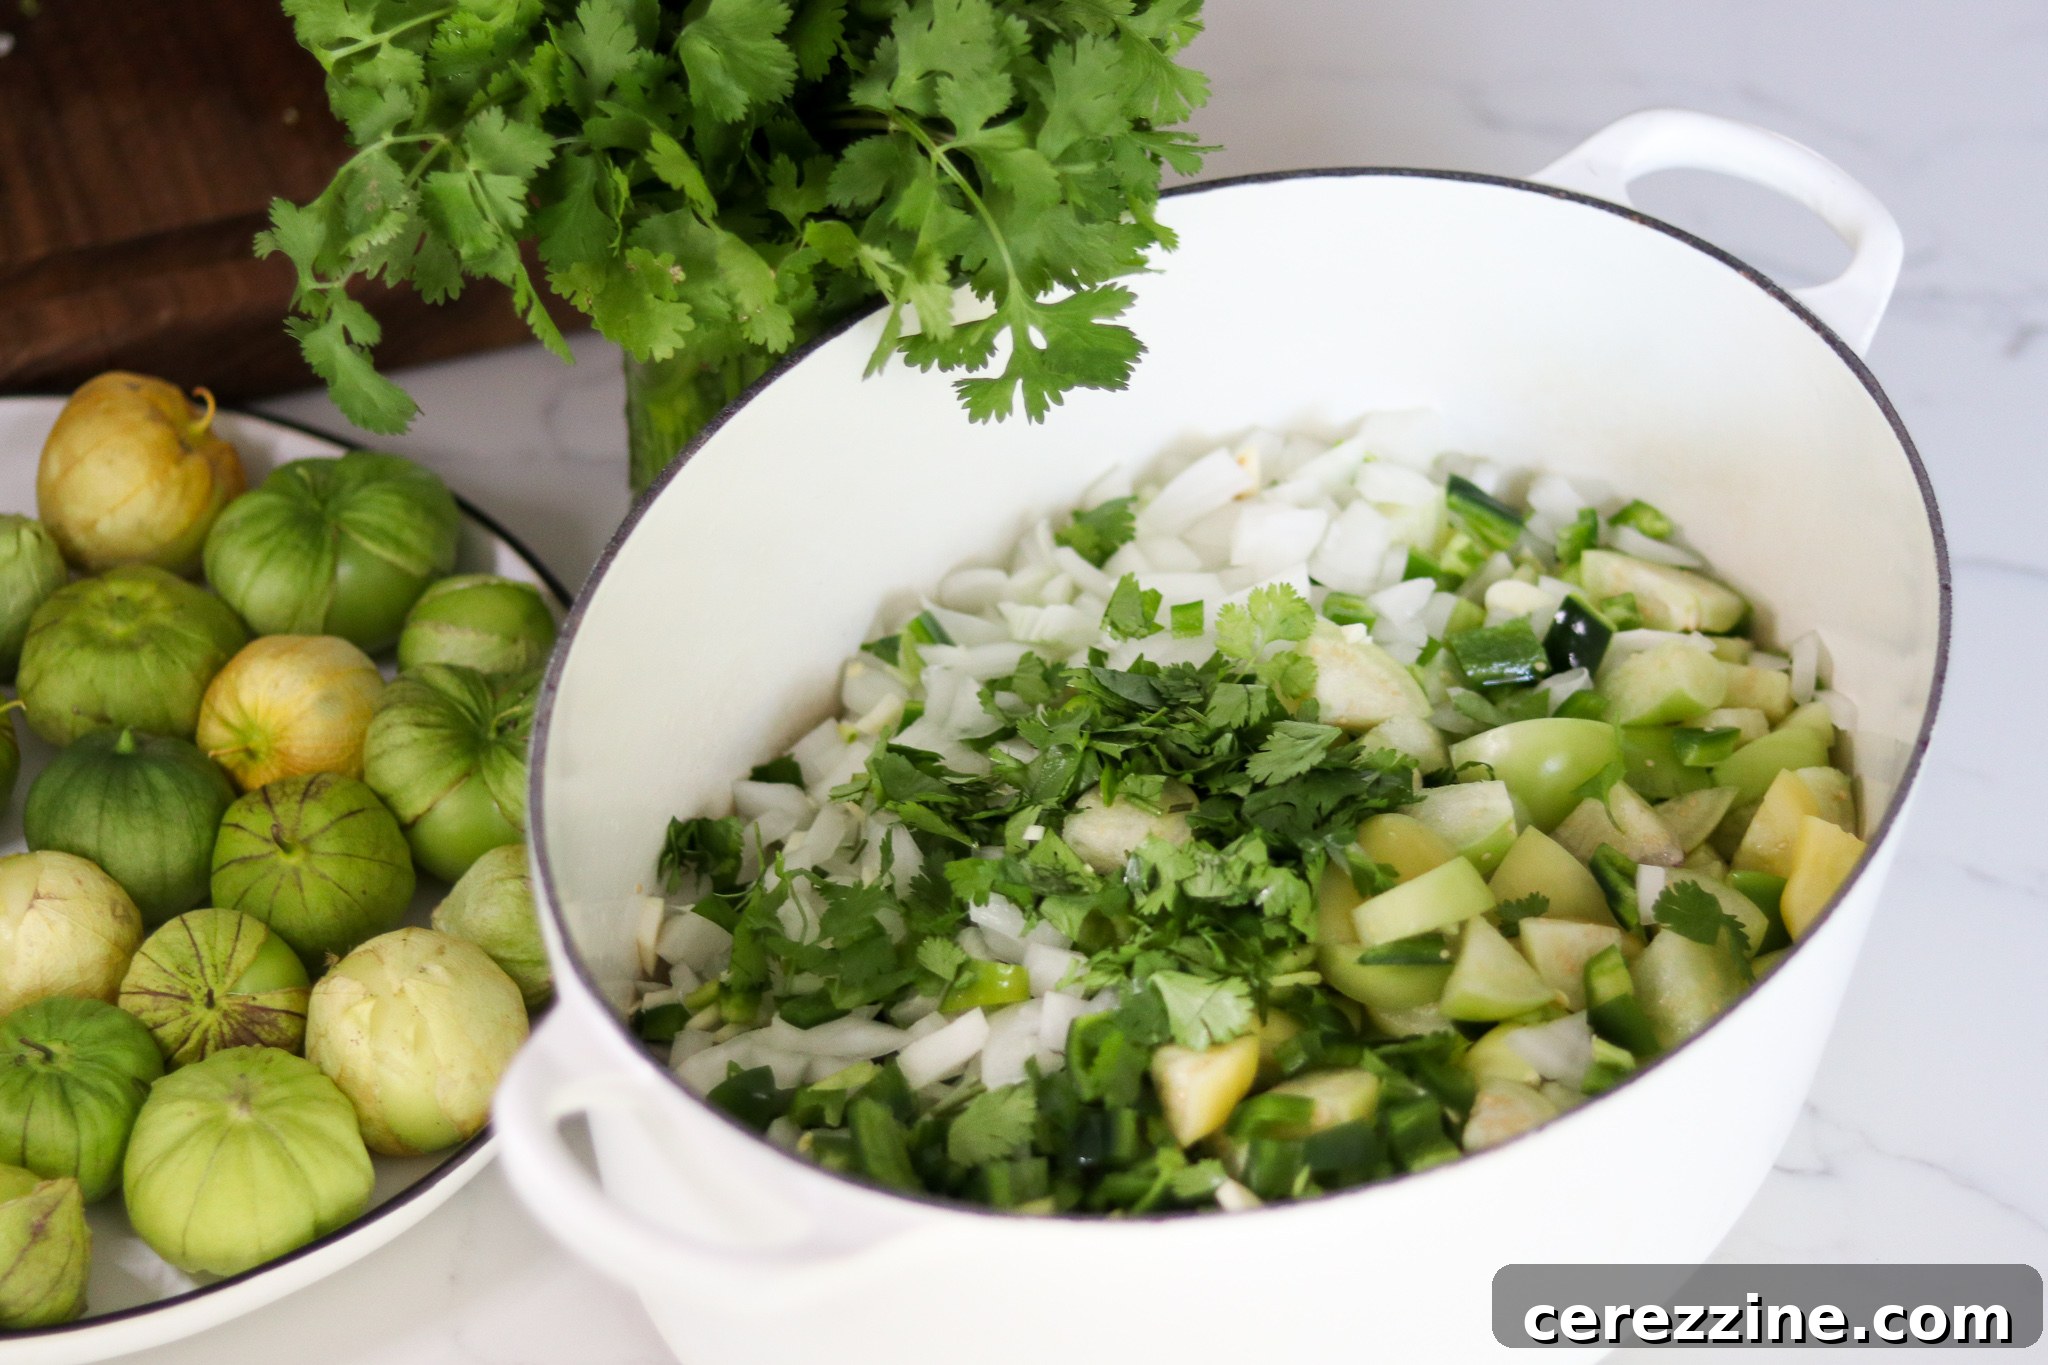
Once your vegetables are prepped and your canner is warming, combine all the measured ingredients into a large Dutch oven or stockpot. This includes your chopped tomatillos, onions, and peppers, along with the crucial lime juice and vinegar, and finally, your chosen spices. The liquids in the pot will help prevent the vegetables from scorching as they begin to soften. However, it’s important to keep a watchful eye on the pot and stir frequently, especially in the initial stages. Once the tomatillos release their natural juices, the risk of burning diminishes significantly.
Bring the mixture to a gentle boil, then reduce the heat to a simmer. Allow the salsa to cook for approximately 15 minutes, stirring occasionally, until all the ingredients are heated through and well incorporated. The vegetables should soften nicely, and the flavors will start to meld beautifully during this simmering period.
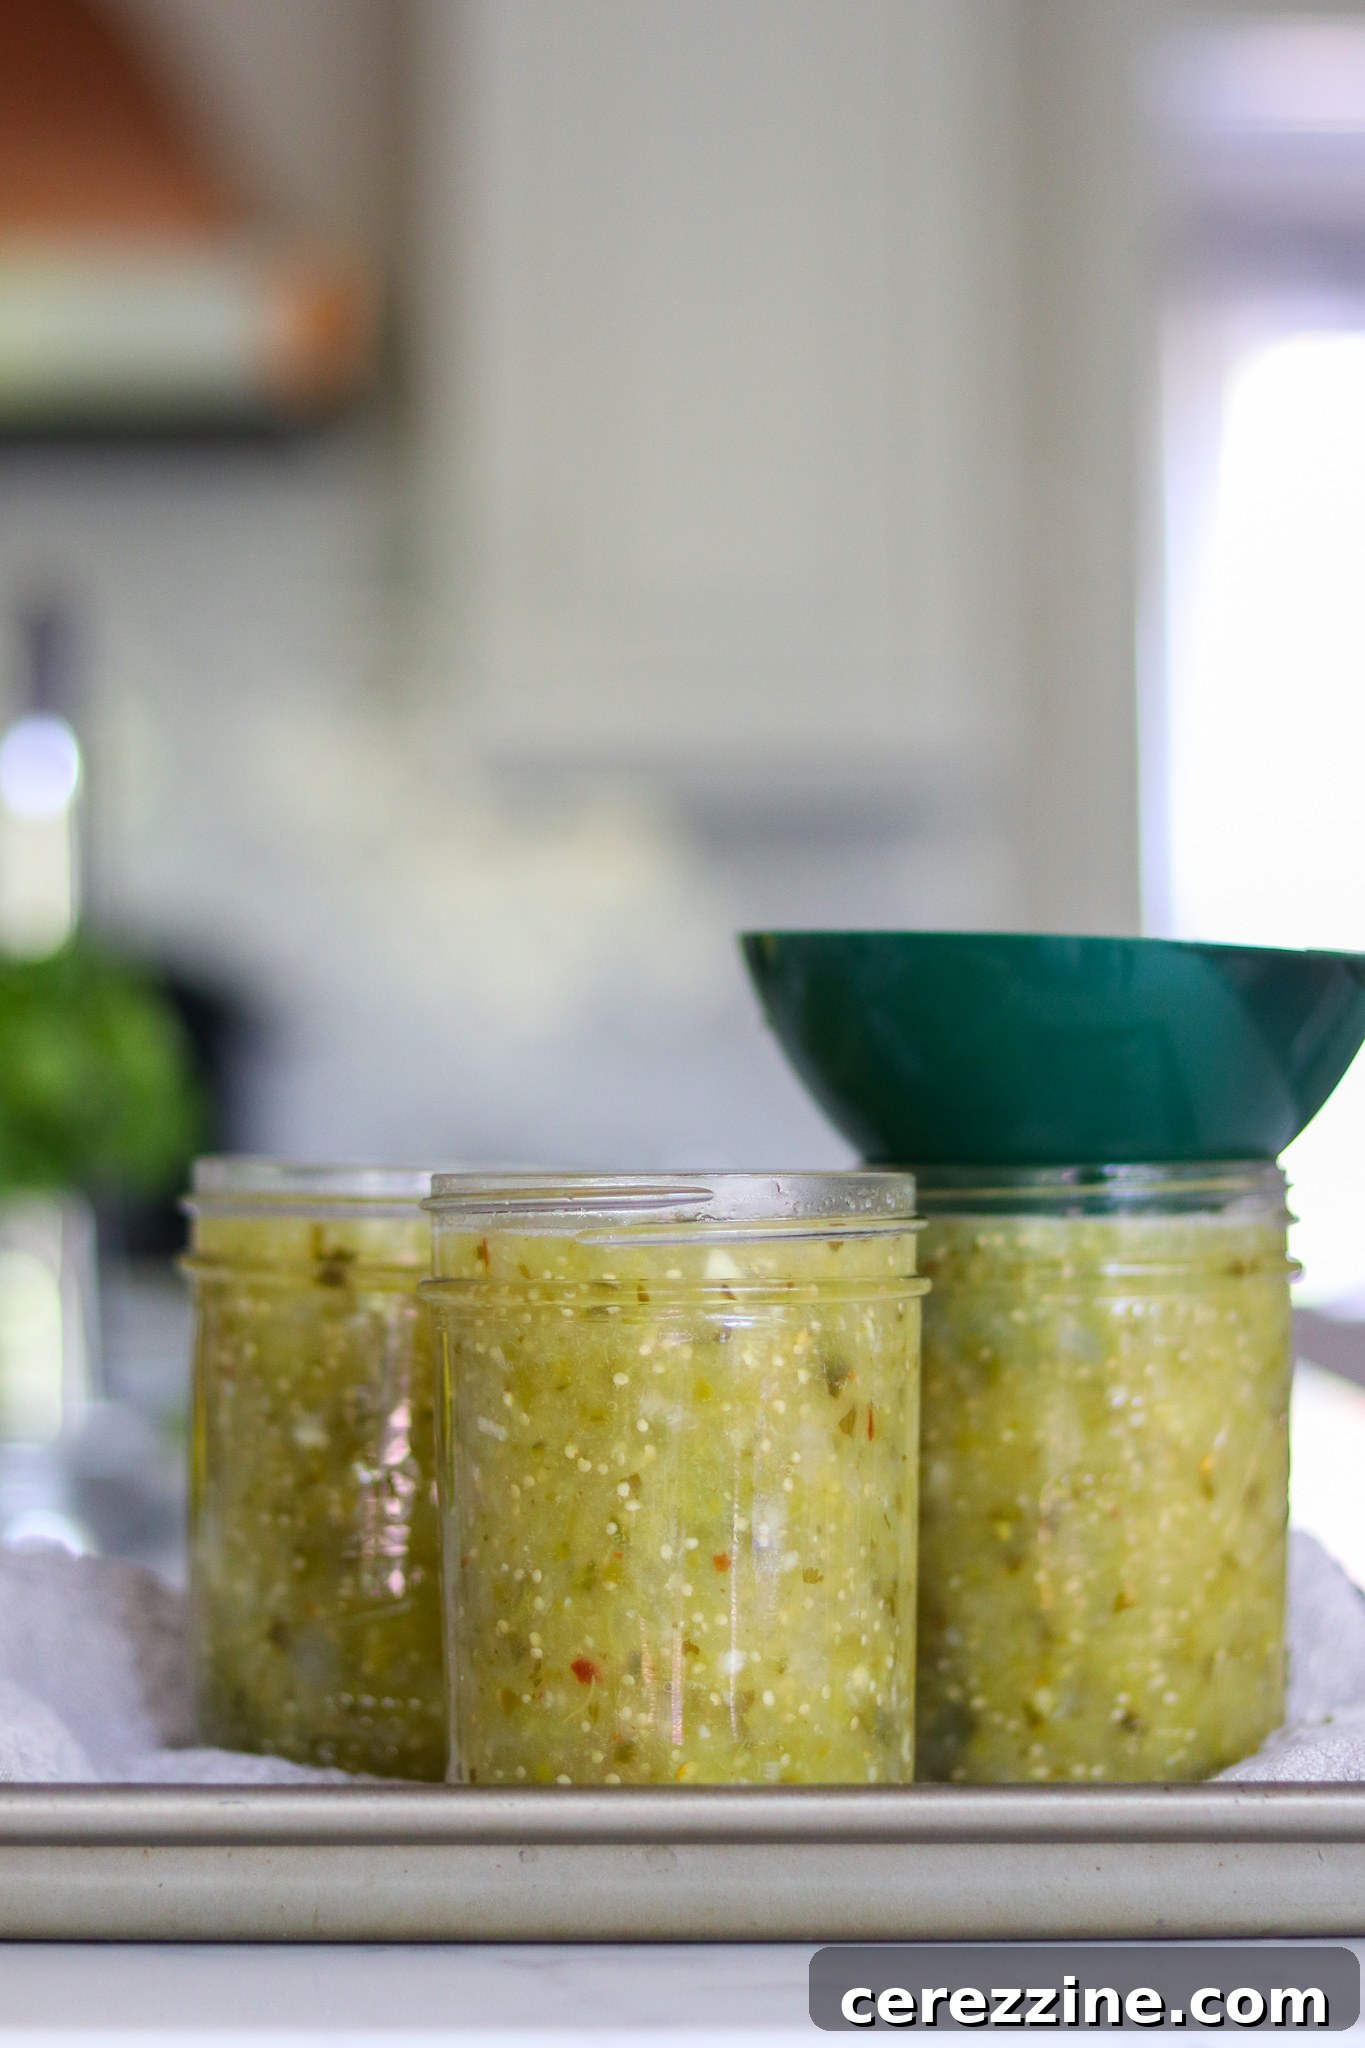
At this stage, you have a choice regarding texture: if you prefer a smoother salsa, you can use an immersion blender to carefully blend the mixture to your desired consistency. For a rustic, chunky salsa, simply leave it as is. Both textures are equally delicious and suitable for canning. Once you’ve achieved your preferred consistency, ladle the hot salsa into your prepared canning jars, ensuring you leave ½ inch of headspace at the top. Use a non-metallic tool to remove any trapped air bubbles, and recheck the headspace, adding more salsa if necessary. Wipe the jar rims clean with a damp cloth, then secure them with two-piece canning lids, tightening the bands to “finger-tip tight.”
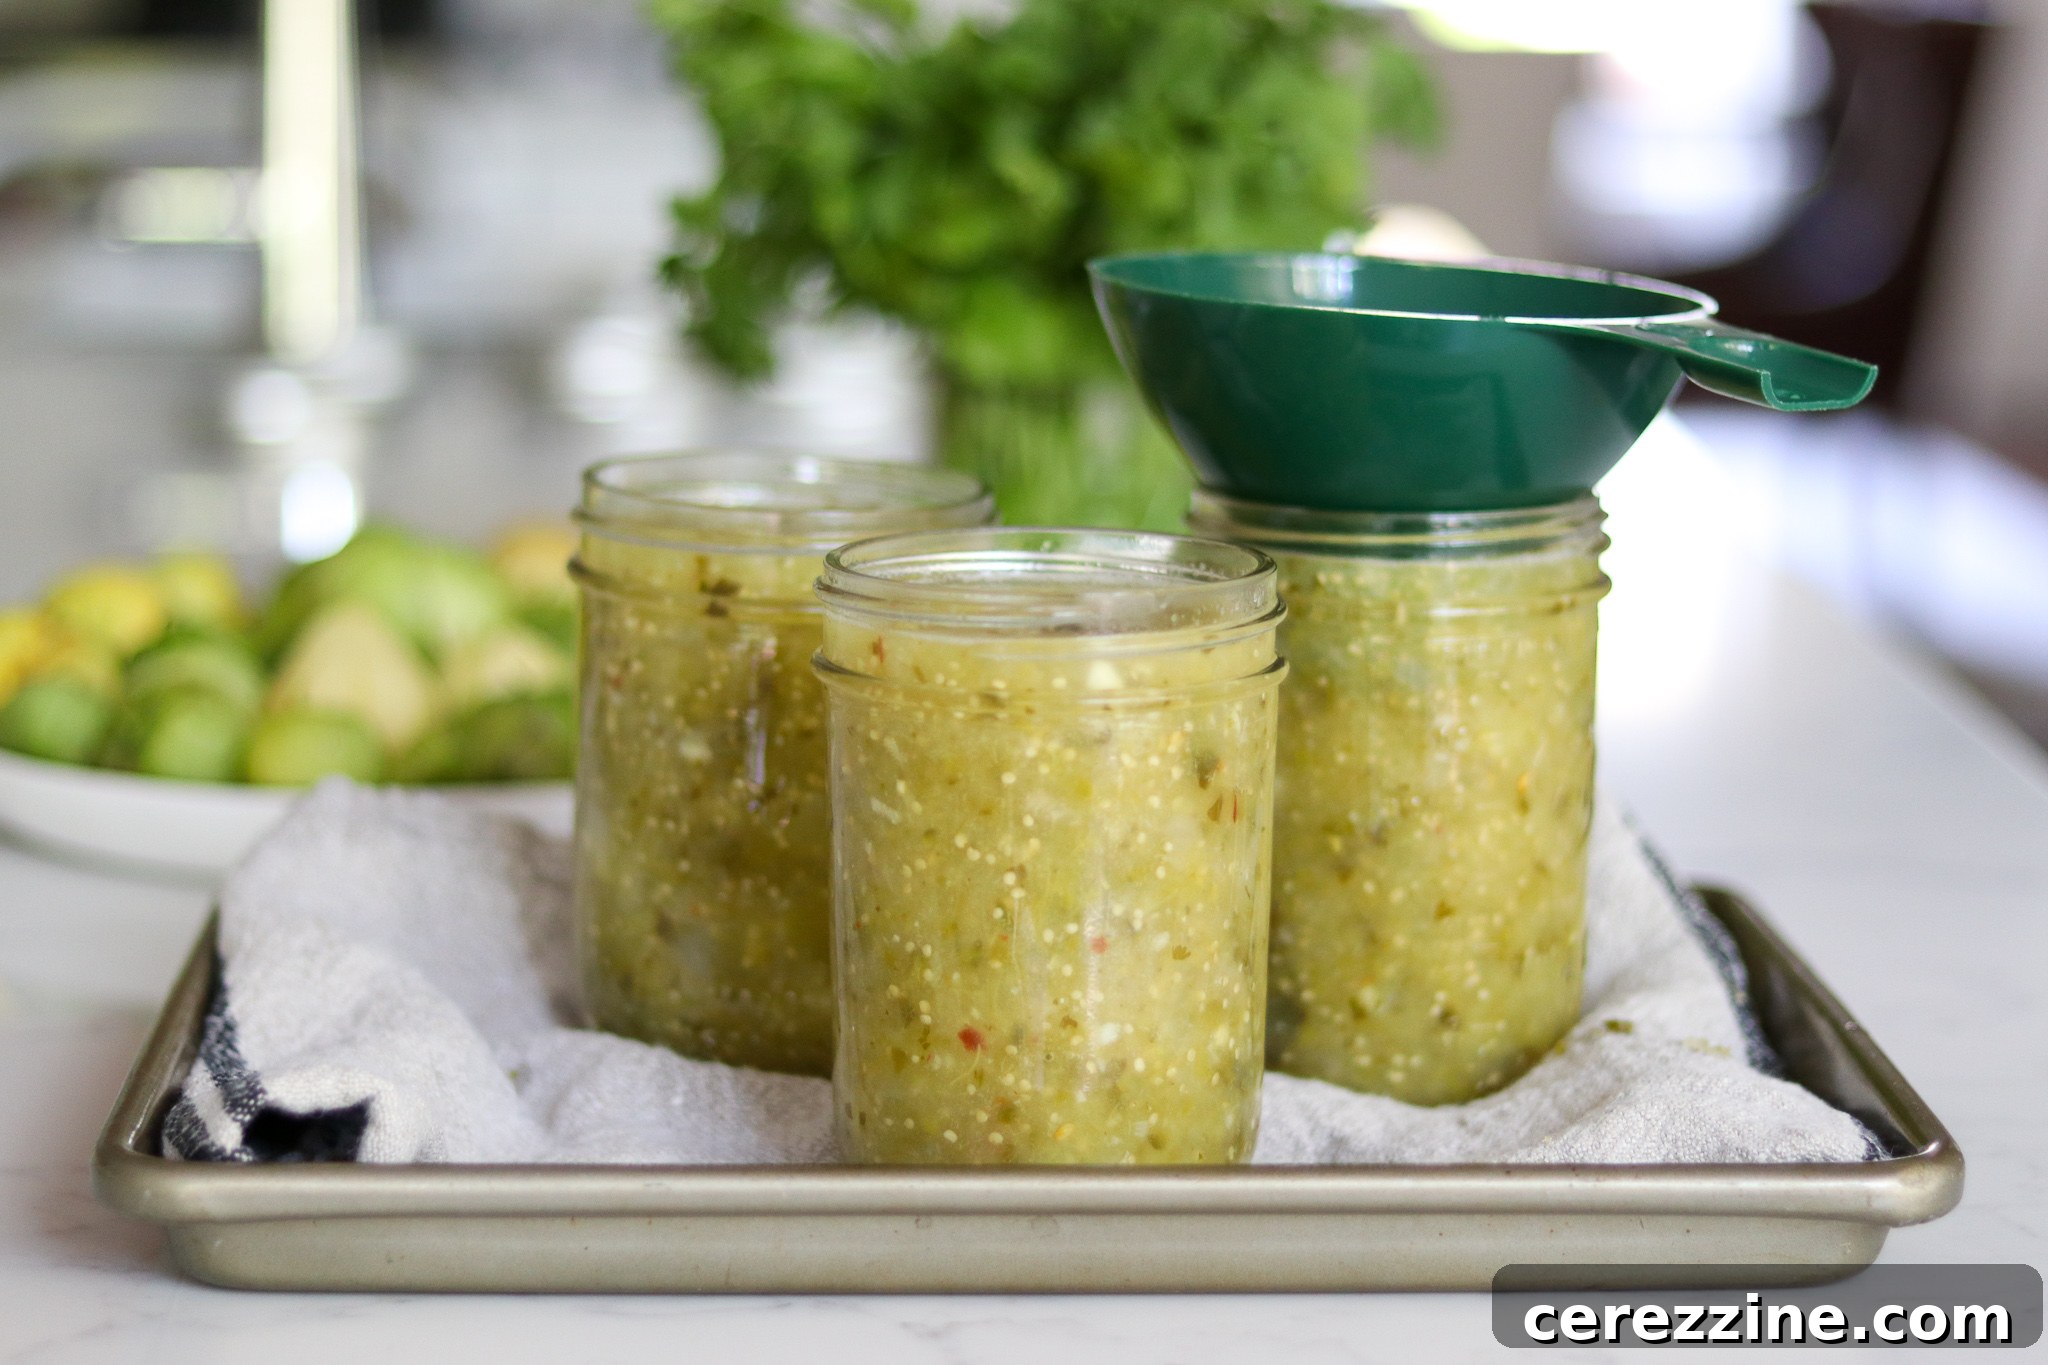
If you’re not planning to can the salsa, simply allow the jars to cool completely on the counter before transferring them to the refrigerator or freezer. For freezing, remember to leave 1 inch of headspace to accommodate expansion, and use straight-sided, freezer-safe jars. However, for long-term storage and the convenience of a ready-to-use pantry item, canning is the preferred method. Using a jar lifter, carefully place the filled jars into your pre-heated water bath canner, ensuring they are fully submerged.
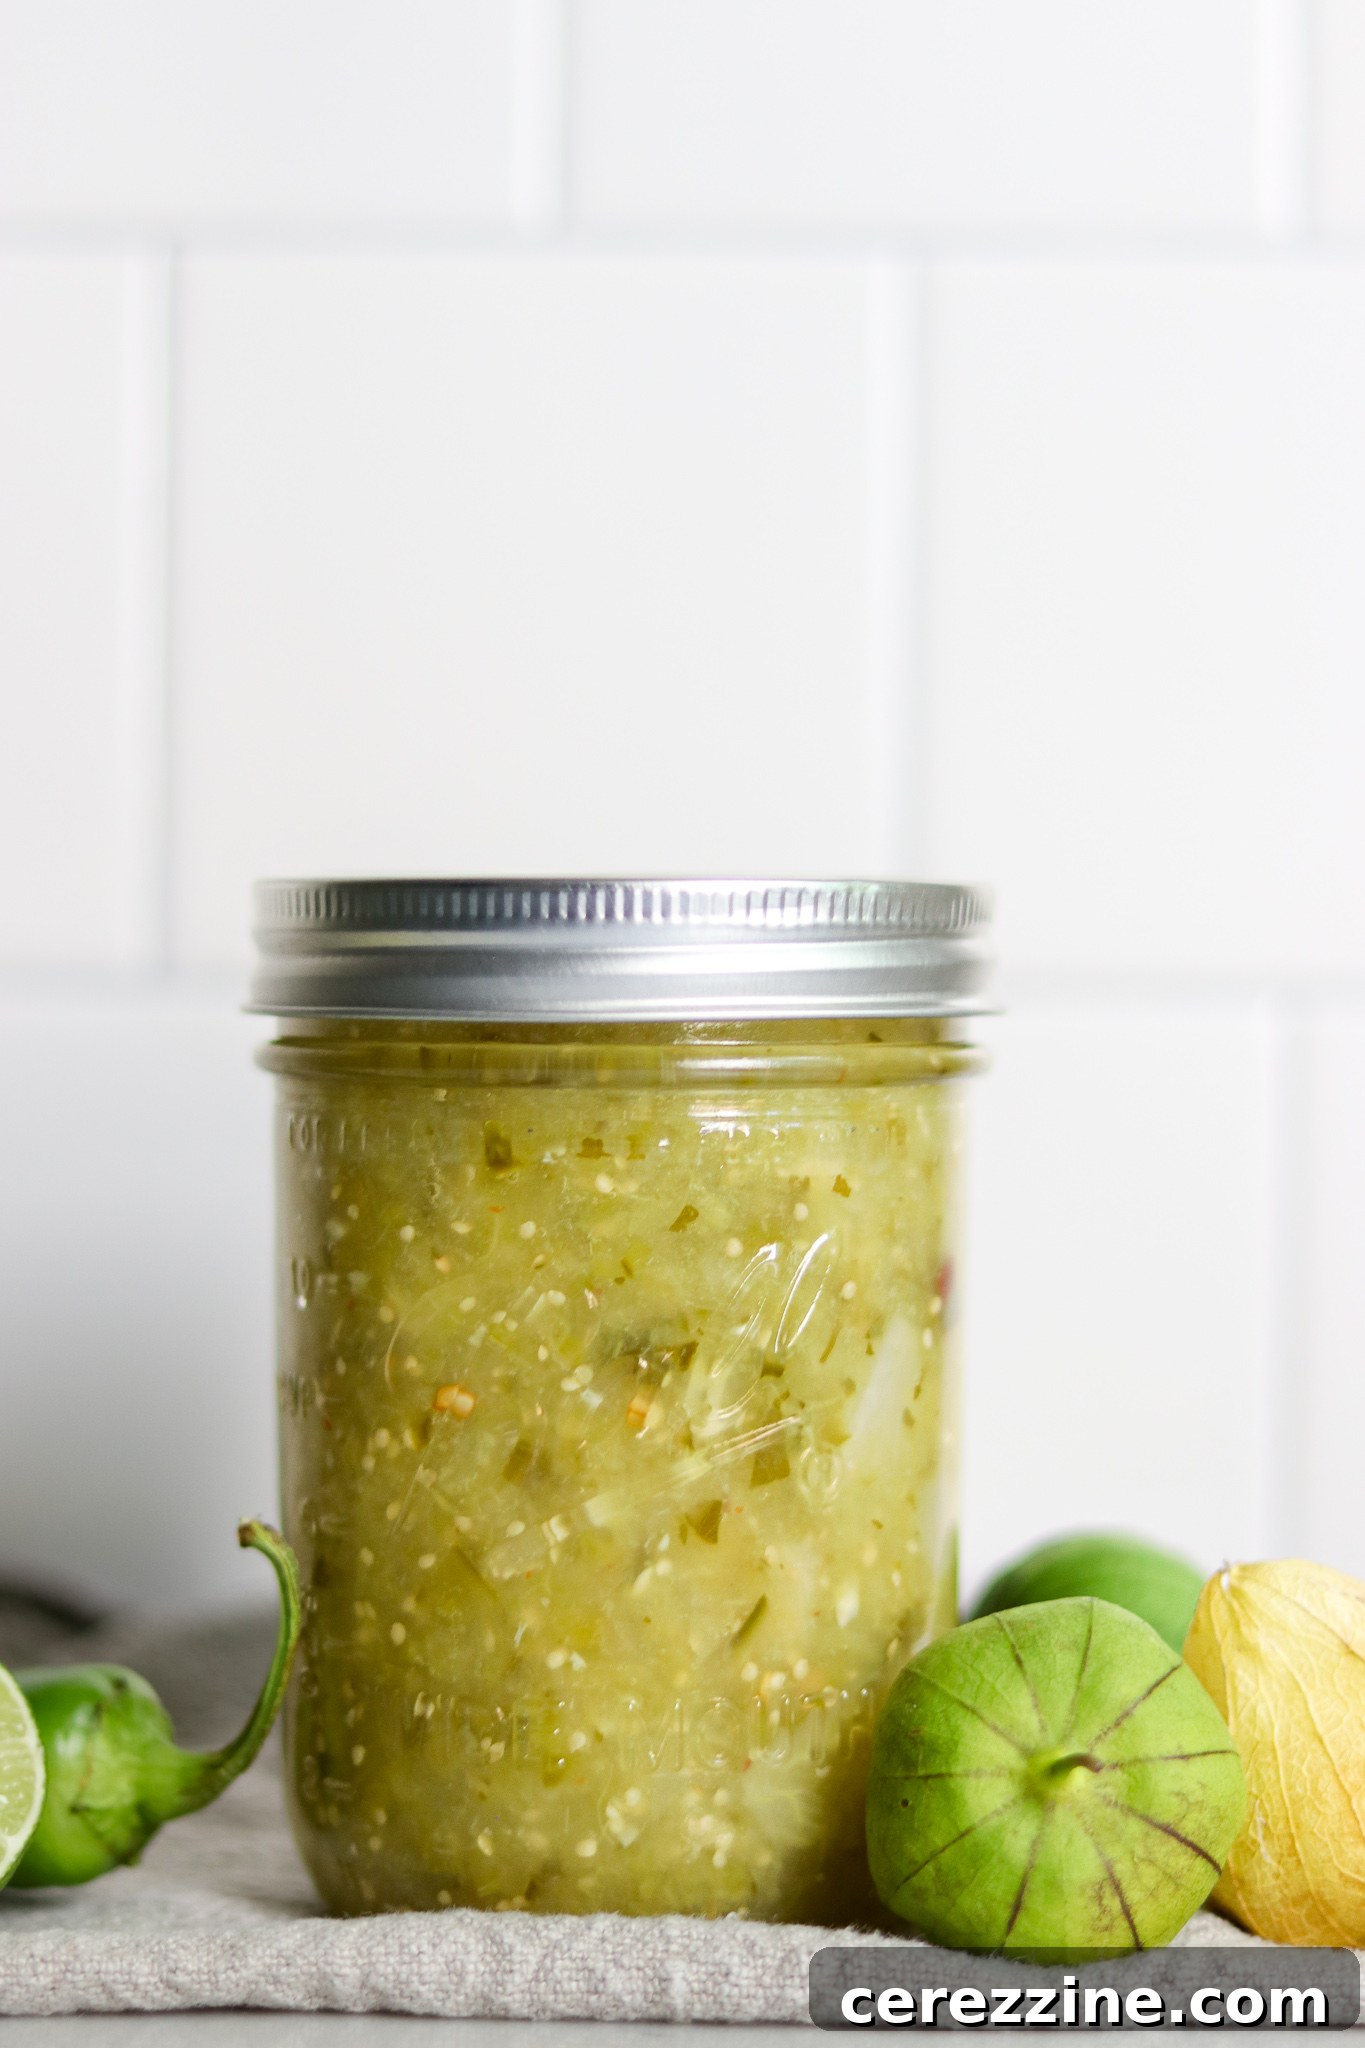
Safe Water Bath Canning for Tomatillo Salsa
Canning tomatillo salsa is an excellent way to ensure you have a fresh, flavorful condiment available throughout the year. Once your prepared jars, filled with hot salsa and leaving ½ inch headspace, are loaded into a simmering water bath canner, it’s time to begin the processing. Bring the water in the canner to a full, rolling boil – meaning the water is bubbling vigorously and continuously. Only then should you start your processing timer.
Processing times must be adjusted based on your altitude to ensure proper sterilization. Please refer to the guidelines below:
- For elevations under 1,000 feet, process the jars for 15 minutes.
- Between 1,000 and 3,000 feet in elevation, increase processing time to 20 minutes.
- For elevations between 3,000 and 6,000 feet, process the jars for 25 minutes.
- Above 6,000 feet in elevation, process the jars for 30 minutes.
Once the processing time is complete, turn off the heat but leave the jars in the canner for an additional 5 minutes. This allows the jars to cool gradually, helping to prevent siphoning (liquid loss from the jars) and ensuring a better seal. After 5 minutes, carefully remove the jars using a jar lifter and place them upright on a towel-lined counter, allowing adequate space between them for air circulation. Let them cool completely, undisturbed, for 12 to 24 hours.
After the cooling period, check the seals by pressing firmly on the center of each lid. A properly sealed lid will be concave and will not flex or pop back when pressed. Any jars that have not sealed should be stored in the refrigerator for immediate use within one to two weeks. Properly water bath canned and sealed jars of tomatillo salsa will maintain their peak quality on the pantry shelf for 12 to 18 months and remain safe to eat as long as the seal is intact. Always refrigerate the salsa after opening a jar.
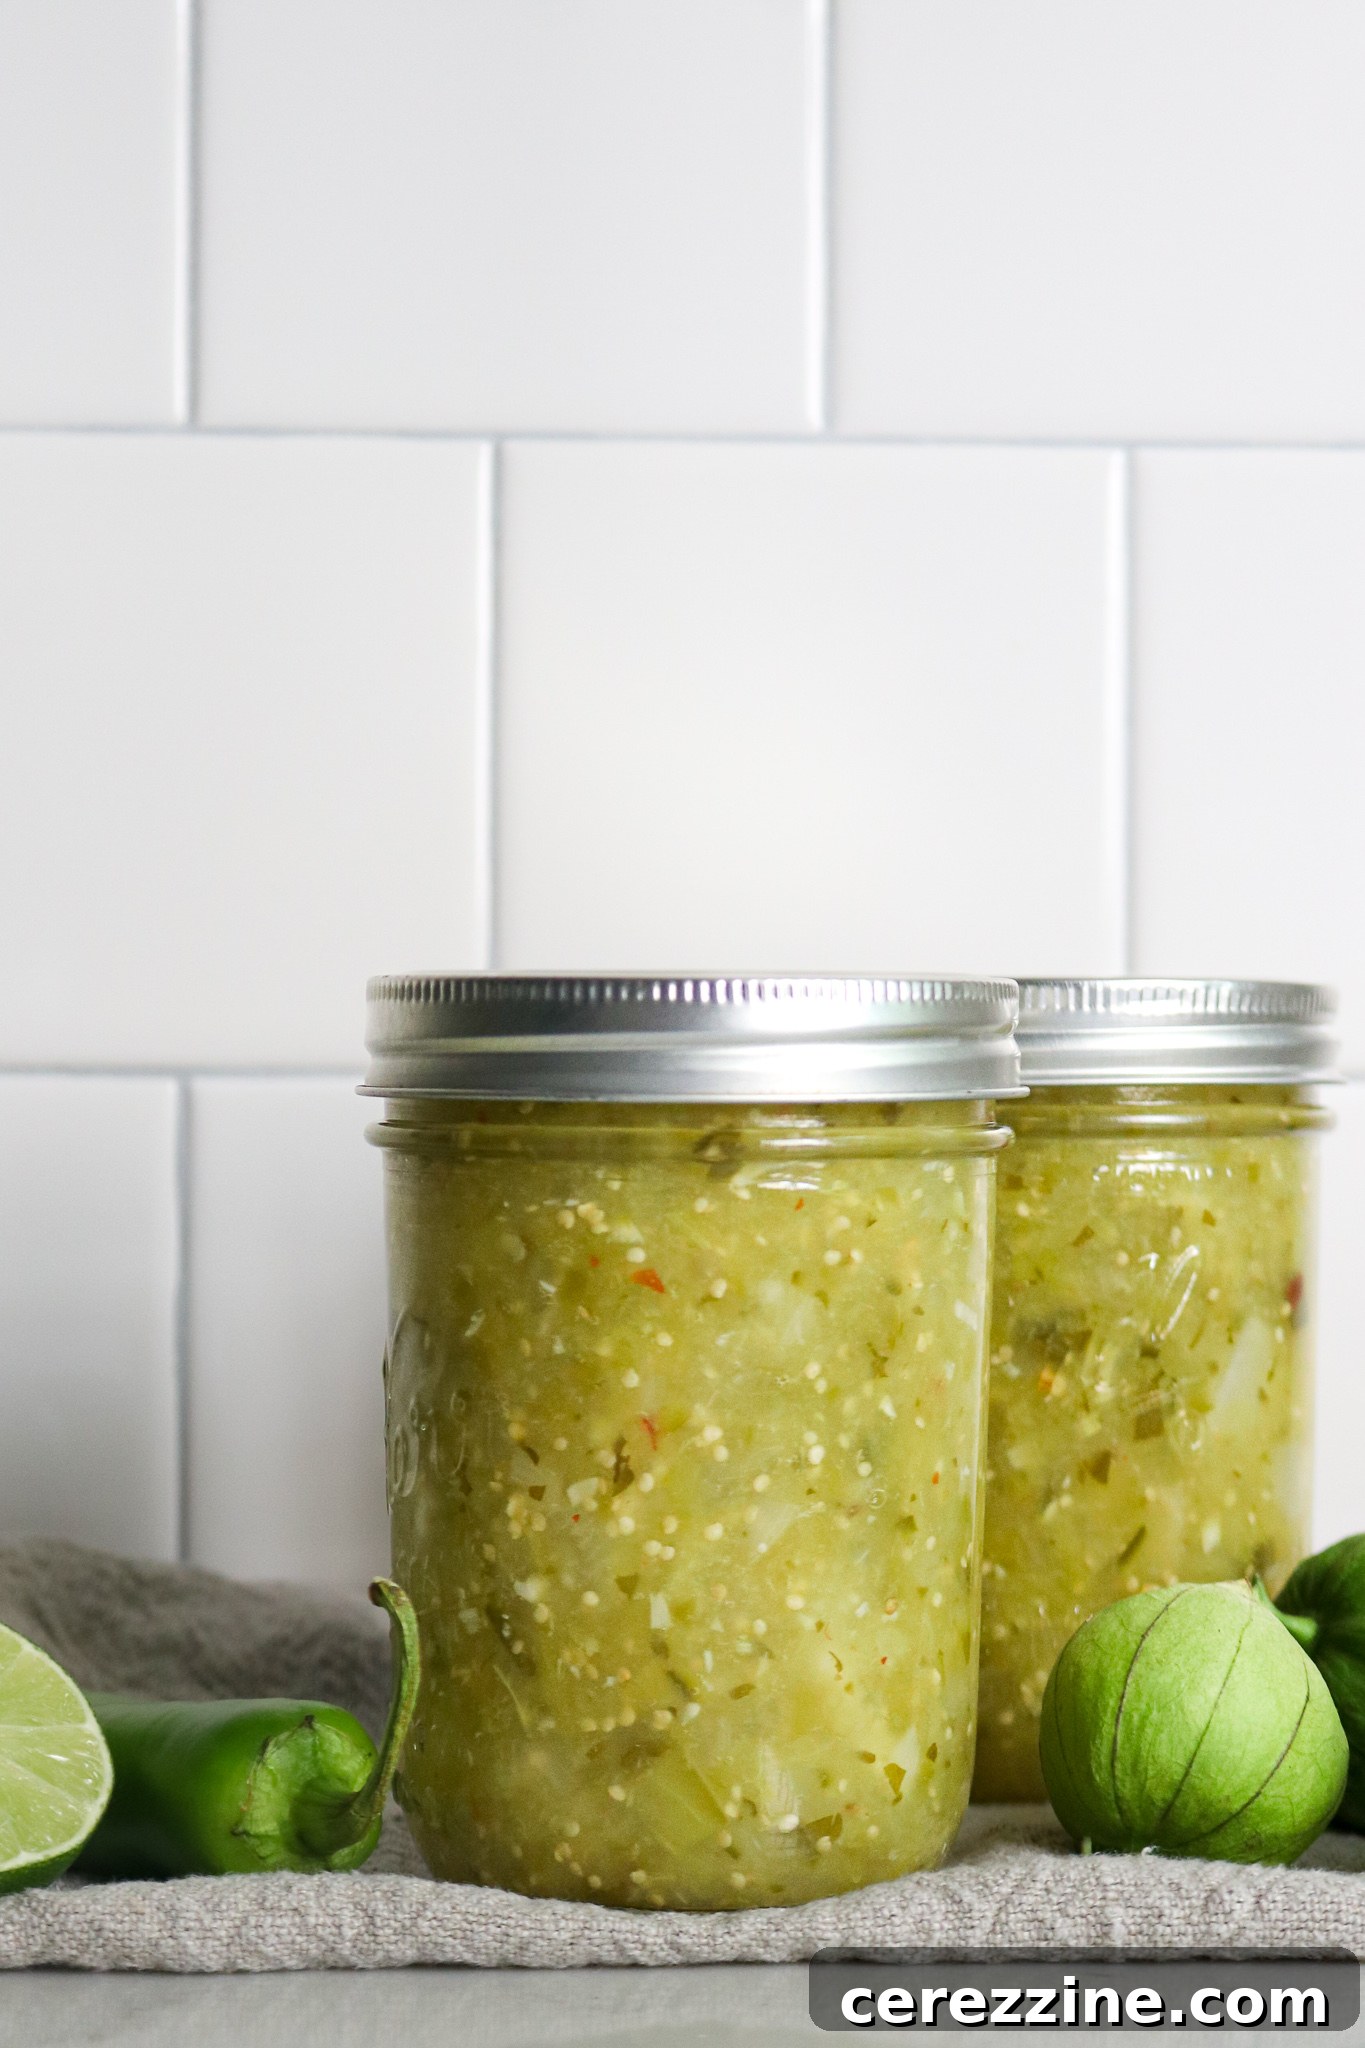
Creative Culinary Uses for Your Tomatillo Salsa
Your homemade tomatillo salsa is incredibly versatile, extending far beyond a simple dip for tortilla chips. While it’s undoubtedly fantastic straight from the jar, its vibrant flavor and tangy profile make it a star ingredient in a multitude of recipes. Experiment with these ideas to fully enjoy your preserved salsa:
- Classic Dip: Serve it with your favorite tortilla chips, offering a brighter, zestier alternative to traditional red salsa.
- Savory Simmer Sauce: It makes an exceptional braising liquid for meats. Use it as a simmer sauce for slow-cooked pork shoulder, providing a tender, flavorful dish. It also works beautifully with chicken breasts or thighs, creating a quick and easy weeknight meal.
- Enchilada Sauce: Transform your salsa into a rich, green enchilada sauce. Simply warm it and pour over your rolled tortillas filled with cheese, chicken, or beans. For a creamy twist, stir in a dollop of sour cream to create quick Enchiladas Suizas.
- Tacos and Burritos: Spoon it generously over tacos, burritos, or quesadillas for an authentic Mexican flavor boost.
- Eggs: Brighten up your breakfast by adding a spoonful to scrambled eggs, omelets, or huevos rancheros.
- Marinade: Use it as a tangy marinade for grilled chicken or fish, imparting a wonderful depth of flavor.
- Soup and Chili Base: Stir it into soups, stews, or chili recipes to add a complex, zesty undertone.
More Ways to Preserve Your Tomatillo Harvest
If you find yourself with an overwhelming bounty of tomatillos, this salsa recipe is just one of many fantastic ways to preserve them. Explore other methods to enjoy this versatile fruit year-round:
- Canning Whole Tomatillos
- Canning Tomatillo Sauce (Salsa Verde Base)
- Freezing Tomatillos
- Dehydrating Tomatillos
Salsa Verde (Tomatillo Salsa)
By Ashley Adamant
Tomatillo salsa is a bright and versatile condiment to preserve if you are fortunate to have access to fresh tomatillos. Tomatillos are tart, sharp, and have a slight lemony flavor. In this recipe you can use any combination of fresh peppers to your taste (jalapenos will add a good amount of heat, while Anaheim’s are milder). Serve this salsa with chips, a burrito or try it alongside an autumnal pork roast.
Servings: 48 servings, Makes about 6 pint jars
Prep Time: 15 mins
Cook Time: 15 mins
Additional Time: 15 mins (for canning process)
Total Time: 45 mins
Equipment
- Water Bath Canner
- Large Dutch oven or stockpot
- Canning jars (pint-sized recommended), lids, and rings
- Jar lifter, canning funnel, non-metallic de-bubbler tool
Ingredients
- 12 cups tomatillos, husked and chopped (about 5 pounds)
- 2 ½ cups white onion, chopped
- 2 cups peppers, you can use a mix of jalapeno, Anaheim, and poblano peppers based on desired heat
- 1 cup vinegar, white or cider vinegar, at 5% acidity (critical for safety)
- ¼ cup lime juice, from 2 large or 4 small limes, fresh for better flavor (or bottled)
- 7 cloves garlic, minced
- 6 tbsp cilantro, chopped (optional)
- 2 tsp salt
- 1 tsp red pepper flakes (optional)
Instructions
- Assemble all your ingredients. Prepare your water bath canner by filling it with water and bringing it to a simmer. Prepare your canning jars, lids, and rings by washing and sterilizing them as per standard canning practices.
- In a large Dutch oven or stockpot, combine the chopped tomatillos, onion, peppers, vinegar, lime juice, garlic, optional cilantro, salt, and red pepper flakes. Bring the mixture to a boil over high heat, stirring constantly to prevent scorching, especially in the initial stages.
- Once boiling, reduce the heat to a simmer. Cook the mixture, stirring frequently, for about 15 minutes. The tomatillos, onions, and peppers should soften considerably, and the flavors will begin to meld.
- Note: If you prefer a smoother salsa, use an immersion blender to blend the mixture to your desired consistency before proceeding.
- Ladle the hot salsa immediately into your prepared canning jars, leaving ½ inch of headspace at the top of each jar. Use a wooden skewer or a thin, non-metallic tool to remove any air pockets by gently running it between the salsa and the inside of the jar. Readjust headspace if necessary by adding or removing a small amount of salsa.
- Wipe the jar rims and threads thoroughly with a clean, moistened towel to ensure a good seal. Center a clean, warm lid on each jar, and then screw the band down to “finger-tip tight” (just until resistance is met, no overtightening).
- Using a jar lifter, carefully place the filled jars onto the rack in the pre-heated water bath canner. Ensure the jars are completely covered by 1 to 2 inches of water. Place the lid on the canner and bring the water to a full, rolling boil.
- Once a full boil is achieved, start your timer and process the jars for the duration specified in the altitude adjustments section below.
- After the processing time is complete, turn off the heat and allow the jars to remain in the covered canner for an additional 5 minutes. This helps prevent thermal shock and siphoning.
- Carefully remove the jars from the canner using the jar lifter and place them upright on a towel-lined counter, leaving space between them for air circulation. Allow the jars to cool completely and undisturbed for 12-24 hours.
- After cooling, check the seals. Lids should be concave and should not flex when pressed. Any unsealed jars should be refrigerated and consumed within one to two weeks.
- Store properly sealed jars of tomatillo salsa in a cool, dry, dark place for up to 1 year. The flavors will mellow and develop further over time. Refrigerate after opening.
Notes
Altitude Adjustments for Canning Tomatillo Salsa
To ensure safe processing, always adjust your canning time based on your elevation:
If under 1,000 feet in elevation, the processing time is 15 minutes.
Between 1,000 and 3,000 feet, increase the processing time to 20 minutes.
Between 3,000 and 6,000 feet, increase to 25 minutes.
Above 6,000 feet, process for 30 minutes.
Nutrition
Nutrition information is automatically calculated, so should only be used as an approximation. Per Serving (approx. 1/4 cup):
- Calories: 17 kcal
- Carbohydrates: 3g
- Protein: 1g
- Fat: 0.4g
- Saturated Fat: 0.1g
- Polyunsaturated Fat: 0.1g
- Monounsaturated Fat: 0.1g
- Sodium: 99mg
- Potassium: 116mg
- Fiber: 1g
- Sugar: 2g
- Vitamin A: 77 IU
- Vitamin C: 10mg
- Calcium: 6mg
- Iron: 0.3mg
Explore More Salsa Canning Recipes
If you’re eager to expand your pantry with a variety of homemade salsas, here are a few more delicious canning recipes to try. Each offers a unique flavor profile perfect for different occasions:
- Homemade Chunky Salsa Recipe for Canning
- Spicy Cranberry Salsa
- USDA’s Your Choice Salsa (Versatile Base)
- Sweet and Tangy Mango Salsa
- Thick Tomato Salsa with Paste Tomatoes
Bountiful Summer Canning Recipes for Your Pantry
Beyond tomatillos, summer offers a plethora of produce perfect for preserving. Fill your pantry with these essential canning recipes to enjoy the taste of summer all year long:
- Canning Sweet Corn
- Variety of Tomato Canning Recipes
- Classic Dill Pickles
- Tangy Bread and Butter Pickles
- Creative Zucchini Canning Recipes