
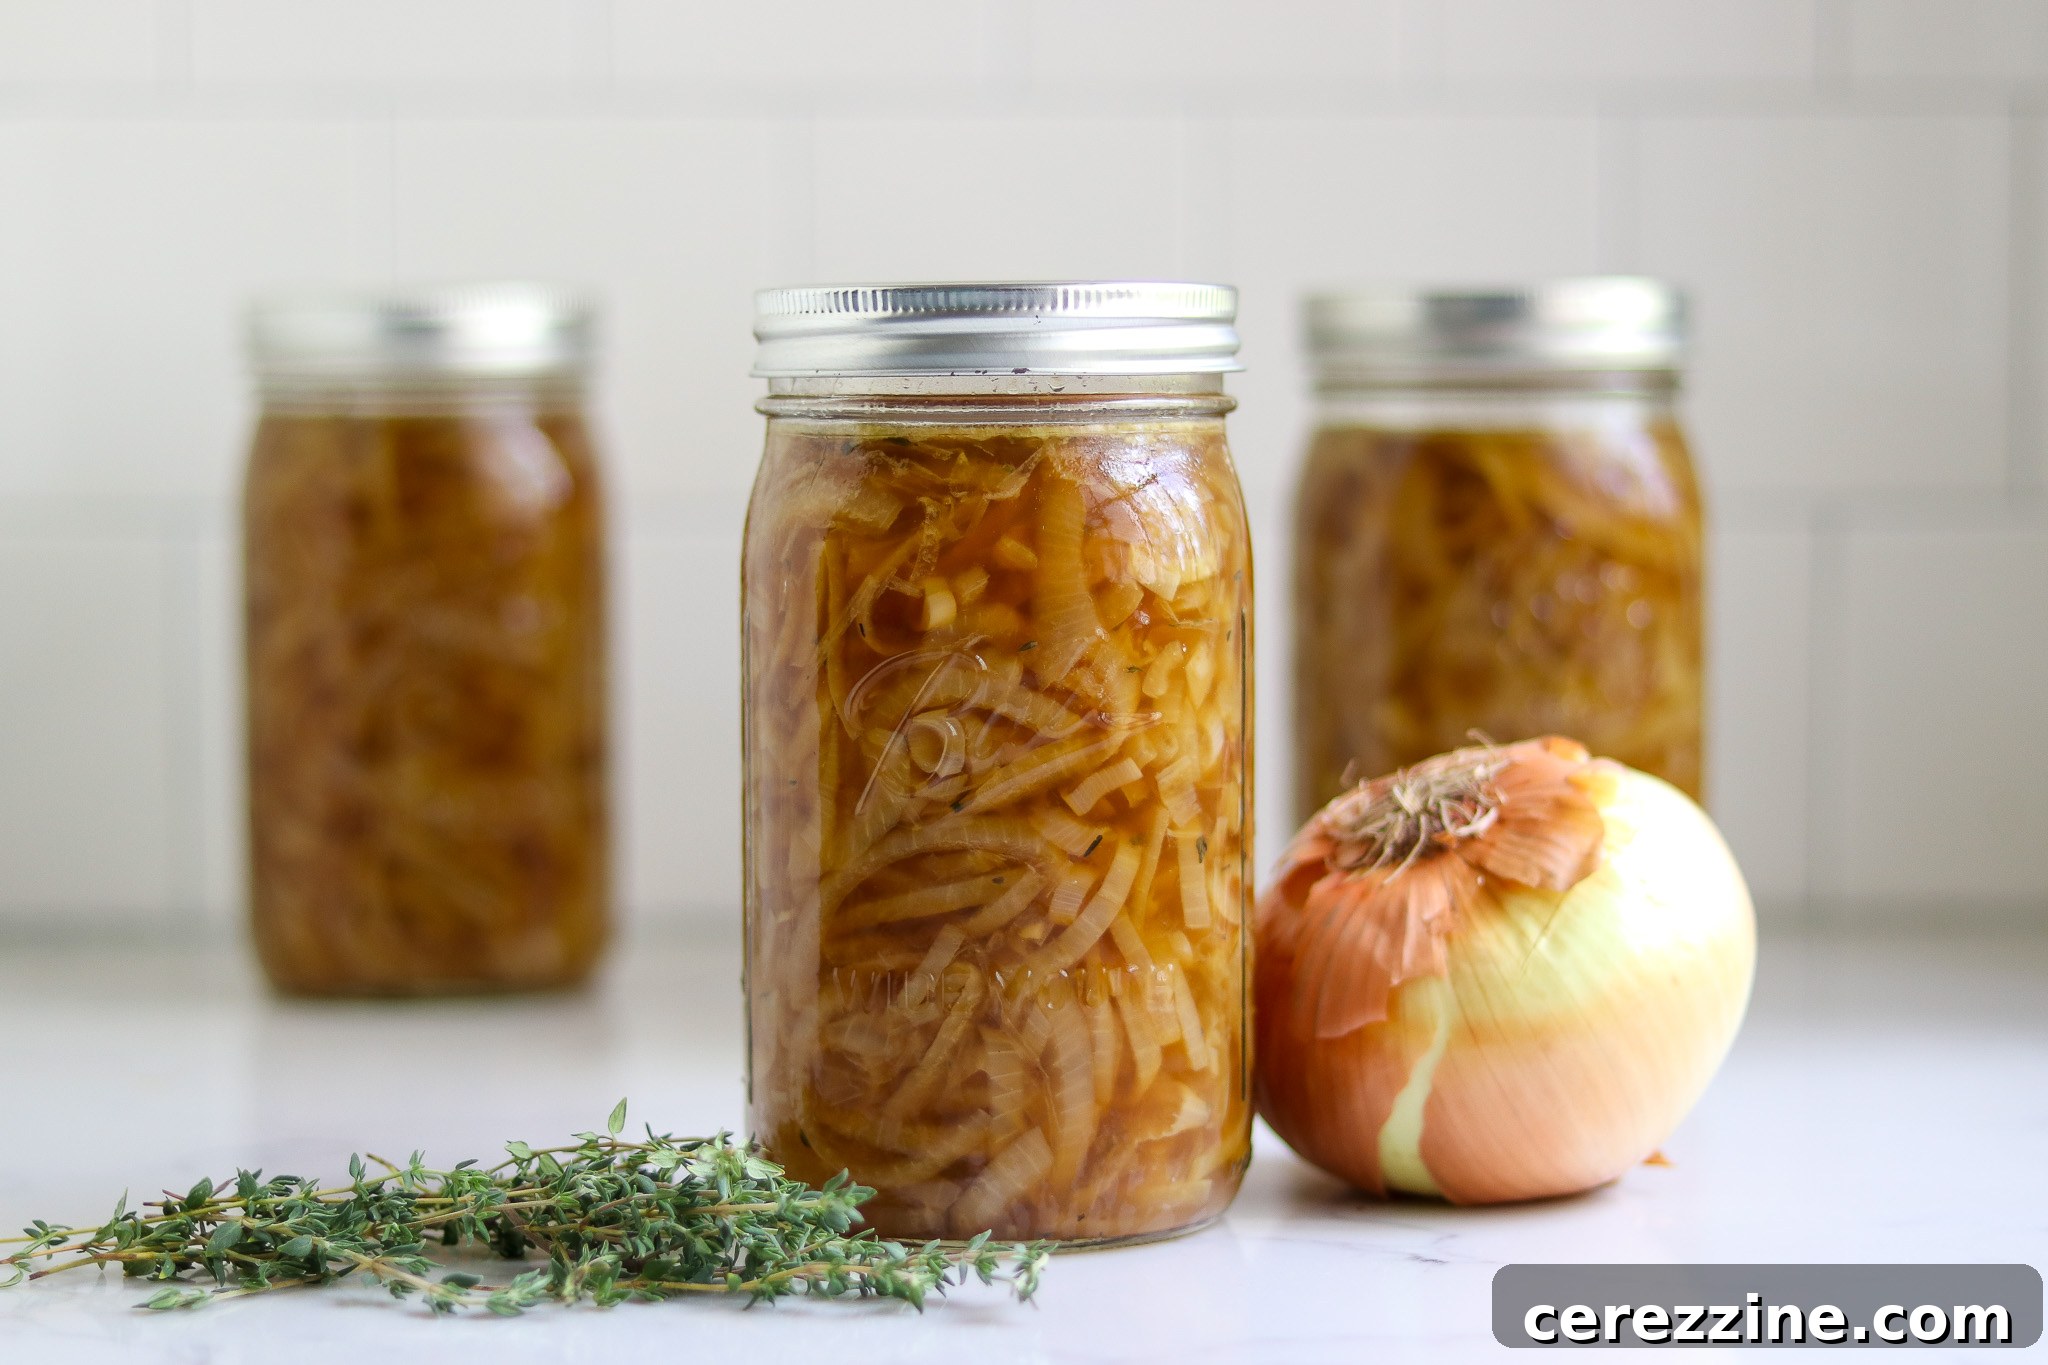
Canning French onion soup transforms a beloved, slow-cooked classic into an effortless heat-and-eat meal, ready to enjoy straight from your pantry shelf. By masterfully batch-cooking and preserving a large quantity of onions, you can prepare numerous gourmet meals at once, saving significant time and effort in the future. Imagine the convenience of a rich, savory bowl of French onion soup available with minimal fuss on a busy weeknight.
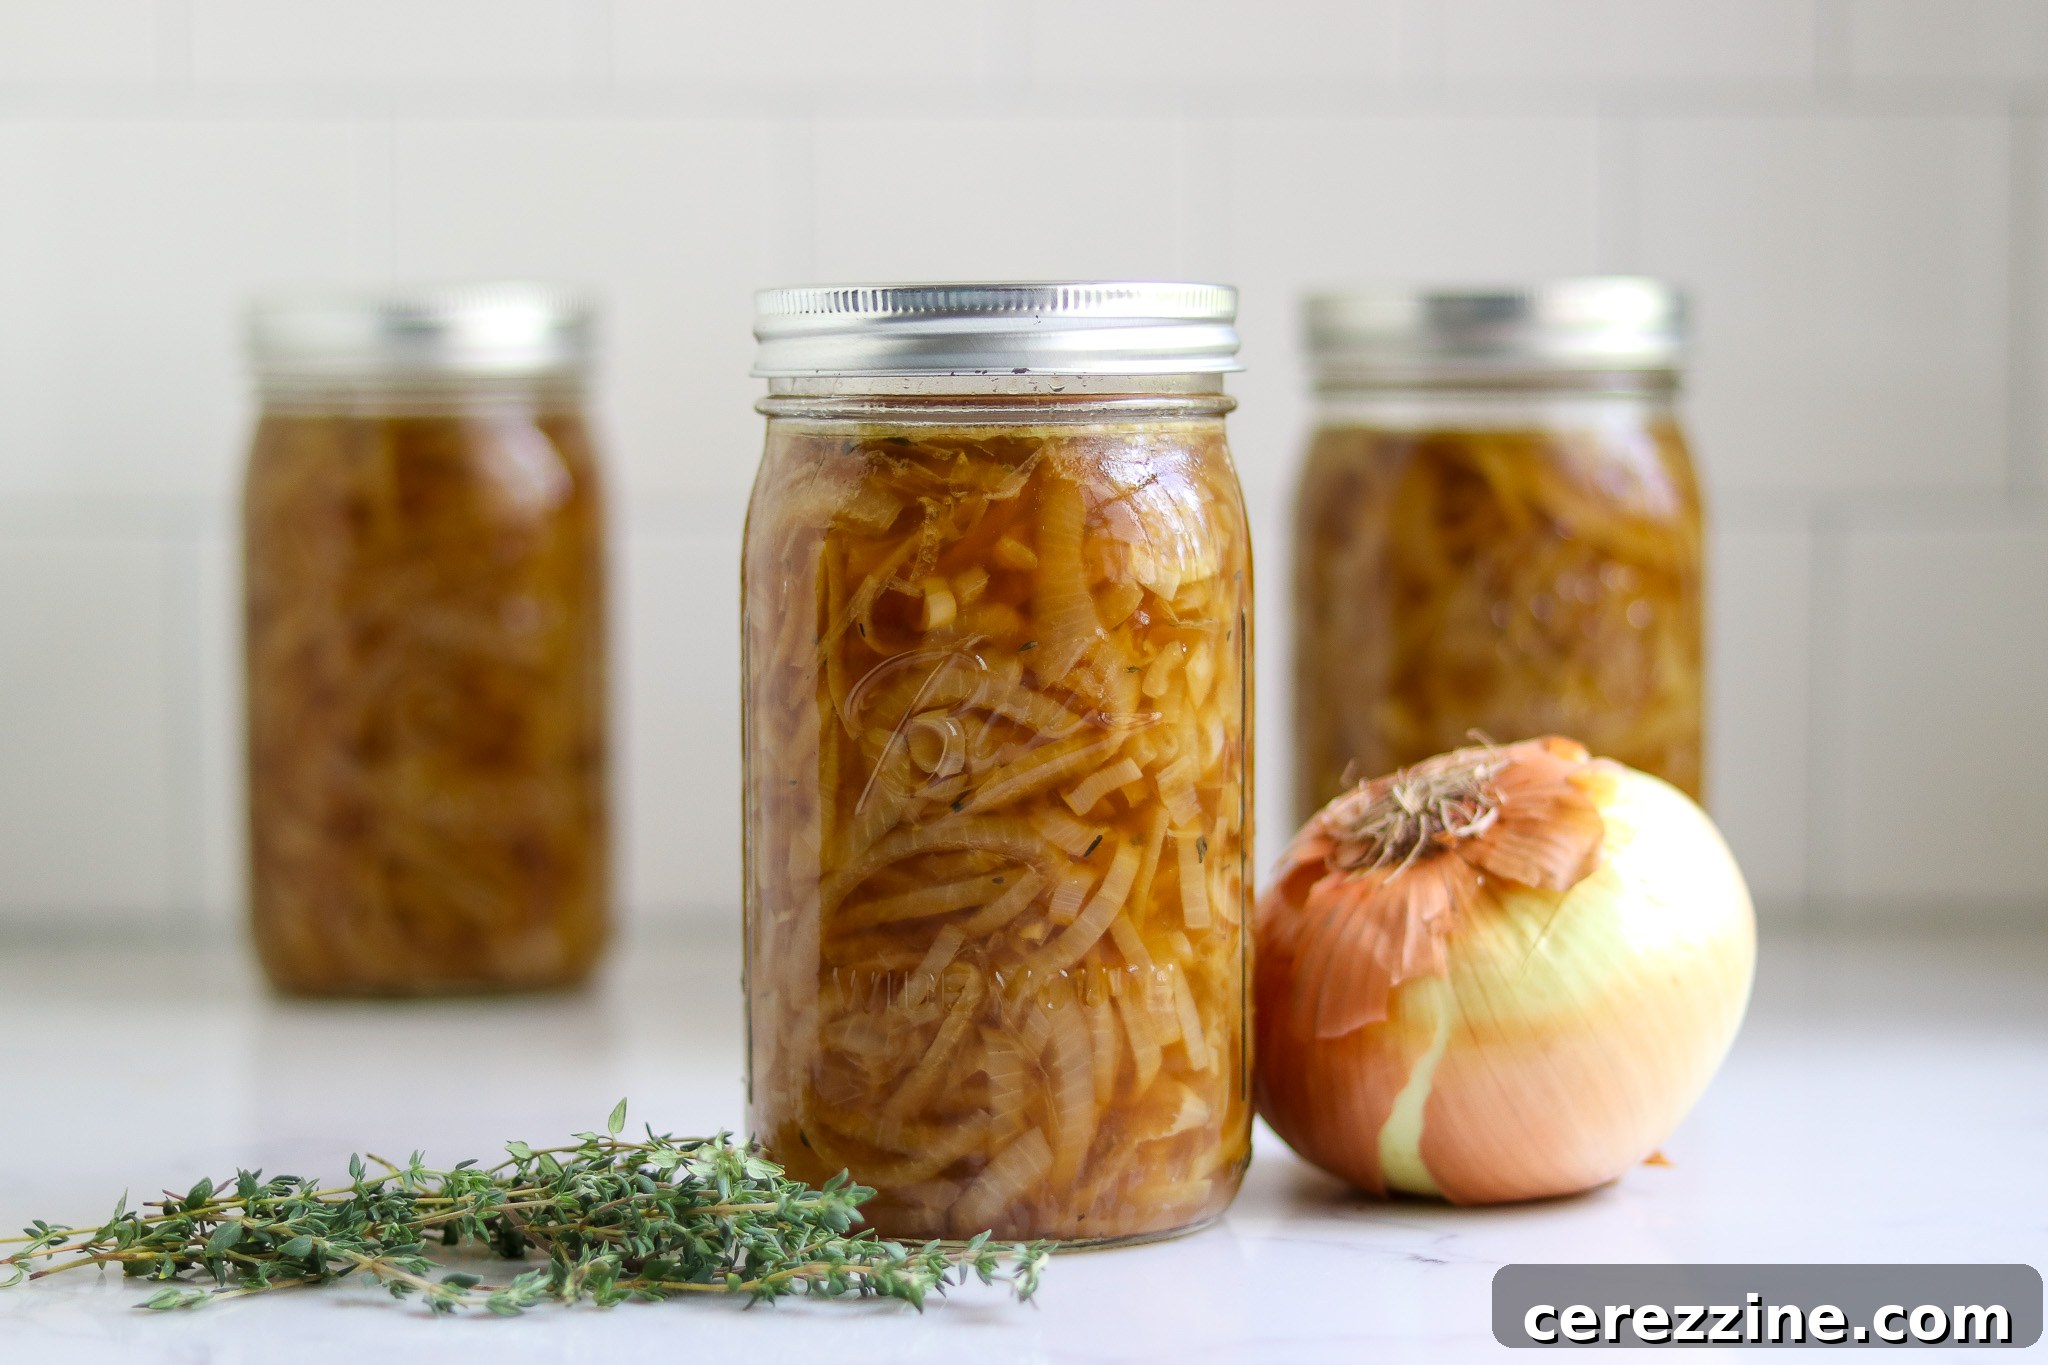
French onion soup holds a special place in the canon of comfort foods. Its deep, savory flavor, derived from onions patiently caramelized to a sweet perfection, combined with the satisfying crunch of toasted bread and the luxurious melt of bubbly cheese, creates an unparalleled culinary experience. However, the traditional method demands a significant time commitment, often requiring an hour or more of focused attention at the stovetop just for a single serving or two.
This is where the magic of canning French onion soup comes into play. By embracing the art of pressure canning, you invest time once to enjoy this exquisite dish many times over. Not only does canning provide an incredible shortcut to gourmet meals, but it also enhances the soup’s flavor profile. The canning process itself allows the ingredients to meld and deepen, creating an even more robust and savory delight, packed with rich umami notes that only improve with time in the jar.
While beef broth is the traditional foundation for this classic soup, you have the flexibility to customize it. Opting for vegetable broth transforms this recipe into a delicious vegetarian soup canning recipe, broadening its appeal to diverse dietary preferences. The choice is yours, ensuring everyone can savor this hearty, comforting dish.
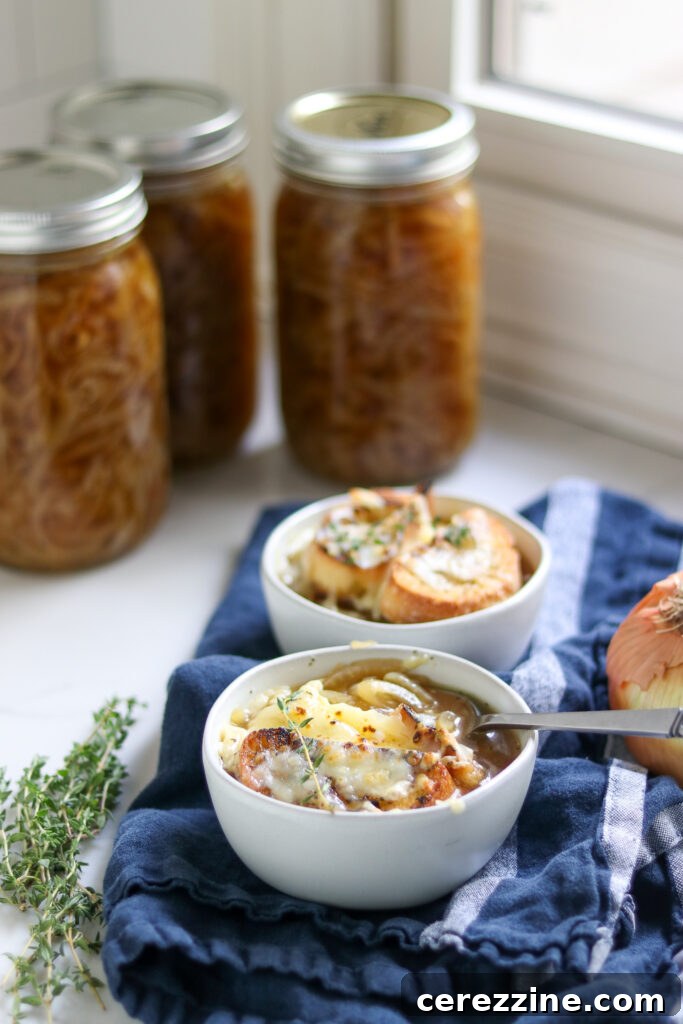
French onion soup is a truly timeless and satisfying soup, particularly well-suited for colder weather. It’s also an excellent way to utilize a bounty of onions, especially those nearing their peak freshness. Canning not only preserves its magnificent flavors but also locks in its nutritional value for long-term storage, ensuring you have a gourmet meal ready when you need it most. It’s a testament to the enduring appeal of traditional preservation methods combined with modern convenience.
This comprehensive recipe is designed for a standard pressure canner batch, yielding four quarts of delicious soup. However, it can be easily scaled up to accommodate larger canners and greater quantities, allowing you to maximize your efforts and stock your pantry efficiently. For instance, a robust All-American Pressure Canner can comfortably process up to 14 wide-mouth quart jars, making it ideal for substantial batch cooking. To streamline the preparation, a mandoline slicer becomes an invaluable tool for quickly and uniformly slicing the large volume of onions required. Following the slicing, the onions are gently browned in a generously sized stock pot before being prepared for the canning process.
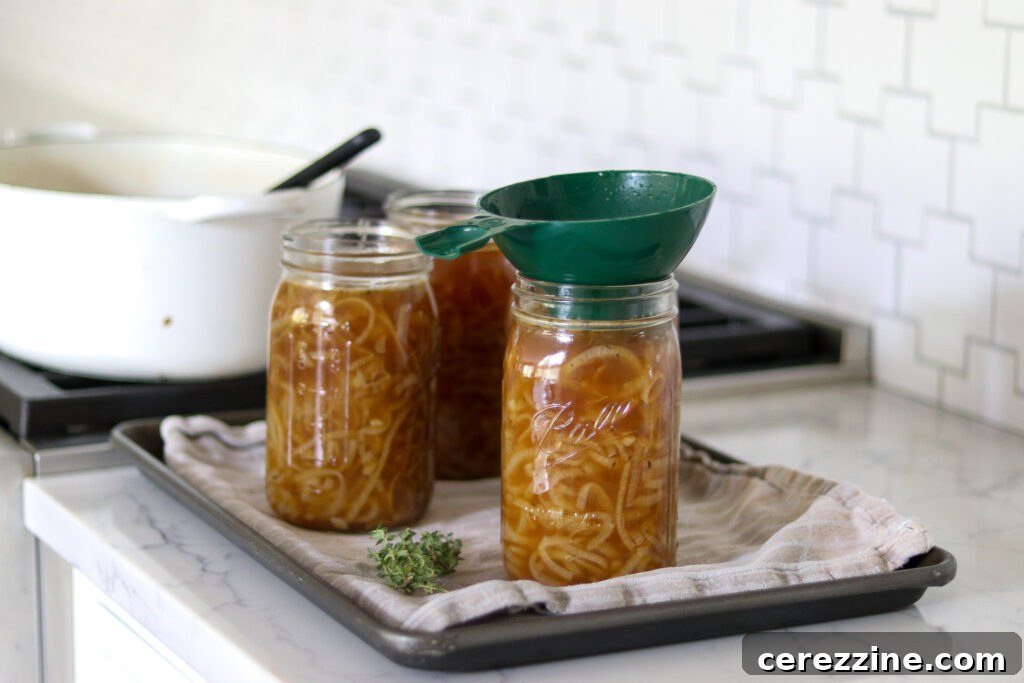
Essential Ingredients for Canning French Onion Soup
This canning recipe for French onion soup is a carefully tested and approved method, adapted from the reliable source of The All New Ball Book of Canning and Preserving (page 290). Adhering to tested recipes is crucial for ensuring the safety and quality of your home-canned goods. The ingredients required for canning French onion soup are wonderfully simple, focusing on quality components to build rich flavor. To prepare a canner batch yielding eight pints or four quarts, you will need the following:
- 1 Tbsp (15 ml) butter
- 3 qt (3 L) beef bone broth or commercial canned beef, chicken, or vegetable stock
- 4 lb (2 kg) onions, thinly sliced
- 1 Tbsp (15 ml) salt
- 1 tsp (5 ml) ground black pepper
- 3 cups (750 ml) dry white wine, divided
- 1 tsp (5 ml) dried thyme
The small amount of butter specified in this recipe is primarily used for browning the onions, a crucial step for developing their deep, complex flavors. This quantity is well within the acceptable limits for pressure canning recipes. If you find you need additional fat to prevent sticking or to achieve a more even browning, a neutral oil like grapeseed or a good quality olive oil can be used as a supplement. While traditional recipes often call for beef stock to achieve that characteristic richness, remember that vegetable stock is an excellent alternative for creating a equally flavorful vegetarian version of this soup.
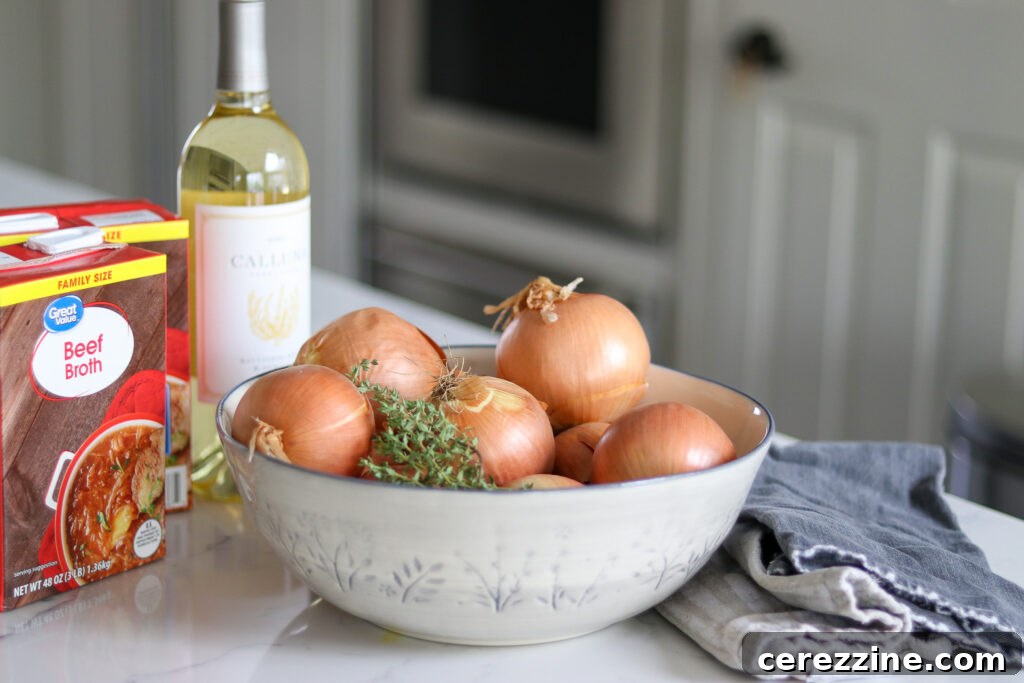
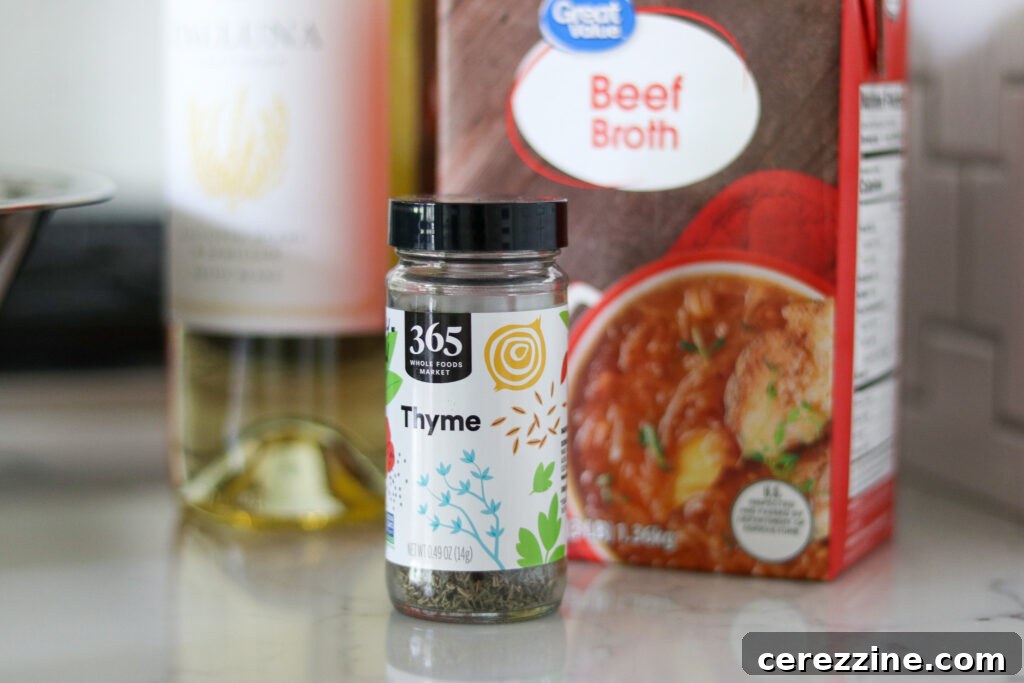
A dry white wine significantly elevates the finished soup, contributing layers of nuanced flavor. However, it is an optional ingredient, and the recipe will still be delicious without it. If you choose to omit the wine, you can substitute it with an equal amount of water or additional broth/stock without compromising the safety or fundamental taste of the soup. In terms of spices, thyme is traditionally used and intentionally keeps the flavor profile simple and classic, allowing the caramelized onions to shine. While this recipe is minimally spiced to highlight the core ingredients, you can safely add other dried spices to taste without impacting the canning safety, as long as they are dry spices and not fresh herbs which can alter density. Avoid adding fresh herbs or garlic directly into the jars for canning as they can affect pH and safety.
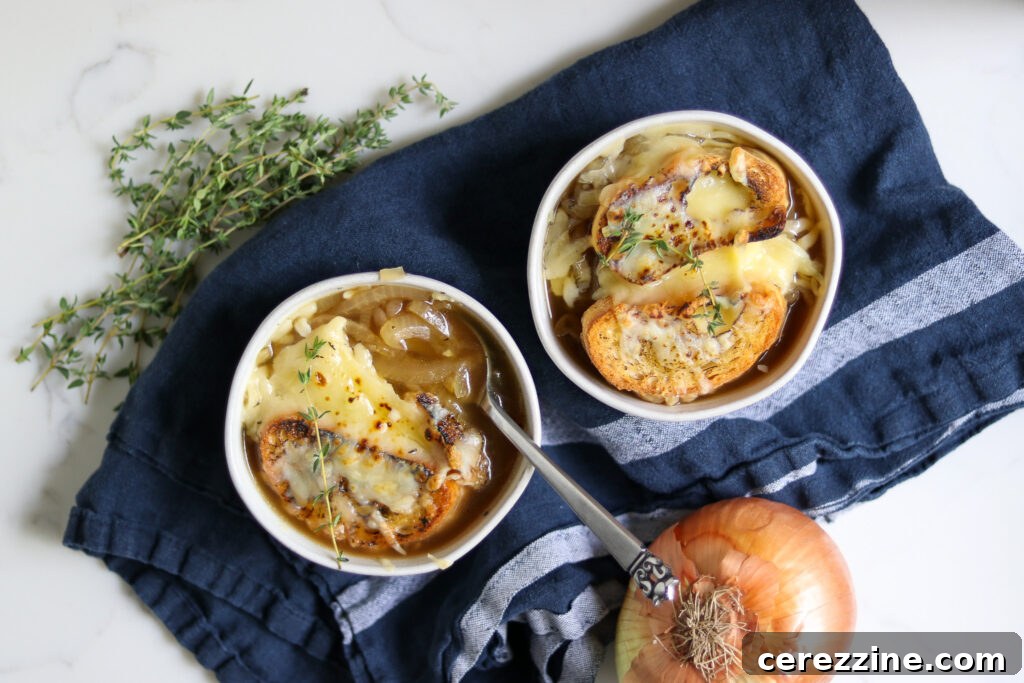
Traditionally, French onion soup is celebrated with a topping of toasted bread, generously slathered with melted cheese. These delightful additions, while highly recommended for the full experience, are incorporated at the time of serving. This allows for optimal texture and flavor, ensuring the bread remains crisp and the cheese perfectly melted. You can, of course, simply heat and enjoy the soup directly from the jar, appreciating its deep flavors on their own. It is critical to remember, however, that bread and cheese should never be added to the jars before canning. These ingredients are not approved for pressure canning and can lead to unsafe conditions and undesirable textural outcomes.
Mastering Onion Preparation for French Onion Soup
The secret to an truly exceptional French onion soup lies in the preparation of the onions. Achieving thinly sliced, uniformly sized onions is paramount for several reasons. Consistent sizing ensures that the onions cook and brown evenly, preventing some pieces from burning while others remain undercooked. This uniformity also contributes significantly to the soup’s overall mouthfeel and texture. While this attention to detail might seem like a “fussy French” touch, it genuinely elevates the final product, transforming a good soup into a great one. That said, if time is of the essence, a rough chop will suffice, but be aware that the soup’s texture and cooking consistency may vary slightly.
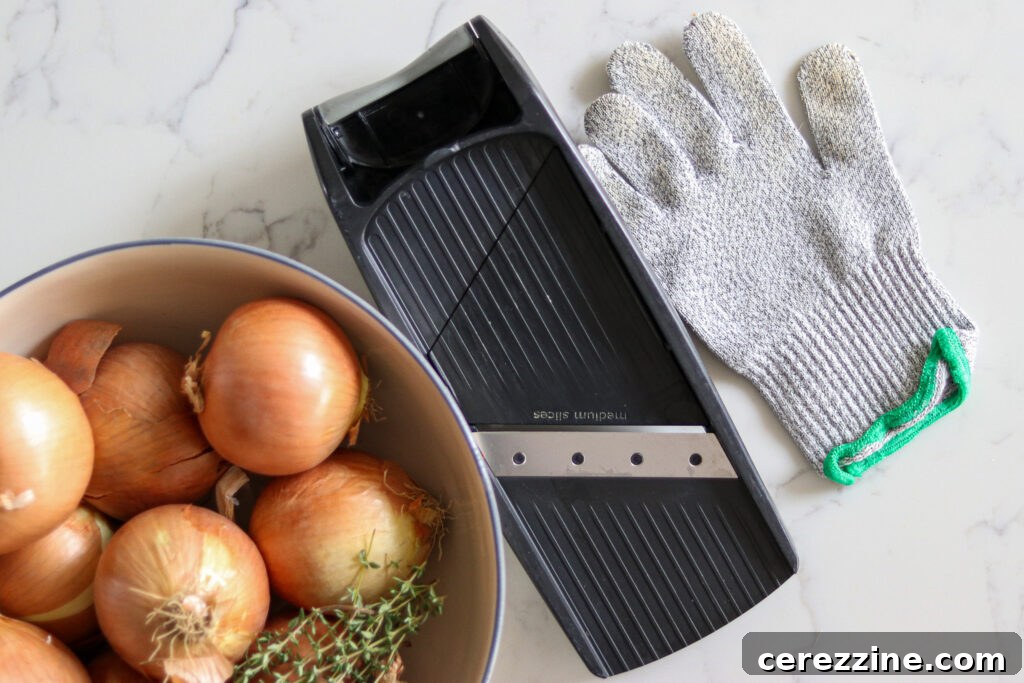
For those aiming for perfection and efficiency, a mandoline slicer is an indispensable kitchen tool. It makes quick work of slicing large quantities of onions into beautifully thin and consistent pieces, drastically reducing prep time to mere minutes. An added benefit? The faster you slice, the less time for those notorious onion-induced tears!
Before you begin slicing, ensure each onion is properly prepared. Start by carefully chopping off both the stem and root ends, then peel away the dry outer layers. Don’t discard these trimmings! The onion ends and peels are rich in flavor and can be repurposed to make a delicious, savory onion stock. This homemade stock can either be used directly in your French onion soup recipe or saved for other culinary applications. Alternatively, they make excellent additions to your compost pile.
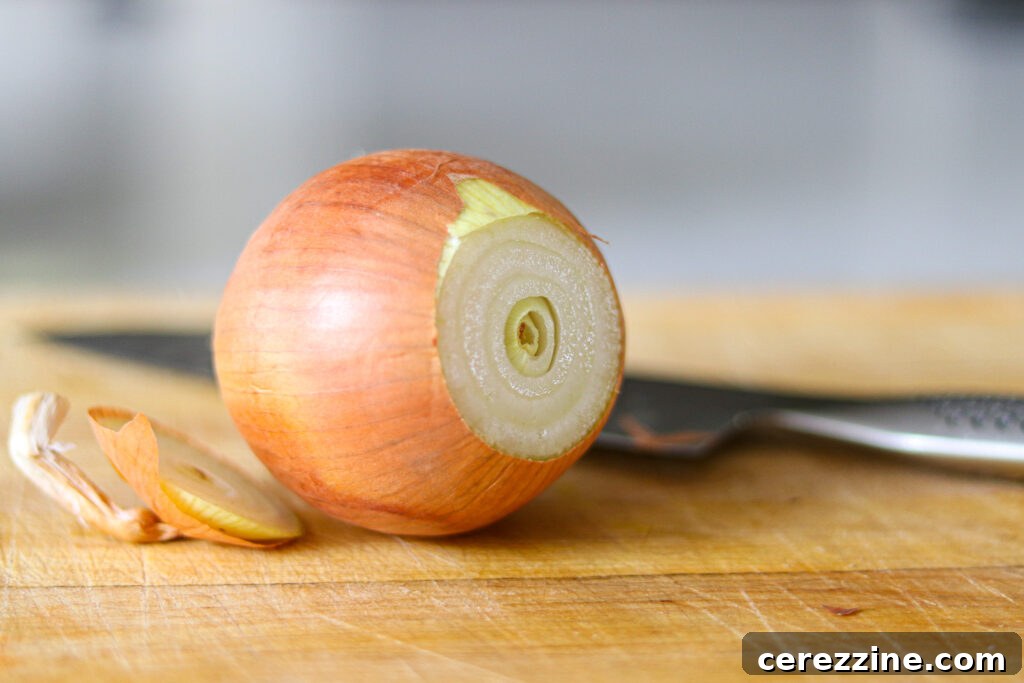
The recipe calls for 4 pounds of onions, measured as purchased. This typically translates to approximately 12 large onions or around 20 medium-sized onions, indicating a substantial quantity. Preparing this many onions can be daunting by hand, often requiring multiple batches of slicing. However, as mentioned, employing a mandoline slicer dramatically simplifies this task, allowing you to uniformly slice all the onions in just 2-3 minutes, ensuring a consistent base for your soup. If you are slicing by hand, take your time and aim for as much uniformity as possible.
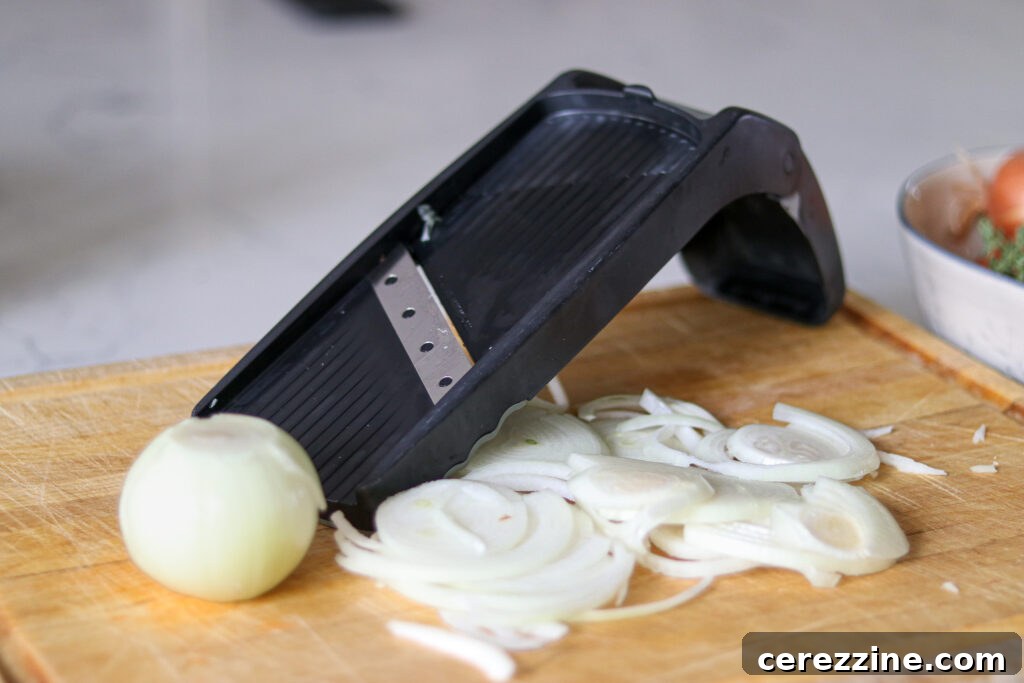
Once your onions are meticulously peeled and thinly sliced, you’re ready to embark on the cooking phase of the soup. Before you begin, gather all the listed ingredients and have them prepped and ready to go. However, hold off on preheating your canner just yet. The soup will require approximately an hour of cooking time to achieve that perfect caramelization and flavor development before the actual canning process can commence. This initial cooking phase is crucial for building the foundational taste of your French onion soup.
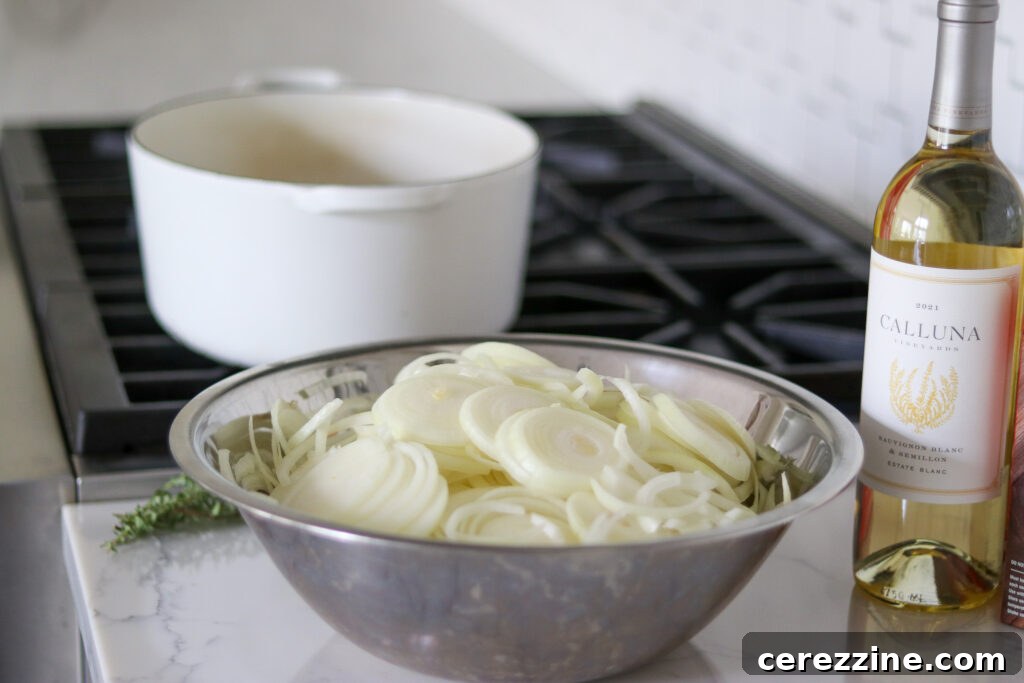
Crafting French Onion Soup for Canning
Begin the soup-making process by melting the butter in a heavy-bottomed stainless steel or enameled Dutch oven. The choice of cookware is important here; a Dutch oven ensures even heat distribution, which is key to preventing scorching during the long cooking time. Set the heat to medium-low to allow the butter to melt gently without burning. Once melted, add the thinly sliced onions, along with the salt, black pepper, and dried thyme. At this stage, incorporate two cups of the dry white wine, reserving the remaining cup for later. The initial addition of wine serves a dual purpose: it helps the onions to soften more quickly by releasing their moisture, and as it evaporates, it leaves behind a subtle sweetness that aids in the browning and caramelization process. If you opt not to use wine, you can substitute it with water or an equal amount of broth, and a teaspoon of sugar can be added (optional) to assist in the browning and caramelization of the onions.
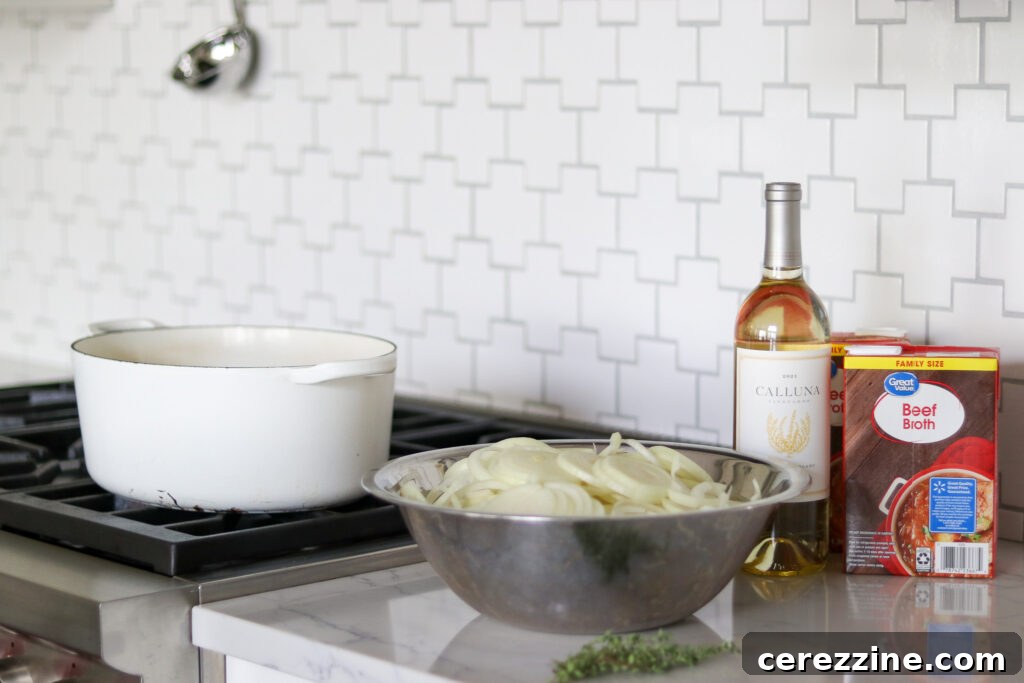
Cover the Dutch oven and allow the mixture to cook for approximately one hour, or until the onions have become exceptionally tender and translucent. During this phase, it’s essential to stir the onions frequently to prevent them from sticking to the bottom of the pot and burning. Keeping the lid on initially creates a steamy environment that helps the onions break down and soften evenly. As the wine rapidly evaporates, its primary role at the start is to tenderize the onions and assist in their browning without immediate charring. The majority of this hour-long process will involve a slow sauté, during which the onions will gradually begin to brown and caramelize, necessitating regular stirring to achieve that rich, golden hue. As you approach the end of this hour-long cooking period for the onions, it’s an ideal time to begin preparing your pressure canner, along with the necessary jars, lids, and rings.
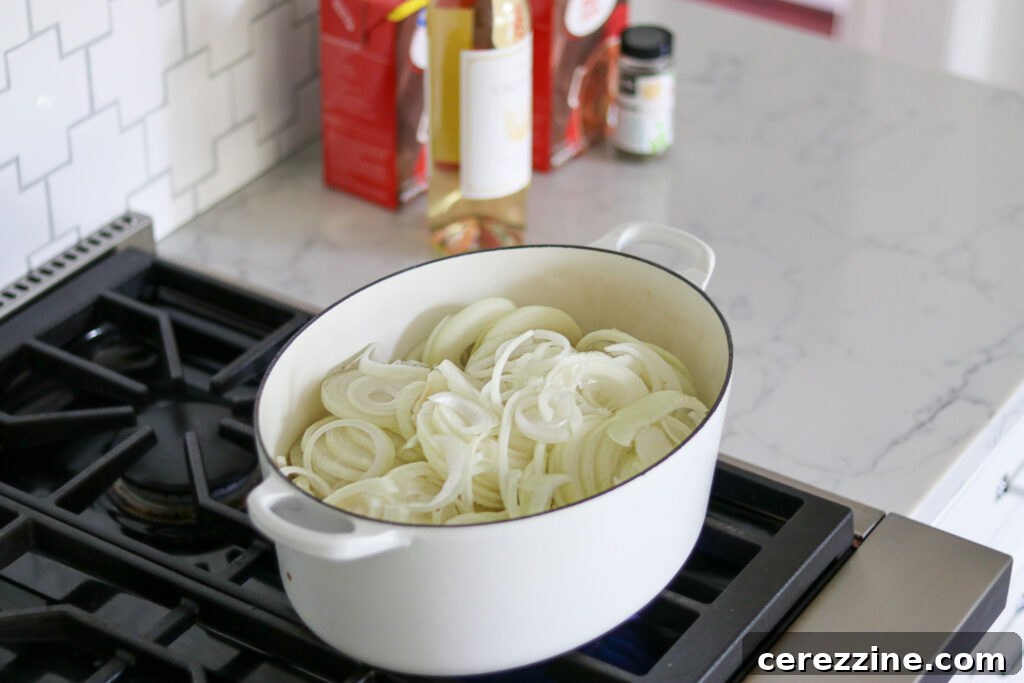
Once the onions are tender, remove the lid from the pot and increase the heat slightly. Continue to cook, stirring diligently, until the onions achieve a beautiful, deep caramelized color. This caramelization is crucial for the signature rich flavor of French onion soup. Next, add the remaining cup of dry white wine to the pot. Cook for an additional two minutes, making sure to scrape up any browned bits that have accumulated on the bottom of the Dutch oven with a wooden spoon or spatula; these “fond” bits are packed with flavor. Finally, stir in the broth and bring the entire mixture to a rolling boil. This ensures all the components are well combined and heated through before the final simmering stage.
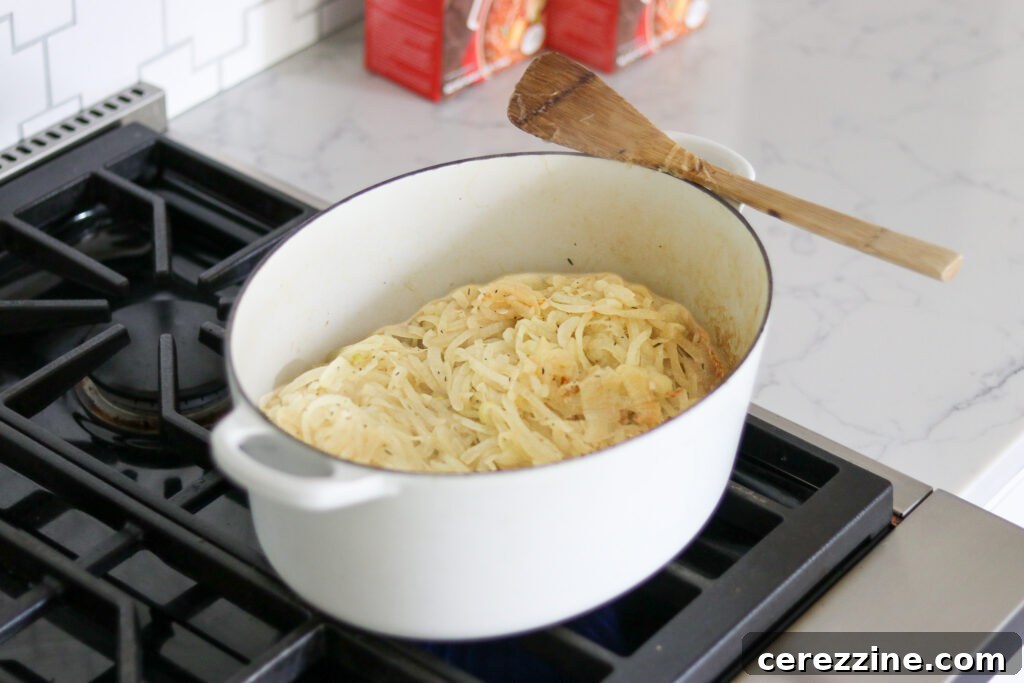
After bringing the broth and onion mixture to a boil, reduce the heat to a gentle simmer and continue to cook, uncovered, for an additional 15 minutes. This extended simmering time is more than just a waiting period; it allows all the complex flavors to fully integrate and meld together, creating a harmonious and deeply satisfying soup base. Crucially, this step also ensures that the soup is uniformly heated before it is transferred into canning jars, a vital aspect for safe pressure canning. Once this simmering period is complete, your French onion soup is “done” in terms of flavor development. At this point, you can taste the soup and make any final adjustments to the seasonings, adding more salt or pepper if desired, before proceeding with the canning process.
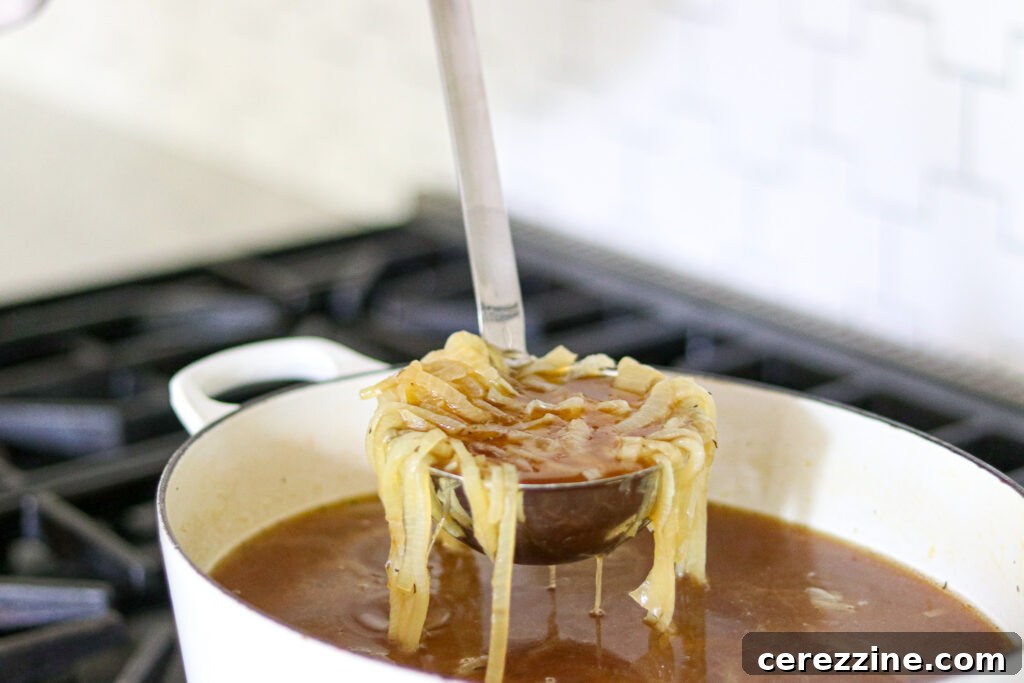
As the onions caramelize and the soup simmers, your pressure canner should be prepared and gently preheating. Add 2-3 inches of water to the canner and bring it to a simmer (approximately 180 degrees F). Simultaneously, sterilize and heat your canning jars, lids, and rings, ensuring they are ready for filling. Once the soup is fully prepared and seasoned, carefully ladle the hot soup into the hot jars, leaving precisely one inch (2.5 cm) of headspace from the top rim of the jar. This headspace is crucial for proper sealing and to prevent liquid siphoning during processing. Use a non-metallic utensil to remove any trapped air bubbles from the soup within the jars. Next, wipe the rims of each jar clean with a damp cloth to remove any food residue or liquid, which could interfere with a proper seal. Place the prepared lids on the jars, then apply the bands, adjusting them until they are fingertip-tight – snug but not overly tightened.
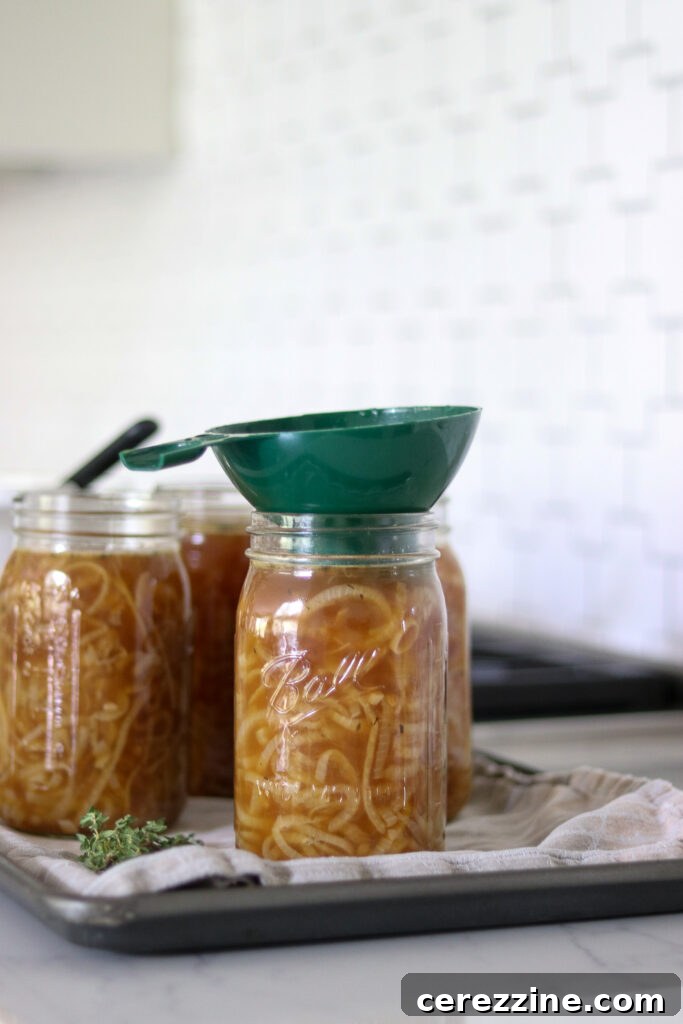
Carefully place the filled, lidded jars onto the rack inside your preheated pressure canner, ensuring they do not touch each other. Securely place the canner lid into its locked position. Increase the heat to medium-high and allow the canner to vent a steady stream of steam for a full 10 minutes. This venting process is critical as it purges all air from the canner, creating the pure steam environment necessary for safe pressure canning. After venting, place the counterweight or weighted gauge onto the vent. Bring the pressure up to 10 lbs for a weighted gauge canner or 11 lbs for a dial-gauge canner. Consult your altitude adjustments for precise pressure requirements, as these can vary significantly based on your elevation.
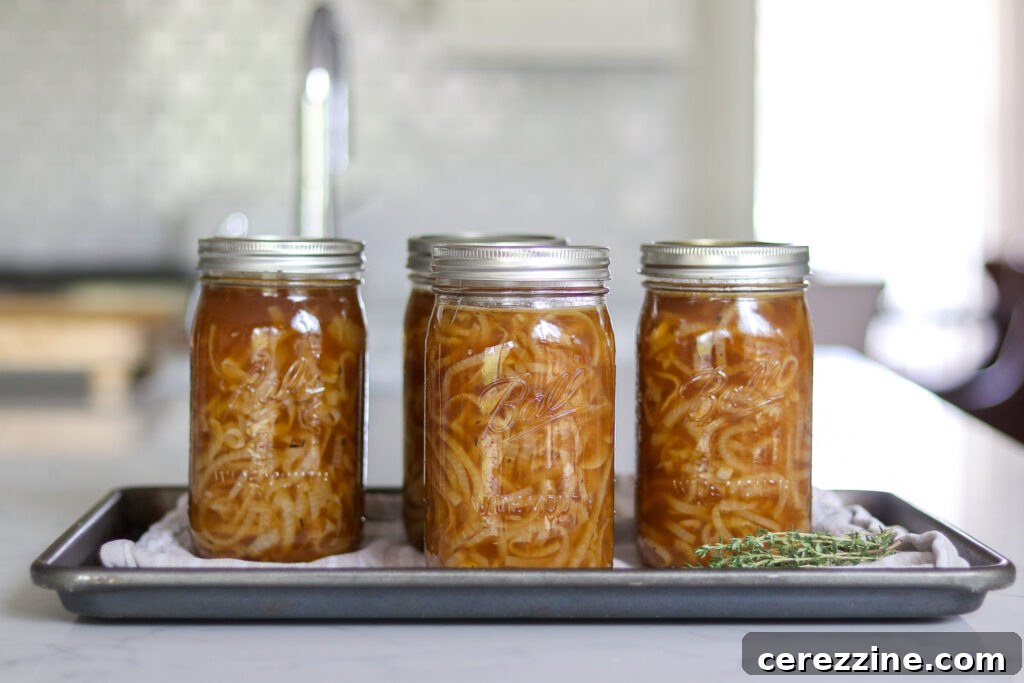
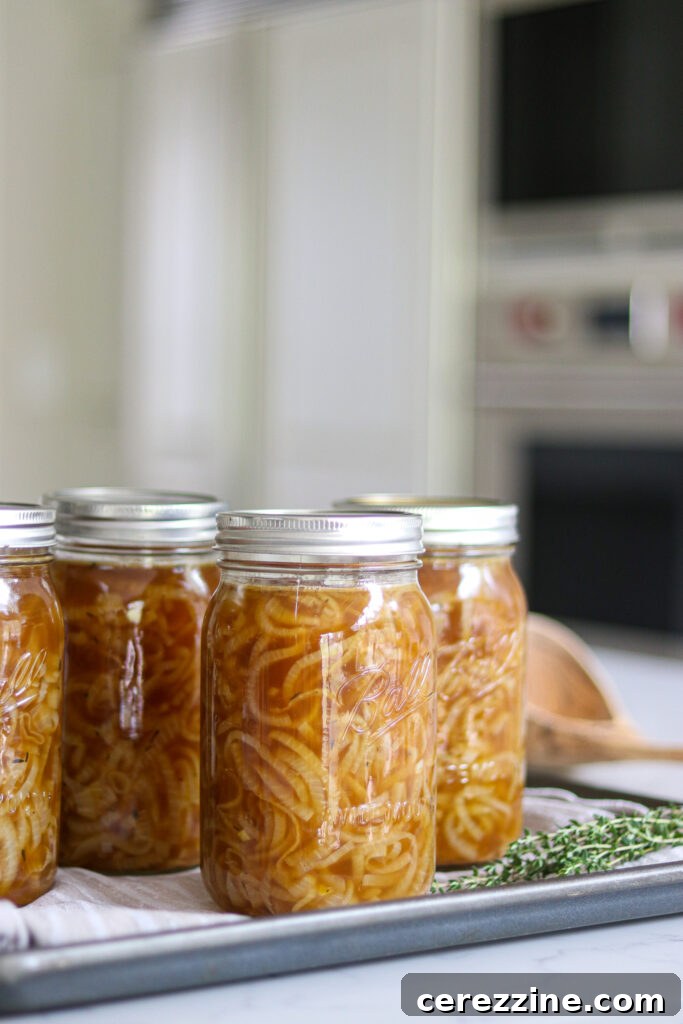
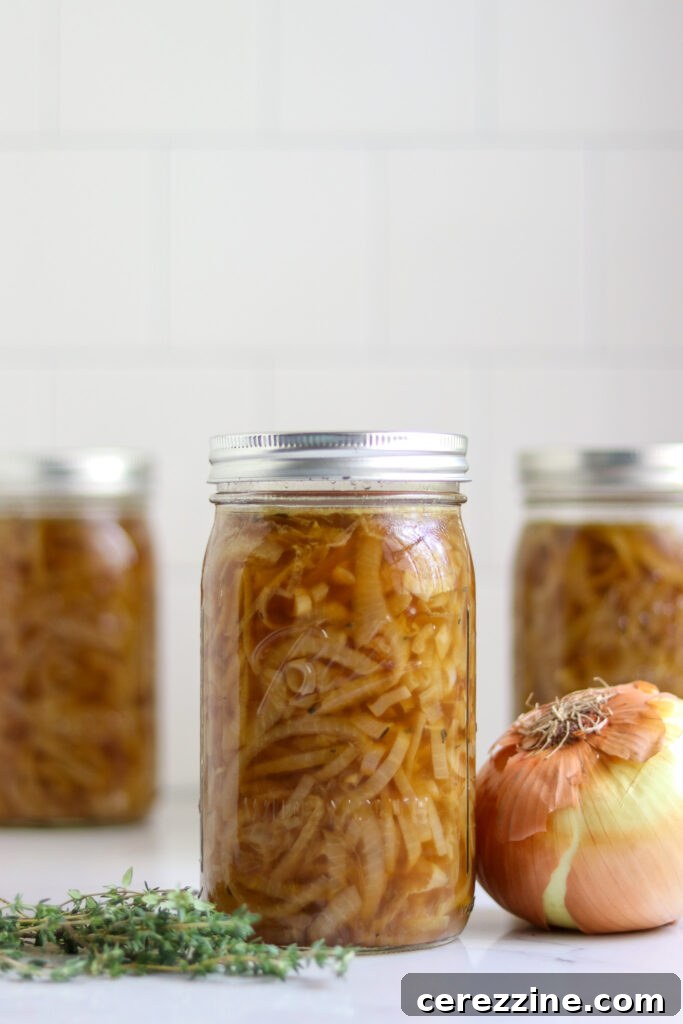
Once the desired pressure is reached, begin processing pint jars for 60 minutes or quart jars for 75 minutes. Maintain a consistent pressure throughout the entire processing time, adjusting heat as needed. When the processing time is complete, turn off the heat and allow the pressure canner to cool naturally to zero pressure. Do not attempt to force cool the canner, as this can lead to siphoning and unsafe seals. Once the pressure gauge reads zero, wait an additional five minutes before carefully removing the canning weight or opening the vent. Gently unlatch the lid, tilting it away from your face to allow any residual steam to escape. Let the jars cool in the canner for another ten to fifteen minutes before carefully removing them. Transfer the hot jars to a protected surface, like a towel-lined countertop, to cool completely at room temperature for 12-24 hours. Once cooled, check all seals. Any unsealed jars should be reprocessed or refrigerated and consumed promptly. Label your successfully sealed jars with the contents and date, and store them in a cool, dark place.
Crucial Altitude Adjustments for Pressure Canning
When pressure canning, it is imperative to adjust the pressure based on your altitude to ensure food safety. While processing times remain consistent regardless of elevation, the required pressure changes to maintain the correct internal canning temperature. Please refer to the following guidelines for making the necessary altitude adjustments:
For dial gauge pressure canners:
- 0 to 2,000 feet in elevation – 11 lbs pressure
- 2,001 to 4,000 feet in elevation – 12 lbs pressure
- 4,001 to 6,000 feet in elevation – 13 lbs pressure
- 6,001 to 8,000 feet in elevation – 14 lbs pressure
For weighted gauge pressure canners:
- 0 to 1,000 feet in elevation – 10 lbs pressure
- Above 1,000 feet – 15 lbs pressure
Serving Your Homemade French Onion Soup
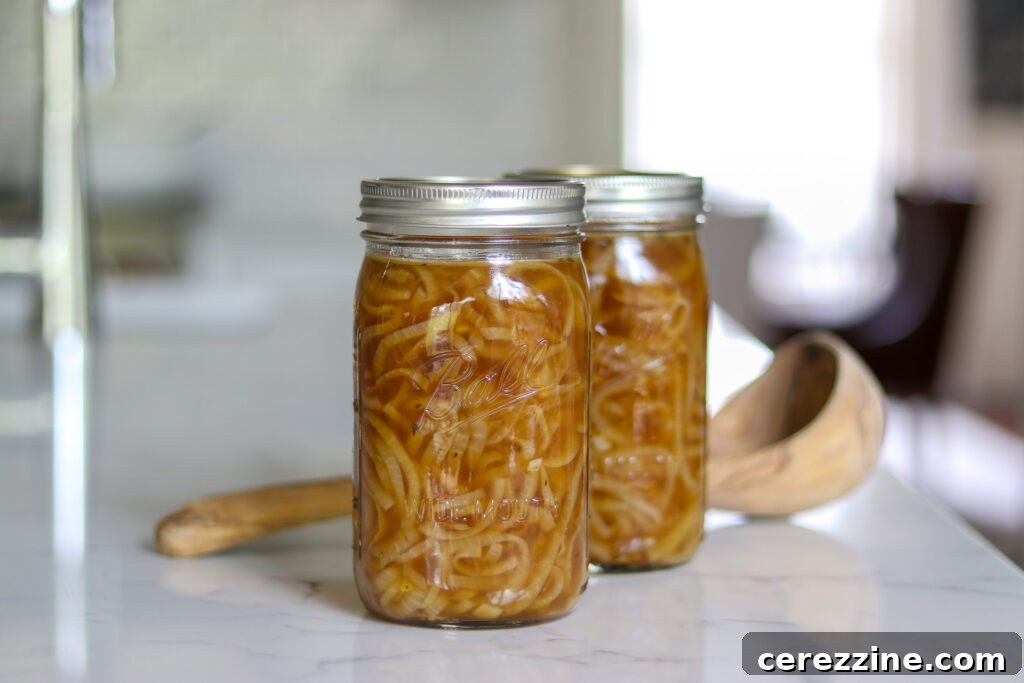
Ready to indulge in the rich flavors of your home-canned French onion soup? One of the most appealing aspects of having this soup on hand is its incredible versatility. The recipe can be effortlessly adapted to suit various tastes and dietary preferences, whether you’re seeking a vegetarian option (by using vegetable broth), a gluten-free version (by ensuring your broth and toppings are certified gluten-free), or simply experimenting with different types of cheese for the topping. Beyond being a stand-alone masterpiece, this canned soup also serves as an excellent base for a myriad of other culinary creations, from hearty casseroles and comforting stews to savory pot pies. Its robust flavor profile makes it a fantastic secret ingredient in many dishes.
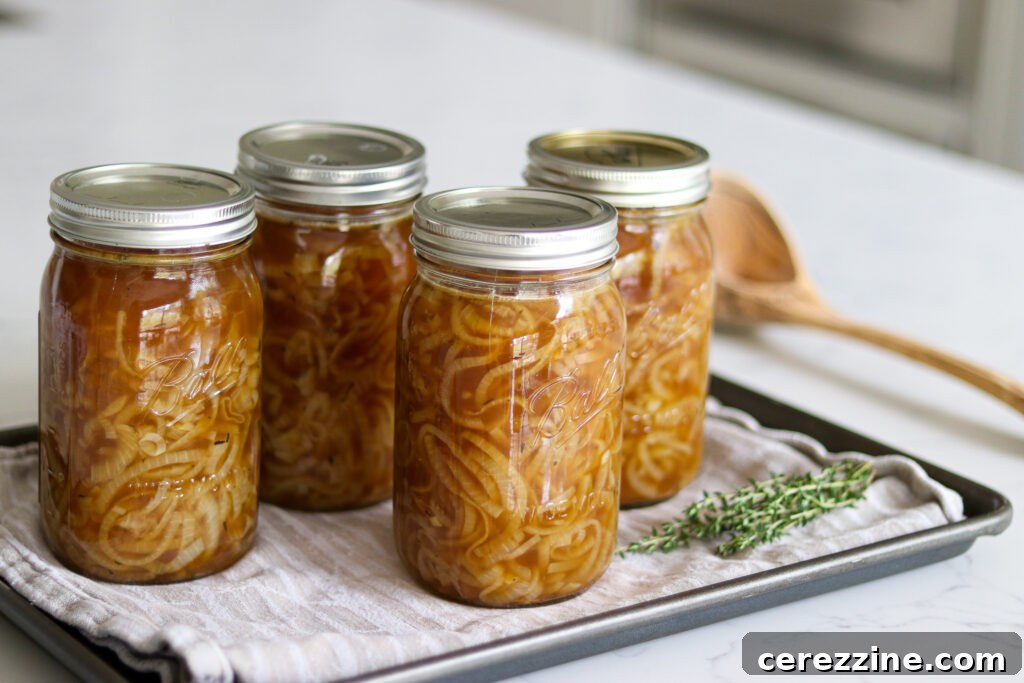
When the craving strikes for your exquisite homemade French onion soup, preparation is delightfully simple. Just open a jar and transfer its contents into a small saucepan. Gently bring the soup to a simmer for about 10 minutes to ensure it is thoroughly heated. While your soup warms, prepare the classic topping: slice a baguette, cover each slice generously with a combination of Gruyère and Swiss cheese, and broil until the cheese is beautifully melted and bubbly. Carefully place these cheesy toasts atop the hot soup just before serving, and for a final touch of freshness and aroma, sprinkle with fresh sprigs of thyme.
Bon appétit!
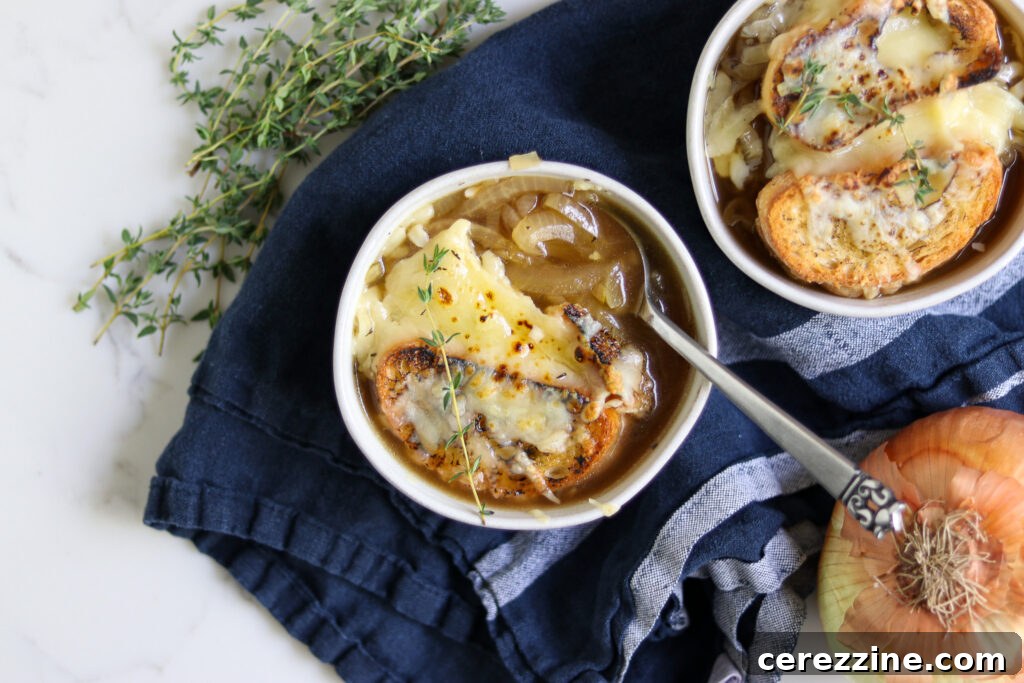
Beyond serving it as a traditional bowl of soup, the versatility of your home-canned French onion soup extends to incorporating it into other meals. Essentially, what you have preserved in each jar is a concentrated base of richly caramelized onions suspended in a savory, umami-laden broth. This makes it an exceptional addition for cooking tender pot roasts, or as a foundational liquid for other complex dishes. Get creative in the kitchen! Imagine adding it anywhere you’d typically use both onions and stock – think French onion chicken, a decadent French onion gratin, or even as a flavorful braising liquid for short ribs. The possibilities are truly endless, allowing you to infuse that distinctive French onion flavor into countless culinary creations.
Explore More Soup Canning Recipes
The world of home-canned soups is vast and rewarding. Once you’ve mastered French Onion Soup, consider expanding your pantry with these other fantastic soup canning recipes:
Canning Sausage Potato and Kale Soup (Copycat Zuppa Toscana)
Canning Taco Soup
Roasted Tomato Basil Soup
- Sausage, Potato, and Kale Soup
- Carrot Soup
- Split Pea Soup
- Chicken Soup
Convenient Meal in a Jar Canning Recipes
If you’re looking for even more ways to fill your pantry with quick, homemade meals, these meal-in-a-jar canning recipes offer incredible convenience and flavor:
- Boston Baked Beans
- Thai Curry Duck
- White Bean Chicken Chili
- Cajun Red Beans and Sausage
Canning French Onion Soup
Equipment
-
Pressure Canner
Ingredients
- 1 Tbsp Butter, or olive oil for a vegan option
- 3 Quart Beef Broth, or vegetable broth for a vegetarian option
- 4 lb onions, thinly sliced
- 1 Tbsp salt
- 1 tsp ground black pepper
- 3 cups dry white wine, divided
- 1 tsp dried thyme
Instructions
-
Melt the butter in a stainless steel or enameled Dutch oven, cooking over medium-low heat.
-
Stir in the onion, along with the salt, black pepper, and thyme, along with 2 cups of the white wine.
-
Cover the mixture and cook for an hour, or until the onion is tender. Stir often to prevent burning.
-
Toward the end of this cooking time, prepare a pressure canner by adding a few inches of water to the bottom and bringing it up to a simmer. Also prepare jars, lids and rings.
-
Uncover the pot and cook at a higher heat until the onion is caramelized. Add the rest of the white wine, then cook for an additional two minutes. Make sure you loosen any browned bits from the bottom of the Dutch oven.
-
Stir in the broth, then bring to a boil.
-
Reduce the heat, then simmer, uncovered, for 15 minutes.
-
Ladle the soup into hot jars. Leave an inch (2.5 cm) of headspace.
-
Remove air bubbles and wipe any food residue or liquid from the rims of the jars.
-
Place the lids on the jars, then apply bands and adjust until they are fingertip-tight.
-
Put the jars on the rack inside your simmering pressure canner.
-
Put the lid on the canner, then turn it to the locked position. Turn the heat on medium-high, then vent steam for 10 minutes.
-
Put the counterweight or weighted gauge on the vent, then bring the pressure to 10 lbs for a weighted gauge canner or 11 lbs for a dial-gauge canner. (Adjust canning weight for altitude, see notes)
-
Process pint jars for 60 minutes or quart jars for 75 minutes. Turn off the heat, then cool the canner to zero pressure.
-
Let the jars cool for another five minutes after depressurizing before you remove the lid.
-
Cool the jars in the canner for another ten to fifteen minutes, then put them out to cool at room temperature.
-
Label the jars, check the seals, and store.
Notes
Altitude Adjustments for Canning French Onion Soup
With pressure canning, the processing times stay the same at higher altitudes, but the pressures change. Here are the altitude adjustments for pressure canning:
For dial gauge pressure canners:
- 0 to 2,000 feet in elevation – 11 lbs pressure
- 2,001 to 4,000 feet in elevation – 12 lbs pressure
- 4,001 to 6,000 feet in elevation – 13 lbs pressure
- 6,001 to 8,000 feet in elevation – 14 lbs pressure
For weighted gauge pressure canners:
- 0 to 1,000 feet in elevation – 10 lbs pressure
- Above 1,000 feet – 15 lbs pressure
Nutrition
Nutrition information is automatically calculated, so should only be used as an approximation.