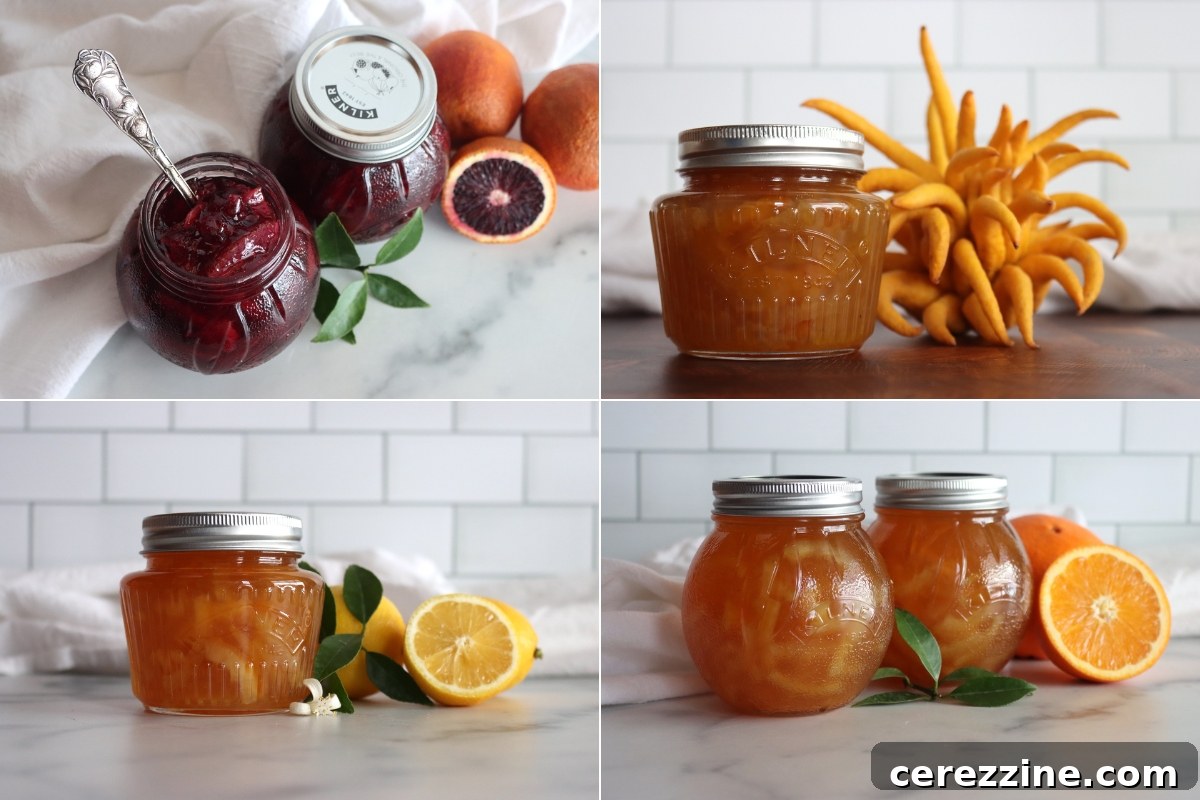
Unlock the incredible satisfaction of making homemade marmalade from scratch. This age-old tradition is not just a delightful way to preserve an abundant citrus harvest, but also an opportunity to enjoy a bright, tangy spread bursting with fresh flavor all year long. With a blend of patience and proper technique, you’ll master the art of transforming humble fruit into a gourmet preserve, perfect for everything from spreading on warm toast to enriching elegant desserts.
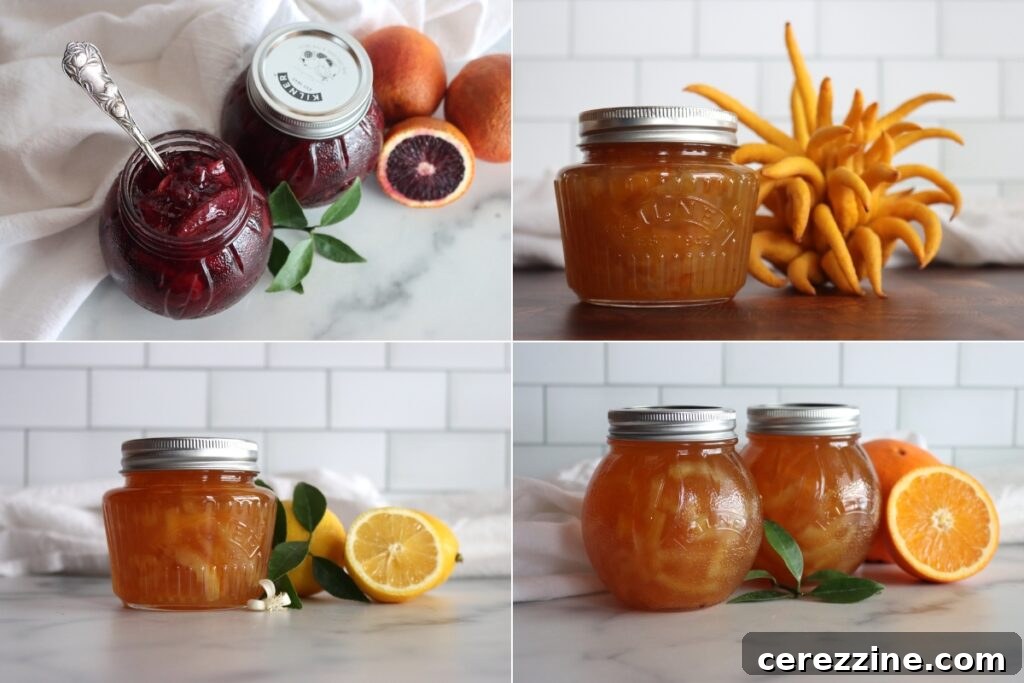
Homemade marmalade is a timeless culinary skill, transforming fresh citrus into a complex, sweet, and tangy spread. Its signature characteristic lies in the inclusion of the citrus peel, which provides a unique textural ‘bite’ and a delightful hint of bitterness that elevates its flavor profile beyond simple jams. Whether you’re a purist who prefers the traditional sharpness of Seville oranges or an adventurous cook keen to experiment with a medley of other citrus varieties, the process is remarkably accessible and incredibly rewarding with a little dedication.
What is Marmalade? Unpacking a Classic Preserve
At its core, marmalade is a fruit preserve distinguished by its inclusion of citrus peel, typically made from oranges. This sets it apart from jams and jellies, which usually consist solely of fruit pulp or juice. The characteristic blend of sweetness, tanginess, and a pleasant bitterness, derived from the peel, creates a complex flavor that is both refreshing and comforting. It’s a versatile condiment, equally at home on a morning breakfast pastry or as a sophisticated accompaniment to cheese and savory dishes.
While traditional British marmalades are renowned for their robustly chunky texture and pronounced bitter notes, modern interpretations often lean towards brighter flavors and a finer, more delicate texture. Historically, the term “marmalade” wasn’t exclusive to citrus. Early versions, dating back to ancient Greece and Rome, were often crafted from fragrant quince and honey. However, in contemporary culinary language, marmalade unequivocally refers to a preserve featuring delicate shreds of citrus rind suspended within a clear, glistening jelly. This unique combination of jelly and fruit solids truly distinguishes it from thick, chunky fruit jams or perfectly smooth, peel-free jellies.
Choosing Your Citrus: The Foundation of Flavorful Marmalade
While Seville oranges remain the undisputed classic for marmalade due to their high pectin content and distinctive bitter-tart flavor, the world of citrus offers a vast playground for experimentation. Here’s a guide to selecting the perfect fruit for your next batch:
- Seville Oranges: The traditionalist’s choice, these oranges deliver the intensely tangy and bitter flavor profile that defines classic marmalade. Their high pectin content naturally aids in setting. They are typically in season during the winter months, from December to February, making their arrival a cherished event for marmalade enthusiasts.
- Navel Oranges: For a milder, sweeter, and less bitter marmalade, navel oranges are an excellent, readily available alternative. Their sweet flesh and often thicker peel require careful balancing with more acidic citrus to achieve a desirable set and flavor depth. They are available year-round, offering flexibility in your marmalade-making schedule.
- Blood Oranges: Known for their striking ruby-red flesh, blood oranges create a visually stunning marmalade with a uniquely complex flavor, often described as having berry-like undertones. The rich color and nuanced taste make blood orange marmalade a truly gourmet treat.
- Grapefruit, Lemons, and Limes: These highly acidic citrus fruits are fantastic for introducing unique flavor dimensions. Grapefruit contributes a pleasant bitter edge and robust aroma, while lemons and limes infuse the marmalade with an invigorating zing. Their high acidity also provides essential pectin, aiding in the marmalade’s set, especially when paired with sweeter, lower-pectin fruits.
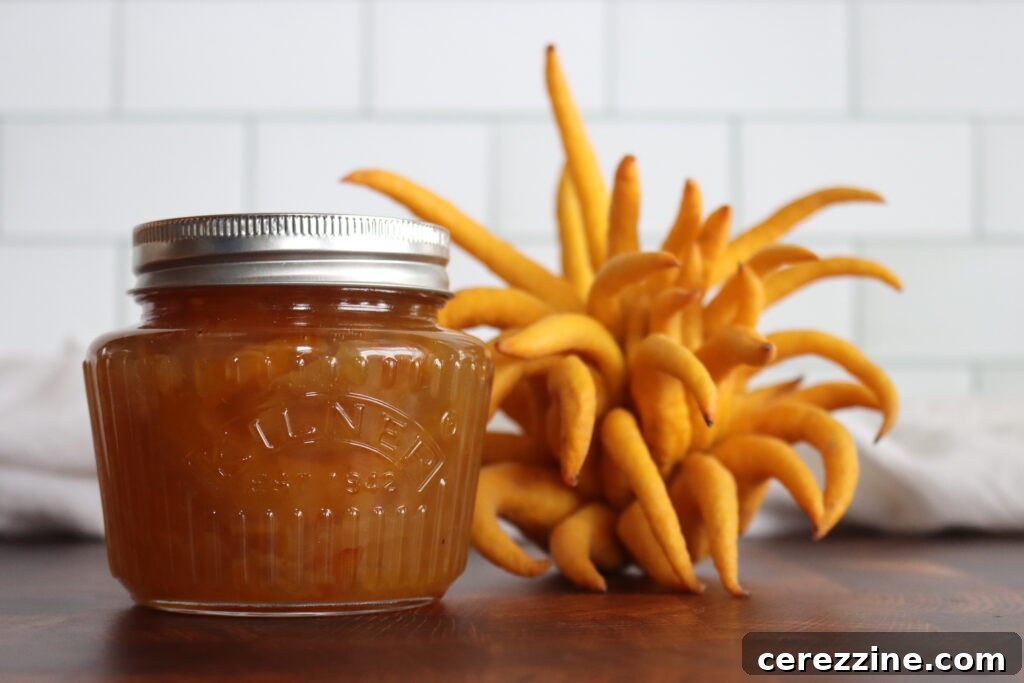
- Specialty Citrons (e.g., Bergamot, Buddha’s Hand): For an exotic and aromatic experience, consider specialty citrons like Bergamot or Buddha’s Hand Citron. These varieties are highly prized for their incredibly fragrant peels and are often used to create unique, highly perfumed preserves. Since they typically contain very little juice, you’ll need to supplement with juice from other citrus, such as lemons, to achieve the necessary liquid volume and acidity for the marmalade to properly come together and set.
Mastering Marmalade: Techniques for Every Type of Citrus
The journey to perfect marmalade can take different paths, primarily categorized into a quick one-day method and a more traditional, extended three-day process. The choice of method largely depends on the type of citrus you’re using and your desired outcome in terms of flavor and texture. The one-day method is best suited for mild, thin-skinned fruits, while the longer process brings out the best in more robust or bitter varieties.
The One-Day Method: Efficiency Meets Freshness
This modern, expedited approach to marmalade making is ideal for citrus fruits with thin skins and a naturally sweet, mild flavor, such as Meyer lemons (as opposed to standard lemons with thicker rinds) and sweet, thin-skinned oranges like clementines. In this method, the citrus fruit is gently simmered until tender, then finely sliced and combined with sugar. While quicker, this technique may result in a marmalade with a more pronounced bitterness, especially if using a thicker-skinned or more bitter citrus, and a potentially less even texture, as there’s less time for flavors to fully meld and pectin to extract.
If you’re eager to explore this quicker process, my recipe for low-sugar orange marmalade offers an excellent starting point. This versatile recipe and process can be successfully applied to any sweet, thin-skinned citrus, yielding a delicious preserve with a vibrant, immediate flavor.
The Three-Day Method: A Time-Honored Tradition for Depth and Balance
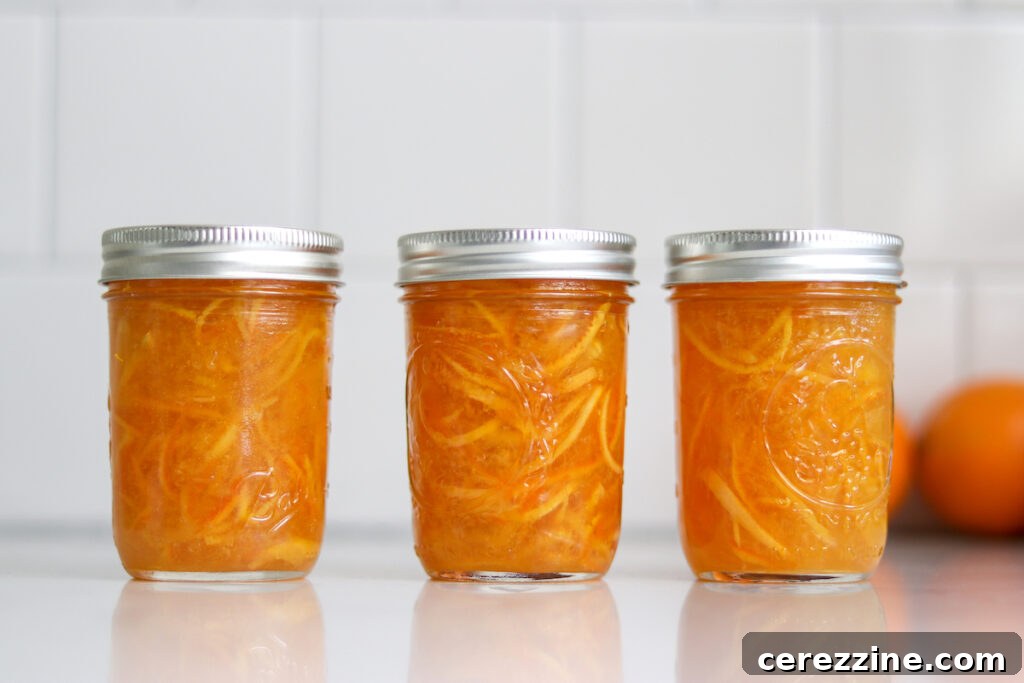
The traditional three-day method, while requiring more time and patience, consistently produces a marmalade with unparalleled depth of flavor and a beautifully refined, smooth texture. This extended process allows for maximum pectin extraction and a delicate softening of the citrus peel, resulting in a perfectly balanced preserve.
On the **first day**, the chosen citrus fruit is carefully sliced and then submerged in water to soak overnight. This initial soak is crucial for beginning the softening process of the peel and for gently drawing out some of the inherent bitterness, while simultaneously encouraging the release of natural pectin into the soaking liquid.
The **second day** involves a slow, deliberate cooking of the fruit and its soaking liquid. This prolonged simmering further softens the citrus, developing its flavor and significantly increasing pectin extraction. After cooking, the mixture is left to rest overnight once more. This second overnight soak is a vital step, allowing the fruit to soften even further, and the pectin to fully develop and integrate into the liquid before the sugar is introduced. This pre-setting of pectin ensures a superior texture in the final marmalade.
Finally, on the **third day**, the crucial elements of sugar and fresh lemon juice are added to the fruit mixture. A final, rapid boil then completes the transformation, bringing the marmalade to its perfect set. This meticulous, multi-day approach ensures a preserve where the flavors are intensely concentrated, the peel is exquisitely tender, and the texture is wonderfully refined, embodying the true essence of classic homemade marmalade.
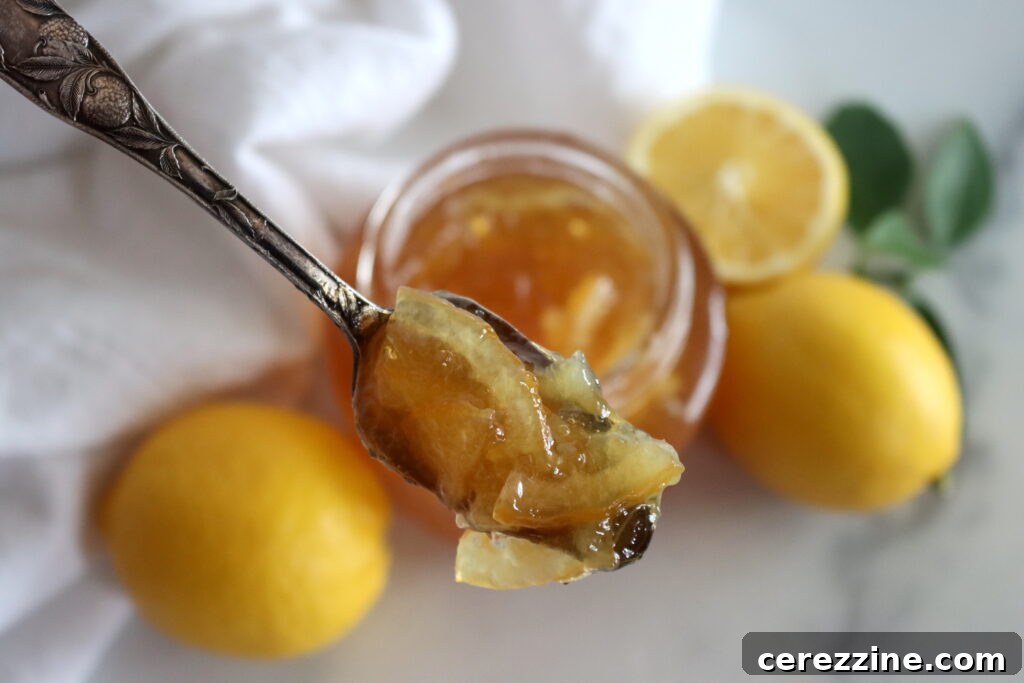
Essential Ingredients for Your Marmalade Masterpiece
To embark on your marmalade-making journey, creating a batch of approximately 4 to 6 jars using the traditional three-day method, you’ll need a few key, high-quality ingredients. The beauty of marmalade lies in the simplicity of its components, allowing the natural vibrancy of the citrus to shine through:
- Citrus Fruit: Begin with approximately 2 pounds of fresh citrus. This can be your preferred variety—lemons, oranges, grapefruits, or a delightful mix. If you opt for very sweet fruits like navel oranges, it’s highly recommended to replace about ¼ to ½ of the total fruit with tart lemon slices. This crucial addition helps to balance the sweetness, introduce essential acidity, and boost the pectin content, ensuring a well-set and harmoniously flavored marmalade.
- Granulated Sugar: You’ll need roughly 2 pounds of white cane sugar, aiming for an equal weight of sugar to fruit. Sugar is not just for sweetness; it acts as a preservative and contributes significantly to the marmalade’s texture and set. While this ratio is standard, you can adjust it slightly to your taste, bearing in mind that altering the sugar content can affect the final set.
- Water: Abundant cold water is essential for soaking and boiling the fruit. It’s the medium through which pectin is extracted and the citrus peel softens over the multi-day process.
- Fresh Lemon Juice: Beyond its role in balancing flavor, fresh lemon juice is a marmalade maker’s secret weapon. Its high acidity is vital for activating the fruit’s natural pectin, which is responsible for the marmalade setting into a firm, glistening jelly. You’ll typically use about 2 to 6 ounces (¼ to ¾ cup), adjusting based on the acidity of your primary citrus. Always opt for freshly squeezed for the best flavor and pectin contribution.
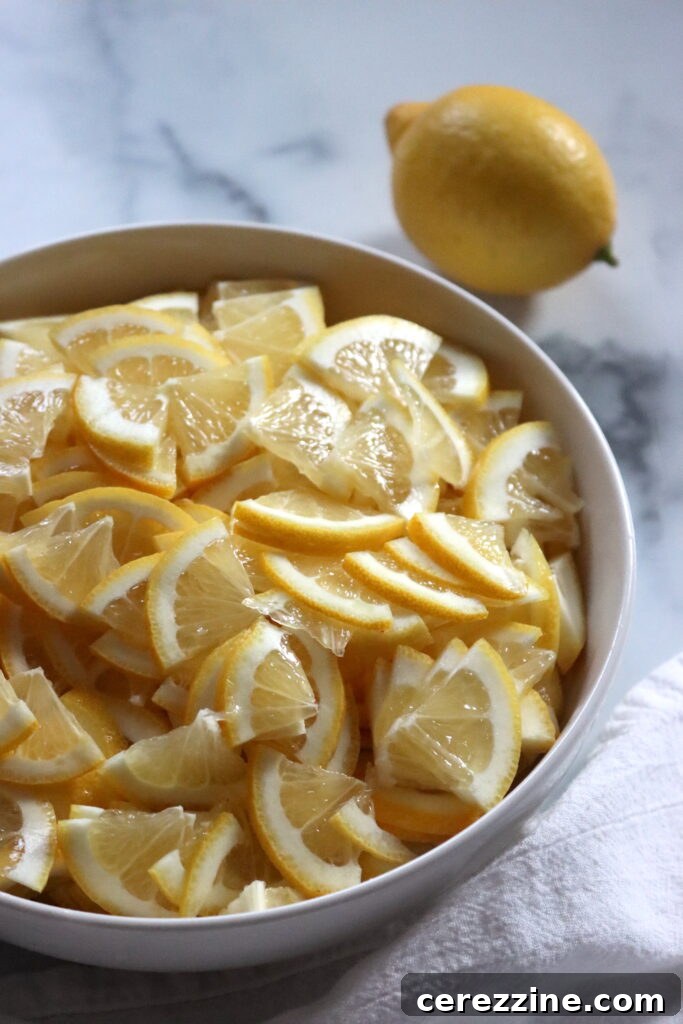
Day 1: The Foundation of Flavor and Texture
The first day of marmalade making is dedicated to preparing your citrus and initiating the crucial softening and pectin-extraction processes. This step is essential for both the texture of the peel and the depth of the final flavor.
Prepare the Fruit for Soaking
For this initial stage, you will work with approximately half of your total citrus—around 1 pound for a standard recipe. If your recipe incorporates lemons to balance sweeter citrus, it’s a good practice to use the lemons for this first day’s preparation, reserving the majority of your other citrus for the thinly sliced pieces that will be visible in your finished marmalade.
Begin by slicing the citrus into eighths. Crucially, leave the seeds intact. Citrus seeds contain a significant amount of pectin, which will be released during the soaking and cooking process, contributing to the marmalade’s natural set.
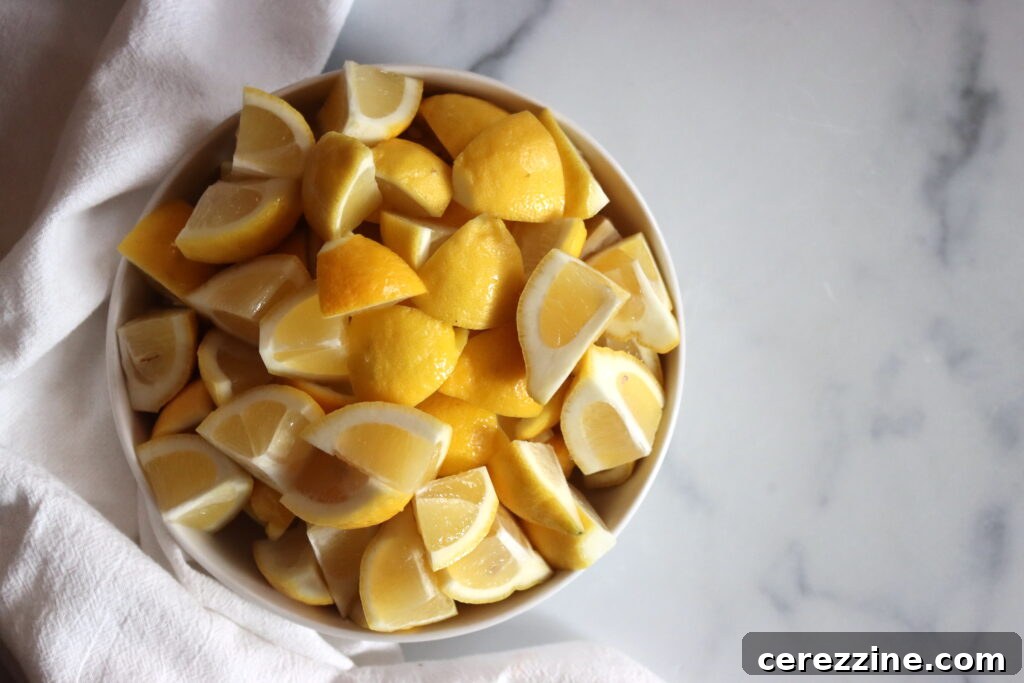
The Overnight Soak: Softening and Pectin Release
Transfer the sliced citrus, complete with its seeds, to a large, non-reactive saucepan. Pour in enough cold water to generously cover the fruit, ensuring the water level extends approximately 1 inch above the citrus pieces. Tightly cover the pot and allow the fruit to rest undisturbed at room temperature overnight.
This prolonged soak is a fundamental step. It initiates the softening of the tough citrus peel, making it tender and enjoyable to eat in the final product. More importantly, it begins the crucial process of releasing natural pectin from the fruit and its seeds into the soaking water. Pectin is the natural gelling agent that gives marmalade its characteristic set, and a good initial soak sets the stage for a beautifully firm preserve.
Day 2: Cooking and Further Pectin Development
Day two builds upon the foundation laid on day one, focusing on cooking the first batch of fruit to further soften the peel and extract even more flavor and pectin. It’s important to resist the urge to rush this process; the second overnight soak is key to fully developing the pectin needed for the marmalade’s perfect set.
Gentle Simmering: Unlocking Tenderness and Flavor
On the second day, bring the saucepan containing the soaked citrus and its liquid to a rolling boil over high heat. Once boiling, reduce the heat to a gentle simmer, cover the pot tightly, and allow the fruit to cook for 30 to 40 minutes, or until the citrus peel feels very tender when pierced. Throughout this simmering period, occasionally check the water level and add more as needed to ensure the fruit remains fully submerged. This slow cooking is vital for achieving the desired tenderness of the peel and for thoroughly extracting pectin and soluble solids from the fruit.
Draining and Preparing for the Final Stage
Once the fruit has softened and the cooking liquid has taken on a slightly syrupy consistency, remove the pan from the heat. Carefully strain the cooked citrus chunks, making sure to reserve all of the valuable cooking liquid. Allow the softened citrus chunks to drain thoroughly overnight. While these chunks drain, you’ll move on to preparing the visually appealing sliced fruit that will ultimately be suspended in your finished marmalade.
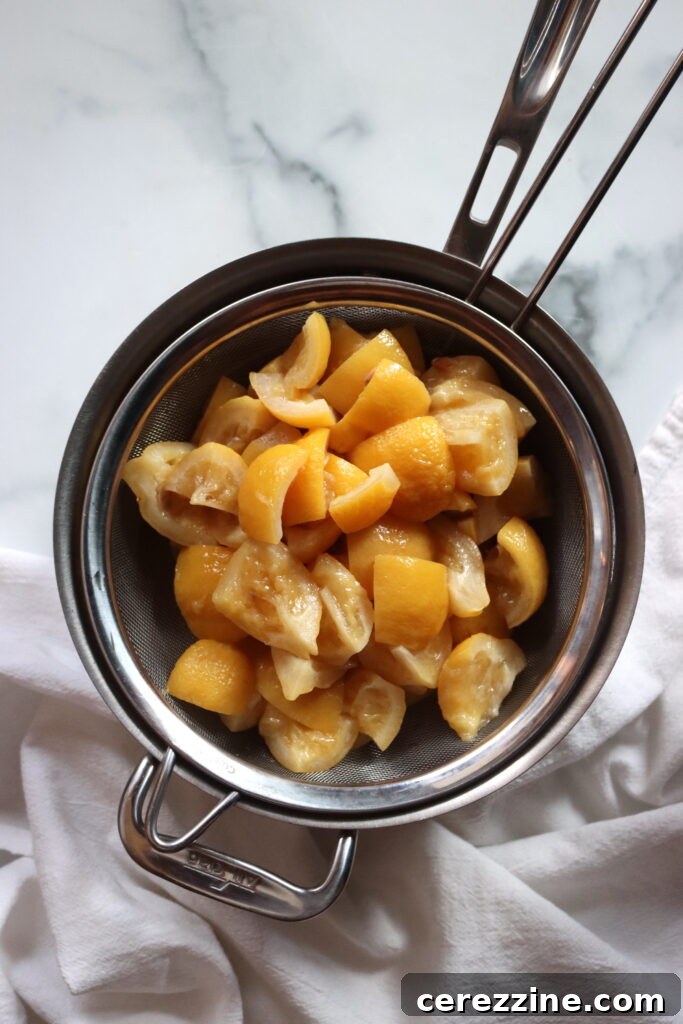
Prepare the Sliced Fruit: The Visual Heart of Your Marmalade
Now, it’s time to prepare the remaining citrus, which will form the attractive, translucent slices in your finished marmalade. These pieces require careful handling to ensure they are both tender and visually appealing.
First, take your reserved citrus fruits and slice each in half across the middle, orienting them so the stem and blossom ends are at the sides. From these halves, carefully pick out and discard any visible seeds. Next, slice each half into quarters, yielding a total of eight pieces from each fruit. Then, meticulously slice each of these eight pieces into very thin, uniform slices, ensuring the peel remains attached to the fruit. As you slice, continue to remove any seeds you encounter.
Place these thin citrus slices into a clean pot and add enough water to cover them completely. Bring the mixture to a boil on the stovetop and continue to boil for 5 minutes. After boiling, remove the pot from the heat. For intensely bitter citrus varieties, it is recommended to discard this cooking water, add fresh water, and repeat the 5-minute boil to further reduce bitterness. However, for sweeter citrus varieties, this second boil can be skipped.
Allow the citrus slices to cool naturally in their cooking liquid, then leave them to soak overnight. This final overnight soak is crucial; it ensures the slices become exceptionally tender and contributes to drawing out additional pectin, guaranteeing a marmalade with a perfect set and delightful texture.
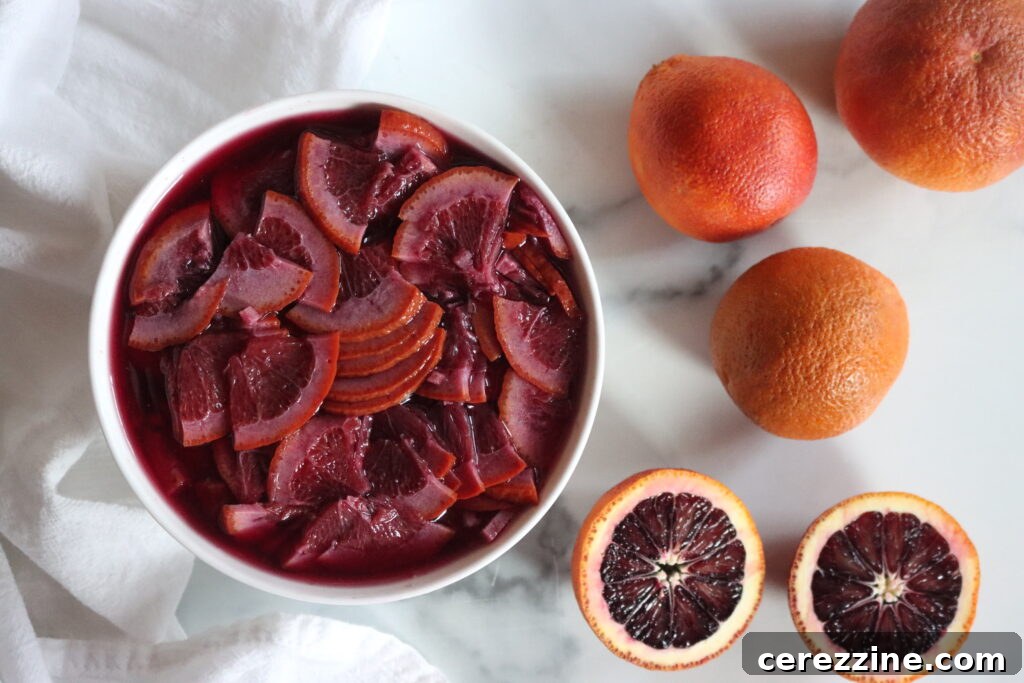
Day 3: The Grand Finale – Cooking and Jarring Your Marmalade
Day three is the culmination of your efforts, where the prepared fruit transforms into a shimmering, delicious preserve. This is when the sugar is added, and the marmalade is cooked to its perfect setting point before being carefully jarred.
Prepare for Finishing and Jarring
Before you begin the final cook, ensure you’re ready for the crucial ‘set’ test. Place three to five metal teaspoons or small saucers in your freezer; these will be used to quickly chill and test the marmalade’s consistency later. If you plan to can your marmalade for long-term storage, now is the time to prepare your water bath canner and sterilize your canning jars according to standard food preservation guidelines.
The Sugar Addition: Sweetness and Set
By now, your citrus slices will have rested overnight at room temperature in their cooking pot, having fully softened and released their pectin. It’s time to introduce the sugar. First, ensure you are using a sufficiently large pot or a wide preserving pan. The mixture of fruit, liquid, and sugar will foam considerably as it cooks, so ample headspace—the mixture coming up only about halfway up the sides of the pot—is essential to prevent boiling over.
Add the measured sugar to the pot. Stir gently but thoroughly to help dissolve the sugar, being careful not to break up the delicate citrus pieces. Once the sugar is mostly dissolved, bring the mixture to a rapid boil over high heat.
Cooking the Marmalade to Perfection
Maintain a rapid, rolling boil. The cooking time for marmalade can vary significantly, typically ranging from 30 minutes to an hour or more, depending on your stove’s heat, the pot’s width, and the fruit’s pectin content. Initially, the mixture will bubble gently, but as it thickens, it will begin to foam. Once foaming starts, stir gently every few minutes with a heatproof spatula to prevent scorching at the bottom. As the marmalade nears its setting point, increase your stirring frequency and slightly reduce the heat to prevent it from burning or sticking.
Testing the Set: The Crucial Step
Achieving the perfect set is critical for marmalade. There are several reliable methods to test for doneness:
Instant Read Thermometer: For a precise measurement, use an instant-read thermometer. Marmalade typically reaches its setting point at around 220°F (105°C) at sea level. Remember that boiling points decrease with altitude; subtract 1°F for every 500 feet of elevation. For instance, at 1,000 feet, the target set point would be approximately 218°F (103°C).
Cold Plate Test: This classic method uses the chilled saucers you prepared earlier. Drop a small spoonful of the hot marmalade onto a cold plate and let it sit for a few seconds to rapidly cool. Then, gently push your finger through the marmalade. If it wrinkles and doesn’t immediately run back together, it has reached its set. If it’s still liquid, continue boiling and retest every few minutes with a fresh cold plate.
Cold Spoon Test: Similar to the cold plate test, this method involves placing a small spoonful of hot marmalade onto one of the frozen teaspoons. Allow it to sit for 1 to 2 minutes, letting it cool thoroughly. Tilt the spoon; if the marmalade doesn’t run freely and has thickened to a jelly-like consistency, it’s done. If it remains runny, cook for a few more minutes and test again.
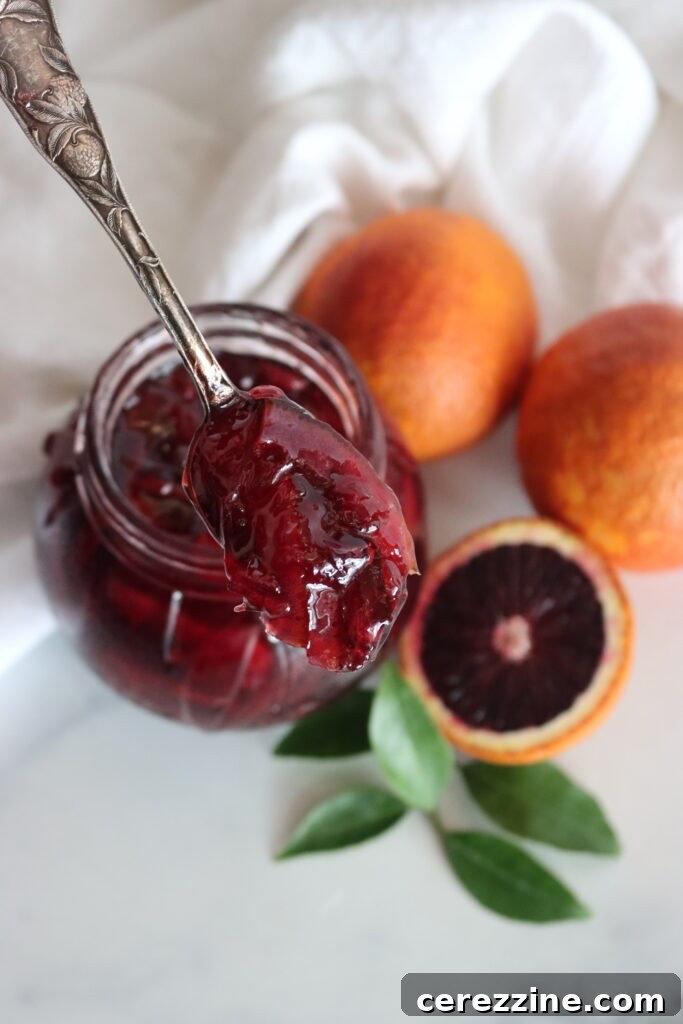
Jar the Marmalade: Preserving Your Creation
Once your marmalade has achieved the perfect consistency, immediately turn off the heat. Carefully ladle the hot marmalade into your prepared jars, leaving a consistent ¼ inch of headspace at the top. Wipe the jar rims clean, apply lids, and screw on the bands until finger-tight. You can then either allow the jars to cool for refrigerator storage and immediate use, or proceed with water bath canning for shelf-stable storage.
Canning Marmalade for Long-Term Storage
If you choose to can your marmalade, process the filled and sealed jars in a prepared water bath canner. Bring the canner to a boil and process for 10 minutes. For altitudes above 6,000 feet, increase processing time to 15 minutes. After processing, carefully remove the jars from the canner and place them on a clean towel on your counter, allowing them to cool undisturbed to room temperature for 12-24 hours. During this time, the seals will form.
Storing Your Homemade Marmalade
After the jars have fully cooled, check the seals by pressing down on the center of each lid; it should not flex. Store properly sealed jars in a cool, dark pantry, where they will maintain their peak quality for approximately 12 to 18 months. Any jars that did not seal, or those intended for immediate enjoyment, should be stored in the refrigerator. Always refrigerate marmalade after opening, regardless of whether it was canned or not.
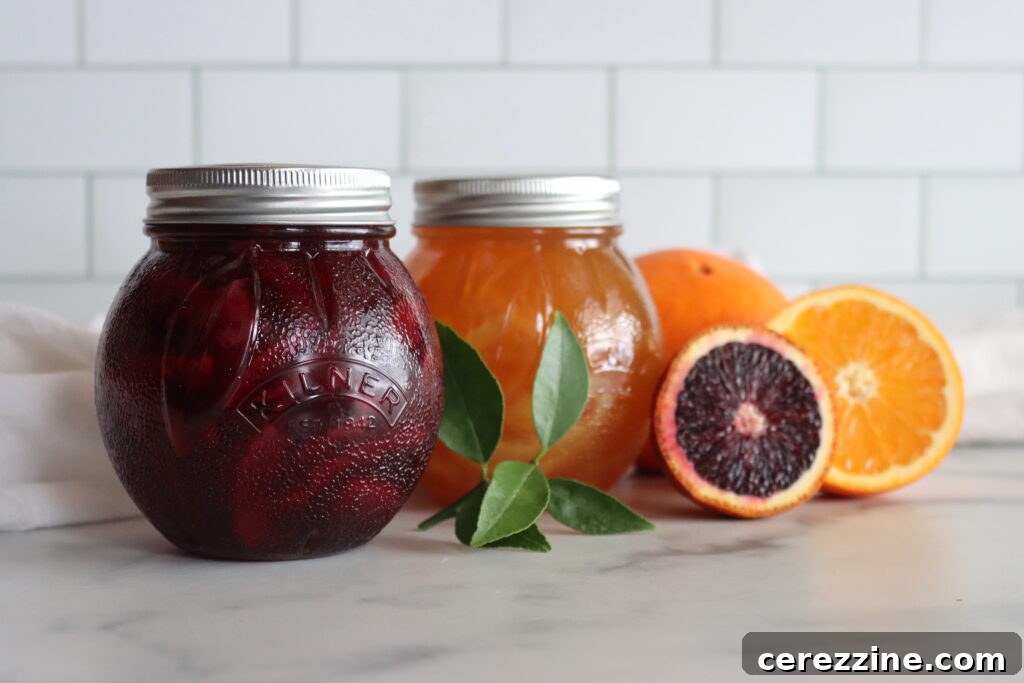
Expert Tips for Perfect Homemade Marmalade Every Time
Achieving marmalade perfection is a rewarding culinary endeavor. Keep these expert tips in mind to ensure your homemade preserve is always a triumph of flavor and texture:
- Don’t Skip the Set Test: This is perhaps the most crucial tip. Always test your marmalade for doneness before removing it from the heat and jarring. Marmalade can quickly transition from perfectly set to overly thick and chewy if cooked for even a few minutes too long. Regular testing near the end of the cooking process will guarantee that ideal, vibrant consistency.
- Strategic Stirring is Key: During the initial stages of cooking with sugar, allow the marmalade to bubble gently without constant stirring. This prevents the delicate fruit pieces from breaking down prematurely. Once the fruit has cooked with the sugar for a period and has begun to firm up, you can increase stirring frequency, especially as it thickens, without worrying about compromising the texture of the citrus shreds.
- Embrace Citrus Diversity: Don’t limit yourself to just one type of citrus! Experiment by mixing and matching different varieties like tart lemons, sweet navel oranges, and bitter grapefruits. This allows you to create unique flavor profiles tailored to your preference. Remember, sweeter citrus varieties, such as navel oranges, greatly benefit from the addition of more tart fruits like lemons, which not only balance the sweetness but also contribute vital pectin for a better set.
- Infuse with Exciting Variations: Elevate your marmalade with complementary flavor additions. A splash of vanilla extract or a hint of freshly grated ginger can transform classic orange marmalade. Consider a dash of rum or another spirit for an adult twist. For instance, pairing orange marmalade with a little vanilla extract or vanilla vodka can evoke the delightful, nostalgic taste of an orange creamsicle.
Troubleshooting Common Marmalade Challenges
Even seasoned canners can encounter minor hiccups when making marmalade. The most common issues typically revolve around texture, resulting in a preserve that is either too thin (not set) or too thick (overcooked). Don’t despair, as many of these problems can be remedied!
Fixing Runny Marmalade (No Set)
If your marmalade appears too runny after jarring, patience is key. Allow at least a full week for the pectin to fully set and firm up. If, after this waiting period, it remains too thin, you can reprocess it. To do so, open all the jars, pour the contents into a large pot, and bring it back to a boil. Continue cooking until it reaches 220°F (105°C) at sea level (adjust for altitude) or until it passes your chosen set test (cold plate or cold spoon). Once the desired set is achieved, re-can the marmalade into freshly sterilized jars.
When reboiling, you can also consider adding commercial pectin to ensure a proper set, especially if your initial fruit was low in natural pectin. Liquid pectin is often preferred for re-making marmalade, as it is added after the sugar and integrates smoothly without needing to dissolve in water.
Fixing Overcooked Marmalade (Too Thick)
Prevention is the best strategy for overcooked or excessively thick marmalade. Always use an accurate thermometer and perform set tests frequently as the marmalade approaches its target temperature (around 220°F/105°C). Removing it from the heat precisely at the right moment is crucial.
If you find yourself with an overly thick batch, you can salvage it. Gently transfer the mixture into a saucepan and slowly heat it, gradually adding small amounts of water until it reaches a consistency you desire. Bring it back to a gentle boil and re-can if necessary. Alternatively, if you plan to use it immediately, you can thin a small portion at a time with warm water as you serve it.
Explore a World of Marmalade Recipes
Once you’ve mastered the foundational art of making marmalade with any citrus, an exciting world of possibilities opens up! Your culinary creativity can truly flourish as you experiment with specific citrus varieties, each offering its own unique charm and flavor profile.
For a bright, intensely zesty spread, try Lemon Marmalade. If you prefer a sweeter, more aromatic twist, Meyer Lemon Marmalade is an exquisite choice. For those who crave a tangy, tropical kick, Lime Marmalade delivers vibrant freshness. Meanwhile, Grapefruit Marmalade offers a sophisticated bittersweet complexity that is truly distinctive. Of course, Orange Marmalade remains a timeless and beloved classic, while Blood Orange Marmalade creates a preserve that is both stunning visually and incredibly flavorful. Don’t overlook the unique tastes of Kumquat Marmalade and Buddha’s Hand Marmalade, which offer distinct methods and unparalleled aromatic experiences. And for those mindful of sugar intake, our Low Sugar Orange Marmalade (with pectin) provides a delicious and healthier option. With this versatile base recipe, you have the freedom to mix and match your favorite citrus fruits, creating an endless array of delicious and personalized marmalades to savor and share!

Marmalade (with any Citrus)
Equipment
-
Water Bath Canner
-
Half Pint Jars
-
Regular Mouth Canning Lids
-
Canning Funnel
-
Jar Lifter
Ingredients
- 2 lbs Citrus, Around 2 pounds of your chosen citrus, including lemons, oranges, grapefruits, or any citrus. If using sweet fruit like navel oranges, replace about 1/4 to 1/2 of the fruit with lemon slices for a balanced flavor.
- 2 lbs Sugar, or equal to the weight of fruit
- Water, To soak and boil the fruit
- 1/4 cup Fresh Lemon juice, 2 to 6 ounces (¼ to ¾ cup to help set the marmalade and add tartness)
Instructions
Day 1
-
Prep the Fruit: Use half the citrus (1 lb for this recipe). If using lemons for part of the fruit to balance sweet citrus, process them first and save most of the sweet citrus for the next step.
-
Slice the citrus into eighths, leaving in the seeds.
-
Soak the Fruit: Place the citrus pieces in a non-reactive saucepan and add enough cold water to cover by 1 inch.
-
Cover the pot and let it rest overnight at room temperature to soften the peel and start pectin release.
Day 2
-
Cook the Fruit: Bring the pot to a boil over high heat. Reduce to a simmer and cook, covered, for 30-40 minutes until tender. Ensure water levels remain high enough to submerge the fruit.
-
Drain the Citrus: Once softened, remove from heat and strain, reserving the liquid. Allow the citrus chunks to drain overnight.
-
Prepare the Sliced Fruit: Slice the remaining citrus thinly, removing seeds while keeping the peel attached.
-
Boil the Slices: Cover with water and bring to a boil. Boil for 5 minutes, then remove from heat. For bitter citrus, discard the water and repeat; for sweet citrus, skip the second boil.
-
Soak the Slices: Allow the citrus slices to cool in the cooking liquid and soak overnight to soften and release more pectin.
Day 3: Finishing the Marmalade
-
Prepare for Jarring: Place a saucer with 3-5 metal teaspoons in the freezer for testing. If canning, prepare a water bath canner and jars.
-
Add Sugar: Ensure the pot is large enough to prevent boiling over. Stir sugar into the citrus mixture carefully.
-
Cook the Marmalade: Bring to a rapid boil and cook until the setting point is reached (about 30-45 minutes). Stir gently as it foams.
-
Testing for Set
Instant Read Thermometer: Marmalade sets at 220°F at sea level, decreasing 1°F for every 500 feet in elevation.
Cold Plate Test: Place a spoonful on a chilled plate, wait a few seconds, and run your finger through it. If it wrinkles and holds shape, it’s ready.
Cold Spoon Test: Drop a spoonful on a frozen spoon and wait 1-2 minutes. If it holds its shape and thickens like jelly, it’s done.
-
Turn off heat and ladle into jars, leaving ¼ inch of headspace.
-
Canning (Optional): Process in a water bath canner for 10 minutes (or 15 minutes if above 6,000 feet).
-
Let jars cool to room temperature. Check seals and store sealed jars in the pantry for 12-18 months. Refrigerate after opening.
Notes
Sugar ratio: Sugar amount can be adjusted slightly based on personal preference and citrus sweetness. If you’d like to dramatically lower the sugar, you’ll need to use a low sugar pectin to get the marmalade to set.
Lemon juice: Fresh lemon juice is preferred over bottled for better flavor and pectin content. Some canning recipes specify bottled lemon juice, but that’s not required for marmalade with so much acidity already in the mix.
Nutrition
Nutrition information is automatically calculated, so should only be used as an approximation.