
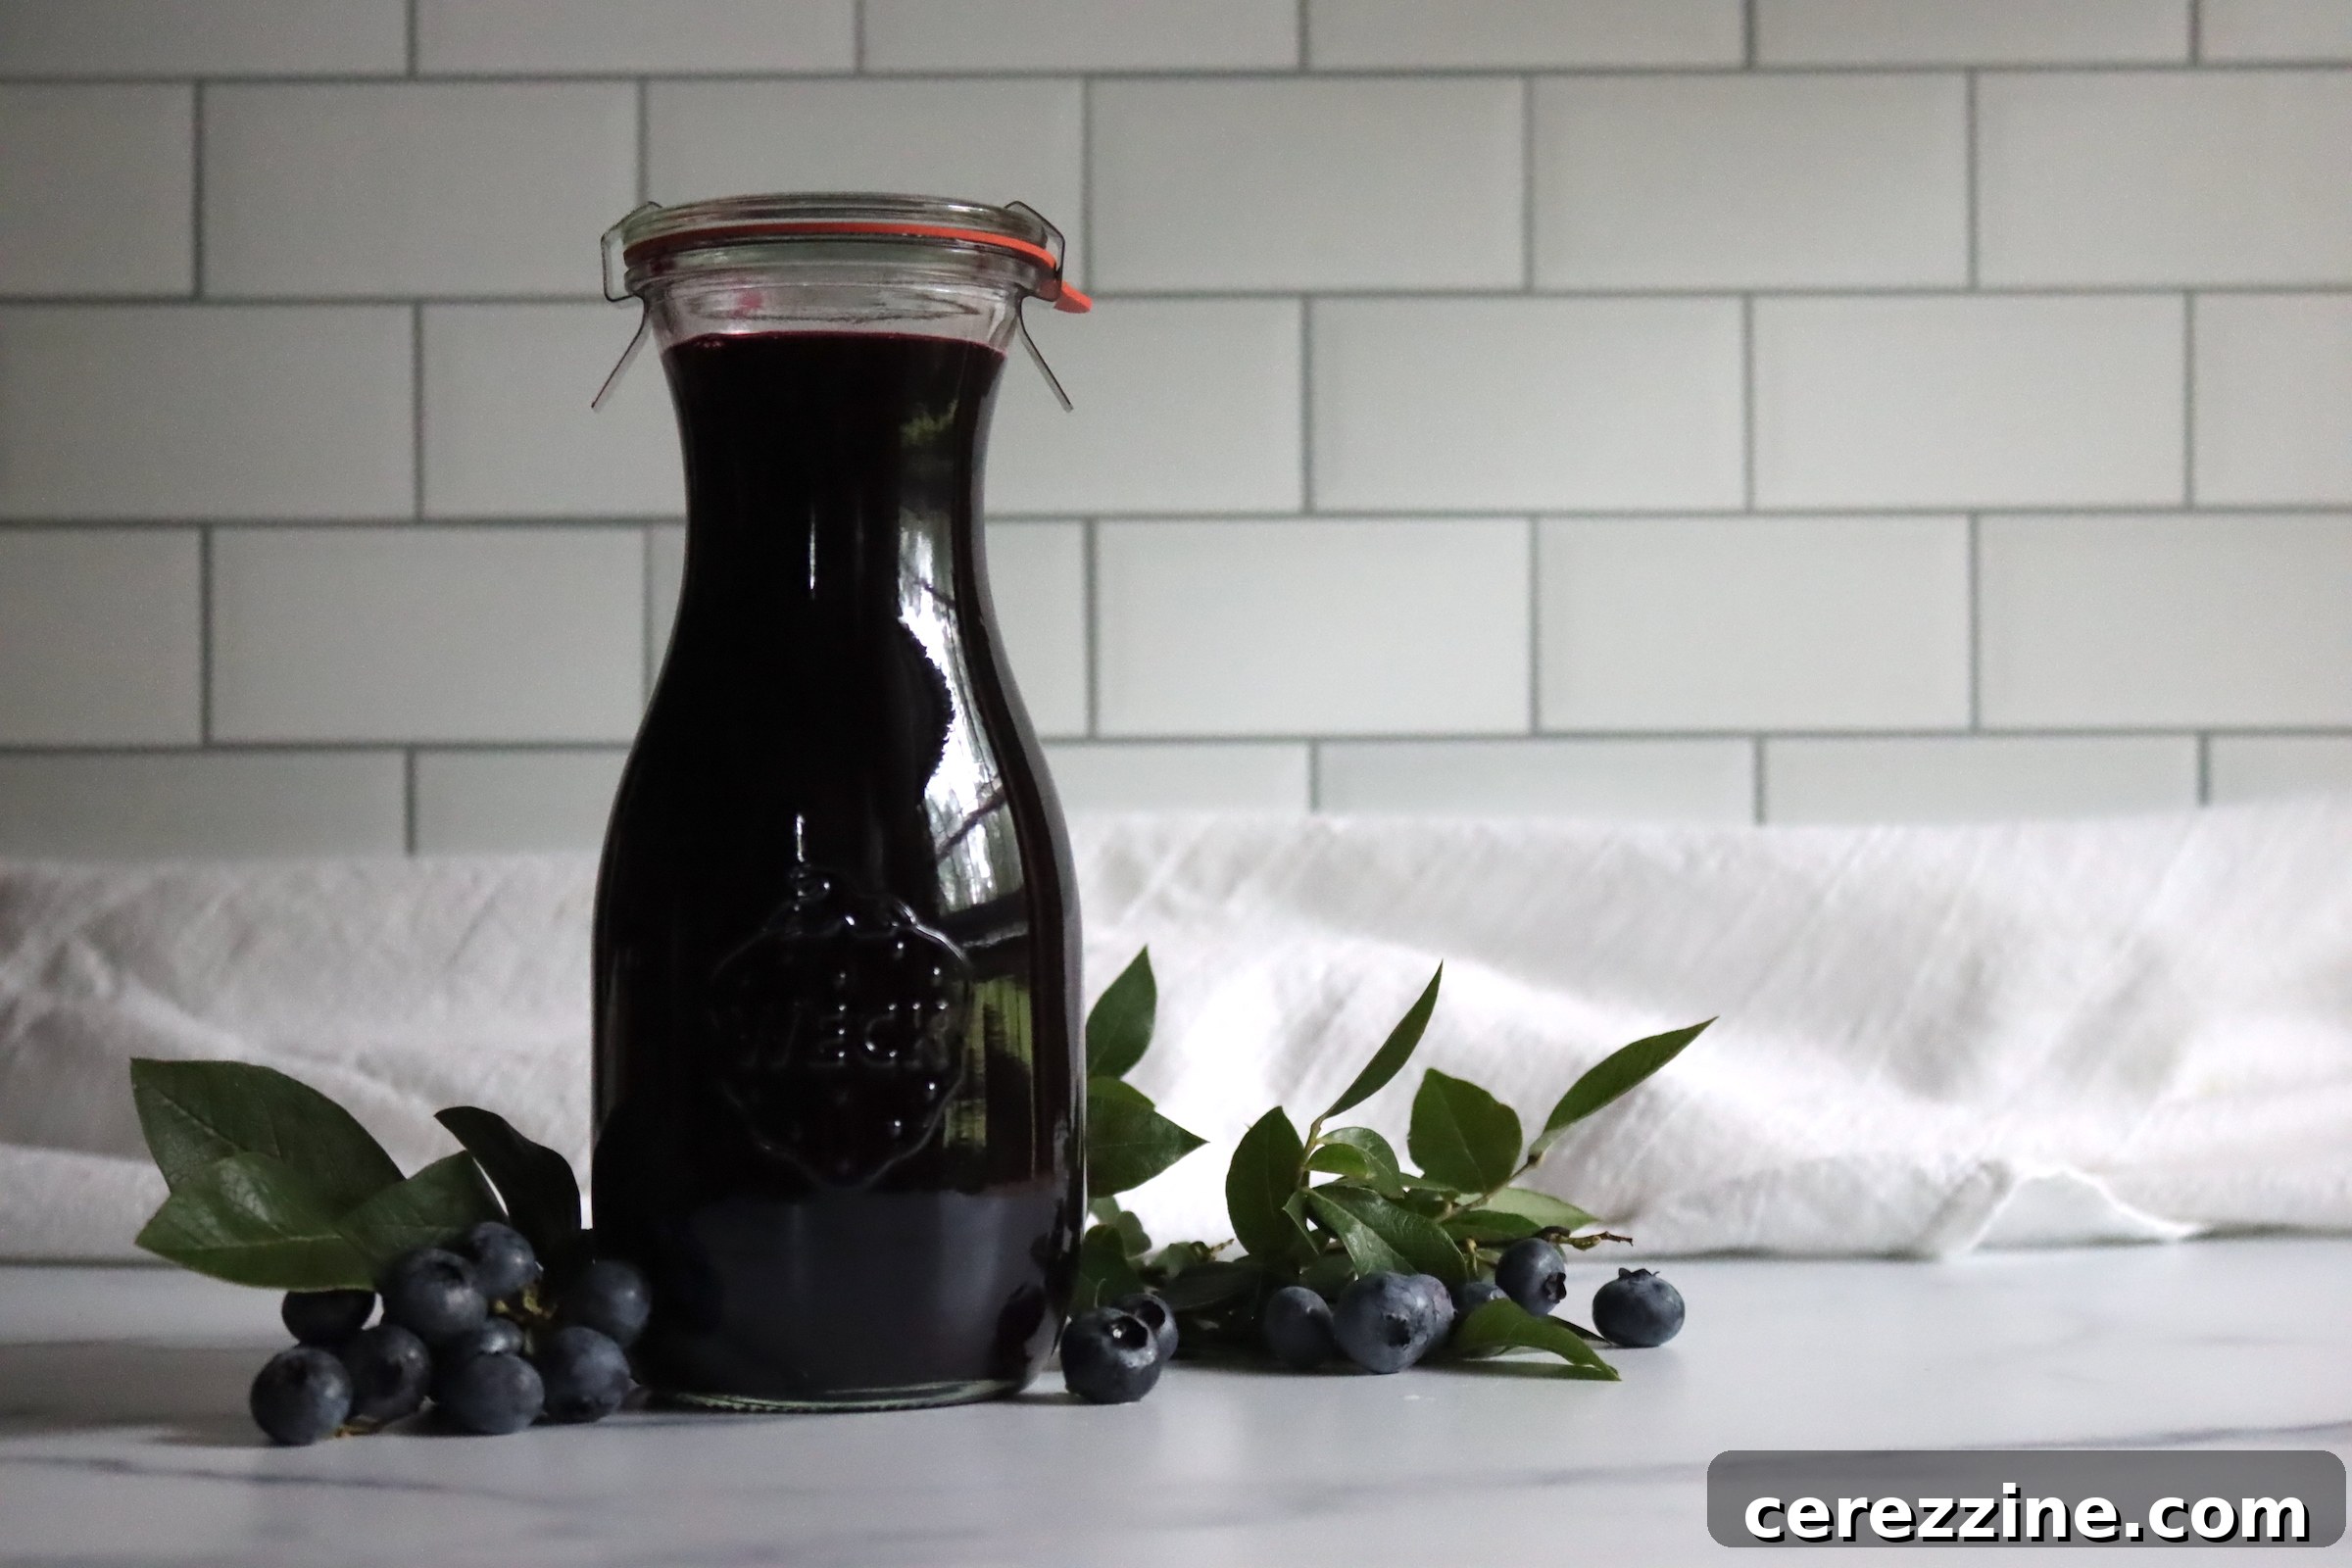
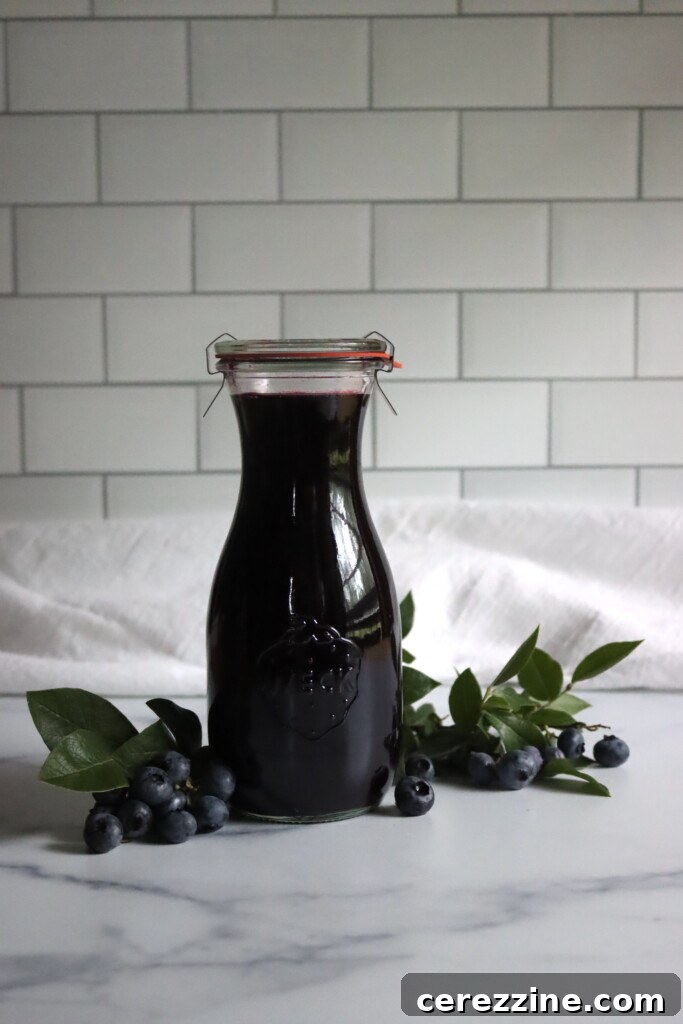
Unlock the vibrant essence of summer with homemade canned blueberry juice. This delightful method is not only one of the simplest ways to preserve a bountiful harvest of fresh blueberries, but it’s also incredibly space-efficient. Imagine capturing that rich, sweet flavor and deep purple hue in shelf-stable jars, ready to brighten your pantry and your day. Whether you crave a refreshing drink, a unique cocktail mixer, or a versatile ingredient for baking and jelly making, canned blueberry juice is a pantry staple you won’t regret preparing.
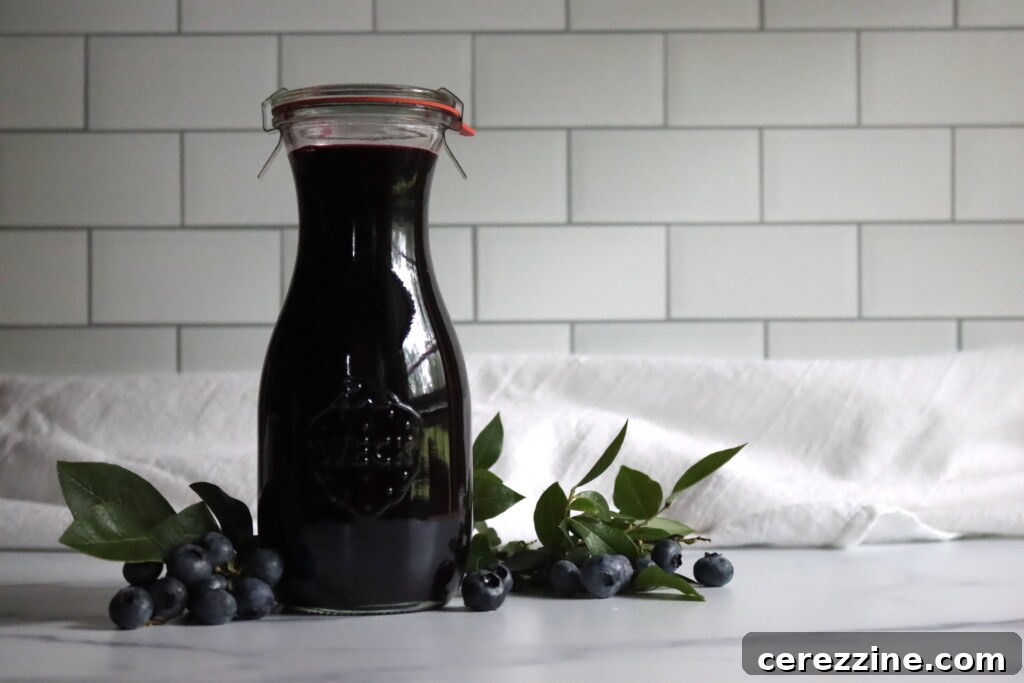
Why Can Blueberry Juice? The Smart Way to Preserve Your Harvest
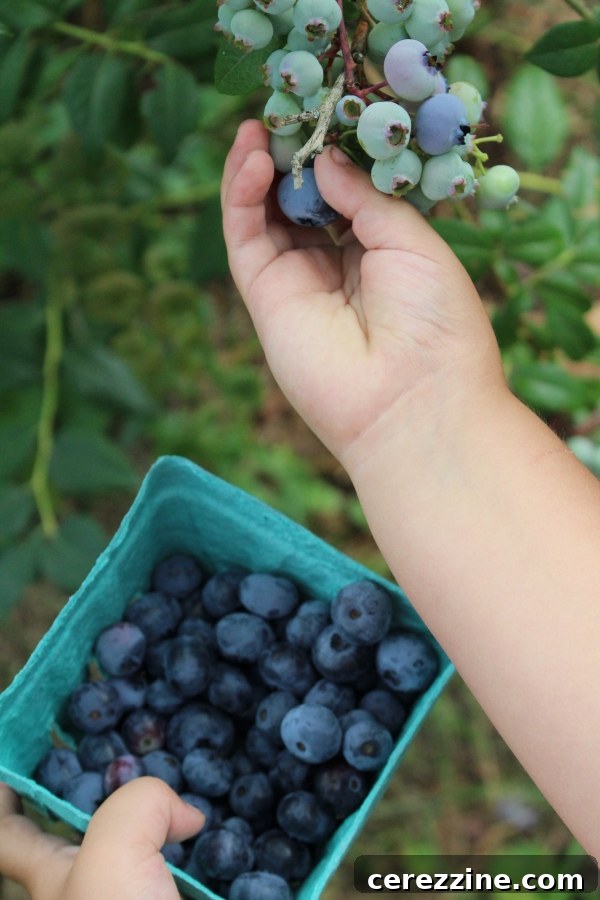
When blueberry bushes are bursting with fruit and the picking is fast, it’s easy to find yourself with more berries than you know what to do with. While freezing is a common choice, freezer space can quickly become a precious commodity, often limited by meats, garden vegetables, and other essentials. This is where canning blueberry juice truly shines.
Canning fresh blueberry juice offers a superior solution, consuming very little space in your pantry compared to bulky bags of whole frozen berries. Moreover, the process is surprisingly quick and straightforward. During the busy summer harvest season, when time is often at a premium, making blueberry juice allows you to efficiently put food by without dedicating an entire day to kitchen tasks. It’s an ideal method for ensuring you have a taste of summer long after the season ends, without the freezer Tetris game.
The Abundant Benefits of Homemade Blueberry Juice
Beyond its fantastic flavor, homemade blueberry juice offers a myriad of benefits that make it a worthwhile addition to your home pantry:
- Nutrient-Rich Goodness: Blueberries are celebrated for their high antioxidant content, particularly anthocyanins, which give them their distinctive blue color. They are also a good source of Vitamin C, Vitamin K, and manganese. Enjoying homemade juice means you’re getting these vital nutrients without any added artificial ingredients or excessive sugars often found in store-bought versions.
- Versatility in the Kitchen: Canned blueberry juice is incredibly versatile. Use it as a base for refreshing drinks, blend it into smoothies, create elegant cocktails or mocktails, or incorporate it into culinary creations like glazes for meats, sauces for desserts, or vibrant salad dressings. It’s also an excellent starter for homemade jellies, jams, and syrups.
- Space-Saving Preservation: As mentioned, jars of juice take up significantly less room than bags of frozen berries, making them perfect for those with limited freezer space.
- Year-Round Enjoyment: Canning allows you to savor the fresh taste of summer blueberries throughout the year, bringing a burst of sunshine to cold winter months.
- Cost-Effective: If you have access to an abundance of fresh blueberries, making your own juice can be more economical than buying specialty juices from the store.
- Customizable Sweetness: You have complete control over the sugar content. You can make it unsweetened for maximum versatility, or add natural sweeteners like honey or maple syrup to taste.
Mastering Blueberry Juice Extraction
Extracting juice from blueberries is a straightforward process, with a couple of primary methods depending on your equipment and batch size. Both the stovetop method and using a steam juicer yield delicious results. Whichever path you choose, start by thoroughly washing your blueberries and meticulously removing any stems, leaves, or spoiled berries to ensure the best flavor and quality.
Stovetop Method: Simple and Accessible
The stovetop method is perfect for home canners who might not have specialized equipment. It’s effective and requires only basic kitchen tools:
- **Preparation:** After washing, place your clean blueberries in a large, non-reactive saucepan.
- **Adding Water:** Add approximately ½ cup of water per quart of fruit. This small amount of water is crucial to prevent the berries from scorching at the bottom of the pan as they begin to heat up and release their own juices.
- **Simmering and Mashing:** Bring the berries to a gentle simmer over medium-low heat. Cook for 5 to 10 minutes, or until the berries have softened considerably. As they cook, use a potato masher or a sturdy spoon to gently mash the berries. This helps to break down their cell walls, releasing more juice and intensifying the flavor.
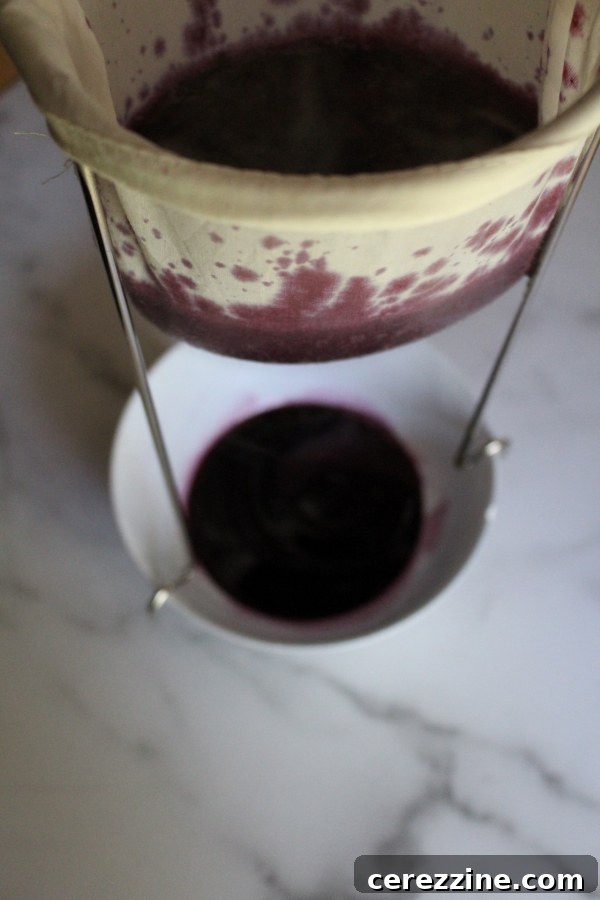
- **Straining for Clarity:** Once the berries have fully broken down into a pulpy mixture, it’s time to strain the juice. Carefully pour the hot berry mixture into a jelly bag, or a fine-mesh strainer generously lined with two to three layers of damp cheesecloth.
- **Patience for Clear Juice:** Allow the juice to drip through slowly and naturally. For the clearest juice, resist the urge to squeeze the bag or press the pulp. Squeezing can force small pulp particles through the strainer, resulting in cloudy juice. Let gravity do its work for several hours, or even overnight, for optimal clarity.
Steam Juicer Method: Efficiency for Larger Batches
If you’re dealing with a large harvest or prefer a more hands-off approach with less mess, a steam juicer is an excellent investment. This specialized equipment uses steam to gently extract juice, often yielding more juice with less effort and a clearer product.
- **Setup:** Fill the bottom pot of your steam juicer with water according to the manufacturer’s instructions.
- **Berry Placement:** Place the clean blueberries (no water needed) in the top perforated basket.
- **Steam and Collect:** Bring the water in the bottom pot to a boil. The steam will rise, gently heating the berries and causing them to release their juice. The juice collects in the middle pot, which typically has a spigot for easy drainage.
- **Continuous Extraction:** Allow the juicer to steam for 1 to 2 hours, or until the berries have given up most of their juice. You can drain the juice periodically throughout the process or wait until the end.
Expert Tip for Maximizing Juice Yield: Freezing your blueberries before juicing is a fantastic trick to significantly increase juice yield. The freezing process naturally breaks down the cell walls of the fruit, making it easier for the juice to be released during simmering or steaming. Simply rinse and freeze your berries in a single layer, then transfer them to freezer bags. When you’re ready to make juice, use them directly from frozen.
How Many Blueberries Do You Need for Juice?
Blueberries are one of the more variable fruits when it comes to juice yield, as factors like berry variety, ripeness, and even growing conditions can influence how much liquid they contain. Generally, you can expect to need approximately 2 to 3 cups of fresh blueberries to yield 1 cup of juice. For larger batches, scale up accordingly:
- For 1 pint (2 cups) of juice, aim for 4 to 6 cups of berries.
- For 1 quart (4 cups) of juice, you’ll need 8 to 12 cups of berries.
Using a steam juicer will often result in a slightly better yield due to the continuous, gentle extraction process, and it definitely minimizes mess, especially beneficial for substantial harvests.
Canning Blueberry Juice: Step-by-Step Water Bath Method
Once your rich blueberry juice has been successfully extracted and strained, the next crucial step is preserving it for long-term enjoyment. The following instructions outline a tested and reliable method for water bath canning blueberry juice, ensuring safety and quality, often derived from trusted sources like The Ball Complete Book of Home Preserving.
Essential Equipment Checklist:
- Water bath canner with a rack
- Canning jars (pint or quart size) with new lids and bands
- Jar lifter
- Canning funnel
- Headspace measuring tool
- Bubble remover (non-metallic utensil)
- Large saucepan for heating juice
Canning Process:
- Pre-Heat the Juice: Transfer your strained blueberry juice to a clean saucepan. Gently heat the juice to a temperature of about 190°F (88°C). It’s important not to let it come to a rolling boil at this stage. Hold the juice at this temperature for 5 minutes. This pre-heating step helps to prevent siphoning and aids in a good seal.
- Sweetening (Optional): If you desire a sweeter juice, this is the time to add sugar. A general guideline is about 1 to 2 tablespoons of sugar per cup of juice, but this is entirely optional and can be adjusted to your personal taste. Stir until the sugar is fully dissolved. Many prefer to skip the sugar at this stage and sweeten the juice when ready to use, offering greater flexibility.
- Prepare Canner and Jars: While the juice is heating, prepare your water bath canner. Fill it with water and bring it to a simmer (around 180°F or 82°C). Ensure your canning jars are clean and hot. You can keep them hot in the simmering canner water or a hot dishwasher cycle. Also, prepare your new canning lids according to manufacturer instructions (often simply washing and keeping them warm, but check your specific lid brand).
- Fill Jars: Using a canning funnel and a ladle, carefully pour the hot blueberry juice into your hot, clean jars. Leave precisely ¼ inch of headspace (the space between the top of the juice and the rim of the jar). This headspace is critical for proper sealing.
- Clean Rims and Seal: Using a clean, damp cloth, wipe the rims of the jars to remove any spills or sticky residue. This ensures a clean surface for the lid to seal. Place a prepared lid onto each jar, then screw on the metal bands finger-tight. Do not overtighten, as air needs to escape during processing.
- Process in Water Bath: Carefully place the filled jars onto the rack in your simmering water bath canner, ensuring they are fully submerged by at least 1 inch of water. Bring the water to a full, rolling boil.
- Processing Times: Once the water reaches a rolling boil, begin timing. Process pints or quarts for 15 minutes. If you are canning at an elevation above 6,000 feet, you will need to adjust the processing time to 20 minutes to ensure safety.
- Cool Down: When the processing time is complete, turn off the heat and remove the canner lid. Let the jars rest in the hot water for an additional 5 minutes. This helps to stabilize the temperature inside the jars and prevents siphoning (liquid loss from the jars).
- Remove and Cool: Using a jar lifter, carefully remove the jars from the canner and place them on a clean towel on your countertop, away from drafts. Allow them to cool undisturbed for 12 to 24 hours. You’ll likely hear the satisfying “ping” sound as the lids seal.
- Check Seals and Store: After cooling, check all jar seals. Press the center of each lid; if it doesn’t flex, the jar is sealed. Any jars that haven’t sealed properly can be refrigerated and used within a few weeks. Properly sealed jars should be labeled with the date and stored in a cool, dark pantry for 12 to 18 months.
Don’t Waste a Drop: What to Do with the Blueberry Pulp?
After you’ve meticulously extracted your delicious blueberry juice, don’t be so quick to discard the leftover pulp! This fibrous byproduct still holds a wealth of flavor and nutrients, making it perfect for a “second life” in your kitchen. Turning pulp into another preserve is a smart, no-waste approach that maximizes your fruit harvest.
One of the most popular and satisfying uses for leftover blueberry pulp is to create a rich Blueberry Butter. Many canning experts, including those at Ball Canning, advocate for this resourceful method. The process involves taking the remaining pulp after juicing and transforming it into a thick, spreadable fruit butter.
Typically, to make blueberry butter from pulp:
- Measure Pulp: Measure out your leftover blueberry pulp.
- Add Sweetener and Acid: For every cup of pulp, stir in about ½ cup of sugar and 1 teaspoon of lemon juice. The sugar adds sweetness and helps with preservation, while the lemon juice provides essential acidity for balance and safety.
- Cook Down: Transfer the mixture to a saucepan and simmer it over low heat. Stir frequently to prevent sticking and scorching, as the pulp is denser than fresh fruit. Continue to cook until the mixture thickens significantly and achieves a spreadable consistency, similar to apple butter. This process can take anywhere from 30 to 60 minutes, depending on the initial moisture content of your pulp.
- Can (Optional): For shelf-stable blueberry butter, ladle the hot butter into clean, hot half-pint or pint jars, leaving ¼ inch headspace. Wipe rims, apply lids and bands finger-tight, and process in a boiling water bath canner for 10 minutes (adjusting for altitude as needed).
The resulting blueberry butter is a concentrated, intensely flavored fruit spread that pairs wonderfully with toast, biscuits, pancakes, or yogurt. It’s an incredibly rewarding way to ensure no part of your precious blueberry harvest goes to waste, giving you two delicious preserves from a single batch of fruit.
Other ideas for blueberry pulp include adding it to baked goods like muffins, quick breads, or oatmeal, or simply composting it to enrich your garden soil.
★
★
★
★
4
servings, or 1 pint
Canned Blueberry Juice Recipe
15
15
1
1
30
Equipment
-
Water Bath Canner
-
Jelly Strainer with Bag
-
Large Non-Reactive Saucepan
-
Potato Masher
-
Canning Jars (Pint or Quart) with Lids and Bands
-
Jar Lifter, Canning Funnel, Headspace Tool
Ingredients
-
4
cups
blueberries,
or up to 6 cups for 1 pint of juice (see notes) -
1/2
cup
water -
2 to 4
Tbsp
sugar,
optional, to taste
Instructions
-
1. Prepare the Blueberries: Rinse the blueberries thoroughly and remove any stems, leaves, or spoiled fruit. Place them in a large non-reactive saucepan with ¼ cup water.
-
2. Extract the Juice: Simmer the berries gently over medium-low heat for 5–10 minutes, mashing occasionally with a potato masher until they’ve released their juice and softened completely.
-
3. Strain the Juice: Pour the hot mixture through a jelly bag or a fine-mesh strainer lined with damp cheesecloth. Allow the juice to drip through slowly until fully strained—this may take 30–60 minutes for a small batch. Do not press the pulp if you desire clearer juice.
-
4. Heat the Juice: Transfer the strained juice to a clean saucepan. Heat the juice to 190°F (just below boiling) and maintain this temperature for 5 minutes. If using, stir in sugar until fully dissolved.
-
5. Prepare for Canning: While the juice is heating, prepare your water bath canner and keep clean canning jars hot in the canner or a separate pot of hot water. Prepare new lids according to manufacturer directions.
-
6. Fill the Jars: Ladle the hot juice into the hot jars, leaving exactly ¼ inch headspace. Remove any air bubbles with a non-metallic utensil. Wipe the jar rims clean, apply prepared lids, and screw on bands finger-tight.
-
7. Process the Jars: Carefully place the filled jars onto the rack in the boiling water bath canner, ensuring they are covered by at least 1 inch of water. Bring the water to a rolling boil and process for 15 minutes. (For elevations above 6,000 ft, process for 20 minutes). These times apply to half-pints, pints, and quarts.
-
8. Cool and Store: Turn off the heat and let the jars rest in the canner for 5 minutes before removing them. Carefully transfer jars to a towel-lined surface to cool undisturbed for 12–24 hours. Check seals, label, and store properly sealed jars in a cool, dark pantry.
Notes
- 1 cup juice: 2 to 3 cups berries
- 1 pint juice: 4 to 6 cups berries
- 1 quart juice: 8 to 12 cups berries
Sweetening: Adding sugar is entirely optional. For average sweetness, use 1–2 Tbsp sugar per cup of juice. You can also use other sweeteners like honey or maple syrup, adjusting to taste. For maximum versatility, can the juice unsweetened and sweeten individual servings later.
Tools: A steam juicer can significantly improve juice yield and reduce mess, making it a valuable tool for processing larger blueberry harvests.
Storage: Properly sealed jars will keep well in a cool, dark pantry for up to 18 months. Once opened, refrigerate any unused juice and consume within 1-2 weeks.
Using Blueberry Pulp
Don’t let the blueberry pulp go to waste—there’s still plenty of flavor left even after juicing. One of the best ways to use it is to make Blueberry Butter, which makes use of the pulp after you’ve extracted the juice.
To make blueberry butter, measure the leftover pulp and add ½ cup of sugar and 1 tsp of lemon juice per cup of pulp. Simmer the mixture over low heat, stirring often to prevent scorching, until thickened and spreadable. This may take 30–60 minutes depending on moisture content. Ladle the hot butter into jars, leaving ¼ inch headspace, and water bath can for 10 minutes (adjust for altitude if needed).
The result is a rich, concentrated fruit spread that pairs beautifully with toast, biscuits, or yogurt—and it’s a great way to get a second delicious preserve out of the same batch of berries.
Nutrition
,
Carbohydrates: 27g
,
Protein: 1g
,
Fat: 1g
,
Saturated Fat: 0.04g
,
Polyunsaturated Fat: 0.2g
,
Monounsaturated Fat: 0.1g
,
Sodium: 3mg
,
Potassium: 114mg
,
Fiber: 4g
,
Sugar: 21g
,
Vitamin A: 80IU
,
Vitamin C: 14mg
,
Calcium: 10mg
,
Iron: 0.4mg
Nutrition information is automatically calculated, so should only be used as an approximation.
Frequently Asked Questions about Canning Blueberry Juice
Q: Can I use frozen blueberries to make juice for canning?
A: Absolutely! In fact, using frozen blueberries is often recommended. The freezing process helps to break down the cell walls of the fruit, which can result in a higher juice yield. You can use them directly from frozen; just add them to the saucepan or steam juicer as you would fresh berries.
Q: Why is my blueberry juice cloudy?
A: Cloudy juice typically occurs if the fruit pulp is pressed too hard during the straining process. For crystal-clear juice, it’s best to let the juice drip naturally through a jelly bag or cheesecloth-lined strainer without squeezing the pulp. While clear juice is often preferred for aesthetic reasons, cloudy juice is perfectly fine to consume and retains all the flavor and nutrients.
Q: Do I need to add sugar to my blueberry juice before canning?
A: No, adding sugar is entirely optional. Blueberries are naturally acidic, making them safe for water bath canning without added sugar. Canning unsweetened juice gives you more flexibility later on, as you can sweeten it to taste when serving, or use it in recipes where sugar is already present.
Q: Can I use a pressure canner for blueberry juice?
A: No, a pressure canner is not necessary for blueberry juice. Blueberries are high-acid fruits, which means they can be safely preserved using the boiling water bath canning method. Pressure canning is reserved for low-acid foods like most vegetables and meats. Using a pressure canner for high-acid foods is unnecessary and can result in an overcooked product.
Q: How can I ensure my jars seal properly?
A: To ensure a good seal:
- Use clean, hot jars and new, prepared lids.
- Fill jars with the appropriate headspace (¼ inch for juice).
- Wipe jar rims thoroughly to remove any food particles.
- Apply bands finger-tight (not too loose, not too tight).
- Ensure the jars are fully submerged in boiling water throughout the processing time.
- Allow jars to cool undisturbed for 12-24 hours.
If a jar doesn’t seal, refrigerate it and consume its contents within a few weeks.
Embrace the Sweet Rewards of Canning Blueberry Juice
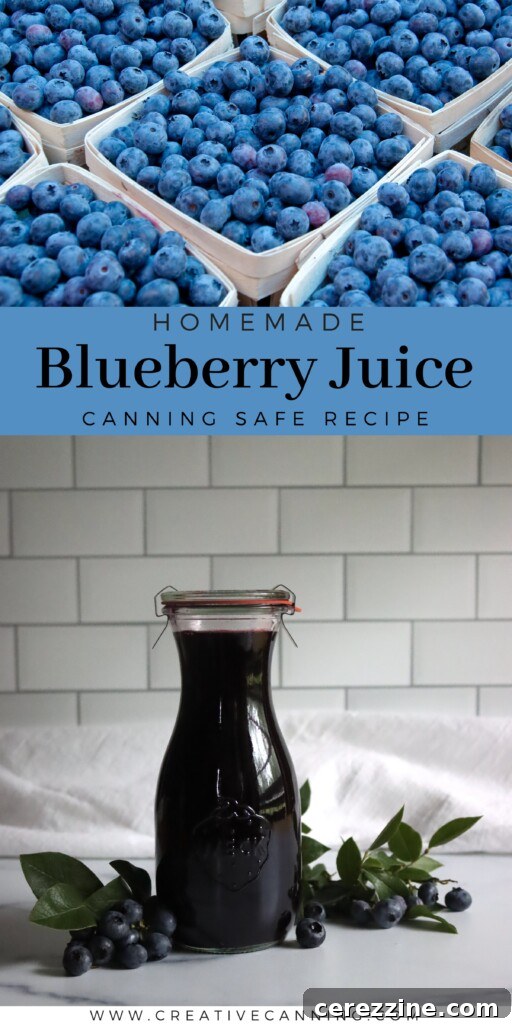
Canning blueberry juice is a rewarding and practical way to make the most of summer’s bounty. From its rich flavor and vibrant color to its impressive versatility and health benefits, homemade blueberry juice is a fantastic addition to any pantry. Whether you’re a seasoned canner or just starting your preserving journey, this method offers a simple, space-efficient, and delicious way to enjoy the taste of fresh blueberries all year long. So, gather your berries, prepare your jars, and get ready to savor the sweet rewards of your labor!