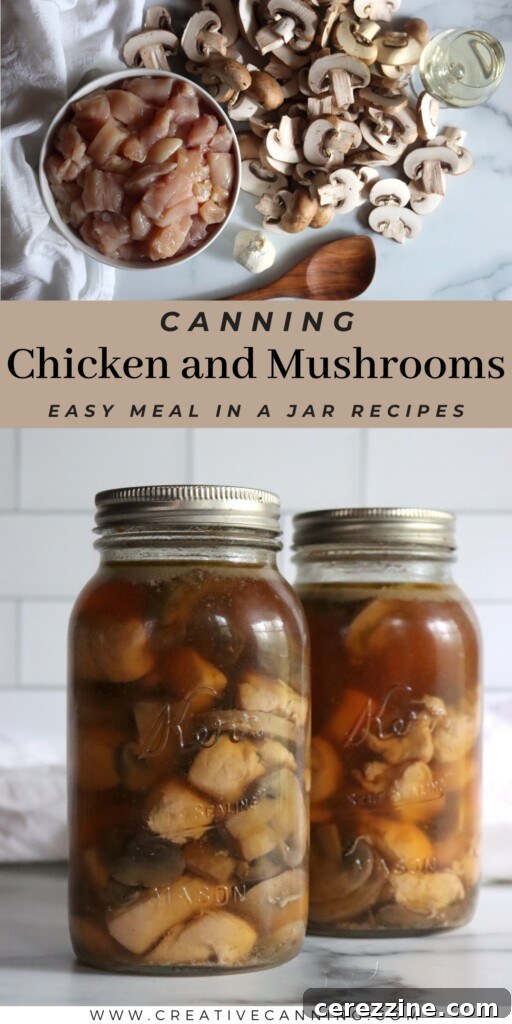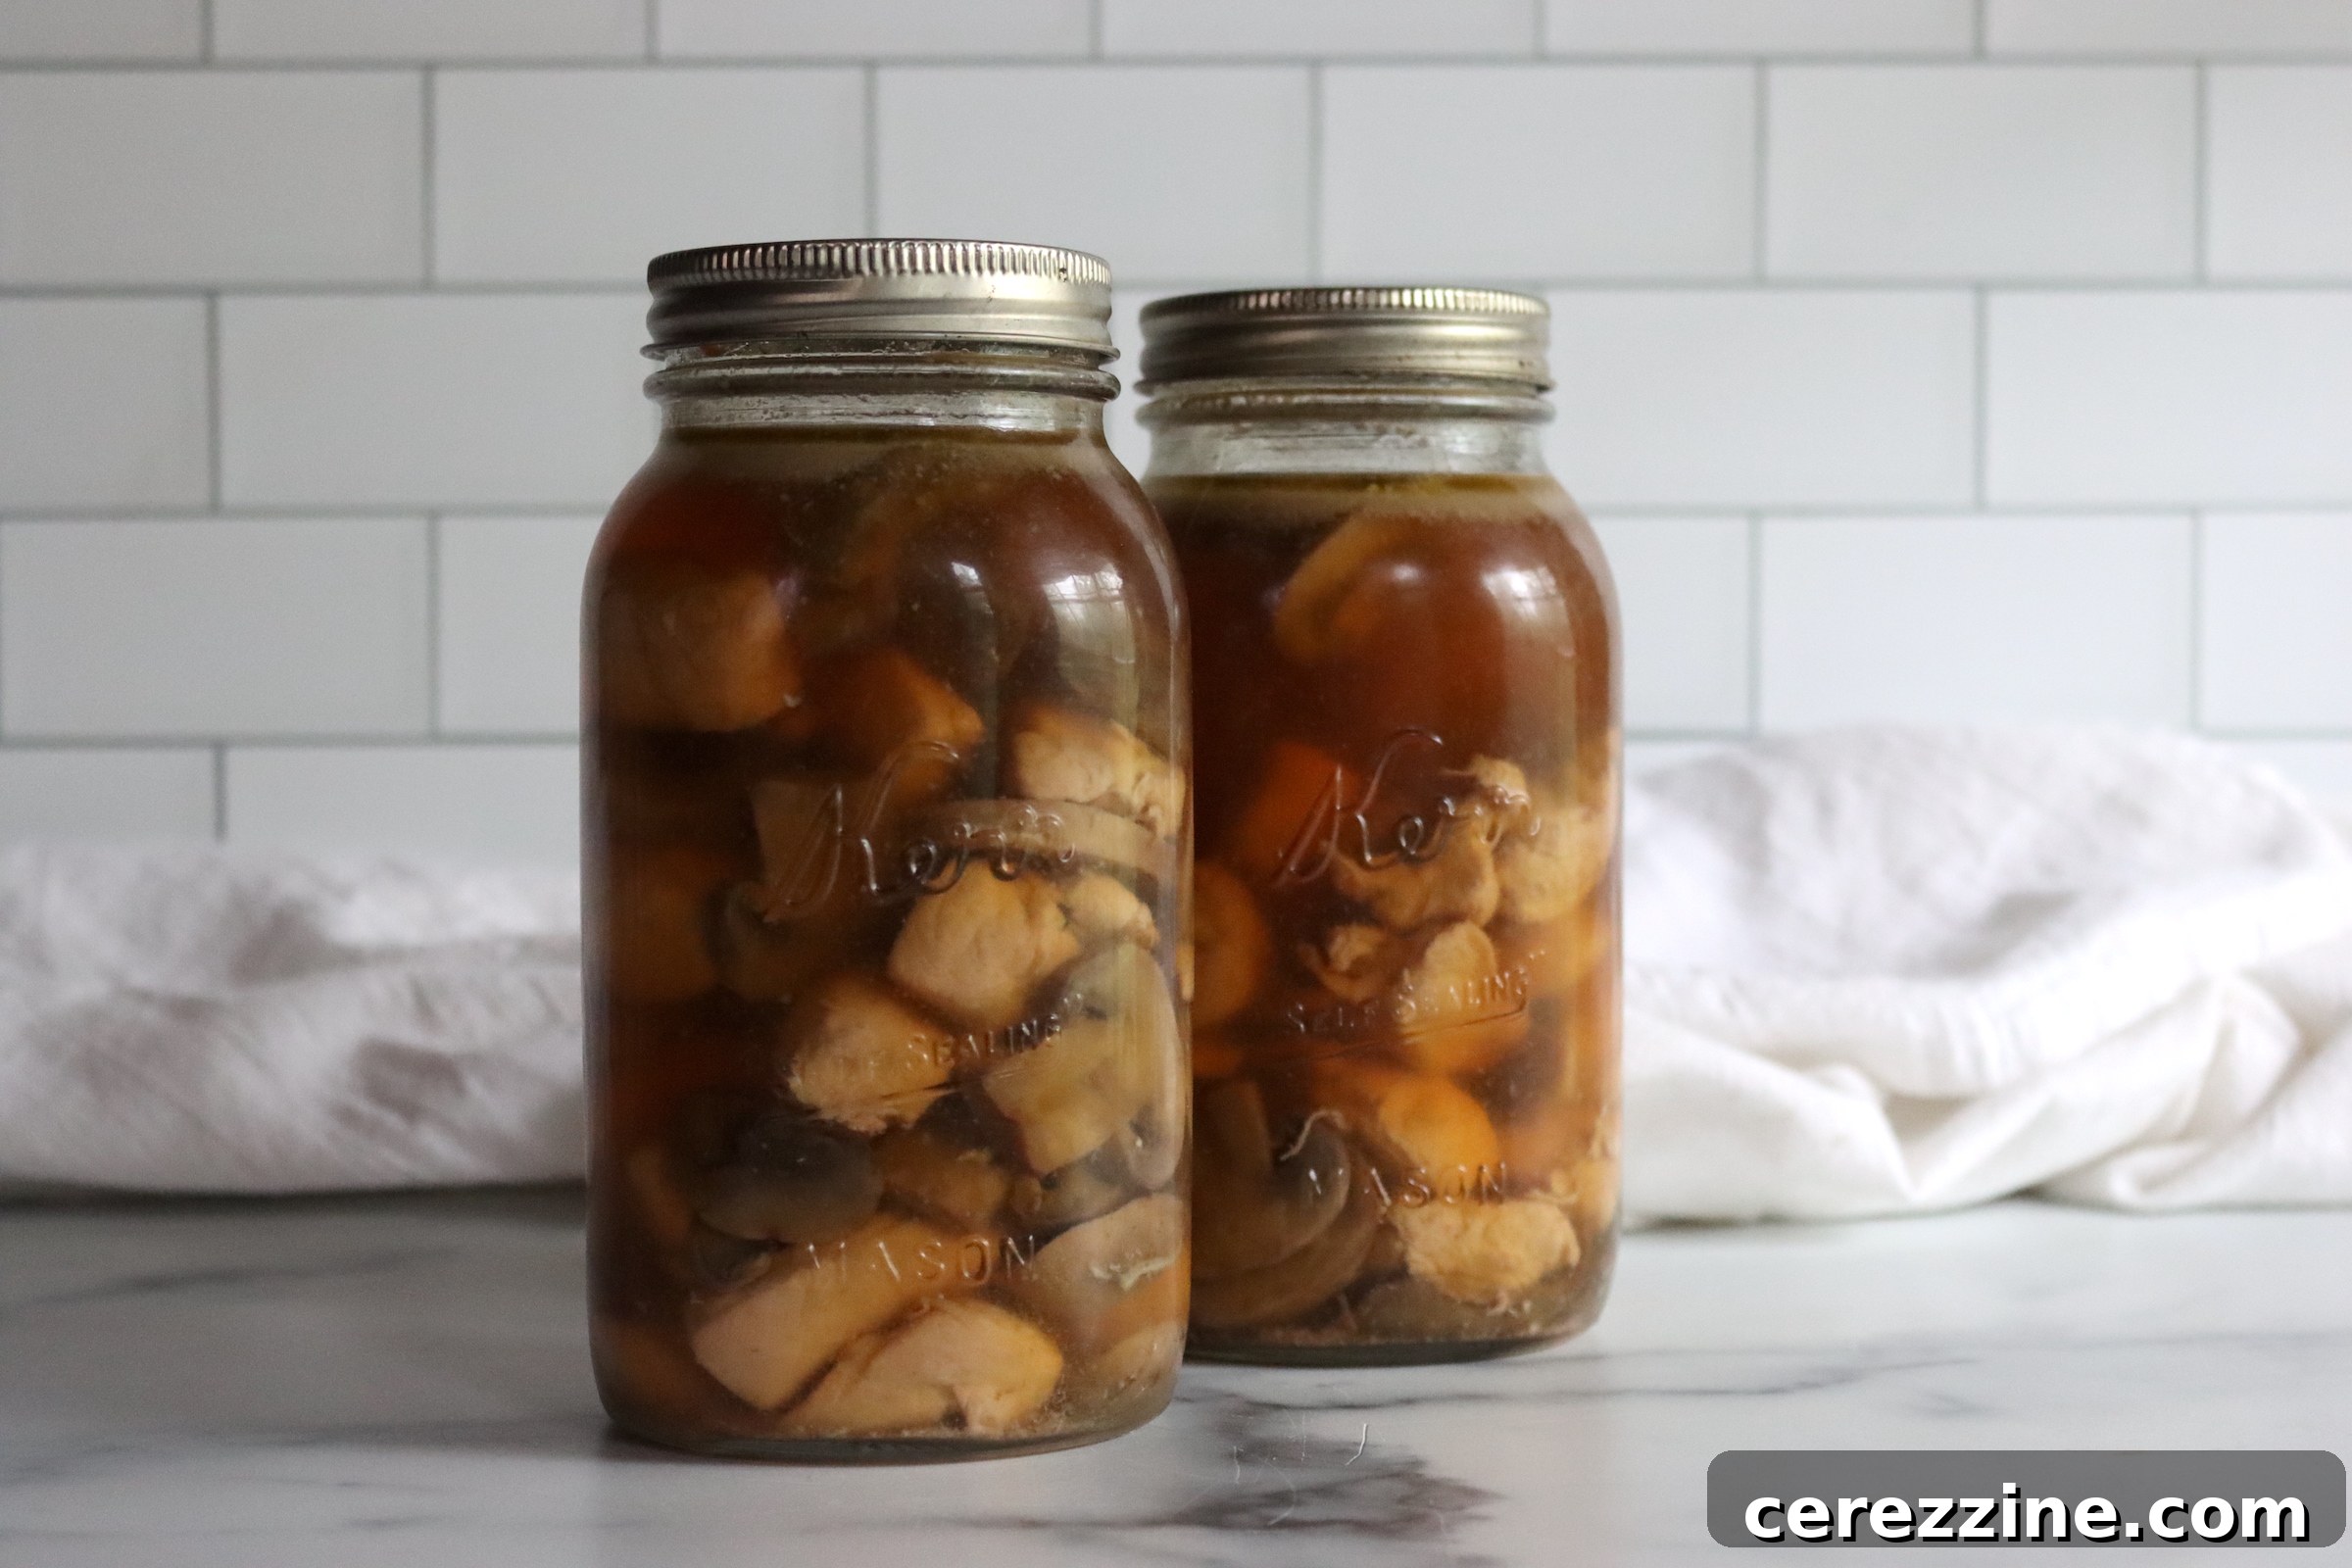
Canning chicken and mushrooms in garlic sauce is a culinary game-changer, offering a savory, ready-to-serve meal that tastes gourmet but comes together with remarkable speed. This pressure canning recipe is designed for small batches, featuring succulent chicken, earthy mushrooms, and a fragrant white wine garlic broth. It’s the perfect foundation for creamy sauces or a hearty standalone dish.
Imagine the convenience: simply thicken the liquid from the jar with a quick roux, stir in a splash of cream, and serve this delightful creation over pasta, rice, or your favorite vegetables. It’s a rich, flavorful experience that transitions from pantry to plate in under 20 minutes, making it an ideal solution for busy weeknights or unexpected guests.
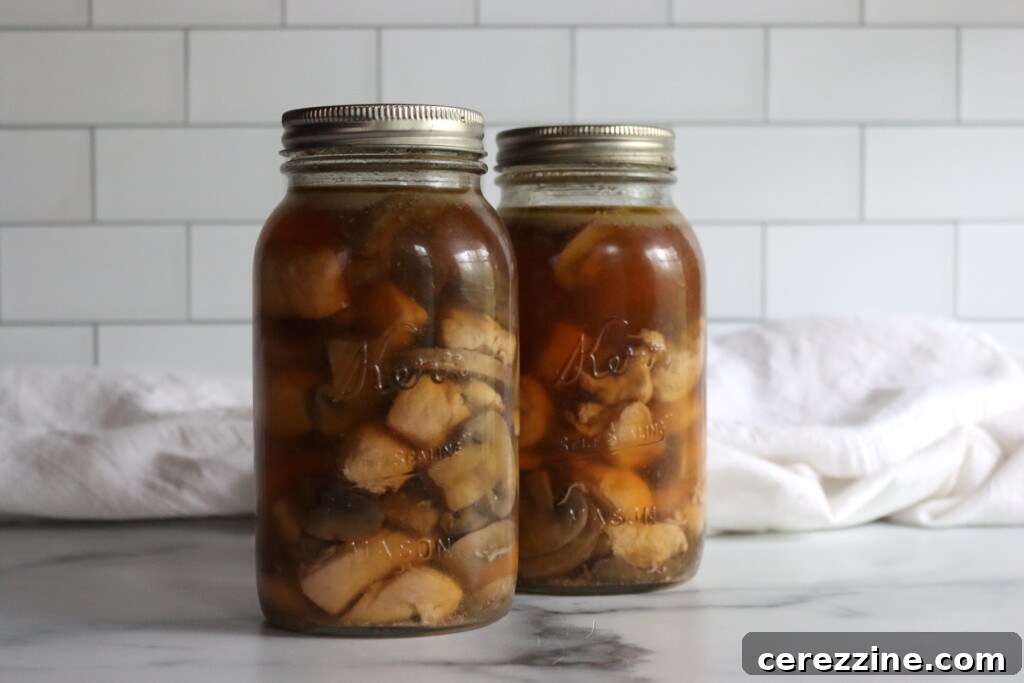
Pressure Canning Chicken and Mushrooms in Garlic Sauce: A Savory, Shelf-Stable Delight
Indulge in the exquisite combination of tender chicken, robust garlic-infused white wine sauce, and hearty mushrooms. This pressure-canned meal redefines convenience, delivering a “fancy” dining experience with minimal effort when it’s time to serve. Adapted from Angi Schneider’s acclaimed Pressure Canning for Beginners and Beyond, this recipe for Chicken and Mushrooms in Garlic Sauce is destined to become a beloved weeknight staple. Whether spooned over fluffy rice, comforting pasta, or a vibrant pile of steamed green beans, its rich flavors are sure to impress.
What elevates this dish beyond a simple meal? Its incredible shelf-stability and lightning-fast preparation time. By briefly simmering all ingredients before canning, you lock in their fresh taste and texture. Upon serving, a simple step of thickening the sauce with butter and cream transforms it into a decadent, restaurant-quality finish that belies its humble origins as a jarred meal.
Beyond a main course, this versatile pressure canning recipe also excels as a base for creamy chicken and mushroom soup. It shares similarities with a dedicated canning recipe for cream of mushroom soup base, but with the added protein and heartiness of chicken, offering a more substantial flavor profile. Both versions can be easily finished with a touch of flour and cream to achieve that perfect, velvety consistency.
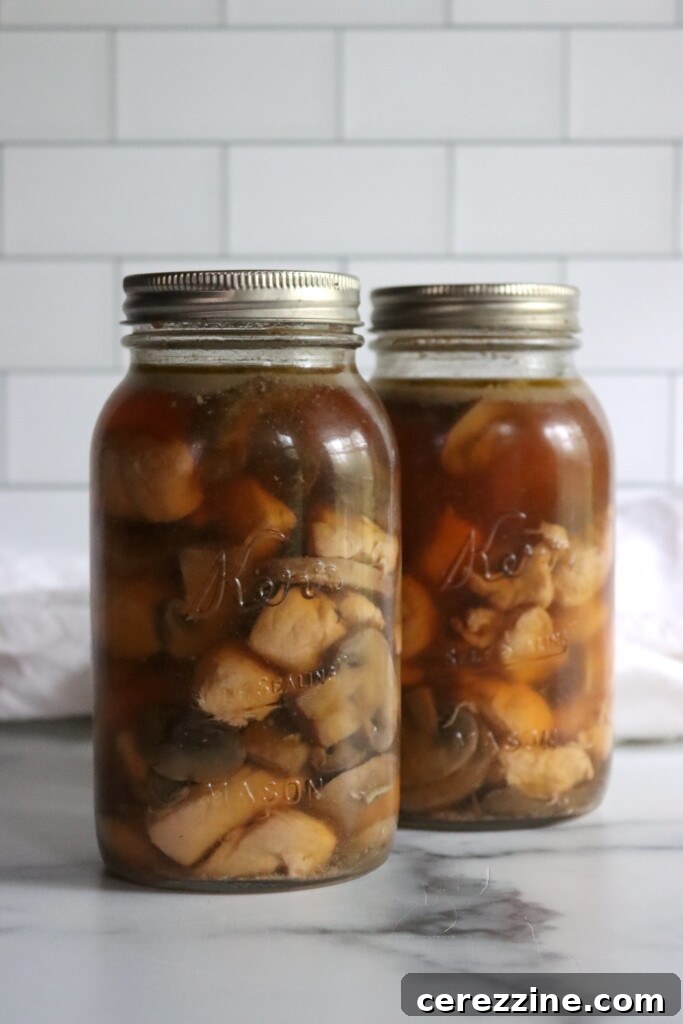
Essential Ingredients for Your Jarred Delicacy
This convenient small-batch recipe yields 2 quarts (equivalent to 4 pints) of this delectable chicken and mushroom creation. Here’s a detailed look at what you’ll need, and why each ingredient plays a crucial role:
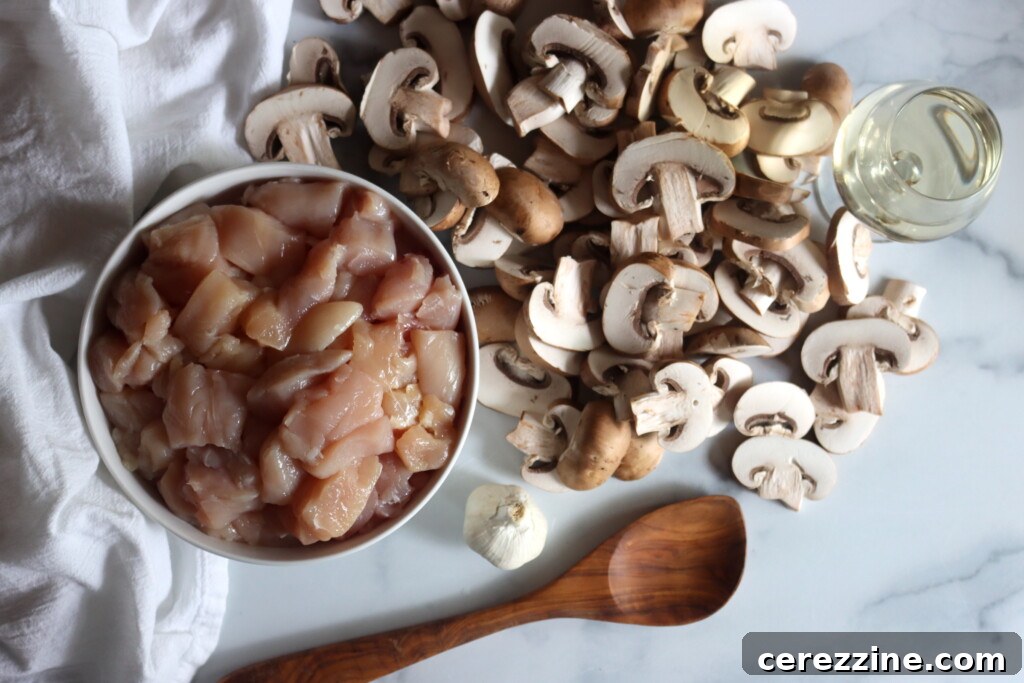
- Chicken Breast: Opt for boneless, skinless chicken breast, diced into uniform 1-inch cubes. This cut is ideal for pressure canning as it retains its shape and tenderness, providing clean, appealing chunks in your final dish. For a richer flavor, boneless, skinless chicken thighs can also be used, though cooking times may vary slightly.
- Mushrooms: Fresh white button mushrooms or earthy crimini (baby bellas) work wonderfully. Thinly slice them to ensure they absorb all the savory flavors from the broth and garlic during the canning process, and reheat beautifully without becoming rubbery. Their robust flavor complements the chicken perfectly.
- Chicken Broth and White Wine: This harmonious combination forms the light yet incredibly flavorful sauce. Choose a good quality, dry white wine that you would genuinely enjoy drinking – such as Sauvignon Blanc or Pinot Grigio. The wine adds a vital layer of acidity and depth, enhancing the overall profile without overwhelming the delicate flavors of the chicken and mushrooms. Ensure your chicken broth is low-sodium if you are concerned about salt intake, as you will be adding additional seasoning.
- Garlic: This is truly the star of the show, and we recommend using a whole bulb, minced finely. Do not skimp on the garlic! Its pungent, aromatic presence is what gives this dish its signature “garlic sauce” appeal. Freshly minced garlic will provide the best flavor.
- Salt and Pepper: These foundational seasonings are added in just the right amount to season the broth prior to canning. This ensures the base liquid is flavorful without becoming excessively salty once the sauce is reduced and thickened at serving time. Adjust to your personal preference, remembering you can always add more at the table.
A Critical Canning Safety Note: It is imperative that dairy products (like cream) and thickening agents (like flour or cornstarch) are *never* added to meal-in-a-jar recipes before pressure canning. These ingredients are not tested for home canning safety, and their presence can interfere with proper heat penetration, potentially compromising the sterility and safety of your canned goods. Always add these elements at the time of serving, following the recipe as written for safe and delicious results.
Step-by-Step Guide to Pressure Canning Chicken and Mushrooms
Pressure canning is a precise science, and following these steps carefully ensures both safety and quality for your delicious meal in a jar:
- Prepare Your Pressure Canner: Begin by preparing your pressure canner for the hot pack method. Place the bottom trivet inside the canner and add the recommended amount of water, usually 2-3 inches, ensuring jars won’t boil dry during processing. Preheat the water to approximately 180°F (82°C) while you prepare your food. This helps prevent thermal shock to your hot jars.
- Pre-cook Chicken: In a large stockpot, combine the chicken broth and the diced chicken. Bring this mixture to a gentle simmer and cook for 8–10 minutes. This step, known as pre-cooking or blanching, ensures the chicken is partially cooked and heated thoroughly, aiding in consistent heat penetration during canning.
- Combine and Simmer Flavors: Next, stir in the thinly sliced mushrooms, minced garlic, dry white wine, salt, and black pepper. Continue to simmer the mixture for another 5 minutes, allowing all the ingredients to fully heat through and their flavors to meld beautifully. The wine will cook off its alcohol, leaving behind its complex notes.
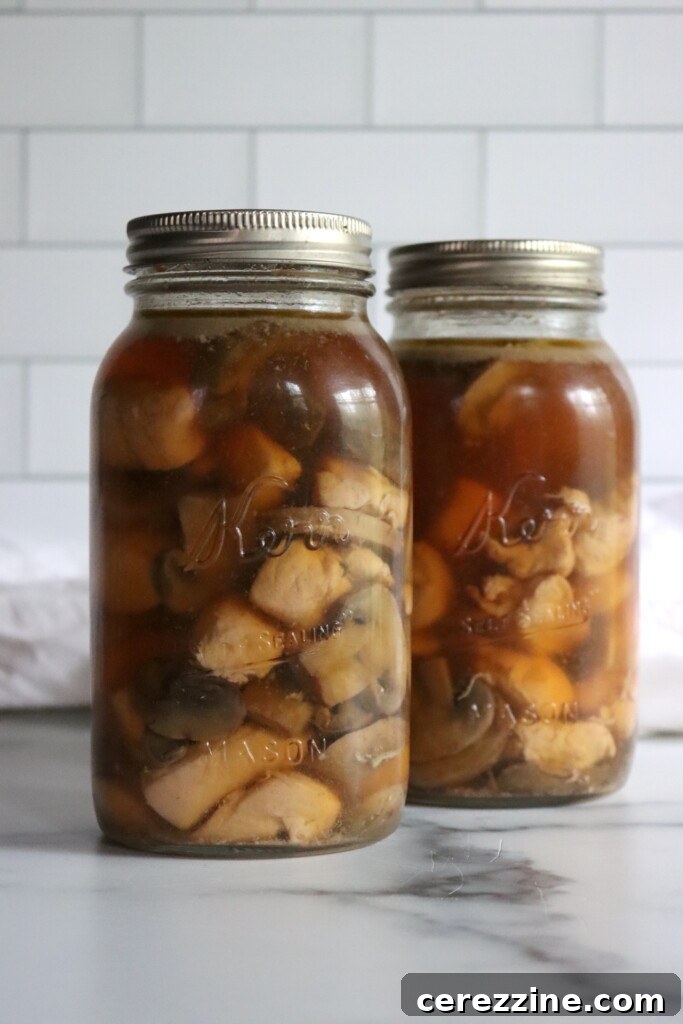
- Fill Hot Jars: Using a slotted spoon, carefully ladle the hot chicken and mushroom solids into clean, hot canning jars. Distribute the solids as evenly as possible among the jars.
- Add Liquid and Adjust Headspace: Once the solids are in, ladle the hot cooking liquid over the chicken and mushrooms. It’s crucial to maintain a precise 1 inch of headspace (the space between the food/liquid surface and the rim of the jar). This headspace is vital for proper sealing and to prevent siphoning during processing.
- Remove Air Bubbles and Clean Rims: Use a non-metallic utensil (like a plastic spatula or chopstick) to gently remove any trapped air bubbles from the jars. Press the solids down to ensure they are submerged. If the liquid level drops below 1 inch, add more hot liquid to restore the proper headspace. Finally, wipe the jar rims meticulously clean with a damp paper towel. Any food residue on the rim can prevent a proper seal.
- Cap and Process: Place two-piece canning lids (flats and rings) onto the jars, tightening the rings finger-tight. Place the filled and lidded jars into your preheated pressure canner. Secure the canner lid according to your manufacturer’s instructions. Bring the canner up to pressure at 10 pounds pressure for weighted gauge canners or 11 pounds for dial gauge canners. Remember to adjust the pressure setting based on your altitude.
- Process for Recommended Time: Once the target pressure is reached and maintained steadily, begin timing. Process pint-sized jars for 75 minutes and quart-sized jars for 90 minutes. Do not reduce the processing time.
- Cool and Check Seals: After the processing time is complete, turn off the heat and allow the canner to cool naturally, without forcing it open. Once the pressure has fully dropped to zero (the vent lock will depress), carefully remove the lid. Let the jars cool undisturbed on a towel on your countertop for 12–24 hours before checking their seals. A properly sealed jar will have a lid that is concave and does not flex when pressed.
Pressure Canning Altitude Adjustments: A Critical Safety Measure
For safe and effective pressure canning, it’s essential to adjust the required pressure based on your elevation above sea level. While processing times remain constant, the pressure settings change to ensure food safety. Refer to these guidelines:
For dial gauge pressure canners:
- 0 to 2,000 feet in elevation – 11 lbs pressure
- 2,001 to 4,000 feet in elevation – 12 lbs pressure
- 4,001 to 6,000 feet in elevation – 13 lbs pressure
- 6,001 to 8,000 feet in elevation – 14 lbs pressure
For weighted gauge pressure canners:
- 0 to 1,000 feet in elevation – 10 lbs pressure
- Above 1,000 feet – 15 lbs pressure
Always consult your canner’s manual and local extension office guidelines for the most accurate and up-to-date information.
Transforming Your Canned Meal into a Gourmet Dish
The beauty of this pressure-canned chicken and mushrooms in garlic sauce lies in its adaptability and the speed with which it can be transformed into a truly indulgent meal. Here’s how to elevate it to a creamy, comforting dinner, per quart-sized jar:
- Prepare the Roux: In a saucepan, melt 1 tablespoon of unsalted butter over medium heat. Once melted, whisk in 1 tablespoon of all-purpose flour. Cook this mixture, stirring constantly, for 1-2 minutes until it forms a smooth paste and takes on a light golden color. This is your roux, the thickening agent for your luscious sauce.
- Create the Creamy Sauce: Slowly and gradually whisk the liquid from one jar of your canned chicken and mushrooms into the hot roux. Continue whisking diligently to prevent lumps until the sauce is smooth and begins to thicken to your desired consistency.
- Combine and Simmer: Add the solid contents (the tender chicken and earthy mushrooms) from the jar into the saucepan with the thickened sauce. Bring the mixture to a gentle simmer over medium heat and let it cook for 5–8 minutes, stirring occasionally, to ensure everything is thoroughly heated through and the flavors are fully incorporated.
- Finish with Cream: For that ultimate creamy, restaurant-style richness, stir in ¼ cup of heavy cream. Continue to cook for another 1–2 minutes, allowing the cream to heat through and the sauce to reach a perfectly velvety texture. Taste and adjust seasoning with additional salt and pepper if needed.
This exquisite dish can be served in numerous delightful ways: pour it generously over freshly cooked pasta for a quick and satisfying meal, spoon it onto a bed of fluffy white rice, or use it as a flavorful topping for creamy mashed potatoes. For a lighter option, serve it alongside steamed asparagus, green beans, or even roasted root vegetables. It’s a meal that truly tastes like you’ve spent hours in the kitchen, yet it’s ready in mere minutes, relying on just a few pantry staples.
This recipe is not only easy to prepare but also simple to scale up for larger gatherings or extensive meal prep. It offers a fantastic way to transform plain chicken into a rich, satisfying, and effortlessly elegant dinner without the usual fuss. Its versatility also allows for creative variations, making it a foundation for casseroles, pot pies, or even a hearty topping for baked potatoes.
8
servings, makes 2 quarts or 4 pints
Chicken and Mushrooms in Garlic Sauce (Pressure Canning Recipe)
15 mins
1 hr
30 mins
1 hr
45 mins
Equipment
-
Pressure Canner
Ingredients
- 2 lbs chicken breast, boneless, skinless, cut into 1-inch cubes
- 1 lb mushrooms, sliced
- 2 cups chicken broth
- 1 cup dry white wine
- 1 bulb garlic, minced (yes, the whole bulb!)
- 1½ tsp salt
- ½ tsp black pepper
Instructions
-
Prepare your pressure canner for hot pack, preheating the water to about 180°F (82°C) with the bottom trivet in place.
-
In a medium stockpot, combine the chicken broth and diced chicken. Bring to a gentle simmer and cook for 8–10 minutes.
-
Add the sliced mushrooms, minced garlic, white wine, salt, and pepper to the stockpot. Simmer for another 5 minutes to fully heat through all ingredients.
-
Using a slotted spoon, carefully ladle the chicken and mushrooms into clean, hot canning jars, ensuring solids are distributed evenly.
-
Ladle the hot cooking liquid over the solids, leaving 1 inch of headspace. Remove any air bubbles with a non-metallic utensil, adjust liquid if necessary to maintain headspace, and wipe jar rims clean.
-
Apply two-piece canning lids (flats and rings), tightening them finger-tight. Process the jars in a prepared pressure canner at 10 lbs (for weighted gauge canners) or 11 lbs (for dial gauge canners), adjusting for your altitude.
-
Process pint-sized jars for 75 minutes and quart-sized jars for 90 minutes, maintaining consistent pressure.
-
Once processing is complete, turn off the heat and allow the canner to cool naturally until pressure drops to zero. Remove jars and let them cool undisturbed for 12–24 hours before checking seals and storing.
Notes
Altitude Adjustments
Use these specific pressure settings based on your altitude:
Dial Gauge Canners
- 0–2,000 ft: 11 lbs pressure
- 2,001–4,000 ft: 12 lbs pressure
- 4,001–6,000 ft: 13 lbs pressure
- 6,001–8,000 ft: 14 lbs pressure
Weighted Gauge Canners
- 0–1,000 ft: 10 lbs pressure
- Above 1,000 ft: 15 lbs pressure
For Serving (per quart-sized jar)
- 1 tablespoon butter
- 1 tablespoon flour
- ¼ cup heavy cream
To serve, melt butter and whisk in flour to make a roux. Slowly stir in the liquid from one jar of chicken and mushrooms, and continue stirring until smooth and thickened. Add the chicken and mushrooms solids and simmer over medium heat until thoroughly heated. Finish with cream and serve hot over rice, pasta, or vegetables for a complete meal.
As a general rule for meal-in-a-jar recipes, dairy and thickening agents are always added at the point of serving. This is because these ingredients are not approved or tested for home canning and can compromise the safety and shelf stability of your preserves. Always adhere to the tested recipe as written for canning to ensure safe consumption.
Nutrition
Calories:
170
kcal
,
Carbohydrates:
3
g
,
Protein:
26
g
,
Fat:
3
g
,
Saturated Fat:
1
g
,
Polyunsaturated Fat:
1
g
,
Monounsaturated Fat:
1
g
,
Trans Fat:
0.01
g
,
Cholesterol:
74
mg
,
Sodium:
935
mg
,
Potassium:
632
mg
,
Fiber:
1
g
,
Sugar:
2
g
,
Vitamin A:
35
IU
,
Vitamin C:
3
mg
,
Calcium:
13
mg
,
Iron:
1
mg
Nutrition information is automatically calculated and should only be used as an approximation. Actual values may vary based on ingredient brands and preparation methods.
Enjoyed this recipe? Share your thoughts below!
More Delicious Pressure Canned Chicken Recipes to Explore
If you’re now convinced of the magic of pressure-canned meals, you’re in luck! There’s a whole world of ready-to-heat and serve chicken dishes waiting to be discovered. Expand your pantry with these fantastic options:
- For a quick and creamy classic, this Chicken and Mushrooms in Garlic Sauce is hard to beat.
- For a richer flavor profile with bold, aromatic spices, don’t miss out on Chicken Korma or Chicken Curry in a Jar. These offer exotic tastes with ultimate convenience.
- Seeking cozy, comforting options that double as easy weeknight dinners? Our recipes for Chicken and Corn Chowder and Chicken Pot Pie Filling are consistent family favorites that bring warmth to any table.
- And if you prefer to keep things simple and traditional, you can’t go wrong with Canning Chicken Soup or Chicken and Gravy in a Jar. Both are timeless staples that reheat beautifully, offering that homemade goodness whenever you need it.
Building a pantry of these versatile, shelf-stable meals ensures you’re always prepared for a delicious, home-cooked dinner, no matter how busy life gets. Happy canning!