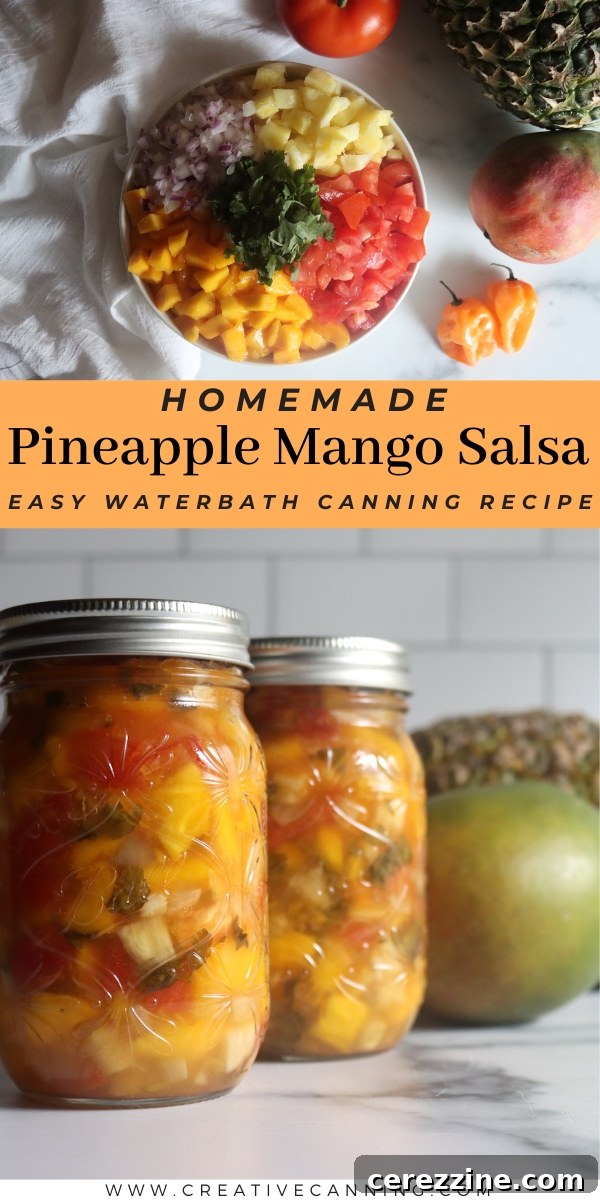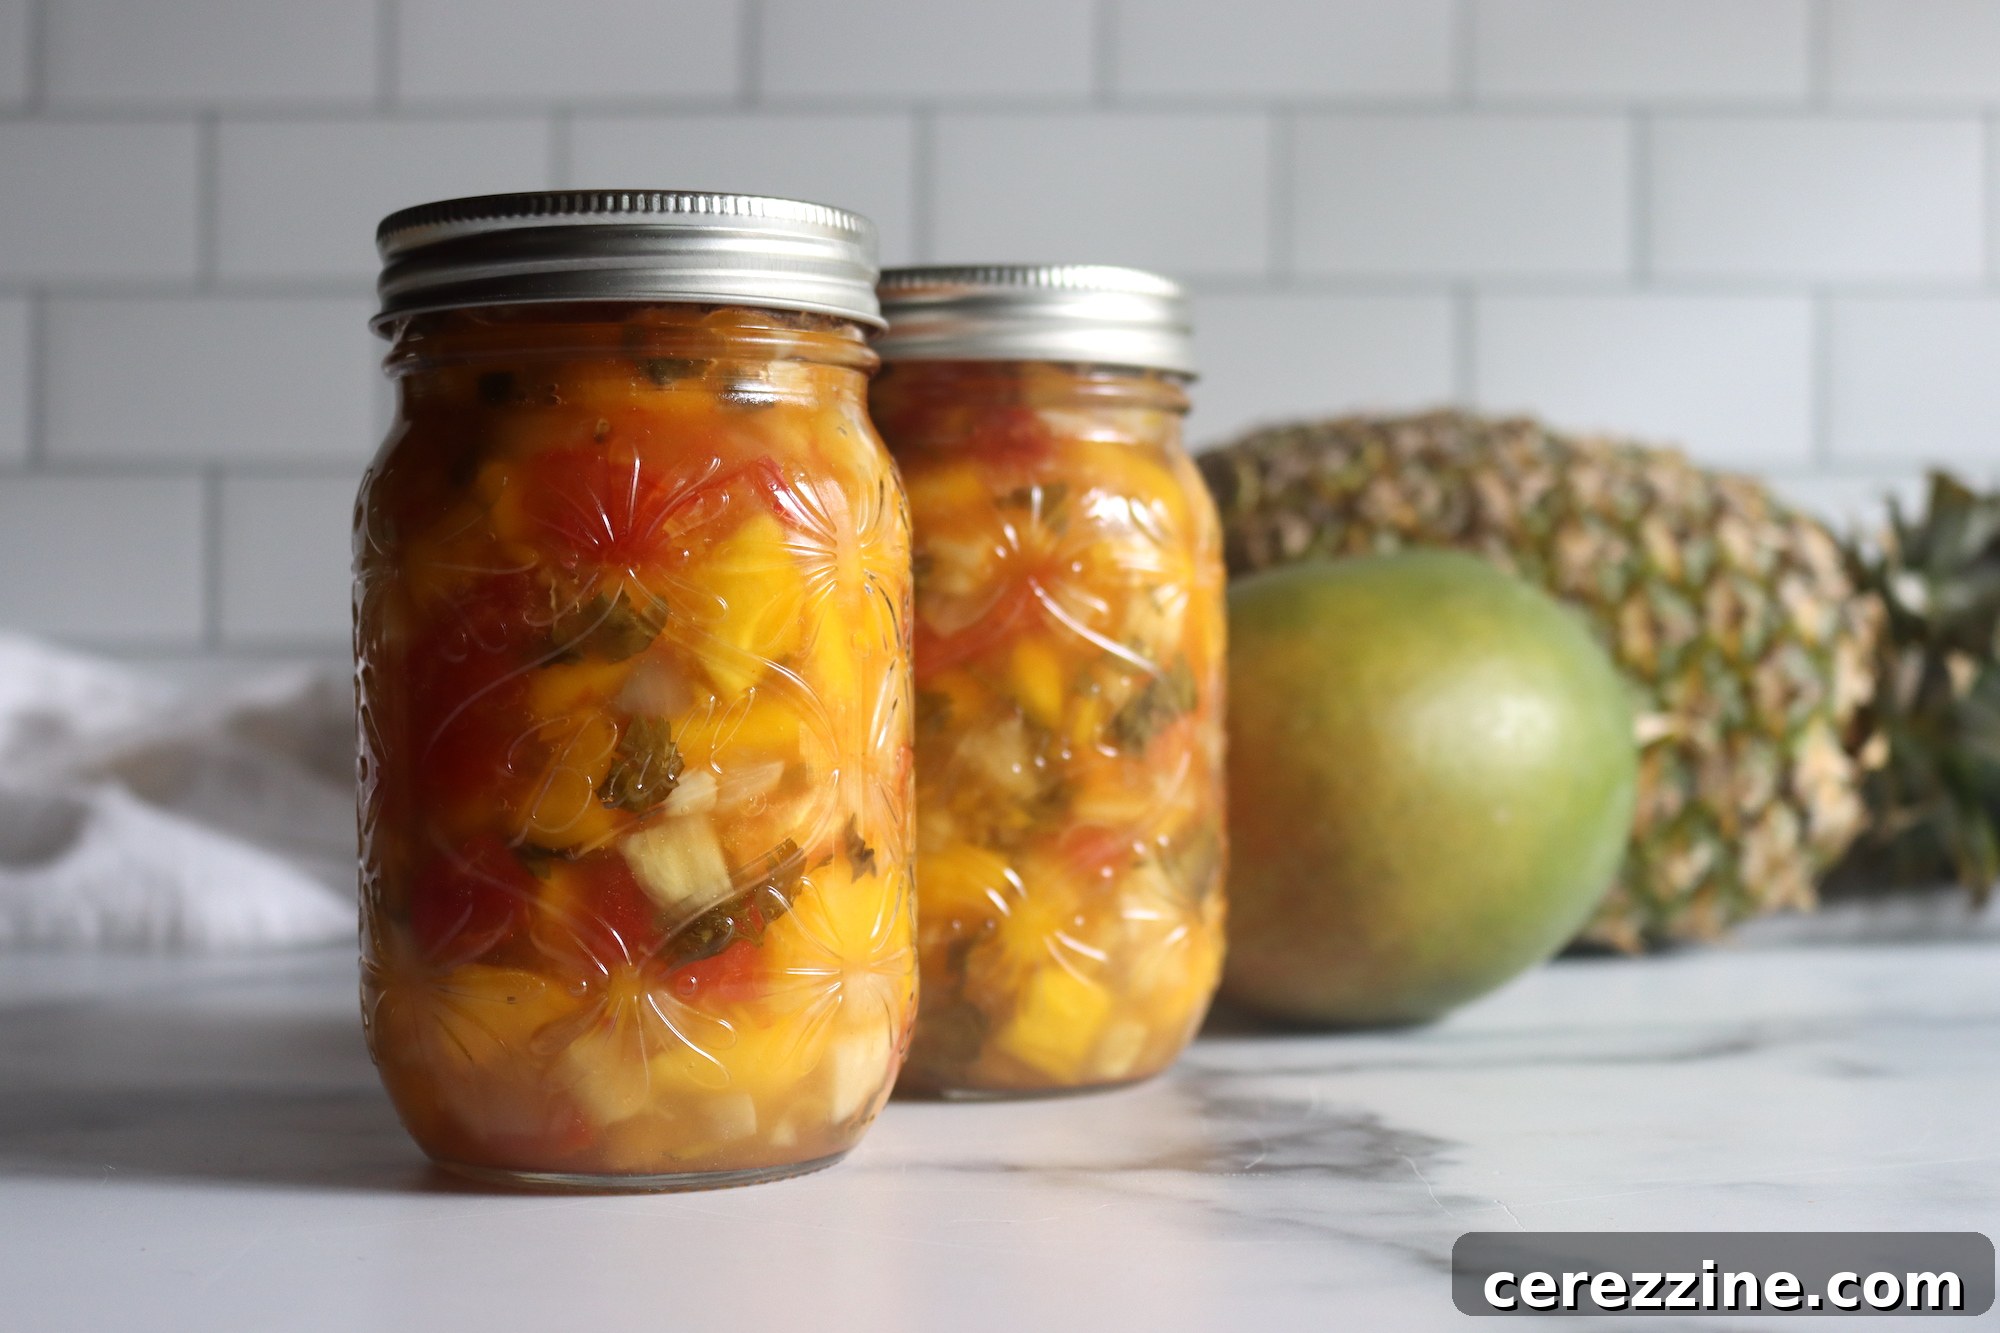
Pineapple Mango Salsa is loaded with tropical flavor, and this safe canning recipe will preserve it right on your pantry shelf.
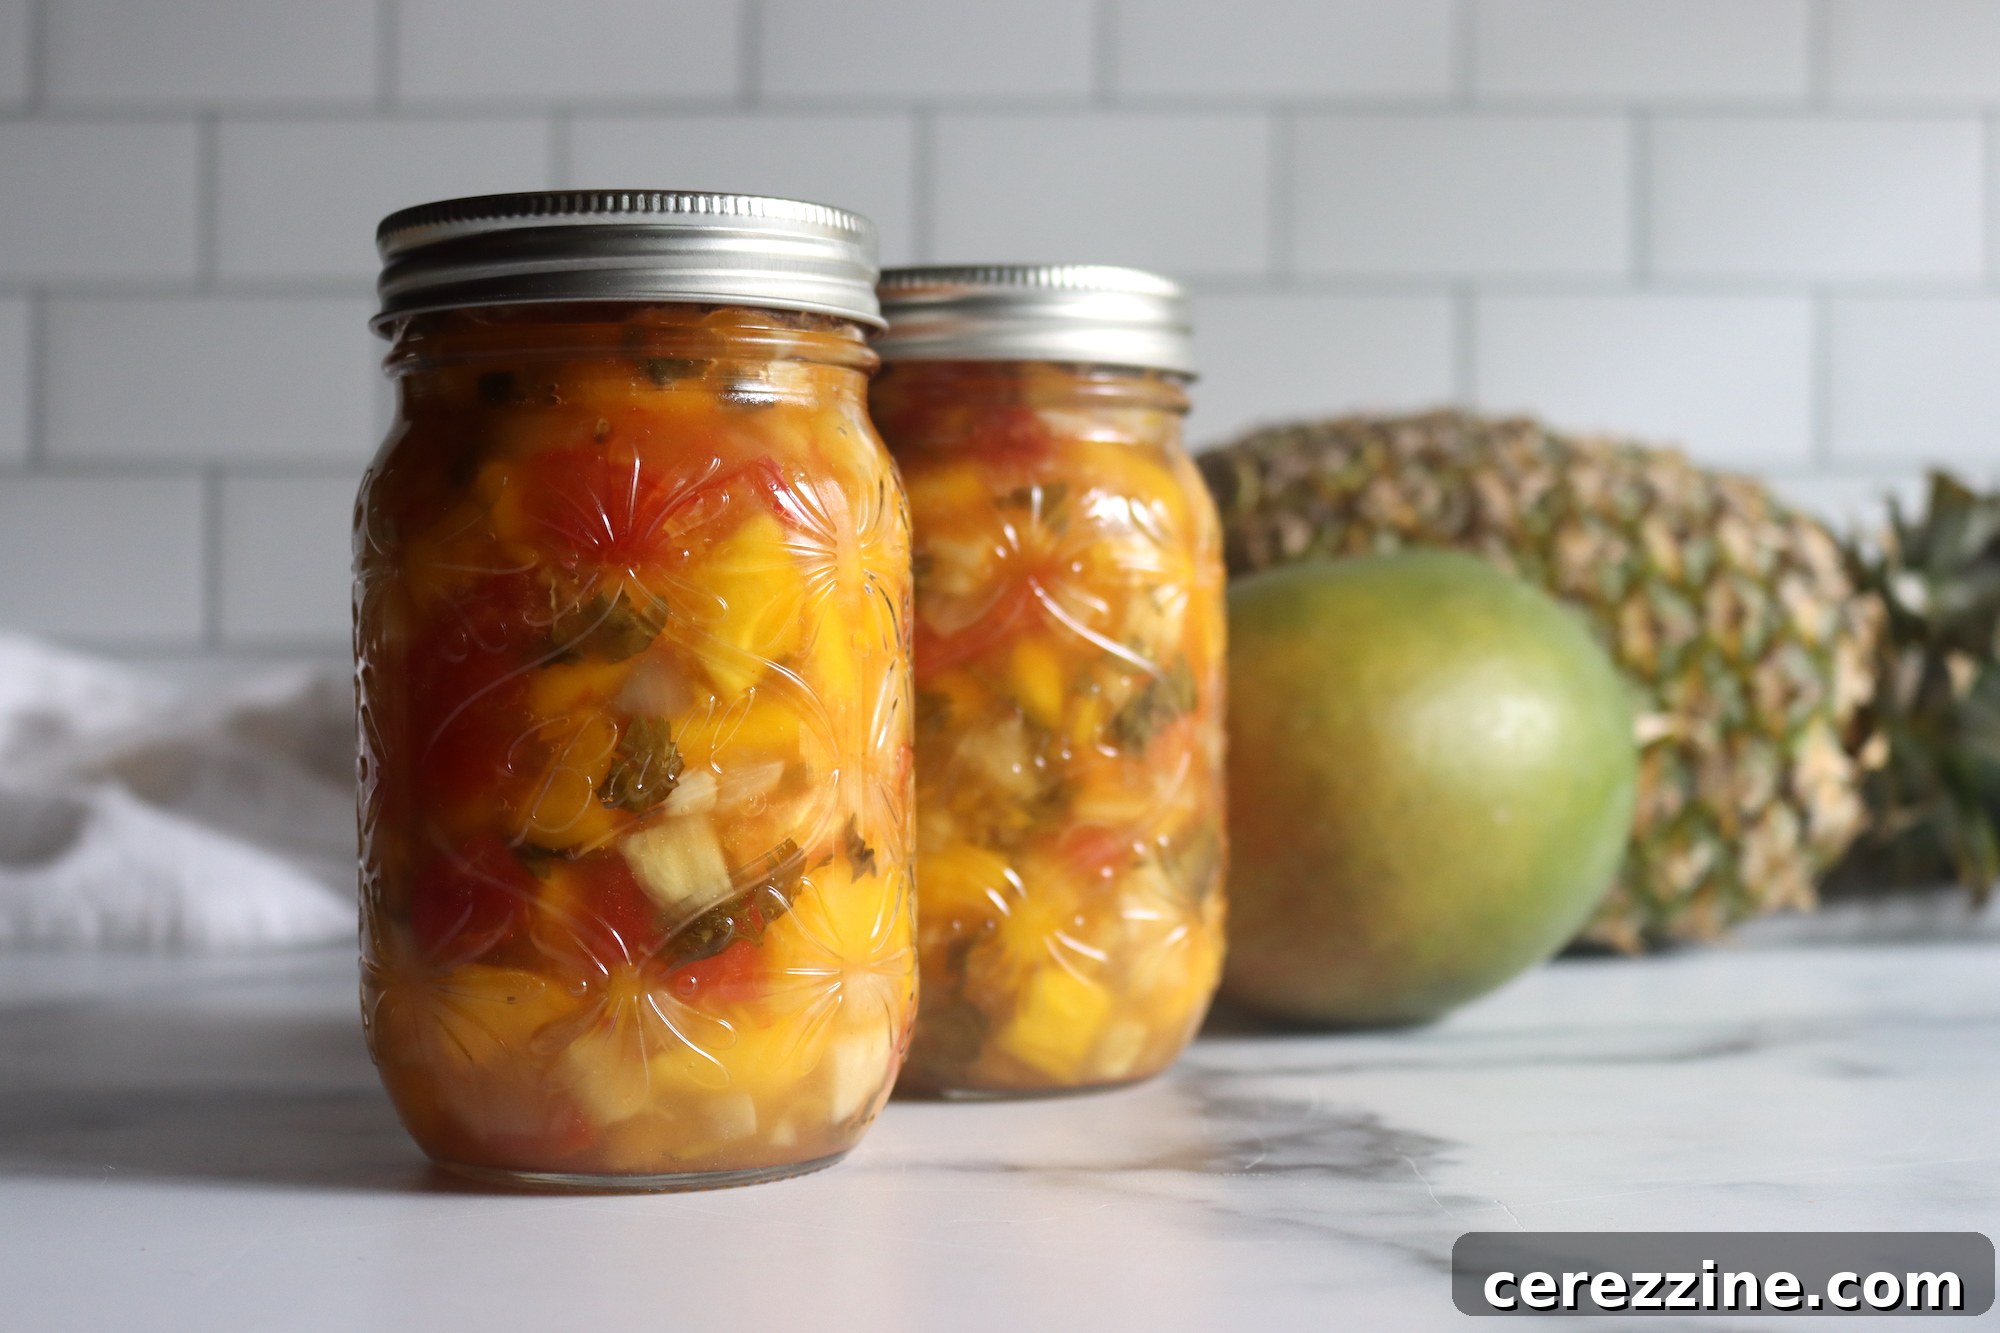
Crafting & Canning Tropical Pineapple Mango Salsa: Your Guide to Sweet & Savory Preservation
There’s nothing quite like the vibrant flavors of a homemade fruit salsa to elevate any meal. As a dedicated enthusiast of home-canned preserves, I’ve always cherished recipes like pineapple salsa and mango salsa. So, when I discovered this unique recipe from Ball Canning for a Pineapple Mango Salsa, I knew I had to give it a try. This isn’t just another condiment; it’s a taste of sunshine that can be enjoyed year-round, thanks to the magic of safe home canning.
Initially, I approached this recipe with a hint of skepticism. My personal preference leans towards fruit salsas that stand distinct from standard tomato-based varieties, and I was concerned that the inclusion of tomatoes might overshadow the delicate tropical notes of pineapple and mango. However, my apprehension quickly vanished with the first taste. The tomatoes don’t dominate; instead, they act as subtle anchors, adding a beautiful splash of red and a crucial balancing element to the overall flavor profile. They enhance, rather than detract, creating a salsa that is both refreshing and surprisingly complex.
This salsa transcends the typical dip-and-chip scenario. While it’s absolutely fantastic with tortilla chips or as a topping for tacos, its versatility truly shines when incorporated into various culinary creations. Imagine using it to infuse a homemade Thai curry with a burst of sweet, tangy, and subtly spicy goodness. The interplay of lime, a hint of heat from habaneros, and fresh cilantro truly elevates such dishes. It’s also an excellent way to preserve seasonal pineapple and mango, ensuring you have these delightful flavors on hand for curries, stir-fries, and other Asian-inspired meals, even when fresh fruit isn’t readily available.
Don’t hesitate to get creative with this canned delight. Consider it a meal starter for a delicious pineapple mango chicken dish – simply slow-cook chicken in a pot with a jar or two of this salsa for an effortless and incredibly flavorful dinner. It’s a testament to how a simple home-canned fruit salsa can unlock a multitude of tasty possibilities in your kitchen. Beyond its incredible flavor, home canning offers the satisfaction of knowing exactly what goes into your food, free from artificial preservatives and additives. It’s a rewarding process that connects you with your food and the seasons.
For those who love to preserve seasonal produce, finding pineapples on sale (often in April) presents an excellent opportunity. While traditional canning pineapple or canning pineapple juice are always great options, if you’re in the mood for something with a kick, you can also whip up a batch of spicy pickled pineapple. It offers a similar fruity zest but without the mango. If mango is your true calling, then delving into a batch of chipotle mango salsa can provide a wonderfully smoky and sweet experience. But for a harmonious blend of both tropical stars, this Pineapple Mango Salsa stands unparalleled.
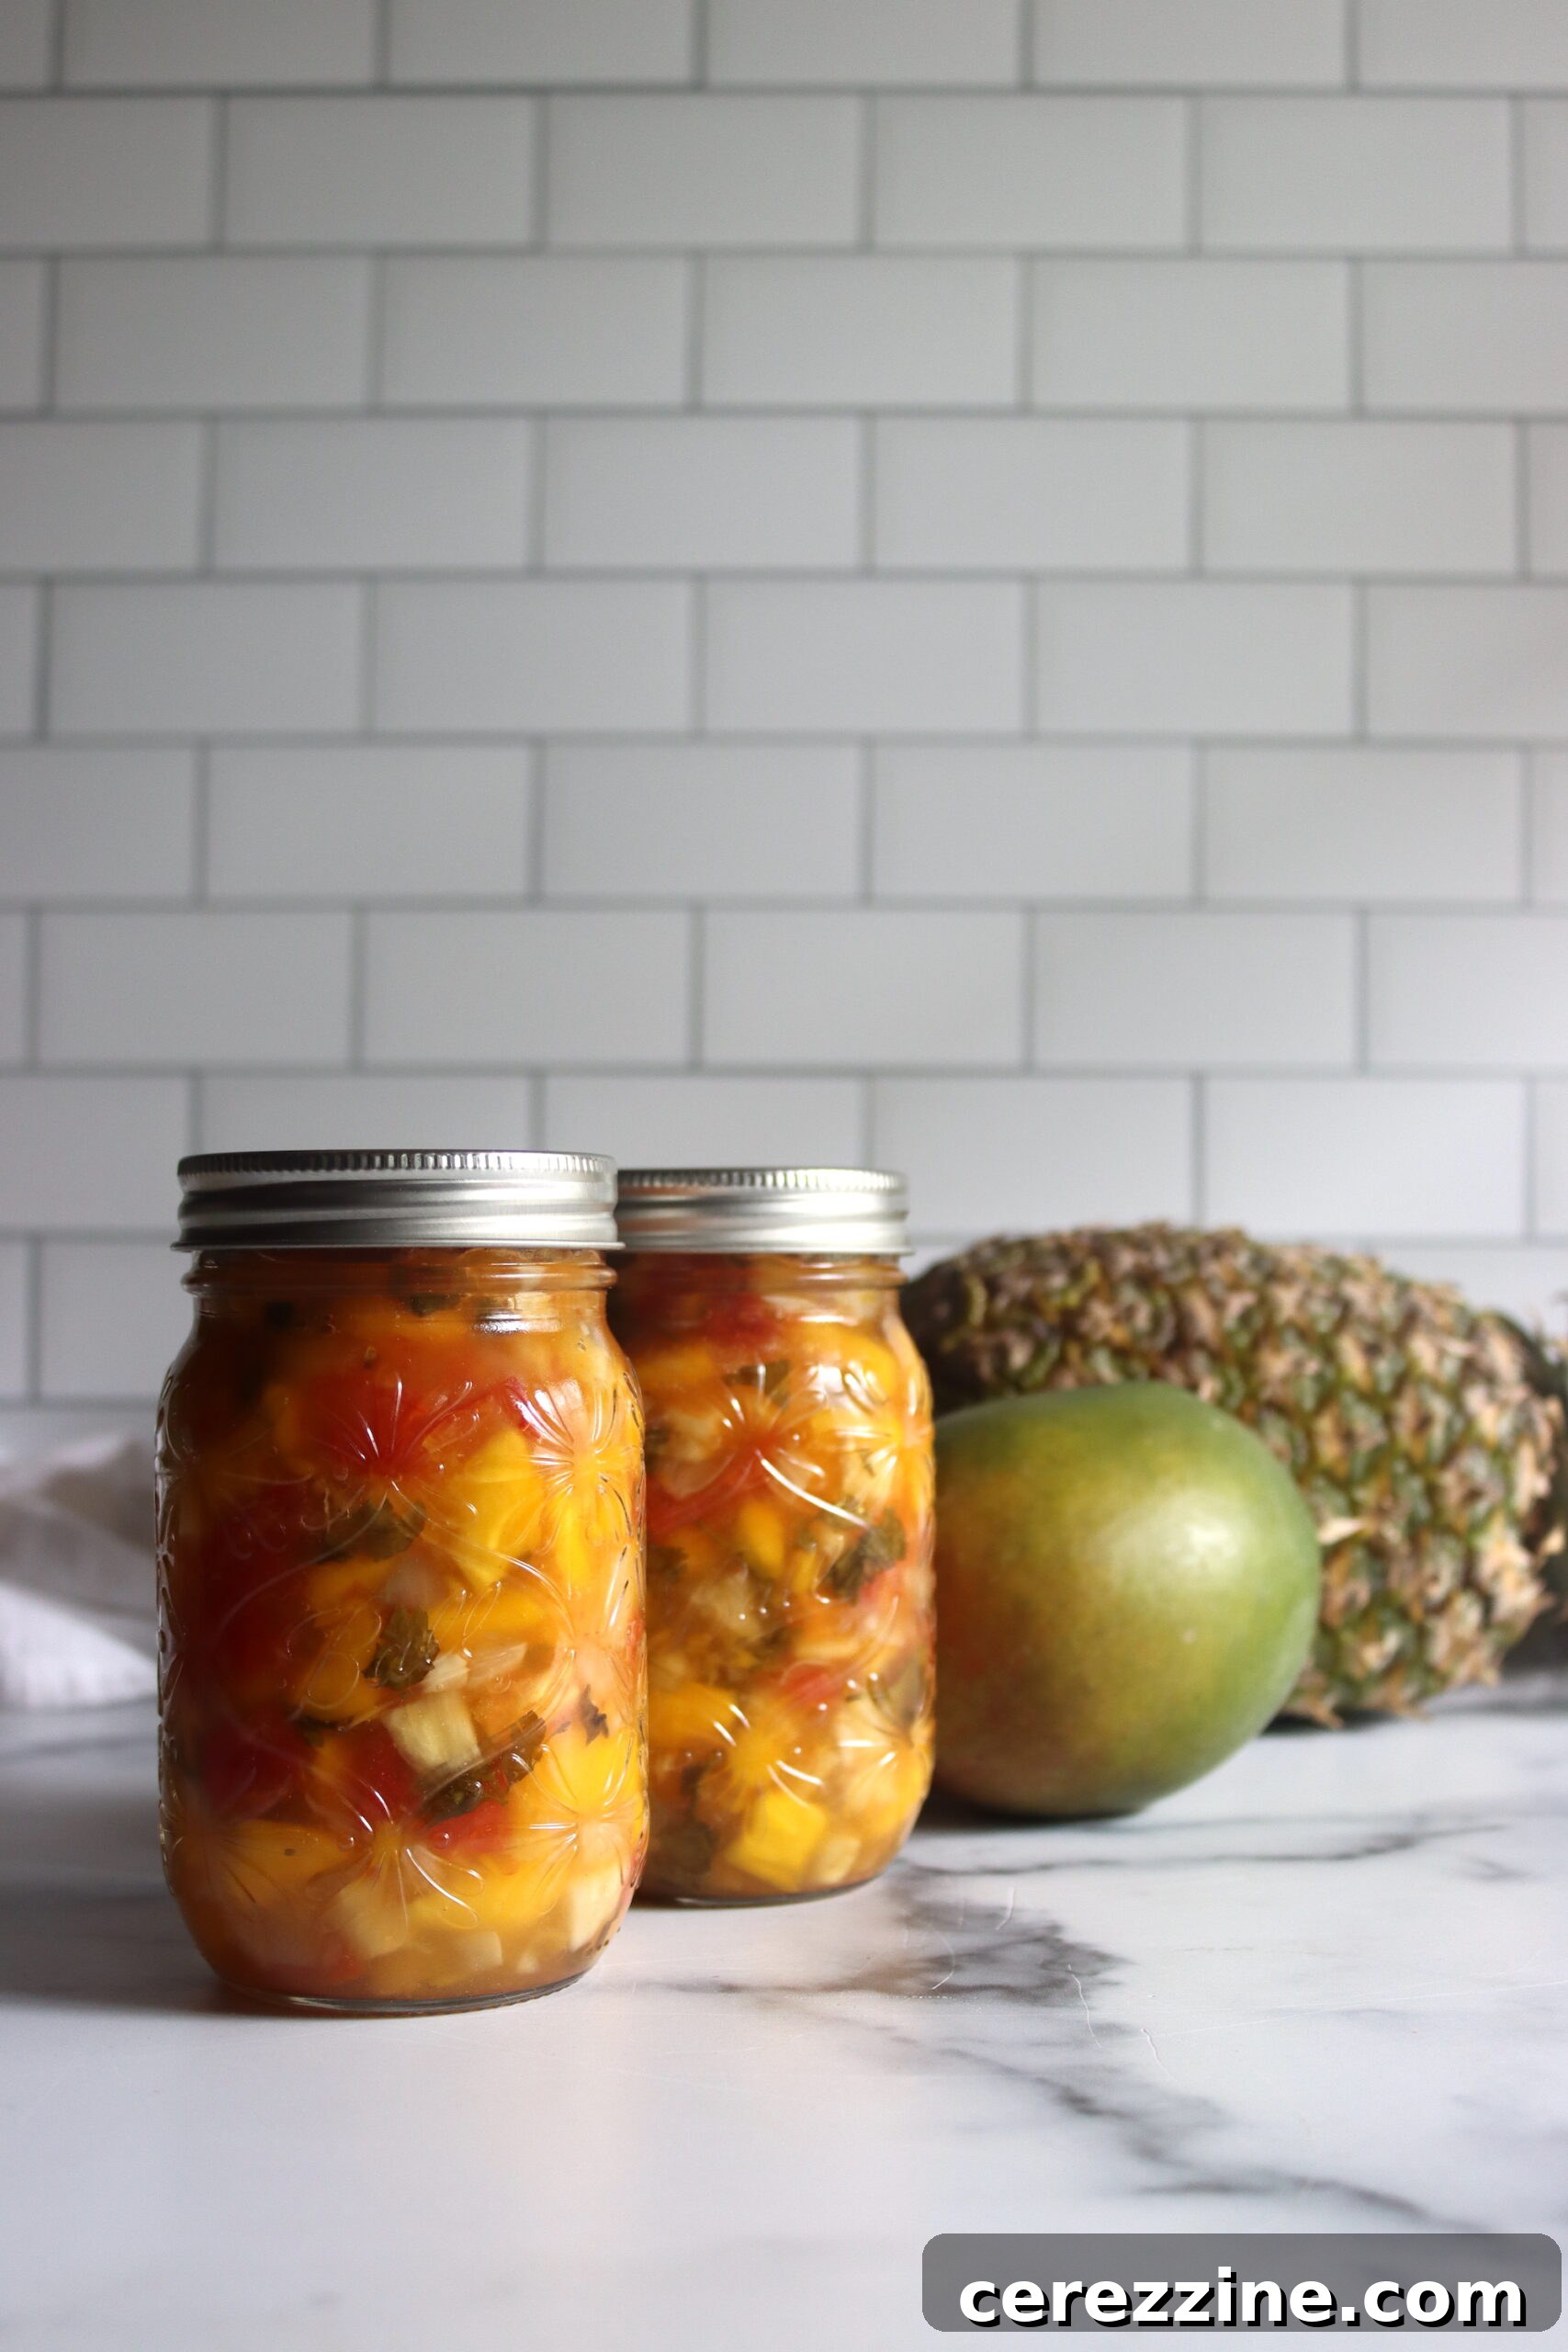
Essential Ingredients for Perfect Pineapple Mango Salsa
This recipe is designed to yield approximately 6 to 7 pint jars, making it ideal for stocking your pantry or sharing with friends and family. The careful balance of fresh ingredients, along with essential acids, ensures both incredible flavor and canning safety. Here’s a detailed look at what you’ll need:
- 6 cups (1100 g) pineapple, peeled, cored, and diced: Choose ripe, sweet pineapples for the best flavor.
- 8 cups (1100 g) mango, diced: Opt for firm-ripe mangoes that are sweet but not overly mushy, ensuring they hold their shape during canning.
- 4 cups (600 g) tomatoes, cored, seeded, and diced (not peeled): The tomatoes add body and a subtle savory depth, balancing the fruitiness without overpowering it.
- 2 cups (300 g) red bell pepper, stemmed, seeded, and diced: Adds a sweet crunch and vibrant color.
- 1½ cups (185 g) red onion, finely diced: Provides a sharp, aromatic counterpoint.
- 2 (15 g) habanero peppers, seeded and diced: For a delightful tropical heat. Adjust quantity to your spice preference, but ensure the total volume of non-acidic ingredients isn’t increased for canning safety.
- 3 cloves (15 g) garlic, minced: An essential aromatic that ties the flavors together.
- 4 teaspoons salt: Enhances flavor. This can be adjusted to taste or omitted if preferred, as it’s not critical for preservation.
- ¼ cup bottled lime juice: Crucial for ensuring adequate acidity for safe water bath canning. Always use bottled lime juice, as its acidity level is consistent, unlike fresh lime juice.
- ½ cup white vinegar (5% acidity): Another vital acidic component for canning safety. Like lime juice, it cannot be reduced.
- 6 tablespoons cilantro, finely chopped: Adds a fresh, herbaceous finish. This is optional and can be added fresh after opening, but it also processes well.
Important Note on Canning Safety: When canning salsas, the precise amounts of bottled lime juice and vinegar are non-negotiable. They are specifically measured to ensure the pH level is low enough to prevent spoilage and inhibit bacterial growth. Do NOT reduce these amounts. You can, however, substitute citrus juice for vinegar (e.g., use all bottled lime juice instead of a mix of lime and vinegar), as citrus juices are generally more acidic than vinegar. But you cannot use all vinegar without any citrus juice in a recipe that calls for both, nor can you reduce the total acid volume.
Ingredients like peppers and onions can be reduced or swapped for different varieties (e.g., green bell pepper instead of red), but do not increase their quantities, as this could alter the pH balance. Similarly, salt and cilantro are added for taste and are optional, as they don’t impact the safety of the canned product.
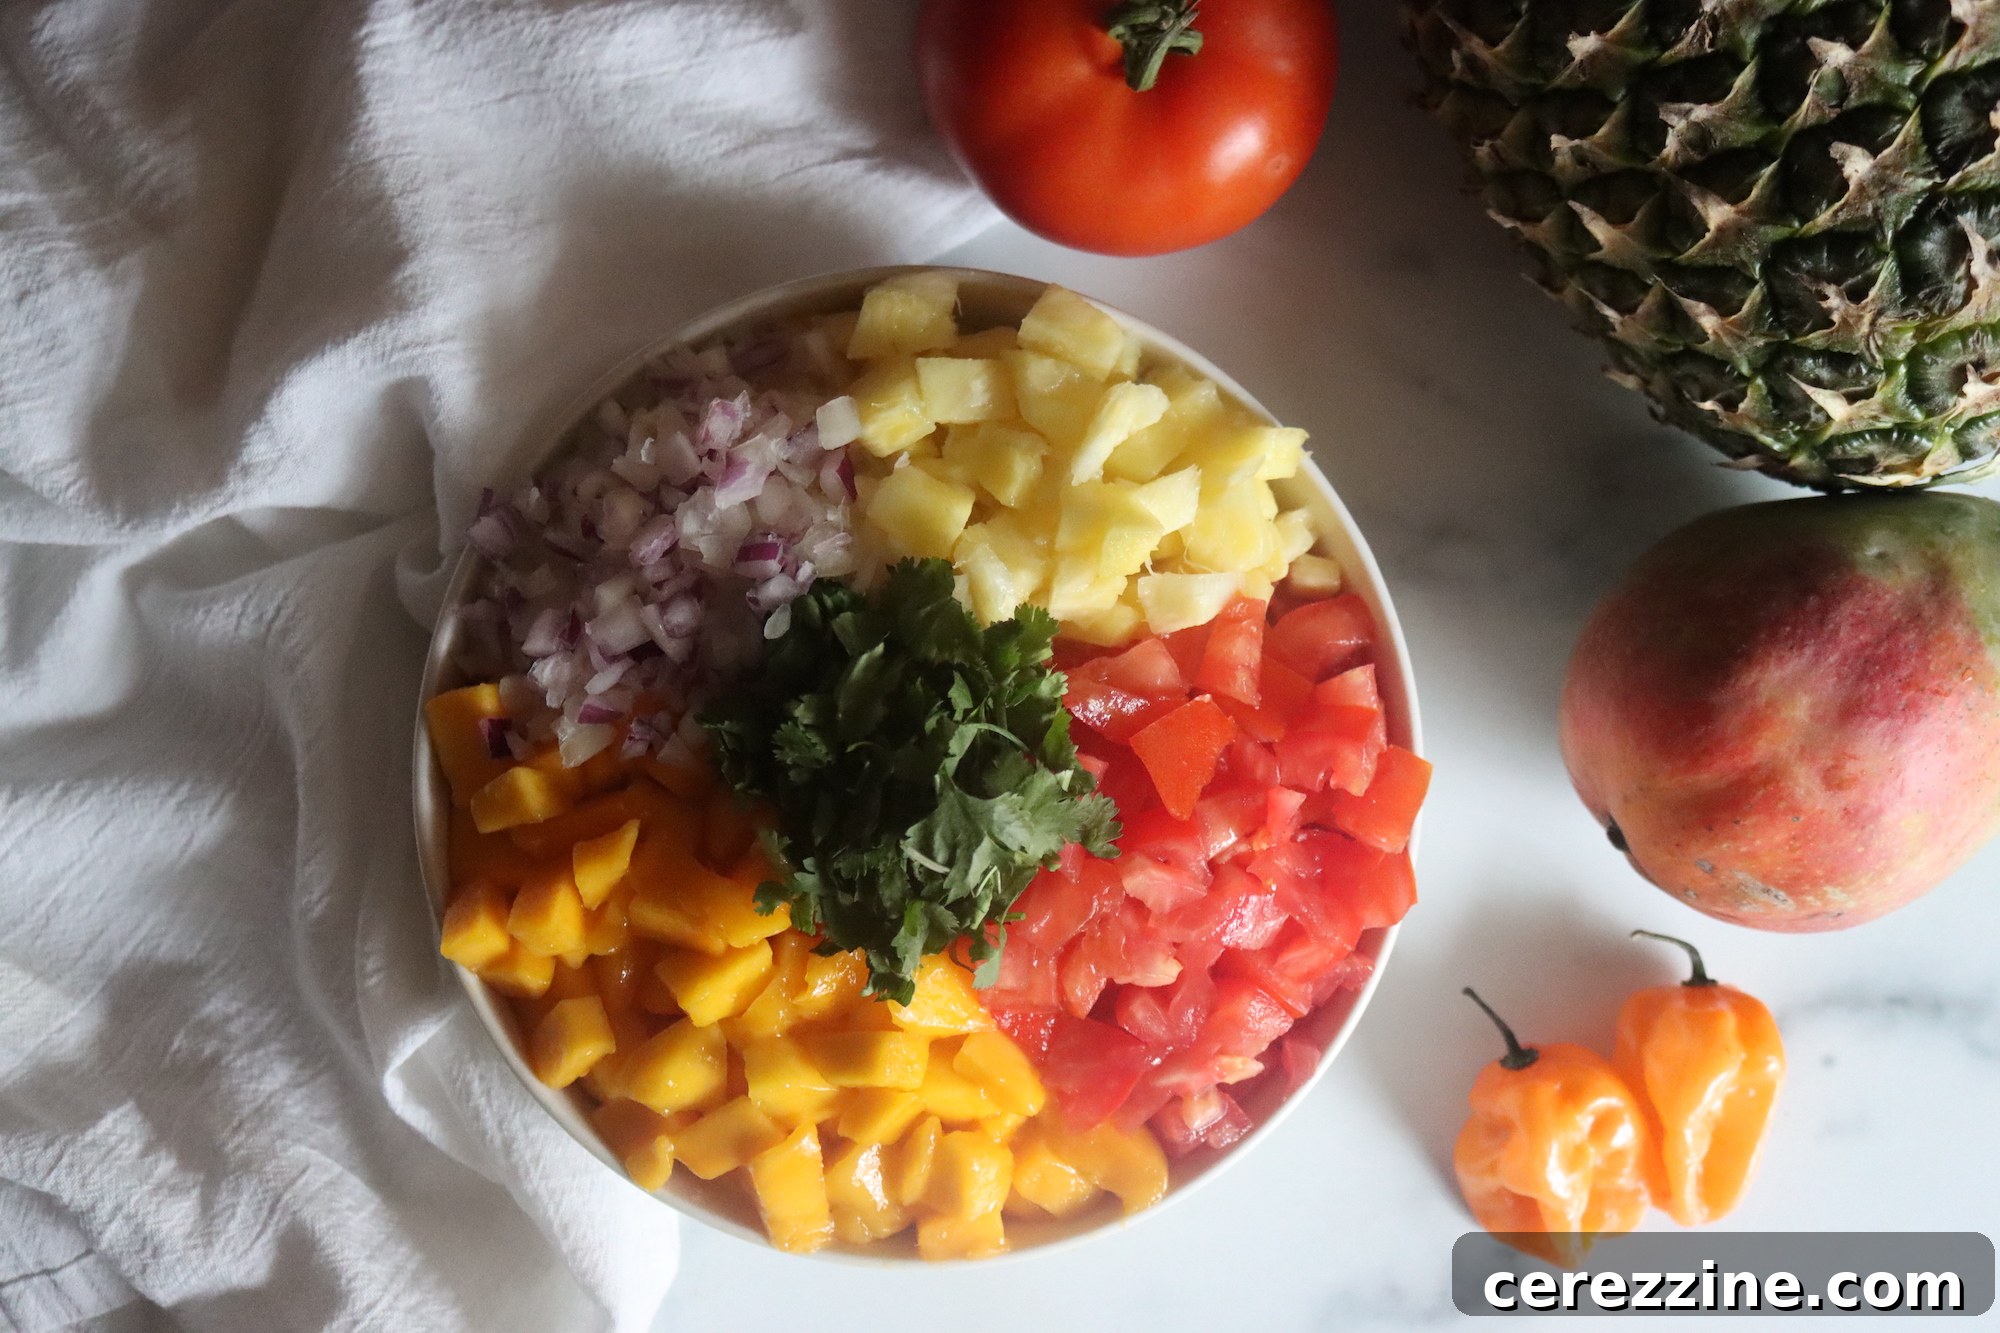
Mastering the Canning Process for Pineapple Mango Salsa
Creating this delicious salsa for your pantry involves a few straightforward steps, ensuring both flavor and safety. Follow these instructions carefully to achieve perfectly preserved jars of tropical goodness.
Preparation Steps:
To begin, gather all your prepared ingredients. In a large stock pot, combine the diced pineapple, mango, tomatoes, red bell pepper, red onion, habanero peppers, minced garlic, salt, bottled lime juice, white vinegar, and finely chopped cilantro. Stir everything together thoroughly to ensure even distribution of flavors and acidity.
Bring this vibrant mixture to a full rolling boil over medium-high heat. Once it reaches a boil, reduce the heat to a gentle simmer. Allow the salsa to simmer for approximately 10 minutes. This simmering step is crucial: it not only allows the diverse flavors to meld and deepen but also helps to slightly soften the ingredients, creating a more harmonious texture. More importantly, it ensures that all ingredients are properly heated and acidified before they are transferred to canning jars, which is a key component of food safety in canning.
While the salsa simmers, prepare your canning jars. Ensure they are clean and warm. You can warm them in your water bath canner, a dishwasher, or an oven. Preparing your jars beforehand saves time and helps prevent thermal shock when hot salsa is added.
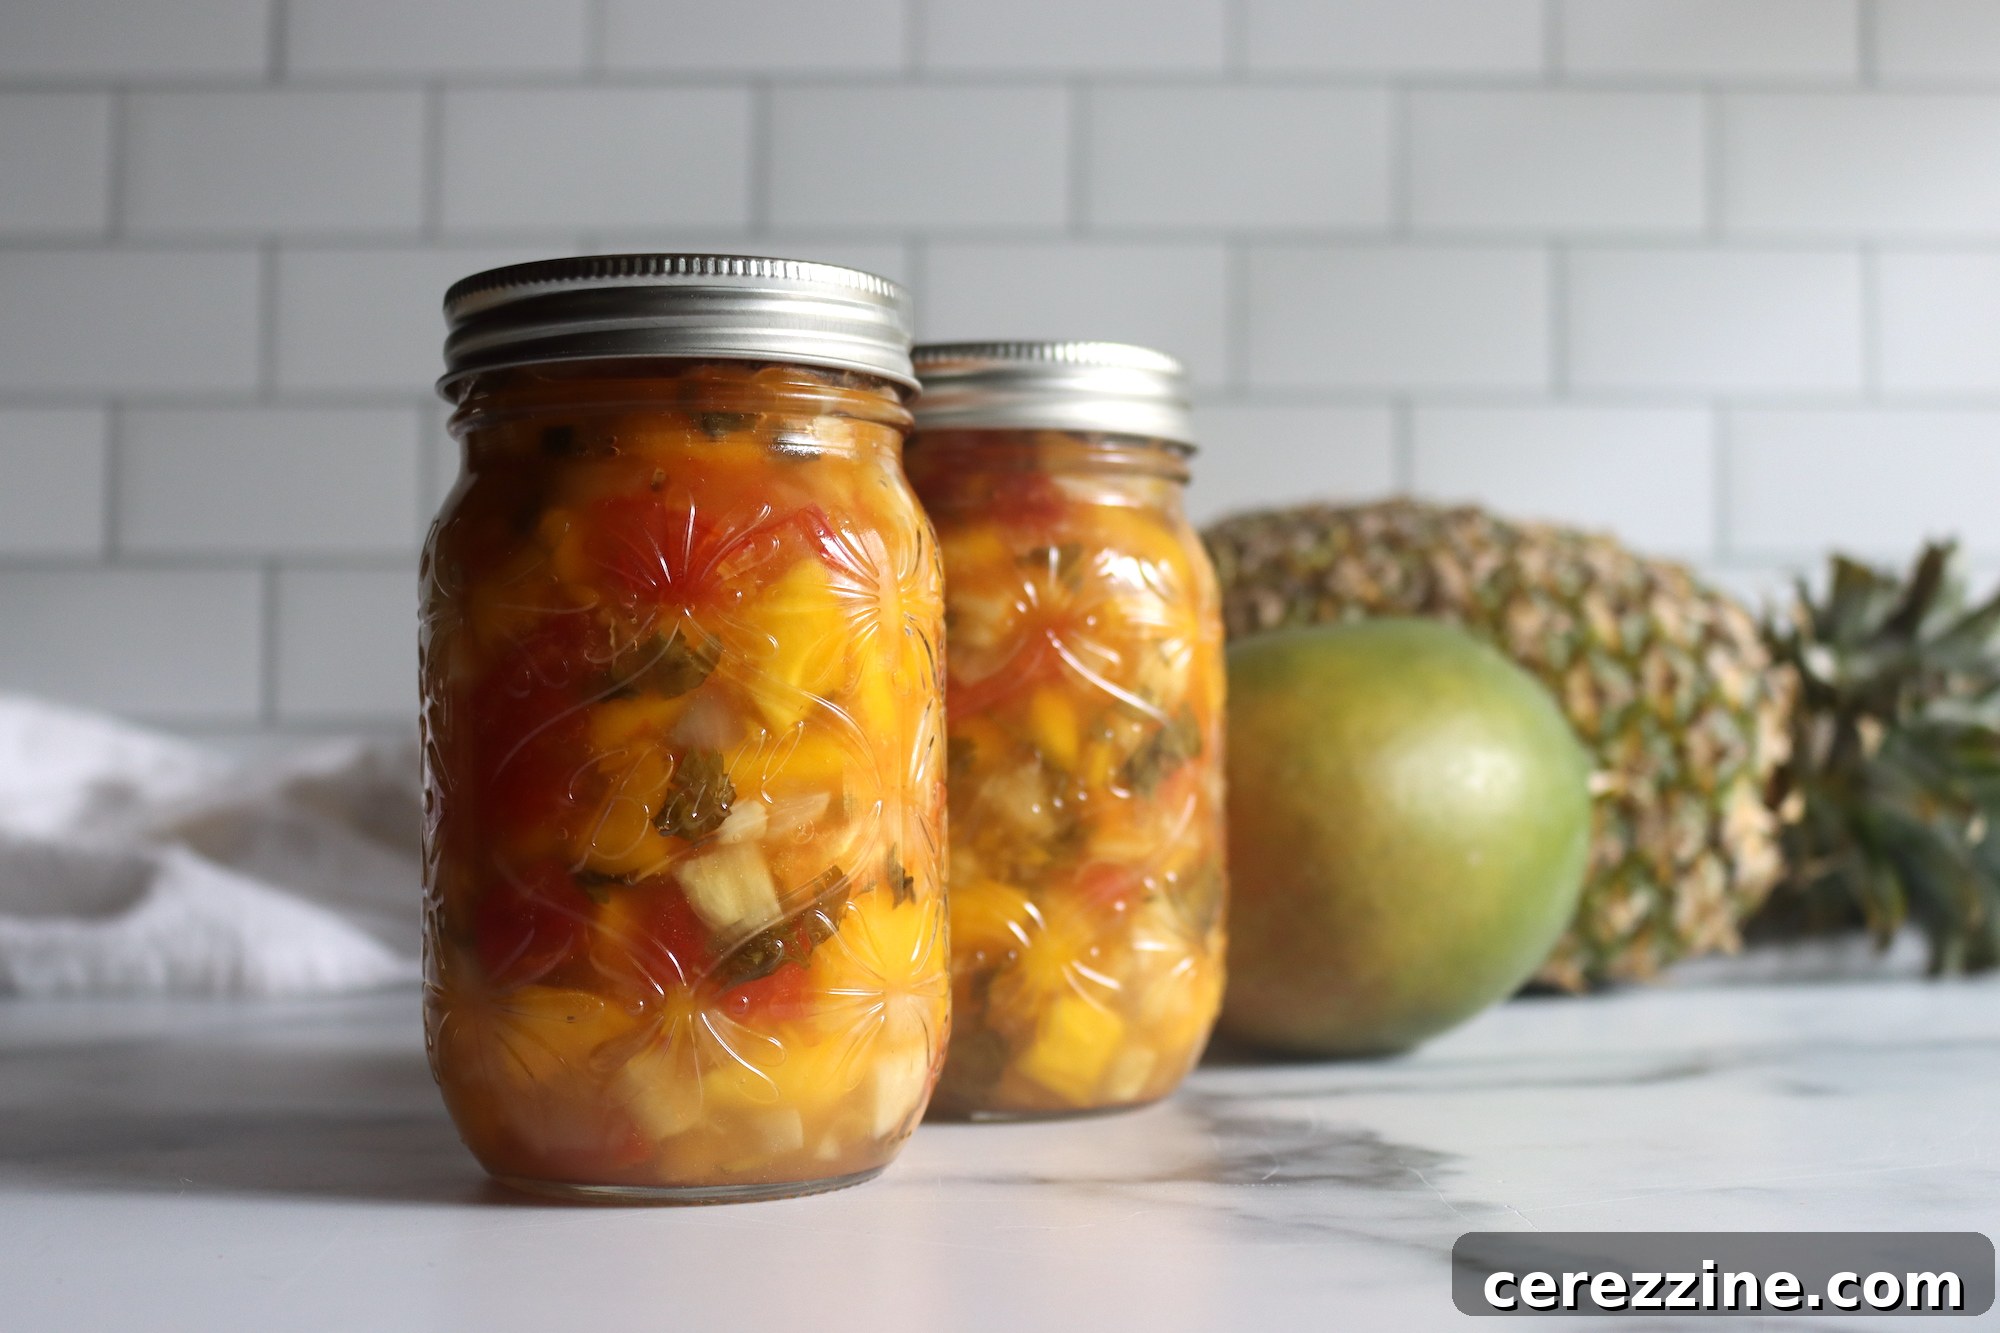
Canning Pineapple Mango Salsa for Long-Term Storage
After simmering, it’s time to transfer your delicious salsa into jars for preservation. While this salsa can be stored in the refrigerator for a few weeks or frozen for up to 6 months, home canning is my preferred method. It frees up valuable freezer space and provides the ultimate convenience of having ready-to-eat jars of vibrant salsa waiting on your pantry shelf, accessible whenever a craving strikes.
Jar Filling and Sealing:
- Carefully ladle the hot salsa into your warm, prepared canning jars. It’s essential to leave ½ inch of headspace between the top of the salsa and the rim of the jar. This space is critical for creating a proper vacuum seal during processing.
- Use a non-metallic utensil, like a plastic de-bubbler or chopstick, to gently remove any trapped air bubbles from the jars. Run the utensil along the inside edge of the jar, gently pushing down any pockets of air.
- After de-bubbling, recheck the headspace. If necessary, add a little more salsa to maintain the ½ inch measurement.
- Wipe the rims of the jars meticulously with a clean, damp cloth. Any food residue on the rim can prevent a proper seal.
- Place new, pre-warmed two-part canning lids (flats and rings) onto the jars. Apply the screw bands until they are “fingertip tight”—meaning, tighten them until you meet resistance, then give a slight extra turn. Do not overtighten, as this can prevent air from escaping and hinder the sealing process.
Water Bath Processing:
Load the filled and sealed jars into a preheated water bath canner. Ensure the jars are fully submerged in water, with at least 1-2 inches of water covering the tops of the jars. Place the lid on the canner and bring the water to a full, rolling boil.
Once the water is boiling vigorously, begin timing the processing. Process pint and half-pint jars for 15 minutes. Remember to adjust this processing time for your specific altitude, as detailed below, to ensure proper sterilization.
After the processing time is complete, turn off the heat and carefully remove the canner lid. Allow the jars to rest in the hot water for 5 minutes before carefully removing them with a jar lifter. This brief resting period helps prevent siphoning (liquid loss) and aids in a stronger seal.
Place the hot jars on a clean towel on your counter, ensuring there is space between them for air circulation. Let them cool undisturbed for 12 to 24 hours. As they cool, you should hear the satisfying “ping!” of the lids sealing. Once completely cool, check the seals by pressing on the center of each lid; it should not flex. Any unsealed jars should be refrigerated and consumed within a few weeks, or re-processed with new lids (after reheating the salsa).
When properly canned, your homemade Pineapple Mango Salsa can maintain its peak quality for 12 to 18 months in a cool, dark place, as long as the jars remain sealed. Always remember to refrigerate any opened jars and consume within a week or two.
Crucial Altitude Adjustments for Safe Canning
Altitude significantly affects the boiling point of water. At higher elevations, water boils at a lower temperature, which means food requires longer processing times to achieve the same level of sterilization. Always adjust your water bath canning time according to your elevation:
- 0 to 1,000 Feet in Elevation: Process pint and half-pint jars for 15 minutes.
- 1,001 to 6,000 Feet in Elevation: Process pint and half-pint jars for 20 minutes.
- Above 6,001 Feet in Elevation: Process pint and half-pint jars for 25 minutes.
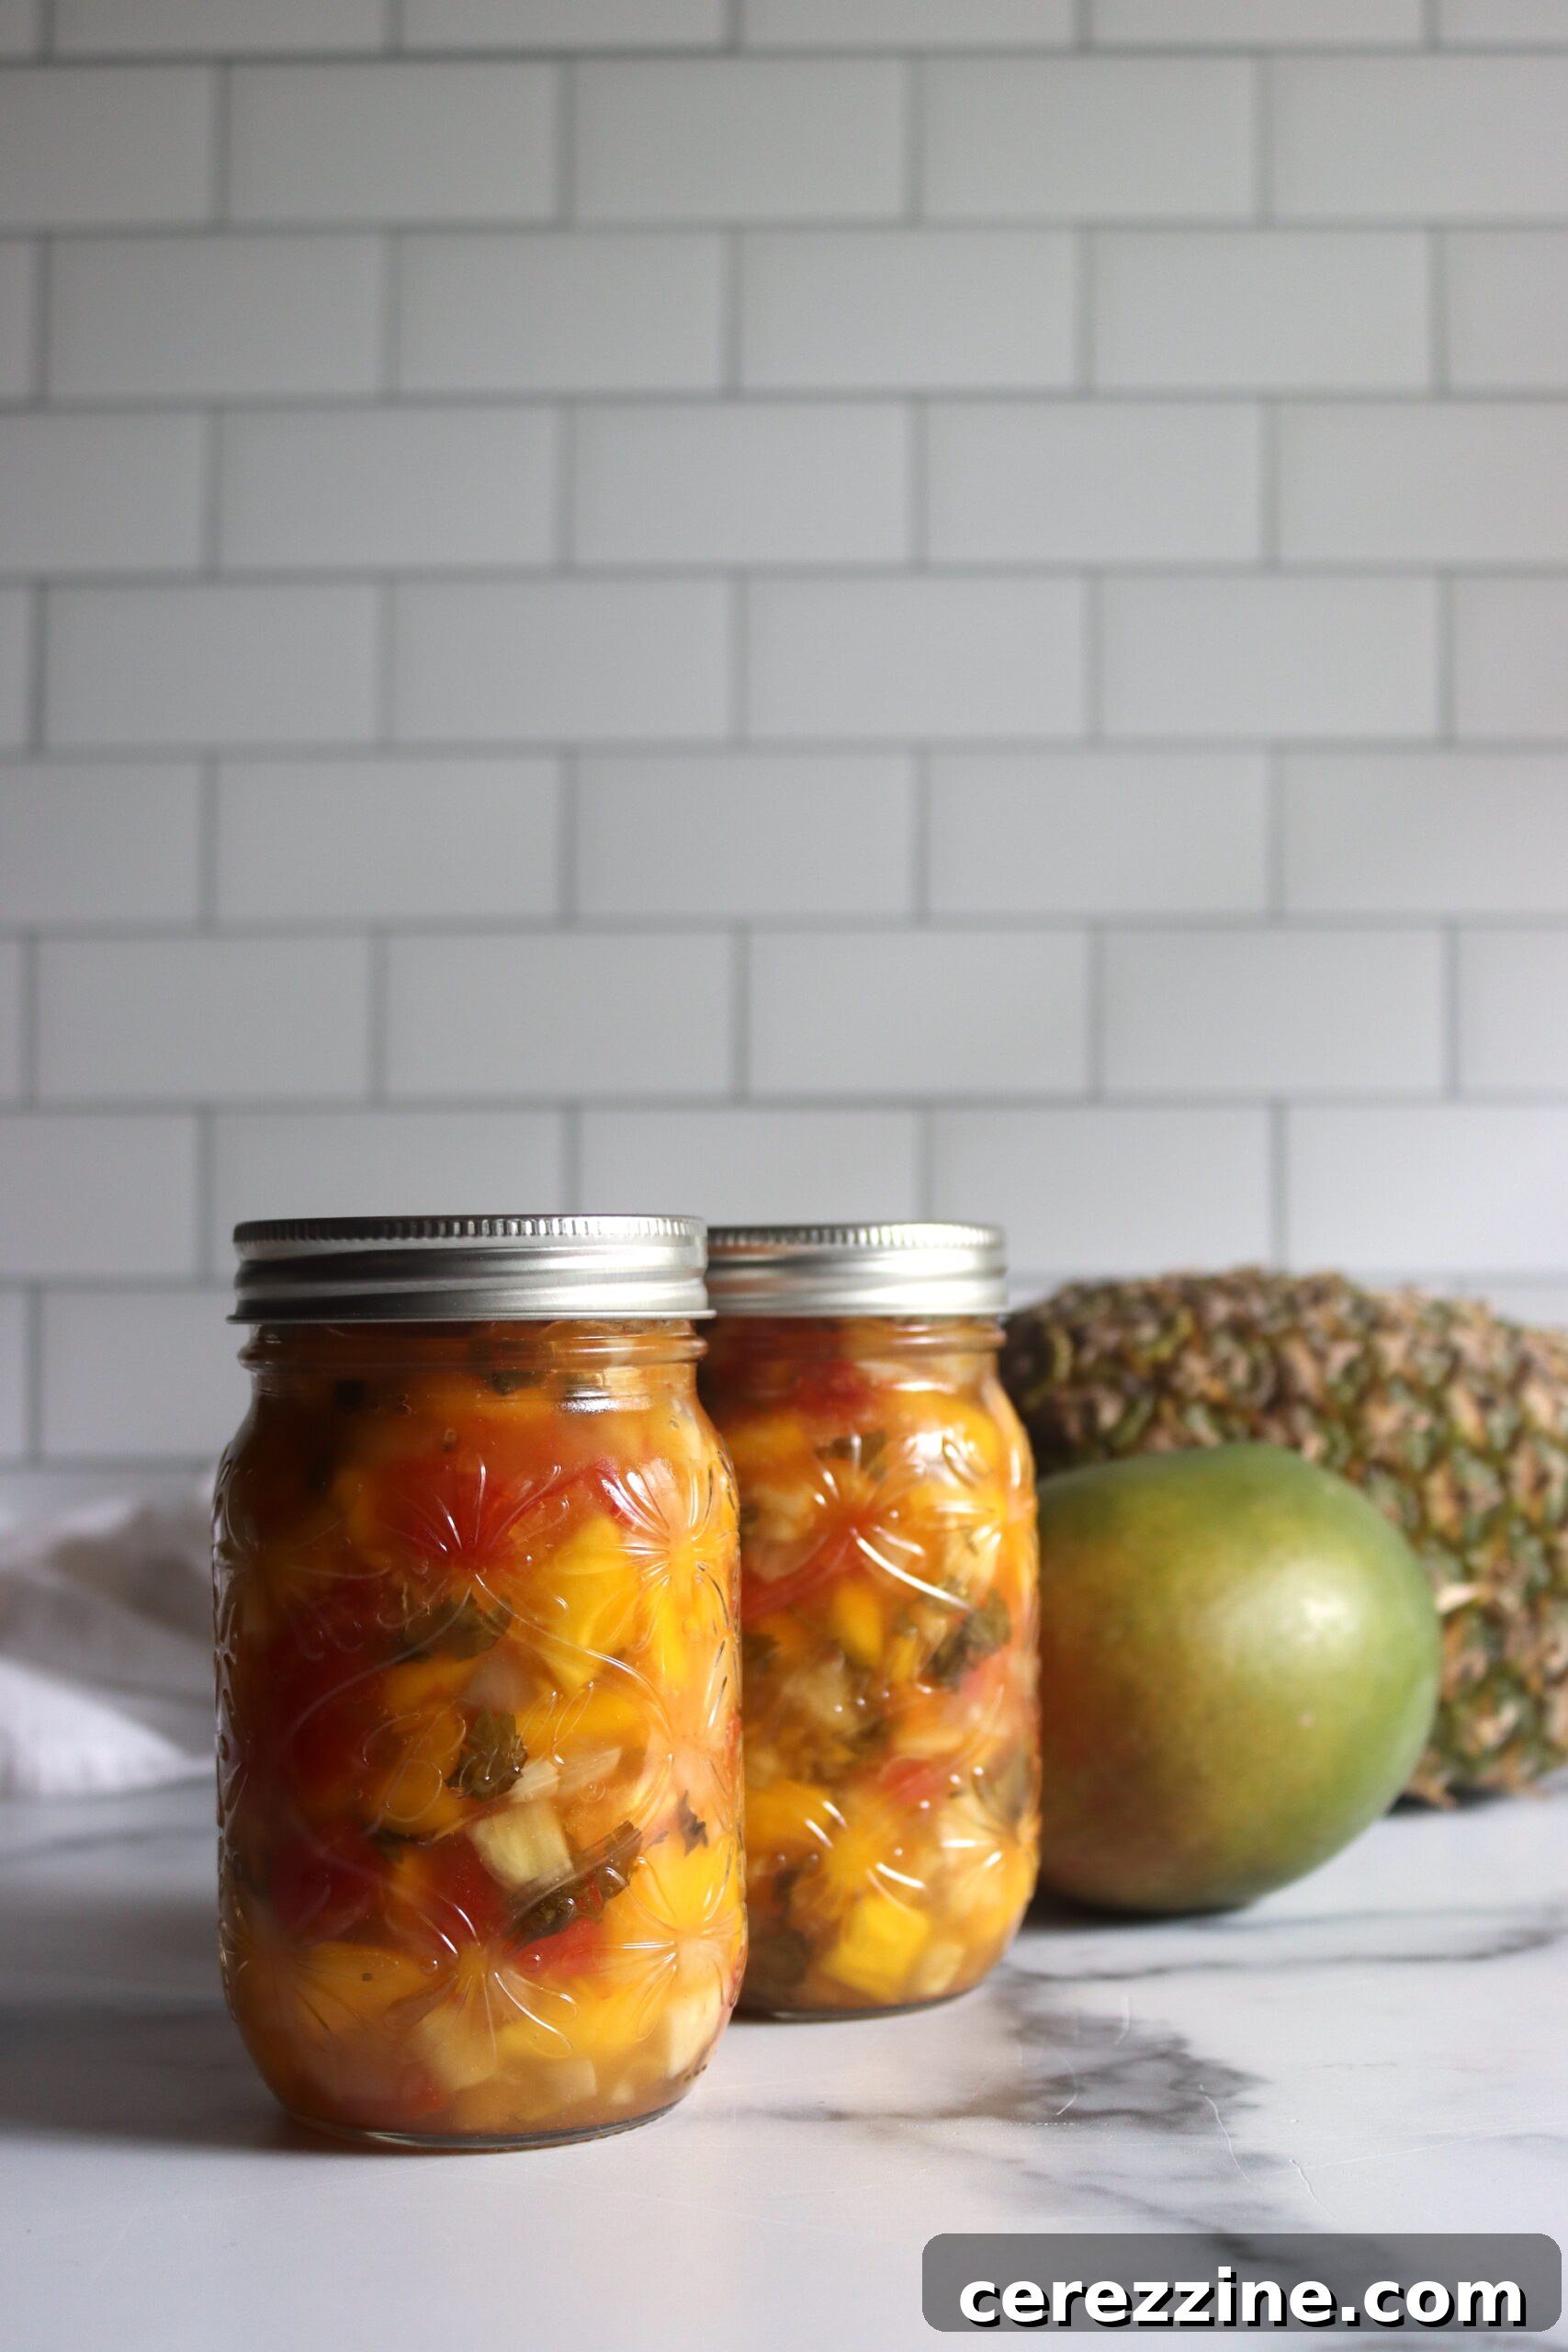
Explore More Fruit Salsa Canning Recipes
Summer Fruit Salsa with Honey & Balsamic
Peach Salsa
Apricot Salsa
Spicy Pickled Pineapple
Creative Serving Ideas for Pineapple Mango Salsa
The delightful balance of sweet, tangy, and subtly spicy flavors in this Pineapple Mango Salsa makes it incredibly versatile. It’s more than just a dip; it’s a culinary enhancer that can transform a simple meal into something extraordinary. Here are some inspiring ways to enjoy your homemade salsa:
- Classic Dip: Serve it chilled with crispy tortilla chips for a refreshing and vibrant appetizer at any gathering.
- Grilled Delights: It’s a spectacular topping for grilled chicken, fish (especially salmon, mahi-mahi, or cod), or shrimp. The tropical flavors complement the smoky char of grilled meats and seafood perfectly.
- Taco & Burrito Booster: Elevate your tacos, burritos, or quesadillas with a generous spoonful. It adds a fresh, zesty kick that traditional salsas might not provide.
- Salad Topper: Spoon it over a fresh green salad or a quinoa bowl for an instant burst of flavor and texture. It pairs wonderfully with a light vinaigrette.
- Breakfast & Brunch: Try it alongside scrambled eggs, in breakfast burritos, or even as a unique topping for savory pancakes or waffles.
- Curries & Stir-fries: As mentioned, it’s a natural fit for homemade Thai curries or as an addition to a quick chicken or shrimp stir-fry for a sweet and sour element.
- Marinade Base: Use it as a base for a marinade for chicken, pork, or even firm tofu before grilling or baking. The acidity helps tenderize while infusing incredible flavor.
- Burger & Sandwich Spread: Spread a thin layer on your next burger, chicken sandwich, or even a veggie wrap for a gourmet touch.
- Side Dish: Serve it as a unique and flavorful side dish at your next barbecue or potluck, offering a refreshing alternative to heavier sides.
No matter how you choose to enjoy it, this Pineapple Mango Salsa is sure to become a beloved staple in your pantry. Its bright, bold flavors are a testament to the joy of fresh ingredients and the rewarding art of home canning.
6-7
pint jars
Pineapple Mango Salsa Recipe
10
10
15
Pin Recipe
Print Recipe
Equipment You’ll Need
-
Ball Keepsake Jars or other mason jars
-
Regular Mouth Canning Lids
-
Water Bath Canner
-
Canning Funnel
-
Jar Lifter
Ingredients
- 6 cups pineapple, peeled, cored, and diced
- 8 cups mango, diced
- 4 cups tomatoes, cored, seeded, and diced (not peeled)
- 2 cups red bell pepper, stemmed, seeded, and diced
- 1½ cup red onion, finely diced
- 2 habanero peppers, seeded and diced
- 3 cloves garlic, minced
- 4 tsp salt
- ¼ cup bottled lime juice
- ½ cup white vinegar, 5% acidity
- 6 Tbsp cilantro, finely chopped
Instructions
-
In a large stock pot, combine all ingredients and bring to a boil.
-
Reduce heat and simmer for 10 minutes, allowing flavors to meld and ingredients to soften slightly.
-
Ladle the hot salsa into prepared, warm jars, leaving ½ inch headspace. Remove air bubbles and adjust headspace if needed.
-
Wipe jar rims clean, apply new lids and screw bands fingertip tight. Process jars in a water bath canner for 15 minutes for half-pints and pints, adjusting for your altitude (see notes for specific times).
-
After processing, turn off heat, remove canner lid, and let jars rest for 5 minutes in the hot water. Then, use a jar lifter to remove the jars to cool completely on a towel on the counter for 12-24 hours.
-
Once completely cool, check seals. Lids should be concave and not flex when pressed. Store any unsealed jars in the refrigerator for immediate use (or re-process with new lids). Properly sealed jars will maintain peak quality on the pantry shelf for 12-18 months. Refrigerate after opening.
Notes
Altitude Adjustments for Canning
Water boils at a lower temperature at higher altitudes, which means you’ll need to adjust your processing time:
- 0 to 1,000 Feet in Elevation: Process pint and half-pint jars for 15 minutes.
- 1,001 to 6,000 Feet in Elevation: Process pint and half-pint jars for 20 minutes.
- Above 6,001 Feet in Elevation: Process pint and half-pint jars for 25 minutes.
Approximate Nutrition Information (per serving)
Calories: 14kcal
Carbohydrates: 3g
Protein: 0.2g
Fat: 0.1g (Saturated Fat: 0.02g, Polyunsaturated Fat: 0.02g, Monounsaturated Fat: 0.02g)
Sodium: 78mg
Potassium: 51mg
Fiber: 0.5g
Sugar: 3g
Vitamin A: 252IU
Vitamin C: 13mg
Calcium: 4mg
Iron: 0.1mg
Nutrition information is automatically calculated, so should only be used as an approximation.
Enjoyed this recipe? Leave a comment below!
More Delightful Salsa Canning Recipes
If you’ve enjoyed the process and flavor of this Pineapple Mango Salsa, you’re likely eager to explore more options for home-canned goodness. Expand your pantry with an array of homemade salsa canning recipes. Each offers a unique flavor profile and a wonderful way to preserve fresh produce:
- Green Tomato Salsa Verde: A tangy, vibrant salsa perfect for Mexican cuisine.
- Cranberry Salsa: A festive and zesty option, great for holiday meals or as a unique spread.
- Chipotle Tomatillo Salsa: Smoky and spicy, offering a rich depth of flavor.
- Tomatillo Salsa: A classic and versatile green salsa, bright and fresh.
- Corn Salsa: Sweet and crunchy, fantastic with grilled foods or as a side.