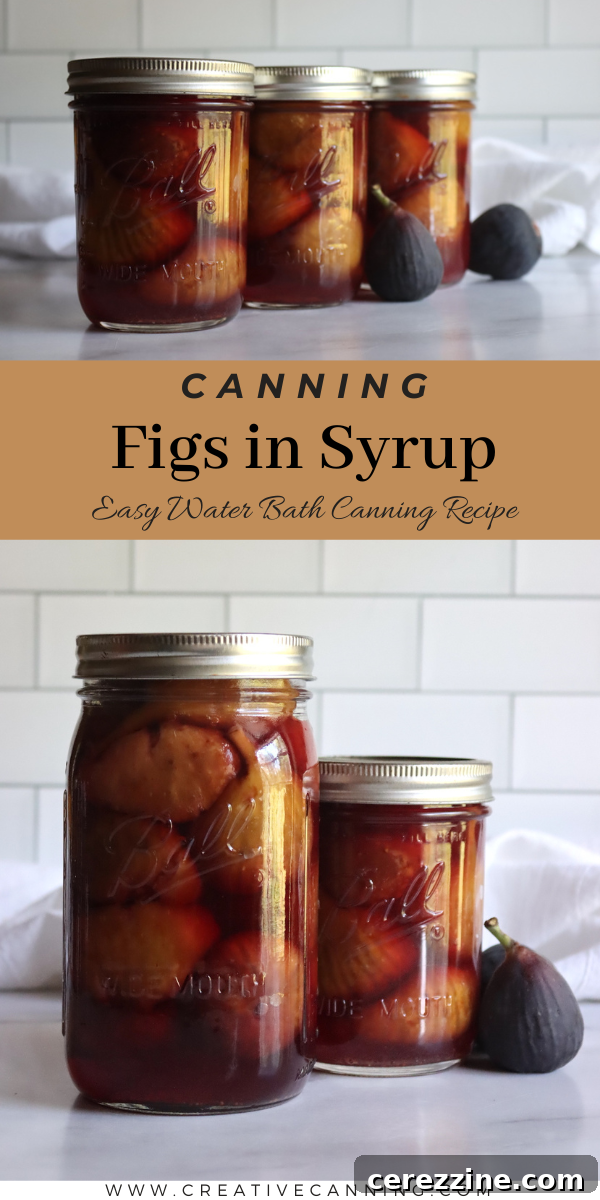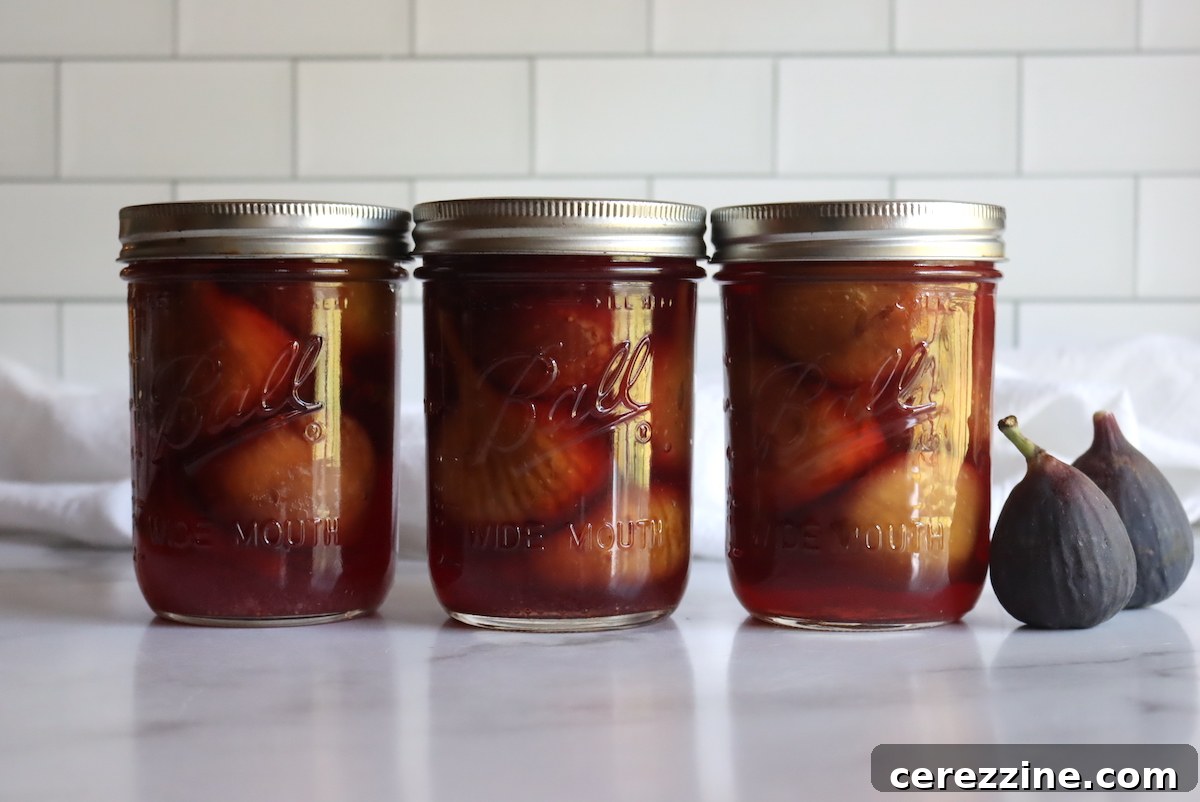
Mastering Home Canning: Preserving Fresh Figs in Syrup for Year-Round Enjoyment
Imagine extending the delight of sweet, succulent figs far beyond their fleeting harvest season. Canning figs at home is a simple yet incredibly rewarding method to preserve these delicate fruits, allowing you to savor their unique flavor and texture all year long. This comprehensive guide will walk you through every step of the process, ensuring your pantry is stocked with jars of homemade, perfectly preserved figs.
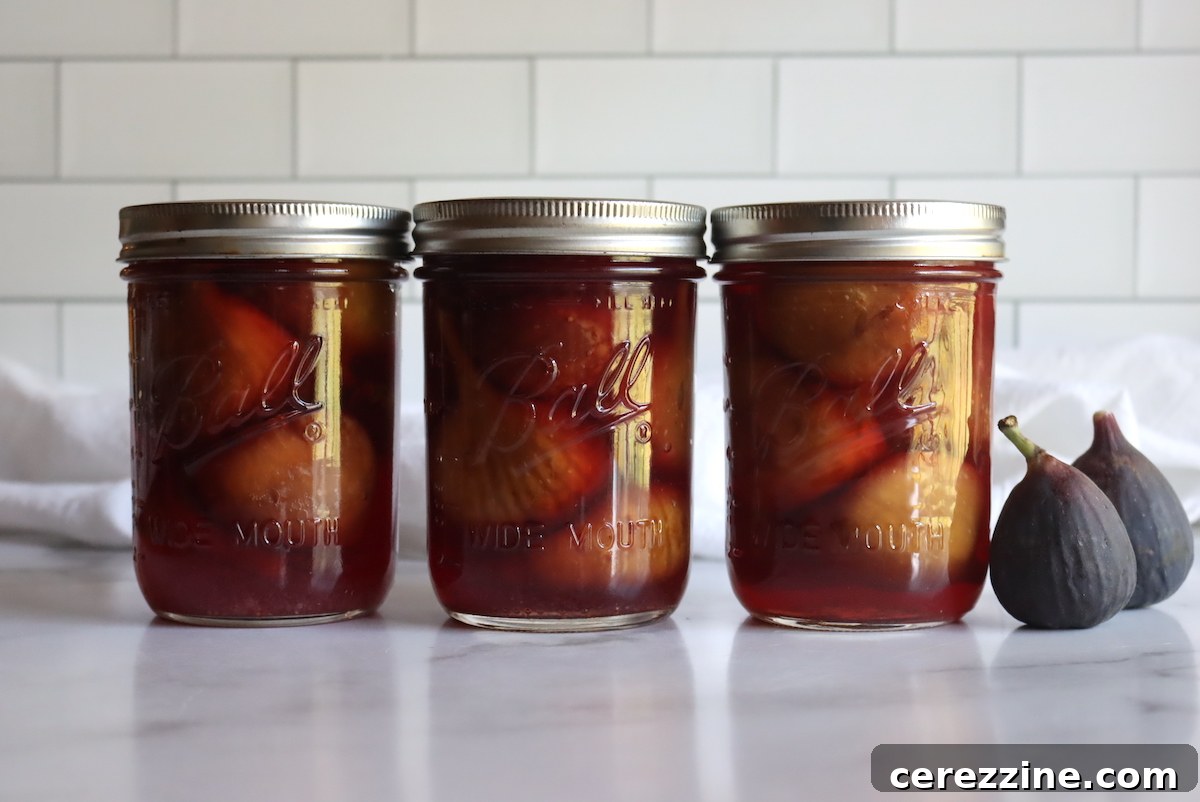
Growing up, I was fortunate to have access to my grandmother’s abundant fig trees. These prolific trees produced figs by the bucketload, and while all us grandkids did our best to eat them fresh in season, we never quite managed to keep up with the harvest. Every year, her freezer would be crammed with bags of figs, and inevitably, many more would simply fall to the ground and spoil once freezer space ran out.
My grandmother wasn’t a canner, and she didn’t realize just how effortlessly figs can be preserved in syrup right on the pantry shelf. Canning offers a superior preservation method compared to freezing, as it helps maintain the figs’ delicate structure and vibrant flavor. When properly canned, figs remain sweet, tender, and incredibly versatile, ready to be enjoyed straight from the jar, incorporated into baked goods, or served as a luxurious topping for ice cream or yogurt. If you’re blessed with a single fig tree, or simply love fresh figs, mastering the art of home canning is an excellent way to make the most of this delicious fruit.
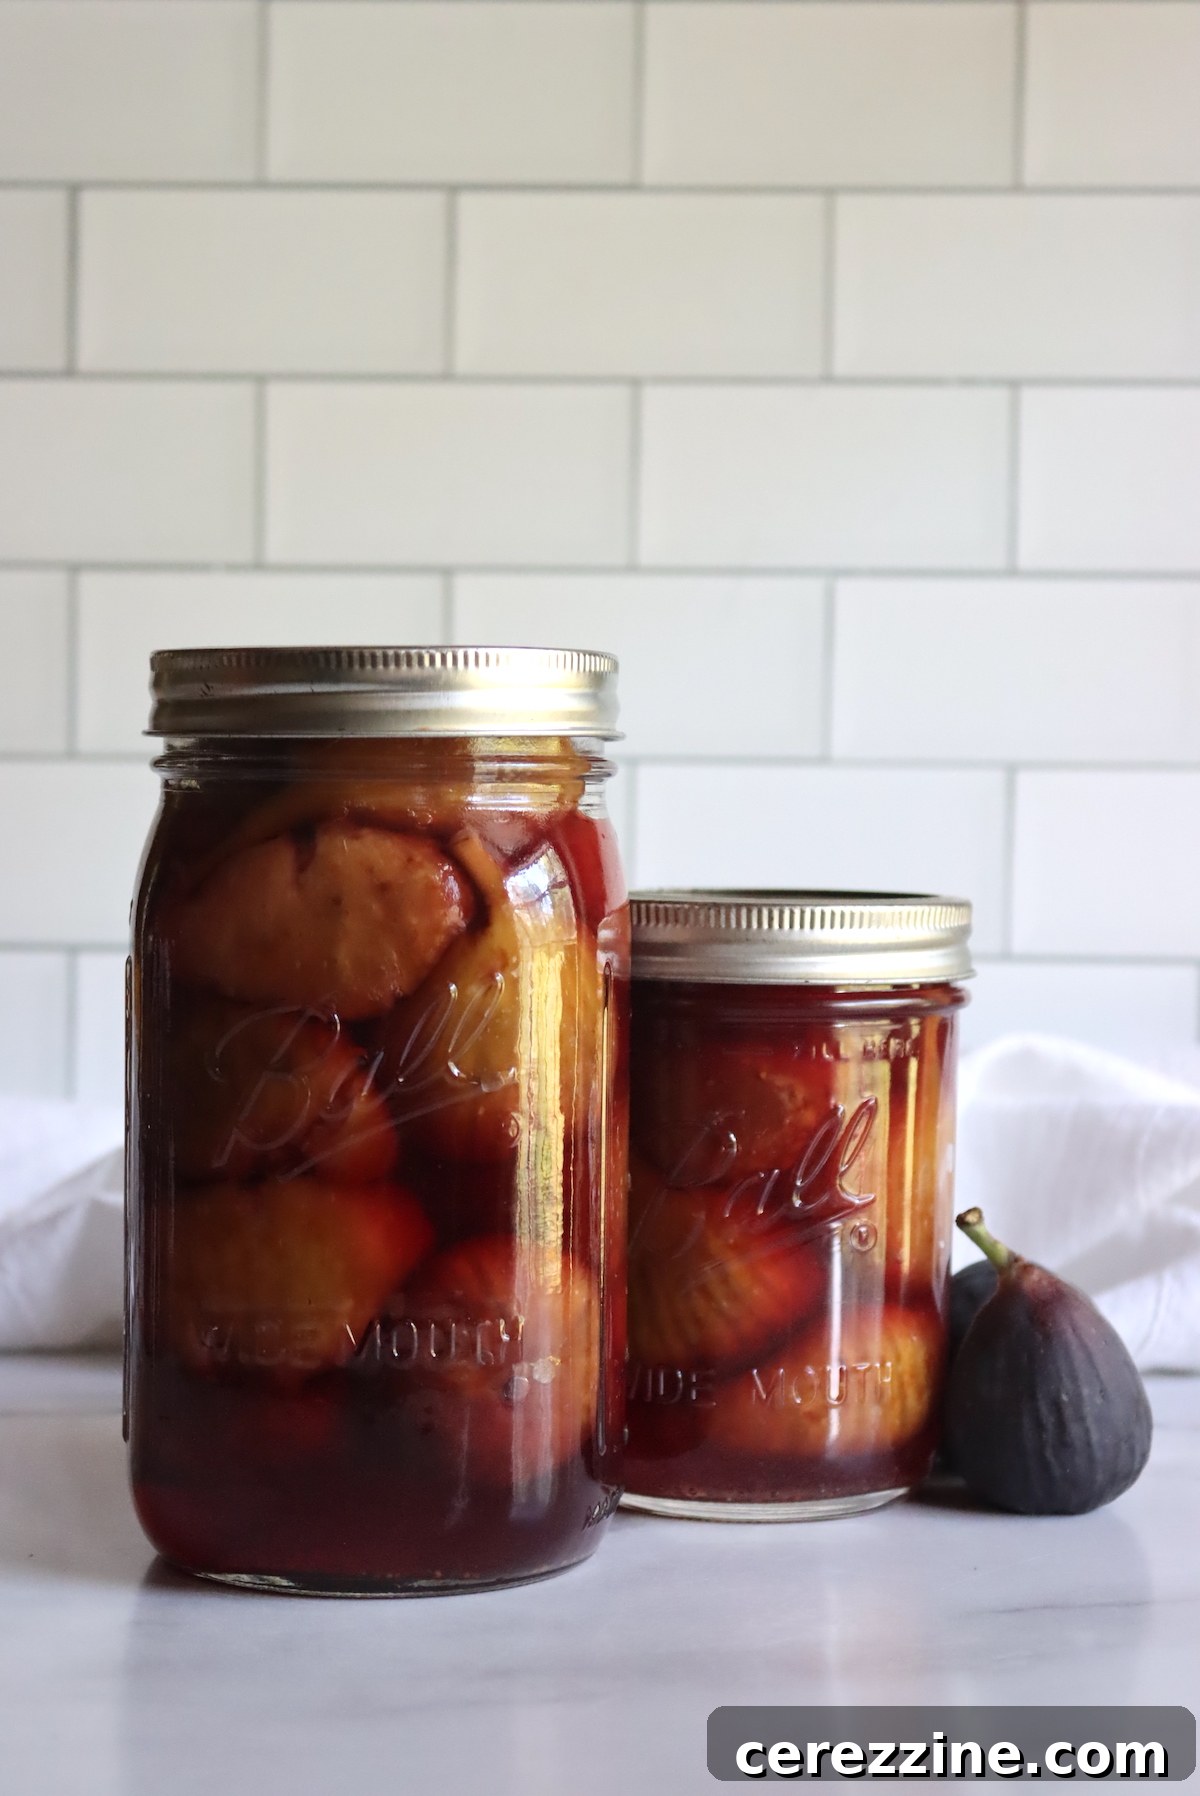
Canning Figs Yield: Estimating Your Harvest for Preservation
Understanding how many figs you’ll need is the first step to successful home canning. The total amount of fresh figs required to fill your canning jars will depend on several factors, including the size of your figs and how efficiently you pack them. Since figs are hot-packed, they will shrink slightly during the process, making it a bit easier to fit more into each jar than you might initially anticipate.
As a general guideline, plan for approximately 16 pounds of fresh figs to fill a standard canner load of 7 quart-sized jars. If you prefer to can in pint jars, about 11 pounds of figs will typically yield a batch of 9 pints. This breaks down to roughly 2 ¼ pounds of figs per quart jar or 1 ¼ pounds per pint jar. Keep in mind that smaller figs tend to pack more tightly, potentially requiring a slightly higher overall weight to fill your jars, while very large figs will take up more space and might require a bit less.
Choosing the Right Jar Size for Canning Figs
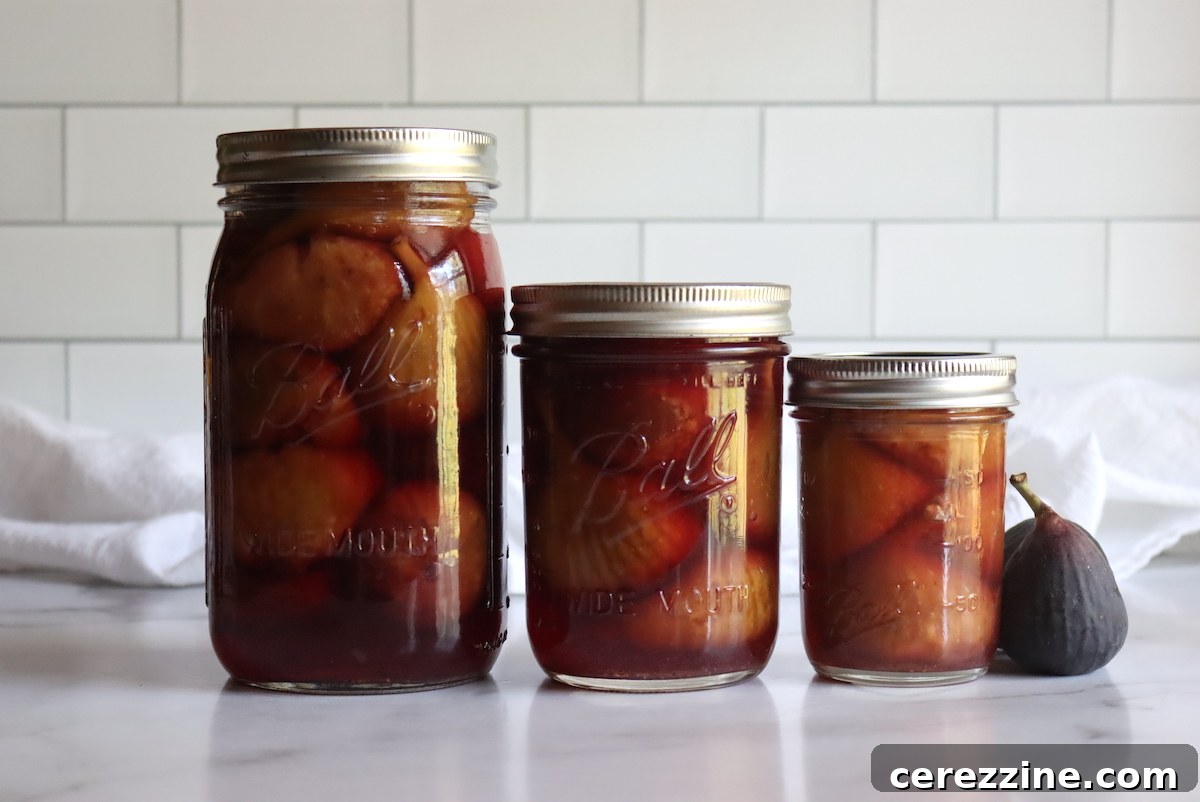
Figs can be safely canned in quarts, pints, or even half-pint jars. Many home canners prefer pint or half-pint jars for figs, as these sizes are often ideal for individual servings or smaller family portions. If you opt for smaller half-pint jars, rest assured that the processing times remain the same as for pint jars. However, for safety reasons, it is crucial that you do not can figs in jars larger than quarts, as larger sizes may not heat properly to ensure safe preservation.
Preparing Fresh Figs for Canning: Essential Steps for Perfect Results
The process of preparing figs for canning is surprisingly simple, primarily because they are canned whole. This method helps them retain their natural shape and texture. However, there are a few key considerations to ensure the best possible flavor and appearance for your home-canned figs.
Keep Stems Intact and Do Not Peel
It’s tempting to trim the small stems from your figs or to peel their delicate skins before canning, but resisting these urges is vital. Cutting off the fig stems can cause the milky fig sap to bleed into your canning liquid, potentially imparting an undesirable flavor and making the syrup cloudy. For the best results, leave the stems on and simply remove them when you are ready to serve the canned figs.
Similarly, avoid peeling the figs. The skin plays an important role in helping the figs maintain their structural integrity during the heat processing in the canner. Peeling them could lead to the figs breaking down and becoming overly mushy. Essentially, all that’s needed for preparation is a quick, thorough rinse under cool running water to clean the fruit. No further cutting or trimming is necessary at this stage.
The Importance of Blanching Figs
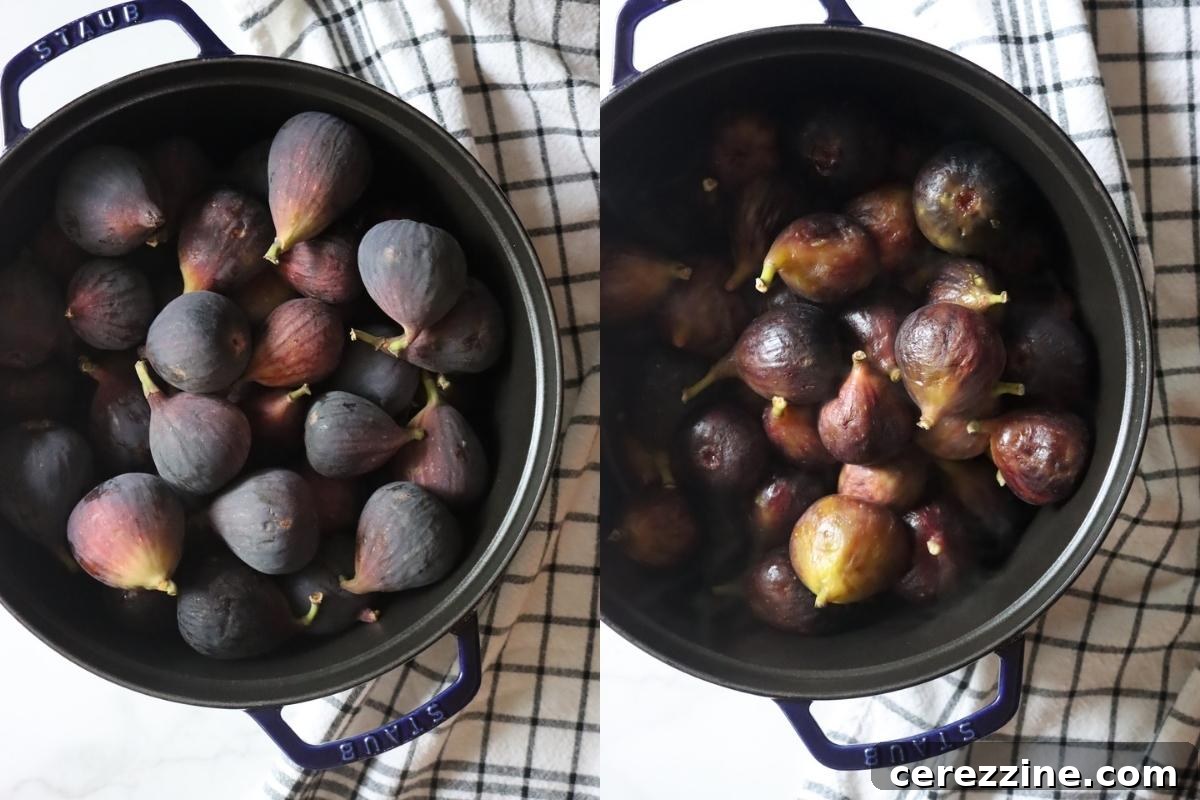
Blanching is a crucial preliminary step for canning figs. This brief immersion in boiling water serves a dual purpose: it helps to remove some of the natural bitter compounds present in the fig’s sap and skin, and it slightly softens the fruit. This softening allows for more efficient and tighter packing into the canning jars. To blanch your figs, bring a large pot of water to a vigorous boil. Carefully add the cleaned figs to the boiling water and let them boil for precisely 2 minutes. After blanching, immediately strain the figs, discarding the cooking water. Once blanched, your figs are perfectly prepped and ready for the next stage of the canning process.
How to Can Figs: A Step-by-Step Guide for Home Preservation
Canning figs using the water bath method is a time-tested technique that yields shelf-stable and wonderfully preserved fruit. Follow these detailed steps to ensure a safe, delicious, and successful fig canning experience.
Step 1: Prepare Your Canning Equipment
Before you begin any canning, ensure all your equipment is ready. Wash your water bath canner, canning jars, new lids, and screw bands thoroughly in hot, soapy water, then rinse well. To sterilize your jars, place them in the canner filled with water, heat it to a gentle simmer (around 180°F or 82°C), and keep them hot until you are ready to fill. Lids should be prepared according to the manufacturer’s instructions, typically by simmering in hot (but not boiling) water.
Step 2: Blanch the Figs
As outlined in the preparation section, blanch your fresh figs. Bring a large pot of water to a rolling boil, add the figs, and boil them for exactly 2 minutes. This crucial step helps to tenderize the figs and reduce any bitterness. After blanching, drain the figs completely and discard the blanching water.
Step 3: Prepare the Canning Syrup
The type of syrup you use can be customized to your taste. For figs, a light syrup is often preferred as it enhances their natural sweetness without overpowering it, preserving their delicate flavor and best quality. However, you are free to choose extra-light, medium, or heavy syrup. Here are the measurements for preparing a light syrup:
For a 9-Pint Batch (approximately 11 lbs of figs):
- 5 ¾ cups water
- 1 ½ cups granulated sugar
For a 7-Quart Batch (approximately 16 lbs of figs):
- 9 cups water
- 2 ¼ cups granulated sugar
Combine the measured water and sugar in a large stockpot. Bring the mixture to a gentle boil on your stovetop, stirring constantly until the sugar has completely dissolved. Once the syrup is boiling, add the blanched figs to the hot syrup and cook them for 5 minutes. This “hot pack” method is essential for driving air out of the fruit and helps create a strong, reliable seal.
Step 4: Add Acid to Jars
This is a critically important safety step for water bath canning figs. Figs are considered a borderline low-acid fruit, meaning they require added acidity to ensure a safe environment for canning and to prevent the growth of harmful bacteria. It is absolutely essential to add lemon juice or citric acid directly to each individual canning jar *before* you fill them with figs and syrup. Do not add the acid to the boiling syrup, as precise measurement per jar is paramount for food safety.
For quart jars, add 2 tablespoons of bottled lemon juice or ½ teaspoon of citric acid. For pint or half-pint jars, add 1 tablespoon of bottled lemon juice or ¼ teaspoon of citric acid. Always use bottled lemon juice for canning, as its acidity level is standardized and consistent, unlike fresh lemon juice.
Step 5: Fill the Jars
Carefully use a slotted spoon to transfer the hot, syrup-cooked figs into your prepared, hot canning jars, ensuring an even and relatively tight pack. Once the figs are in place, ladle the hot canning syrup over them, making sure the figs are completely submerged. A crucial detail here is to leave ½ inch of headspace between the top of the syrup and the rim of the jar. This headspace is vital for proper sealing and to prevent siphoning (liquid loss) during the processing stage.
Step 6: Prepare Jars for Processing
After filling, take a clean, damp cloth and thoroughly wipe the rims of each jar. Any syrup or food residue on the rim can prevent a proper seal. Next, remove any trapped air bubbles by gently running a plastic or wooden utensil (never metal, as it can scratch the glass) along the inside of the jar. If necessary, adjust the headspace by adding a little more syrup. Finally, center a prepared lid on each jar and apply the screw band, tightening it to “fingertip tight”—meaning secure but not overly tight, to allow air to escape during processing.
Step 7: Process in a Water Bath Canner
Carefully lower the filled and sealed jars into the preheated water bath canner, ensuring they are fully submerged by at least 1 inch of water. Cover the canner with its lid. Bring the water to a vigorous, rolling boil. Once the water reaches a full boil, start your timer.
- For pint jars: Process for 45 minutes
- For quart jars: Process for 50 minutes
These processing times are for elevations below 1,000 feet (approximately 305 meters). For higher elevations, adjustments are necessary to ensure the safety and proper preservation of your figs. Please consult the table below for the correct processing times:

Altitude Adjustments for Canning Whole Figs in Syrup:
- 0 to 1,000 Feet (0 – 305 meters): 45 minutes for pints, 50 minutes for quarts
- 1,001 to 3,000 Feet (306 – 914 meters): 50 minutes for pints, 55 minutes for quarts
- 3,001 to 6,000 Feet (915 – 1,829 meters): 55 minutes for pints, 60 minutes for quarts
- Above 6,001 Feet (1,830+ meters): 60 minutes for pints, 65 minutes for quarts
Step 8: Cooling and Storage
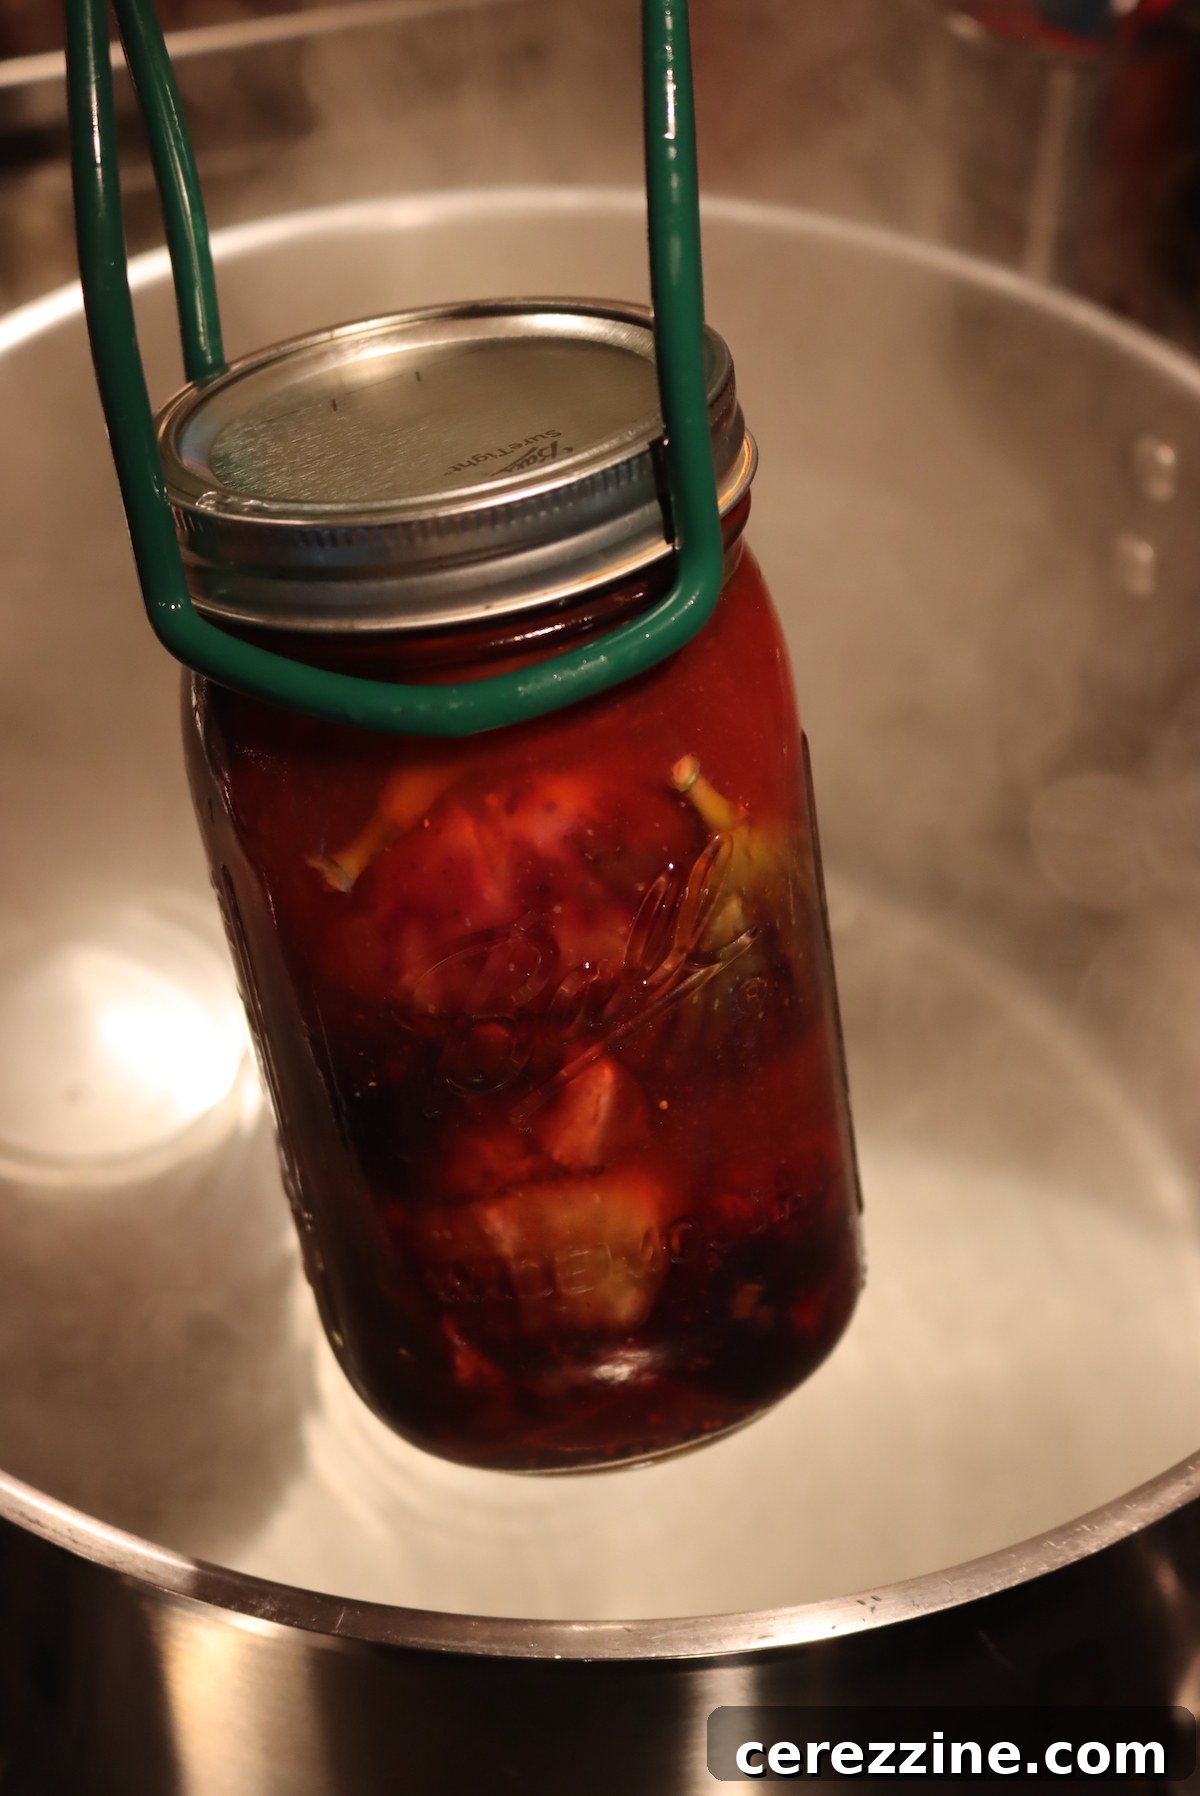
Once the required processing time is complete, turn off the heat source and carefully remove the canner lid. Allow the jars to sit undisturbed in the hot water bath for an additional 5-10 minutes. This gradual cooling helps to partially reduce the temperature of the jars and can help prevent “siphoning,” which is the loss of liquid from the jars. After this resting period, use a jar lifter to carefully remove the hot jars from the canner. Place them upright on a towel-lined counter or a cooling rack, ensuring there is ample space between each jar for air circulation. Allow them to cool completely, undisturbed, for 12 to 24 hours.
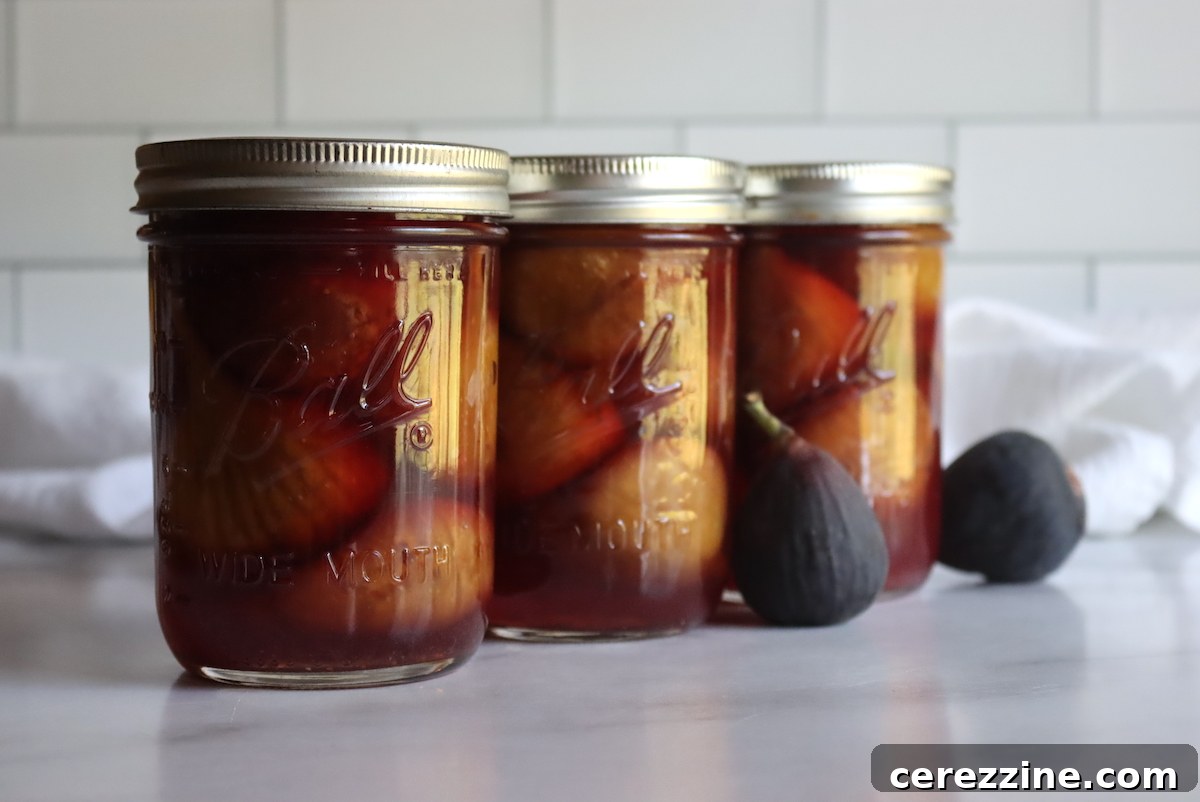
After the jars have cooled, check their seals. A properly sealed lid will be concave (curved inward) and will not flex when pressed in the center. If any jar did not seal (the lid is loose or pops up when pressed), refrigerate its contents immediately and consume them within a week. Alternatively, you can reprocess the unsealed jar within 24 hours, using a new lid and following all canning steps again. Properly canned and sealed jars, with their screw bands removed, can be stored in a cool, dark, and dry place for 12 to 18 months. Removing the screw bands during storage helps prevent rust and allows for easier monitoring of the seals.
Canning Figs: A Detailed Recipe
This comprehensive recipe provides all the information needed to safely and deliciously can fresh figs in a light syrup. Enjoy the taste of summer figs all year long with this reliable water bath canning method. This recipe yields approximately 7 quarts or 9 pints.
Equipment You’ll Need:
- Water Bath Canner with rack
- Large stockpot (for syrup and cooking figs)
- Canning jars (quart, pint, or half-pint sizes)
- New canning lids and screw bands
- Jar lifter
- Canning funnel
- Bubble remover / headspace tool
- Slotted spoon
- Clean towels
Ingredients:
For a 7 Quart Batch:
- 16 lbs fresh figs
- 9 cups water (plus additional for blanching)
- 2 ¼ cups granulated sugar
- A scant cup of bottled lemon juice (approximately 14 Tbsp total, 2 Tbsp per quart jar) OR 3 ½ tsp citric acid (½ tsp per quart jar)
For a 9 Pint Batch:
- 11 lbs fresh figs
- 5 ¾ cups water (plus additional for blanching)
- 1 ½ cups granulated sugar
- A bit more than half a cup bottled lemon juice (approximately 9 Tbsp total, 1 Tbsp per pint jar) OR 2 ¼ tsp citric acid (¼ tsp per pint jar)
Instructions:
- Prepare Canner & Jars: Set up your water bath canner with a rack. Wash canning jars, lids, and bands thoroughly. Place clean jars in the canner, cover with water, and heat to a gentle simmer (approx. 180°F / 82°C) to sterilize and keep hot. Prepare lids according to manufacturer’s instructions.
- Blanch Figs: In a separate large pot, bring water to a rolling boil. Add cleaned fresh figs and blanch for 2 minutes. Drain figs thoroughly and discard the blanching water.
- Prepare Canning Syrup: In the large stockpot, combine the measured water and granulated sugar for your chosen batch size (7-quart or 9-pint). Bring to a boil over medium-high heat, stirring until the sugar is completely dissolved, creating a light syrup.
- Cook Figs in Syrup: Add the blanched figs to the boiling syrup. Reduce heat slightly and boil gently for 5 minutes. This hot-pack method ensures better quality and removal of air.
- Add Acidity to Jars: While the figs are cooking in syrup, add the appropriate amount of bottled lemon juice or citric acid directly to each empty, hot canning jar. (2 Tbsp lemon juice / ½ tsp citric acid per quart; 1 Tbsp lemon juice / ¼ tsp citric acid per pint).
- Fill Jars: Using a slotted spoon, carefully transfer the hot, syrup-cooked figs into the prepared hot canning jars. Pack them as snugly as possible without crushing. Then, ladle the hot canning syrup over the figs, ensuring they are completely covered. Leave exactly ½ inch headspace between the surface of the syrup and the rim of the jar.
- De-bubble & Seal: Use a plastic or wooden bubble remover tool to gently remove any trapped air bubbles from inside the jars. Wipe jar rims clean with a damp cloth to ensure a proper seal. Center a hot lid on each jar and secure with a screw band, tightening only to “fingertip tight.”
- Process Jars: Carefully place the filled and sealed jars into the hot water bath canner, ensuring they are covered by at least 1 inch of water. Bring the water to a rolling boil. Once boiling vigorously, begin timing. Process pint jars for 45 minutes; quart jars for 50 minutes (adjust for altitude according to the provided table in the article above).
- Cool Down: After the processing time is complete, turn off the heat and remove the canner lid. Allow the jars to sit in the hot water bath for an additional 5-10 minutes. This helps prevent siphoning. Carefully remove jars with a jar lifter and place them on a towel-lined counter or cooling rack, ensuring they don’t touch, to cool completely for 12-24 hours.
- Check Seals & Store: Once cooled, check the seals. Lids should be concave and should not flex when pressed. Any unsealed jars must be refrigerated and consumed within a week. For properly sealed jars, remove the screw bands and store them in a cool, dark, dry place for 12-18 months.
Notes on Syrup Strength for Canning Figs:
While light syrup is a popular choice for canning figs due to its balanced sweetness, you have the flexibility to adjust the sugar content to your preference. Here are the measurements for various syrup strengths:
For a 9-Pint Batch:
- Extra Light Syrup: 6 ½ cups water, ¾ cup sugar
- Light Syrup: 5 ¾ cups water, 1 ½ cups sugar
- Medium Syrup: 5 ¼ cups water, 2 ¼ cups sugar
- Heavy Syrup: 5 cups water, 3 ¼ cups sugar
- Extra Heavy Syrup: 4 ¼ cups water, 4 ¼ cups sugar
For a 7-Quart Batch:
- Extra Light Syrup: 10 ½ cups water, 1 ¼ cups sugar
- Light Syrup: 9 cups water, 2 ¼ cups sugar
- Medium Syrup: 8 ¼ cups water, 3 ¾ cups sugar
- Heavy Syrup: 7 ¾ cups water, 5 ¼ cups sugar
- Extra Heavy Syrup: 6 ½ cups water, 6 ¾ cups sugar
Nutrition Information (Approximate):
- Calories: 213 kcal
- Carbohydrates: 55g
- Protein: 2g
- Fat: 1g
- Saturated Fat: 0.1g
- Polyunsaturated Fat: 0.3g
- Monounsaturated Fat: 0.1g
- Sodium: 5mg
- Potassium: 508mg
- Fiber: 6g
- Sugar: 49g
- Vitamin A: 311 IU
- Vitamin C: 4mg
- Calcium: 79mg
- Iron: 1mg
Nutrition information provided is an automatic calculation and should be used as an approximation. Actual values may vary based on specific ingredients, preparation methods, and portion sizes.
Explore More Fig Canning and Preservation Recipes
Canning whole figs in syrup is a wonderfully versatile way to preserve these delightful fruits, offering a taste of summer throughout the year. However, it’s just one of many fantastic options for making the most of a bountiful fig harvest. Figs lend themselves beautifully to a variety of other preservation methods, each offering a unique way to enjoy their distinct flavor profile.
Beyond Whole Figs: Other Creative Ways to Preserve Figs
- Fig Jam: A timeless classic, fig jam is perfect for spreading on toast, pairing with cheeses, or filling pastries. Its rich, sweet flavor is always a crowd-pleaser.
- Fig Jelly: (Recipe coming soon) For those who prefer a clear, smooth spread, fig jelly captures the pure essence of figs in a glistening form, ideal for delicate desserts or alongside savory dishes.
- Fig Syrup: (Recipe coming soon) A luxurious fig syrup can elevate your breakfast pancakes, waffles, or French toast, and also makes a fantastic addition to cocktails or glazes for meats.
- Pickled Figs: Offering a delightful balance of sweet and tangy, pickled figs are a sophisticated accompaniment to charcuterie boards, roasted meats, or hearty salads.
Other Preservation Techniques for Figs:
If you’re looking to explore methods beyond canning, figs are also excellent candidates for drying and freezing:
- Dehydrating Figs: This method transforms fresh figs into chewy, naturally sweet dried snacks. Dehydrated figs are wonderful on their own, added to trail mix, or chopped into baked goods.
- Freeze Drying Figs: For a lighter, crispy texture that retains much of the fresh fig flavor, freeze-drying is an excellent choice. These make a great, airy snack.
- Freezing Figs: While it can alter the texture slightly, freezing is a simple and quick way to preserve figs for shorter periods. Frozen figs are ideal for smoothies, purees, or baked items where texture is less critical.