
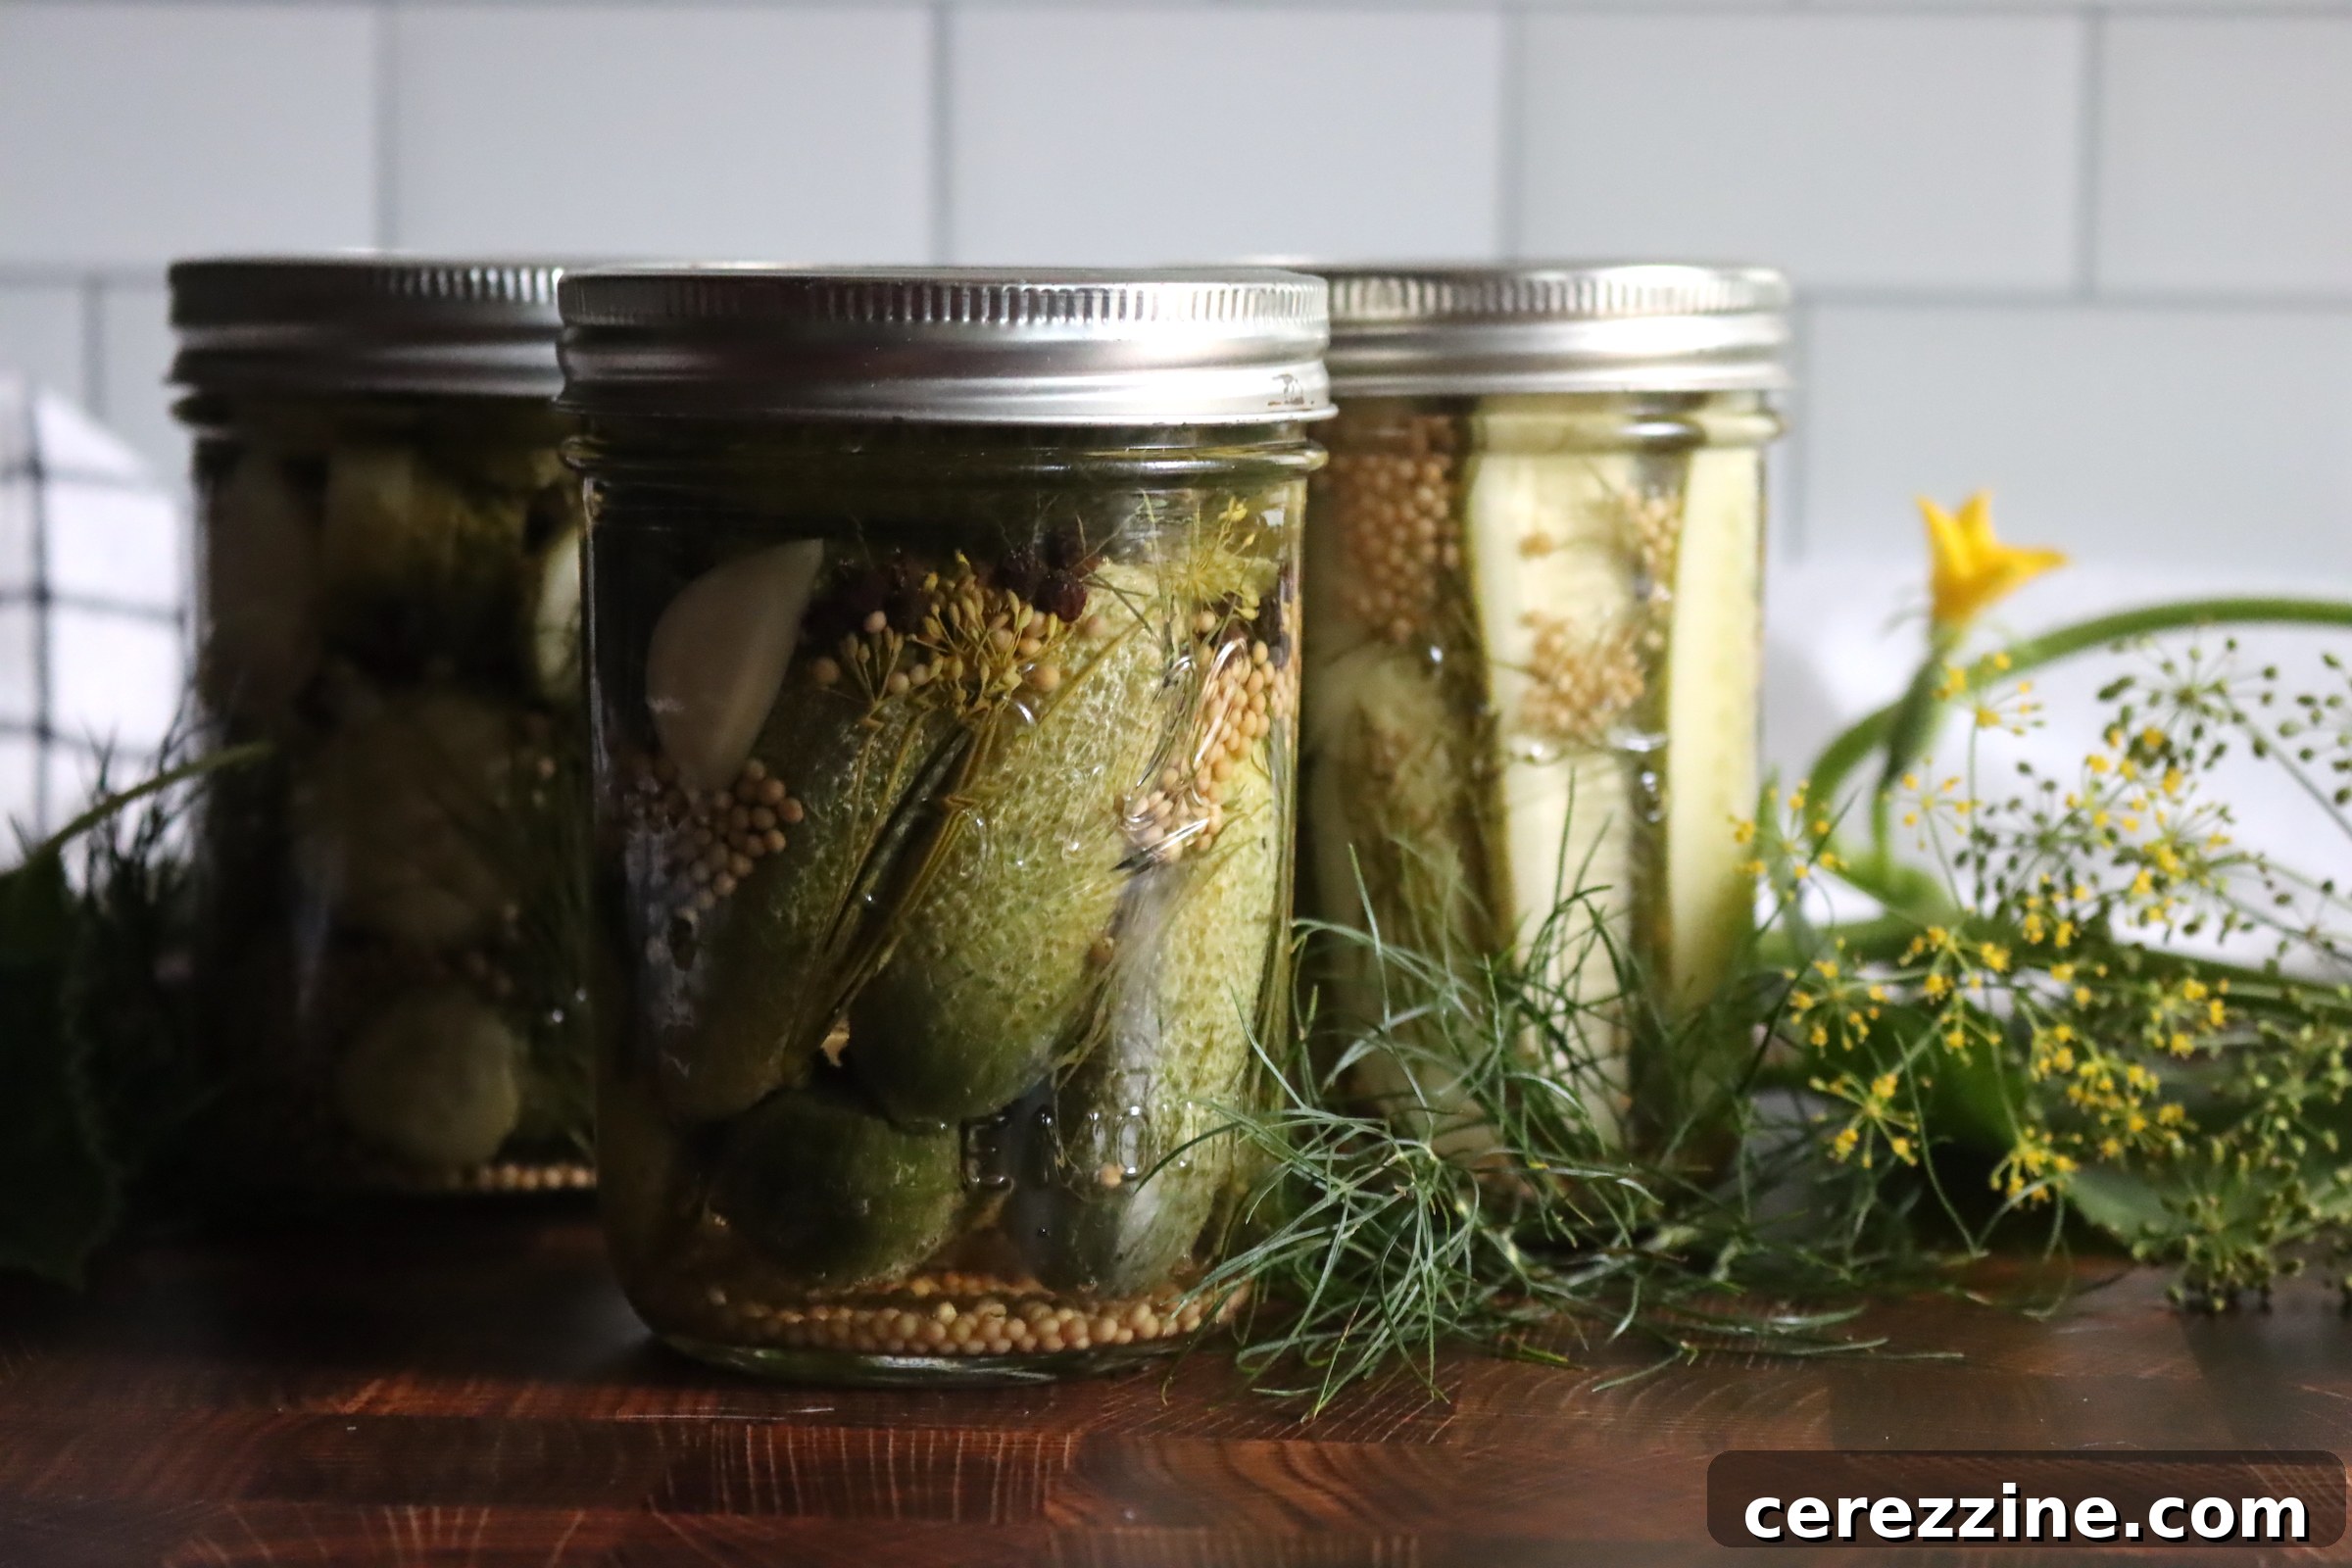
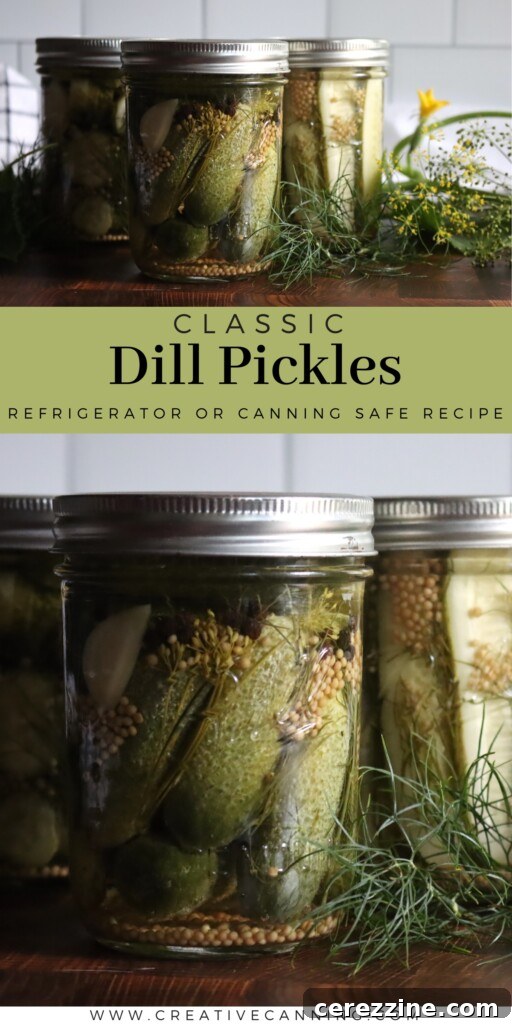
There’s nothing quite like the crisp, tangy bite of a homemade dill pickle. Forget the soggy, overly sweet store-bought versions; these classic no-sugar dill pickles deliver an authentic, robust flavor that will transport you straight to grandma’s pantry. Made with fresh garlic, aromatic dill, and a perfectly balanced salty vinegar brine, this recipe is designed for maximum crunch and timeless taste. Whether you’re a seasoned canner or new to preserving, this simple, canning-safe method ensures you’ll have a pantry full of delicious, old-fashioned dills to enjoy year-round. While they can be made as refrigerator pickles, processing them in a water bath canner allows for long-term storage, extending the taste of summer into every season.
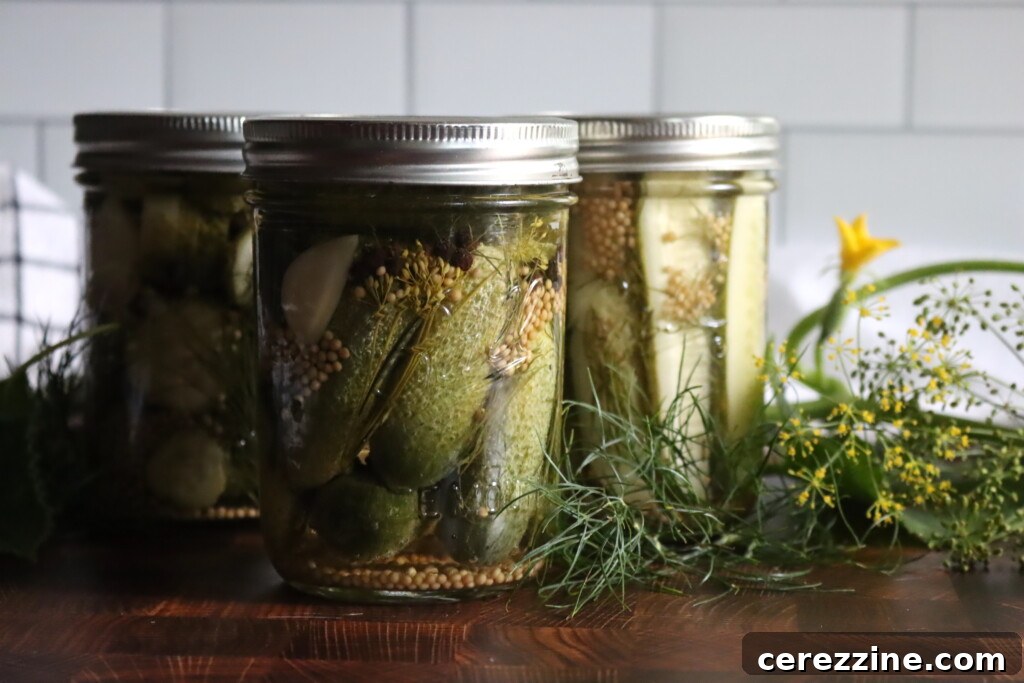
These aren’t just any pickles; they’re a testament to traditional preservation, where simple, high-quality ingredients shine. Each whole cucumber is infused with the bold flavors of garlic and a medley of spices, all without a hint of added sugar. The result is a sharp, savory, and incredibly satisfying dill pickle that boasts a satisfying snap with every bite. The beauty of this recipe lies in its straightforward approach: no elaborate pre-soaking or salting is required. Simply wash your fresh cucumbers, pack them into jars, pour over the hot brine, and process. It’s an efficient way to capture the peak freshness of your harvest, transforming humble cucumbers into a pantry staple you’ll reach for again and again.
Beyond their unparalleled taste straight from the jar, these sour dill pickles are incredibly versatile. Slice them thinly to add a zesty crunch to your favorite sandwiches, chop them into a creamy potato salad for an extra layer of flavor, or serve them alongside grilled meats and barbecue for a refreshing contrast. This reliable recipe provides you with pantry-ready pickles that are bursting with bold, authentic dill flavor, all with minimal fuss and maximum reward.
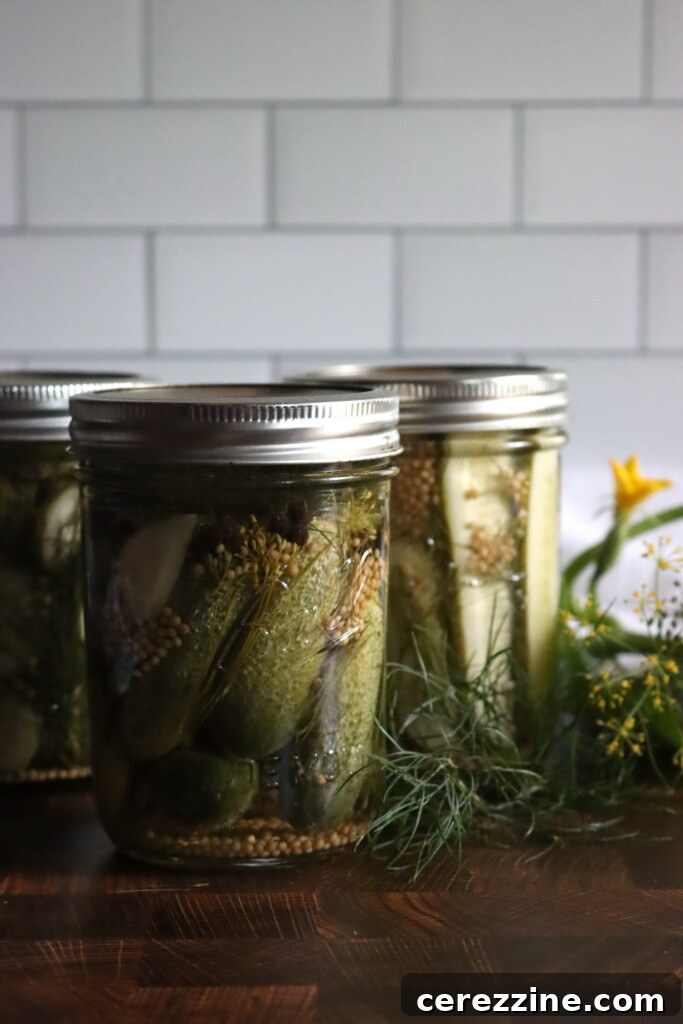
Why You’ll Love This Classic Dill Pickle Recipe
- No Sugar, Pure Dill Flavor: Experience the true, unadulterated taste of classic dill pickles, free from any added sweetness.
- Achieve the Perfect Whole Crunch: By keeping cucumbers whole, you ensure that satisfying, crisp snap that defines a great dill pickle.
- Fast and Effortless Canning: Skip the tedious pre-salting and soaking steps. This recipe simplifies the process: just wash, pack, and can.
- Pantry Stable Goodness: Water bath canning allows you to store these delicious pickles on your shelf for months, ready whenever a craving strikes.
- Bursting with Authentic Flavor: A robust blend of garlic, fresh dill, and pickling spices creates a deeply savory and aromatic pickle.
Essential Ingredients for the Best Classic Dill Pickles
This recipe yields approximately 5 pints of whole dill pickles. For optimal results and ease of packing, select small, freshly picked cucumbers that fit snugly into pint-sized canning jars. The quality of your ingredients directly impacts the final flavor and texture of your pickles, so choose wisely!
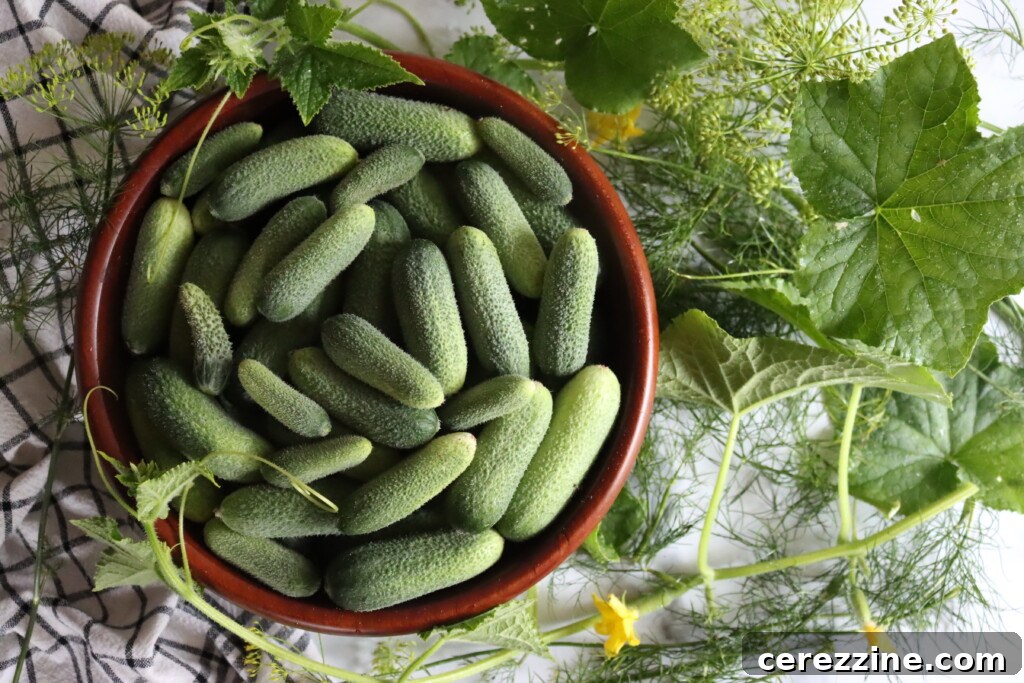
- Pickling Cucumbers (5 lbs, small): The foundation of any great pickle. Opt for firm, small pickling cucumbers, ideally 3-4 inches in length, as they fit perfectly into pint jars and maintain their crunch better than larger slicing varieties. Look for fresh, blemish-free cucumbers. Before packing, always trim both ends, paying particular attention to the blossom end. The blossom end contains enzymes that can lead to soft pickles, so removing it helps ensure a firm texture.
- Water & Vinegar (4 cups each): This precise 50/50 ratio of water and vinegar is critical for creating a brine that is tangy, flavorful, and, most importantly, safe for water bath canning. Use white vinegar or apple cider vinegar (both at 5% acidity). Never be tempted to dilute the vinegar amount; its acidity is the primary factor in preserving the pickles and inhibiting bacterial growth. If you prefer an extra sour pickle, you can slightly increase the vinegar proportion, but under no circumstances should you reduce it.
- Pickling Salt (½ cup): Essential for that traditional pickle flavor. The amount of salt in this recipe offers flexibility because the preservation is primarily driven by the vinegar’s acidity, not the salt content (as in fermentation). It’s crucial to use pickling or canning salt, which is free of anti-caking agents and iodine that can cloud your brine or discolor your pickles. Avoid table salt.
- Garlic (5 cloves, sliced): Each jar receives a sliced garlic clove, imparting a sharp, pungent, and deeply aromatic flavor that is quintessential to classic dill pickles. Feel free to add more if you’re a garlic lover, as it won’t affect the canning safety.
- Fresh Dill (5 heads or sprigs): The star of the show! Fresh dill heads or generous sprigs are paramount for achieving that authentic, vibrant dill flavor. If fresh dill is unavailable, you can substitute with 1-2 teaspoons of dried dill weed or 1 teaspoon of dill seed per pint jar, though fresh provides the best aroma and taste.
- Spice Blend (1 tsp each per jar): A carefully chosen medley of whole spices enriches the brine and permeates the cucumbers with complex, warm flavors during storage.
- Mustard Seed: Adds a subtle peppery warmth and tang.
- Dill Seed: Reinforces the dill flavor, adding a slightly earthy note.
- Coriander Seed: Contributes a citrusy, slightly sweet, and earthy undertone.
- Black Peppercorns: Provides a mild, fragrant heat.
This spice mix is completely adjustable to your personal preference without impacting the canning safety. Feel free to experiment with other whole spices like red pepper flakes for a kick or bay leaves for an herbal depth.
- Pickle Crisp (⅛ tsp per pint, optional): Also known as calcium chloride, this ingredient is a game-changer for maintaining a firm, crunchy texture in your canned pickles. While optional, it’s highly recommended if you desire pickles with maximum crunch and less likelihood of becoming soft.
Gather Your Canning Equipment
Having the right tools makes the canning process smoother and safer. Here’s what you’ll need for this classic dill pickle recipe:
- Water Bath Canner: A large pot with a rack, deep enough to cover your jars with at least 1 inch of boiling water.
- Canning Jars (Pint or Quart): Sterilized glass jars with lids and bands. Ensure they are free from chips or cracks.
- Jar Lifter: Essential for safely placing hot jars into and removing them from the canner.
- Canning Funnel: Helps keep jar rims clean when pouring brine.
- Bubble Remover/Headspace Tool: A non-metallic utensil to remove air bubbles and measure headspace.
- Large Saucepan: For preparing the brine.
- Clean Kitchen Towels: For wiping jar rims and drying jars.
Step-by-Step Guide: How to Make & Can Classic Dill Pickles
Follow these detailed instructions to create your own batch of perfectly crisp, tangy dill pickles for your pantry.
- Prepare Your Water Bath Canner: Fill your water bath canner with water and bring it to a rolling boil. Ensure the water level will be deep enough to cover your jars by at least one inch once they are submerged.
- Craft the Flavorful Brine: In a large saucepan, combine the 4 cups of water, 4 cups of vinegar, and ½ cup of pickling salt. Bring this mixture to a boil over medium-high heat, stirring continuously until the salt is completely dissolved. Keep the brine hot.
- Cucumber Preparation: While the brine heats, thoroughly wash your pickling cucumbers under cold running water. Trim off both ends of each cucumber, especially the blossom end (the end opposite the stem) to prevent enzymes from softening your pickles. Leave the cucumbers whole for traditional dills.
- Pack Your Jars with Flavor: Into each clean, sterilized pint jar, add the following: 1 sliced garlic clove, 1 fresh dill head or sprig, 1 teaspoon each of mustard seed, dill seed, coriander seed, and black peppercorns. If using, add ⅛ teaspoon of Pickle Crisp to each jar.
- Fill Jars with Cucumbers: Carefully pack the whole cucumbers into each jar as tightly as possible without bruising them. Leave approximately 1 inch of headspace from the rim of the jar.
- Adding the Hot Brine: Carefully pour the hot brine into each jar, ensuring that all cucumbers are fully submerged. Leave ½ inch of headspace at the top of the jar (the space between the top of the liquid and the jar rim).
- Remove Air Bubbles: Using a non-metallic utensil (like a plastic chopstick or a specific canning tool), gently work around the inside of each jar to release any trapped air bubbles. Adjust the liquid level by adding more hot brine if needed, maintaining the ½ inch headspace.
- Seal and Process: Wipe the rims of each jar clean with a damp cloth to ensure a proper seal. Center the lids on the jars and apply the screw bands finger-tight. Place the filled jars onto the rack in your boiling water canner. Ensure they are fully submerged, adding more boiling water if necessary to achieve the minimum 1-inch water coverage. Bring the water back to a rolling boil.
- Processing Time: Once the water is boiling, begin your processing time. For pint jars, process for 10 minutes. For quart jars, process for 15 minutes. Remember to adjust your processing time for altitude (see section below).
- Cooling, Curing, and Storing: After the processing time is complete, turn off the heat and carefully remove the canner lid. Let the jars sit in the hot water for 5 minutes before carefully removing them with a jar lifter and placing them on a clean towel or cooling rack. Allow the jars to cool undisturbed for 12-24 hours. You should hear the lids “pop” as they seal. Check seals by pressing on the center of the lid; if it doesn’t flex, it’s sealed. Label and store sealed jars in a cool, dark place. For the best flavor and texture development, allow your pickles to cure for at least 2-3 weeks before opening.
Crucial Altitude Adjustments for Safe Canning
Proper processing time is vital for food safety, especially when canning. Because water boils at lower temperatures at higher altitudes, you must adjust your processing time to ensure your pickles are safely preserved. Refer to the guidelines below for your elevation:
- 0 to 1,000 feet: Process pints for 10 minutes and quarts for 15 minutes.
- 1,001 to 6,000 feet: Process pints for 15 minutes and quarts for 20 minutes.
- Above 6,000 feet: Process pints for 20 minutes and quarts for 25 minutes.
Tips for Achieving Perfectly Crisp Dill Pickles
The quest for the perfect crunchy pickle is a noble one! Here are some expert tips to help you achieve optimal crispness and flavor in your homemade dill pickles:
- Choose the Right Cucumbers: This is arguably the most important factor. Always use small, firm pickling cucumbers (Kirby, Boston Pickling, or similar varieties) that are freshly picked. The fresher they are, the crisper your pickles will be. Avoid older, larger, or slicing cucumbers, which tend to be watery and softer.
- Trim the Blossom End: Cucumbers have an enzyme at their blossom end that can cause pickles to soften. Always trim at least 1/16th of an inch off both ends of the cucumber before jarring.
- Use Pure Ingredients: Stick to pickling salt (no iodine or anti-caking agents) and 5% acidity vinegar (white or apple cider). Impurities can lead to cloudy brine or soft pickles.
- Consider Pickle Crisp: While optional, calcium chloride (Pickle Crisp) is highly effective in maintaining a firm texture. Add it directly to each jar with the spices. Some traditionalists also advocate for grape leaves or oak leaves in the jar, as their tannins are believed to contribute to crispness, though scientific evidence for this is less robust than for calcium chloride.
- Avoid Soaking Cucumbers: Unlike some recipes, this one skips the pre-soaking or salting. Excessive handling or water exposure can reduce crispness.
- Proper Headspace and Air Bubble Removal: Ensure you leave the correct ½ inch headspace and meticulously remove all air bubbles from the jars. Trapped air can lead to improper sealing or spoilage, affecting quality.
- Patience is a Virtue: The pickles need time to absorb the brine and spices. While tempting, resist opening them too soon. A minimum of 2-3 weeks of curing in a cool, dark place allows the flavors to fully meld and the cucumbers to become perfectly pickled and crisp.
Troubleshooting Common Canning Issues
Even experienced canners encounter challenges. Here are solutions to some common issues you might face when making dill pickles:
- Soft Pickles: This is often due to using older cucumbers, cucumbers that are not pickling varieties, or not trimming the blossom end. Over-processing can also lead to softness. Ensure you start with fresh, crisp cucumbers, trim properly, and adhere to recommended processing times. Using Pickle Crisp can significantly help.
- Cloudy Brine: A slightly cloudy brine can be normal, especially if using unfiltered apple cider vinegar. However, excessively cloudy brine, accompanied by a foul smell or rising bubbles, can indicate spoilage. This is often caused by using table salt with anti-caking agents, or insufficient processing allowing bacteria to grow. Ensure proper salt usage and follow all canning safety guidelines.
- Unsealed Jars: If a jar doesn’t seal (the lid remains flexible when pressed), it means it wasn’t processed correctly or there was an issue with the jar or lid. Re-process within 24 hours using a new lid, or store the unsealed jar in the refrigerator and consume within a few weeks. Ensure jar rims are perfectly clean before placing lids.
Delicious Ways to Enjoy Your Homemade Dill Pickles
Once your pickles have cured, the culinary possibilities are endless!
- Classic Sandwich Companion: The quintessential use! Slice them for cheeseburgers, deli sandwiches, or grilled cheese.
- Salad Enhancer: Chop them into potato salad, tuna salad, or chicken salad for a zesty kick.
- Snack Time: Eat them straight from the jar for a satisfying, low-calorie snack.
- Garnish Galore: Serve alongside charcuterie boards, cheese plates, or bloody marys.
- Fried Pickles: A Southern classic! Slice, batter, and fry for a delightful appetizer.
- Relish Base: Chop finely to make your own homemade dill relish.
Storage and Shelf Life
Properly canned dill pickles, stored in a cool, dark place (like a pantry or basement), will maintain their quality for at least one year. Once a jar is opened, it should be stored in the refrigerator and consumed within 2-3 weeks for best quality. Always check for signs of spoilage (mold, unusual odors, excessive cloudiness, or bubbling) before consuming, and discard if any are present.
Frequently Asked Questions (FAQ)
Here are answers to some common questions about making classic dill pickles:
- Can I use a different type of cucumber? For best results, it’s highly recommended to use small pickling cucumbers. Slicing cucumbers tend to have higher water content and thinner skins, making them less ideal for crisp, firm pickles.
- Can I add sugar to this recipe? This recipe is specifically for no-sugar, classic dill pickles. Adding sugar would change the flavor profile significantly, making them more like “bread and butter” pickles. If you prefer a sweeter pickle, you would need to find a different recipe designed for that purpose, as adding sugar to this brine might require adjustments to ensure safe canning.
- How long do the pickles need to cure before eating? While technically safe to eat after sealing and cooling, the flavor and texture greatly improve with a curing period. We recommend waiting at least 2-3 weeks, and ideally 4-6 weeks, for the best results. This allows the cucumbers to fully absorb the brine and spices.
- What if my pickles aren’t as crisp as I’d like? Crispness depends heavily on fresh, firm cucumbers, proper blossom end trimming, and the use of Pickle Crisp (calcium chloride). Ensure you’re following all steps for crispness meticulously.
- Can I use dried dill instead of fresh? Yes, you can. As a general guideline, use about 1-2 teaspoons of dried dill weed or 1 teaspoon of dill seed per pint jar if fresh dill heads or sprigs are unavailable. However, fresh dill provides a superior aroma and flavor.
- Is it okay if my brine is a little cloudy? A slight cloudiness can be normal, especially if you’re using spices that tend to settle or if you choose apple cider vinegar. However, excessive cloudiness, combined with an off-odor or visible mold, indicates spoilage, and the pickles should be discarded.
Making your own classic dill pickles is a rewarding experience that connects you to traditional culinary arts and provides a delicious, healthy snack. With this comprehensive guide, you’re well-equipped to create perfect, crisp, and flavorful dill pickles every time. Enjoy the satisfaction of stocking your pantry with this timeless homemade treat!