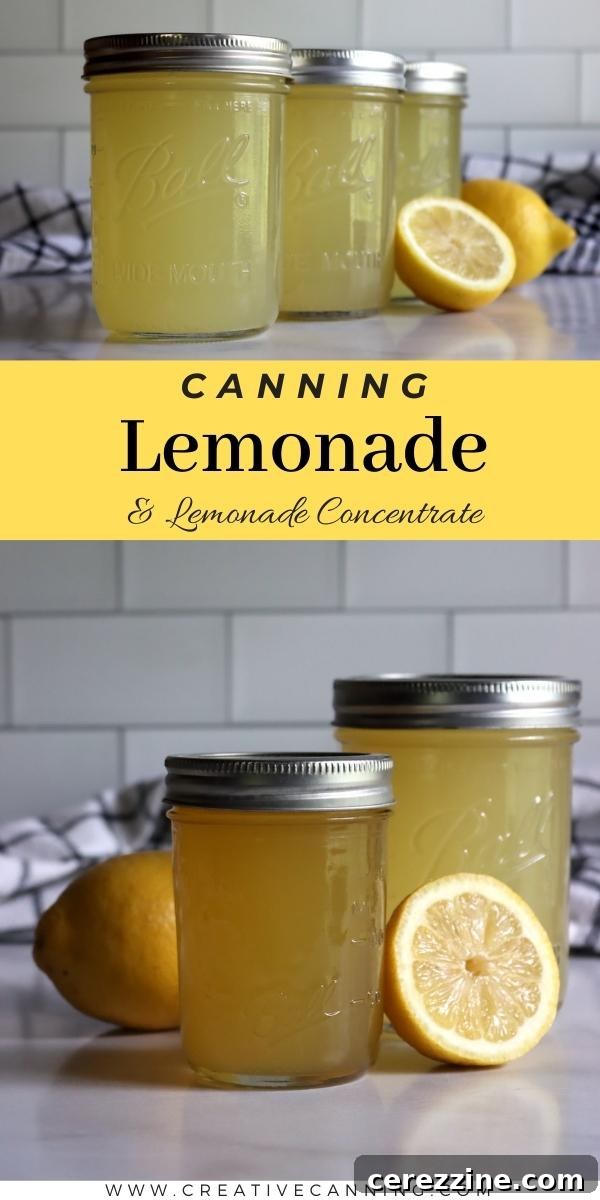
How to Can Lemonade and Lemonade Concentrate for Refreshing Drinks Year-Round
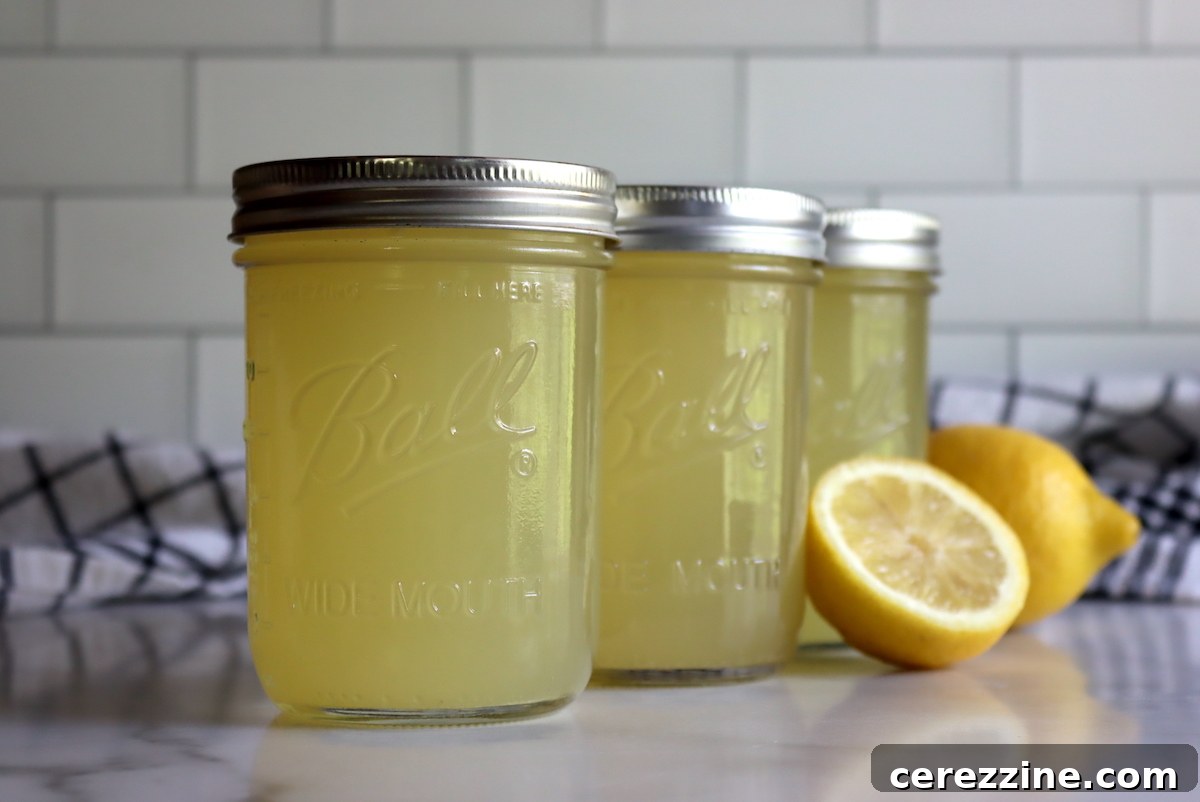
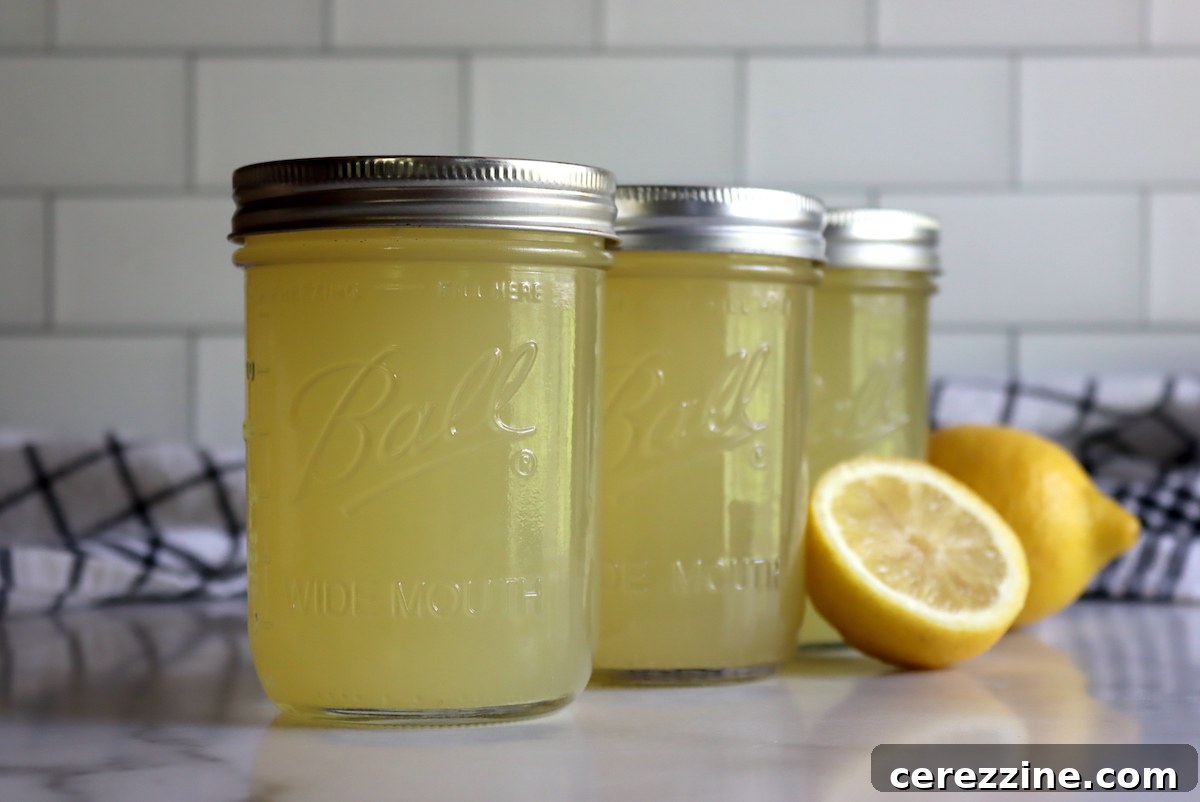
Imagine always having a pitcher of perfectly balanced, refreshing lemonade ready in your pantry, no matter the season. Canning lemonade makes this dream a reality, ensuring a delightful, cool beverage is just a pour away. Store your homemade jars, and simply serve over ice for an instant escape to summer.
Why Can Homemade Lemonade?
While store-bought powders and concentrates offer convenience, they simply can’t compare to the vibrant, fresh taste of homemade lemonade. However, whipping up a batch from scratch can feel like a chore, especially when you’re craving a quick, cooling drink after a long day. Picture this: you’ve spent hours gardening under the sun, and all you want is immediate refreshment. The last thing you want to do is melt sugar on the stove and juice a pile of lemons.
Moreover, the peak season for fresh, juicy lemons typically falls in the winter months, with the best harvests often in January. This creates a dilemma: the finest lemons are available when you least desire a cold drink, and when summer arrives, fresh lemons can be harder to come by or more expensive. Canning offers an ingenious solution. By preserving homemade lemonade (or lemonade concentrate) during peak lemon season, you essentially transport that winter freshness into your summertime kitchen. You gain the luxury of delicious, freshly made lemonade at a moment’s notice. All it takes is remembering to chill a jar from the pantry before heading out to tackle your day, knowing a delightful reward awaits your return.
For those looking to serve a crowd or optimize pantry space, canning lemonade concentrate is an even more efficient method. A single half-pint (8 oz) jar of concentrate can be diluted with cold water to yield approximately three pints of full-flavored lemonade, making it an excellent choice for entertaining or larger families.
Canning Lemonade vs. Lemonade Concentrate: Which is Right for You?
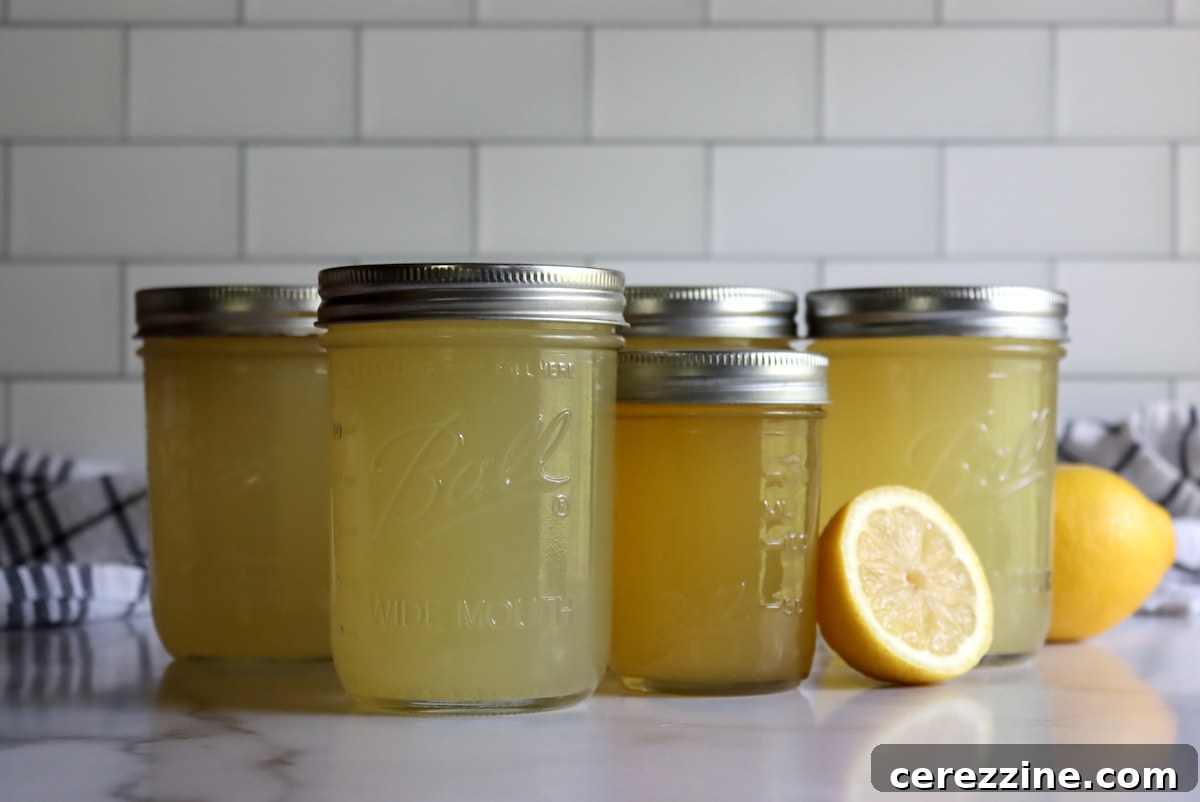
When it comes to preserving lemonade, you have two primary options: canning ready-to-drink lemonade or canning a concentrated version. Both methods yield excellent results, and your choice will largely depend on your lifestyle, available storage, and how you plan to enjoy your homemade drink.
Many home canners prefer to preserve lemonade concentrate because it requires fewer jars, thereby saving precious pantry space. Since you’re not canning the added water, you can store a significant amount of lemon flavor in a compact form. Typically, one half-pint (1 cup) jar of lemonade concentrate is mixed with 5 to 6 cups of cold water to produce about 3 pints of fresh lemonade. This is ideal if you often need larger quantities or wish to customize the sweetness or strength of your drink each time you prepare it.
However, for sheer convenience, I personally favor canning ready-made lemonade. While I rarely need three pints of lemonade all at once, the ability to simply grab a cold pint from the refrigerator on a hot day is unparalleled. I have an abundance of canning jars and don’t mind dedicating a bit more space to store fully diluted lemonade. In fact, I often can plain water for emergencies or power outages, so storing ready-to-drink lemonade aligns perfectly with my pantry organization. If you’re in an urban area, having home-canned water is also a smart move, especially during “boil water” advisories. For me, the convenience of a ready-chilled, single-serving jar of lemonade outweighs the slight increase in jar usage.
Regardless of your preference, the water bath canning instructions and processing times for both lemonade and lemonade concentrate are identical. The fundamental difference lies in the initial preparation: one is diluted with water *before* canning, while the other is diluted *after* opening the jar.
The Perfect Lemonade Ratio for Canning
Crafting the ideal lemonade recipe involves balancing tartness and sweetness, which can be adjusted to your personal taste. However, for safe canning, a minimum amount of fresh lemon juice is crucial to ensure adequate acidity. You cannot safely can plain sugar water with just a “hint” of lemon; the pH must be sufficiently low to prevent spoilage.
For safe home canning, aim for at least 1/4 cup of fresh lemon juice per pint jar (or 1/2 cup per quart jar) for any diluted lemonade. This ensures the mixture remains acidic enough for water bath canning.
A commonly accepted basic recipe for traditional lemonade typically uses:
- 1 cup fresh lemon juice
- 1 cup sugar
- 6 cups water (plus ice for serving)
To prepare lemonade concentrate for canning, you’ll simply combine equal parts by volume of fresh lemon juice and sugar. This creates a potent lemon simple syrup, such as 1 cup lemon juice to 1 cup sugar.
To prepare ready-to-drink lemonade for canning, use the standard ratio: 1 cup fresh lemon juice, 1 cup sugar, and 6 cups water. This combination should yield approximately 4 pints of ready-made lemonade, with each pint containing the necessary minimum of about 1/4 cup of lemon juice for safe preservation.
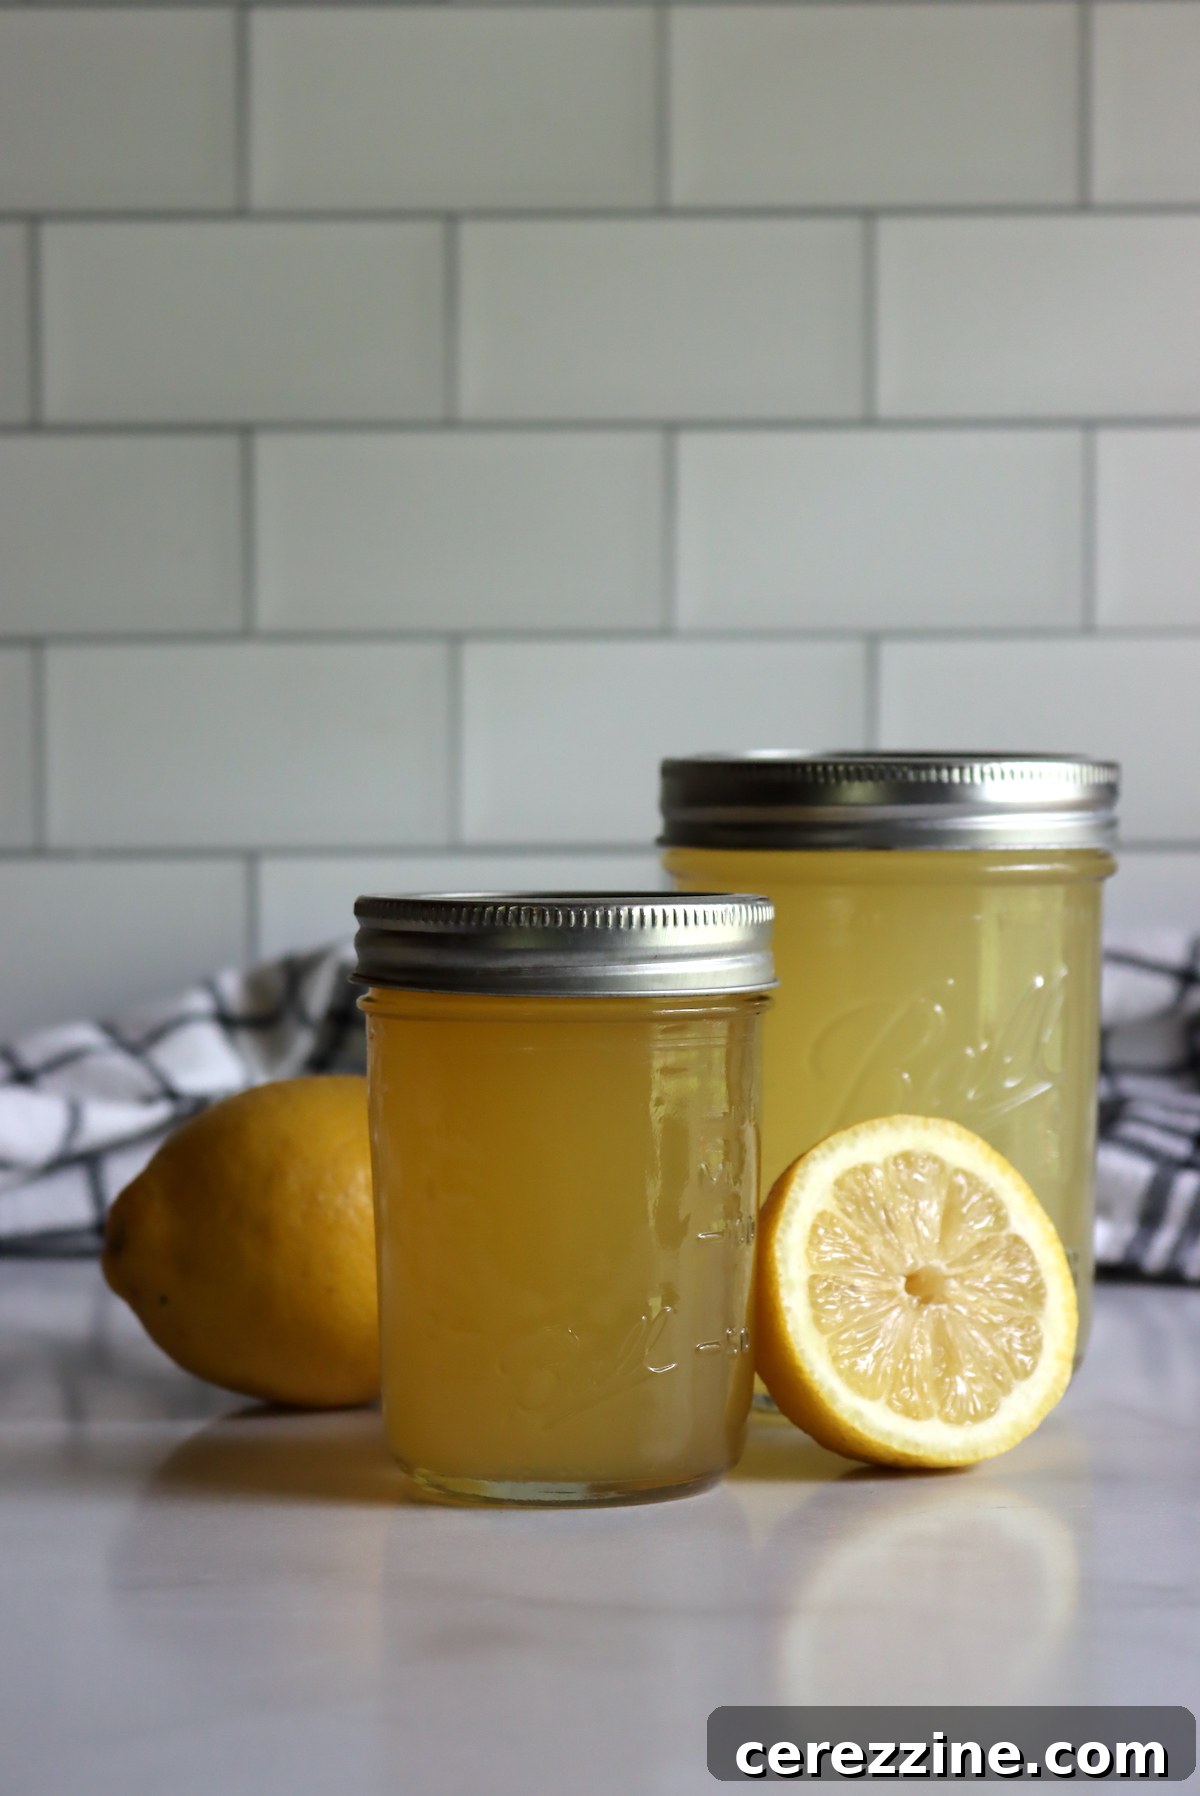
Preparing Your Lemonade for Canning: Quality and Flavor
While many canning recipes recommend bottled lemon juice for its standardized acidity, this lemonade recipe is specifically formulated to safely use fresh lemon juice, which offers a vastly superior flavor. Bottled lemon juice can develop a bitter or “tinny” taste during storage, detracting from the fresh, bright essence of homemade lemonade. For the best results, always opt for freshly squeezed lemon juice, ideally from lemons juiced just before canning.
Begin by thoroughly juicing your chosen lemons. Once juiced, strain the liquid through a fine-mesh sieve or cheesecloth to remove any seeds and pulp. Lemon pulp, while natural, can cause home-canned lemonade to become bitter during storage, so filtering it out is an important step for optimal taste.
Measure the strained lemon juice. For concentrate, simply add an equal volume of sugar. For instance, if you have 2 cups of lemon juice, add 2 cups of sugar. (Keep in mind that an average lemon typically yields about 1/4 cup of fresh juice, but this can vary significantly, so always measure accurately.)
If you’re making ready-to-drink lemonade, add approximately 6 cups of water for every cup of lemon juice and an equal amount of sugar. You can slightly reduce the amount of water to create a stronger, more intense lemonade, but do not exceed 6 cups of water per cup of lemon juice, as this could compromise the acidity required for safe canning.
The sugar in this recipe is primarily for flavor, not for preservation, which means you have flexibility to adjust the sweetness to your preference. Feel free to reduce or increase the sugar content. You can also experiment with alternative sweeteners like honey or maple syrup, keeping in mind that these may alter the flavor profile and color of your lemonade.
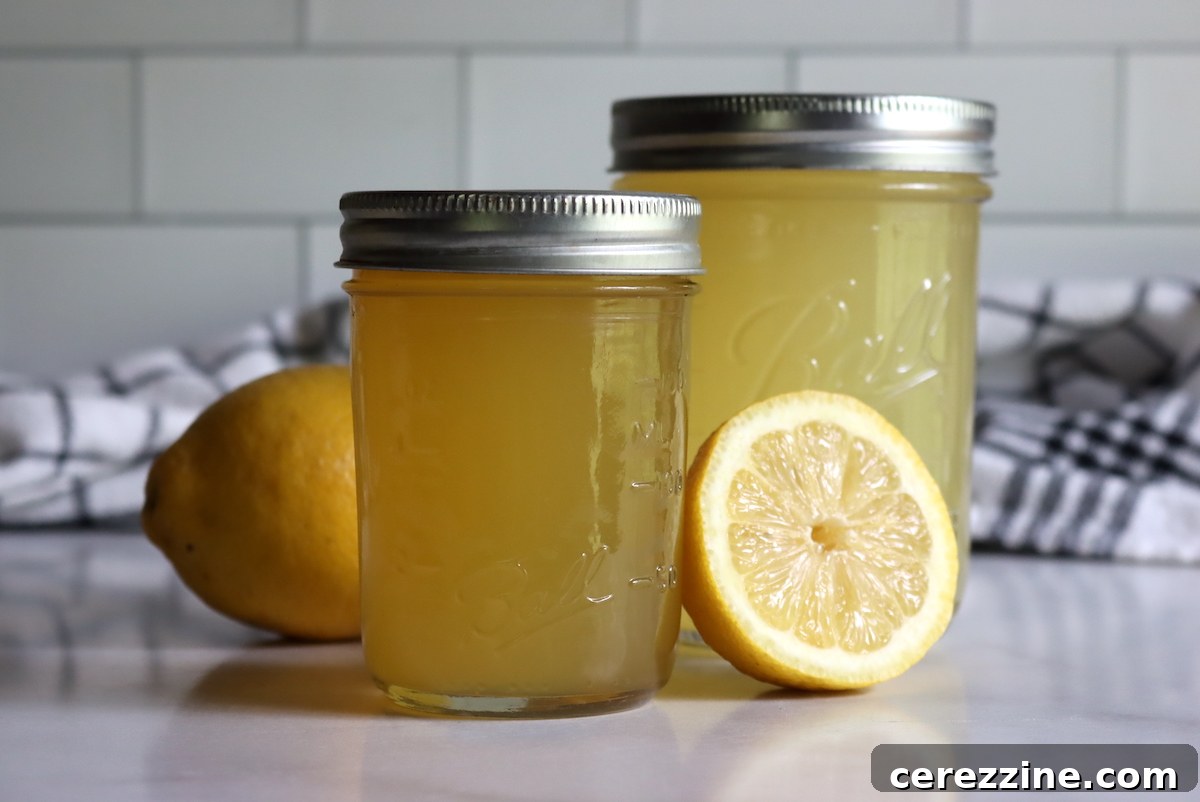
Expert Tips for the Best Home-Canned Lemonade
To ensure your home-canned lemonade is truly exceptional, keep these key tips in mind:
- Strain All Pulp and Seeds: As mentioned, lemon pulp can impart a bitter flavor to your lemonade during the canning process and storage. A thorough straining will result in a clear, clean-tasting beverage.
- Always Use Fresh Lemon Juice: The superior flavor of fresh lemons cannot be overstated. Avoid bottled lemon juice for canning lemonade if possible.
- Test Your Recipe First: Before committing to a large canning batch, make a small quantity of your lemonade recipe. Lemonade is a personal preference—some prefer it sweeter, others tart. Adjust sugar levels to your liking.
For an intensely aromatic and flavorful lemonade without adding extra tartness from more lemon juice, try this pro tip: infuse your sugar with lemon zest. Simply zest your lemons (preferably organic, as you’ll be using the peel) directly into your measured sugar. Mix them together and allow the zest to sit with the sugar for an hour or two. The sugar crystals will absorb the potent essential oils from the lemon zest, infusing it with a deep, bright lemon aroma.
When you’re ready to proceed with the recipe, dissolve this lemon-infused sugar into your strained lemon juice. It’s crucial to strain the mixture once more before canning to remove any solid zest particles, as only liquid should be canned. This extra step will elevate your homemade lemonade to a gourmet level.

Water Bath Canning Lemonade & Concentrate: A Step-by-Step Guide
Whether you choose to can ready-to-drink lemonade or lemonade concentrate, the water bath canning process, including preparation and processing times, remains consistent. Remember the critical safety guideline: do not use less than 1/4 cup of fresh lemon juice per pint jar, or 1/2 cup per quart jar.
Equipment You’ll Need
- Water Bath Canner with Rack
- Canning Jars (Half Pints, Pints, or Quarts)
- New Lids and Screw Bands
- Jar Lifter
- Canning Funnel
- Non-metallic spatula or chopstick (for de-bubbling)
- Large Saucepan
- Fine Mesh Sieve or Cheesecloth
- Optional: Kitchen Scale for accurate measuring
Preparation Steps
- Prepare Your Canner and Jars: Fill your water bath canner with water and place the rack inside. Begin heating the water so it’s simmering (around 180-190°F / 82-88°C) when you’re ready to load the jars. Wash canning jars, lids, and rings in hot soapy water and rinse thoroughly. Keep jars hot in the canner or a separate pot of hot water to prevent thermal shock when filled with hot liquid.
- Prepare Your Lemonade:
- If using lemon zest for infusion, mix zest with sugar and let sit for an hour.
- Juice your fresh lemons, then strain the juice thoroughly to remove all pulp and seeds.
- Measure your strained lemon juice. For concentrate, add an equal volume of sugar. For ready-to-drink lemonade, add an equal volume of sugar and 6 cups of water per cup of lemon juice.
- Pour all ingredients (lemon juice, sugar, and water if making ready-to-drink) into a large saucepan.
- Gently Heat the Lemonade Mixture: Warm the lemonade mixture over medium heat until it reaches approximately 190°F (88°C). It should be barely simmering, with small wisps of steam, but avoid bringing it to a rolling boil. Boiling the mixture at this stage can cause the natural pectin in the lemon juice to set, potentially leading to unsightly clumps in your jars (though it would still be safe to drink).
Canning Process
- Fill the Jars: Using a canning funnel and a ladle, carefully pour the hot (but not boiling) lemonade into your prepared hot jars, leaving 1/4 inch of headspace at the top.
- Remove Air Bubbles: Run a non-metallic spatula or chopstick around the inside of each jar to release any trapped air bubbles. Adjust headspace if necessary by adding a little more lemonade.
- Clean Rims and Seal: Wipe the rims of the jars clean with a damp cloth to ensure a proper seal. Place a clean, warm lid on each jar, centered, and then screw on the band fingertip-tight (just until resistance is met, no need to overtighten).
- Process in Water Bath Canner: Carefully place the filled and sealed jars into the simmering water bath canner, ensuring they are fully submerged by at least 1-2 inches of water. Bring the water to a full rolling boil.
- Process According to Altitude: Once the water reaches a full boil, start your timer.
- For elevations **below 1,000 feet**: Process half-pints, pints, and quarts for **10 minutes**.
- For elevations **between 1,000 feet and 6,000 feet**: Process for **15 minutes**.
- For elevations **above 6,000 feet**: Process for **20 minutes**.
- Cool Down and Check Seals: After the processing time is complete, turn off the heat. Let the jars sit in the hot water bath for an additional 5 minutes before carefully removing them with a jar lifter. Place the hot jars on a clean towel on your countertop, ensuring there’s space between them for air circulation, and allow them to cool completely for 12 to 24 hours.
- Store Properly: Once cooled, check all jar seals. A properly sealed lid will be concave (curved inwards) and will not flex when pressed. Any jars that haven’t sealed should be refrigerated and consumed within a week. Remove the screw bands for long-term storage (to prevent rust and allow for easier seal checks). Label your jars with the contents and date, then store them in a cool, dark, dry place. Once opened, refrigerate any remaining lemonade.
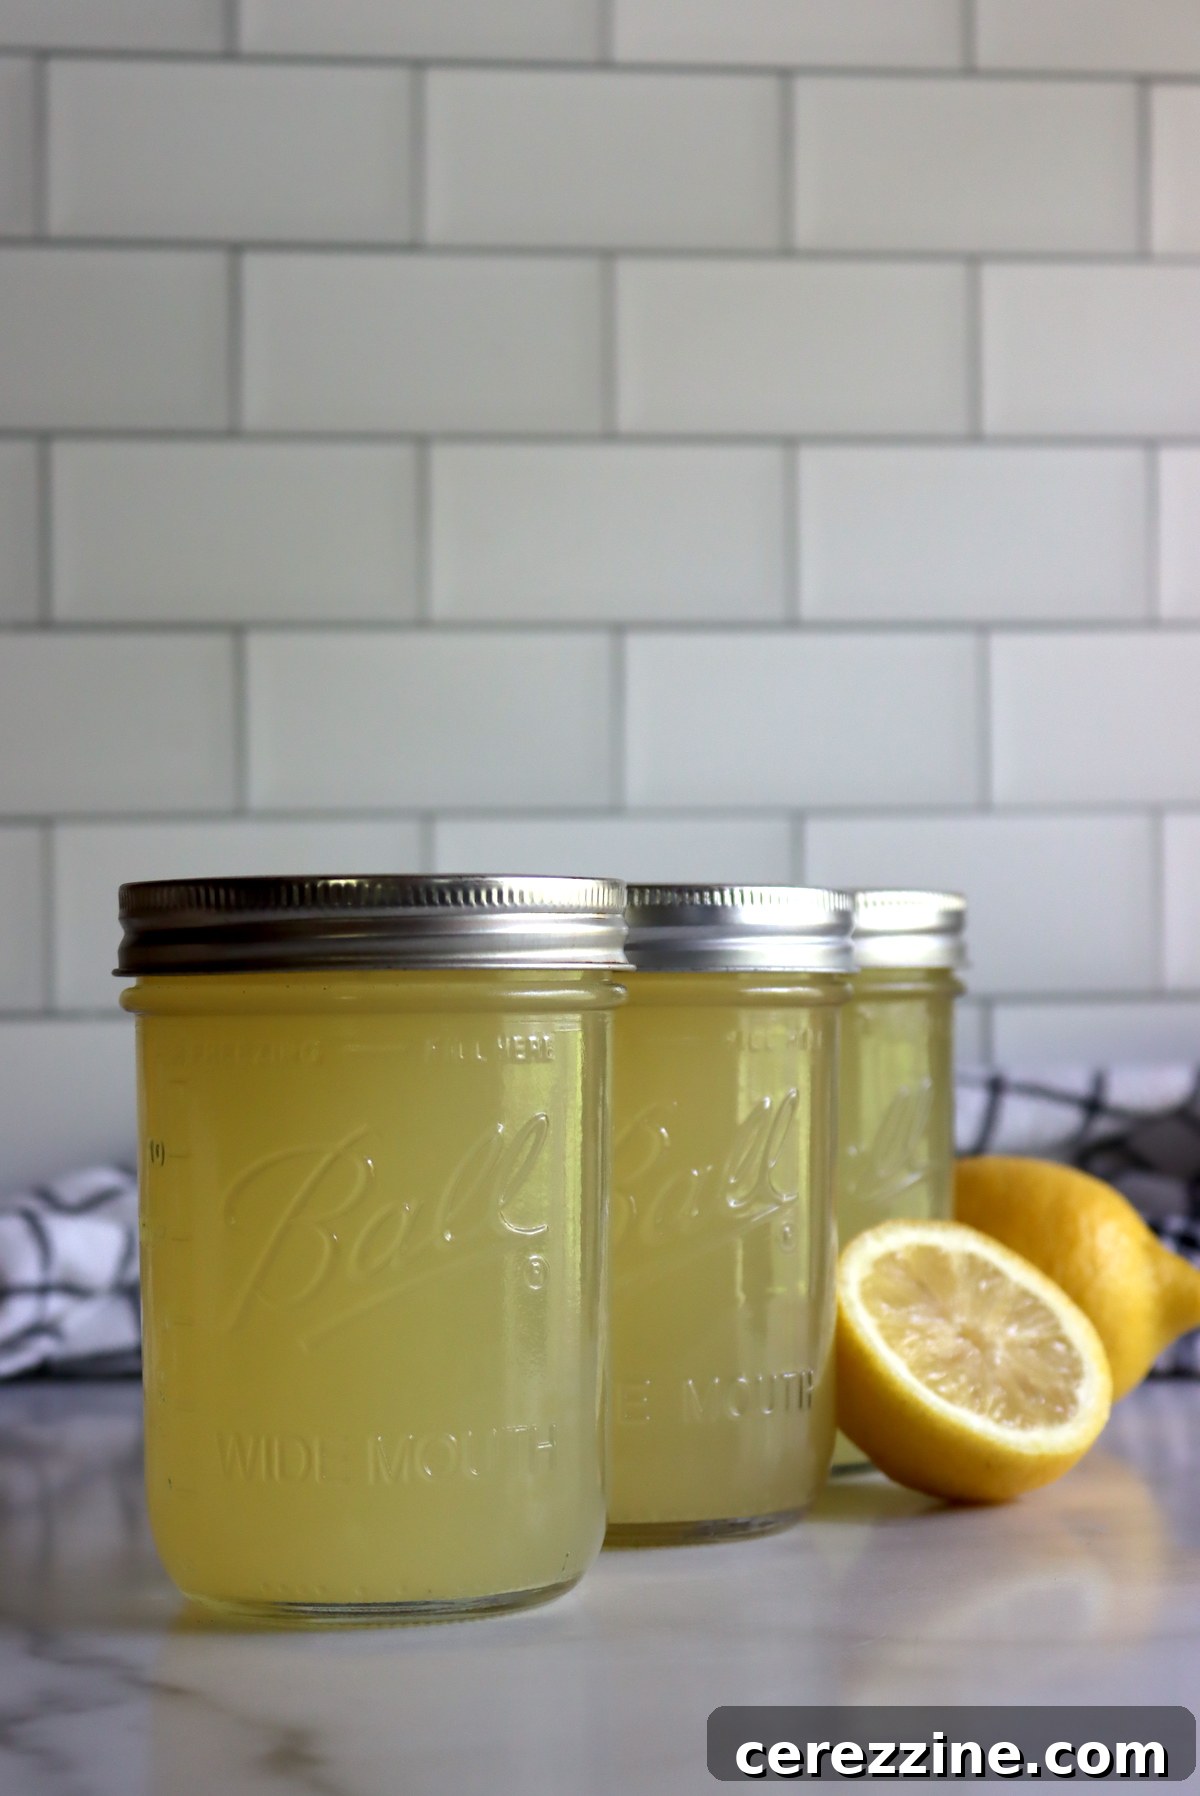
Lemonade Canning Variations: Get Creative!
This basic lemonade recipe is a straightforward, reliable way to stock your pantry with classic lemon refreshment. However, the world of canning offers exciting possibilities for flavor variations!
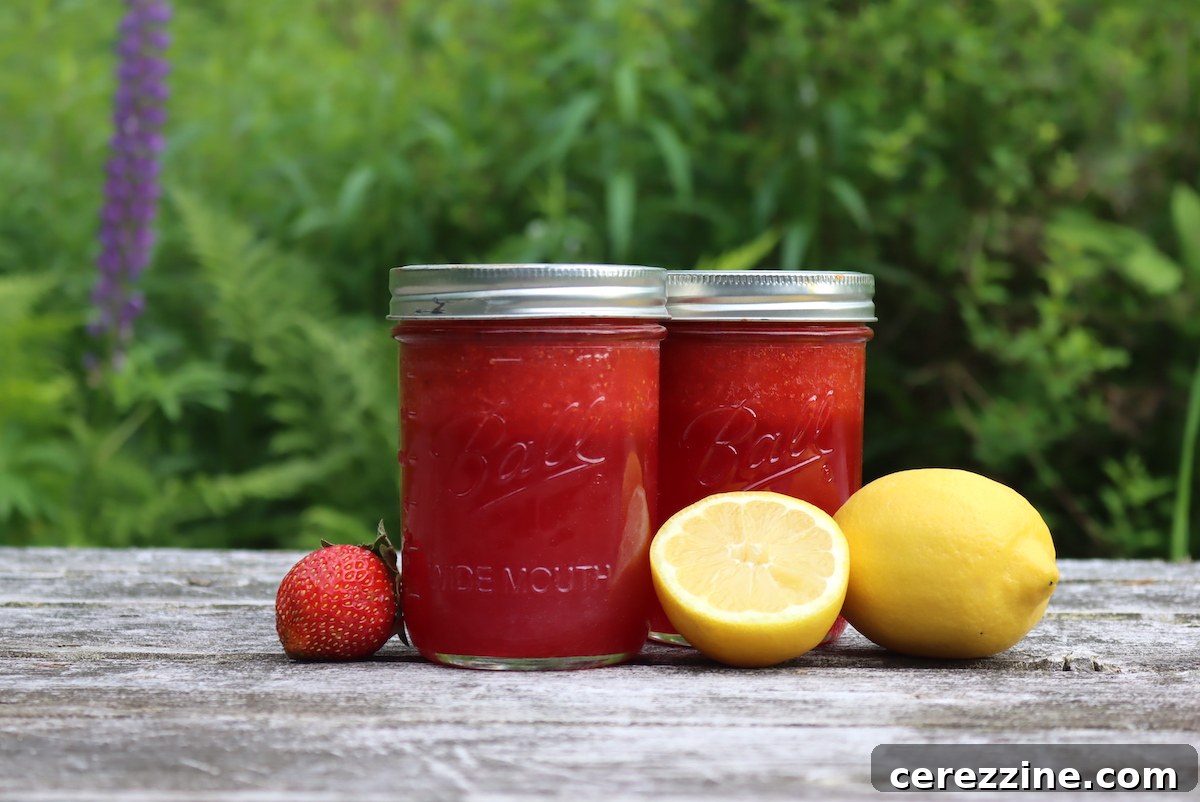
Many canning books feature recipes for fruit-infused lemonades. The recipe for strawberry lemonade concentrate found in the trusted Ball Book of Home Canning is particularly popular and well-known. When introducing other fruits, especially as purees, it’s crucial to be aware of how they affect canning safety:
- If you add **fruit puree** to your lemonade, the canning time will likely be considerably longer, and recipes may not be tested for jars larger than pints. The added fruits must also be naturally acidic enough for canning on their own. Always follow a tested recipe for such variations.
- If you add **fruit juice** (instead of puree), you might still be able to use this standard lemonade recipe, provided the fruit juice itself is highly acidic and approved for canning. For example, juices from berries (like raspberry or blueberry) or tart cherries are good choices, as they are high in acid. However, fruit juices like watermelon are **not** acidic enough for canning and cannot be safely substituted without a tested recipe that accounts for the lower acidity. Prioritize safety by sticking to high-acid fruit juices or tested recipes for fruit puree additions.
Beyond Lemonade: More Ways to Preserve Lemons
Lemons are incredibly versatile and can be preserved in many different ways to capture their bright flavor. If you find yourself with an abundance of lemons, consider these other preservation methods:
- Canning Lemons (3 ways): Explore methods for canning lemon slices, lemon segments, or even whole lemons.
- Freezing Lemon Juice: A simple and effective way to store fresh lemon juice for cooking, baking, or drinks.
- Preserved Lemons (Salt Preserved Lemons): A culinary staple, especially in North African and Middle Eastern cuisines, adding a unique salty-tangy flavor to dishes.
- Lemon Wine: For the adventurous fermenter, turn your excess lemons into a delightful homemade wine.
- Limoncello (Lemon Liqueur): A classic Italian liqueur made by infusing lemon zest in alcohol, perfect as a digestif.
Recipe: Canning Lemonade & Lemonade Concentrate
By Ashley Adamant
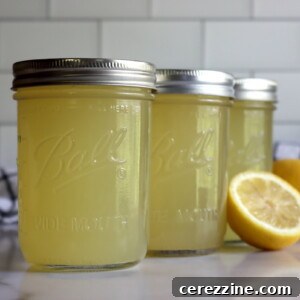
Canning lemonade is an easy way to have fresh lemonade right on your pantry shelf, ready for any occasion. This recipe provides ratios for both ready-to-drink lemonade and a concentrated version.
Prep Time: 10 mins
Cook Time: 10 mins
Total Time: 10 mins
Yield: Varies
Equipment
- Water Bath Canner
- Wide Mouth Pint Mason Jars (or half-pint, quart)
- Wide Mouth Canning Lids
- Canning Funnel
- Jar Lifter
Ingredients
For Lemonade Concentrate:
- 1 cup fresh lemon juice (from 4 to 5 lemons)
- 1 cup sugar
For Ready-to-Drink Lemonade:
- 1 cup fresh lemon juice (from 4 to 5 lemons)
- 1 cup sugar
- 6 cups water
Instructions
- Prepare a water bath canner, jars, and lids before beginning. Ensure jars are clean and kept hot, and the canner water is simmering.
- (Optional for enhanced flavor) If using lemon zest, zest the lemons directly into the sugar. Stir and let the mixture sit for about an hour to infuse. Remember to strain out the zest before canning; the easiest way is to dissolve the sugar into the lemon juice and then strain the combined mixture before moving to the next step. (Use organic lemons if incorporating zest.)
- Juice the lemons. Strain the juice thoroughly to remove all pulp and seeds, then measure the resulting juice. For every cup of lemon juice, add 1 cup of sugar. (If canning ready-to-drink lemonade instead of concentrate, also add 6 cups of water.)
- Gently warm the lemon juice and sugar mixture (with water if applicable) on the stove until it reaches approximately 190°F (88°C). Do not boil, as this can cause natural pectin to clump.
- Ladle the hot, but not boiling, lemonade mixture into prepared hot canning jars, leaving 1/4 inch headspace. Remove air bubbles with a non-metallic utensil, then wipe jar rims clean.
- Seal with 2-part canning lids, applying the screw bands fingertip-tight.
- Process half-pints, pints, and quarts in a boiling water bath canner for 10 minutes at elevations below 1,000 feet.
- After processing, turn off the heat and leave the jars in the canner for an additional 5 minutes to cool slightly before removing them with a canning jar lifter. Place jars on a towel on the counter to cool completely for 12-24 hours.
- Wait 12 to 24 hours, then check seals. Lids should be concave and not flex when pressed. Store any unsealed jars in the refrigerator for immediate use. Properly canned and sealed jars may be stored in a cool, dark pantry. Refrigerate after opening.
Notes
This recipe provides a flexible ratio of ingredients, allowing you to scale up or down to meet your desired yield for either lemonade or concentrate.
Altitude Adjustments for Canning Lemonade:
- Between 1,000 feet and 6,000 feet: Process for 15 minutes.
- Above 6,000 feet: Process jars for 20 minutes.
Changing the Recipe:
You can adjust the sugar content to your taste; it is not essential for preservation. Feel free to increase or decrease the sugar, or substitute with honey or maple syrup. However, do not reduce the amount of lemon juice. When canning lemonade, you need a minimum of 1/4 cup of fresh lemon juice per pint jar (or 2 tablespoons per half-pint, or 1/2 cup per quart) to ensure proper acidity for safe canning.
Everything must be thoroughly strained out before canning. Do not can lemonade with pulp, seeds, or zest. It needs to be a clear liquid without any solids for safe and proper sealing.
Nutrition (Approximate per serving)
Calories: 206kcal, Carbohydrates: 54g, Protein: 0.2g, Fat: 0.3g, Saturated Fat: 0.02g, Polyunsaturated Fat: 0.01g, Sodium: 25mg, Potassium: 64mg, Fiber: 0.2g, Sugar: 51g, Vitamin A: 4IU, Vitamin C: 24mg, Calcium: 18mg, Iron: 0.1mg
Nutrition information is automatically calculated, so should only be used as an approximation.
More Refreshing Summer Canning Recipes
Looking for more easy canning recipes that are perfect for summertime harvests and enjoyment?
- Canning Blackberries
- Canning Plums
- Canning Blueberries
- Canning Cherries
Canning Your Favorite Drinks
Lemonade isn’t the only delicious beverage you can preserve in a jar for year-round enjoyment! Explore other drink canning recipes:
- Canning Strawberry Juice
- Canning Rhubarb Juice