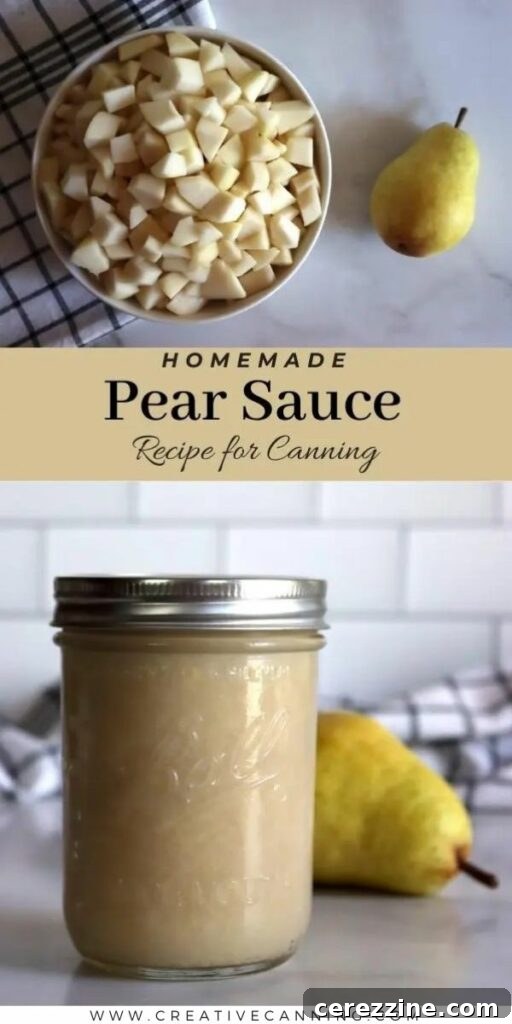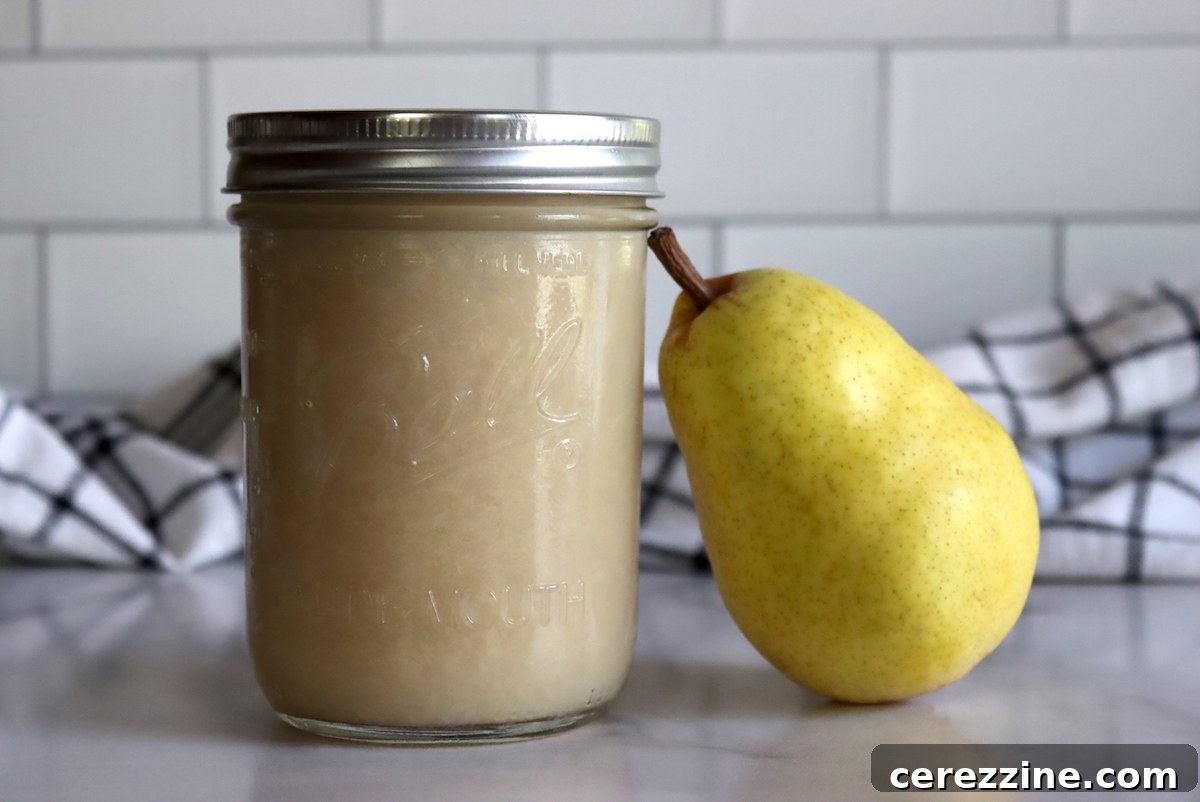
Unlock the delightful taste of autumn with homemade pear sauce – a simple yet incredibly rewarding preserve. Often overshadowed by its apple counterpart, pear sauce boasts a unique, delicate sweetness and smooth texture that makes it a true culinary gem. While similar in concept to applesauce, pears cook distinctly, requiring a bit more patience but delivering a flavor profile that is utterly worth the effort.
If you’re already a devotee of homemade applesauce, preparing pear sauce is a natural progression, offering a subtle variation that might just become your new favorite. The basic method remains largely the same: cooking down ripe fruit into a luscious puree. However, pears typically demand a longer simmering time than apples and a little extra elbow grease if you’re mashing them by hand. The payoff is immense: a naturally sweeter sauce, often requiring no added sugar, with a distinct, nuanced flavor that sets it apart.
This comprehensive guide will walk you through crafting a simple, two-ingredient pear sauce. We’ll explore how to achieve a beautiful, snowy white sauce that’s versatile enough to grace your breakfast table or complement a savory roast. Beyond the basic recipe, you’ll find suggestions for infusing your sauce with warm spices, making it a truly customizable treat. Most importantly, we’ll delve into the art of water bath canning your pear sauce, enabling you to capture that fresh, orchard-picked taste and enjoy it year-round. Prepare to discover the simple joy of preserving pears in their most delicious form!
Understanding Pear Quantities for Optimal Sauce Making
One of the key differences between making pear sauce and applesauce lies in the fruit’s natural composition. Pears are remarkably juicy, often more so than apples. If you’ve ever savored a perfectly ripe pear, feeling that sweet juice trickle down your chin, you know exactly what we mean. This high juice content has implications for cooking and yields.
While pears have abundant juice, they also take longer to break down into a smooth sauce. This longer cooking time, combined with their dense flesh, means you’ll typically need more raw pears per pint of finished sauce compared to apples. The good news? This concentration process intensifies the pear’s natural sweetness and complex flavor, often eliminating the need for added sugar.
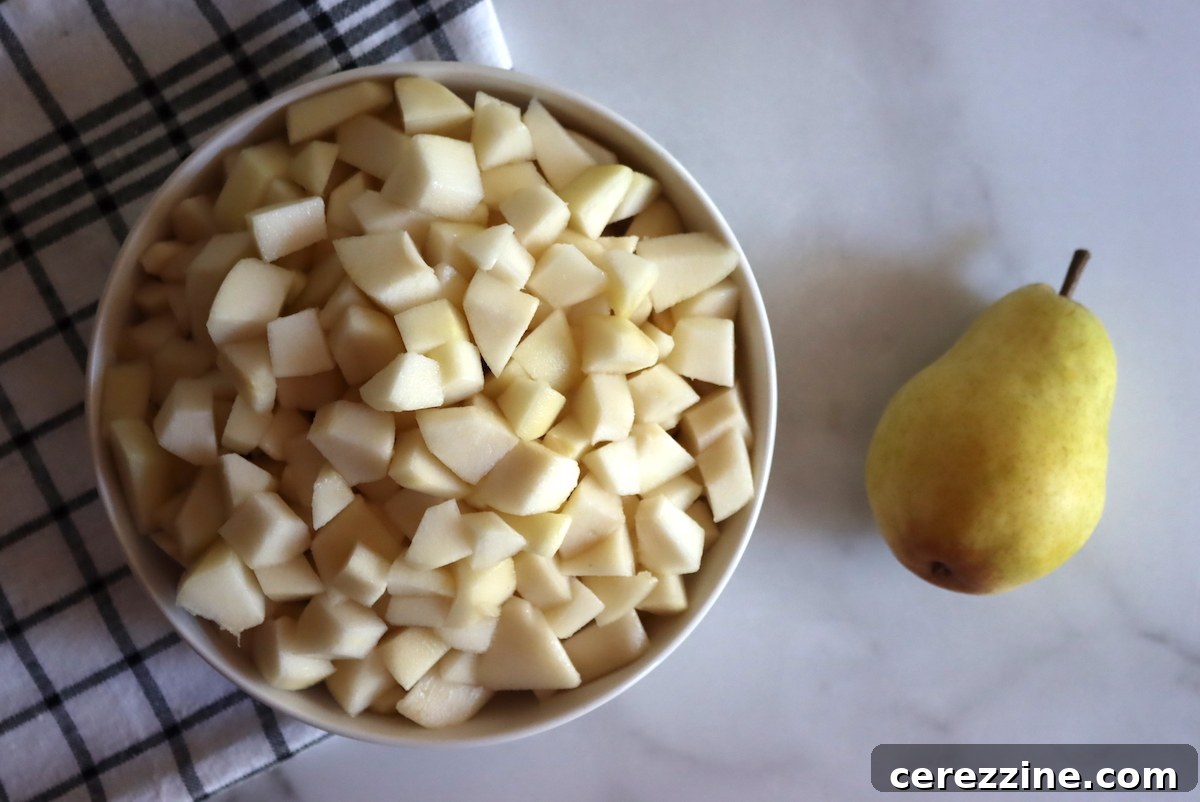
For a single pint of pear sauce, you’ll generally need approximately 5 to 6 medium-sized pears. This translates to roughly 2 1/2 pounds of pears (just over 1 kilogram). Once peeled, cored, and diced, this quantity will yield about 5 cups of prepared fruit.
This recipe is designed as a small-batch guide, perfect for a single pint. However, the beauty of sauce recipes is their scalability. Unlike some jam recipes that can be finicky when doubled, pear sauce can be multiplied as many times as you wish, provided you have a large enough pot to accommodate the volume. Just be mindful that larger batches require more frequent stirring to prevent scorching at the bottom of the pot.
To give you a better idea of scaling, if you’re aiming for a standard 9-pint canner batch, you’ll need to start with approximately 22 1/2 pounds of fruit. For a 7-quart canner batch, prepare to process around 35 pounds of pears. Pears truly cook down considerably, and their high juice content means a significant amount of raw fruit is required to achieve a concentrated, wonderfully sweet, and naturally flavorful sauce without relying on added sugars.
Selecting the Best Pear Varieties for Your Sauce
The wonderful thing about making pear sauce is its adaptability; you can use almost any pear variety you have on hand, or even combine several types for a more complex flavor profile. However, some varieties stand out for their superior texture and taste when cooked down into a sauce.
Commonly recommended varieties include Bartlett, Bosc, and Seckel pears. Bartletts are known for their sweet, juicy flesh and tend to break down easily. Bosc pears offer a firmer texture and a slightly spicier flavor that can add depth. Seckel pears are small but intensely sweet, providing a rich, concentrated flavor. Many homegrown pear types that might not be ideal for fresh eating, perhaps due to a tougher skin or mealier texture, often transform beautifully into a delicious sauce once cooked.
For example, we specifically cultivate “golden spice” pears for canning purposes. While they might not be the most appealing for fresh consumption, they develop an exceptional flavor and smooth texture when cooked, making them perfect for sauces and preserves.
The primary exception to this versatility is Asian pears (also known as apple pears). While delightful fresh, their texture and flavor don’t hold up as well when cooked. Furthermore, Asian pears are very low in acid, which makes them unsuitable for safe water bath canning as a sauce without specific acid adjustments. You can certainly make Asian pear sauce for immediate consumption or for freezing, but it’s not recommended for shelf-stable canning. If you wish to can Asian pears, it’s generally done as whole or halved fruit with the addition of lemon juice or citric acid to ensure adequate acidity. There isn’t an established canning recipe specifically for Asian pear sauce, partly because their cooked flavor isn’t widely preferred for this application, and determining the precise amount of acid needed after cooking down could be complex. Ultimately, Asian pears are truly at their best when enjoyed fresh, though they can make a lovely addition to baked goods after being home-canned as slices or halves.
Crafting Your Homemade Pear Sauce: A Step-by-Step Guide
Making pear sauce is a straightforward process, but understanding a few key steps will ensure a perfect, flavorful result every time.
1. Pear Preparation
Begin by thoroughly washing your pears. Next, you’ll need to peel, core, and dice them. Pears can sometimes have unexpectedly thick peels and notoriously gritty cores, so take your time during this stage. A sharp paring knife and a melon baller or apple corer can make this process much easier. Removing all traces of the core is essential, as even small fragments can be unpleasant in the finished sauce. Once prepared, you should have approximately 5 cups of diced fruit for a single pint of sauce. If you find yourself a bit short, simply add another medium-sized pear.
2. Simmering the Pears to Perfection
Transfer your prepared pear chunks to a large, heavy-bottomed saucepan or a Dutch oven. Add 1/2 cup of water to the pot. This liquid is crucial for preventing the pears from scorching during the initial cooking phase. For an extra boost of flavor, you can substitute apple or pear juice for the water. Pears, unlike apples, take considerably longer to soften and break down into a sauce. This is a point of distinction that requires a bit more patience.
Bring the mixture to a gentle simmer over medium heat. You’ll want to maintain a consistent, bubbly simmer, stirring occasionally to ensure even cooking and to prevent any pears from sticking to the bottom. Begin checking the pears for tenderness around the 30-minute mark. At this point, the pieces will likely be softening but still holding their shape, and you’ll notice a good amount of separate juice in the pot. For comparison, many apple varieties used for applesauce might break down in half this time. Continue cooking, stirring regularly.
After approximately 45 minutes to an hour of simmering, the liquid will have largely evaporated or been absorbed, and the pear chunks will be very mushy. Even when soft, pears tend to retain their shape more than apples, which is a characteristic that makes them excellent for canning as whole or sliced fruit, and also contributes to why they create such a wonderful pear jam or pear butter.
3. Achieving Your Desired Consistency
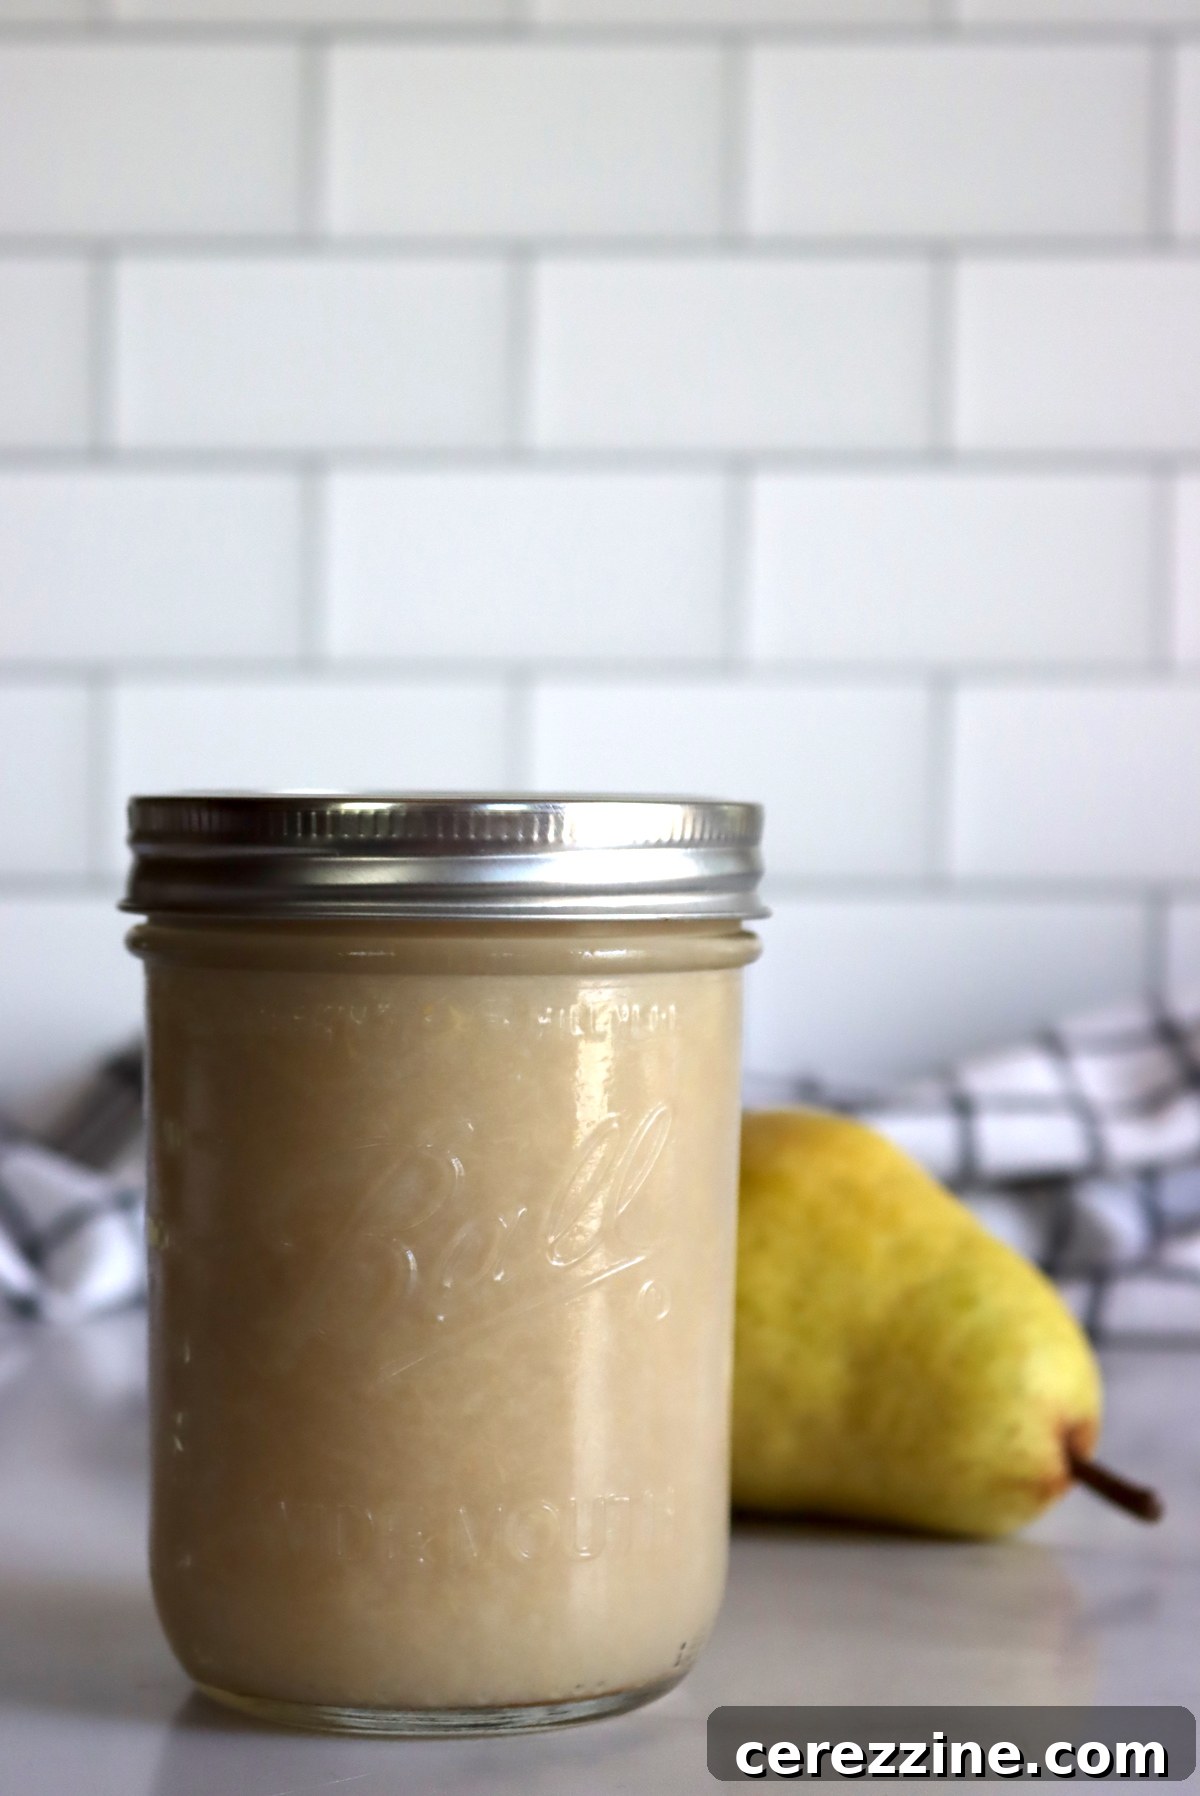
Once the pears are thoroughly softened, it’s time to transform them into sauce. This is where a stick blender (immersion blender) truly shines, allowing you to puree the pears directly in the pot. Alternatively, you can use a food mill for a perfectly smooth sauce, which will also remove any remaining small bits of peel or core if you weren’t meticulous in your prep. For a more rustic, chunky pear sauce, a good old-fashioned potato masher or a sturdy wooden spoon will do the trick.
4. Optional Flavor Enhancements and Browning Prevention
Pears are naturally sweet, and many find that their sauce needs no additional sugar. However, if you prefer a sweeter profile, you can add granulated sugar, a tablespoon at a time, tasting after each addition until you reach your desired sweetness. For those who enjoy warm, aromatic flavors, a pinch of spices like cinnamon, ground ginger, allspice, or nutmeg can elevate the sauce. Remember, a little goes a long way; you want to enhance the pear flavor, not overpower it.
While pears are naturally acidic enough for safe water bath canning without added lemon juice, some people choose to add a tablespoon of lemon juice to the finished sauce. This isn’t for safety, but rather to help prevent browning and discoloration caused by oxidation, particularly if the sauce will be gifted or if a pristine white color is desired. If you’re quick to get your diced pears into the pot and cooking, you can often achieve a beautiful white sauce without any added lemon juice, preserving the pure pear flavor without any tart notes.
Canning Homemade Pear Sauce for Year-Round Enjoyment
Preserving your homemade pear sauce through water bath canning is a fantastic way to enjoy its fresh flavor long after pear season has ended. If you’re new to this method, be sure to consult a comprehensive beginner’s guide to water bath canning for essential safety information and detailed instructions on preparing your equipment.
Preparing for Canning:
Before you begin, ensure your canning jars are clean and warm. Wash them thoroughly with hot, soapy water or run them through a dishwasher. Keep them warm to prevent thermal shock when adding hot sauce. Prepare your two-piece canning lids according to the manufacturer’s instructions, typically by simmering them in hot water. Have a canning funnel and jar lifter ready.
Ladle and Process:
Carefully ladle the still-hot pear sauce into your prepared, warm pint (or quart) jars, leaving precisely 1/2-inch headspace from the rim of the jar. This headspace is crucial for proper sealing and to allow for expansion during processing. A canning funnel with headspace measurements can be incredibly helpful here. After filling, wipe the rim of each jar meticulously with a clean, damp cloth to remove any food particles that could interfere with the seal. Center a prepared lid on the jar and apply a screw band, tightening it only until it is “fingertip tight” – firm but not overtightened.
Carefully lower the filled jars into a hot water canner that is already simmering. Ensure the jars are completely submerged in water by at least 1 to 2 inches. Cover the canner and bring the water to a rolling boil. Once boiling, begin your processing time. The duration varies based on jar size and your altitude:
Processing Times for Pear Sauce:
- Pint Jars:
- 0-1,000 feet altitude: 15 minutes
- 1,001-3,000 feet altitude: 20 minutes
- 3,001-6,000 feet altitude: 20 minutes
- Above 6,001 feet altitude: 25 minutes
- Quart Jars:
- 0-1,000 feet altitude: 20 minutes
- 1,001-3,000 feet altitude: 25 minutes
- 3,001-6,000 feet altitude: 30 minutes
- Above 6,001 feet altitude: 35 minutes
Cooling and Storage:
Once the processing time is complete, turn off the heat and allow the jars to rest in the hot water bath for 5 minutes. This helps prevent siphoning and promotes a better seal. Using a jar lifter, carefully remove the hot jars from the canner and place them upright on a clean towel on your counter. Allow them to cool undisturbed for 12 to 24 hours. You’ll likely hear the satisfying “ping!” of the lids sealing as they cool.
After the jars have completely cooled, check each lid for a proper seal. The center of the lid should be concave and should not flex when pressed. Remove the screw bands (these can be washed and reused for future canning projects). If any jar did not seal, transfer its contents to the refrigerator and consume it within about a week. Properly sealed canned pear sauce should be stored in a cool, dark, and dry place, away from direct light, and will maintain its quality for up to 18 months.
Delightful Ways to Enjoy Your Homemade Pear Sauce
Homemade pear sauce is incredibly versatile, fitting seamlessly into both sweet and savory applications. Essentially, any way you enjoy applesauce, you’ll likely love pear sauce even more!
Sweet Applications:
One of the simplest pleasures is enjoying pear sauce straight from the jar, either chilled or gently warmed on the stove. A sprinkle of extra cinnamon can enhance its comforting qualities. For breakfast, stir it into oatmeal, yogurt, or use it as a topping for pancakes, waffles, or French toast. It’s a fantastic, naturally sweet alternative to syrup. In baking, pear sauce can be a secret ingredient for moist and flavorful results. Substitute a portion of the oil or melted butter in recipes for muffins, quick breads, cakes, or even cookies. Its natural sweetness also means you might be able to reduce the amount of added sugar in your baked goods.
Savory Pairings:
Don’t limit pear sauce to just sweet dishes; its subtle sweetness and fruity notes make it an excellent accompaniment to various meats. Serve it as a side dish alongside roast pork, venison, or duck. It can also be incorporated into marinades or glazes for poultry or pork, adding a touch of sweetness and helping to tenderize the meat. Because the basic recipe for pear sauce is often made without added spices, it remains incredibly versatile, allowing you to season it differently depending on the meal. This flexibility is why many prefer to keep their pear sauce unseasoned during the initial cooking process.
More Pear Canning Recipes
Pear Jam
Pear Sauce
Summer Fruit Salsa with Honey & Balsamic
Pear Butter
Homemade Pear Sauce
A simple, single-ingredient recipe for pear sauce that’s perfect for water bath canning, bringing orchard-fresh flavor to your pantry.
Author: Ashley Adamant
Yields: 1 Pint (approx. 8 servings)
Prep time: 15 minutes
Cook time: 1 hour
Canning time: 15 minutes
Total time: 1 hour 30 minutes
Equipment
- Water Bath Canner
- Large heavy-bottomed saucepan or Dutch oven
- Stick blender, food mill, or potato masher
- Pint canning jars (with new lids and bands)
- Canning funnel
- Jar lifter
- Clean towels
Ingredients
- 2 1/2 lbs pears (about 5-6 medium-sized pears), peeled, cored, and diced
- 1/2 cup water (or apple/pear juice for added flavor)
- Optional: 1 tbsp lemon juice (to prevent browning and maintain color)
- Optional: Pinch of warm spices (cinnamon, ground ginger, allspice, or nutmeg)
Instructions
- Prepare Pears: Wash, peel, core, and dice the pears into roughly 1-inch chunks. Aim for about 5 cups of prepared fruit.
- Combine and Cook: Add the diced pear chunks and 1/2 cup of water (or juice) to a large heavy-bottomed saucepan or Dutch oven.
- Simmer to Softness: Bring the mixture to a simmer over medium heat. Continue to simmer, stirring occasionally, until the pear pieces are thoroughly softened. This typically takes 30-50 minutes, depending on the pear variety and ripeness.
- Puree the Sauce: Once the pears are very soft, use a stick blender directly in the pot, a food mill, or a potato masher to achieve your desired consistency – from a rustic, chunky sauce to a perfectly smooth puree.
- Season (Optional): If desired, stir in 1 tablespoon of lemon juice (to help retain bright color) or a pinch of your preferred warm spices like cinnamon.
- Prepare Jars: Carefully ladle the hot pear sauce into clean, warm 1-pint canning jars, leaving 1/2-inch headspace.
- Seal Jars: Wipe the jar rims thoroughly with a clean, damp cloth to ensure a good seal. Center new two-piece lids on the jars and apply screw bands until fingertip-tight.
- Process in Canner: Load the jars into a hot water bath canner, ensuring they are fully submerged by at least 1 inch of water. Bring the water to a rolling boil.
- Process Jars: Process pint jars for 15 minutes (adjusting for altitude as per the chart below).
- Cool and Remove: Once processing is complete, turn off the heat and let the jars rest in the hot water for 5 minutes. Carefully remove jars with a jar lifter and place them on a clean towel on your countertop to cool undisturbed for 12-24 hours.
- Check Seals and Store: After cooling, check the seals (lids should be concave and not flex). Remove bands. Store unsealed pear sauce in the refrigerator and use within a week. Store properly sealed pear sauce in a cool, dark, dry place for up to 18 months.
Notes
This recipe is designed for a small batch, yielding approximately one pint. It can be easily scaled up for larger quantities – simply multiply the ingredients by the number of pints or quarts you wish to preserve. Keep in mind that roughly 2 1/2 pounds of fresh pears, once peeled, cored, and diced, will yield about 5 cups of prepared fruit, which is ideal for one pint of finished sauce. For a larger batch, such as a standard 9-pint canner load, you would need about 22 1/2 pounds of pears. For a 7-quart canner batch, expect to process around 35 pounds of fruit. Pears cook down significantly, and their natural juice concentrates, offering an amazingly sweet flavor without the need for added sugar.
Altitude Adjustments for Water Bath Canning:
- 0 to 1,000 feet in elevation: 15 minutes for pints, 20 minutes for quarts
- 1,001 to 3,000 feet in elevation: 20 minutes for pints, 25 minutes for quarts
- 3,001 to 6,000 feet in elevation: 20 minutes for pints, 30 minutes for quarts
- Above 6,001 feet in elevation: 25 minutes for pints, 35 minutes for quarts
Nutrition (Approximate per serving)
- Calories: 81 kcal
- Carbohydrates: 22g
- Protein: 1g
- Fat: 0.2g
- Saturated Fat: 0.03g
- Polyunsaturated Fat: 0.1g
- Monounsaturated Fat: 0.1g
- Sodium: 2mg
- Potassium: 164mg
- Fiber: 4g
- Sugar: 14g
- Vitamin A: 35 IU
- Vitamin C: 6mg
- Calcium: 13mg
- Iron: 0.3mg
Nutrition information is automatically calculated and should only be used as an approximation.
Enjoyed making this recipe? We’d love to hear your thoughts! Leave a comment below with your feedback or any variations you tried.
More Fall Canning Recipes
If you’re busy preserving the bounty of the harvest season, don’t stop at pears! Explore these other fantastic fall canning recipes to fill your pantry:
- Canning Pumpkin
- Canning Sweet Potatoes
- Canning Cranberry Sauce