
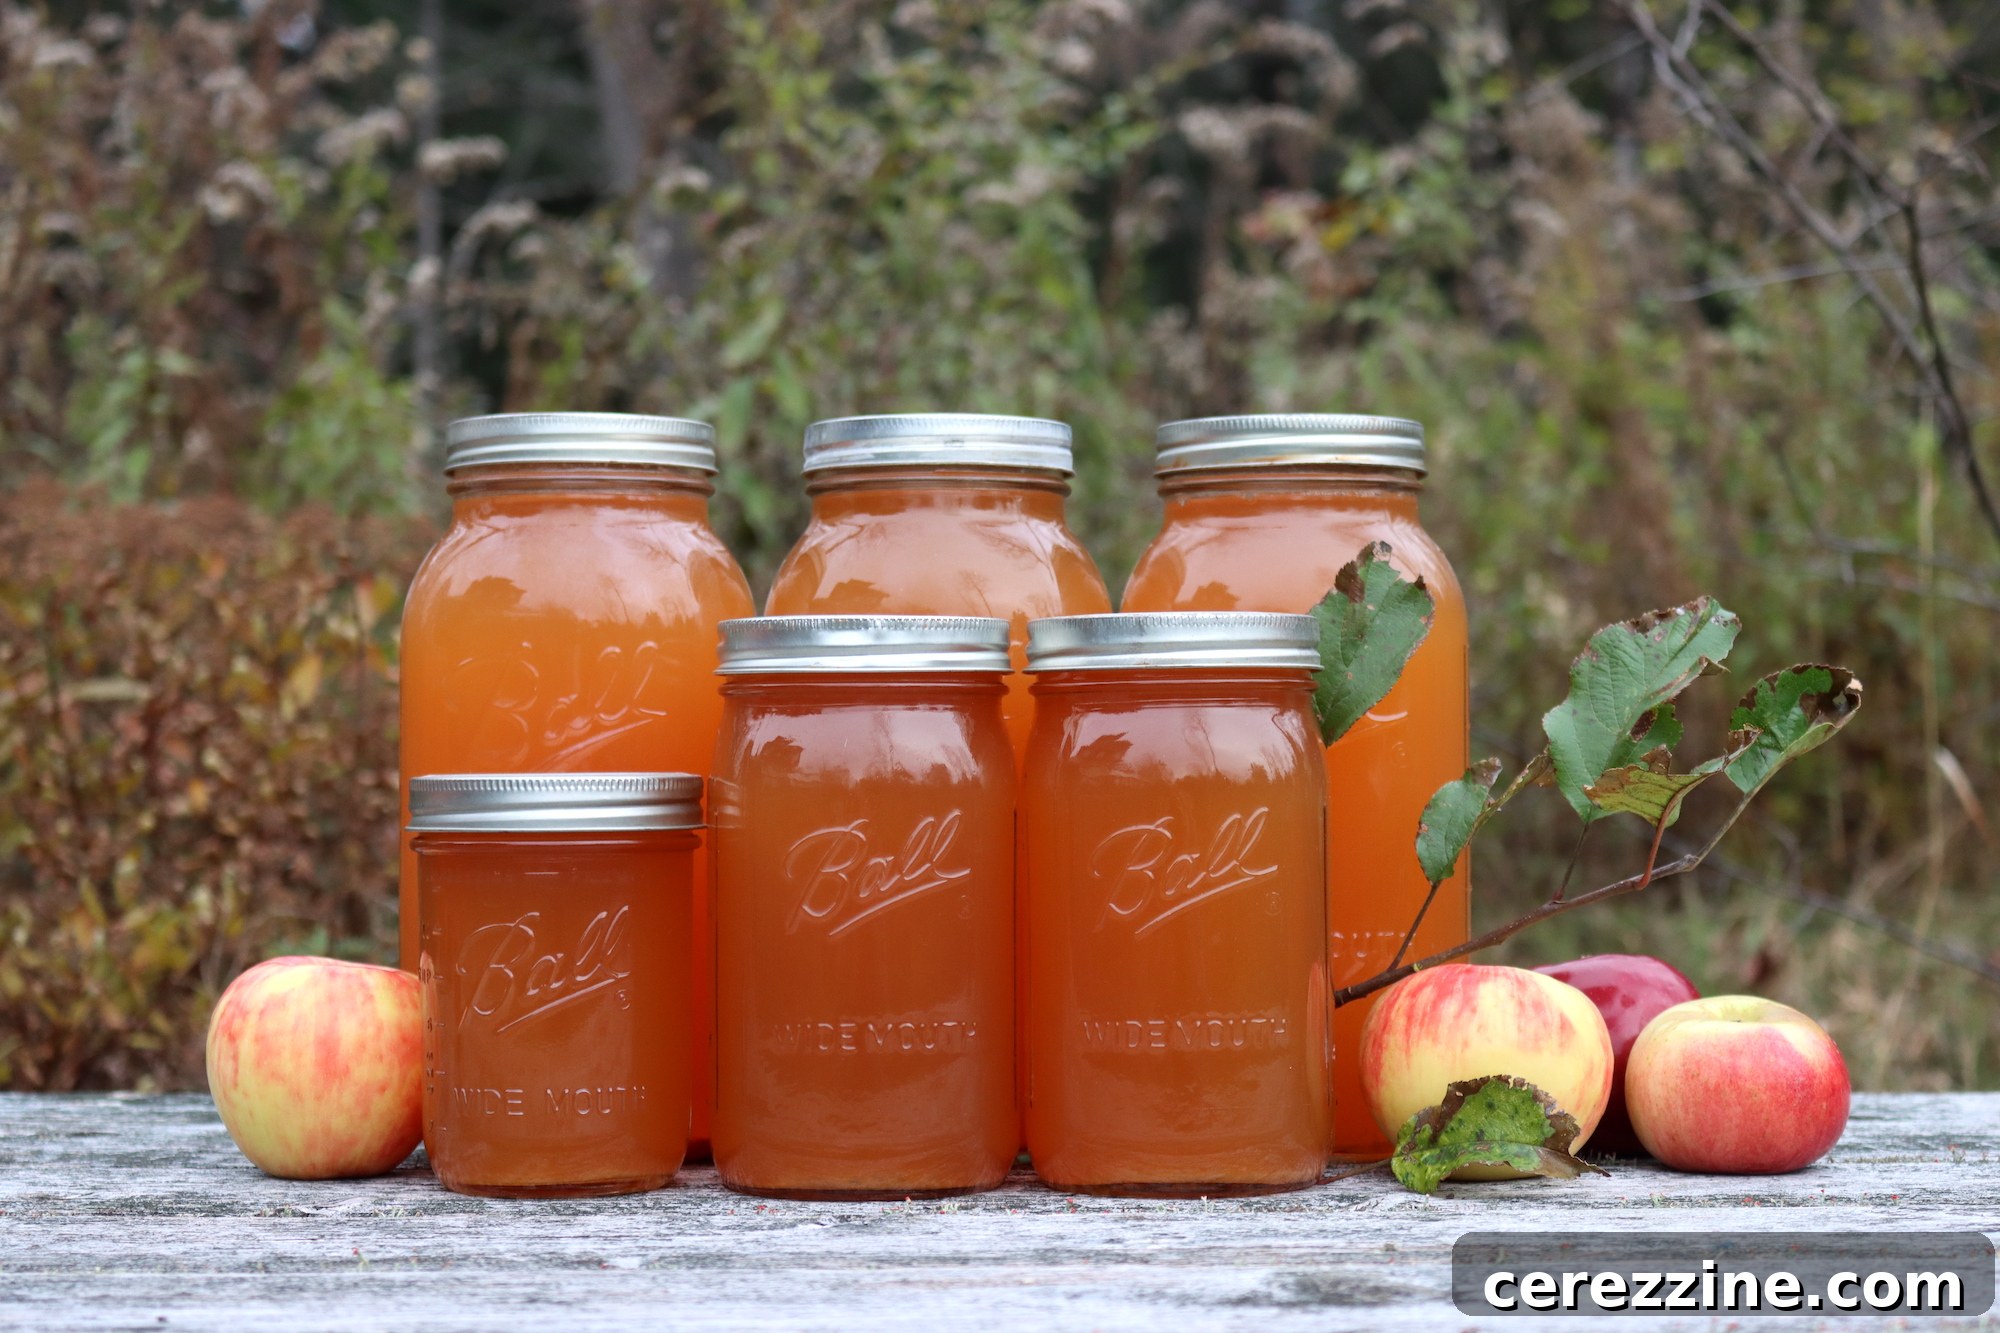
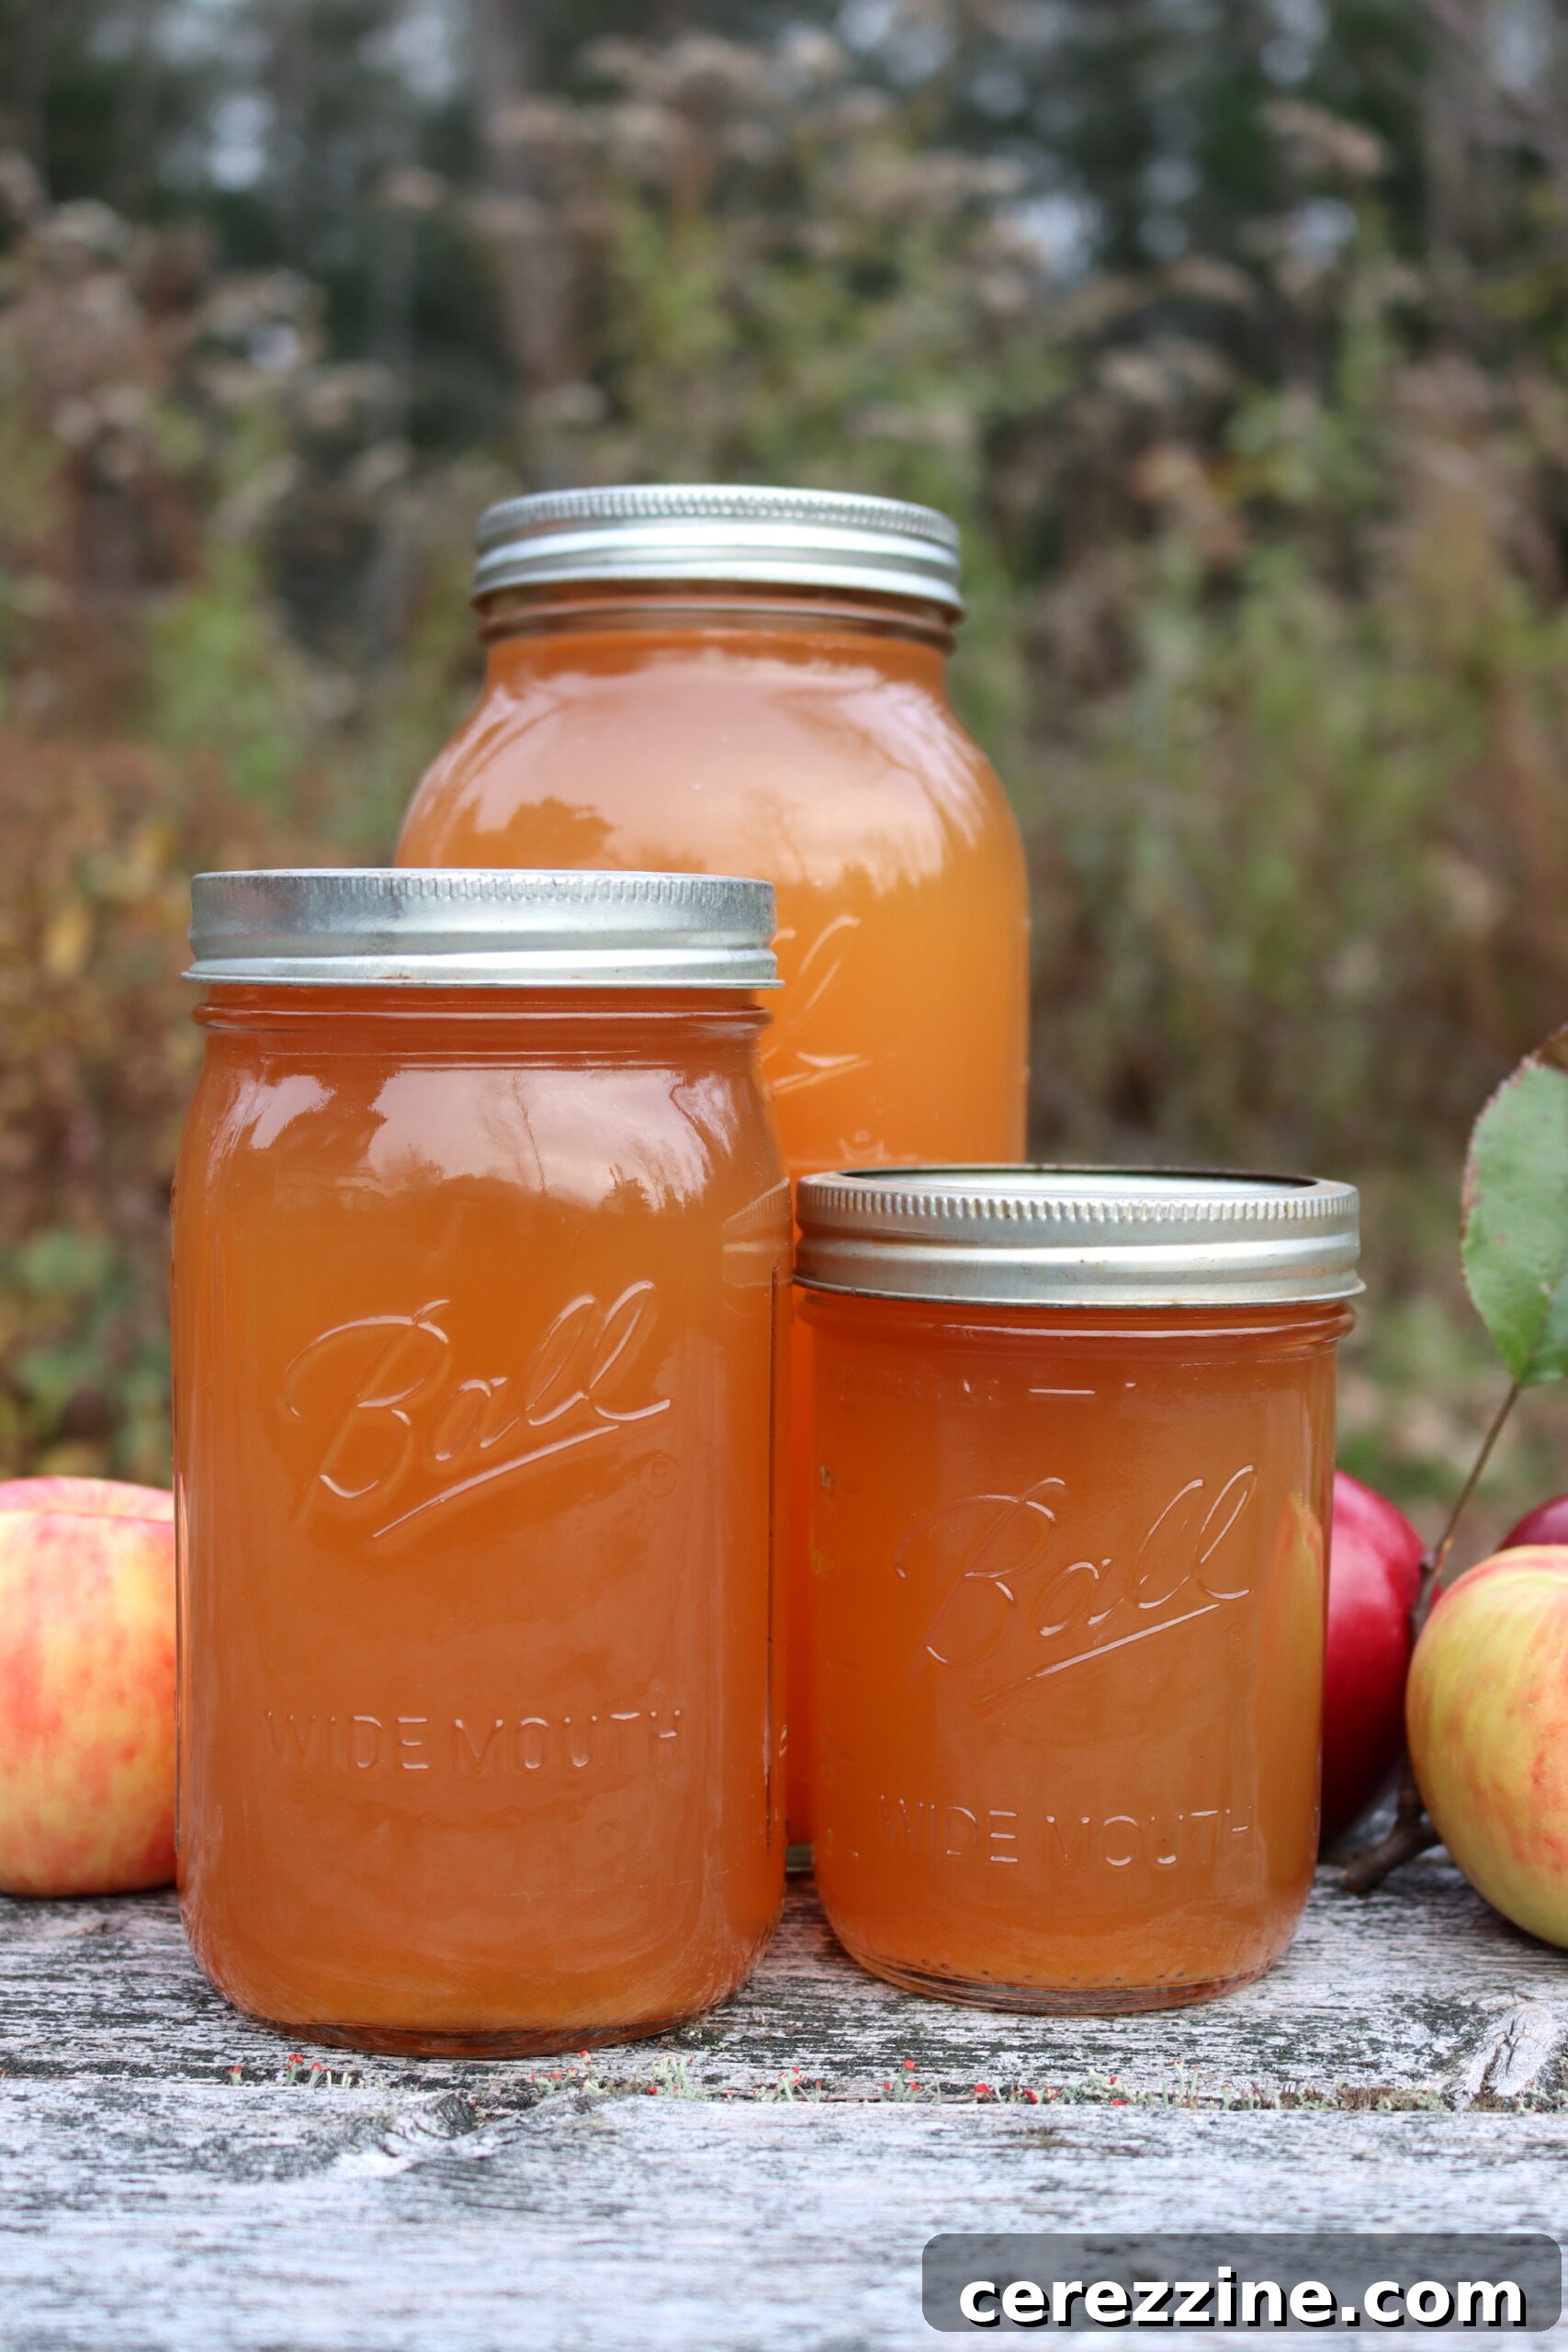
Canning apple cider stands out as my most cherished method for preserving the crisp, refreshing taste of fresh-pressed cider, making it readily available for a comforting cup of hot mulled cider throughout the long winter months. Instead of dedicating precious freezer space to bulky containers of cider, discover the convenience and efficiency of storing your golden liquid bounty right on your pantry shelf. This guide will walk you through a tried-and-true process to ensure your homemade apple cider retains its vibrant flavor, color, and character for up to a year or even longer.
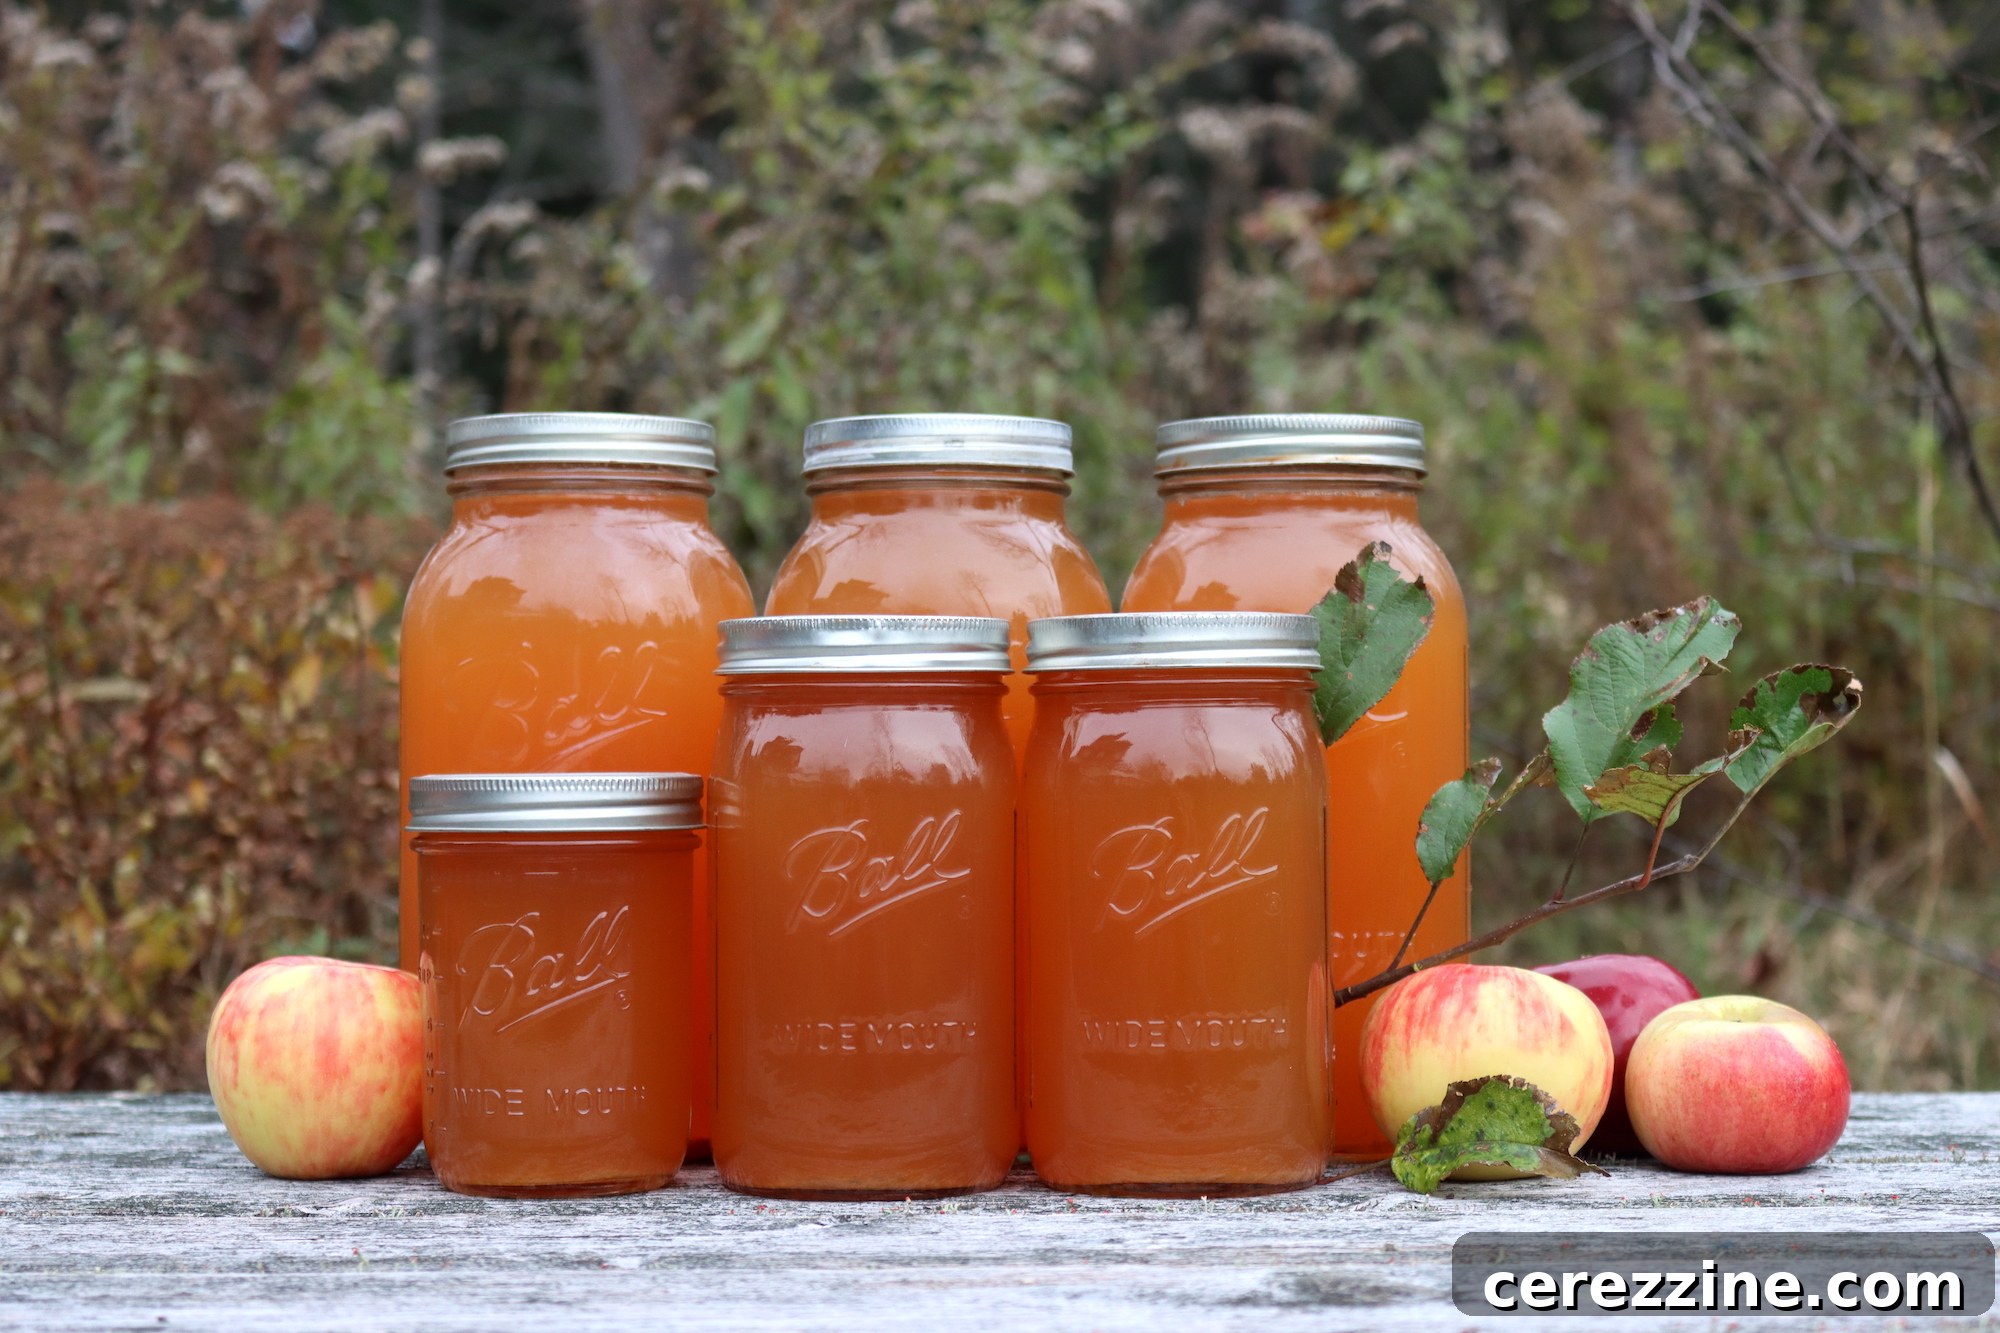
For those fortunate enough to have an abundance of apples, whether from a backyard orchard or a bountiful local harvest, the apple season is a time for celebration and diligent preservation. Our own orchard yields apples by the truckload, prompting us to explore almost every conceivable method to preserve this seasonal delight. We meticulously store fresh, firm apples in our basement root cellar using a custom-built apple storage rack, selecting the best storage apple varieties to ensure they remain crisp and flavorful for up to a year.
Beyond whole fruit storage, our pantry shelves soon fill with an array of homemade apple treats crafted using our favorite apple canning recipes. From jars of velvety home-canned applesauce and convenient apple pie filling to our children’s beloved apple jam, every apple finds a purpose. Yet, even after these preparations, the harvest often continues to surprise us with its generosity.
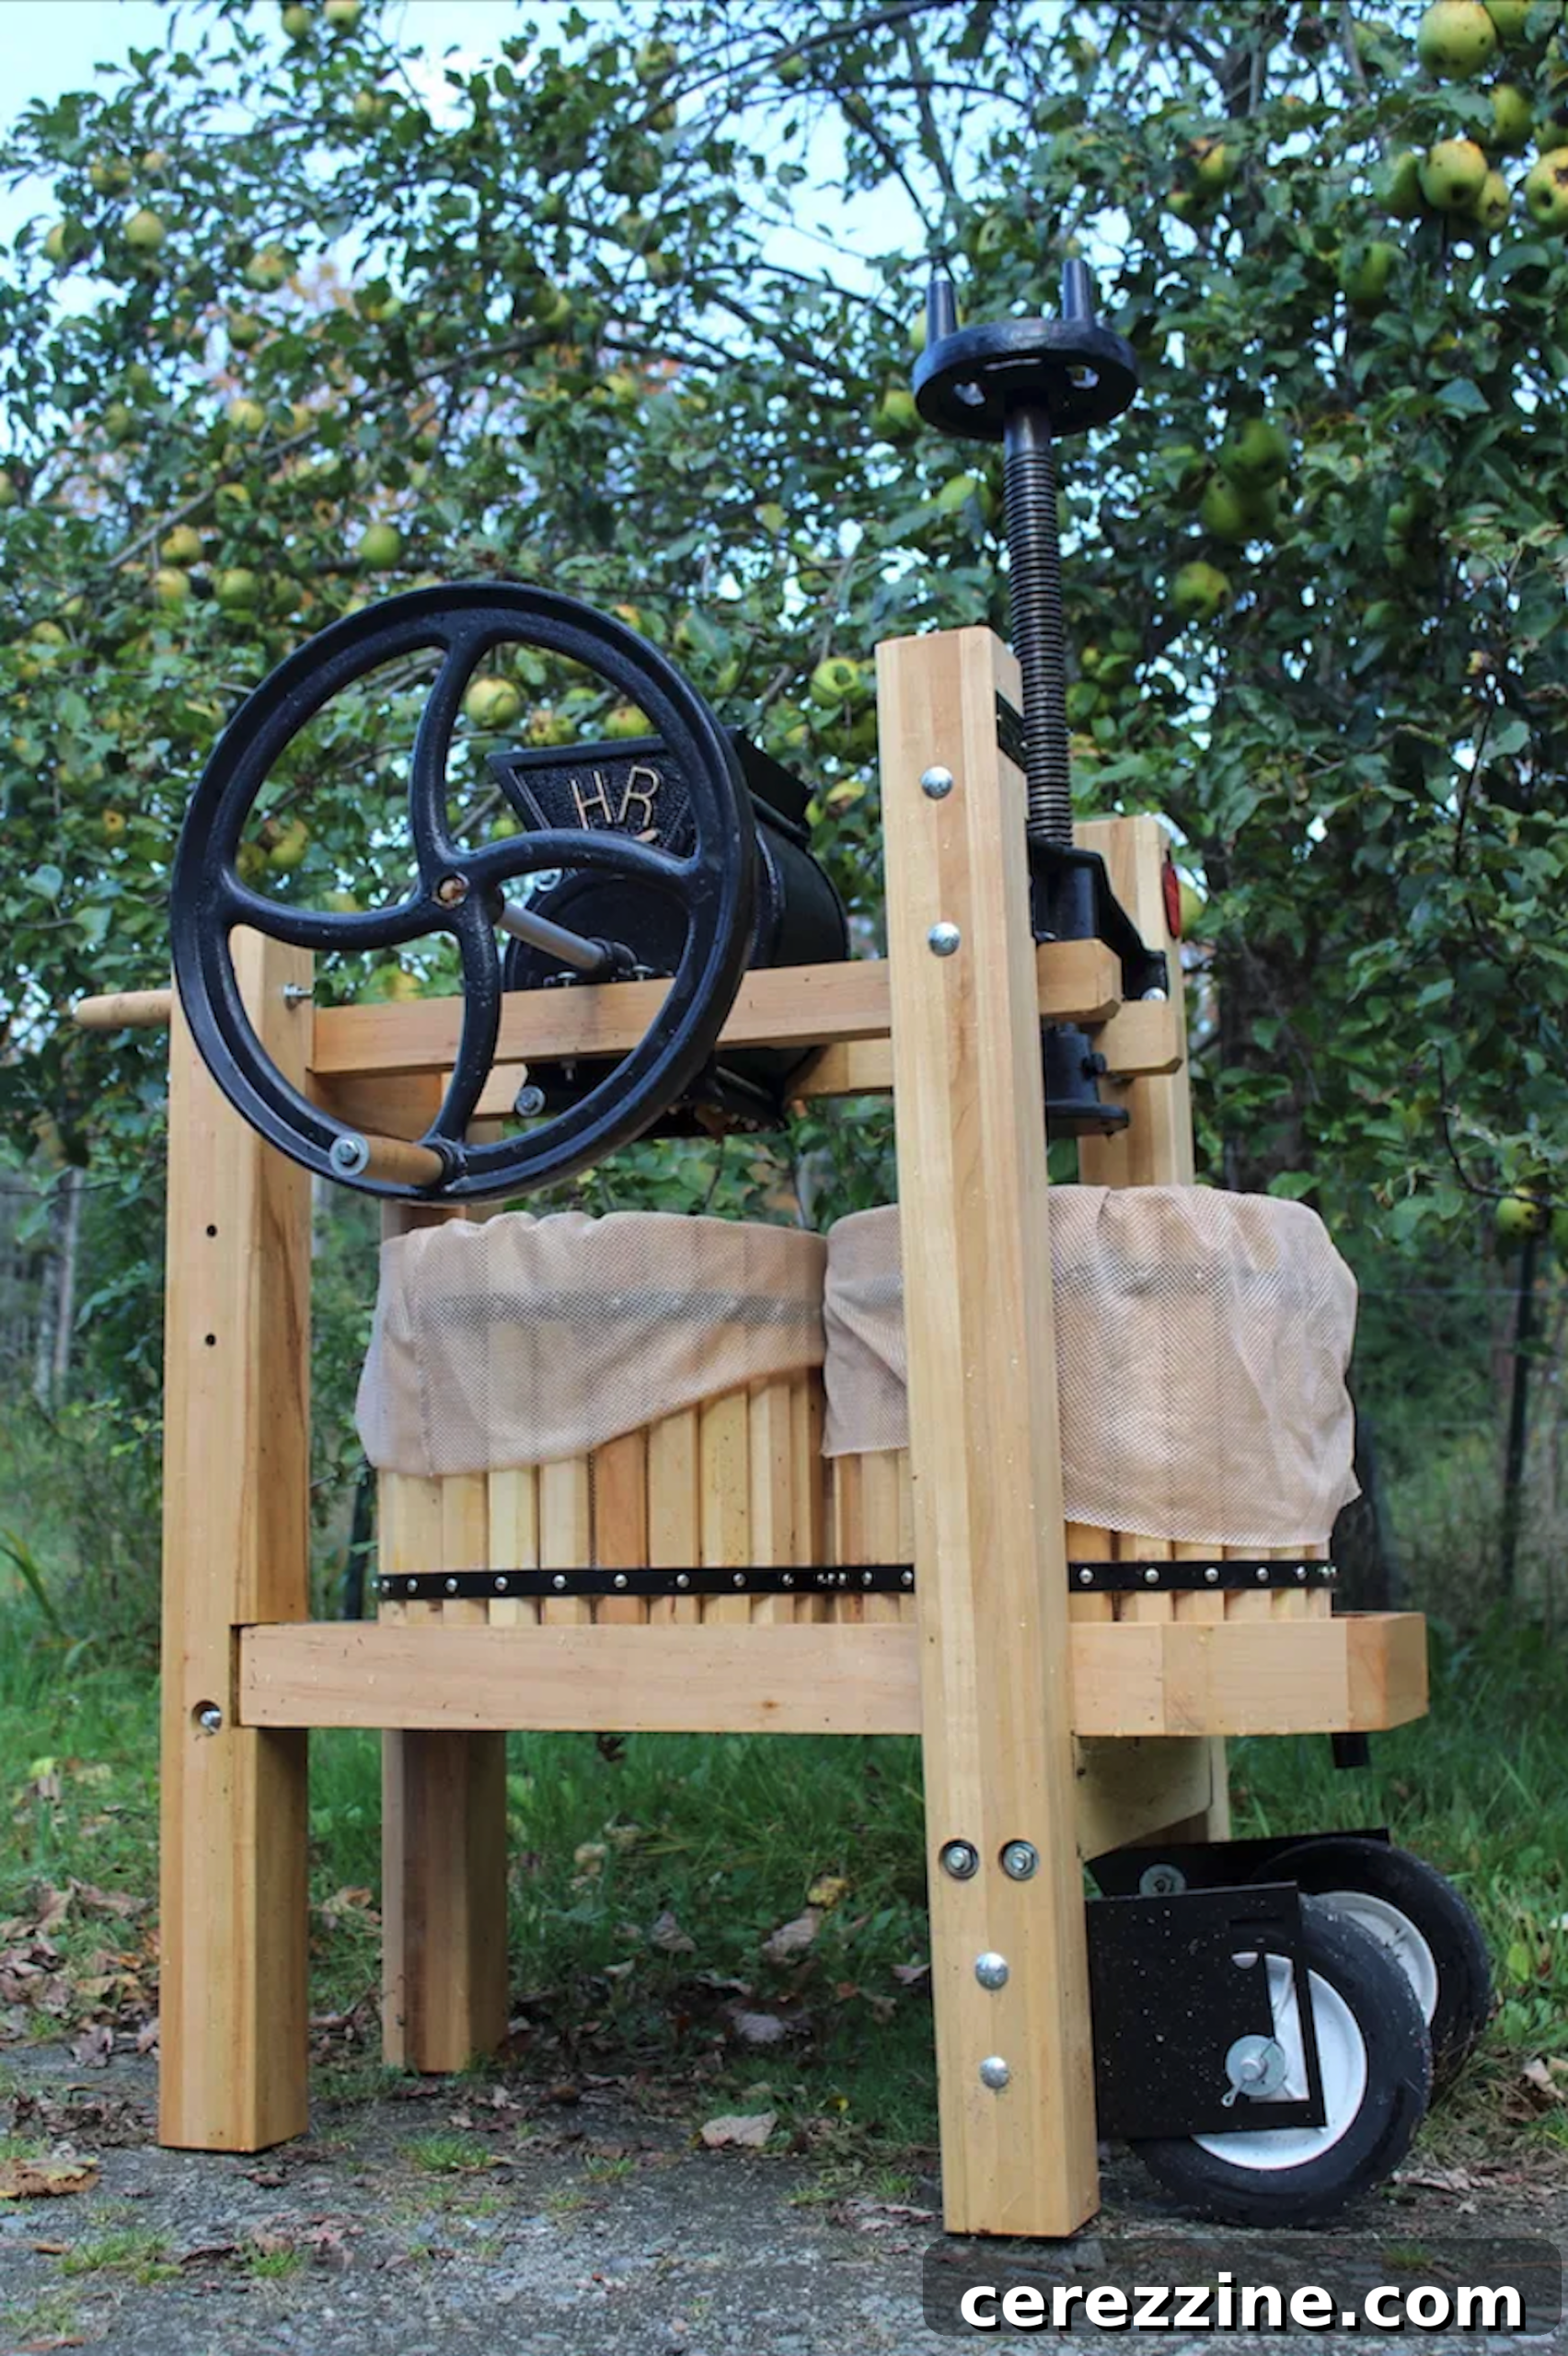
Eventually, the time comes to fire up our double-barreled cider press, transforming piles of apples into liquid gold. This is when we embark on brewing batches of robust hard cider and delightful apple wine. Once the carboys are happily bubbling away, fermenting their way to deliciousness, we still frequently find ourselves with a substantial surplus of apples. It was this abundance, several hundred pounds of apples to be precise, that last year led us to canning apple cider, ultimately yielding over ten gallons of perfectly preserved cider.
The beauty of canning apple cider lies in its ability to capture the essence of freshly pressed apples. When done correctly, using a gentle heating process, the cider retains its original flavor, vibrant color, and distinct character, bottled within each jar. This specific method, pioneered and extensively tested by Ball Canning, involves heating the fresh-pressed cider to precisely 190°F (88°C) – just below boiling – to sterilize it effectively before sealing the jars in a water bath canner. The crucial aspect here is avoiding a full boil. By keeping the temperature below boiling, the natural pectin in the apples doesn’t set, which is key to maintaining the cider’s fluid consistency and preserving its delicate, fresh apple flavor profile. This meticulous approach ensures that every sip, whether enjoyed straight from the jar or warmed, delivers the authentic taste of autumn.
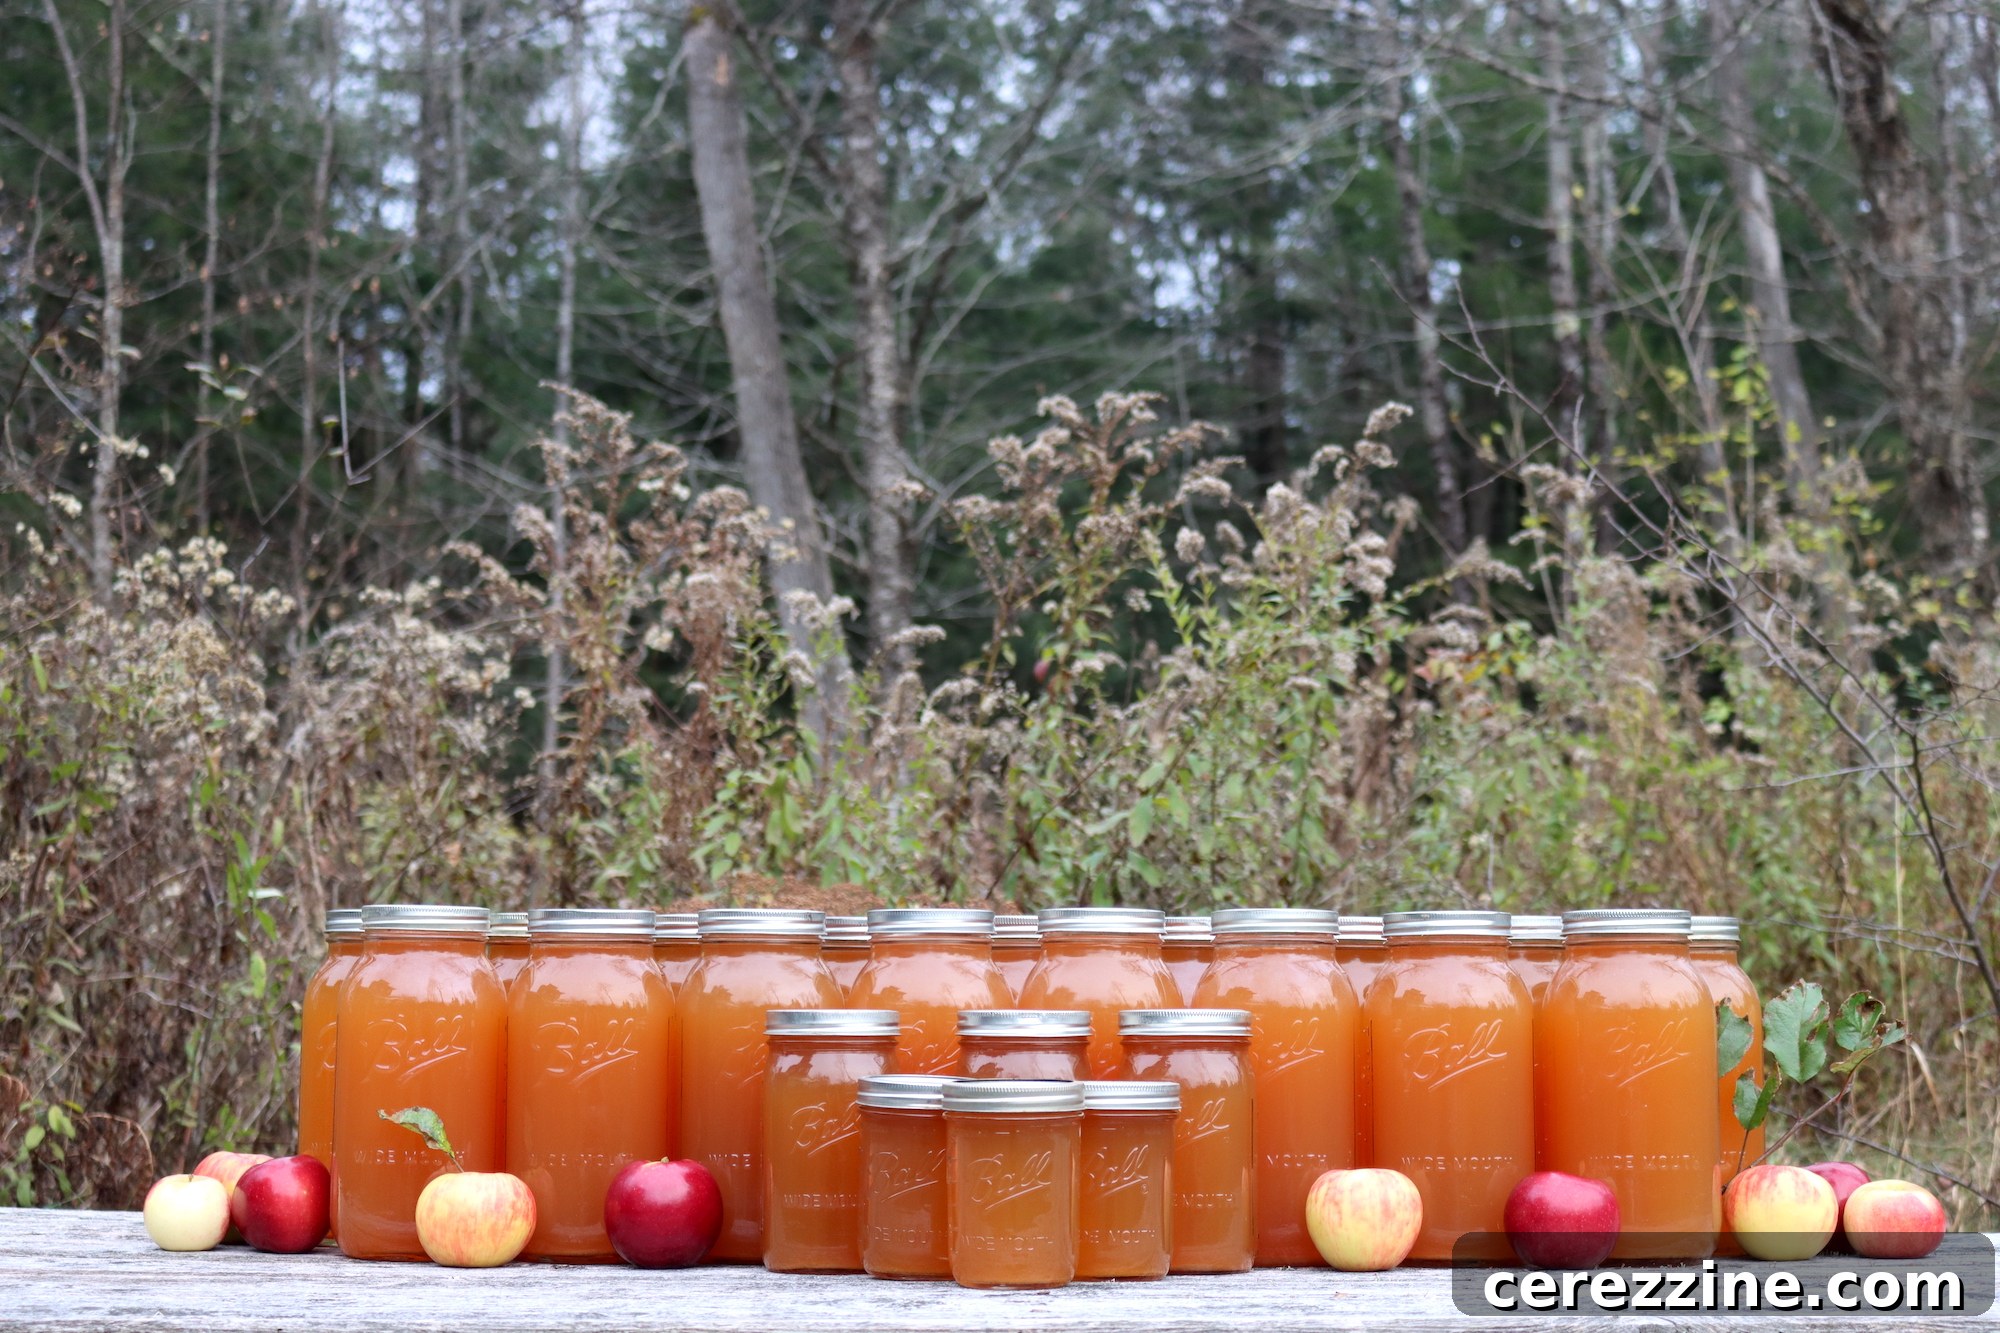
Ingredients for Canning Apple Cider
To embark on your apple cider canning journey, the primary ingredient is, naturally, fresh-pressed apple cider. In my preferred method, this involves using a dedicated cider press to extract the juice from a generous quantity of apples. Expect to use approximately 15 to 18 pounds of apples to produce a single gallon of cider. This makes canning cider a particularly sensible endeavor if you have an apple tree on your property, access to an abundant and inexpensive local harvest, or frequent a “pick-your-own” orchard. The sheer volume of apples required typically makes using expensive supermarket apples impractical for this purpose, emphasizing the value of homegrown or locally sourced fruit.
For those without a cider press, there’s an alternative for obtaining apple juice for canning, although it yields “apple juice” rather than true “cider” in the traditional sense. Ball canning offers a process where apples are simmered in water, and the resulting liquid is then strained through a jelly bag to extract the juice. While it won’t have the same robust character as pressed cider, it’s a viable option for preserving apple goodness. Instructions for canning apple juice made without a cider press can be found in various canning resources.
An essential consideration for safe canning, especially with modern apple varieties, is the acidity of your cider. Recent testing has revealed that some apples, particularly newer super-sweet varieties or those grown in orchards using high nitrogen fertilizers (or even excessive compost), may not be naturally acidic enough for safe water bath canning. These conditions can result in a higher pH level, which increases the risk of spoilage. To mitigate this, current recommendations from food preservation experts advise adding 1 tablespoon of bottled lemon juice to each quart jar of cider. This simple step acts as an acidifier, ensuring the pH level is sufficiently low for safe preservation. For other jar sizes, adjust accordingly: use ½ tablespoon per pint, or 2 tablespoons per half-gallon jar.
Therefore, for each quart of delicious cider you plan to can, you will need:
- 1 quart Fresh Pressed Apple Cider (derived from approximately 4 to 5 lbs of apples)
- 1 Tbsp. Bottled Lemon Juice
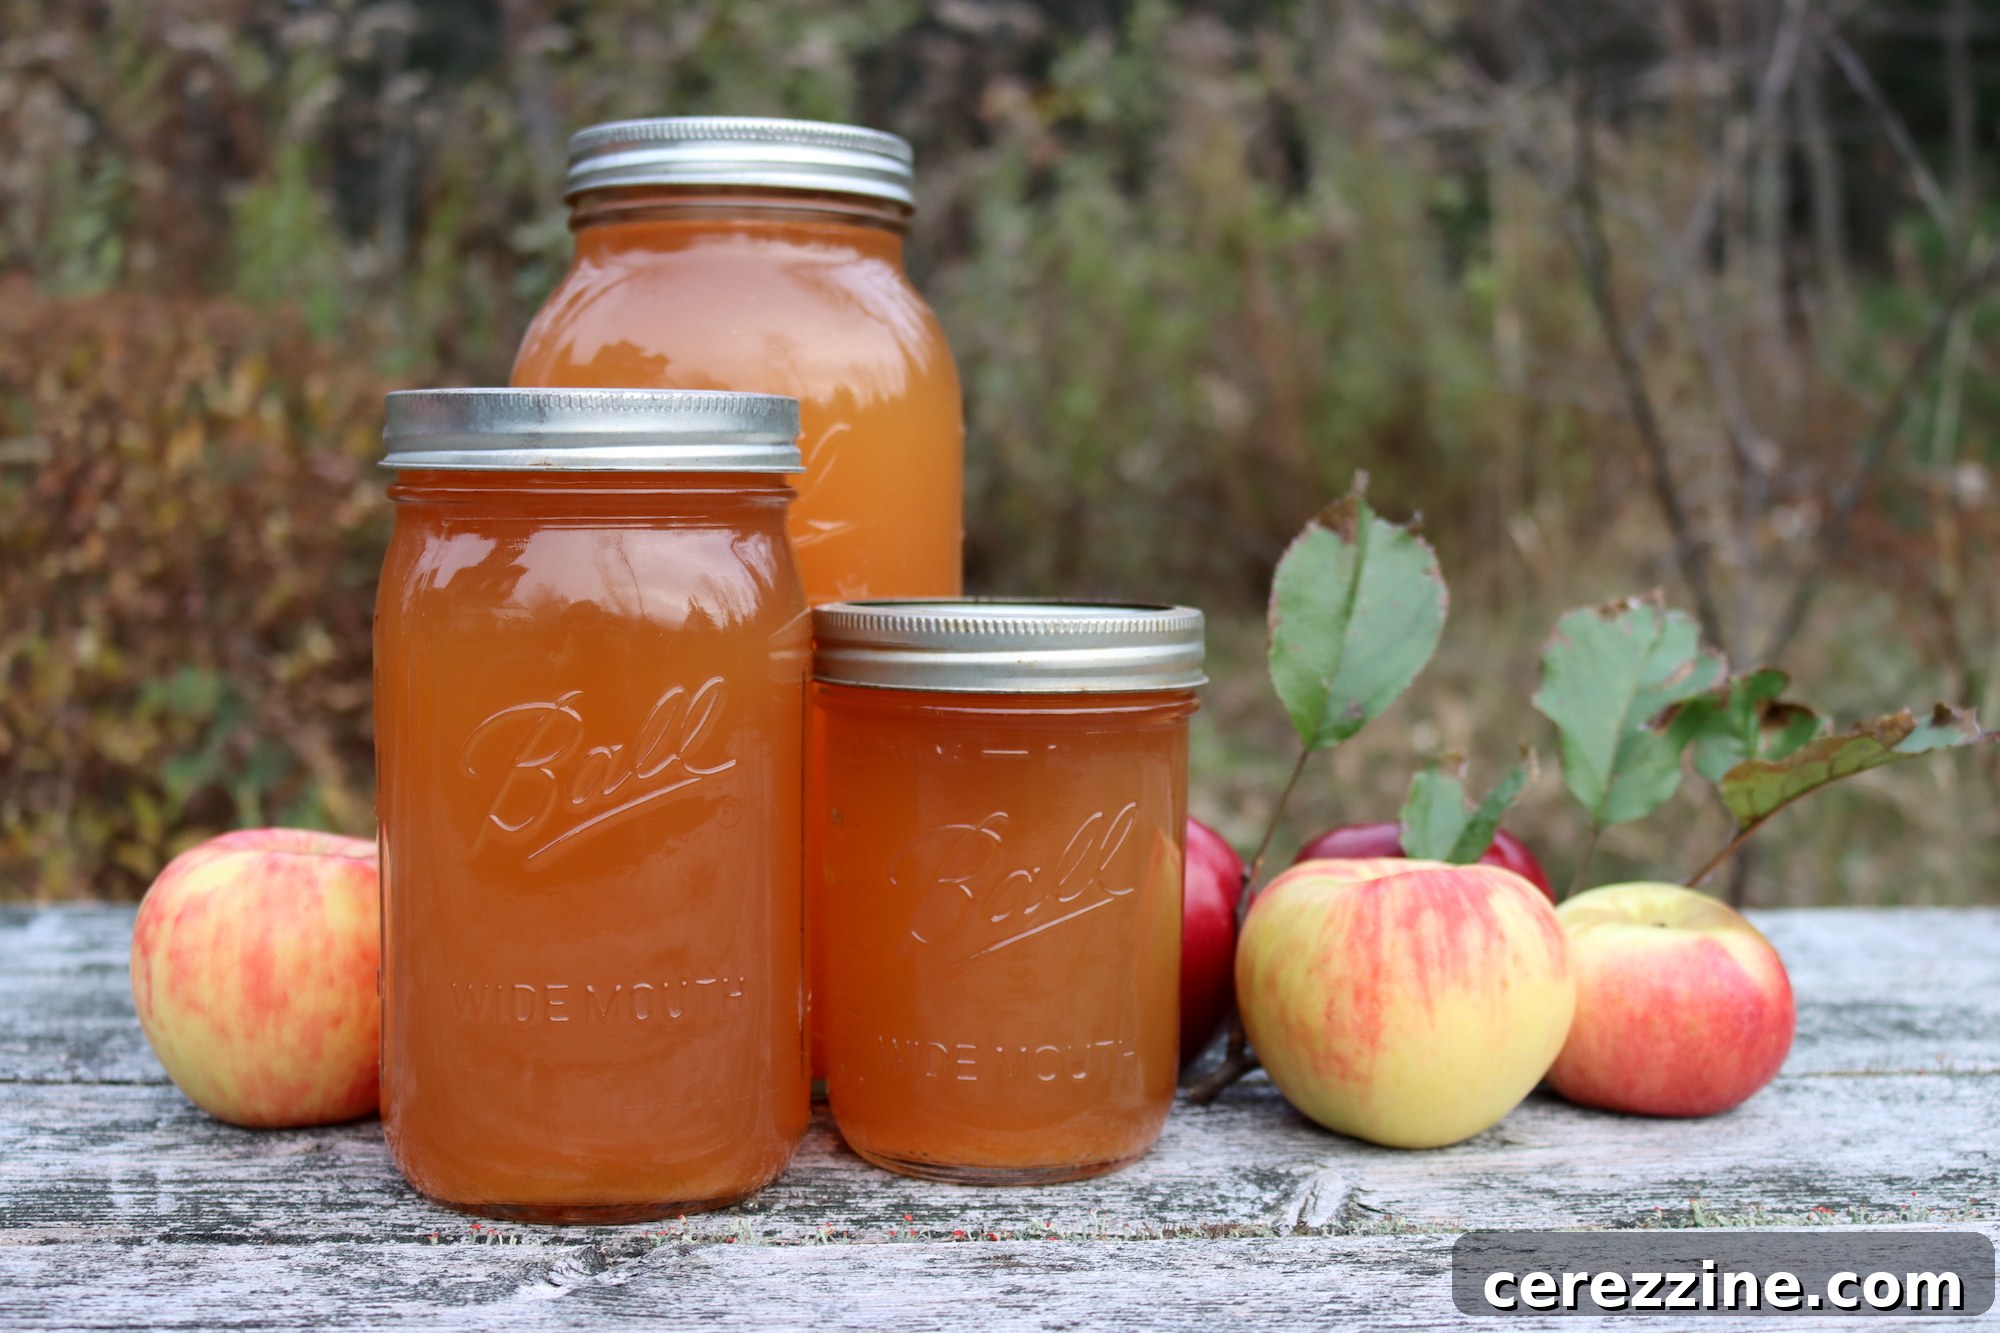
Jar Sizes for Canning Apple Cider
When it comes to canning, selecting the appropriate jar size is crucial for safety and successful preservation. While the National Center for Home Food Preservation (NCHFP) generally advises against canning in half-gallon jars due to potential heat penetration issues, they do make specific exceptions for certain high-acid foods. Notably, home-canned apple cider and grape juice are among the few items for which tested and approved methods exist for half-gallon jars. This means you have a wider range of options when preserving your apple cider, allowing you to choose the size that best suits your family’s needs and storage capacity. For all other items, it is always best to stick to pint or quart jars as per NCHFP guidelines.
As a result, this tested canning recipe for apple cider can be safely processed in various jar sizes, providing flexibility:
- Half Pints
- Pints
- Quarts
- Half Gallons
The standard processing times for all jar sizes when canning apple cider at elevations below 1,000 feet above sea level is 10 minutes. However, it is imperative to account for higher altitudes, as boiling points decrease with increased elevation, affecting the heat transfer during canning. If you reside above 1,000 feet, the processing times will need to be adjusted accordingly. Please refer to the dedicated “Altitude Adjustments” section later in this article for specific guidance to ensure the safety and quality of your canned apple cider.
Making Apple Cider (Pre-Canning)
The journey to preserving delicious apple cider begins with the careful preparation and pressing of your apples. To ensure the highest quality cider, start by thoroughly washing your apples. While some recipes call for peeling, there’s absolutely no need to peel apples for cider; the skins contribute significantly to the cider’s rich flavor and desirable color, and also contain valuable nutrients. Once cleaned, quarter or roughly chop the apples into pieces suitable for your cider press, removing any bruised or rotten spots that could affect the flavor. Then, feed them into your press and begin the satisfying work of extracting the fresh juice.
Collect the freshly pressed juice in a large, clean food-grade bowl or container. At this stage, your cider will likely be cloudy, brimming with fine apple particles. If you prefer a clearer cider, an optional but recommended step is to refrigerate the juice for 24 to 48 hours. During this time, the sediment will naturally settle to the bottom of the container. When you’re ready to proceed with canning, carefully ladle the clear juice from the top into a large stainless steel saucepan or stockpot, leaving any settled sediment behind. This clarification process enhances the visual appeal of the finished product and can result in a smoother texture, though it does not impact the safety of the canning process.
Canning Apple Cider: Step-by-Step Guide
Once your fresh apple cider is prepared, it’s time to move on to the canning process, which is critical for long-term preservation. This method uses a boiling water bath canner, a common and safe technique for high-acid foods like apple cider.
Preparation for Canning:
- Prepare Your Canner: Fill your water bath canner with water, ensuring it will cover your jars by at least 1-2 inches. Place it on the stove and begin heating the water. For hot-pack methods like cider, it’s ideal to have the water simmering (around 180°F to 190°F / 82°C to 88°C) when you add your filled jars.
- Prepare Jars and Lids: Wash your canning jars, lids, and bands in hot, soapy water. Rinse them thoroughly. While sterilizing jars by boiling for 10 minutes is often recommended for foods processed under 10 minutes, for canning apple cider, which has a 10-minute processing time, merely ensuring your jars are sparkling clean and hot is sufficient. Keep the jars hot (either in the simmering canner water or a warm oven/dishwasher) until ready to fill. Lids should be prepared according to the manufacturer’s instructions, often involving simmering in warm water to soften the sealing compound.
Heating the Cider:
- Gently Heat the Cider: Pour your fresh apple juice into a large stainless steel saucepan or stockpot. Heat the cider over medium-high heat, stirring gently and frequently to ensure even heating and prevent scorching. Monitor the temperature with a reliable food thermometer. The goal is to bring the cider to precisely 190°F (88°C). It is crucial not to let the cider boil, as this can alter its flavor and cause pectin to set, diminishing its liquid quality. Once it reaches 190°F, maintain this temperature for a full 5 minutes. This gentle heating effectively sterilizes the juice, eliminating any potential spoilage microorganisms while preserving its fresh characteristics. After 5 minutes, turn off the heat.
Filling and Sealing Jars:
- Add Lemon Juice to Jars: Before filling, carefully measure and add bottled lemon juice directly to the bottom of each hot, empty jar. Use 1 tablespoon for each quart jar, ½ tablespoon for pint jars, and 2 tablespoons for half-gallon jars. This step is non-negotiable for ensuring adequate acidity and canning safety, especially with modern apple varieties.
- Fill Jars with Hot Cider: Using a ladle and a canning funnel, carefully transfer the hot cider into the prepared hot jars, leaving a precise ¼-inch headspace. This headspace is vital to allow for expansion during processing and to create a strong vacuum seal.
- Clean Rims and Apply Lids: With a clean, damp cloth, meticulously wipe the rims of each jar to remove any drips or sticky residue. Even a tiny speck can prevent a proper seal. Center a hot, prepared lid on each jar, ensuring the sealing compound is in contact with the jar rim. Screw the band down “fingertip tight”—this means snug, but not overtightened, allowing air to escape during processing.
Processing and Cooling:
- Process in Water Bath Canner: Carefully lower the filled and sealed jars onto the rack in your preheated water bath canner, ensuring they are not touching each other. The water level must cover the tops of the jars by at least 1 to 2 inches. If needed, add more boiling water. Bring the water in the canner to a full, rolling boil. Once boiling vigorously, start your timer. Process the jars for the recommended time based on your jar size and altitude (refer to the “Altitude Adjustments” section for specifics). For most locations below 1,000 feet, this will be 10 minutes.
- Cool Down and Remove: Once the processing time is complete, turn off the heat and carefully remove the canner lid. Allow the jars to sit undisturbed in the hot water for an additional 5 minutes. This crucial waiting period helps equalize the temperature and pressure, minimizing the risk of siphoning (liquid loss from the jars) and thermal shock, which could lead to jar breakage. After 5 minutes, using a jar lifter, carefully remove the hot jars and place them upright on a clean towel or cooling rack on your counter, ensuring they are not touching each other.
- Cool and Check Seals: Allow the jars to cool completely and undisturbed for 12 to 24 hours. As they cool, you should hear satisfying “ping” sounds, indicating that the lids are sealing. After cooling, check the seals: press the center of each lid. If it doesn’t flex, it’s sealed. Remove the screw bands (these can be reused). Any jars that did not seal properly should be stored in the refrigerator and consumed immediately within a few weeks.
Store your properly sealed jars of canned apple cider in a cool, dark, and dry pantry. Away from direct sunlight and temperature fluctuations, your homemade apple cider will maintain its safety for a year or even longer. For optimal flavor and quality, however, it is best to consume it within 12 to 18 months. Enjoy the fruits of your labor!
Altitude Adjustments for Canning Apple Cider
Altitude plays a significant role in canning because it affects the boiling point of water. At higher elevations, water boils at a lower temperature, meaning that a boiling water bath at sea level is hotter than one at a mile high. To ensure the safety of your home-canned foods, it’s essential to increase processing times to compensate for these lower boiling temperatures. This allows enough heat to penetrate the jars and effectively destroy any spoilage organisms. Always verify your local altitude before canning. Here are the specific guidelines for adjusting canning times for apple cider:
- For 0 to 1,000 Feet in Elevation: Process for 10 minutes for all jar sizes (Half Pints, Pints, Quarts, Half Gallons).
- For 1,001 to 6,000 Feet in Elevation: Process for 10 minutes for quarts and smaller jars (Half Pints, Pints, Quarts). For half-gallon jars, process for 15 minutes.
- Above 6,001 Feet in Elevation: Process for 15 minutes for quarts and smaller jars (Half Pints, Pints, Quarts). For half-gallon jars, process for 20 minutes.
Serving Suggestions for Homemade Canned Apple Cider
The versatility of your homemade canned apple cider extends far beyond simply drinking it! Once you’ve mastered the art of preserving this golden liquid, a world of culinary possibilities opens up. Serve it chilled straight from the jar for a refreshing treat on a warm afternoon, offering a pure and invigorating taste of autumn. For those chilly evenings, gently warm it in a saucepan with aromatic spices like a cinnamon stick, a few whole cloves, a star anise, and a dash of nutmeg to create a quintessential cozy winter drink – hot mulled cider. This simple preparation transforms your preserved cider into an instant classic, filling your home with a delightful aroma.
Beyond beverages, apple cider makes a fantastic ingredient in various recipes. Use it as a base for marinades to tenderize and flavor pork, chicken, or game meats, imparting a subtle sweetness and tang. It can also be reduced into delicious sauces to accompany roasted dishes, or incorporated into salad dressings for a unique twist. For adults, canned apple cider serves as an excellent foundation for festive cocktails, perhaps mixed with bourbon or rum, or as a non-alcoholic base for celebratory mocktails. In our home, we often set aside a few jars in the refrigerator for the kids to grab a cold, healthy drink after school. And on those particularly cold nights, there’s nothing quite like warming up a pan with some spices to quickly transform our canned cider into a comforting mulled beverage, ready to ward off the chill.
More Apple Canning Recipes
Looking for more delightful ways to preserve the bounty of apples in a jar? Here are some additional recipes to inspire your canning adventures:
- Apple Jam: A classic and beloved spread, perfect for toast, pastries, or as a filling.
- Sweet Cider Apple Butter: A rich, concentrated apple spread with deep flavors, ideal for fall.
- Cranberry Apple Jam: A festive and flavorful jam combining the tartness of cranberries with the sweetness of apples.
- Explore More Apple Canning Recipes
Other Drink Canning Recipes
If you’ve enjoyed preserving apple cider, you might be interested in canning other refreshing beverages. Expanding your canning repertoire to include drinks is a fantastic way to ensure you always have homemade refreshments on hand. Explore these additional drink canning recipes to keep your pantry stocked with delicious, ready-to-enjoy beverages:
- Canning Lemonade (and Lemonade Concentrate): Enjoy homemade lemonade year-round with this versatile recipe.
- Canning Strawberry Lemonade Concentrate: A delightful twist on classic lemonade, bursting with berry flavor.
- Canning Limeade (& Limeade Concentrate): Perfect for a refreshing tart and sweet drink, just add water.
- Canning Berry Juice: Preserve the vibrant flavors of summer berries in a simple juice format.
- Canning Rhubarb Juice: A unique and tangy juice, excellent on its own or as a mixer.
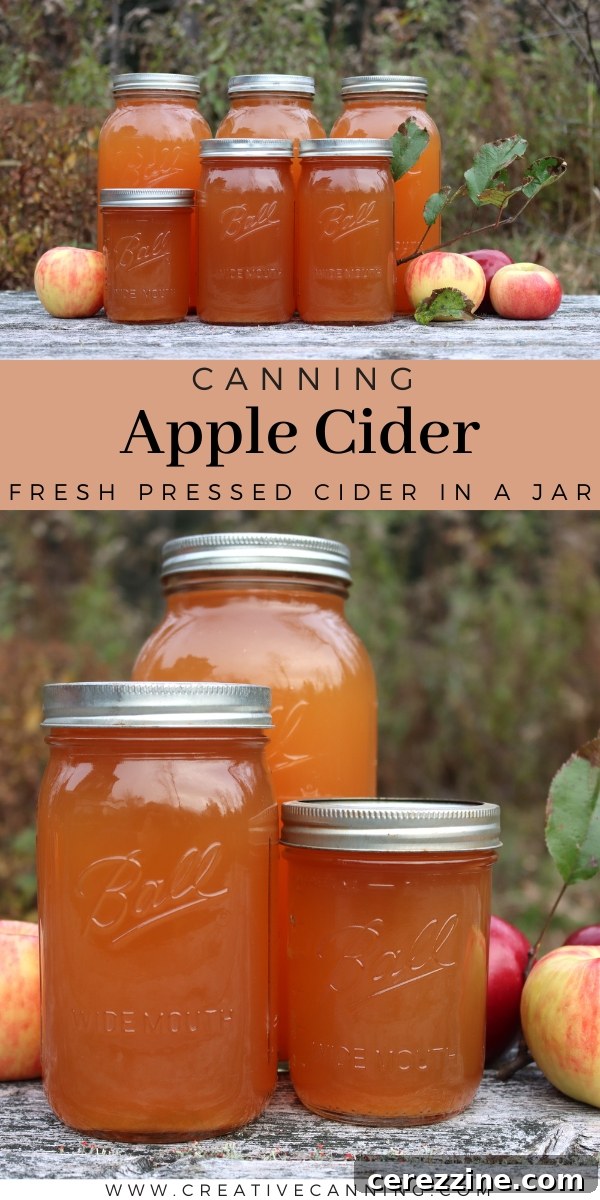
This comprehensive guide and recipe for canning apple cider is adapted from the Ball Complete Book of Home Preserving, a trusted resource for safe home canning practices. All canning times and recommended jar sizes are based on the latest guidelines from the National Center for Home Food Preservation (NCHFP), ensuring the safety and quality of your preserved cider.
Canning Apple Cider Recipe
This recipe provides a safe and effective method for preserving fresh-pressed apple cider using a water bath canner. Enjoy the taste of autumn all year long!
Yield: Varies, depending on batch size (approx. 1 quart per 4-5 lbs apples)
Prep time: 10 minutes
Cook time: 10 minutes
Additional time (for cooling): 10 minutes
Total time: 30 minutes
Ingredients
- Fresh Pressed Apple Cider (approximately 4-5 lbs apples per quart of cider)
- Bottled Lemon Juice (1 Tbsp per quart jar, ½ Tbsp per pint, 2 Tbsp per half-gallon)
Equipment
- Water Bath Canner
- Large stainless steel saucepan or stockpot
- Canning jars (half-pint, pint, quart, or half-gallon)
- New canning lids and bands
- Canning funnel
- Jar lifter
- Food thermometer
- Clean towels
Instructions
- Thoroughly wash apples and press them using a cider press to extract the juice.
- Optional Clarification: If a clearer cider is desired, refrigerate the freshly pressed juice for 24 to 48 hours to allow sediment to settle at the bottom. Carefully ladle the clear juice into a large stainless steel saucepan, leaving the sediment behind.
- Prepare your water bath canner by filling it with water and placing it on the stove to heat. Ensure the water is simmering (180°F-190°F / 82°C-88°C) when you’re ready to add jars. Wash canning jars, lids, and bands; keep jars hot until filling.
- Heat the apple juice in the saucepan to 190°F (88°C) over medium-high heat, stirring gently. Do not boil. Maintain this temperature for 5 minutes to sterilize the juice, then turn off the heat.
- Measure and add bottled lemon juice to the bottom of each hot, empty canning jar (1 Tbsp for quarts, ½ Tbsp for pints, 2 Tbsp for half-gallons).
- Ladle the hot cider into the hot, prepared jars, leaving a precise ¼-inch headspace.
- Wipe the rims of the jars with a clean, damp cloth to remove any residue. Center a prepared lid on each jar and screw the band down to “fingertip tight.”
- Carefully place the filled jars into the preheated water bath canner, ensuring they are covered by at least 1-2 inches of water. Bring the canner to a full, rolling boil.
- Process the jars for 10 minutes (adjusting for altitude as necessary – see notes below). After the processing time, turn off the heat and remove the canner lid. Let the jars sit in the hot water for an additional 5 minutes to prevent siphoning and thermal shock.
- Using a jar lifter, remove the jars and place them upright on a clean towel or cooling rack on your counter. Allow them to cool completely for 12-24 hours without disturbing them.
- Once cool, check that all lids have sealed (the center should be concave and not flex when pressed). Remove the screw bands. Store any unsealed jars in the refrigerator for immediate use. Store properly sealed jars in a cool, dark pantry for best quality within 12-18 months.
Notes
Yield
The actual amount of apples required to yield one quart of cider depends on factors like apple variety, ripeness, and the efficiency of your cider press. As a general estimate, expect to use about 4 to 5 pounds of apples per quart of cider you wish to can. This means for a batch of 10 quarts, you’d need approximately 40-50 pounds of apples.
Altitude Adjustments
When canning, it is crucial to adjust processing times based on your geographical altitude, as the boiling point of water decreases at higher elevations. Failing to adjust for altitude can compromise the safety and shelf stability of your canned goods. Please consult the guidelines below to ensure your apple cider is safely processed:
- For 0 to 1,000 Feet in Elevation: Process for 10 minutes for all jar sizes.
- For 1,001 to 6,000 Feet in Elevation: Process for 10 minutes for quarts and smaller (half pints, pints). For half-gallon jars, process for 15 minutes.
- Above 6,001 Feet in Elevation: Process for 15 minutes for quarts and smaller (half pints, pints). For half-gallon jars, process for 20 minutes.
Nutrition Information (per serving, approximate)
Calories: 109 kcal, Carbohydrates: 27g, Protein: 0.2g, Fat: 0.3g, Saturated Fat: 0.1g, Polyunsaturated Fat: 0.1g, Monounsaturated Fat: 0.01g, Sodium: 9mg, Potassium: 238mg, Fiber: 0.5g, Sugar: 23g, Vitamin A: 2IU, Vitamin C: 2mg, Calcium: 19mg, Iron: 0.3mg
Nutrition information is automatically calculated and should only be used as an approximation. Actual values may vary based on ingredients and preparation methods.