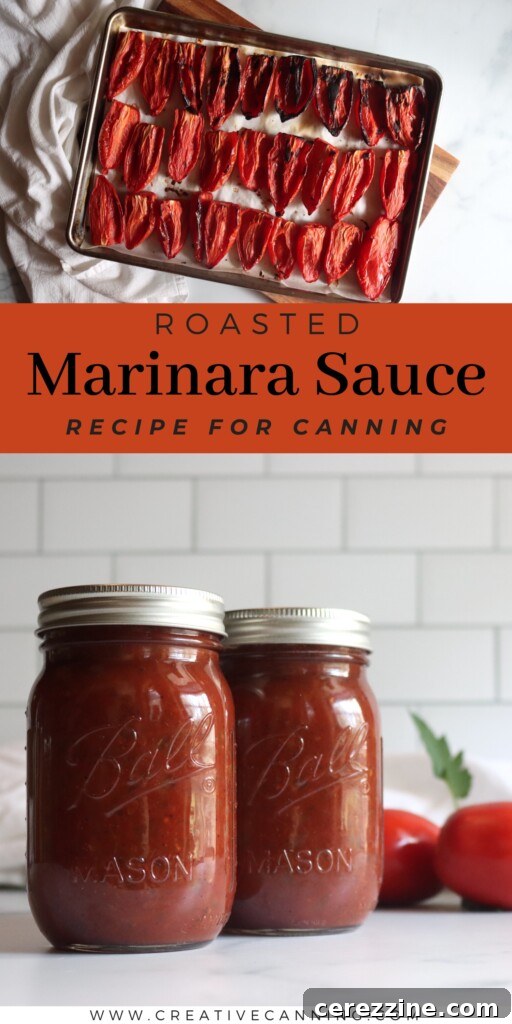
The Ultimate Guide to Canning Homemade Roasted Marinara Sauce
Transform your abundant garden harvest into a year-round pantry staple with this incredible recipe for canned roasted marinara sauce. Roasting tomatoes, onions, and garlic before simmering elevates the flavor to new heights, concentrating their natural sweetness and creating a deeply rich, complex sauce that’s far superior to anything store-bought. This comprehensive guide provides a meticulously tested and safe method for water bath canning, ensuring your efforts result in shelf-stable jars of culinary gold.
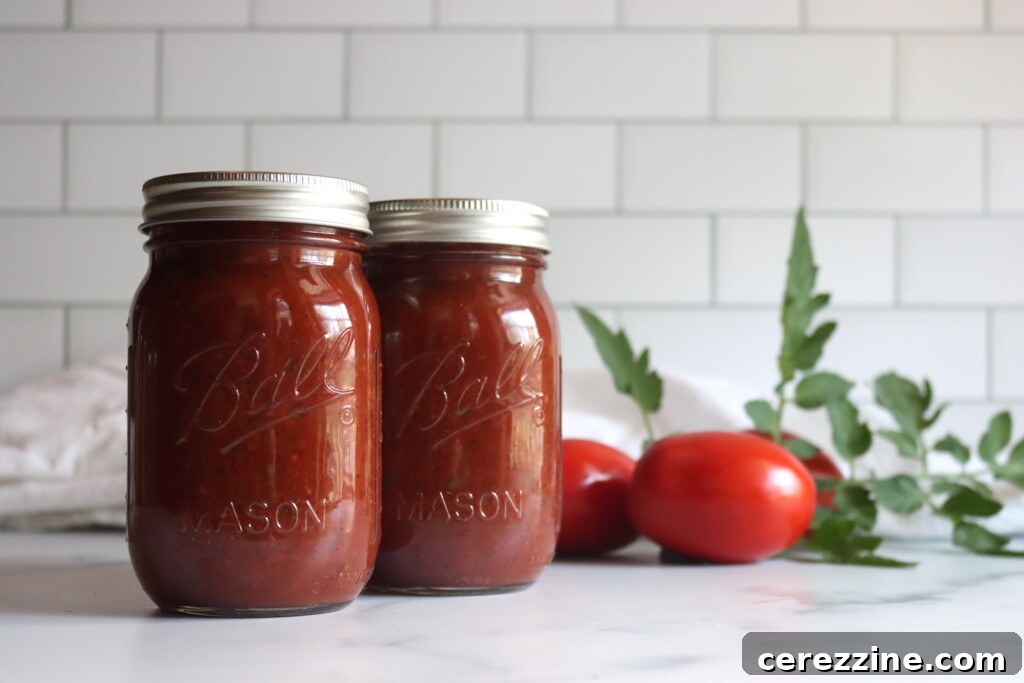
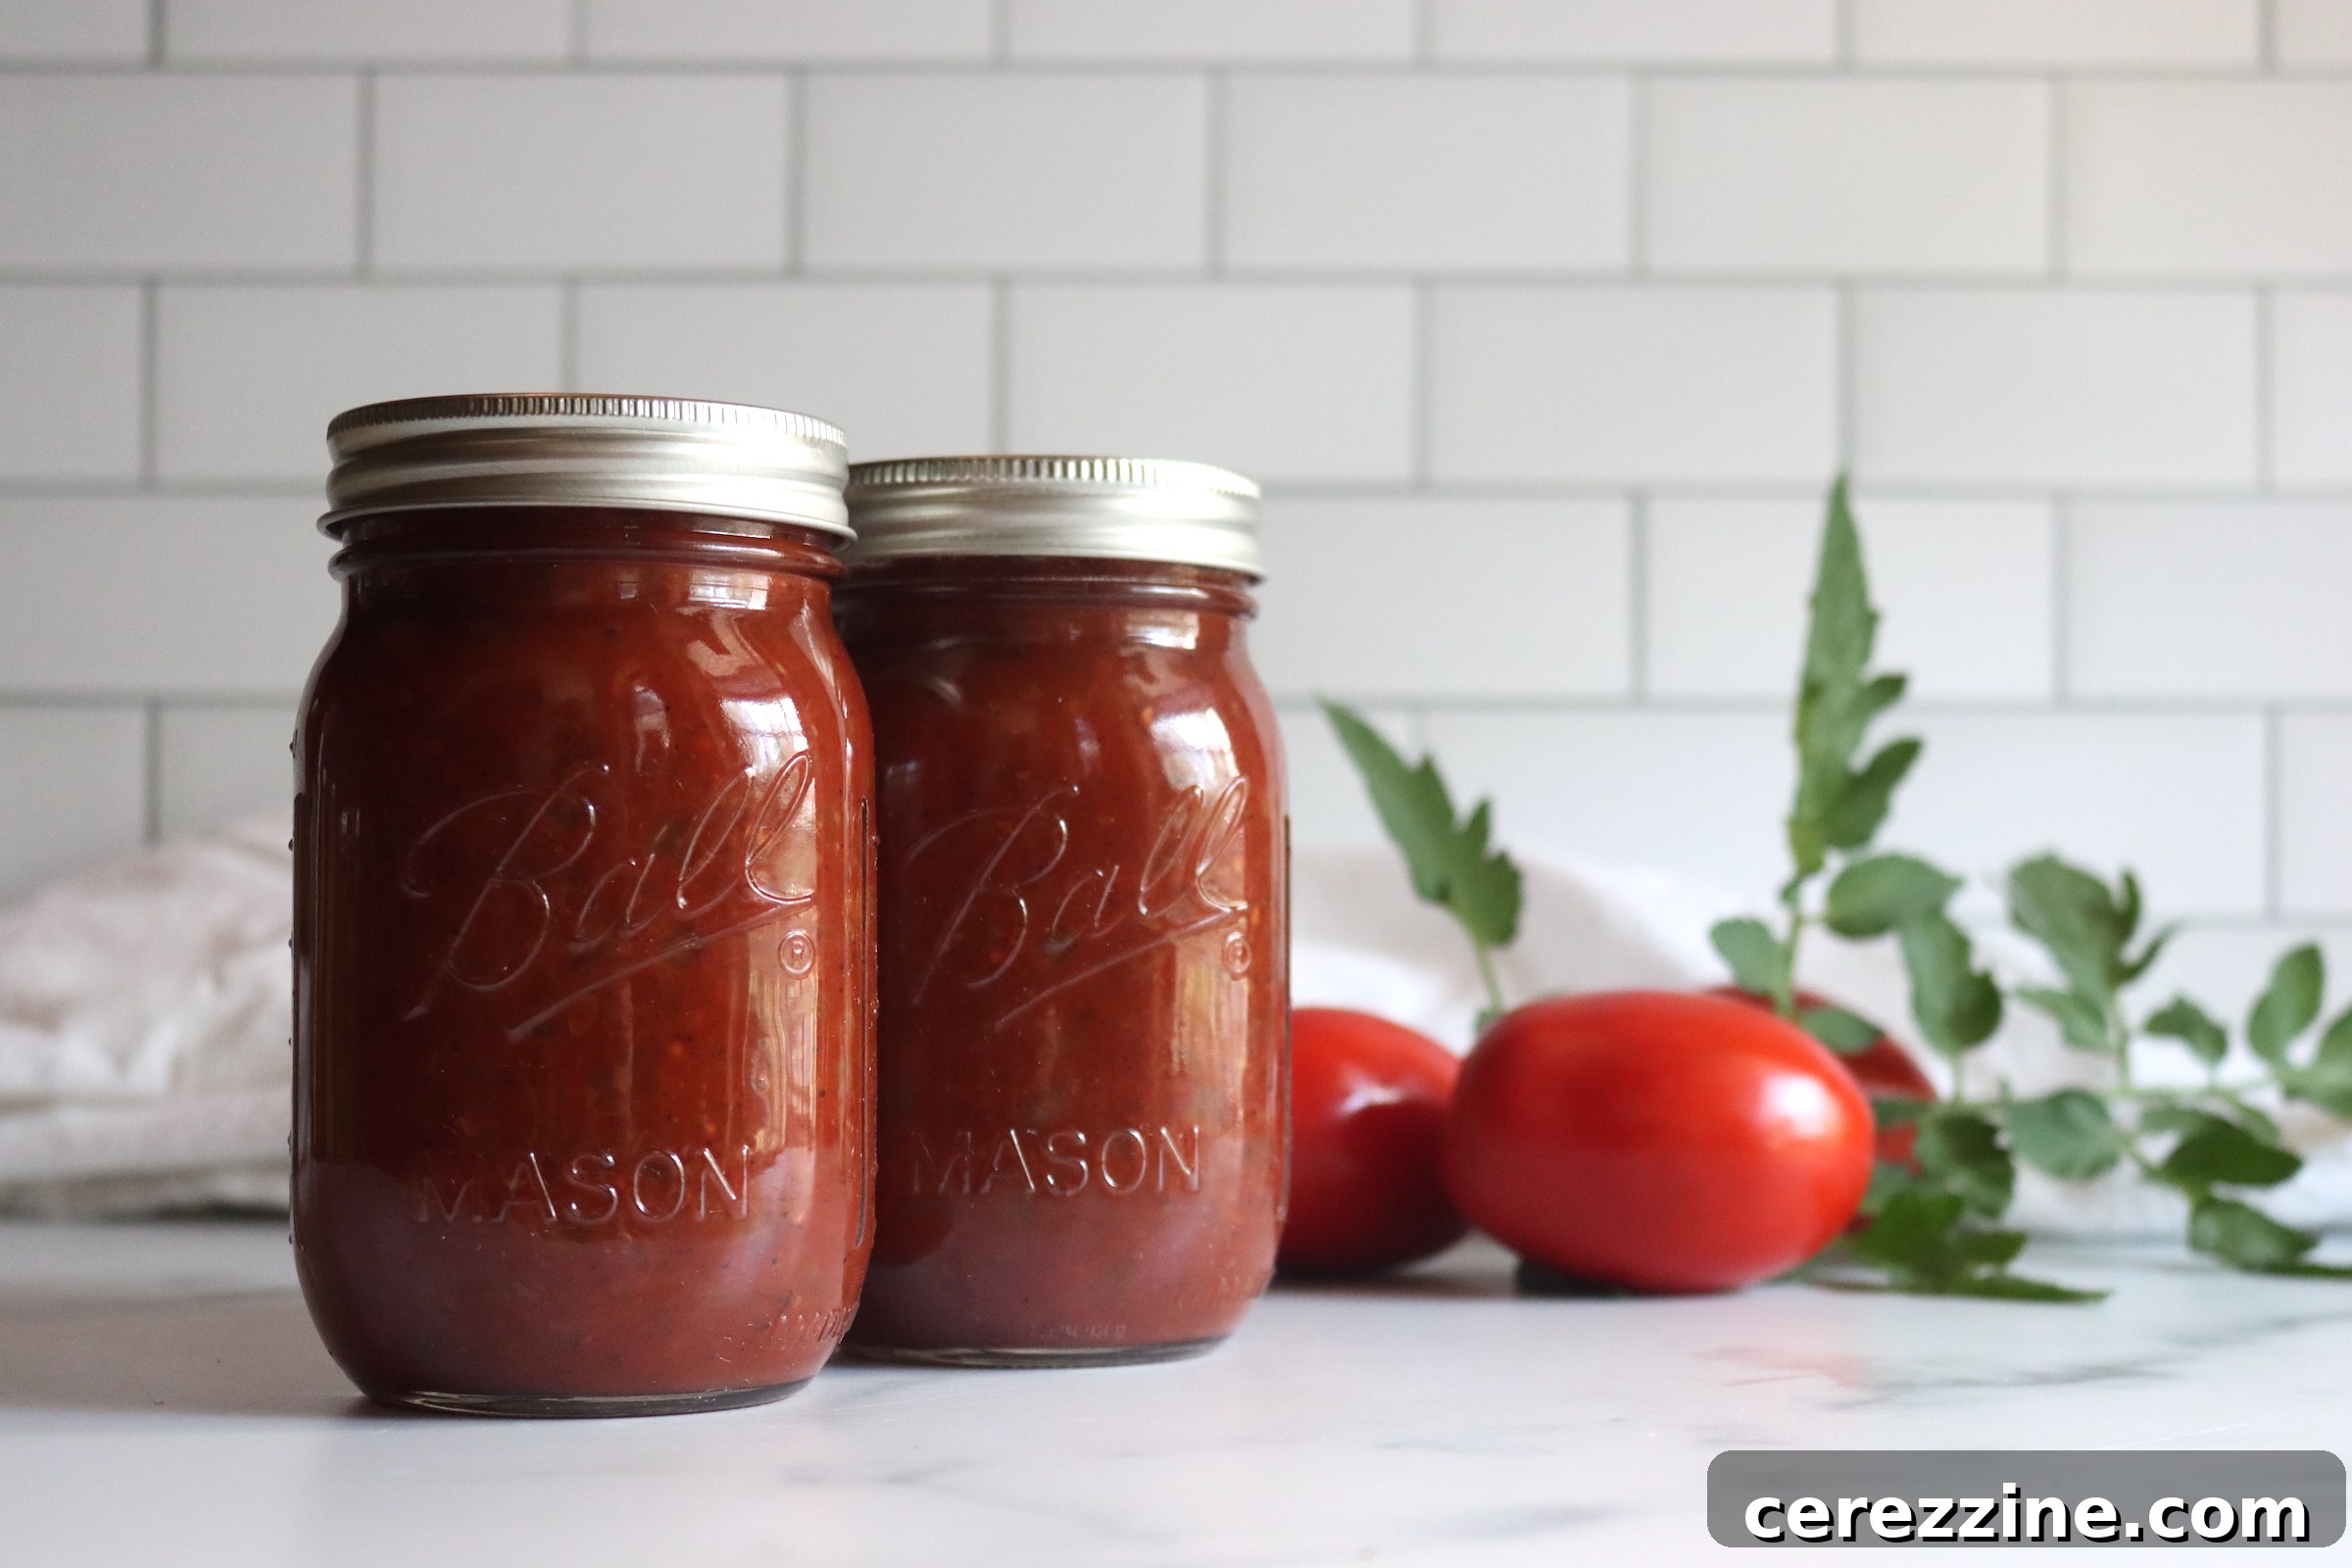
Homemade marinara sauce is an indispensable staple in our kitchen, forming the base for countless meals from pasta dishes and pizzas to hearty stews and flavorful casseroles. Once you experience the vibrant, concentrated flavor of this scratch-made roasted marinara sauce, you’ll find it nearly impossible to return to commercially produced versions. The secret lies in oven roasting, an initial step that not only intensifies the rich tomato flavor but also caramelizes onions and garlic, adding layers of complexity and natural sweetness without any added sugar.
Each summer, as our tomato plants burst with ripe fruit, we dedicate ourselves to preserving batches of this incredible sauce. Roma or plum tomatoes are the star of this recipe; their meaty flesh and lower water content are ideal for creating a thick, robust sauce with reduced simmering time. The roasting process further enhances their natural sugars, imparting a delightful hint of caramelized sweetness that truly sets this marinara apart.
Rest assured, this recipe is adapted from a rigorously tested method found in the authoritative The All New Ball Book of Canning and Preserving. This ensures it’s been carefully formulated with canning safety as the top priority. While the ingredients are straightforward and the flavor profile is outstanding, remember that adding citric acid or bottled lemon juice is a non-negotiable step to achieve the necessary acidity for safe water bath canning. With this trusted recipe, you can confidently fill your pantry shelves with jars of delicious, wholesome homemade marinara.
Why Roasting Transforms Your Marinara Sauce
The decision to roast the tomatoes, onions, and garlic before simmering isn’t just a suggestion—it’s a game-changer for homemade marinara. This crucial step unlocks a depth of flavor and achieves a superior texture that traditional stovetop methods simply can’t match. Here’s why roasting is so advantageous:
- Intensified Flavor: High-heat roasting concentrates the natural sugars and savory compounds within the tomatoes and onions. This creates a more profound, caramelized sweetness and a richer, more developed umami flavor profile that forms the backbone of an exceptional marinara.
- Reduced Moisture, Thicker Sauce: Tomatoes naturally contain a lot of water. Roasting helps to evaporate some of this excess moisture right from the start. This means your sauce will require significantly less simmering time on the stovetop to achieve that desirable thick consistency, preserving more of the fresh tomato flavor.
- Effortless Peeling and Seeding: Many tomato canning recipes involve the messy, tedious process of blanching and hand-peeling tomatoes. Roasting softens the tomato skins and makes them incredibly easy to remove through a food mill. This eliminates the need for separate blanching and peeling, streamlining your sauce-making process considerably.
- Enhanced Sweetness Without Added Sugar: The caramelization that occurs during roasting brings out the inherent sweetness of the vegetables. This allows you to achieve a naturally sweet and balanced sauce without the need for any refined sugars, making it a healthier and more authentic option.
- Complex Aromatics: Roasting garlic and onions alongside the tomatoes mellows their pungency and transforms them into soft, sweet, and aromatic additions that blend seamlessly into the sauce, adding incredible depth.
Essential Ingredients for Your Canned Roasted Marinara
Crafting a truly exceptional and safely canned marinara sauce starts with understanding the role of each ingredient. This recipe yields approximately 8 pints or 4 quarts of robust, flavorful sauce. Here’s a breakdown of what you’ll need and why each component is vital for both taste and proper preservation:
Paste Tomatoes (Roma or Plum)
Why they matter: These varieties are ideal for sauce making due to their dense, meaty texture, fewer seeds, and lower water content compared to slicing tomatoes. This means your sauce will naturally be thicker, require less cooking time to reduce, and boast a more concentrated tomato flavor. Roasting them further deepens their natural sweetness and complexity, providing a robust foundation for your marinara.
Onion
Why it matters: Roasting onions caramelizes their sugars, imparting a gentle sweetness and savory depth to the sauce. They play a crucial role in balancing the acidity of the tomatoes and adding body, contributing to a well-rounded and complex flavor profile.
Neutral Oil or Cooking Spray
Why it matters: A small amount of neutral oil or cooking spray is used to lightly grease your baking sheets. This prevents the tomatoes and onions from sticking during roasting, facilitates even browning, and makes cleanup significantly easier.
Dry Red or White Wine
Why it matters: Wine is an optional but highly recommended ingredient that adds an incredible layer of depth and richness to the marinara. Dry red wine lends a bolder, earthy character, while dry white wine contributes a lighter, brighter note. During simmering, the alcohol cooks off, leaving behind only its nuanced flavor. Substitution: If you prefer not to use alcohol, you can substitute with 2 tablespoons of balsamic or white wine vinegar combined with water to make up the total liquid amount.
Salt
Why it matters: Salt is a fundamental flavor enhancer. It doesn’t contribute to the preservation process in this recipe but is essential for seasoning, balancing, and highlighting all the other flavors in the sauce. Adjust to your personal preference, using a good quality canning or kosher salt.
Oregano
Why it matters: This classic Italian herb is paramount for giving marinara its signature aroma and taste. Dried oregano, especially after simmering, infuses the sauce with a concentrated, warm, and slightly peppery flavor that is undeniably Mediterranean.
Black Pepper
Why it matters: Freshly ground black pepper adds a touch of subtle warmth and spice. It complements the robust flavors of garlic and oregano without overpowering the fresh tomato base.
Garlic
Why it matters: Garlic is non-negotiable in marinara sauce. Its pungent, aromatic qualities add essential depth and complexity, rounding out the sweetness from the roasted tomatoes and onions. Roasting the garlic with the onions mellows its intensity, giving it a sweeter, nuttier profile.
Bay Leaves
Why they matter: Bay leaves provide a subtle, earthy, and slightly floral background note that enhances the overall savory quality of the sauce, making all the flavors taste more cohesive and integrated. Remember to remove them before canning to avoid any bitterness.
Citric Acid (or Bottled Lemon Juice)
Why it matters: This is arguably the most critical ingredient for canning safety. Tomatoes are naturally low in acid, and their pH levels can vary widely depending on the variety, ripeness, and growing conditions. For safe water bath canning, tomato products *must* be acidified to prevent the growth of harmful bacteria, particularly Clostridium botulinum. Adding the specified amount of citric acid (a natural acidifier) or bottled lemon juice (which has a consistent pH) ensures the sauce reaches a safe pH level for long-term, shelf-stable storage. Do not skip or reduce this ingredient, even if your tomatoes taste tart.
Each component in this recipe is carefully selected to contribute to a marinara sauce that is not only exquisitely delicious but also perfectly safe and stable for your pantry.
How to Make and Can Roasted Marinara Sauce: A Detailed Guide
Follow these step-by-step instructions to create and preserve your own batches of mouth-watering roasted marinara sauce. Precision and attention to detail, especially regarding canning safety, are key to success.
1. Preparing and Roasting the Tomatoes
- Begin by preheating your oven to a steady 375°F (190°C).
- Thoroughly wash approximately 20 pounds of paste tomatoes (like Roma or plum varieties). Slice each tomato in half lengthwise. While coring is optional, there’s no need to meticulously peel or seed them at this stage, as the food mill will handle that later.
- Arrange the tomato halves cut-side up in a single layer on rimmed baking sheets. Lightly grease the baking sheets with a neutral oil or cooking spray to prevent sticking and aid in browning.
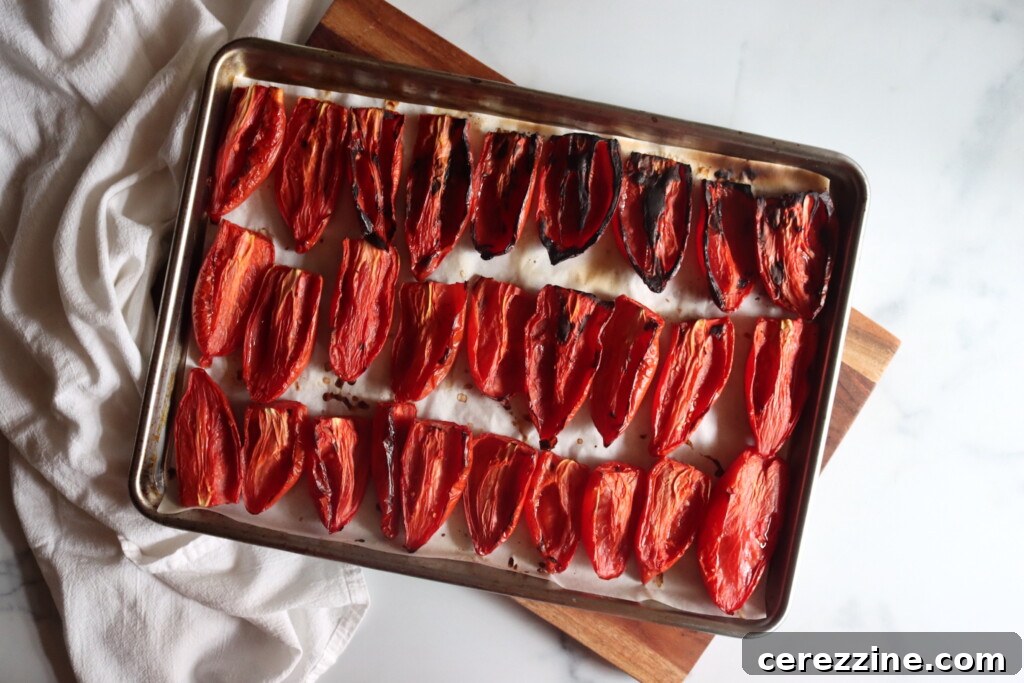
- Roast the tomatoes for about 45 minutes. They should become visibly soft, release their juices, and begin to brown and caramelize around the edges. This roasting process is essential for concentrating flavors and starting the breakdown necessary for a smooth sauce.
2. Caramelizing the Onions
- While the tomatoes are roasting, roughly chop about 1 ½ cups of onion (approximately two medium onions).
- Spread the chopped onions evenly on a separate lightly greased baking sheet. Place them in the oven alongside the tomatoes.
- Roast the onions for approximately 20 minutes, stirring them once or twice to ensure even caramelization. They should turn golden brown and become tender. The sweetness developed during roasting perfectly complements the tomatoes.
3. Milling the Roasted Vegetables
- Once the roasted tomatoes have cooled enough to handle safely, process them through a food mill. This clever tool efficiently separates the skins and seeds from the pulp, leaving you with a smooth, rich tomato puree.
- If you don’t own a food mill, you can achieve a similar result by blending the roasted tomatoes in batches until smooth, then straining the puree through a fine-mesh sieve to remove any remaining skins and seeds.
4. Simmering the Sauce to Perfection
- Pour the smooth tomato puree into a large, heavy-bottomed stockpot.
- Stir in the caramelized roasted onions, 1 cup of dry wine (red or white, depending on your preference, or the vinegar substitute as noted in the ingredients), 1 tablespoon of salt, 1 tablespoon of dried oregano, 2 teaspoons of black pepper, 6 minced garlic cloves, and 2 medium bay leaves.
- Bring the mixture to a full rolling boil over medium-high heat.
- Once boiling, reduce the heat to a gentle simmer and cook, uncovered, for about 15 to 20 minutes. Stir occasionally to prevent sticking. Continue simmering until the sauce reaches your desired thickness. The sauce will thicken further as it cools.
5. Acidification: A Critical Safety Step
- When the sauce is almost at your preferred consistency, and before you turn off the heat, it’s time for the absolutely crucial acidification step.
- Stir in 2 teaspoons of citric acid OR ½ cup (125 ml) of bottled lemon juice into the hot sauce. This step is non-negotiable for safe water bath canning. Even if your tomatoes taste naturally tart, added acid ensures the pH level is consistently low enough to prevent the growth of harmful bacteria.
- Ensure the acid is thoroughly mixed into the sauce.
- Once acidified and seasoned, remove and discard the bay leaves from the pot.
6. Jar Preparation and Filling
- While the sauce is simmering, prepare your canning jars, lids, and bands. Sterilize your clean jars according to manufacturer’s instructions (e.g., in boiling water or a dishwasher on a hot cycle) and keep them hot until you are ready to fill them. New lids should be prepared according to package directions, usually simmering in hot (not boiling) water.
- Carefully ladle the hot marinara sauce into the hot, sterilized jars, leaving ½ inch of headspace (the space between the top of the sauce and the rim of the jar).
- Use a non-metallic utensil, such as a bubble remover or a rubber spatula, to gently release any trapped air bubbles from the sides of the jar. Adjust the headspace if necessary by adding or removing a small amount of sauce.
- Wipe the rims of the jars meticulously clean with a damp cloth. Any food residue on the rim can prevent a proper seal.
- Place a clean, warm lid on each jar, then screw on the band until it is “fingertip tight” – meaning secure but not overtightened, allowing air to escape during processing.
7. Water Bath Canning Process
- Carefully place the filled jars into your boiling water bath canner, ensuring they are fully submerged under at least 1 inch of boiling water. If needed, add more hot water to achieve this coverage.
- Bring the water back to a rolling boil. Once boiling, start your timer. Process both pint and quart jars for 40 minutes.
- Remember to consult the “Altitude Adjustments” section below if you live above 1,000 feet in elevation and adjust your processing time accordingly.
- When the processing time is complete, turn off the heat. Let the jars remain in the hot canner for an additional 5 minutes before carefully removing them.
8. Cooling and Checking Seals
- Using a jar lifter, carefully transfer the hot jars to a towel-lined counter or a wire rack, ensuring there’s space between each jar for air circulation. Avoid placing them directly on a cold surface, which could cause thermal shock and breakage.
- Allow the jars to cool undisturbed for 12 to 24 hours. As they cool, you should hear satisfying “ping” sounds as the lids seal.
- After the cooling period, check the seals: press down on the center of each lid. If the lid does not flex up and down, it is properly sealed.
- Any jars that have not sealed properly should be refrigerated immediately and used within one week.
- Properly sealed jars can be stored in a cool, dark, dry pantry for up to 12-18 months. Once opened, refrigerate and use within 7-10 days.
Essential Altitude Adjustments for Safe Canning
The boiling point of water decreases at higher altitudes, which means food requires longer processing times to achieve proper sterilization and safe preservation. This recipe specifies a water bath processing time of 40 minutes for both pints and quarts at elevations of 0 to 1,000 feet. If you live at a higher elevation, you must increase the processing time as follows:
- 0 to 1,000 ft: 40 minutes for both pints and quarts
- 1,001–3,000 ft: 45 minutes for both pints and quarts
- 3,001–6,000 ft: 50 minutes for both pints and quarts
- Above 6,000 ft: 55 minutes for both pints and quarts
Always consult an up-to-date canning guide (like the Ball Book) for specific recommendations based on your exact altitude.
Pro Tips for Flawless Homemade Marinara
Achieving perfectly preserved, delicious roasted marinara is simple when you follow these expert tips, ensuring both flavor excellence and canning safety.
- Optimal Tomato Selection: For the best results, always opt for paste tomatoes such as Roma, San Marzano, or Amish Paste. Their higher pulp-to-juice ratio and fewer seeds naturally contribute to a thicker, richer sauce. Using slicing tomatoes (like beefsteaks) will result in a much thinner sauce that requires significantly longer simmering to achieve the desired consistency, potentially compromising flavor.
- Experiment with Wine Variations: The choice between red and white wine can subtly alter your sauce’s character. Dry red wine (like Merlot or Cabernet Sauvignon) will impart a deeper, more robust, and earthy flavor, while a dry white wine (such as Pinot Grigio or Sauvignon Blanc) will contribute a brighter, slightly more acidic note. Feel free to experiment based on your preference or the specific dishes you plan to use the marinara for.
- Acidification is Non-Negotiable: We cannot stress this enough: always add the full amount of citric acid or bottled lemon juice specified in the recipe. This step is critical for ensuring the sauce is acidic enough (pH below 4.6) to prevent the growth of harmful bacteria, like Clostridium botulinum, during water bath canning. The natural acidity of tomatoes can vary, so consistent acidification is your safety net.
- Customizing Your Sauce’s Flavor: While this recipe provides a fantastic foundational marinara, don’t hesitate to customize it to your palate. Consider adding other dried herbs like basil or thyme alongside the oregano. For those who enjoy a little heat, a pinch of red pepper flakes can be stirred in during the simmering stage. Just remember that any additions must be dried herbs or spices, as fresh ingredients can alter the pH and density, affecting canning safety.
- Ensuring Proper Jar Sterilization: While processing in a boiling water bath effectively sterilizes the jars, starting with clean, hot jars is best practice. This helps prevent thermal shock when adding hot sauce and ensures any pre-existing microbes are eliminated, contributing to a perfect seal.
- Accurate Headspace is Crucial: Maintaining the precise ½ inch of headspace is vital for successful canning. Too little headspace can lead to siphoning (where liquid is forced out during processing), potentially compromising the seal. Too much headspace can result in inadequate vacuum sealing and spoilage.
- Patience During Cooling: Resist the urge to move or test the jars too soon after processing. Allowing them to cool undisturbed for 12-24 hours is essential for the seals to properly form. Premature disturbance can prevent a strong vacuum seal.
Yield and Storage Guidelines
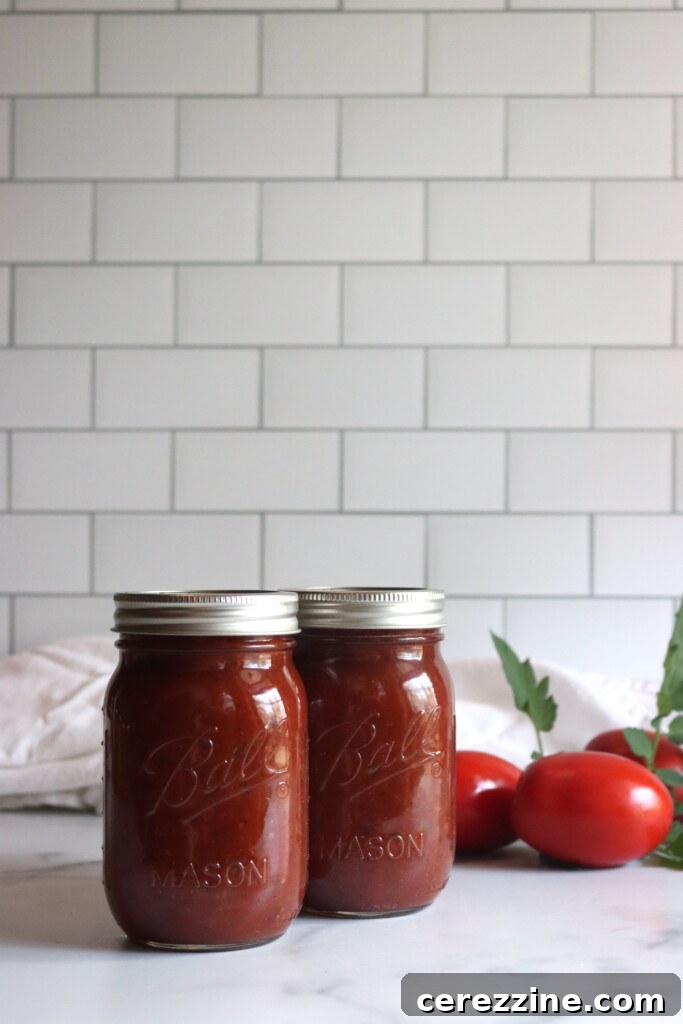
This roasted marinara sauce recipe yields approximately 8 pints or 4 quarts. Properly sealed jars, stored in a cool, dark, and dry pantry, will maintain their quality for up to 12-18 months. Once a jar is opened, it should be refrigerated and consumed within 7-10 days.
Recommended Canning Equipment
Having the right tools makes the canning process smoother and more efficient. Here’s the essential equipment you’ll need for this recipe:
- Water Bath Canner: Essential for safe water bath processing.
- Food Mill: Highly recommended for efficiently removing skins and seeds from roasted tomatoes without pre-peeling.
- Large Stockpot: For simmering the sauce.
- Rimmed Baking Sheets: For roasting the tomatoes and onions.
- Canning Jars, Lids, and Bands: Pints or quarts, ensuring they are clean and free from nicks or cracks.
- Jar Lifter: For safely placing and removing hot jars from the canner.
- Canning Funnel: To minimize mess when ladling hot sauce into jars.
- Bubble Remover / Non-metallic Spatula: To release trapped air bubbles.
- Clean Cloths: For wiping jar rims.
Roasted Marinara Sauce (Water Bath Canning Recipe)
This oven-roasted marinara sauce is rich, thick, and bursting with flavor from fire-kissed tomatoes, caramelized onions, garlic, and herbs. Roasting concentrates the natural sweetness of the tomatoes, while a splash of wine and slow simmering create a deep, savory sauce that’s perfect for pasta, pizza, or preserving. Adapted from a tested Ball Canning recipe, this version is safe for water bath canning when properly acidified—no peeling required, just roast, mill, simmer, and jar.
45 mins
20 mins
40 mins
1 hr 45 mins
32 servings, makes 8 pints or 4 quarts
Equipment
-
Water Bath Canner
-
Food Mill for removing skins and seeds
Ingredients
Roasted Vegetables
- 20 lb. Paste Tomatoes, Roma tomatoes are a great choice for their meatiness and low water content
- 1 ½ cups onion, chopped, about 2 medium onions
- Neutral Oil or Cooking Spray, for greasing baking sheets
Marinara Sauce
- All Roasted Veggies from Above (milled)
- 1 cup wine, dry red or white wine, adds depth of flavor and acidity (see notes for substitutions)
- 1 Tbsp salt
- 1 Tbsp dried oregano
- 2 tsp black pepper
- 6 cloves garlic, minced
- 2 medium bay leaves
- 2 tsp Citric Acid, or ½ cup / 125 ml bottled lemon juice for acidity
Instructions
Roast the Tomatoes
-
Preheat your oven to 375°F (190°C).
-
Wash the tomatoes and cut them in half. You can remove the cores if you prefer, but there’s no need to peel or seed them at this stage. Place them cut side up on greased, rimmed baking sheets in a single layer.
-
Roast the tomatoes for about 45 minutes, or until they begin to soften, release juice, and start to brown at the edges. This roasting step intensifies the flavor and starts the breakdown process needed for a smooth sauce.
Roast the Onions
-
While the tomatoes are roasting, spread the chopped onions on another greased baking sheet. Roast for about 20 minutes, stirring occasionally until golden and caramelized.
Prepare the Sauce
-
Once the tomatoes are cool enough to handle, run them through a food mill to remove skins and seeds. If you don’t have a food mill, you can use a blender and then strain through a sieve for a similar result.
-
Combine the smooth tomato puree with the roasted onions, wine, salt, oregano, pepper, garlic, and bay leaves in a large stockpot. Bring the mixture to a boil, then reduce heat and simmer uncovered for 15–20 minutes, or until the sauce thickens to your liking.
-
To ensure the sauce is safe for water bath canning, you must acidify it. Stir in 2 teaspoons of citric acid (or ½ cup bottled lemon juice) to the pot. This step is non-negotiable for canning safety—don’t skip it, even if your tomatoes taste tart!
-
Remove and discard the bay leaves once the sauce is ready.
Fill and Seal Jars
-
Prepare your jars, lids, and rings by sterilizing them and keeping them hot until you’re ready to fill.
-
Ladle the hot sauce into jars, leaving ½ inch headspace. Use a non-metallic utensil to remove air bubbles, adjust the headspace as needed, and wipe the rims clean.
-
Apply lids and bands, tightening them to fingertip tight.
Water Bath Canning
-
Process the jars in a boiling water bath canner for 40 minutes (for both pints and quarts), making sure they are fully submerged with at least 1 inch of water above the lids.
-
If you live above 6,000 feet elevation, increase the processing time by 5 minutes.
-
When the time is up, turn off the heat and remove the canner lid. Let the jars sit in the hot water for 5 minutes before removing them to a towel-lined counter to cool completely.
-
Once jars have cooled for 12–24 hours, press on the lids. If they don’t flex, they’re sealed. Any unsealed jars should be refrigerated and used within a week.
-
Sealed jars can be stored in a cool, dark place for up to a year.
Notes
Tomato Variety: Roma or other paste tomatoes are best for this recipe due to their meaty texture and low moisture. Using slicing tomatoes will require a longer simmer to reach the proper thickness.
No Need to Peel: Roasting softens the skins enough for easy removal with a food mill—no need to blanch or peel ahead of time.
Wine Substitutions: Red wine gives a bold, earthy flavor, while white wine adds brightness. You can also use 2 Tbsp of balsamic or white wine vinegar if you don’t have alcohol on hand, making up the difference with plain water.
Acidity is Critical: Always add the full amount of citric acid or bottled lemon juice as directed. Even if your tomatoes taste tart, added acid ensures the sauce is safe for water bath canning.
Batch Size: This recipe yields about 8 pints (or 4 quarts), but you can scale it down for a smaller harvest or freeze leftovers if you don’t want to can the full batch.
Storage: Properly sealed jars will keep in a cool, dark pantry for up to 12–18 months. Once opened, refrigerate and use within 7–10 days.
Nutrition
Calories: 62kcal, Carbohydrates: 12g, Protein: 3g, Fat: 1g, Saturated Fat: 0.1g, Polyunsaturated Fat: 0.2g, Monounsaturated Fat: 0.1g, Sodium: 378mg, Potassium: 695mg, Fiber: 4g, Sugar: 8g, Vitamin A: 2365IU, Vitamin C: 40mg, Calcium: 34mg, Iron: 1mg
Nutrition information is automatically calculated, so should only be used as an approximation.
Like this recipe? We’d love to hear your thoughts! Leave a comment below!