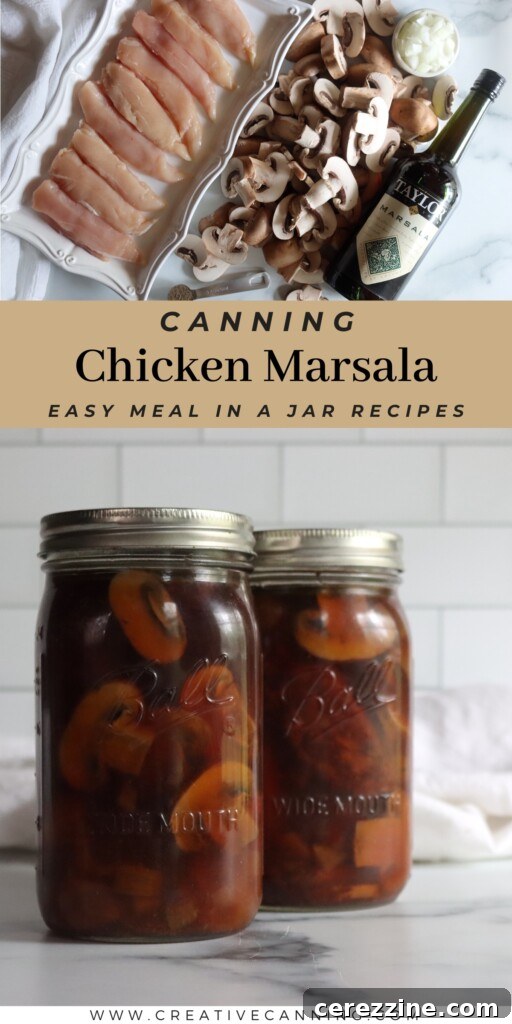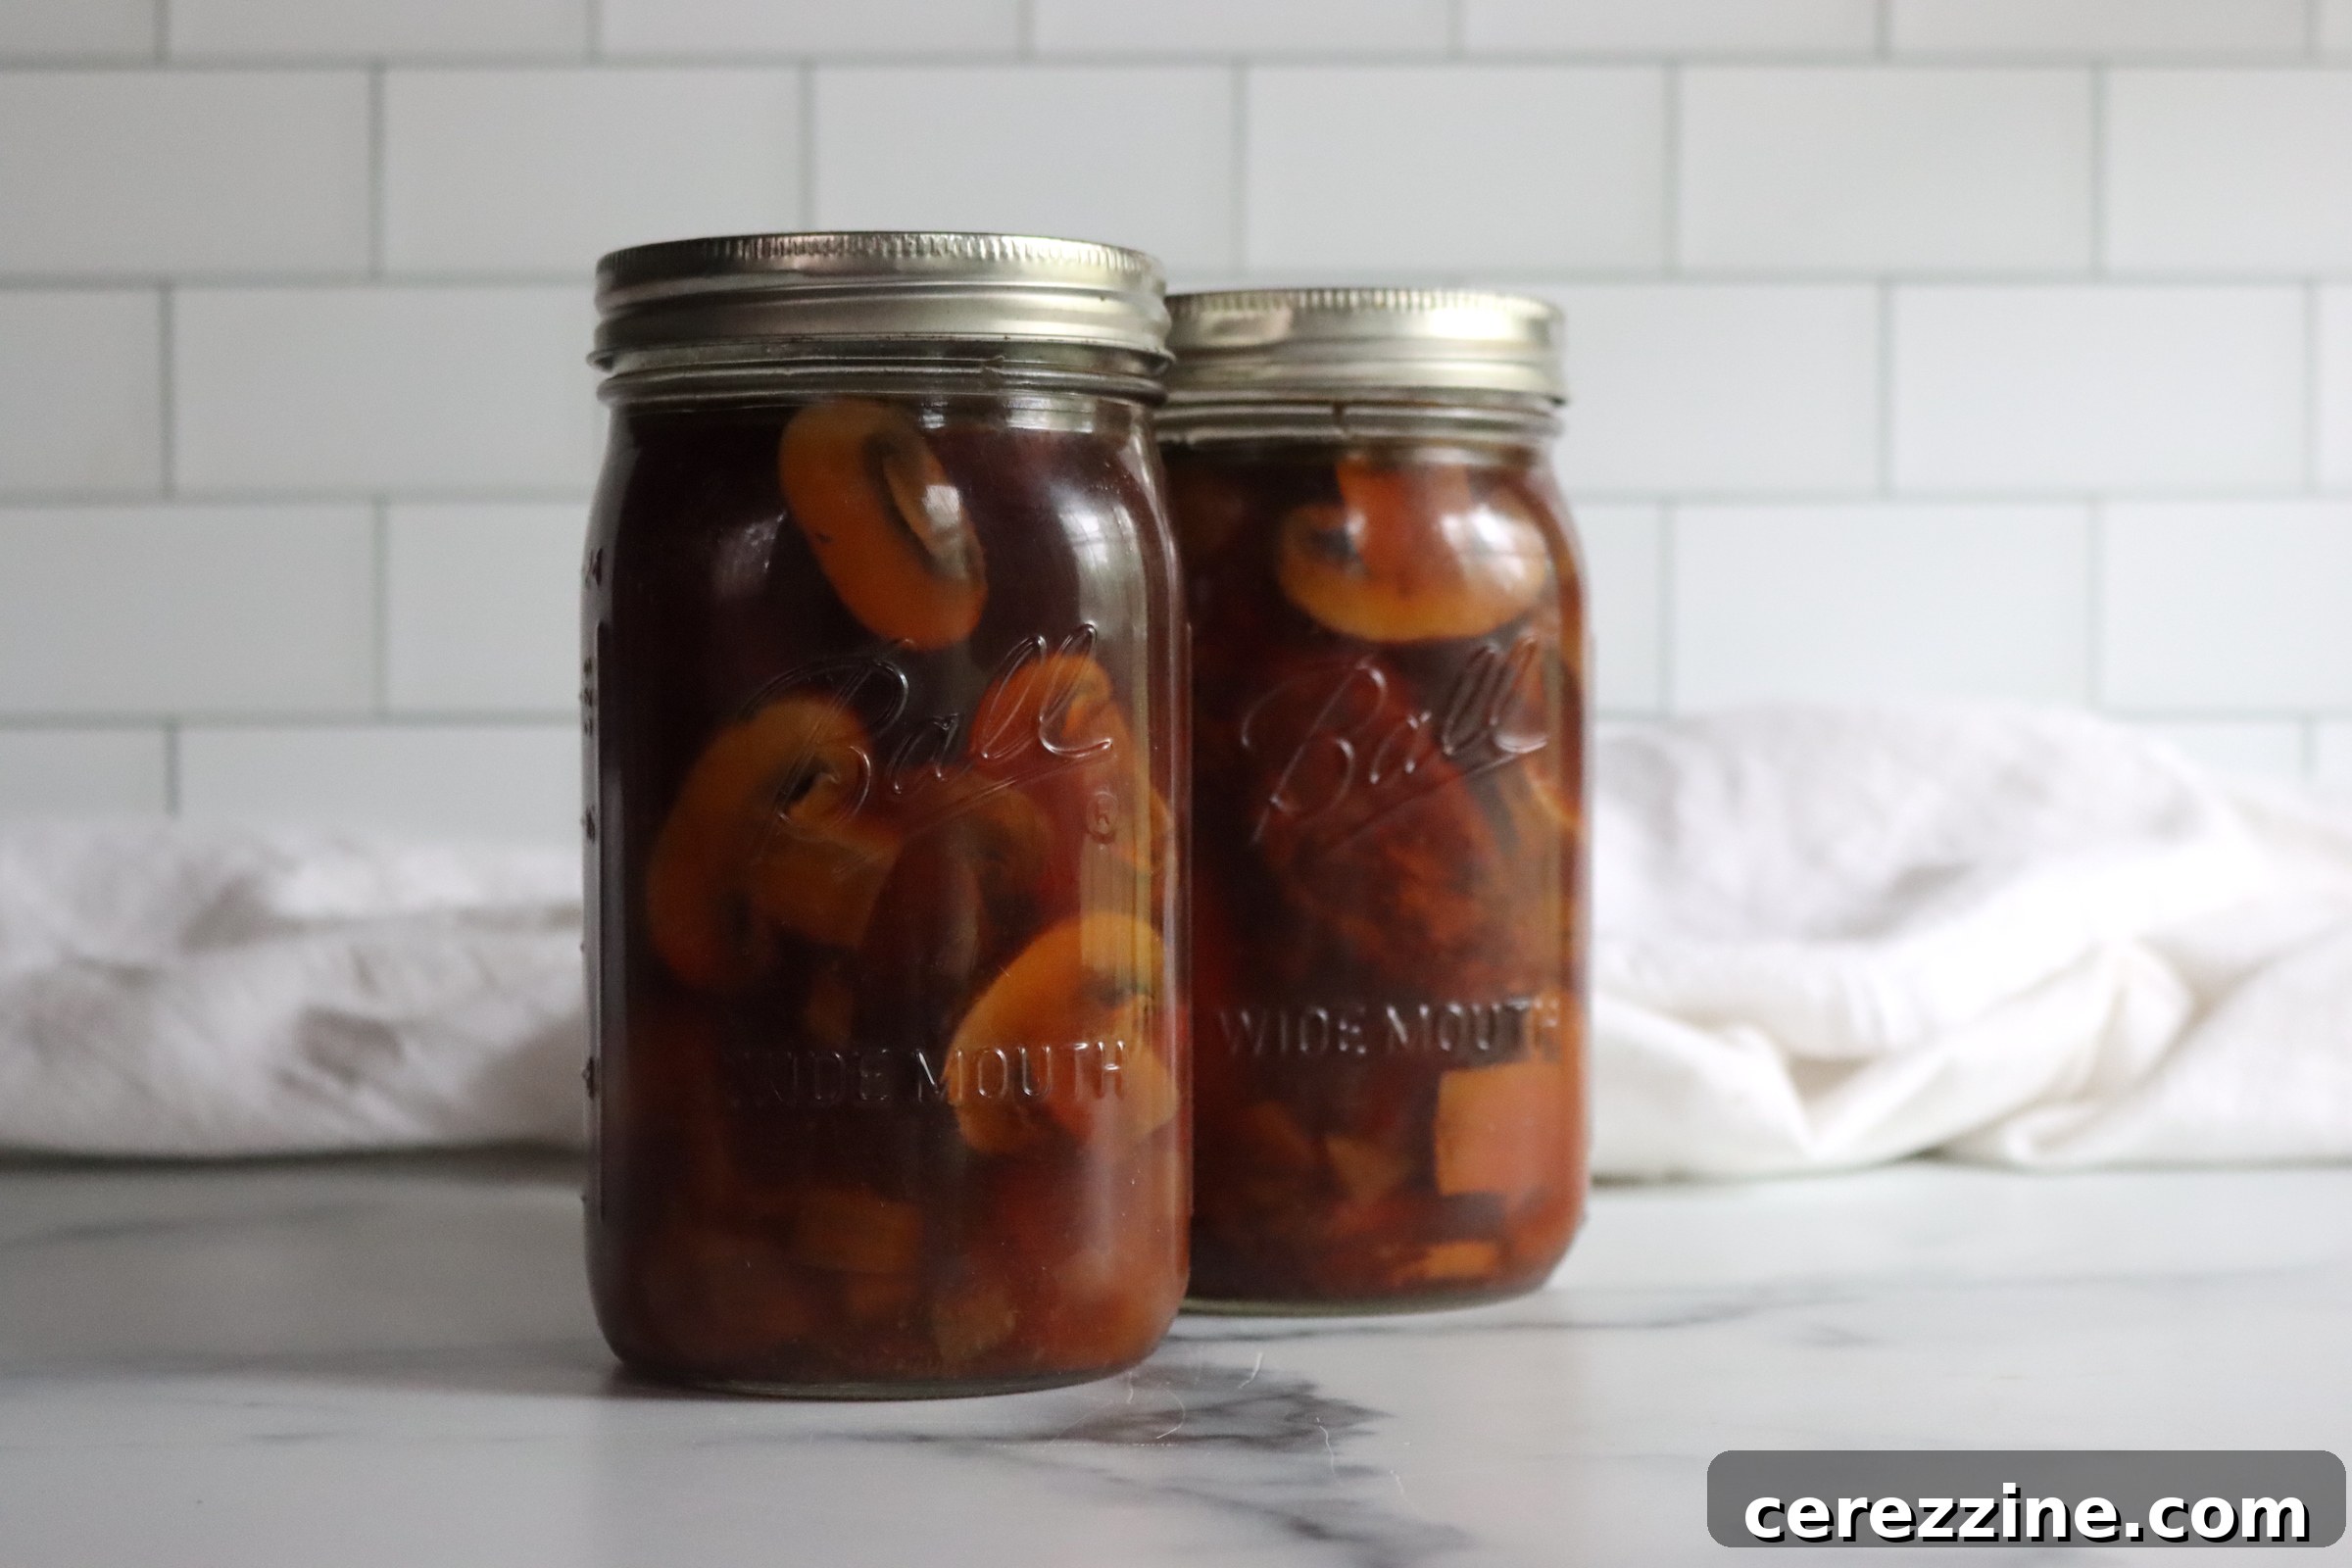
Transform your kitchen into a hub of culinary efficiency with this guide to pressure canning Chicken Marsala. Imagine indulging in the rich, savory flavors of this classic Italian dish any night of the week, effortlessly pulled from your pantry. Pressure canning offers an unparalleled method to preserve the tender chicken, earthy mushrooms, and distinctive Marsala wine sauce in a shelf-stable format, making it an ideal solution for busy evenings when you crave a homemade, gourmet-quality meal without the extensive preparation.
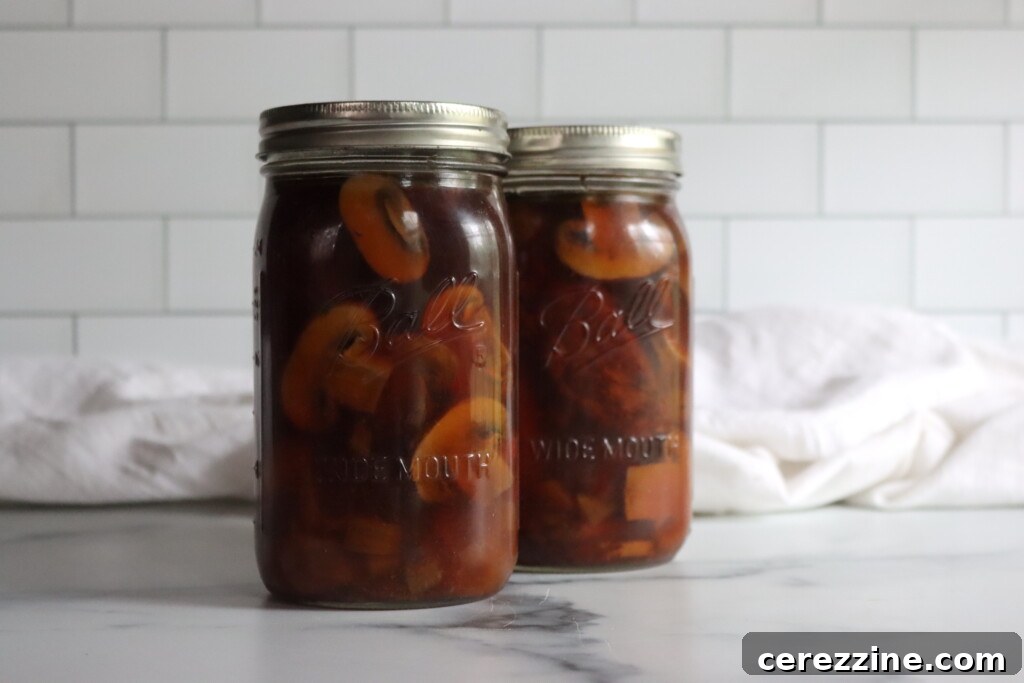
Pressure Canning Chicken Marsala: A Gourmet Meal Ready When You Are
Chicken Marsala, a beloved Italian comfort food, typically requires a bit of hands-on attention to achieve its signature depth of flavor. However, this specially adapted recipe allows you to capture that exquisite taste in a jar, ready to be enjoyed with minimal effort. Inspired by Angi Schneider’s insightful guide, Pressure Canning for Beginners and Beyond, this version ensures you get succulent chicken, perfectly cooked mushrooms, and that irresistible Marsala wine essence in every spoonful, all safely preserved.
While this recipe might be a tad more involved than a simple raw-pack method, the initial steps of browning the meat and vegetables are absolutely crucial and ultimately lead to a superior finished product. Trust us, taking the time for this foundational flavor-building process is immensely rewarding. After browning, all the ingredients are gently simmered to allow the flavors to meld beautifully and ensure even heating before being packed hot into jars and processed in a pressure canner. This meticulous approach guarantees both safety and an outstanding culinary experience.
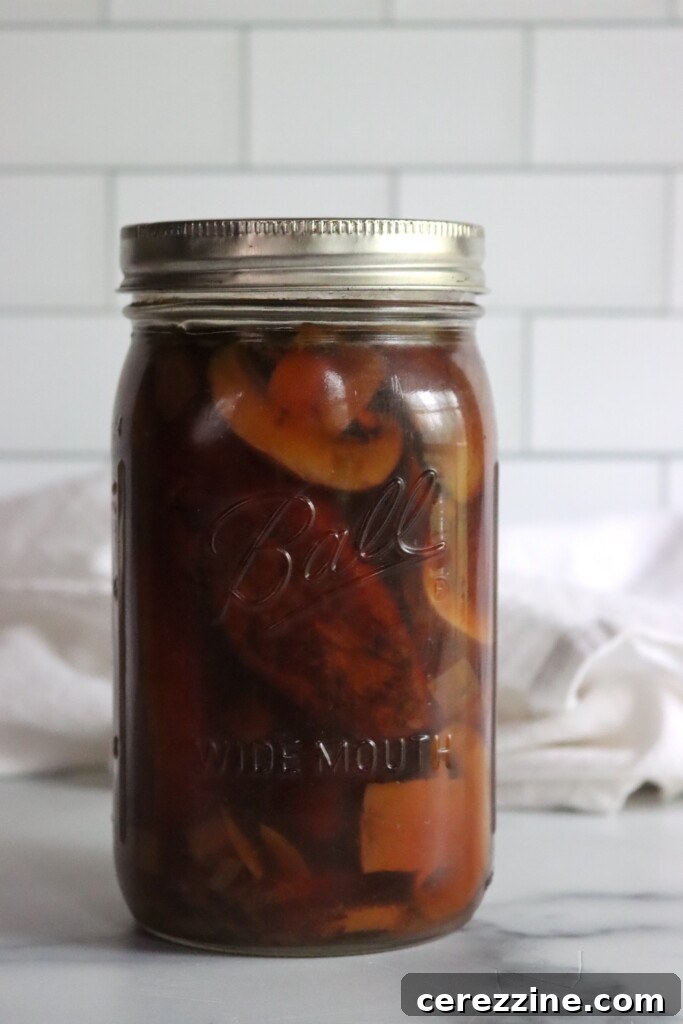
The Benefits of Pressure Canning Chicken Marsala
Beyond the sheer delight of having a gourmet meal at your fingertips, pressure canning Chicken Marsala offers a multitude of advantages for modern households and homesteaders alike:
- Unrivaled Convenience: Imagine the ease of preparing a restaurant-quality meal on a busy weeknight in mere minutes. With your Chicken Marsala already cooked and preserved, all that’s left is a quick reheat and perhaps a simple thickening of the sauce. It’s the ultimate fast food, but healthy and homemade.
- Exceptional Flavor Preservation: Unlike freezing, which can sometimes alter textures, pressure canning locks in the rich, developed flavors and tender texture of the chicken and mushrooms. The ingredients meld beautifully during the canning process, often resulting in an even more harmonious taste profile.
- Shelf Stability and Space Saving: Canned goods are shelf-stable for extended periods, typically a year or more, making them perfect for pantry stocking. This frees up valuable freezer space and provides a reliable food source even during power outages.
- Emergency Preparedness: Having a stash of ready-to-eat, nutritious meals like Chicken Marsala can be a lifesaver during unexpected situations, from natural disasters to simply needing a quick, wholesome meal when you’re short on time or ingredients.
- Control Over Ingredients: When you can at home, you dictate exactly what goes into your food. This means no artificial preservatives, excessive sodium, or unwanted additives, allowing you to tailor the recipe to your dietary preferences and health goals.
- Cost-Effective Meal Planning: Canning allows you to buy ingredients in bulk when they are in season or on sale, significantly reducing your grocery bill over time. Turning these ingredients into ready-made meals further enhances their value.
Essential Ingredients for Perfect Canned Chicken Marsala
This recipe is conveniently designed as a small batch, yielding 2 quarts or 4 pints, which represents the minimum safe load for most pressure canners. However, it’s incredibly versatile and can be easily scaled up if you have a larger canner or an abundance of chicken to preserve. When selecting your ingredients, quality makes a noticeable difference in the final product:
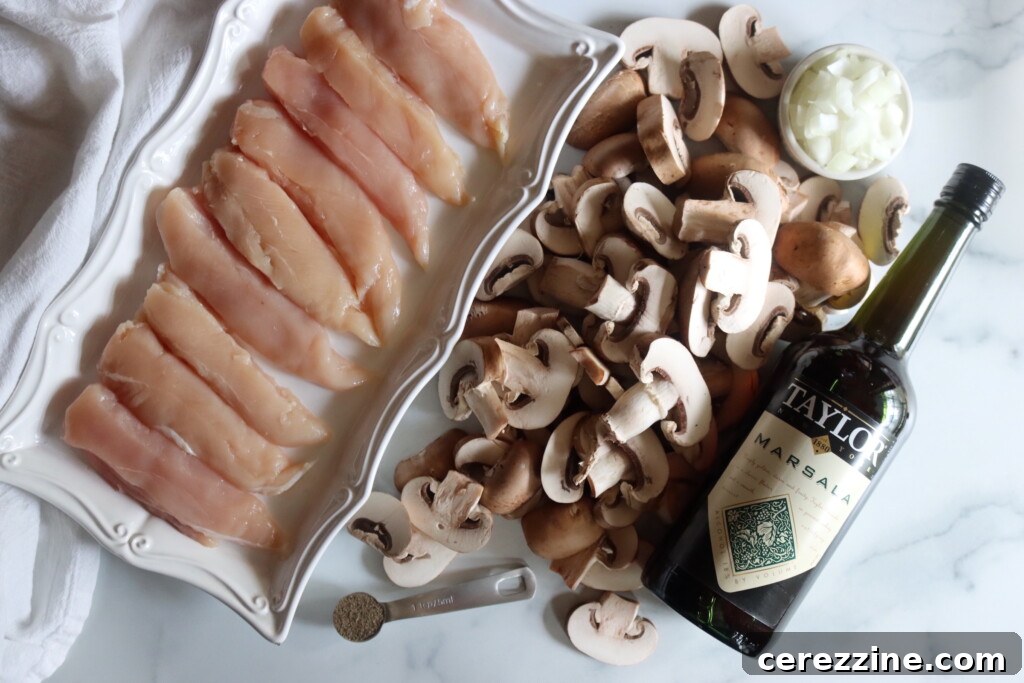
- Chicken: Opt for boneless, skinless chicken breasts. For ideal results, cut them into uniform fillets, aiming for pieces approximately 1 inch thick, 2 inches wide, and 5–6 inches long. This size ensures even cooking and fits well within your canning jars. You can achieve this by quartering whole chicken breasts (first cutting them horizontally into flat cutlets, then halving them top-to-bottom) or by simply using pre-cut chicken tenders, which are often already close to the perfect size.
- Mushrooms: Both crimini (baby bellas) or white button mushrooms are excellent choices for this dish. Slice them evenly to ensure uniform cooking and to allow them to nestle neatly alongside the chicken in the jars. The mushrooms will absorb the rich Marsala flavor beautifully.
- Shallots (or Onions) and Garlic: Shallots impart a delicate, sweeter, and milder onion flavor, which is superb in Chicken Marsala. However, if shallots are unavailable, yellow or white onions make a perfectly acceptable and delicious substitute. Minced garlic is essential for adding a pungent depth and rounding out the savory sauce profile.
- Olive Oil: High-quality olive oil is used for browning both the chicken and the vegetables. This initial browning step is indispensable as it develops complex flavors through the Maillard reaction. While olive oil is preferred, you can substitute with other high-smoke point oils or even animal fats like tallow or schmaltz. Crucially, do not use butter for the browning stage directly before canning, as dairy products are not safe for pressure canning.
- Marsala Wine and Chicken Broth: These two liquids form the heart of the rich, savory cooking liquid. Marsala wine, a fortified wine from Sicily, comes in different varieties (dry or sweet). For savory dishes like Chicken Marsala, dry Marsala is typically preferred. Be aware that some Marsala wines may be salted; if your chosen wine is unsalted, you might consider adding a touch more salt to taste, though be cautious not to over-season as canning salt is also added. Use a good quality chicken broth for the best base flavor.
- Salt, Pepper, and Thyme: Simple yet effective seasonings. Canning salt (pure granulated salt without anti-caking agents) is recommended to avoid cloudy brine. Freshly ground black pepper adds a subtle spice, and dried thyme contributes a warm, earthy, and slightly floral note that complements the chicken and mushrooms beautifully without overpowering the distinctive Marsala flavor.
Crucial Canning Safety Note: It is vital to avoid using dairy products or thickening agents directly in the jars before canning this recipe. Ingredients like butter, cream, cornstarch, or flour can interfere with the heat penetration during the pressure canning process, compromising the safety of your preserved food. These elements should always be added at the time of serving, if desired, to maintain both food safety and texture.
Step-by-Step Guide: How to Pressure Can Chicken Marsala Safely and Deliciously
Mastering the art of pressure canning ensures that your homemade Chicken Marsala is not only bursting with flavor but also perfectly safe for long-term storage. Follow these detailed instructions carefully to achieve excellent results:
- Prepare Your Canning Environment: Begin by thoroughly cleaning and sterilizing your canning jars. Depending on your canner’s model and the recommended method, this might involve washing jars in hot, soapy water, rinsing, and then keeping them hot in a water bath canner, a warm oven, or a dishwasher until ready to fill. Set up your pressure canner according to the manufacturer’s specific instructions, ensuring it’s ready for processing.
- Prepare the Chicken: For boneless, skinless chicken breasts, start by cutting them horizontally to create thinner cutlets. Then, slice these cutlets in half from top to bottom. This method yields uniform, flat pieces, approximately 1 inch thick by 2 inches wide and 5-6 inches long, which cook evenly and pack efficiently into jars. If you opt for chicken tenders, they often require minimal trimming as they are usually already close to the ideal size and shape. Uniformity in chicken pieces is key for consistent cooking and safe processing.
- Brown the Chicken for Flavor Depth: In a large, heavy-bottomed pot, such as a Dutch oven, heat 1 tablespoon of olive oil over medium-high heat until shimmering. Carefully add the chicken pieces to the hot oil, working in batches to avoid overcrowding the pot. Overcrowding will lower the pan’s temperature, causing the chicken to steam rather than brown, which inhibits the development of deep, rich flavors. Sear the chicken until it achieves a beautiful golden-brown crust on all sides. Once browned, remove the chicken from the pot and set it aside.
- Sauté the Aromatics and Mushrooms: Add the remaining 1 tablespoon of olive oil to the same pot, adding more if necessary. Reduce the heat slightly to medium. Add the sliced mushrooms and finely chopped shallots (or onions) to the pot. Sauté them, stirring occasionally, until the mushrooms are tender and the shallots are softened and lightly golden. This step extracts their natural sweetness and savory notes. Next, stir in the minced garlic and cook for approximately 30 seconds, just until it becomes fragrant. Be careful not to burn the garlic, as it can turn bitter very quickly.
- Build the Marsala Sauce: Return the browned chicken pieces to the pot with the sautéed mushrooms and aromatics. Pour in the chicken broth and Marsala wine. Add the canning salt, ground black pepper, and dried thyme. Stir everything together gently to combine. Bring the mixture to a full boil, then reduce the heat to a gentle simmer. Allow it to simmer for about 5 minutes. This brief cooking time is crucial for allowing the flavors to meld beautifully and ensuring all ingredients are thoroughly heated through before canning, which contributes to overall safety and quality.
- Pack the Jars with Solids: Using a slotted spoon, carefully pack the hot chicken and mushroom solids into your warm, sterilized canning jars. Arrange the pieces so they are not too tightly packed, allowing the liquid to circulate. Ensure you leave a precise 1-inch headspace from the top of the jar to the food solids. This headspace is critical for proper vacuum sealing and to prevent siphoning (liquid loss) during the pressure canning process.
- Fill Jars with Hot Liquid: Ladle the hot broth and Marsala sauce mixture over the solids in each jar. Again, maintain the crucial 1-inch headspace. The liquid should cover the solids, but not exceed the headspace guideline.
- Debubble, Wipe Rims, and Secure Lids: Insert a non-metallic utensil, such as a plastic de-bubbler tool or a rubber spatula, into each jar and gently move it around to release any trapped air bubbles. Air bubbles can affect the final seal and liquid levels. After de-bubbling, thoroughly wipe the rims of the jars with a clean, damp cloth or paper towel dipped in vinegar to remove any food particles or grease that could interfere with a proper seal. Center new, clean canning lids on the jars and apply screw bands fingertip-tight.
- Pressure Canning Process: Place the prepared jars onto the rack inside your pressure canner, ensuring they do not touch each other or the sides of the canner. Secure the canner lid. Bring the canner up to a steady vent of steam for 10 minutes to properly exhaust air. Then, bring the canner up to the required pressure. Process pint jars for 75 minutes and quart jars for 90 minutes. The pressure should be maintained at 10 pounds for weighted gauge canners or 11 pounds for dial gauge canners. Always remember to adjust the pressure according to your specific altitude (refer to the altitude adjustment chart below).
- Cooling and Storage: Once the processing time is complete, turn off the heat and allow the pressure canner to cool down naturally until the pressure gauge registers zero. Do not attempt to force cool the canner, as this can lead to siphoning or seal failures. Carefully remove the jars from the canner and place them on a clean, folded towel or a cooling rack, ensuring there is sufficient space between them for air circulation. Let them cool undisturbed for 12 to 24 hours. After cooling, check all seals; lids should be concave and not flex when pressed. If any jar has not sealed properly, refrigerate its contents and consume within a few days. Remove the screw bands for long-term storage. Store properly sealed jars in a cool, dark, dry place.
Altitude Adjustments for Safe Pressure Canning
For safe pressure canning, it is absolutely essential to adjust the processing pressure based on your geographical altitude. As elevation increases, the boiling point of water decreases, requiring higher pressure to reach the necessary sterilization temperatures. Always consult the chart below to determine the correct pressure setting for your location:
For Dial Gauge Canners:
- 0–2,000 feet: Process at 11 lbs pressure
- 2,001–4,000 feet: Process at 12 lbs pressure
- 4,001–6,000 feet: Process at 13 lbs pressure
- 6,001–8,000 feet: Process at 14 lbs pressure
For Weighted Gauge Canners:
- 0–1,000 feet: Process at 10 lbs pressure
- Above 1,000 feet: Process at 15 lbs pressure
Serving Your Delicious Homemade Chicken Marsala
After all your careful canning efforts, transforming your shelf-stable Chicken Marsala into a hot, flavorful meal is incredibly simple and quick. The beauty of this preserved dish lies in its minimal last-minute preparation, allowing you to enjoy a gourmet dinner even on the busiest of nights. Here’s how to best serve it:
- Prepare the Sauce: Open a jar of your homemade Chicken Marsala. Carefully pour the rich, savory liquid from the jar into a medium saucepan. For each quart of Marsala liquid, whisk in approximately 1 tablespoon of cornstarch (or arrowroot powder for a gluten-free alternative) until the mixture is smooth and lump-free. Bring this sauce to a gentle boil over medium heat, stirring continuously, until it thickens to your desired consistency.
- Reheat the Solids: Once the sauce has thickened beautifully, add the chicken and mushroom solids from the jar back into the saucepan. Reduce the heat to a low simmer and let everything warm through gently for about 10 minutes. This allows the chicken to become perfectly tender and ensures all the flavors are fully integrated and heated evenly.
- For a Creamy Indulgence (Optional): If you desire a richer, more luxurious Chicken Marsala, stir in about ½ cup of heavy cream or half-and-half just before you’re ready to serve. Heat the dish gently after adding the cream, ensuring it doesn’t come back to a rolling boil, as this can cause the cream to curdle.
- Pairing and Presentation: This versatile Chicken Marsala pairs exquisitely with a variety of classic accompaniments. Serve it generously over creamy mashed potatoes, tender egg noodles, or fluffy white rice for a truly satisfying and elegant weeknight dinner. For a final flourish, consider garnishing with a sprinkle of fresh chopped parsley or grated Parmesan cheese, which adds a vibrant touch and enhances the overall flavor.
Each quart of this recipe provides a generous serving for two people, making it perfect for intimate meals or easily scaled up for family dinners. With the main components—the succulent chicken and savory mushrooms—already cooked and infused with flavor, this jarred meal delivers both unparalleled taste and incredible convenience to your pantry lineup.
Canning Safety and Best Practices: A Non-Negotiable Guide
While the convenience of home canning is undeniable, adhering to strict safety guidelines is paramount, especially when preserving low-acid foods like meat and mushrooms. This Chicken Marsala recipe is carefully adapted from Angi Schneider’s trusted Pressure Canning for Beginners and Beyond and follows the robust pressure canning guidelines established for hearty soups by reputable institutions, such as the University of Alaska (Publication FNH-00065). To ensure your canned goods are delicious and safe, please observe the following critical safety notes:
- Pressure Canning is Imperative: Due to the low-acid nature of both chicken and mushrooms, this dish must be processed in a pressure canner. Water bath canning does not reach the high temperatures necessary to destroy harmful bacteria, including the spores of Clostridium botulinum, which thrive in low-acid, anaerobic environments. Failure to pressure can this recipe could lead to severe health risks.
- Maintain Exact Headspace: The 1-inch headspace specified in the instructions is not merely a suggestion; it’s a critical safety measure. Proper headspace is essential for creating a strong vacuum seal and preventing siphoning (loss of liquid from the jars) during processing, which can compromise the seal and the safety of the food.
- Altitude Adjustments Are Essential: Always adjust your canning pressure according to your specific geographical altitude. At higher elevations, water boils at a lower temperature, so increasing the pressure is necessary to achieve the sterilization temperatures required for safe canning. Always refer to the altitude adjustment chart provided in this guide.
- No Dairy or Thickeners in the Jars: As emphasized, ingredients such as butter, heavy cream, flour, cornstarch, or other thickening agents should never be added to the jars before the pressure canning process. These ingredients can interfere with proper heat penetration, potentially creating “cold spots” where harmful bacteria can survive, and compromising the safety of your canned product. Add them only when you are reheating and serving the dish.
- Always Use Tested Recipes: Rely exclusively on tested and approved canning recipes from trusted sources. These recipes have been scientifically validated to ensure they achieve the correct pH balance and heat penetration for safe preservation. Deviating from tested recipes, particularly for low-acid foods, can be dangerous.
- Inspect Jars and Seals: After the cooling period, carefully inspect each jar’s seal. The lid should be concave (curved inwards) and should not flex or move when pressed in the center. Any jars that have not sealed properly should be refrigerated immediately and consumed within a few days.
By diligently following these safety precautions, you can confidently enjoy the convenience and deliciousness of your home-canned Chicken Marsala, knowing it’s safe for your family and guests.
Explore More Delightful Chicken Canning Recipes
If the convenience and rich flavors of your homemade, shelf-stable Chicken Marsala have sparked your enthusiasm for pressure canning, you’ll be thrilled to discover the extensive array of other delicious meals you can preserve right in your own kitchen. Expanding your collection of canned chicken recipes ensures that your pantry is always stocked with quick, nutritious, and incredibly flavorful options for any mealtime or emergency.
While this Chicken Marsala offers a sophisticated Italian-inspired experience, don’t miss out on these other fantastic chicken-based recipes that are perfect for pressure canning:
- Chicken and Gravy in a Jar: For the ultimate in cozy comfort food, this savory and satisfying combination is a true pantry staple. It’s incredibly versatile, perfect served over fluffy biscuits, creamy mashed potatoes, or even as a ready-made filling for a hearty pot pie. Imagine a warm, wholesome meal appearing on your table with minimal fuss!
- Chicken Chili Verde: Craving a dish with a zesty, flavorful kick? This vibrant and hearty recipe, a popular choice among canning enthusiasts, brings the bright, tangy flavors of green chilies to your plate. It’s utterly fantastic topped with a dollop of sour cream, a sprinkle of fresh cilantro, and served alongside crispy tortilla chips for an effortless Mexican-inspired dinner.
- Chicken Curry in a Jar: Effortlessly bring the rich and aromatic spices of global cuisine to your dinner table. This Chicken Curry in a Jar is infused with warm Indian spices, offering a convenient way to enjoy a deeply flavorful and exotic meal anytime. Serve it with steamed rice or warm naan bread for a complete and satisfying culinary journey.
- Classic Chicken Soup: A timeless and indispensable choice for any pantry. Versatile and deeply comforting, a jar of homemade chicken soup is truly invaluable. It’s the perfect, soothing remedy when cold weather descends, you’re feeling under the weather, or you simply need a soul-warming, restorative meal. It also serves as an excellent base for adding fresh vegetables, noodles, or other ingredients when you’re ready to serve.
By stocking your pantry with these delicious, ready-to-heat meals, you’re investing in unparalleled convenience and peace of mind. You’ll always be prepared with wholesome, flavorful dinners, ensuring you can feed your family well, no matter how hectic life gets. Happy canning, and enjoy the fruits (and meats!) of your labor!