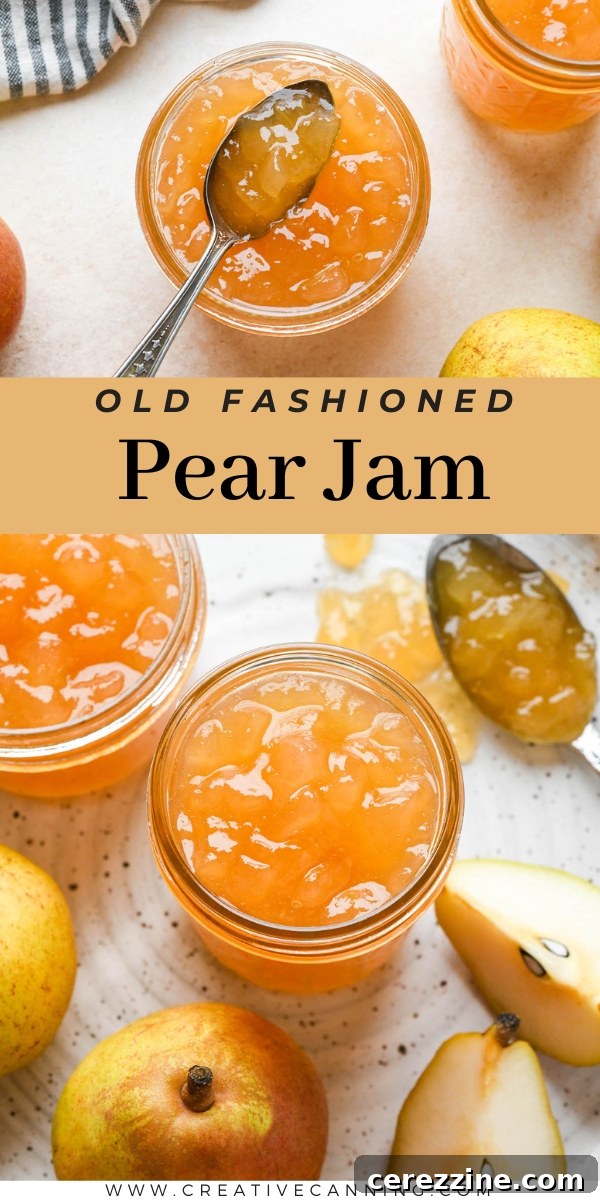
Homemade Pear Jam: An Easy, No-Pectin Recipe for Seasonal Sweetness
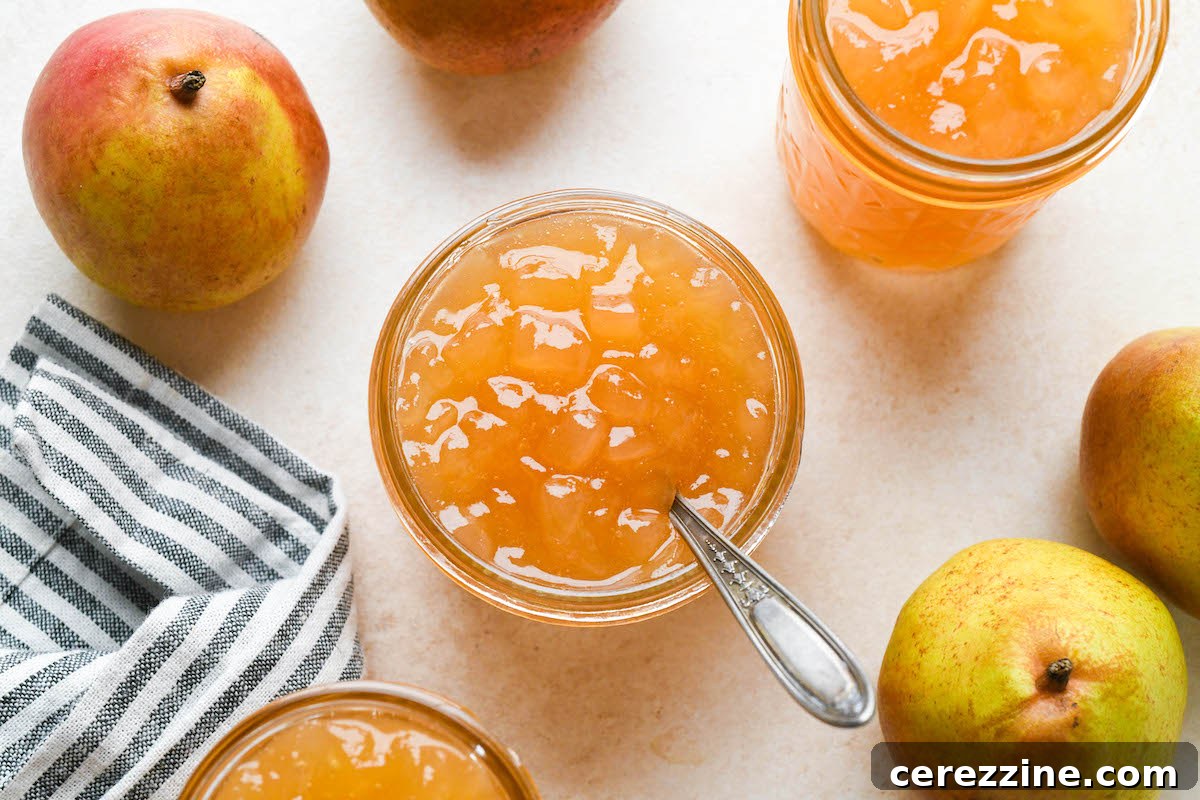
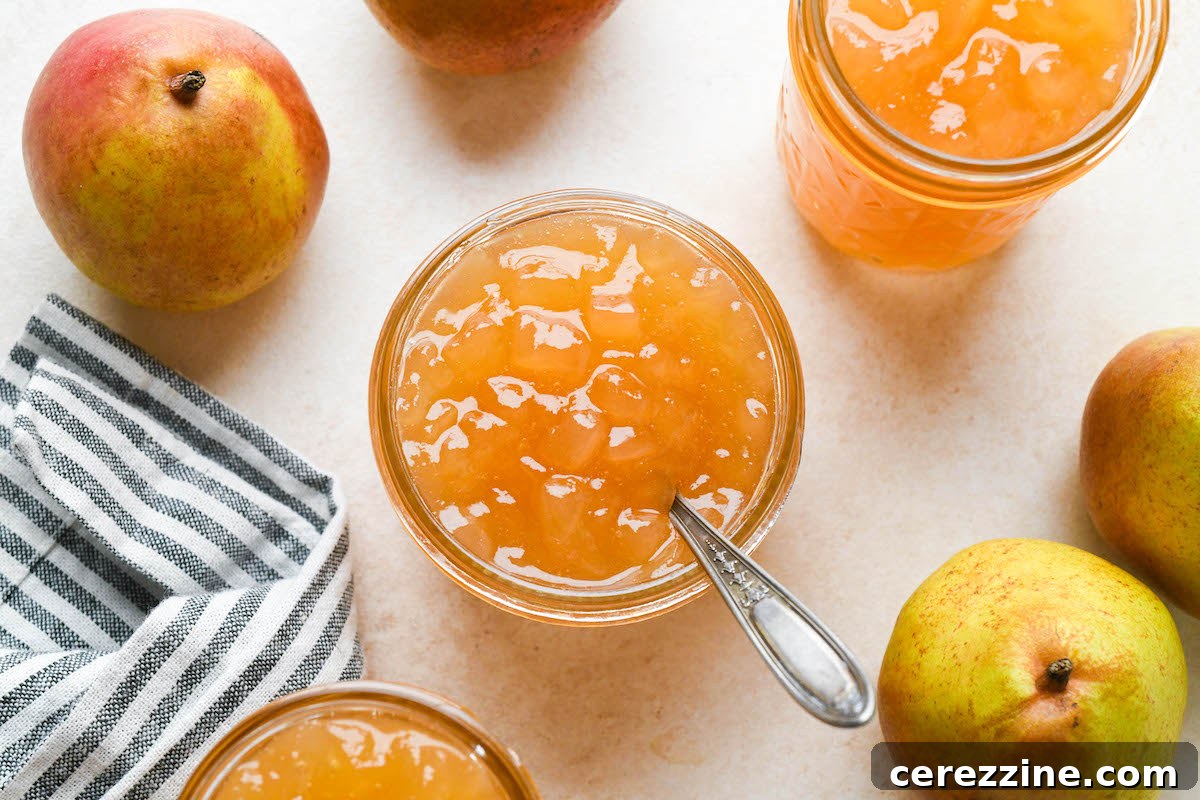
There’s a unique joy in crafting homemade preserves, and pear jam stands out as a wonderfully understated delight. While strawberry and peach jams often steal the spotlight, pear jam offers a delicate, pure fruit flavor that is surprisingly easy to achieve, especially with our no-pectin recipe. If your kitchen counter is brimming with a seasonal bounty of pears, and you’re searching for a simple yet elegant way to preserve their essence, you’ve found your next favorite project.
This old-fashioned pear jam recipe captures the very best of ripe, sweet pears. It’s a testament to the idea that sometimes, the simplest ingredients yield the most profound flavors. Imagine the unadulterated taste of a perfectly ripe pear, fresh from the tree, concentrated into a shimmering, spreadable delight. That’s precisely what this easy pear jam offers. Its gentle sweetness and subtle aroma make it a versatile condiment, perfect for elevating everything from your morning toast to gourmet cheeseboards.
What makes this recipe truly exceptional is its minimalist approach: just three core ingredients and absolutely no need for commercial pectin. Pears are naturally rich in pectin, and with the help of a little lemon juice, you’ll achieve a beautiful, firm set every time. This means fewer trips to the grocery store and a more natural, wholesome jam. Whether you’re preparing a batch for your family to enjoy throughout the year or planning thoughtful homemade gifts for friends, this simple pear jam is guaranteed to impress and garner requests for the recipe.
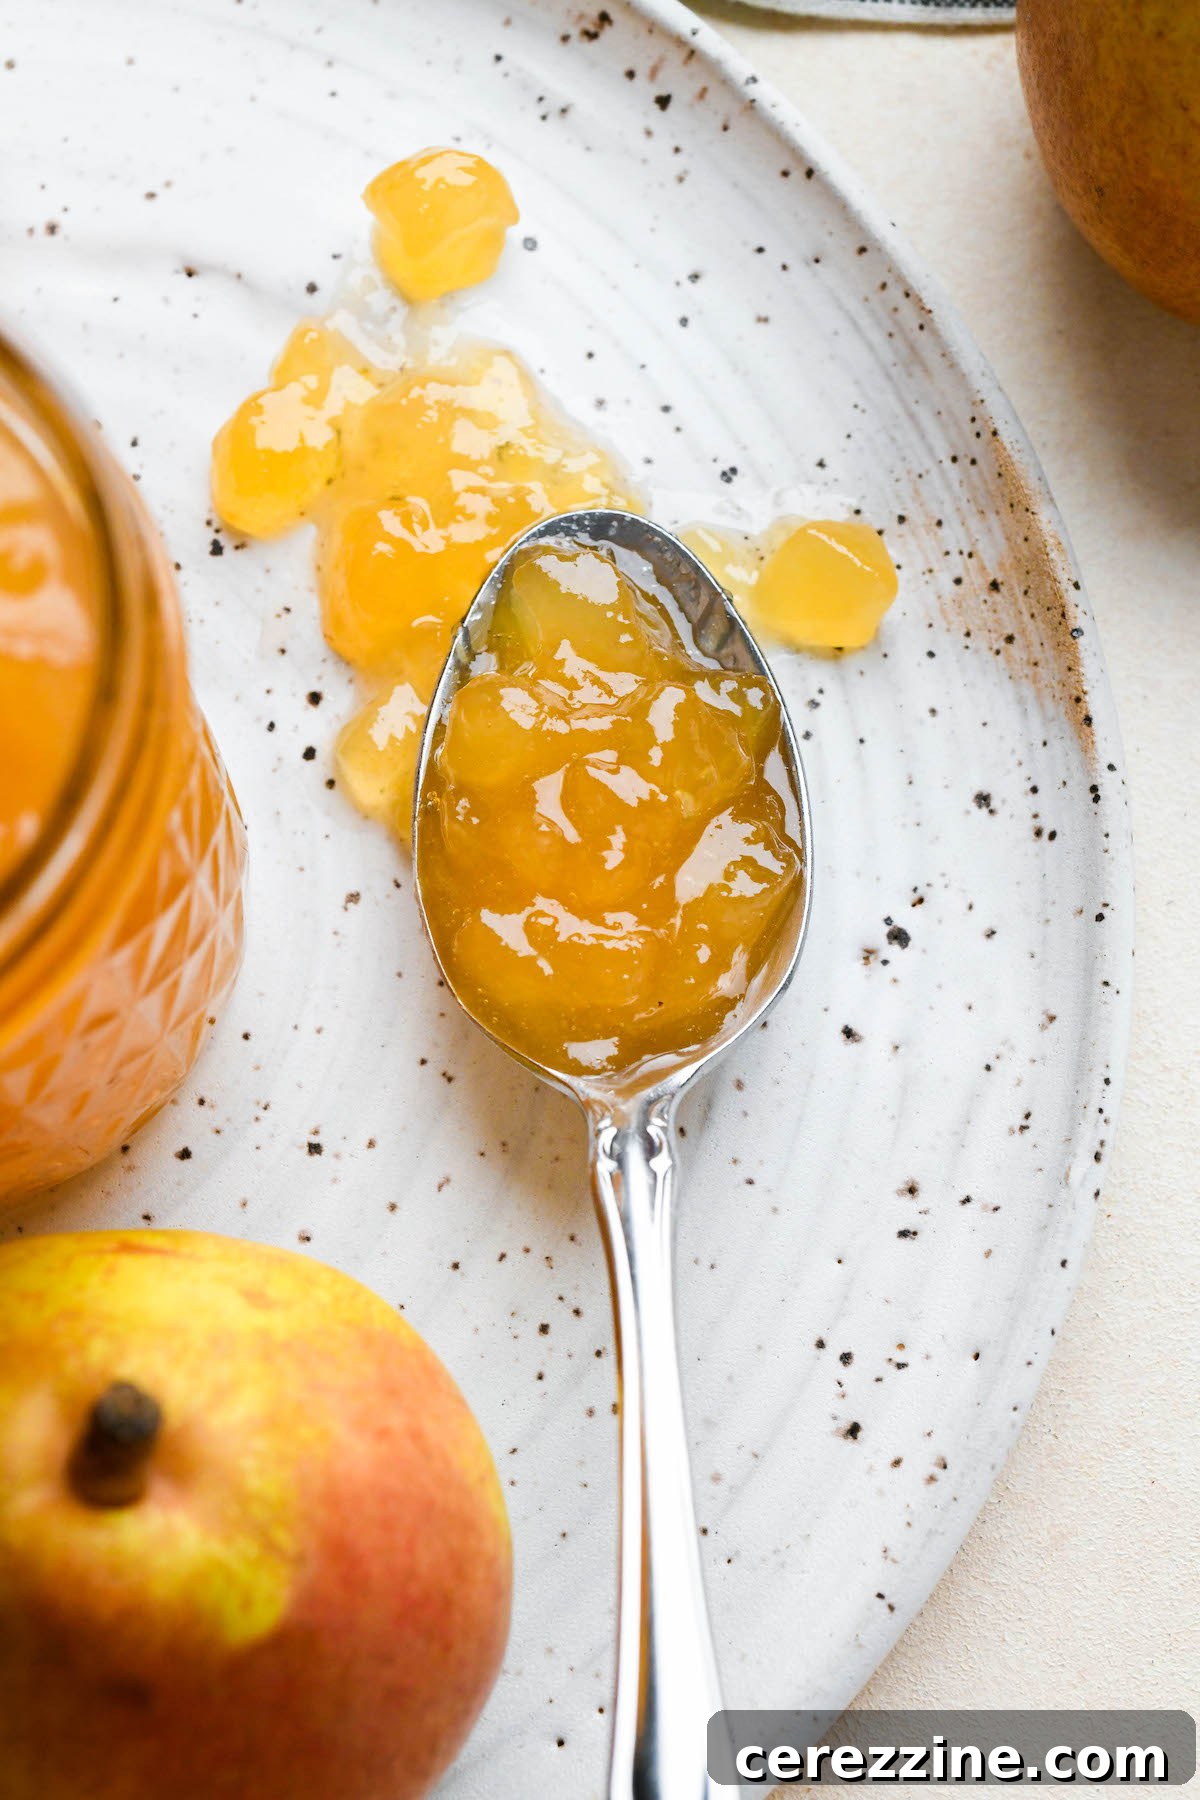
Essential Ingredients for Your Perfect Pear Jam
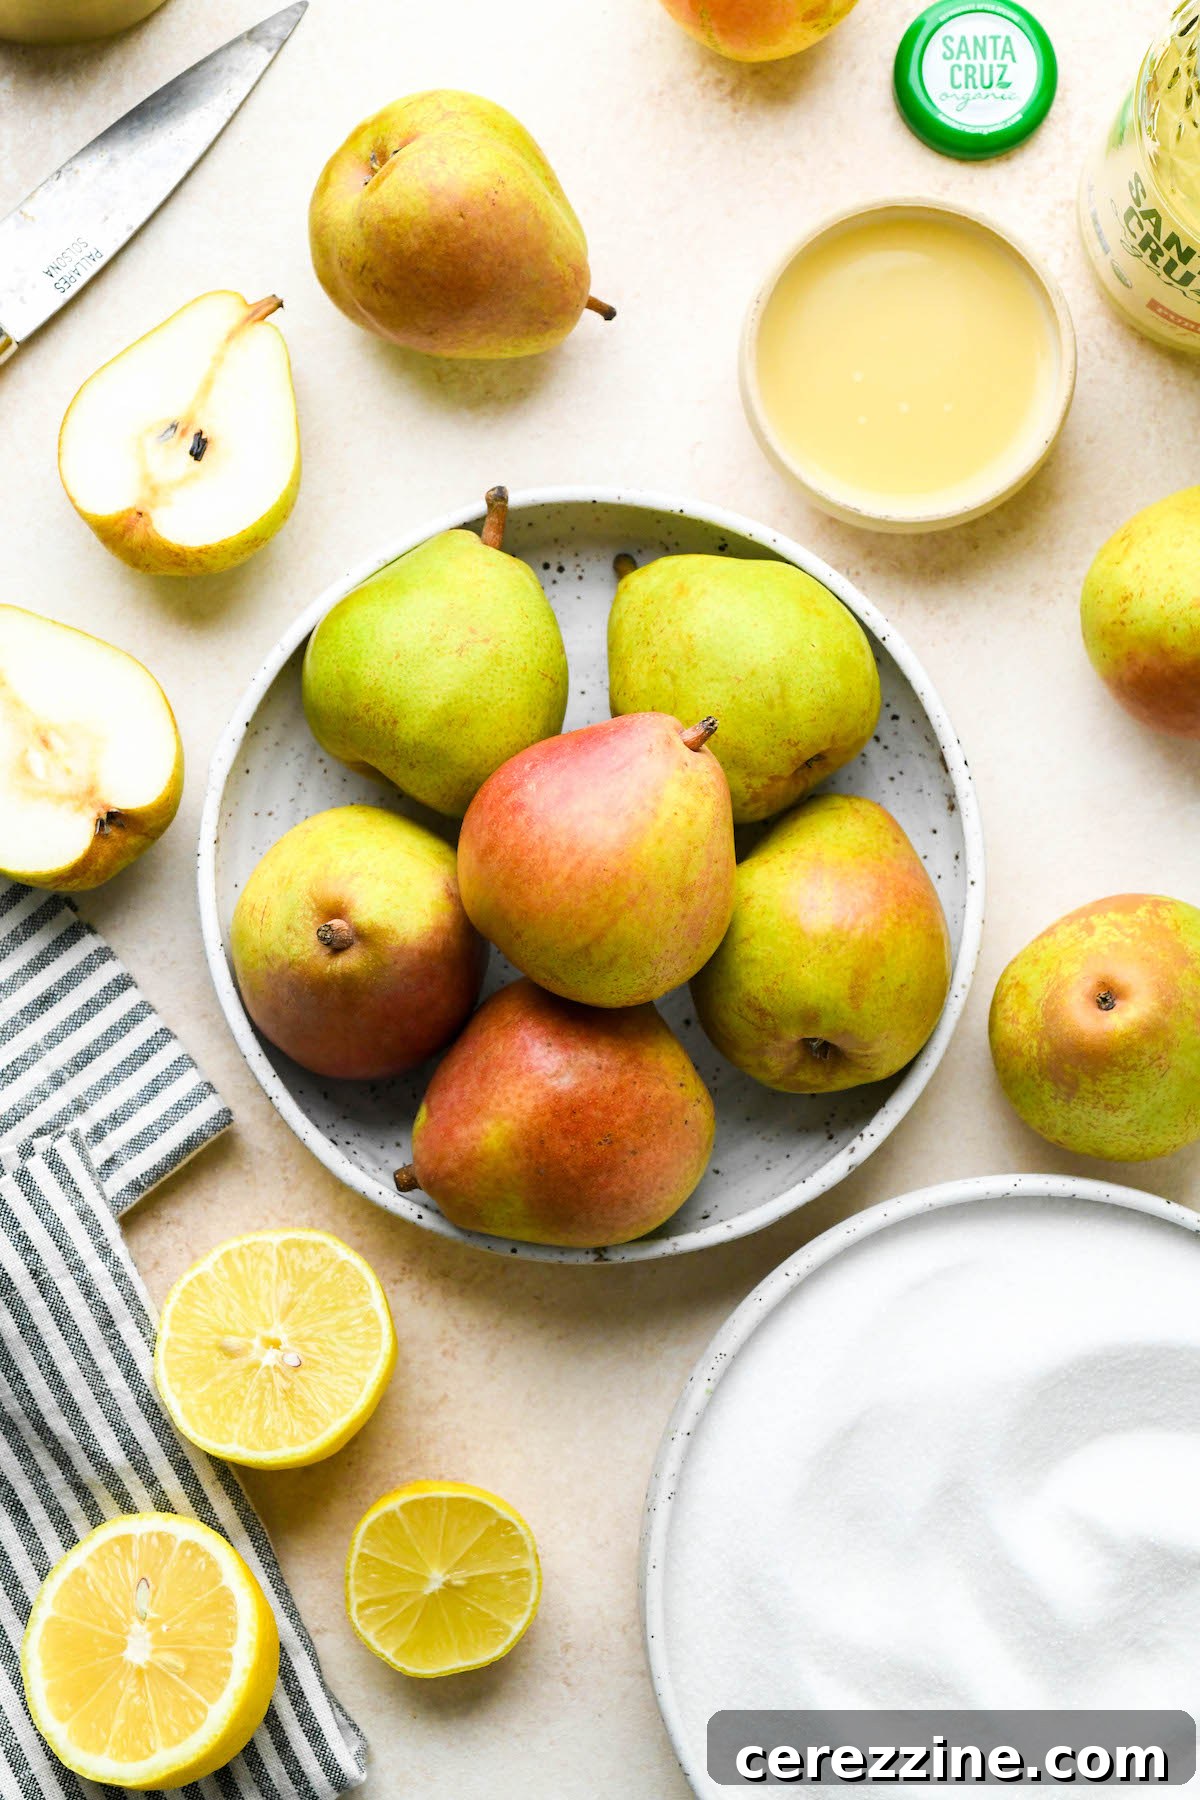
Crafting this delicious homemade pear jam requires only a few quality ingredients. This recipe is designed to yield approximately 4 to 5 half-pint jars (about 4 to 5 cups) of exquisite pear jam. Here’s what you’ll need:
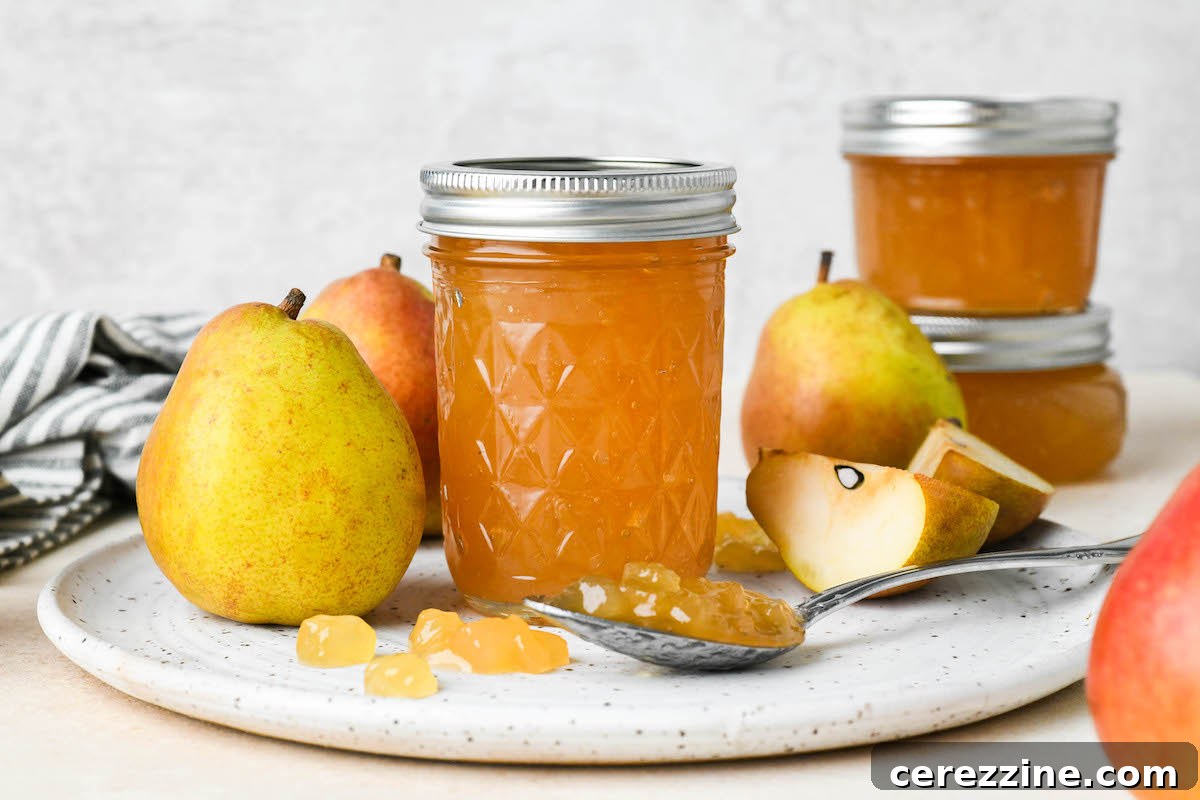
- 4 lbs. Pears: For the best results, select flavorful pears that are slightly underripe or just barely ripe. This ensures they hold their shape during cooking and contribute enough natural pectin. Renowned varieties for home canning include Bartlett, Bosc, Anjou, and Comice. The pears shown in this recipe’s images are Bartlett, known for their sweet flavor and good texture when cooked.
- 2 to 3 cups Granulated Sugar: Adjust this amount to your personal taste and the sweetness of your pears. Sugar acts not only as a sweetener but also as a crucial preservative and helps with the gelling process.
- 1/4 cup Lemon Juice: Freshly squeezed or high-quality bottled lemon juice (like Santa Cruz organic lemon juice, often favored for canning) is essential. Lemon juice contributes natural pectin and provides the necessary acidity to activate the pectin in the pears, ensuring a proper set and enhancing the overall flavor.
Many fruits require added commercial pectin to gel properly, but pears are naturally high in pectin. This means you can confidently make this jam without any extra packets. The combination of the pears’ inherent pectin and the added lemon juice will ensure your jam sets beautifully and achieves that desirable spreadable consistency.
Step-by-Step Guide: How to Make Easy Pear Jam
Preparing homemade pear jam is a straightforward process, but a little planning goes a long way. My best advice for this recipe is to have all your ingredients prepped and ready, ideally starting the day before you plan to cook and can the jam. This allows for adequate maceration time, which is key to developing flavor and texture.
1. Prepare the Pears
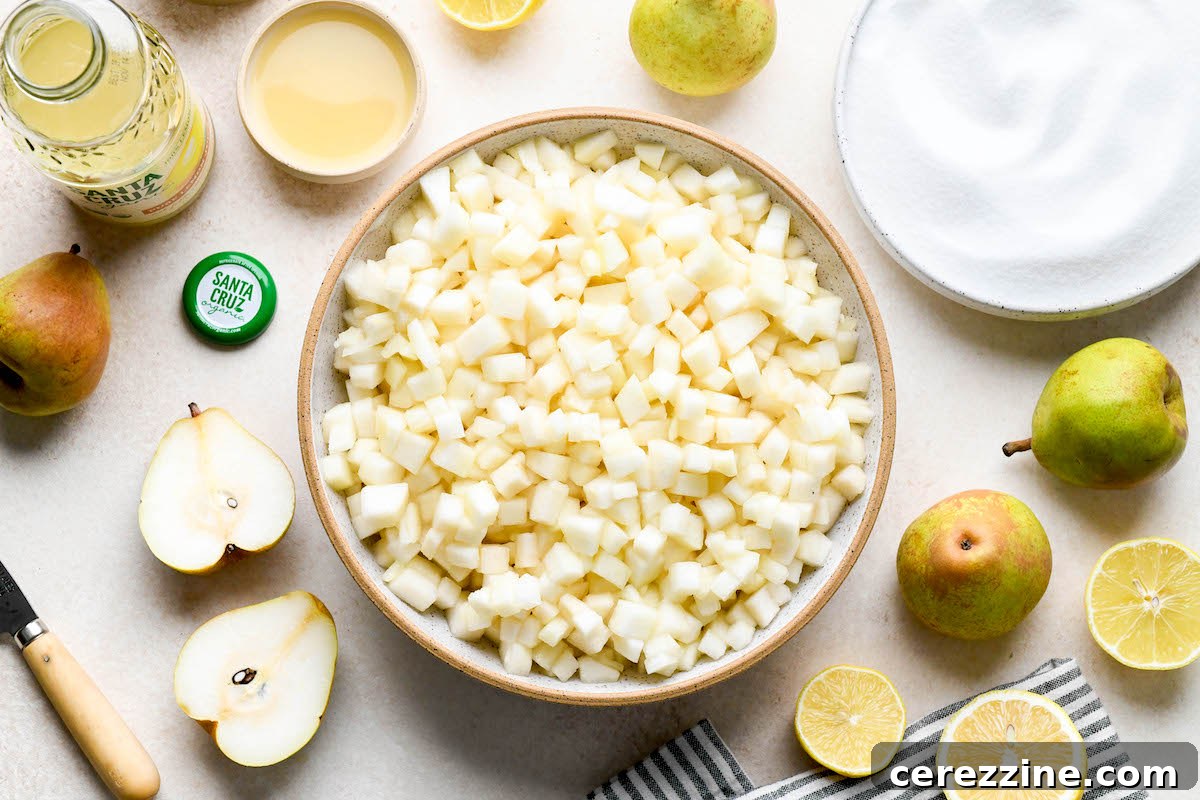
Begin by peeling, coring, and coarsely dicing your chosen pears. A small, sharp knife will make this task easy. You can dice the pear pieces fairly small, as they won’t break down significantly during the cooking process. If you prefer a smoother jam, don’t worry—you can always mash the cooked pear pieces with the back of a wooden spoon or a potato masher before filling your jars. The goal here is consistent sizing for even cooking.
2. Maceration: The Flavor-Infusing Step
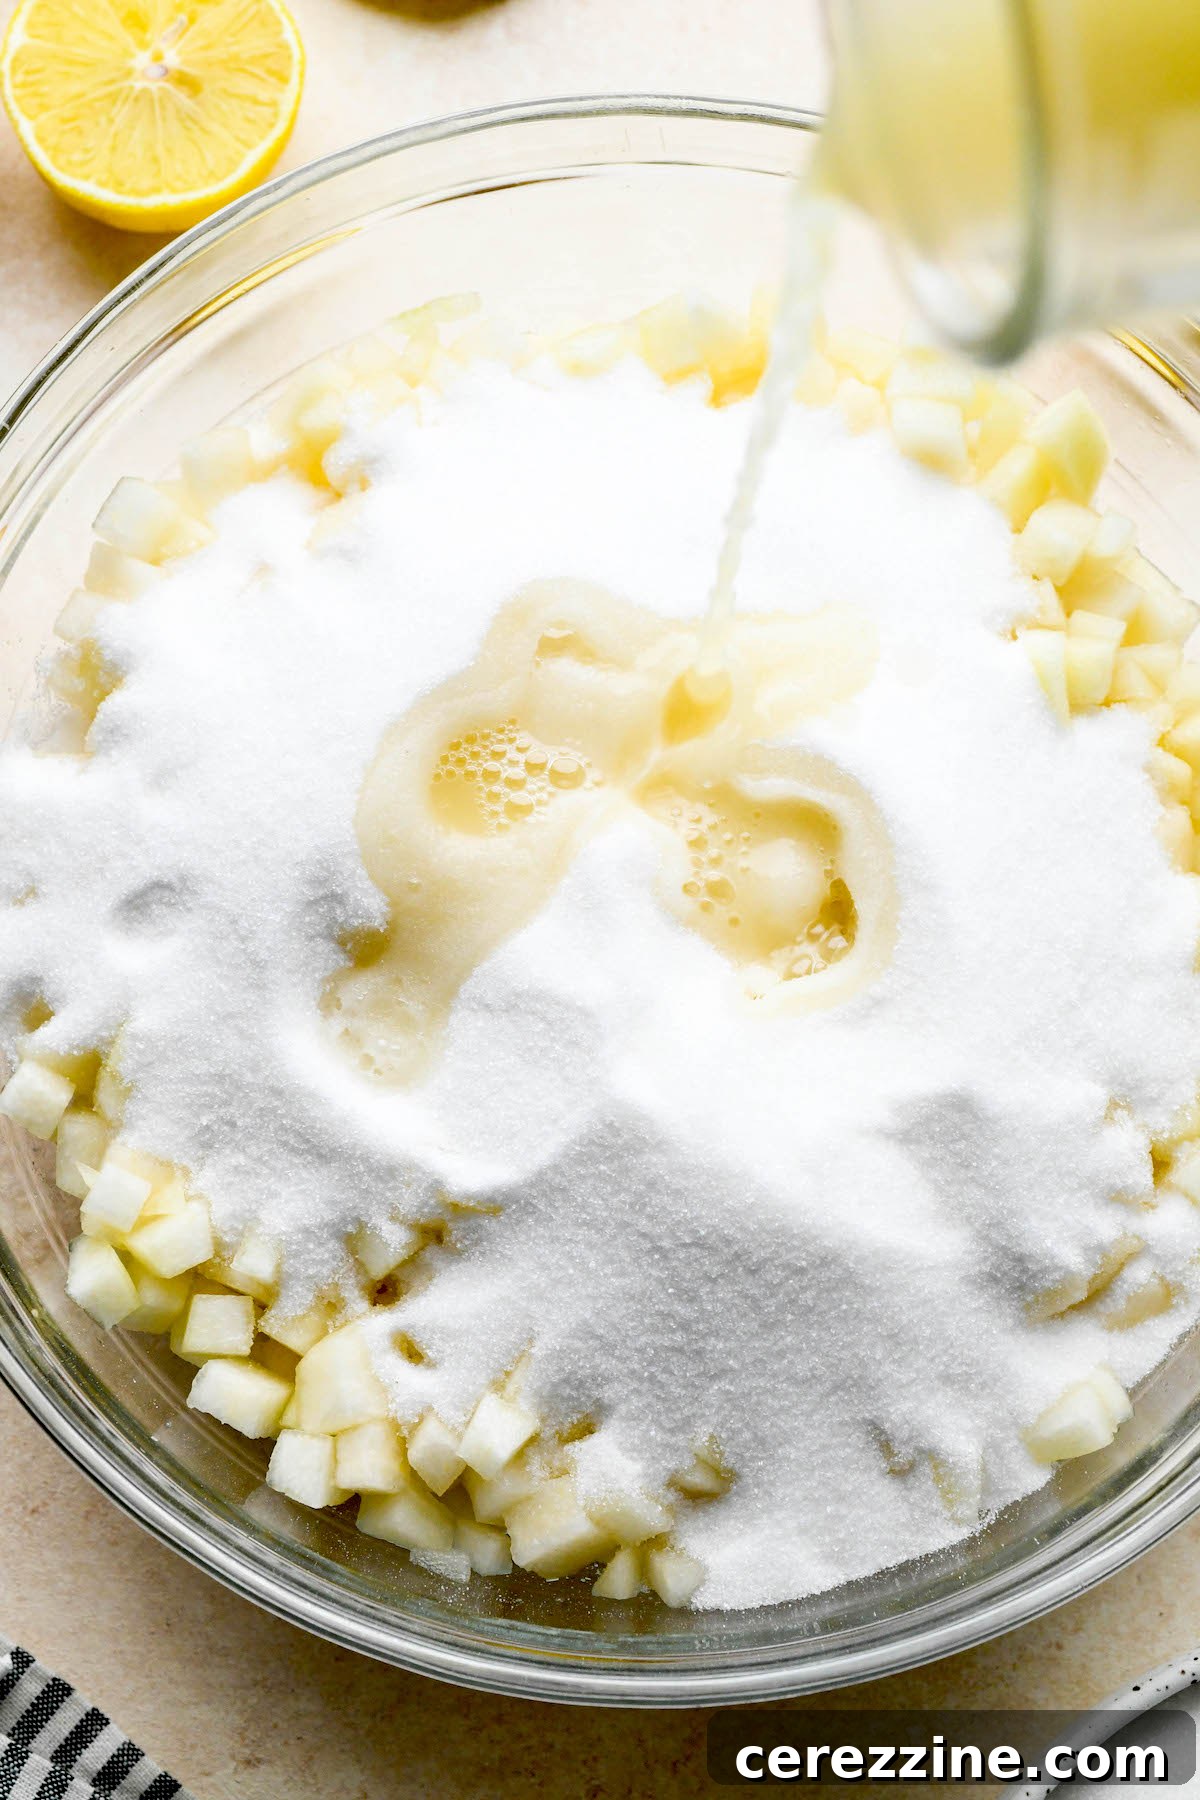
Transfer the diced pear pieces into a large bowl. As you work, toss the pears with the measured lemon juice. This step is crucial for several reasons: the lemon juice prevents the fruit from browning due to oxidation and, more importantly, it kick-starts the pectin activation process. Lemon juice (and other citrus juices) is a fantastic natural source of this gelling agent.
Next, evenly sprinkle the granulated sugar over the lemon juice-coated pear pieces. Toss everything together thoroughly until the pears are well coated. Cover the bowl and place it in the refrigerator. Allow the pears to macerate for 12 to 24 hours. This extended maceration time is highly recommended as it draws out the natural juices from the pears, creating a rich, flavorful syrup and helps the pectin develop. If you’re truly short on time, a minimum of 4 hours will suffice, but for optimal flavor and gel, aim for the longer duration.
3. Cooking the Jam
Once the pears have macerated, remove the bowl from the refrigerator. You’ll notice a significant amount of rich, syrupy liquid pooling at the bottom—this is liquid gold! This naturally formed syrup will serve as the flavorful base for your pear jam, gently poaching the fruit until it becomes tender and sweet.
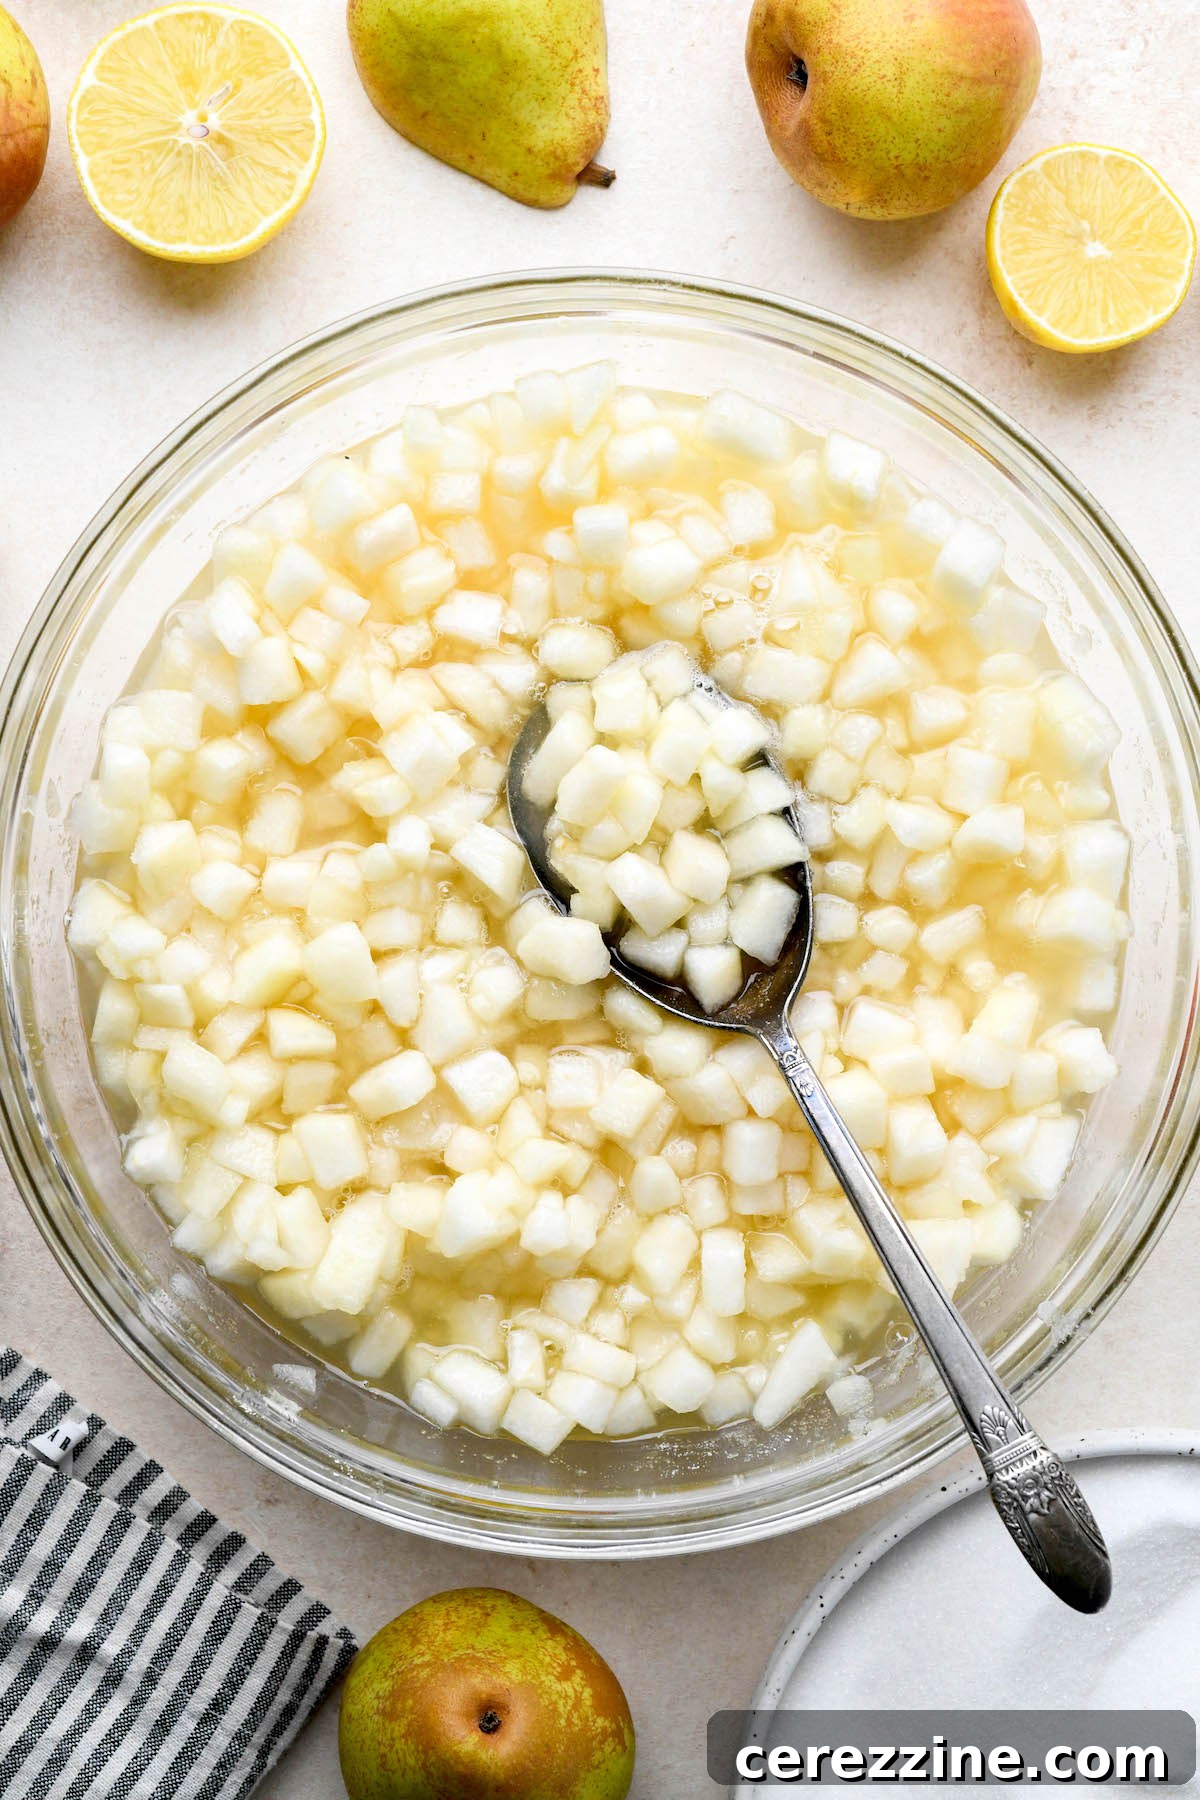
Carefully pour the entire contents of the bowl—pears and syrup—into a large, heavy-bottomed saucepan or a dedicated jam pot. Using a larger pot is advisable because the jam tends to foam up as it cooks, and ample space helps prevent spills and messes, making cleanup much easier.
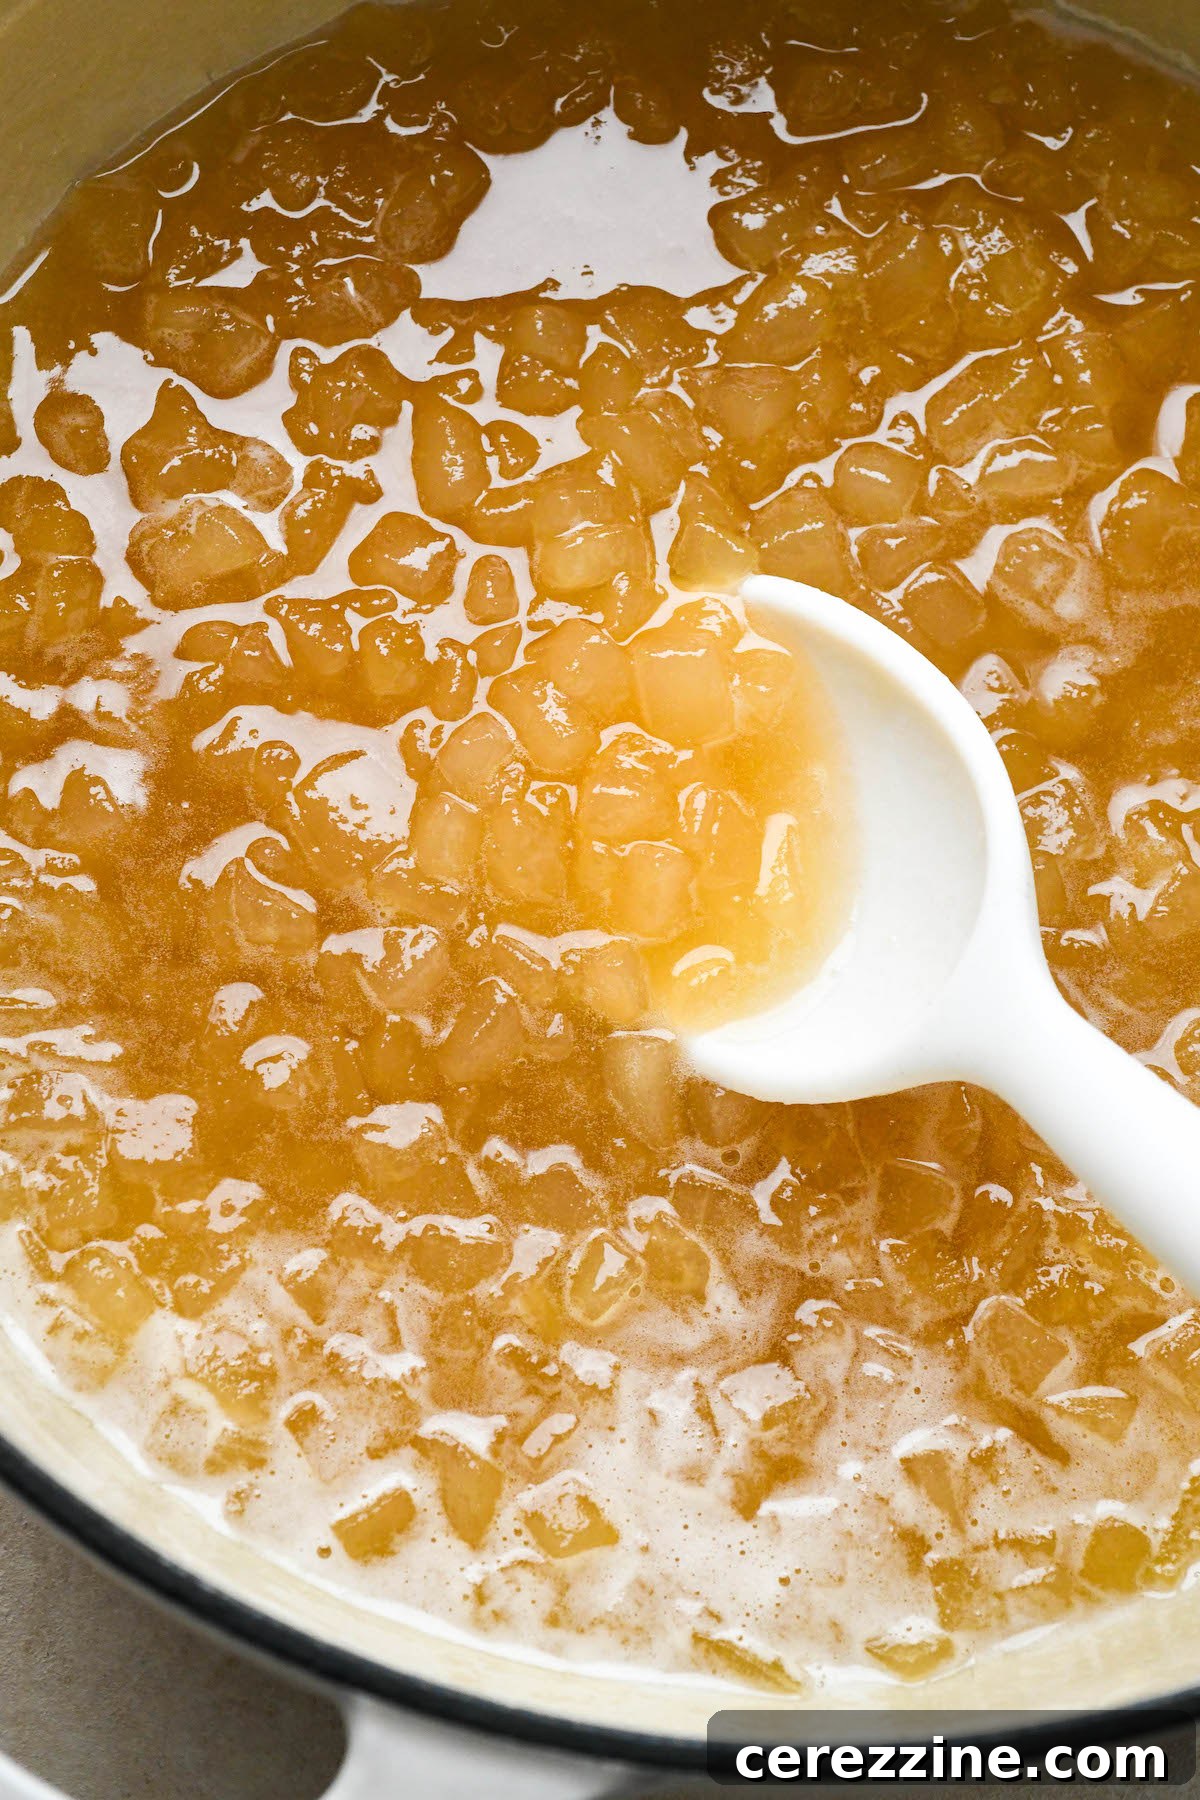
Bring the pear mixture to a full rolling boil over high heat, stirring frequently to prevent sticking. Once the jam reaches a vigorous boil (you’ll observe considerable foaming), reduce the heat to medium-high. Continue to cook for 10 to 15 minutes, stirring occasionally. This simmering period allows the jam to thicken and the fruit to become tender.
4. Testing for the Gel Stage
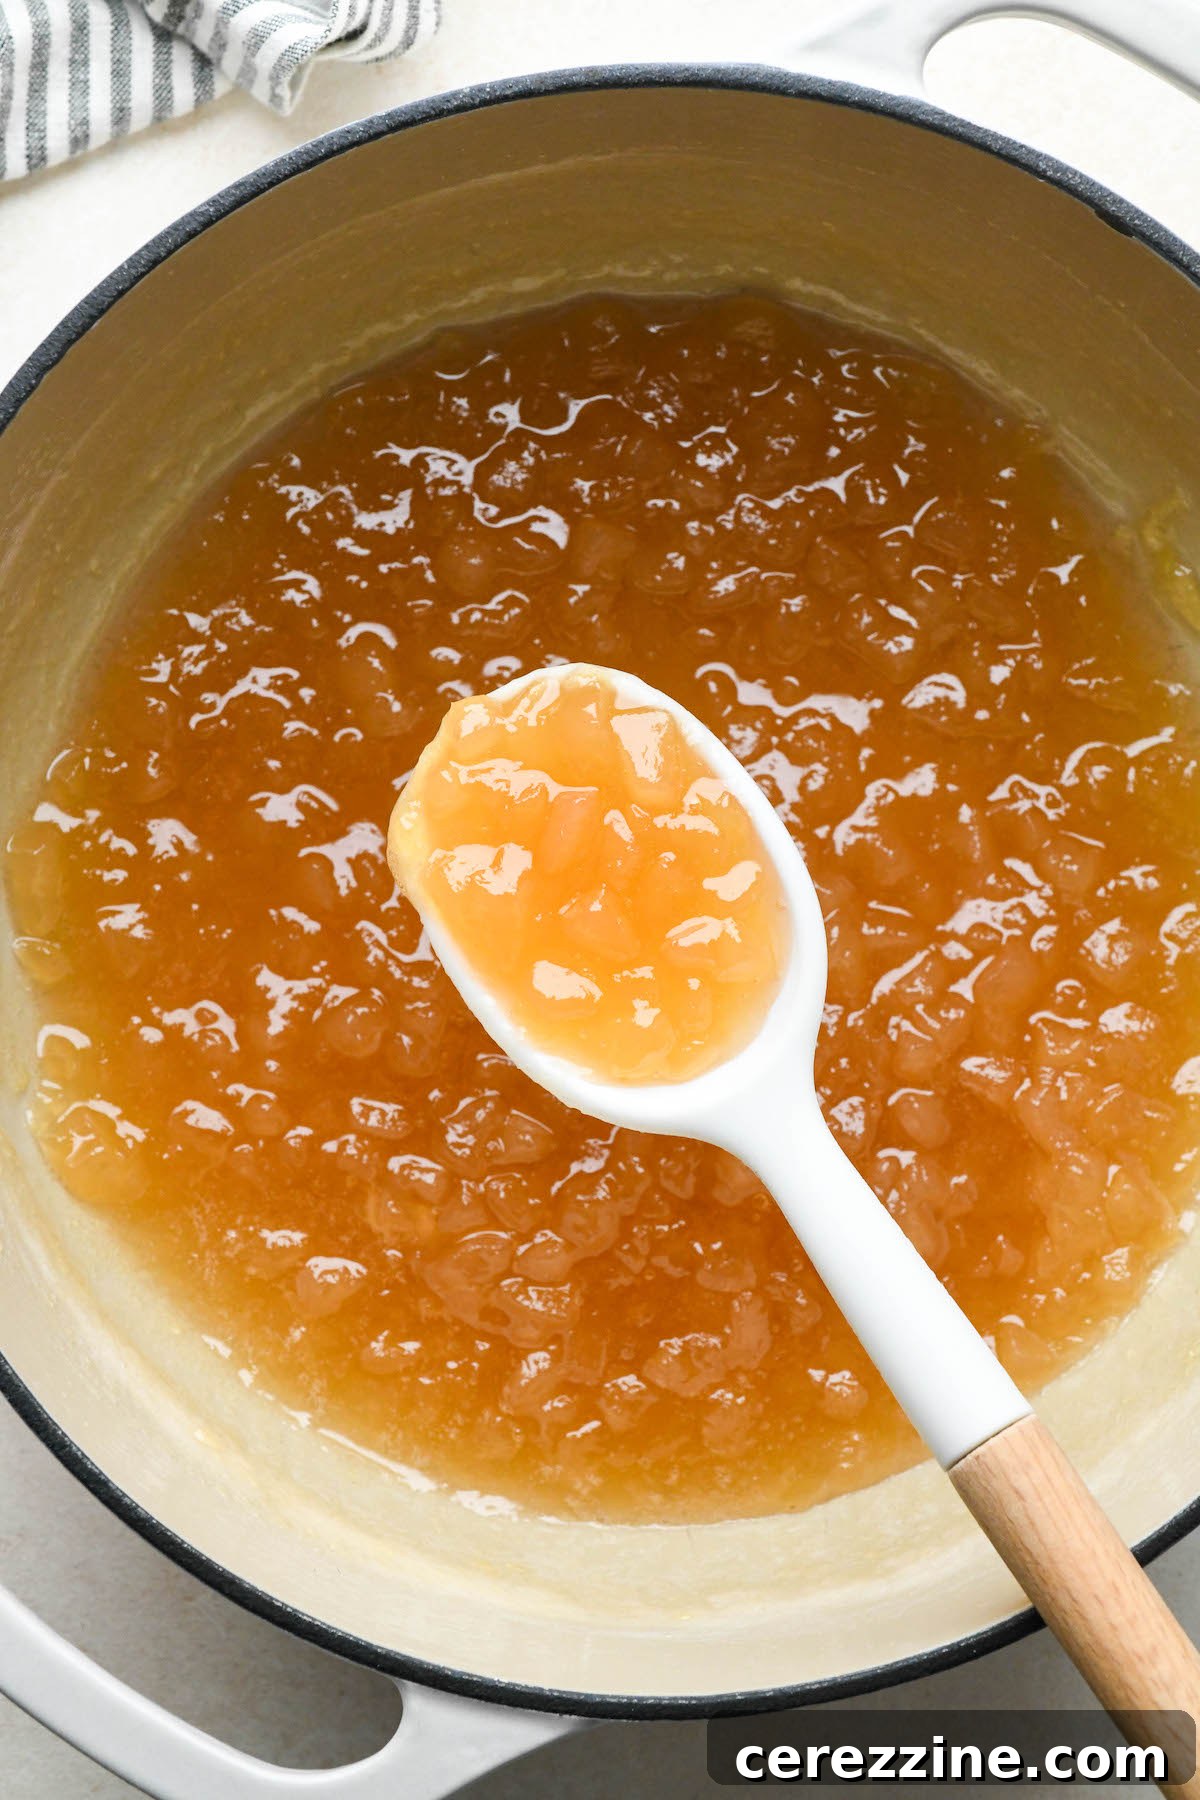
Achieving the perfect set is crucial for jam. As your pear jam nears the end of its cooking time, it will begin to thicken and approach the gel stage. There are a couple of reliable methods to test for doneness:
- Temperature Test: The most precise method is to use an instant-read culinary thermometer. Jam typically reaches its gel stage at 220°F (105°C) at sea level. If you’re at a higher elevation, the gelling temperature will be slightly lower.
- Cold Plate Test: If you don’t have a thermometer, this classic method works wonderfully. Place a small glass plate in the freezer before you start cooking the jam. When you suspect the jam is ready, dollop a small amount onto the thoroughly chilled plate. Let it sit for about 30 seconds, then gently push the jam with your fingertip. If it wrinkles and holds its shape, it has reached the gel stage.
- Sheeting Test: Another simple test involves removing a small spoonful of hot jam from the pot. Blow on it gently to cool it quickly. Then, tilt the spoon to let the jam drip back into the pot. If the jam “sheets” off the spoon in a single, broad drip rather than falling off in individual drops, it indicates that the pectin has sufficiently gelled.
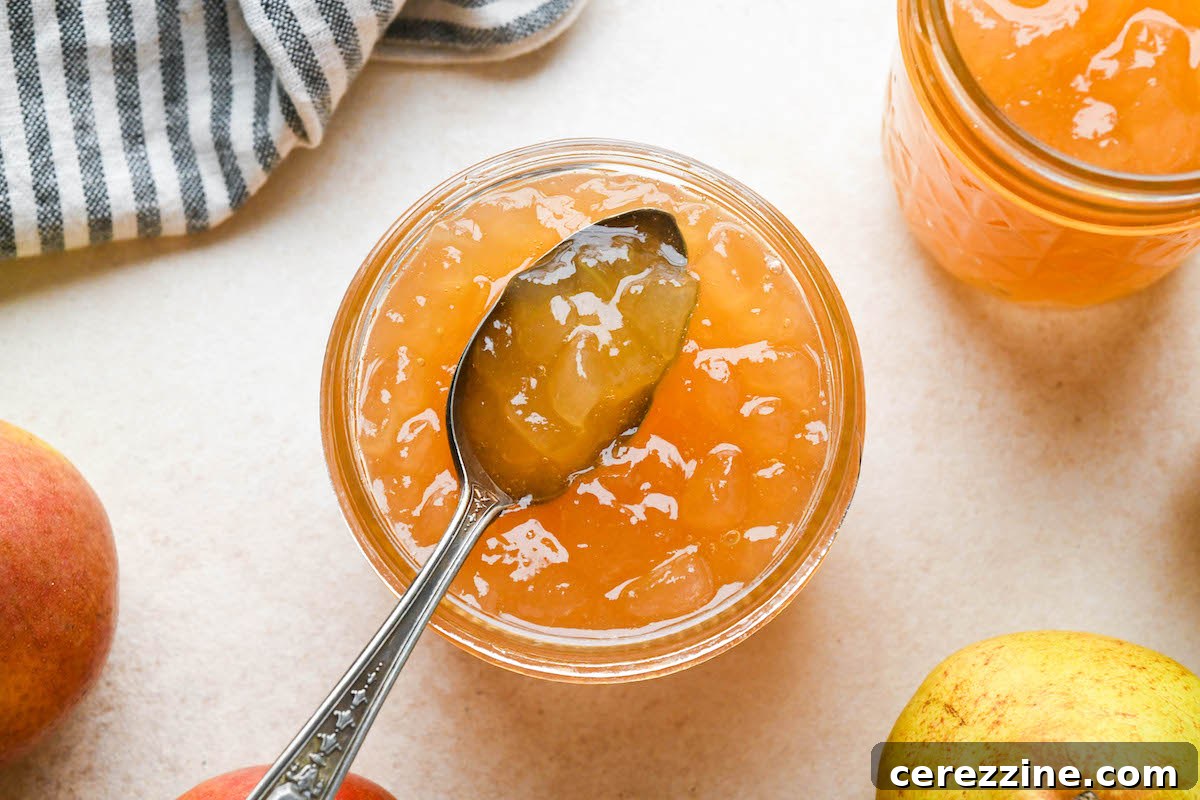
Once your pear jam has reached the desired gel consistency, remove the saucepan from the heat and proceed immediately to preparing your jars for canning.
Exciting Pear Jam Variations
The beauty of mastering a basic pear jam recipe is the endless possibilities for customization. Pears pair beautifully with a variety of complementary flavors. Here are some inspiring ideas to experiment with:
- Pear Vanilla Jam: Infuse your jam with luxurious vanilla by adding scraped vanilla beans or a splash of vanilla extract during the cooking process. The warm, aromatic notes of vanilla beautifully complement the subtle sweetness of pears.
- Spiced Pear Jam: Embrace autumnal flavors by simmering your pears with warming spices like cinnamon sticks, ground cloves, a pinch of nutmeg, or even star anise. These spices add depth and complexity, creating a jam perfect for holiday gifts.
- Rum-Spiced Pear Jam: For an adult twist, finish your spiced pear jam with a splash of quality spiced rum just before canning. The alcohol will cook off, leaving behind a rich, warm flavor that truly elevates the jam.
- Vanilla Pear Berry Jam: Combine the best of both worlds by adding a cup or two of fresh strawberries, raspberries, or blueberries to your pear jam. The tartness and vibrant color of berries create a dynamic and delicious fruit spread. This version would be incredible spooned over pancakes or waffles.
- Pear Ginger Jam: For a zesty kick, incorporate finely grated fresh ginger and a touch of lemon zest into your pear jam. The bright, spicy notes of ginger are a fantastic contrast to the sweetness of the pears.
Canning Pear Jam for Long-Term Storage
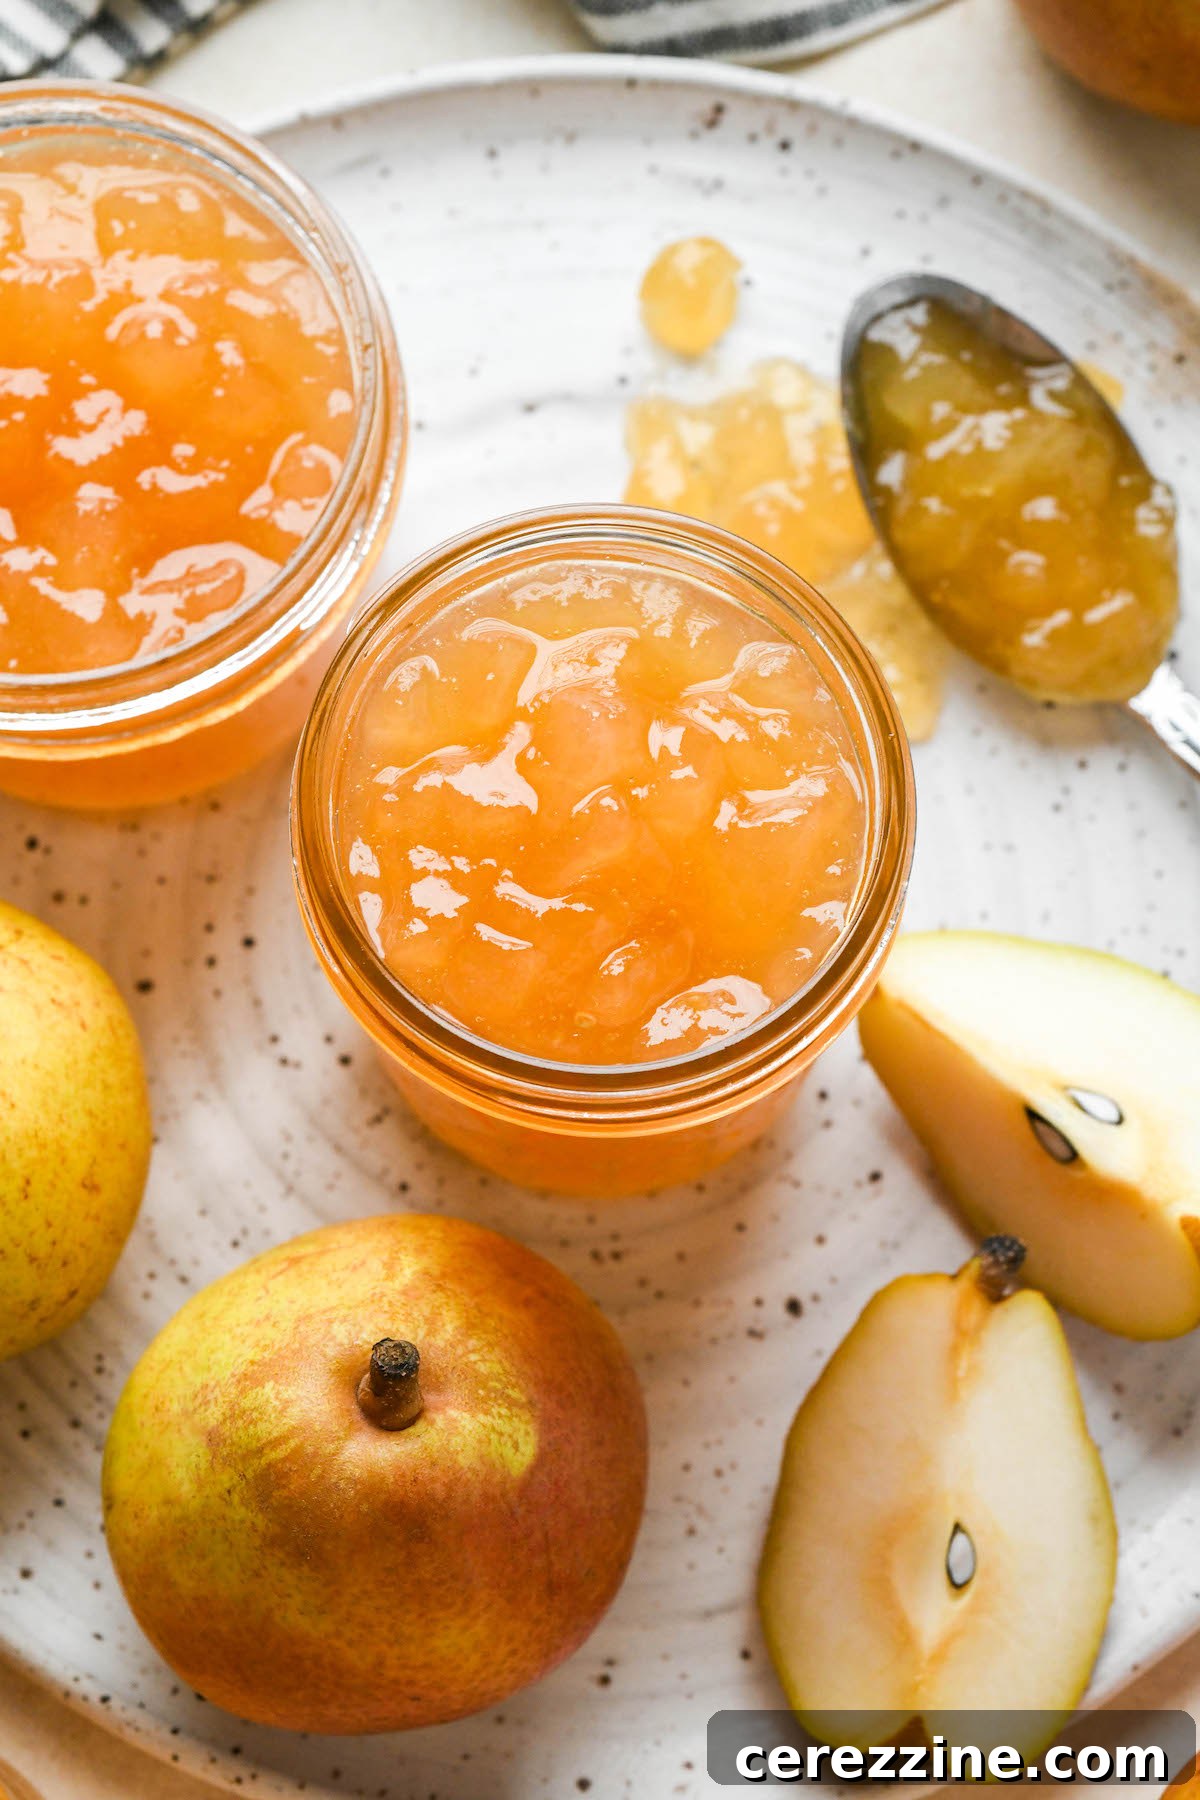
Once your pear jam is cooked to perfection and removed from the heat, it’s time to preserve it for long-term enjoyment. Proper water bath canning ensures shelf stability and safety.
- Fill Jars: Carefully fill your prepared half-pint jars with the still-hot jam, using a canning funnel and a spoon or ladle. Leave precisely 1/4-inch headspace at the top of each jar.
- Remove Air Bubbles: Use a silicon spatula or a plastic knife to gently run around the inside of each jar. This helps release any trapped air bubbles. Re-measure the headspace and add more hot jam if necessary to maintain the 1/4-inch space.
- Clean Rims and Seal: Wipe the sides and rims of each jar thoroughly with a clean, damp cloth. Any residue can prevent a proper seal. Place a new, clean two-piece canning lid onto each jar and screw the bands on until they are fingertip tight (snug but not overly tight).
- Process in Water Bath: Carefully load the filled jars into your prepared hot water bath canner, ensuring they are fully submerged by at least an inch of water. Bring the water to a rolling boil and process the jars for 10 minutes (adjusting for altitude if necessary).
- Cool Down: Once the processing time is complete, turn off the heat. Allow the jars to sit undisturbed in the hot water canner for an additional 5 minutes. This gradual cooling helps prevent siphoning (liquid loss from the jars) due to a sudden temperature change.
- Final Cooling and Storage: Remove the jars from the canner and place them on a clean surface lined with a kitchen towel. Ensure there’s at least an inch of space between each jar to allow for even cooling. Let the jars cool completely to room temperature, which typically takes 12 to 24 hours.
After cooling, check the seals on each jar. The lid should be concave and not flex when pressed. Any unsealed jars should be stored in the refrigerator and consumed within 1 to 2 weeks. Properly sealed jars can be stored in a cool, dry place away from direct light sources for up to 18 months, preserving that delightful pear flavor for many seasons to come.
Delightful Ways to Enjoy Homemade Pear Jam
Despite its somewhat underrated status, pear jam is incredibly versatile and can elevate a wide array of culinary creations. Its mellow sweetness and delicate flavor make it a fantastic addition to both sweet and savory dishes. Here are some of our favorite ways to enjoy this homemade preserve:
- Classic Breakfast Spreads: Spread generously on warm toast, fluffy biscuits, or crunchy English muffins. It’s also exquisite paired with a dollop of butter or a smear of almond butter on a sandwich.
- Baking Enhancements: Tuck a layer of pear jam into a moist layer cake, a comforting coffee cake, or swirl it into muffin batter for pockets of fruity sweetness. Imagine it as the delicious filling for homemade pear jam donuts.
- Beverage Infusion: Add a spoonful to cocktails! A gin and pear jam smash sounds like a delightful and sophisticated drink.
- Savory Pairings: Its subtle sweetness makes pear jam an excellent accompaniment to savory dishes. Serve it alongside roasted pork, wild boar, or other gamey meats. A dollop next to spicy mustard offers a beautiful balance of flavors.
- Dessert Topping: Spoon warm pear jam over scoops of vanilla ice cream, plain yogurt, or cottage cheese. It’s also a splendid topping for pancakes, waffles, or French toast, adding a gourmet touch to brunch.
- Cheese Board Companion: Pair pear jam with sharp cheddar, creamy brie, or robust blue cheese on a cheese board for a sophisticated flavor combination.
More Ways to Preserve the Sweetness of Pears
Making pear jam is just one fantastic method for capturing the delicious flavor of pears beyond their harvest season. If you find yourself with an abundance of fresh fruit, consider exploring these other rewarding pear preservation techniques:
- Pear Cider (Hard or Sweet): Ferment pears into a crisp hard cider or enjoy it as a refreshing sweet beverage.
- Pear Wine: Transform your pears into a unique and flavorful homemade wine, perfect for special occasions.
- Pear Chips: Dehydrate thinly sliced pears for a healthy, crispy snack that retains much of the fruit’s natural sweetness.
- Pear Fruit Leather: Puree pears and dry them into chewy, portable fruit leather—a favorite for kids and adults alike.

Pear Jam
Equipment
-
Water Bath Canner
Ingredients
- 4 lbs pears, as purchased
- 2 to 3 cups sugar, to taste
- 1/4 cup lemon juice, fresh or bottled
Instructions
-
Peel, core, and dice pears, keeping the dice quite small (you can always mash the jam later on if the pear pieces are too large).
-
In a large bowl, toss the diced pears with lemon juice and sugar. Stir to coat.
-
Cover bowl and store in the refrigerator for 12 to 24 hours. If you’re short on time, 4 hours will suffice.
-
Pour macerated pears and syrup into a large, heavy-bottomed saucepan or jam pot.
-
Bring the mixture to a boil over high heat. Lower heat to medium-high and cook the pears for 10 to 15 minutes, stirring occasionally.
-
When the jam has thickened, test to make sure it has reached the gel stage either with a thermometer (jam should be ~220°F/105°C) or with a cold plate.
-
Decant cooked pear jam into prepared half-pint jars, leaving 1/4-inch headspace. Wipe jars and rims clean with a dish towel and apply two-piece canning lids until fingertip tight.
-
Load jars into prepared hot water canner. Process for 10 minutes. When timer goes off, turn off heat and let the jars sit for another 5 minutes to prevent siphoning due to a sudden change in temperature.
-
Transfer processed jars to a clean surface lined with a kitchen towel, leaving at least an inch of space between each jar. Let the jars come to room temperature. Check seals of each jar, moving unsealed jars to the refrigerator to be used within 1 to 2 weeks. Store sealed jars in a cool, dry place away from direct light for up to 18 months.
Nutrition
Nutrition information is automatically calculated, so should only be used as an approximation.
Like this? Leave a comment below!
Discover More Pear Canning Recipes
If you’re eager to continue your journey of preserving pears, here are some additional fantastic recipes that highlight the versatility of this wonderful fruit:
- Pear Butter: A smooth, spiced spread, similar to apple butter, but with the unique flavor of pears.
- Pear Sauce: A lighter alternative to applesauce, perfect as a side dish or dessert.
- Canning Asian Pears: Learn specific techniques for preserving the crisp texture of Asian pears.
- Pear Jelly: For those who prefer a clear, smooth spread without fruit pieces, pear jelly is a delicate and delicious option.
Embrace Old-Fashioned Jam Making (No Pectin Added)
There’s a special satisfaction in making jam the traditional way, relying on the natural pectin of fruits rather than commercial additives. If you appreciate the art of no-pectin jam, explore these other beloved old-fashioned recipes:
- Raspberry Jam: Vibrant and bursting with berry flavor, a classic no-pectin choice.
- Persimmon Jam: A unique and warmly spiced jam, perfect for fall harvests.
- Thimbleberry Jam: A rare and prized preserve from wild thimbleberries, known for its distinct taste.
- Pineberry Jam: Experience the intriguing pineapple-strawberry flavor of pineberries in a delightful jam.