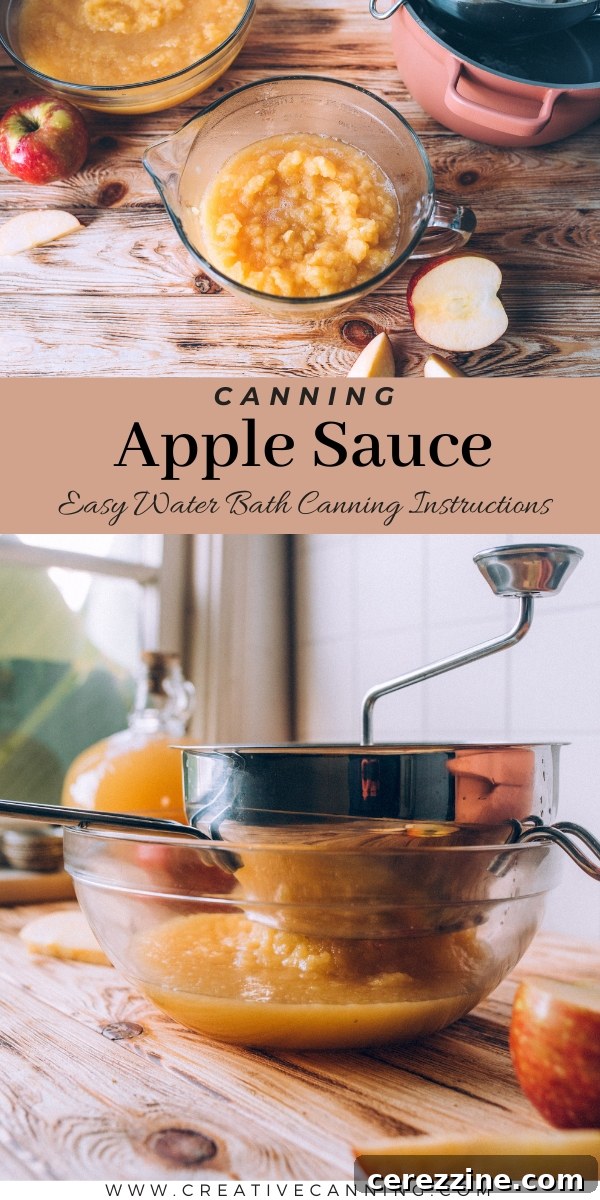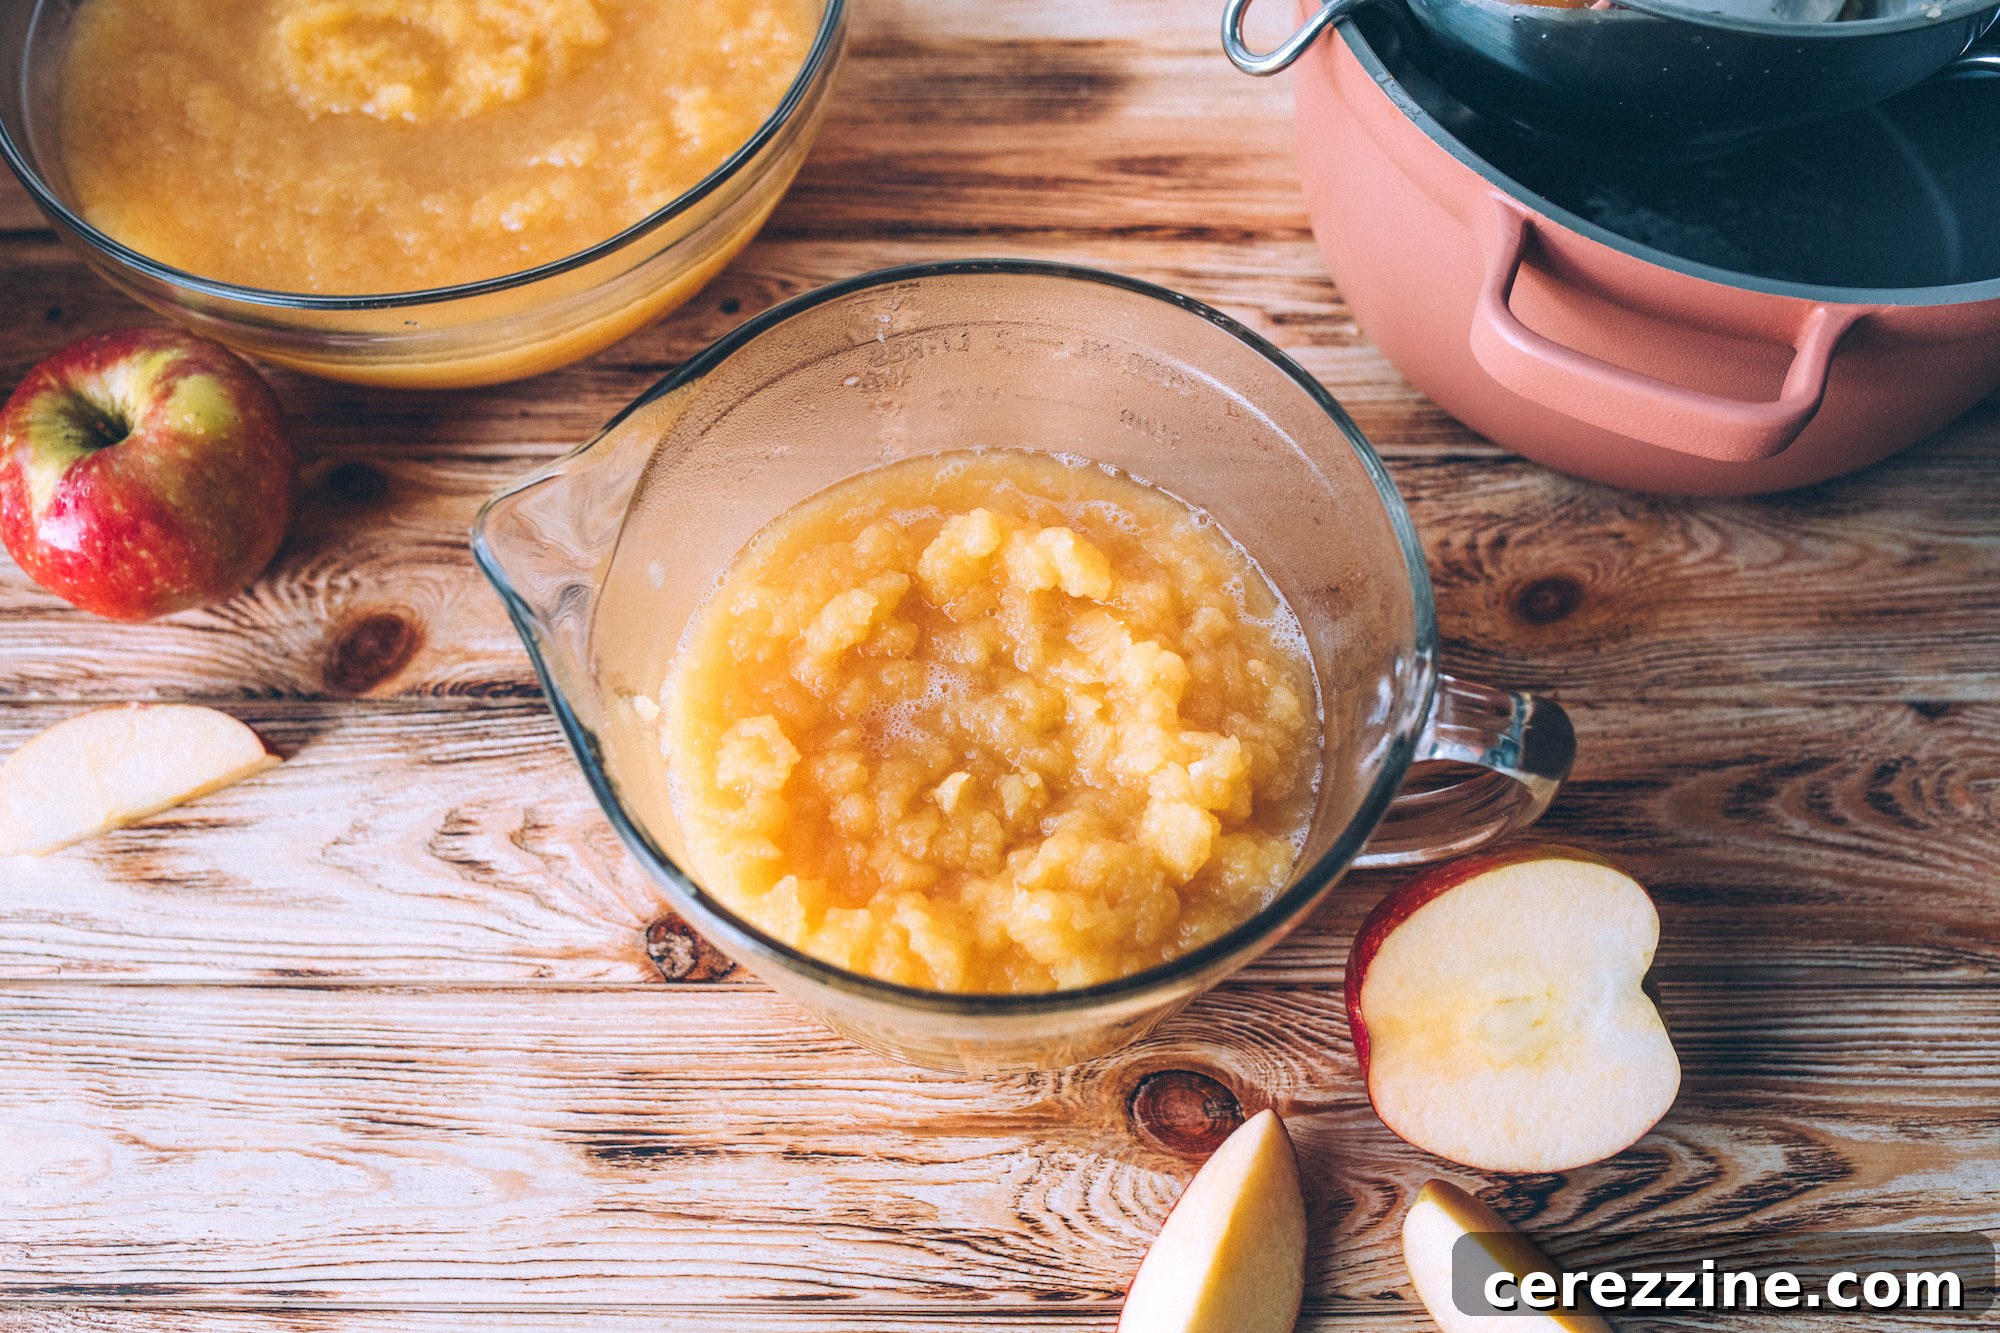
Canning applesauce is undeniably one of the fastest and most satisfying methods to preserve apples, transforming a seasonal abundance into a year-round pantry staple. This guide offers a simple, step-by-step approach to making and canning delicious homemade applesauce, perfect for both novice canners and those looking to refine their preservation skills. Say goodbye to store-bought applesauce and hello to the fresh, wholesome taste of your own creation!
The Ultimate Guide to Canning Homemade Applesauce: Easy Water Bath & Pressure Canning
Who doesn’t cherish the comforting taste of homemade applesauce? Among all apple preservation methods, canning applesauce stands out as a household favorite. It consistently outranks more complex recipes like canning apple cider or apple jam in popularity, and is certainly more approachable for beginners than canning apple pie filling. For many families, especially those with young children, applesauce isn’t just a delightful treat; it’s an essential pantry item. Its versatility shines through, whether enjoyed on its own as a healthy snack, or integrated into a myriad of recipes ranging from sweet baked goods like cakes, pies, and muffins, to savory accompaniments for potato latkes or pork chops.
Imagine having a ready supply of wholesome, homemade applesauce at your fingertips, anytime you desire. Crafting applesauce from scratch every time you crave it can be quite an undertaking, consuming valuable time and effort. By canning a substantial batch, you not only reclaim precious hours but also ensure your pantry shelves are stocked with delicious, preservative-free applesauce for many months to come. As autumn brings its generous bounty of apples to our harvest, this simple canning project becomes one of the most rewarding ways to preserve them in large quantities, capturing the essence of the season in every jar.
Essential Ingredients for Perfect Canned Applesauce
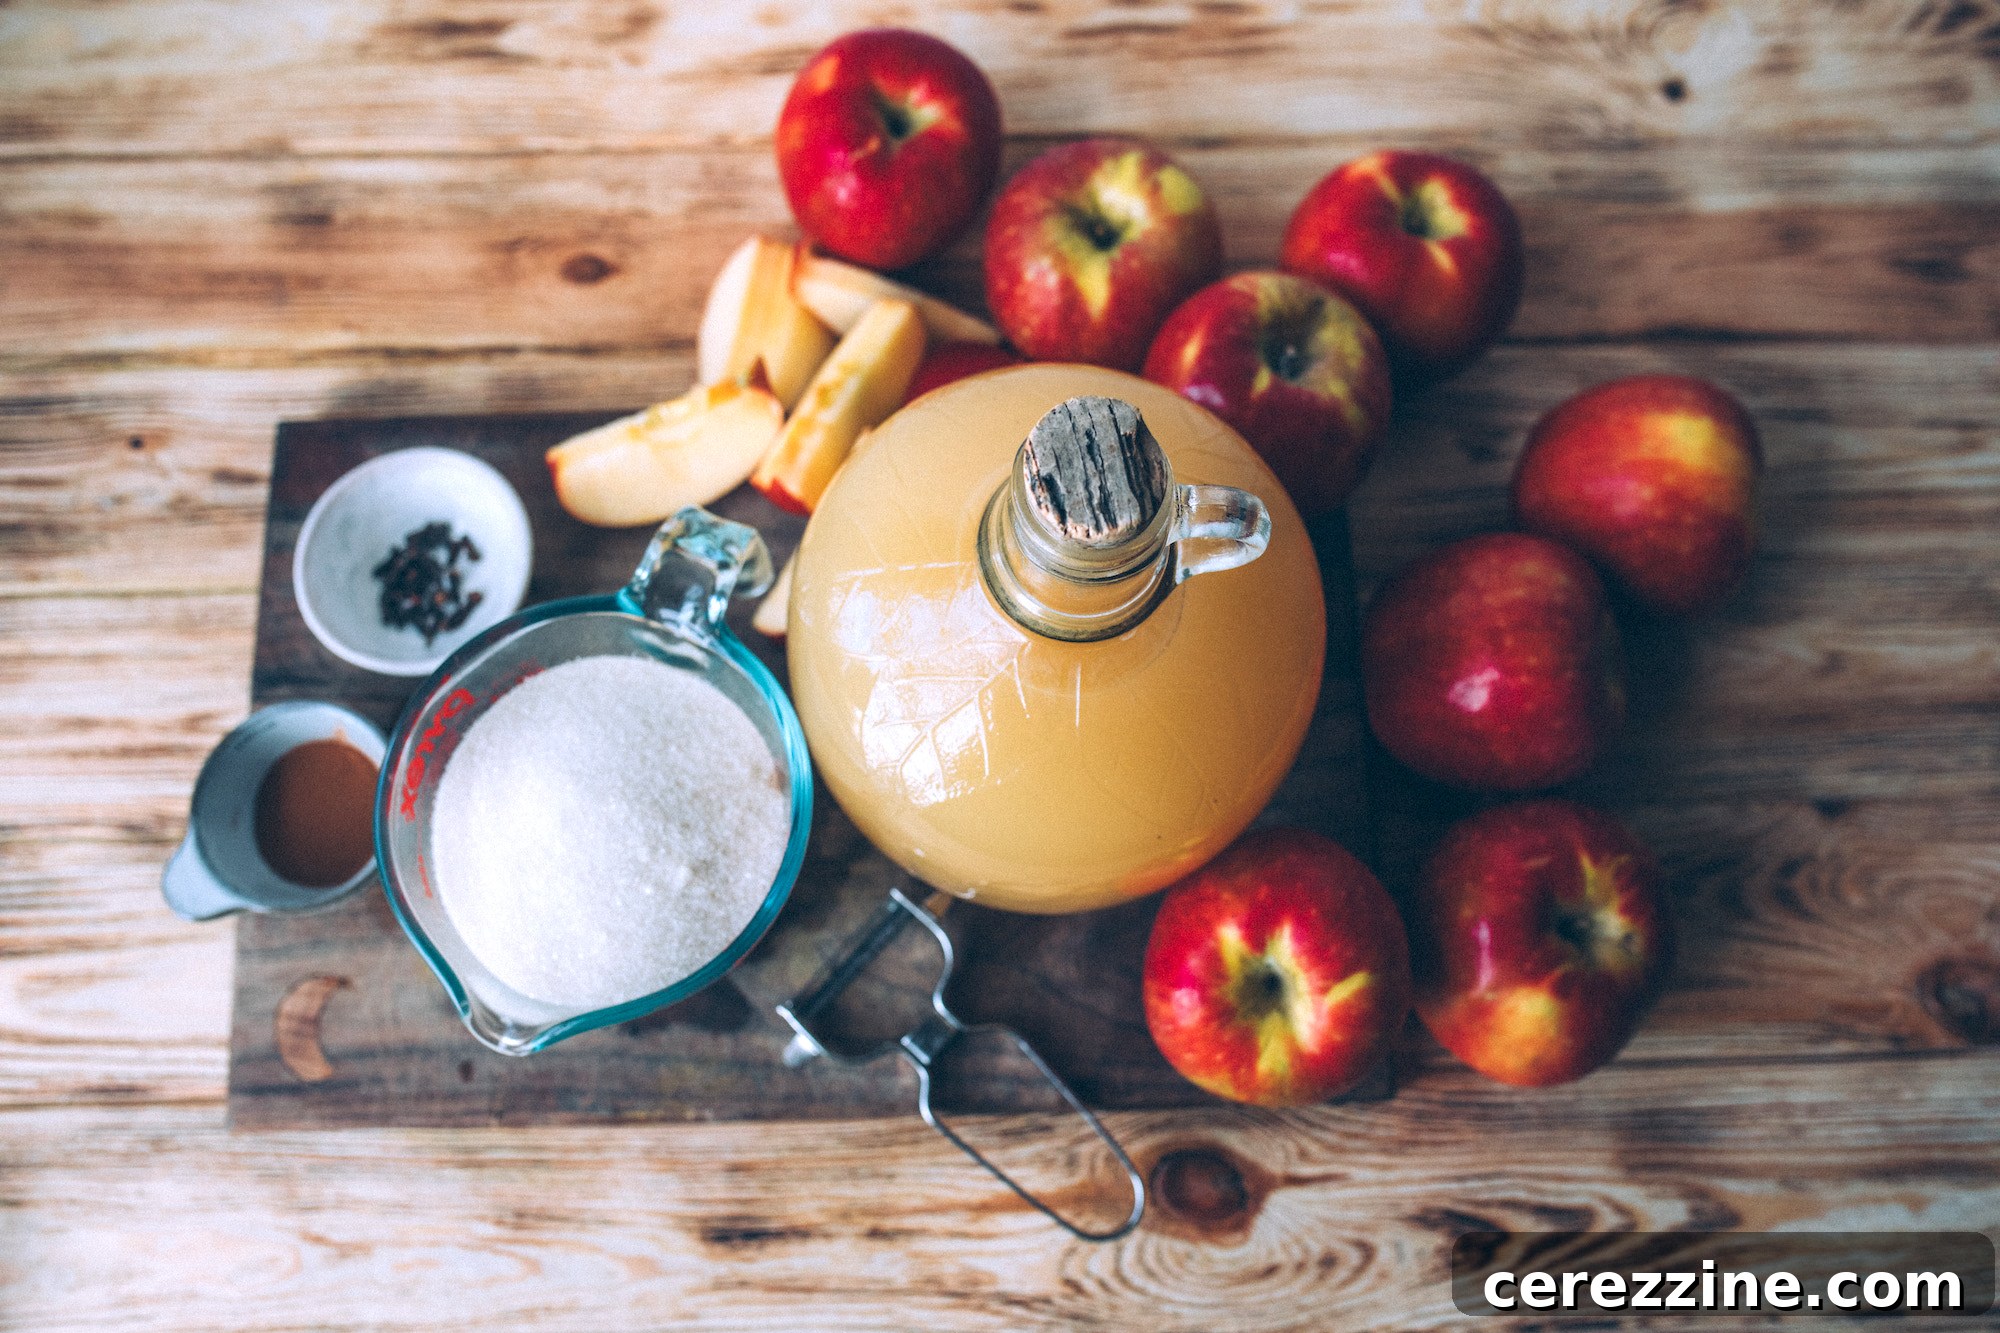
The beauty of canning applesauce lies in its simplicity, requiring just a few core ingredients. To prepare a full canner batch, yielding approximately seven quart jars or nine pint jars, you will typically need the following:
- Apples: The star of the show, forming the delicious base of your sauce.
- Liquid (Apple Cider, Juice, or Water): Used sparingly to prevent apples from scorching at the beginning of the cooking process.
- Bottled Lemon Juice: A critical ingredient for ensuring the acidity and safety required for canning.
- Sugar (Optional): Added to taste, especially when working with tart apple varieties.
- Spices (Optional): Such as cinnamon or nutmeg, which can be added during cooking or at the time of serving.
Understanding Apple Yields for Canning
The exact quantity of applesauce you’ll get can vary based on the specific apple varieties chosen. Factors like moisture content, core size, and overall apple dimensions all play a role. Juicier apples tend to break down more easily and produce more sauce, while denser varieties might require slightly longer cooking times. For a general estimate, the National Center for Home Food Preservation provides helpful guidelines:
- On average, expect to need about 21 pounds of apples to fill a canner with seven quart jars.
- If you’re aiming for nine pint jars, approximately 13 ½ pounds of apples should be sufficient.
- A standard bushel of apples, which weighs around 48 pounds, typically yields between 14 to 19 quarts of applesauce. This translates to roughly three pounds of apples for every quart of finished applesauce.
Sweeteners and Spices: Customizing Your Applesauce
Adding sugar to your applesauce is entirely optional and should be tailored to your palate and the natural sweetness of your apples. Many modern apple varieties are inherently sweet, making additional sugar unnecessary for many recipes. However, if you prefer a sweeter sauce or are using particularly tart apples, a small amount of sugar can perfectly balance the flavors. Always taste and adjust as you go.
Spices offer another fantastic opportunity to personalize your applesauce. Cinnamon and nutmeg are classic choices, infusing a warm, inviting aroma and flavor. While you can add spices directly during cooking, many experienced canners prefer to preserve plain applesauce. This approach offers maximum flexibility, allowing you to add fresh spices, vanilla extract, or even a splash of brandy when you’re ready to serve. Furthermore, some spices, particularly cinnamon, can occasionally turn slightly bitter after undergoing the canning process.
The Crucial Role of Liquid and Lemon Juice in Applesauce Canning
To begin cooking your apples and prevent them from scorching during the initial heating phase, a small amount of liquid is added to the pot. While plain water works perfectly, using a bit of apple cider or apple juice can deepen the overall apple flavor. This initial liquid helps the apples soften and release their own juices, after which the additional liquid is no longer critical for preventing sticking.
For generations, home canners have incorporated lemon juice into their applesauce, primarily for tartness. However, more recent research by reputable organizations like Ball Canning has highlighted a vital safety consideration: many contemporary apple varieties are not consistently acidic enough for safe water bath canning. This is especially true for newer, sweeter varieties and apples grown in soils with high nitrogen content, which can result in lower natural acidity. Therefore, it is now strongly recommended to add bottled lemon juice to all home-canned apple products to ensure they achieve a safe pH level for preservation.
The precise amount of bottled lemon juice recommended for applesauce is 1 tablespoon per quart jar or 1/2 tablespoon per pint jar. This specific measurement is best added directly to the bottom of each clean, hot canning jar before you ladle in the hot applesauce. This method ensures accurate dosing and helps prevent the accidental omission of this essential ingredient before sealing the jars.
Selecting the Best Apples for Homemade Applesauce
The foundation of truly exceptional applesauce lies squarely in the quality and type of apples you choose. When selecting apples for canning, aim for varieties that are inherently sweet, brimming with juice, and possess a firm, crisp texture. While it might be tempting to use apples that are slightly bruised, mealy, or past their prime – those “just not good for anything else” apples – it’s important to understand that the final quality of your applesauce will directly mirror the quality of your raw ingredients. Older, less fresh apples tend to lose much of their distinct aroma and flavor, which will be noticeable in the finished product. For the most flavorful and vibrant applesauce, always opt for fresh, high-quality fruit.
Top Apple Varieties for Applesauce:
Certain apple varieties excel in applesauce production due to their flavor, texture when cooked, and natural sweetness. Here are some highly recommended choices:
- Fuji: Known for its sweet, crisp flesh, Fuji apples break down beautifully into a smooth sauce with excellent flavor.
- Gala: A mildly sweet and juicy apple, Gala contributes to a delicious and consistent applesauce.
- Honeycrisp: Offering a wonderfully crisp texture and a balanced sweet-tart taste, Honeycrisp makes a flavorful sauce.
- Golden Delicious: These apples are sweet, mellow, and soften easily during cooking, resulting in a naturally sweet applesauce.
- McIntosh: While softer and tart, McIntosh apples cook down very quickly to a smooth consistency, often used in combination with firmer apples for texture.
- Granny Smith: Very tart and firm, Granny Smith apples add a delightful tang. They are best used in a blend with sweeter varieties to create a balanced sweet-tart profile.
- Braeburn: These offer a pleasant sweet-tart flavor and maintain good texture, holding up well during cooking.
For a more complex and nuanced flavor, consider blending different apple varieties. For instance, incorporating one to two pounds of tart apples (such as Granny Smith or McIntosh) for every three pounds of sweeter fruit can introduce a wonderful “tart” dimension, if that’s what you prefer in your applesauce. Experimentation is key to discovering your perfect applesauce blend!
Crafting Your Homemade Applesauce: A Step-by-Step Guide
Making applesauce from scratch is a rewarding process that culminates in a truly wholesome and delicious product. Follow these steps to create your perfect homemade applesauce:
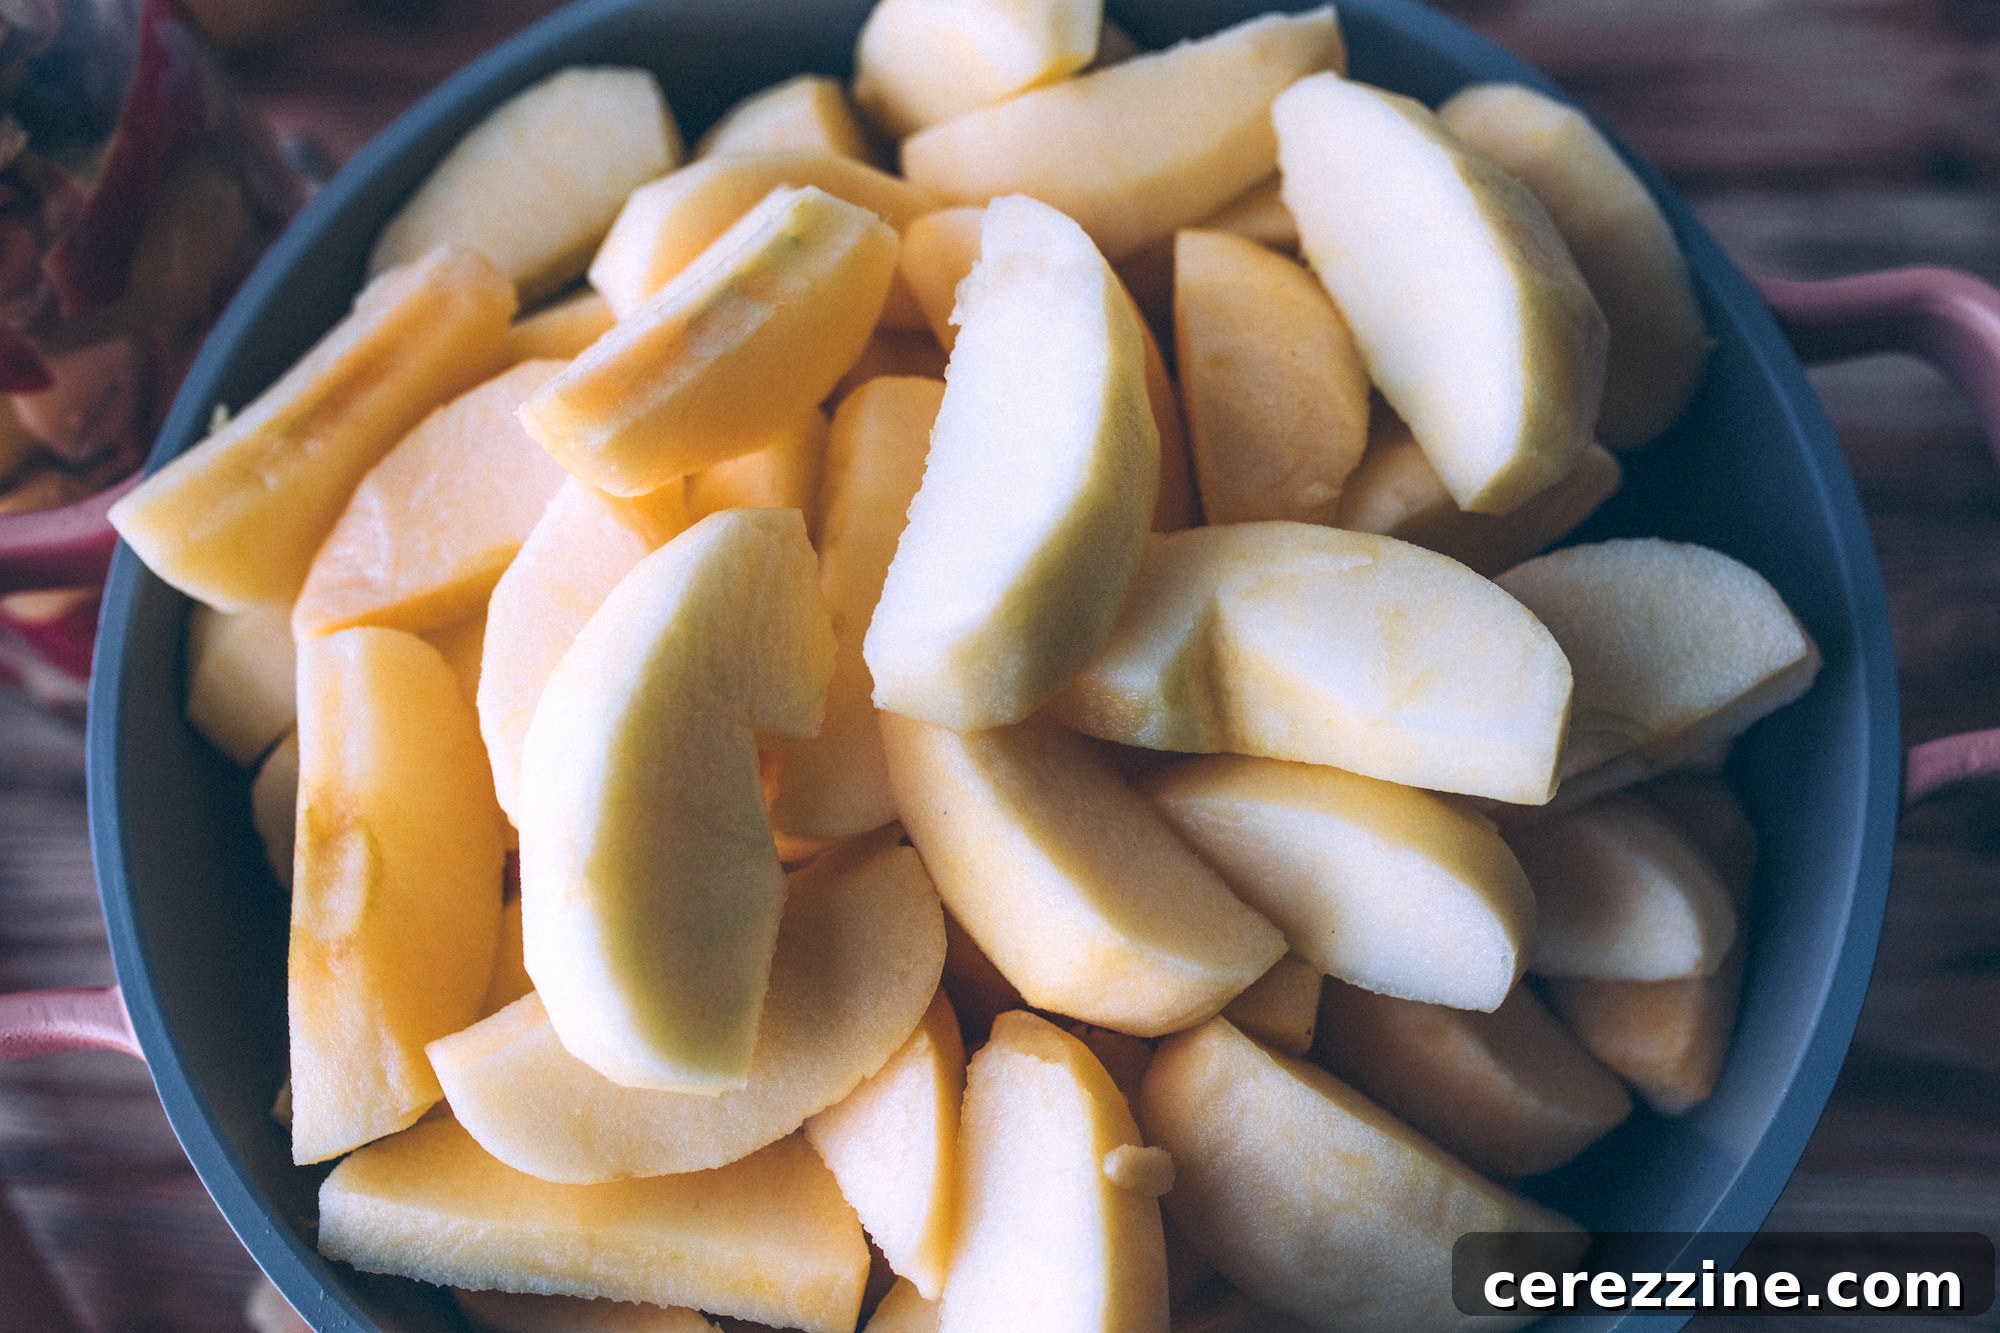
1. Preparation of Apples
- Wash Thoroughly: Begin by washing your apples meticulously under cool running water. This removes any surface dirt, debris, or residues.
- Peeling and Coring – Your Choice:
- Peeling: Peeling your apples is optional. Leaving the peels on can add extra nutrients and a rustic, slightly thicker texture, and some prefer the subtle color infusion from red peels. However, most people opt for peeled apples to achieve a smoother, more refined applesauce texture.
- Coring: Always core the apples to remove the seeds and the tough, fibrous central material.
- Preventing Browning (Optional): If you’re not cooking immediately, you can slice the peeled and cored apples into a bowl of water mixed with a small amount of lemon juice or ascorbic acid. This helps prevent enzymatic browning, though it doesn’t affect the safety or final flavor of the canned product.
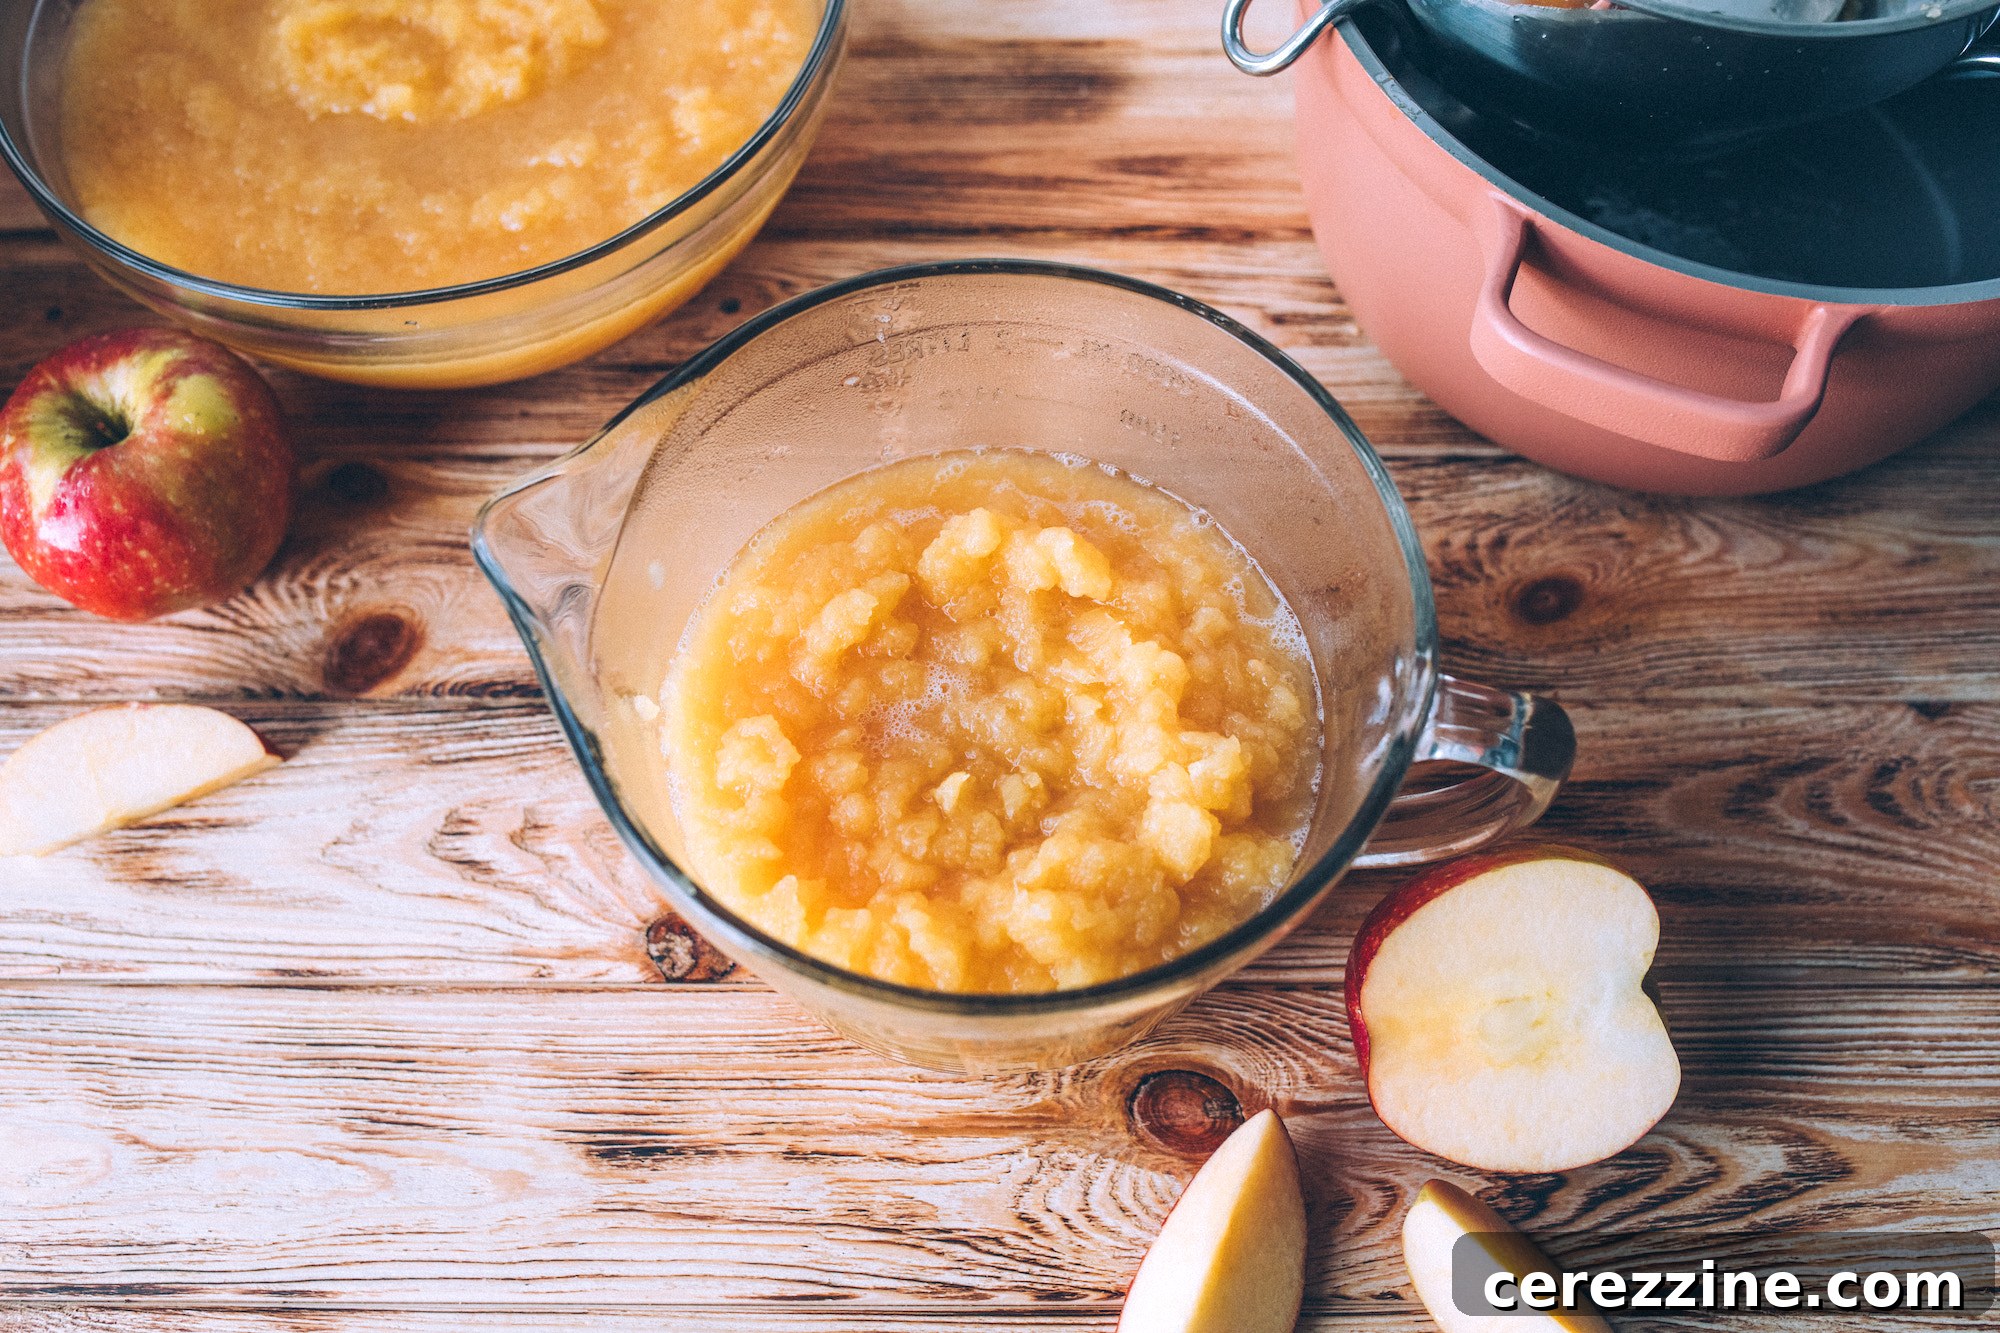
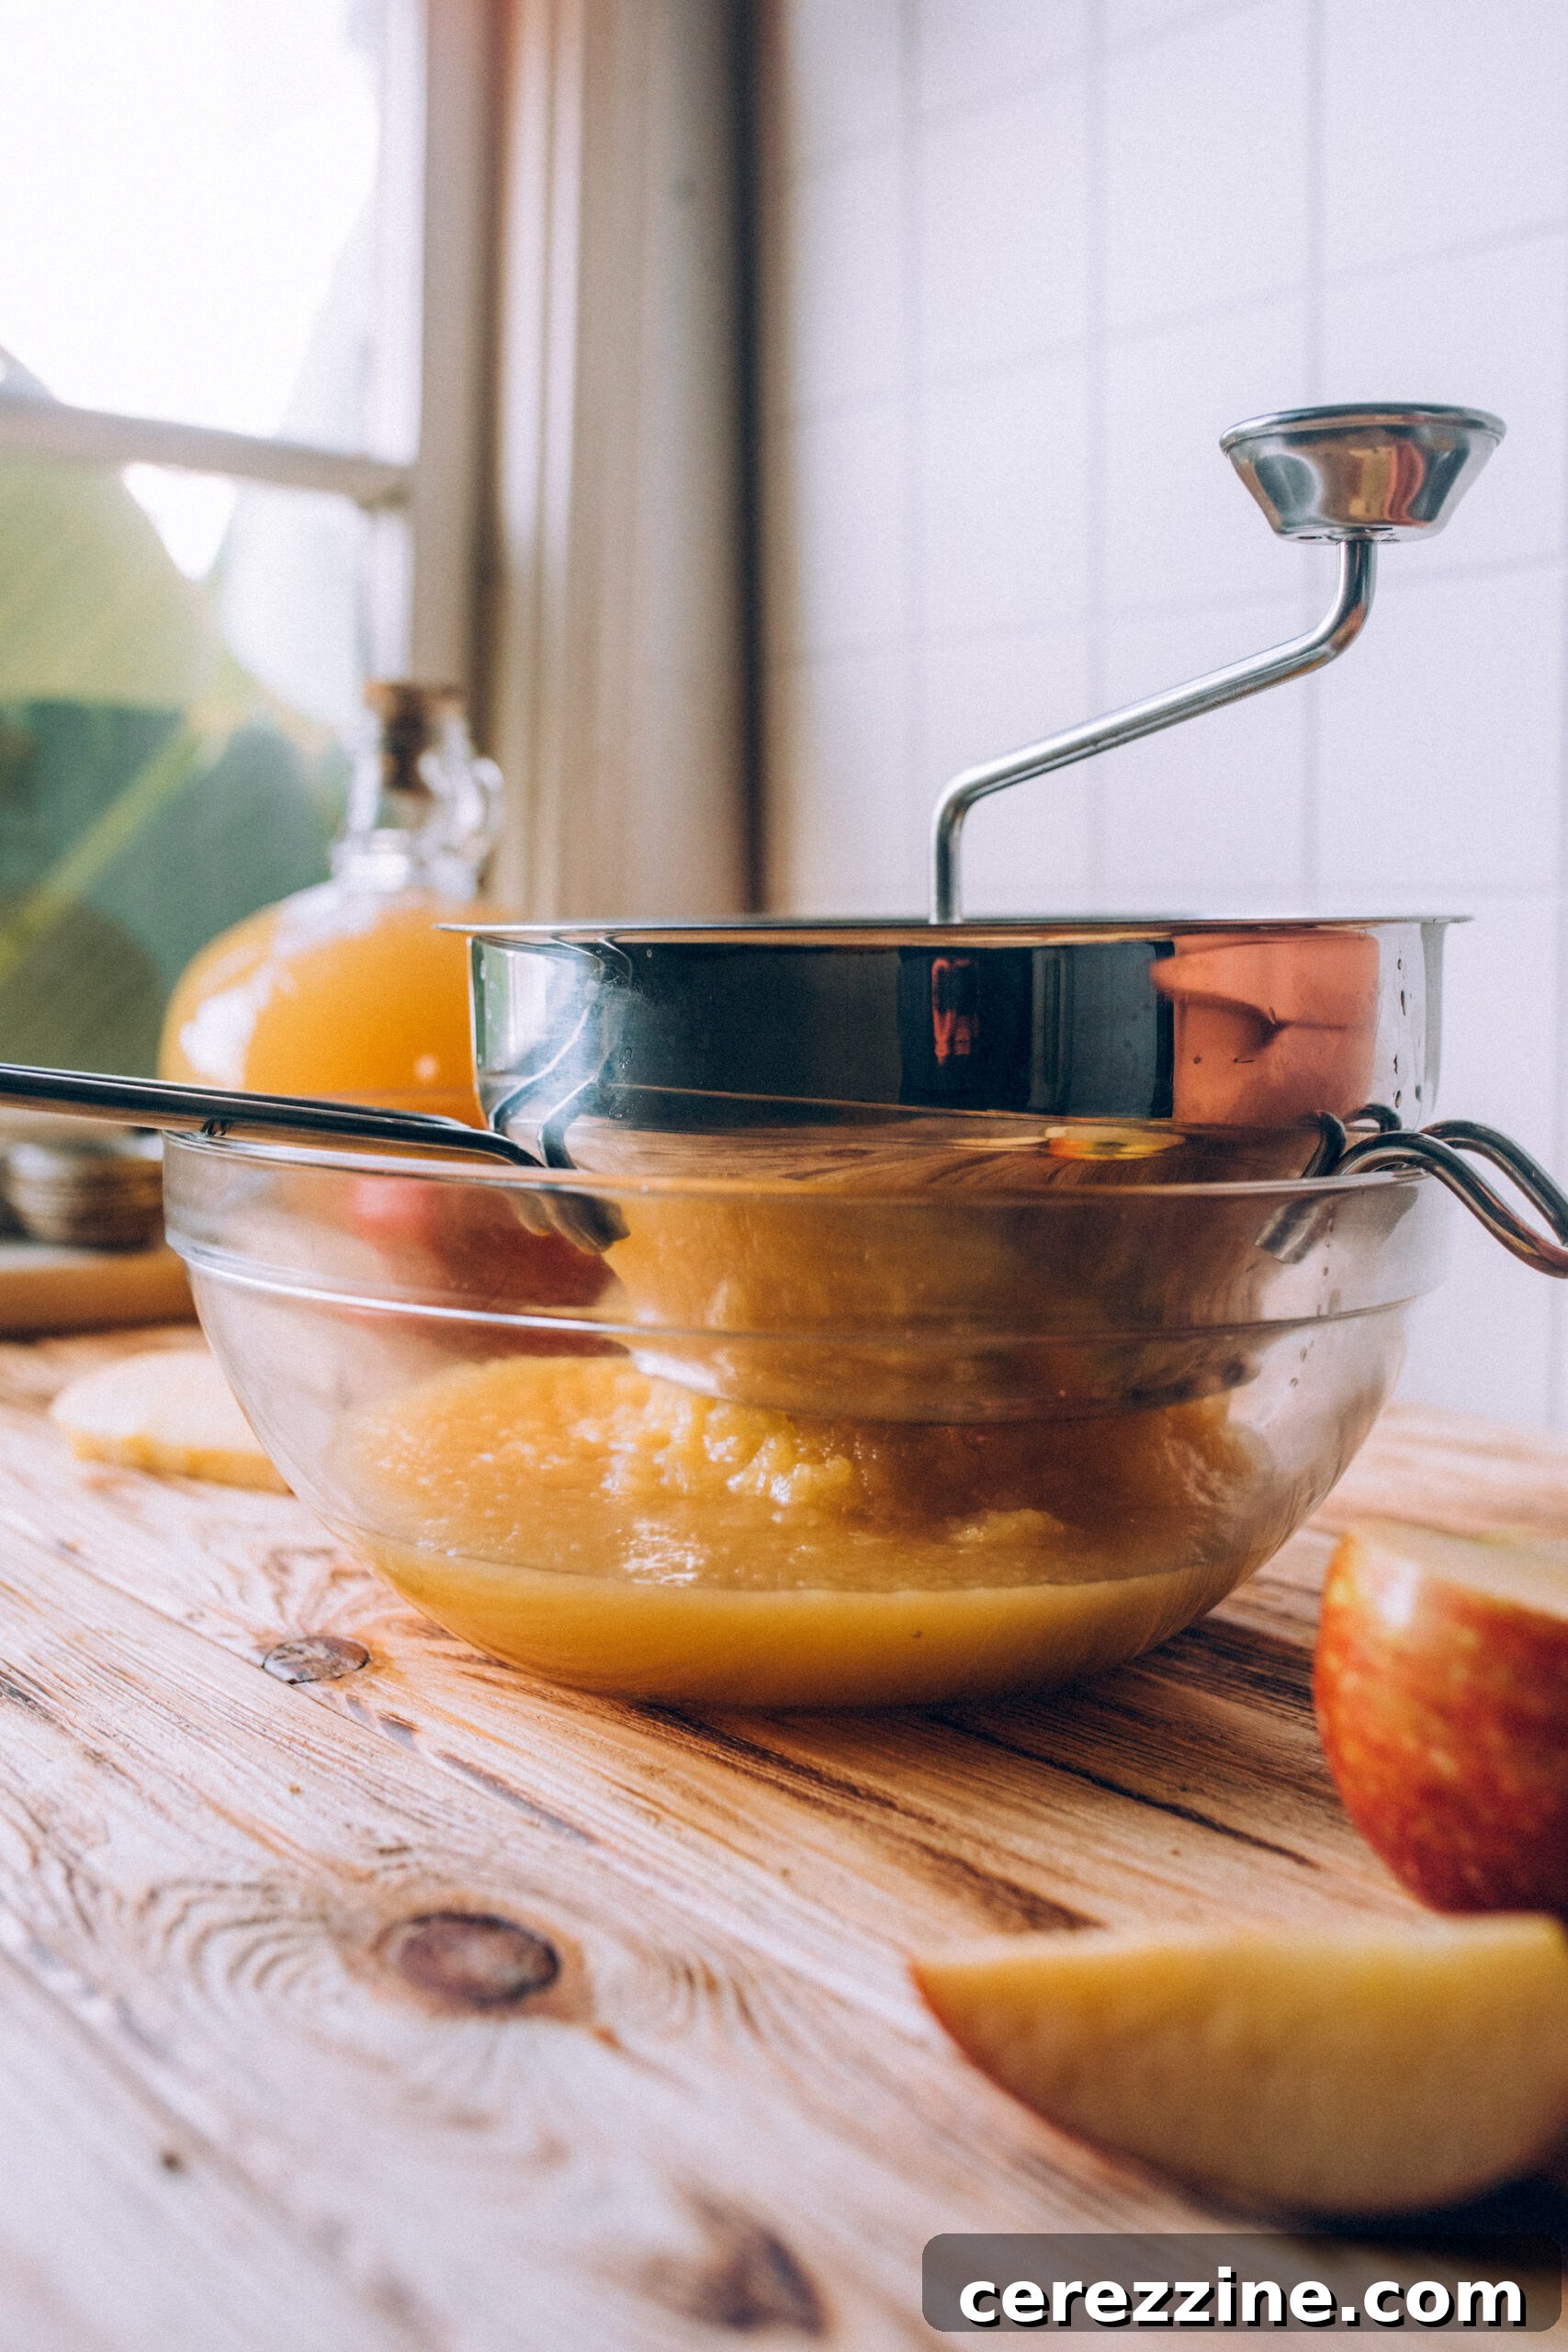
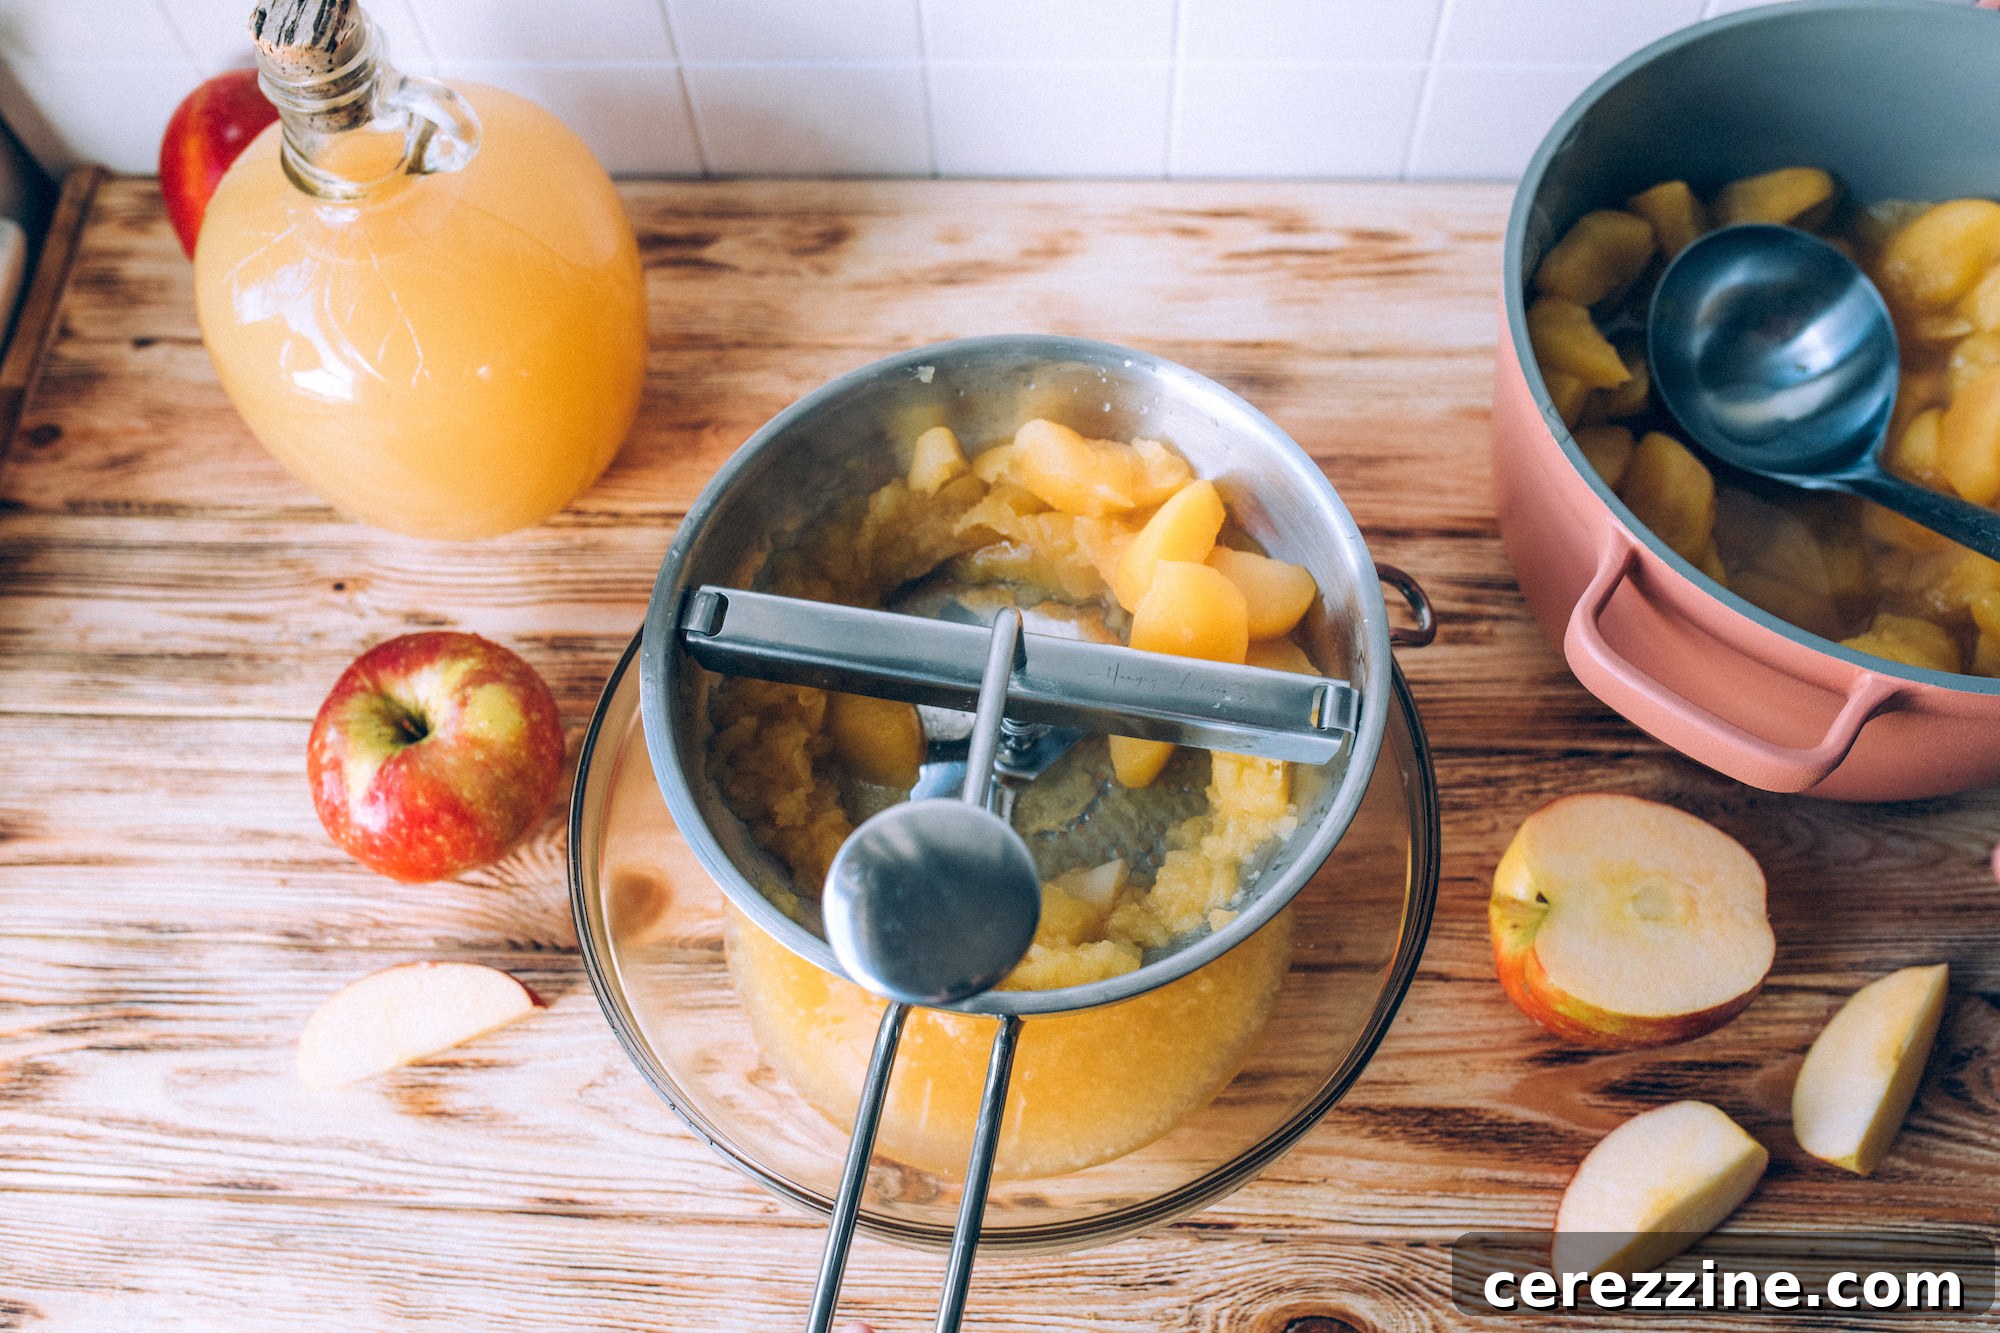
- Time-Saving Tip – The Food Mill Method: For large batches, or if you want to avoid hand-peeling, a food mill is an invaluable tool. You can simply quarter the apples (no need to peel or core beforehand), cook them until very soft, and then run the entire mixture through a food mill. This efficiently separates the smooth apple pulp from the skins and seeds, saving considerable labor. This method is particularly recommended when using unsprayed or organic apples.
2. Cooking the Apples for Sauce
- Initiate Cooking: Place your prepared apple slices (or quarters, if using a food mill later) into a large, heavy-bottomed pot, ideally 8-10 quarts in capacity. Add approximately half a cup of water, apple juice, or apple cider to the bottom. This liquid provides moisture to generate steam and prevents the apples from sticking or scorching during the initial heating.
- Cook Until Tender: Heat the apples over medium heat, stirring occasionally. As they warm, the apples will begin to release their natural juices and soften. Continue cooking until they are thoroughly tender and easily mashable. Depending on the apple variety and their ripeness, this process typically takes anywhere from 5 to 20 minutes.
3. Achieving Your Desired Applesauce Texture and Flavor
- Texture Transformation: Once the apples are tender, it’s time to create your desired texture:
- For Smooth Applesauce: Press the cooked apples through a fine-mesh sieve, a food mill (if you cooked them with skins/cores), or use an immersion blender or standard blender to achieve a silky-smooth consistency.
- For Chunky Applesauce: If you prefer a more rustic, textured sauce, simply mash the cooked apples directly in the pot using a potato masher or a sturdy fork.
- Sweeten to Taste (Optional): After achieving your desired consistency, taste the applesauce. If you prefer a sweeter flavor, gradually add sugar. A good starting point is about 1/8th cup of sugar per quart of sauce. Stir thoroughly until the sugar dissolves, and continue adding small amounts until it meets your personal preference.
At this stage, your homemade applesauce is ready to be enjoyed immediately! It can be stored in the refrigerator for up to a week, or frozen for up to six months. However, for extended shelf life and to maximize valuable freezer space, canning your applesauce is the ideal method. It’s a surprisingly quick and incredibly rewarding water bath canning project that ensures you’ll always have delicious, homemade applesauce ready on your pantry shelf.
Safe Canning Techniques: Water Bath & Pressure Canning
Once your homemade applesauce is prepared to your liking, the next crucial step is safely preserving it through canning. This recipe utilizes the “hot pack” method, which means the applesauce is heated to a boiling temperature before being filled into hot jars, which helps ensure a strong vacuum seal and proper sterilization.
1. Preparation for Canning
- Prepare Your Canning Equipment: Regardless of whether you choose water bath canning or pressure canning, ensure your canner, jars, lids, and rings are meticulously clean and sterilized according to the manufacturer’s instructions. For the hot pack method, it’s best to have your canner water already simmering (around 180°F or 82°C) when you’re ready to load the jars.
- Reheat Applesauce to Boiling: Before filling the jars, bring your prepared applesauce back to a vigorous, rolling boil. Maintaining this high temperature is fundamental for safe hot-pack canning.
- Fill Hot Jars Accurately: Carefully ladle the boiling hot applesauce into your clean, hot pint or quart canning jars. It is critical to leave precisely a 1/2-inch headspace at the top of each jar. Proper headspace is essential for creating a strong vacuum seal and preventing siphoning (liquid loss) during the processing time.
- Clean Rims and Secure Lids: After filling, carefully wipe the rims of each jar with a clean, damp cloth to remove any food particles or residue. A clean rim is vital for the lid to form a perfect seal. Place a new, clean canning lid onto each jar, centering it properly. Then, apply the screw bands and tighten them “finger-tight” – this means just snug enough that they don’t move easily, but not so tight that air cannot escape during processing.
2. Processing the Jars for Preservation
You have two reliable options for safely processing your applesauce: water bath canning or pressure canning.
Water Bath Canning Applesauce:
This is the most common and recommended method for high-acid foods like applesauce. Transfer your filled and sealed jars into the simmering water bath canner. Ensure the jars are completely submerged by at least 1 to 2 inches of water. Bring the canner water to a full, rolling boil, then begin timing your processing based on jar size:
- Pint jars: Process for 15 minutes.
- Quart jars: Process for 20 minutes.
Always remember to adjust these processing times according to your specific altitude (refer to the altitude adjustments section below for detailed information).
Pressure Canning Applesauce (Optional):
While not strictly necessary for applesauce due to its inherent acidity, pressure canning offers a faster processing time and releases less steam into your kitchen, which some canners prefer. Load your filled and sealed jars into the pressure canner, ensuring the appropriate amount of water is in the canner’s base as specified by your canner’s manual. Secure the canner lid and bring it up to the required pressure. Once the desired pressure is consistently maintained, begin your processing time:
- Pint jars: Process for 8 minutes.
- Quart jars: Process for 10 minutes.
Be sure to adjust the pressure setting based on your canner type (dial-gauge or weighted-gauge) and your altitude (detailed in the altitude adjustments section below).
3. Post-Processing and Storage
- Cooling in the Canner: Once the processing time is complete (or the pressure has returned to zero for a pressure canner), turn off the heat. Allow the jars to rest in the canner for 5-10 minutes. This helps to equalize the temperature, prevent siphoning, and encourages a stronger seal.
- Final Cooling and Sealing: Carefully remove the hot jars from the canner using a jar lifter. Place them on a clean dish towel or a cooling rack, ensuring they are not touching each other, and allow them to cool undisturbed at room temperature for 12-24 hours. You will likely hear satisfying “ping” sounds as the lids seal, indicating a successful vacuum.
- Check Seals, Label, and Store: After 24 hours, thoroughly check all jar seals. The center of the lid should be concave (curved inward) and should not flex when pressed. If any jar has not sealed (the lid springs back when pressed), refrigerate it and consume its contents within a week, or reprocess it with a new lid within 24 hours. Once properly sealed, label your jars with the contents and the date of canning. Store them in a cool, dark, and dry place. Properly home-canned applesauce will maintain its best quality for 12-18 months, though it remains safe to eat as long as the seal remains intact. Always refrigerate jars immediately after opening.
Applesauce Canning Altitude Adjustments for Safety
Altitude significantly impacts the boiling point of water, which is a critical factor in ensuring the safety and effectiveness of canning. To guarantee proper processing and eliminate harmful bacteria, particularly with water bath canning, you must adjust the canning time based on your elevation. For pressure canning, while the processing time remains constant, the required pressure setting must be increased with higher altitudes.
Water Bath Canning Applesauce Altitude Adjustments:
To compensate for the lower boiling temperatures at higher elevations, you must increase the processing time:
- For Under 1,000 Feet in Elevation: Process pint jars for 15 minutes and quart jars for 20 minutes.
- For 1,001 to 3,000 Feet in Elevation: Process pint jars for 20 minutes and quart jars for 25 minutes.
- For 3,001 to 6,000 Feet in Elevation: Process pint jars for 20 minutes and quart jars for 30 minutes.
- Above 6,000 Feet in Elevation: Process pint jars for 25 minutes and quart jars for 35 minutes.
Pressure Canning Applesauce Altitude Adjustments:
For pressure canning applesauce, the actual processing times are consistently 8 minutes for pint jars and 10 minutes for quart jars. However, the pressure setting must be adjusted to account for higher altitudes, ensuring the internal temperature reaches safe levels.
For dial gauge pressure canners:
- 0 to 2,000 feet in elevation: Use 6 lbs pressure.
- 2,001 to 4,000 feet in elevation: Use 7 lbs pressure.
- 4,001 to 6,000 feet in elevation: Use 8 lbs pressure.
- 6,001 to 8,000 feet in elevation: Use 9 lbs pressure.
For weighted gauge pressure canners:
- 0 to 1,000 feet in elevation: Use 5 lbs pressure.
- Above 1,000 feet: Use 10 lbs pressure.
Exciting Applesauce Variations to Explore
While classic, plain applesauce offers unmatched versatility for culinary use, don’t hesitate to experiment with different flavor combinations to create unique and personalized batches. The key to successful variations is to either incorporate canning-safe acidic fruits or to add flavorings just before serving for optimal freshness and intensity.
Spice Up Your Applesauce
Beyond the universally loved cinnamon, a world of aromatic spices awaits your homemade applesauce. Consider these delightful additions:
- Vanilla: A touch of pure vanilla extract (added after cooking, either before canning or just before serving) can subtly elevate the applesauce’s natural sweetness and fragrance.
- Nutmeg: Another classic companion to apples, nutmeg adds a warm, slightly nutty depth of flavor.
- Allspice or Cloves: When used sparingly, these spices can introduce a rich, complex, and highly aromatic twist.
- Ginger: Freshly grated or ground ginger provides a zesty, slightly spicy kick that brightens the applesauce.
- Cardamom: For an exotic and intensely fragrant note, a pinch of ground cardamom can transform your applesauce into something truly special.
For the best flavor preservation and maximum flexibility, many canners prefer to prepare and can plain applesauce. This allows you to introduce fresh spices, extracts, or other flavor enhancers at the time of serving, preventing any potential bitterness that certain spices might develop during the canning process and catering to diverse tastes.
Fruity Combinations for Enhanced Flavor
Blending apples with other canning-safe, acidic fruits can yield deliciously vibrant and unique applesauce variations:
- Cranberry Applesauce: The tartness of cranberries perfectly complements the sweetness of apples, resulting in a beautiful crimson color and a delightful sweet-tart flavor profile.
- Blueberry Applesauce: Infuse your applesauce with the sweet-tart notes of blueberries for a summery twist.
- Pear Applesauce: The same preparation and canning process detailed in this guide works wonderfully for creating pure pear sauce, or a luscious combination of apple and pear sauce. The delicate sweetness and smooth texture of pears beautifully complement the apples.
When creating mixed-fruit applesauce, always ensure that any additional fruits contribute sufficient acidity, or adjust the amount of added lemon juice accordingly, especially if working with low-acid fruits. Always consult reliable canning resources for specific mixed-fruit recipes to ensure safety.
Beyond Applesauce: Exploring Apple Butter
The creation of applesauce is also the fundamental first step toward making a rich, luscious, slow-cooked batch of traditional apple butter. If you find yourself with an abundant supply of applesauce and desire an even thicker, more concentrated, intensely flavored spread, you can simply continue to cook your applesauce down over low heat until it achieves that characteristic deep color and rich consistency of apple butter.
Delicious Ways to Enjoy Your Homemade Applesauce
One of the most appealing aspects of having a pantry stocked with home-canned applesauce is its incredible versatility. It can be enjoyed in a myriad of ways, effortlessly adapting to your preferences, whether you prefer it warm or cold, unadorned or enhanced with additional flavors. The culinary possibilities for serving applesauce are truly endless, making it a valuable and healthy ingredient for any meal of the day.
Enhancing Flavors at Serving Time:
While canning plain applesauce offers the greatest flexibility, you can easily customize its flavor profile just before serving. For a classic taste reminiscent of a freshly baked apple pie, simply sprinkle a dash of cinnamon, nutmeg, a blend of autumn spices, or a hint of ground cloves. If you’re looking to introduce a more savory dimension, a tiny pinch of sea salt or a subtle whisper of fresh herbs like finely chopped thyme or rosemary can be surprisingly delicious, especially when pairing with savory main dishes. A drizzle of pure maple syrup, a spoonful of honey, or a dollop of fresh whipped cream can transform it into a delightful, simple dessert.
Perfect Pairings and Culinary Applications:
- Classic Side Dish: Applesauce is a time-honored companion for hearty meats. It’s a quintessential side for pork chops, roast pork, or even alongside roast chicken, turkey, and certain fish dishes. Its sweet and tangy profile provides a wonderful contrast that cuts through the richness of meats.
- Breakfast Boost: Elevate your morning meal by using applesauce as a healthy and flavorful topping for oatmeal, creamy grits, pancakes, waffles, or French toast. Stir it into plain Greek yogurt or cottage cheese for a naturally sweetened and fruity start to your day.
- Healthy Baking Ingredient: Applesauce is a fantastic, healthy substitute for oil or butter in numerous baking recipes. It adds natural sweetness and moisture to cakes, muffins, brownies, quick breads, and even cookies, often reducing the need for additional sugar and fat.
- Savory Culinary Creations: Do not confine applesauce solely to sweet dishes. It can be skillfully incorporated into marinades for various meats, used as a vibrant base for homemade barbecue sauce, or served alongside traditional savory comfort foods like crispy potato latkes, where its bright flavor beautifully balances their richness.
- Simple, Wholesome Snack: Of course, sometimes the very best way to enjoy your homemade applesauce is simply on its own. Whether chilled straight from the jar or gently warmed, it makes for a wonderfully wholesome, satisfying, and refreshing snack any time.
With a pantry full of home-canned applesauce, you’ll always have a healthy, versatile, and delicious ingredient ready to inspire your culinary adventures, bringing the taste of fresh apples to your table year-round!
More Apple Canning Recipes to Enjoy
Cranberry Apple Jam
Apple Jam
Canning Apple Cider
Canning Applesauce
Classic Homemade Canning Applesauce Recipe
Ingredients
- Apples (approx. 21 lbs for 7 quarts, 13.5 lbs for 9 pints)
- 1/2 cup Apple Cider, Apple Juice, or Water
- Bottled Lemon Juice (1 Tbsp per quart jar, 1/2 Tbsp per pint jar)
- Sugar (optional, to taste, approx. 1/8 cup per quart)
- Spices (optional, such as cinnamon or nutmeg, best added at serving)
Instructions
- Prepare Apples: Choose sweet, juicy, and crisp apples. Wash, peel, and core the apples. You can optionally slice them into water with a bit of lemon juice to prevent browning.
- Cook Apples: Place the prepared apple slices into a large 8-10 quart pot. Add 1/2 cup of water, apple juice, or apple cider. Stir occasionally to prevent burning. Heat quickly until apples are tender, which typically takes 5-20 minutes.
- Create Sauce: For smooth applesauce, use a sieve or food mill to process the cooked apples. For chunky applesauce, mash them directly in the pot.
- Sweeten (Optional): If desired, add sugar to taste (e.g., 1/8 cup per quart of sauce). Stir until dissolved.
- Reheat for Canning: Reheat the applesauce to a rolling boil just before filling jars.
- Prepare Jars: Have your water bath canner simmering (180°F / 82°C) and clean pint or quart jars ready. Add the recommended amount of bottled lemon juice (1 Tbsp per quart, 1/2 Tbsp per pint) to the bottom of each jar.
- Fill and Seal: Carefully ladle the hot applesauce into the prepared jars, leaving 1/2 inch headspace. Wipe jar rims clean. Center new lids on jars and apply screw bands finger-tight.
- Process Jars (Water Bath): Transfer jars to the boiling water canner. Ensure jars are covered by 1-2 inches of water. Bring to a rolling boil. Process pint jars for 15 minutes, and quart jars for 20 minutes. Adjust time for altitude (see notes below).
- Process Jars (Pressure Canning – Optional): As an alternative, process pint jars for 8 minutes and quart jars for 10 minutes at 6 lbs pressure (dial-gauge) or 5 lbs pressure (weighted-gauge). Adjust pressure for altitude (see notes below).
- Cool and Check Seals: After processing, turn off heat and let jars sit in the canner for 5-10 minutes. Remove and place on a towel to cool undisturbed for 12-24 hours. Check seals (lids should be concave and not flex). Label and store in a cool, dark place.
Notes
Lemon Juice Importance:
Adding bottled lemon juice is crucial for canning safety. Many modern apple varieties may not be acidic enough for safe water bath canning. The recommended amount is 1 Tbsp per quart jar or 1/2 Tbsp per pint jar, added directly to the bottom of each jar before filling with hot applesauce.
Applesauce Canning Altitude Adjustments:
Processing times must be adjusted for altitude to ensure safe preservation, as water boils at lower temperatures at higher elevations.
Water Bath Canning Altitude Adjustments:
- Under 1,000 Feet: 15 mins (pints), 20 mins (quarts)
- 1,001 to 3,000 Feet: 20 mins (pints), 25 mins (quarts)
- 3,001 to 6,000 Feet: 20 mins (pints), 30 mins (quarts)
- Above 6,000 Feet: 25 mins (pints), 35 mins (quarts)
Pressure Canning Altitude Adjustments:
Pressure canning times are always 8 minutes for pints and 10 minutes for quarts. Adjust pressure according to your elevation:
For dial gauge pressure canners:
- 0 to 2,000 feet: 6 lbs pressure
- 2,001 to 4,000 feet: 7 lbs pressure
- 4,001 to 6,000 feet: 8 lbs pressure
- 6,001 to 8,000 feet: 9 lbs pressure
For weighted gauge pressure canners:
- 0 to 1,000 feet: 5 lbs pressure
- Above 1,000 feet: 10 lbs pressure
More Autumn Canning Recipes
Keep your canner busy this fall with these delicious seasonal canning projects:
- Pear Butter
- Pear Jam
- Pickled Green Tomatoes
- Canning Pumpkin Puree
- Canning Sweet Potatoes
- Caramelized Onion Jam
- Butternut Squash Soup Base