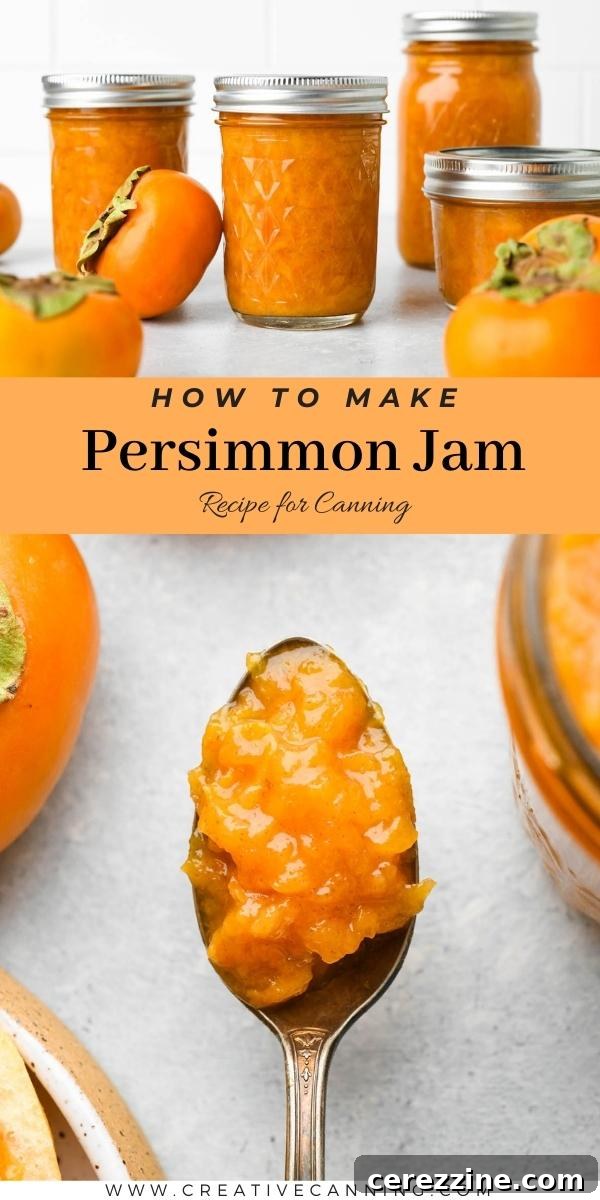
Homemade Persimmon Jam: Your Essential Guide to Canning & Enjoying This Seasonal Treat
Welcome to the delightful world of homemade persimmon jam – a truly special preserve that captures the essence of autumn and winter. This recipe is not just a guide to making jam; it’s an invitation to create a unique culinary experience, bringing warmth and cheer to your kitchen with just a few simple ingredients.
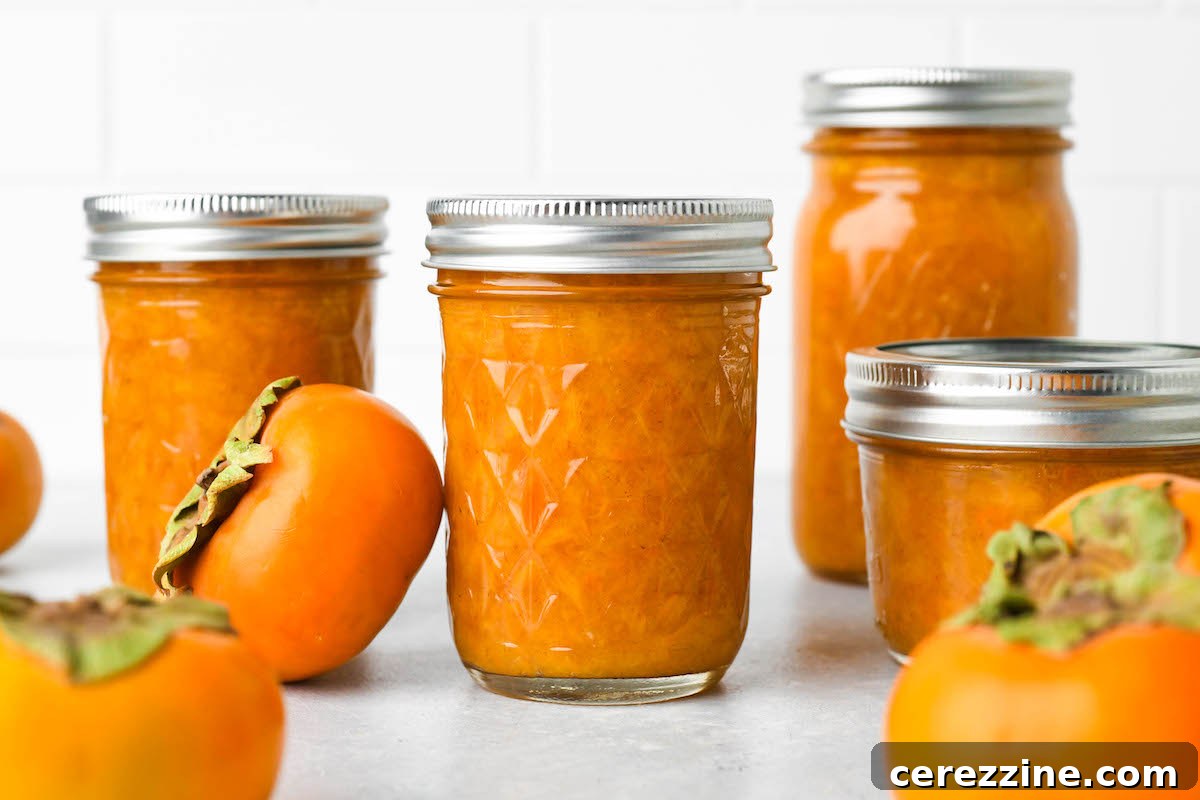
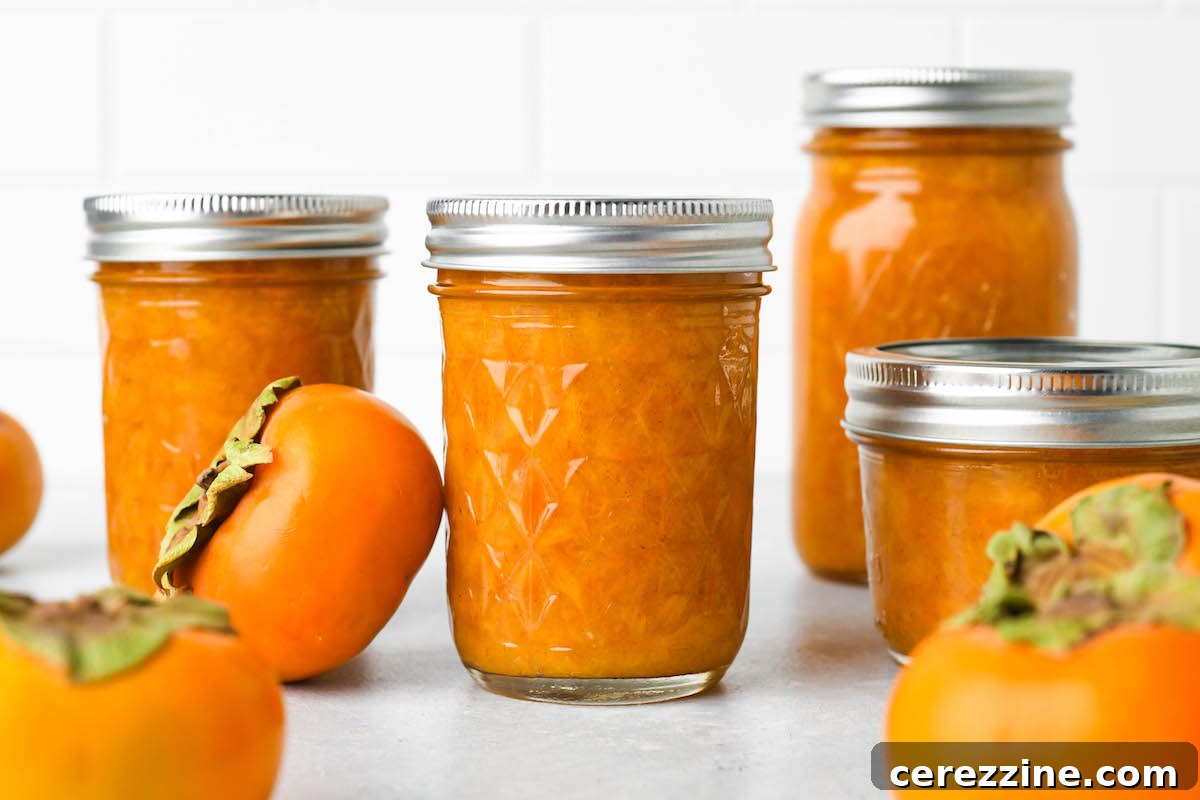
Why Homemade Persimmon Jam Stands Apart
There’s a certain magic to crafting preserves from scratch, and persimmon jam truly embodies this sentiment. Unlike common fruit jams you find in stores, persimmon jam is a rare find, making it an exquisite treat that feels inherently luxurious and deeply personal. Its unique, subtly sweet flavor profile, reminiscent of honey and apricot with a hint of cinnamon, is a taste you simply cannot buy off the shelf. Crafting it yourself transforms it into a heartfelt gift, imbued with love and care, perfect for sharing with family and friends during the festive season.
Persimmons grace us with their presence for a fleeting period, typically around the autumn and early winter holidays. This short season makes persimmon jam a treasured delight, a flavor intrinsically linked with seasonal joy, comfort, and the warmth of home. Preserving persimmons in this way allows you to extend that seasonal cheer, enjoying the taste of fall sunshine long after the last fruit has vanished from the trees.
The Simplicity Behind Perfect Persimmon Preserves
One of the most appealing aspects of making persimmon jam is its surprising simplicity. Nature has already done much of the work for us, as persimmons are naturally rich in pectin. This inherent quality means you won’t need to fuss with added commercial pectin, making the process straightforward and less daunting for beginners. The core ingredients are wonderfully minimal: ripe persimmons, a touch of sugar to enhance their natural sweetness, and a splash of lemon or lime juice. The citrus not only brightens the fruit’s flavor but also plays a crucial role in balancing the sweetness and ensuring the jam sets beautifully.
With just these three key components – fruit, sugar, and citrus – you can achieve a wonderfully set, richly flavored homemade persimmon jam that will impress everyone who tastes it!
Ensuring Canning Safety: The Crucial Role of Acidity in Persimmon Jam
When it comes to water bath canning, understanding pH levels is paramount for food safety, and persimmons present a unique consideration. Fruits generally require a pH of 4.6 or lower to be safely processed in a water bath canner, preventing the growth of harmful bacteria. Persimmons typically fall within a pH range of 4.4 to 4.7, putting them right on the borderline. While many individual fruits might be below the safety threshold, even a few slightly less acidic persimmons can elevate the pH of an entire batch of jam beyond safe limits.
This is precisely why the addition of citrus juice – whether lemon or lime – is not just recommended but absolutely essential for this recipe if you intend to preserve your persimmon jam through canning. The citric acid in lemon or lime juice acts as a natural acidifier, significantly lowering the overall pH of the jam. This crucial step transforms a potentially borderline recipe into a **canning-safe persimmon jam recipe**, giving you peace of mind that your homemade preserves are safe for long-term storage on your pantry shelf.
Beyond its safety function, added acidity also plays a vital role in enhancing the flavor of your jam. It brightens the sweet notes of the persimmons, prevents the jam from tasting cloyingly sweet, and adds a delightful tang that truly makes the fruit’s natural flavors sing. So, even if you’re making a small batch for refrigerator storage and not canning, I highly recommend including the citrus juice for its flavor-balancing and pectin-boosting properties. However, if canning, it moves from a recommendation to a non-negotiable step.

Choosing Your Persimmons: A Guide to Varieties for Jam
The type of persimmon you choose can influence the texture and flavor of your jam. While this recipe is incredibly versatile and works well with several varieties, understanding their unique characteristics will help you achieve the best results.
Fuyu Persimmons: The Crisp and Versatile Choice
My preferred variety for this jam recipe is the **Fuyu persimmon**. These are easily recognizable by their firm texture and distinct flattened, UFO-like shape. Fuyus are unique because they can be eaten when still crisp, much like an apple, and are sweet even before they become fully soft. When ripe, they’ll have a slight give when gently pressed, but still retain a pleasant crunch. Their firm flesh holds up well during cooking, contributing lovely texture and visible pieces of fruit to the finished jam. The skin of Fuyu persimmons is thin and edible, making preparation even simpler as peeling is not required.
Hachiya Persimmons: The Astringent Beauty Requiring Patience
**Hachiya persimmons** are distinctly different from Fuyus. They have an elongated, acorn-like shape and are highly astringent when unripe. Eating an unripe Hachiya is an unforgettable (and unpleasant) experience due to the high tannin content. Therefore, it is absolutely crucial to use Hachiya persimmons only when they are fully, completely ripe. At this stage, their flesh will be incredibly soft, almost pudding-like and spoonable within the skin. The astringency will have mellowed completely, revealing a rich, sweet, and complex flavor. If you opt for Hachiyas, be patient and wait until they are excessively soft – you’ll know they’re ready when they feel like a water balloon and their skin is thin and easily broken.
Wild American Persimmons: A Taste of Terroir
**Wild American persimmons** (Diospyros virginiana) are indigenous to North America and are typically much smaller than their Asian counterparts. Like Hachiyas, they are extremely astringent until fully ripe, at which point they soften to a creamy consistency. The flavor and sweetness of wild persimmons can vary significantly from tree to tree, so it’s wise to taste test a few before committing to a large batch for jam. If you have access to a tree known for producing delicious, sweet fruit, these can make an incredibly flavorful and truly unique jam, reflecting the local terroir.
Preparation Note for Softer Varieties: If you’re using softer varieties like American or Hachiya persimmons, remember that their pulp packs more densely into a measuring cup. While 4 lbs of Fuyu persimmons yield about 11-12 cups of sliced fruit, you might need approximately 8-10 cups of pulp from the softer, mashed varieties to achieve a similar fruit-to-sugar ratio. Always aim to measure by weight for consistency, especially with diverse fruit textures.
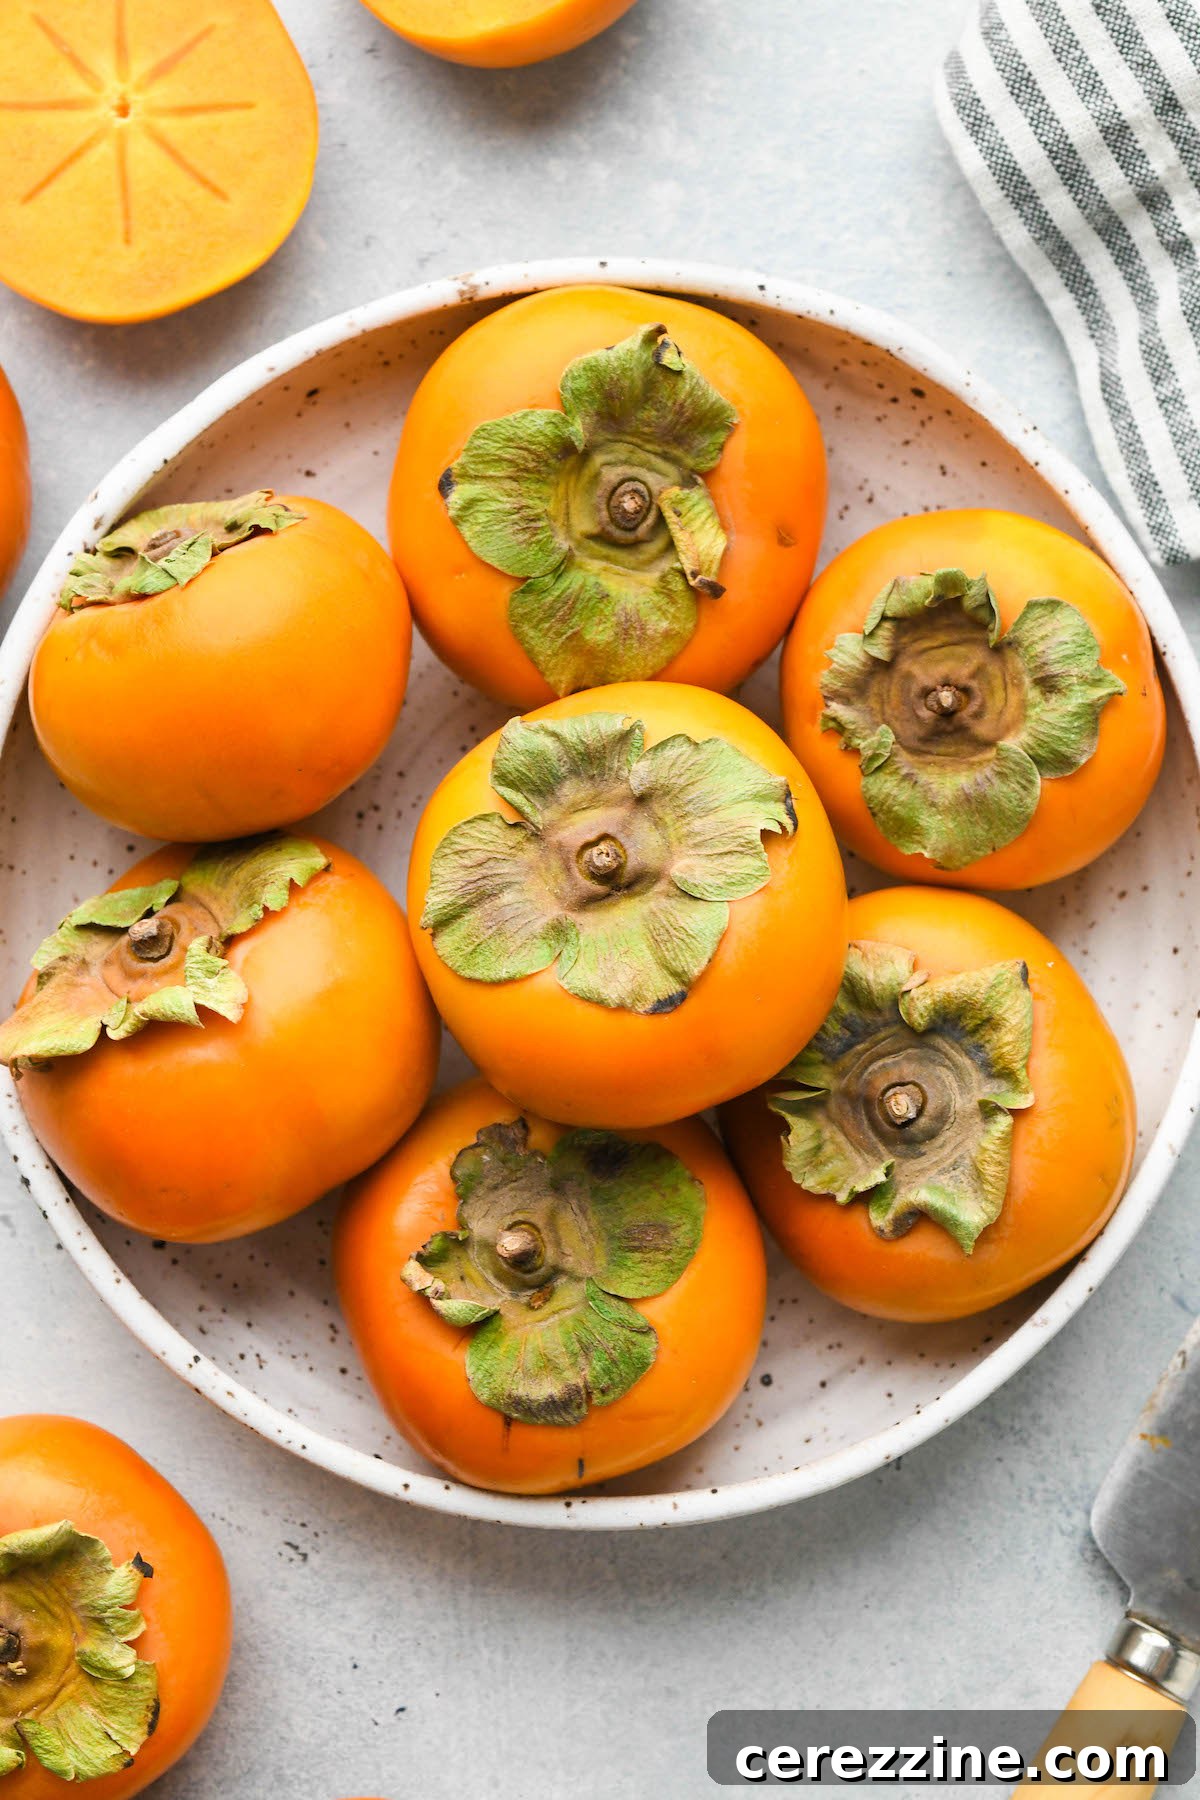
Essential Ingredients for Your Homemade Persimmon Jam
Crafting a delectable batch of persimmon jam requires surprisingly few ingredients, allowing the natural flavors of the fruit to truly shine. For a standard batch, which typically yields enough to fill 4 to 5 half-pint (8 oz) jars, you will need the following:
- 4 lbs fresh persimmons: This translates to roughly 10-12 large Fuyu persimmons, or about 11-12 cups when sliced. If using softer Hachiya or wild American persimmons, you’ll need approximately 8-10 cups of fruit pulp (after removing skins if desired) to achieve a similar fruit density.
- 1 to 2 cups granulated sugar: The amount of sugar is flexible and can be adjusted to your personal preference for sweetness. Persimmons are naturally quite sweet, so you have room to experiment.
- 1/4 to 1/2 cup fresh lemon or lime juice: This ingredient is crucial for both flavor balance and, importantly, for canning safety.
Understanding Your Ingredients: Tips for Best Results
Persimmon Selection: As mentioned, Fuyu persimmons are a fantastic choice due to their firm texture and sweet, non-astringent nature. However, feel free to use any variety you have available, ensuring they are ripe for optimal flavor. Always measure by weight (4 lbs) for accuracy, as volumetric measurements can vary based on the fruit’s density and how it’s prepared.
Sugar Content: Persimmons bring a significant amount of natural sweetness to the table, making them ideal for low-sugar jams. I personally prefer a less sweet jam that highlights the fruit’s nuanced flavor, so I often use around 1 cup of sugar. For those who enjoy a more “normal” jammy sweetness, 2 cups is an excellent starting point. If you prefer very traditional, intensely sweet preserves, you could add more, but be mindful that excessive sugar can sometimes mask the delicate taste of persimmons. Remember, less sugar often means a truer fruit flavor profile.
Lemon or Lime Juice: Both lemon and lime juice perform admirably in this recipe. I find that lime juice, with its slightly more vibrant and aromatic profile, beautifully complements the exotic notes of persimmons. Moreover, lime juice is generally a bit more acidic than lemon juice, making it an excellent and sometimes preferred substitute for canning. For safe canning, a minimum of 1/4 cup of citrus juice (equating to 1 tablespoon per pound of fresh fruit) is required for this batch size. However, for a more pronounced tartness that truly brightens the jam and enhances the fruit’s essence, I often opt for 1/2 cup. This higher acidity can make the jam taste even more dynamic and complex, while still ensuring canning safety.
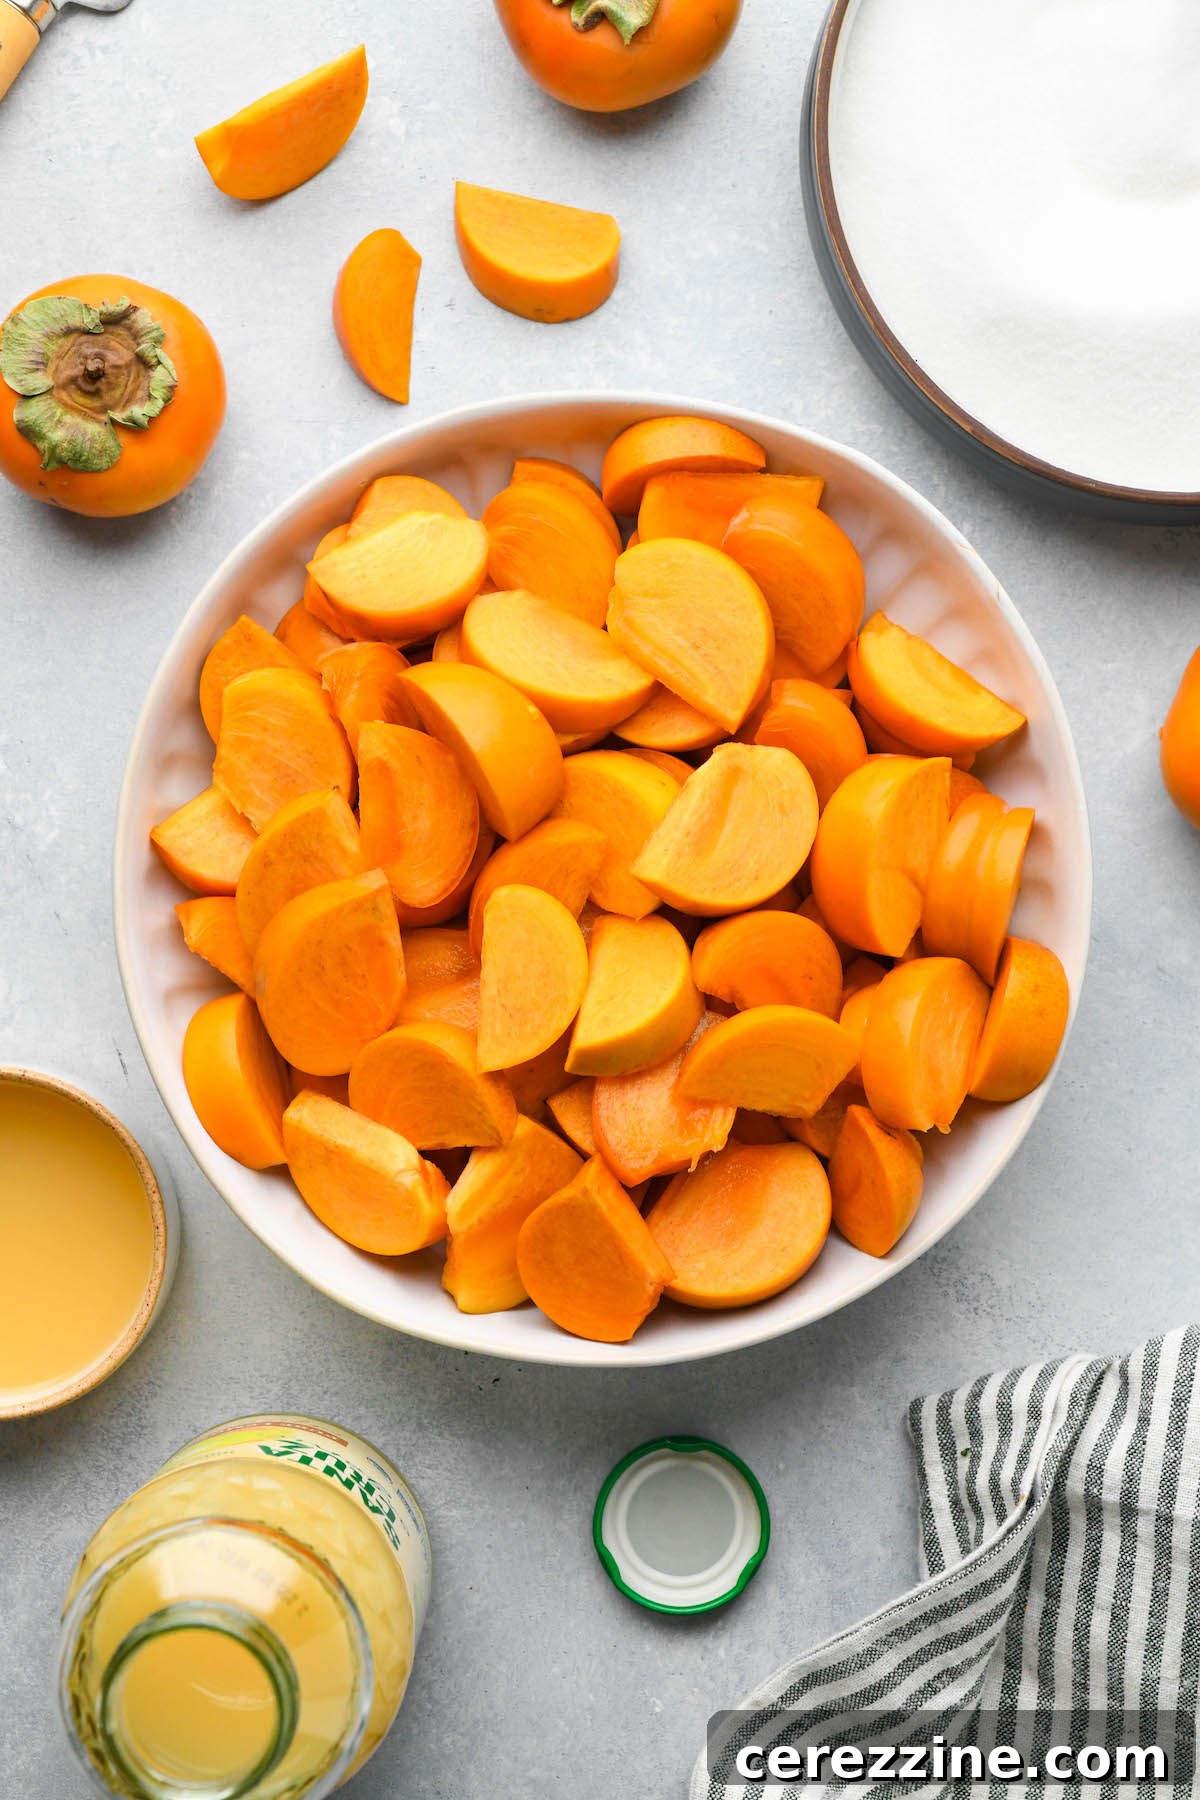
Substituting Citric Acid for Lemon/Lime Juice
If you prefer to avoid the distinct flavor profile of lemon or lime juice in your jam but still need to ensure adequate acidity for both flavor balance and canning safety, citric acid granules offer an excellent alternative. Citric acid is a pure acidifier and will not impart a citrusy taste to your jam.
When substituting, remember that citric acid is significantly more potent than citrus juice. The general guideline is to use 1/4 teaspoon of citric acid granules for every 1 tablespoon of lemon or lime juice called for in a recipe. Given that this persimmon jam recipe requires at least 1 tablespoon of citrus juice per pound of fruit (for canning safety), a batch using 4 lbs of fresh persimmons would need a minimum of 1 teaspoon of citric acid. It’s best to dissolve the citric acid granules in about 1/4 to 1/2 cup of water before adding them to the pot to ensure even distribution and prevent scorching.
Crafting Your Persimmon Jam: A Step-by-Step Guide
Making persimmon jam is a rewarding process that transforms fresh fruit into a luscious preserve. Follow these steps for a perfect batch:
Step 1: Preparing Your Persimmons
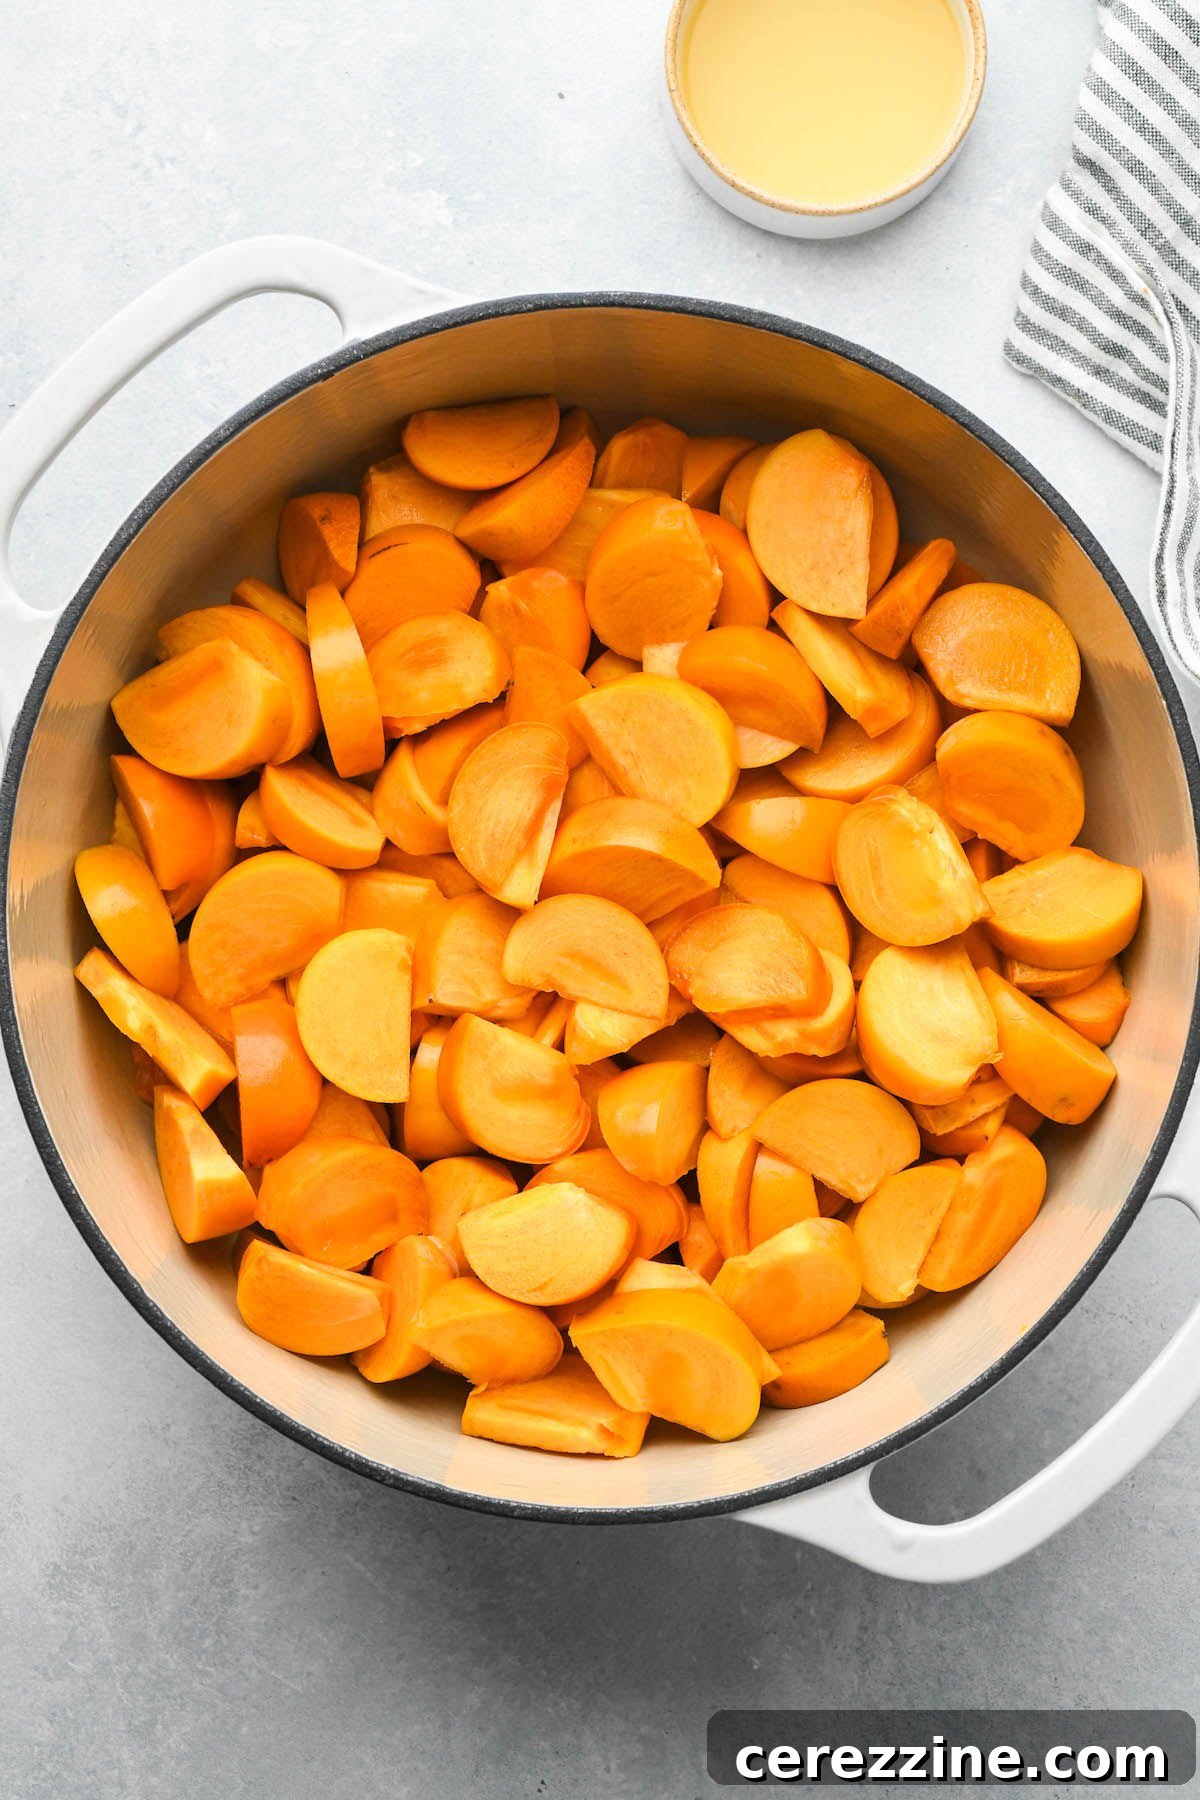
Begin by thoroughly washing your persimmons. If you’re using Fuyu persimmons, simply remove the leafy calyx at the top, then slice them into desired pieces. The skin of Fuyus is thin and becomes tender during cooking, adding a lovely textural element to the finished jam, so peeling is generally unnecessary. For softer varieties like wild American or Hachiya persimmons, it’s often easier to slip off their skins, as the pulp will naturally break down more during cooking. You can gently squeeze the soft fruit from the skin or scoop it out with a spoon. If you wish to include the skins for texture, you can thinly slice them, but most prefer to peel these softer types for a smoother jam.
For a batch of 4 pounds of Fuyu persimmons, you’ll typically yield about 11-12 cups of sliced fruit. If you prefer a less chunky jam, you can dice them more finely, which might reduce the volume slightly to around 10-11 cups.
Step 2: Initial Cooking with Acidity (No Sugar Yet!)
Transfer your prepared persimmon slices or pulp into a large, heavy-bottomed Dutch oven or stockpot. Add the lemon or lime juice at this stage. (If you’re using citric acid, ensure it’s dissolved in 1/4 to 1/2 cup of water first, then add this liquid to the pot. This initial liquid is crucial to prevent the persimmons from scorching on the bottom of the pan before they naturally release their own juices.)
Important Note: Do not add the sugar yet! Adding sugar at the beginning of the cooking process can cause the fruit to firm up prematurely, preventing it from breaking down properly. This could result in an undesirable texture with hard fruit chunks suspended in a sugary syrup, rather than a beautifully homogenous jam.
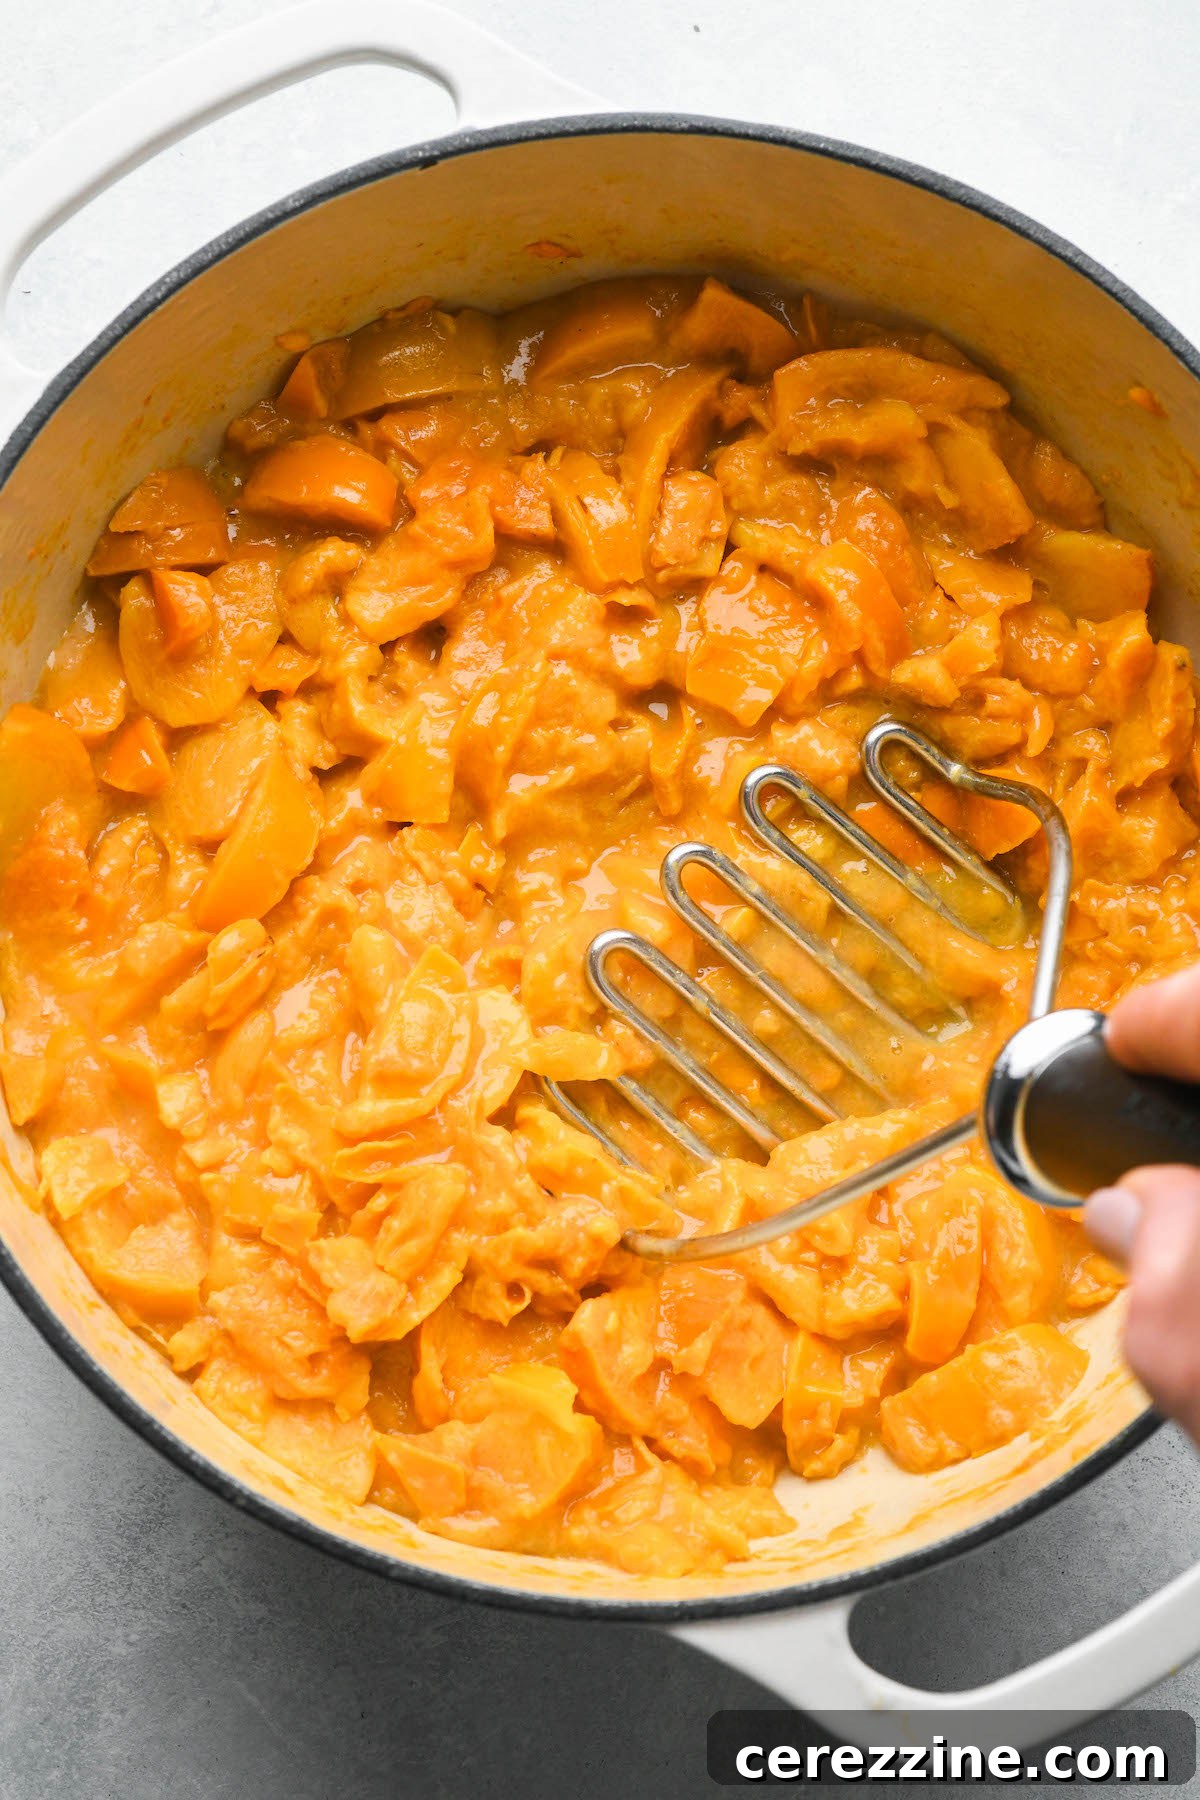
Place the pot over medium-low heat and begin cooking the persimmons. The goal is to encourage the fruit to soften and release its juices. Stir frequently to prevent sticking. As the fruit heats, it will gradually start to break down. You can assist this process by gently mashing the fruit with a potato masher or the back of a spoon as it cooks. After approximately 15 minutes of gentle simmering and stirring, the persimmons should have mostly softened and begun to “melt” apart in the pan. You’ll likely still see some smaller chunks and visible pieces of skin (especially with Fuyus), but the overall consistency should be much softer.
Step 3: Incorporating Sugar and Finishing the Cook
Once the persimmons have adequately broken down, it’s time to introduce the sugar. Refer to your preference: 1 cup for a subtly sweet jam or 2 cups for a more traditional sweetness. You can always start with 1 cup, taste the jam towards the end, and add more if you desire greater sweetness. Stir the sugar thoroughly into the persimmon pulp until it is completely dissolved. As the sugar dissolves, you’ll notice the jam might thin out a bit temporarily as the sugar draws out more liquid from the fruit.
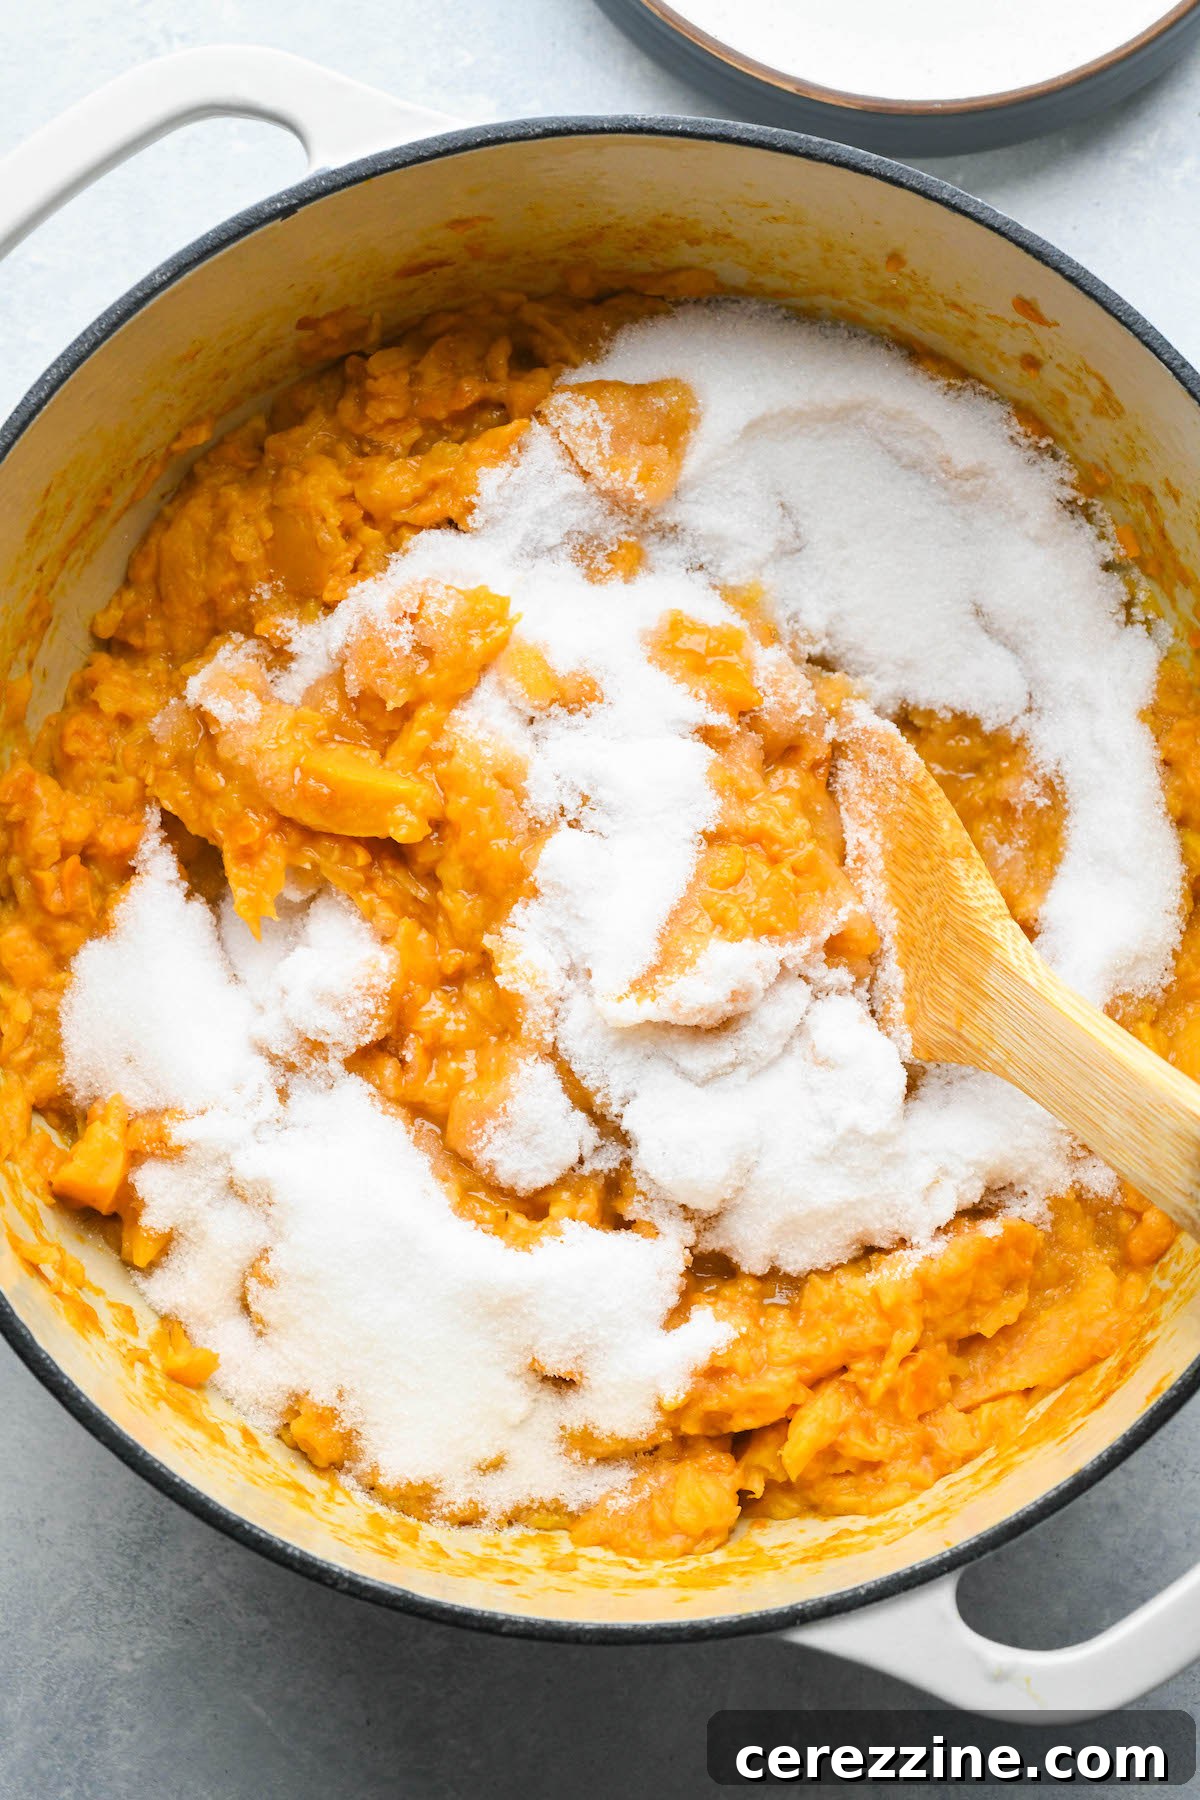
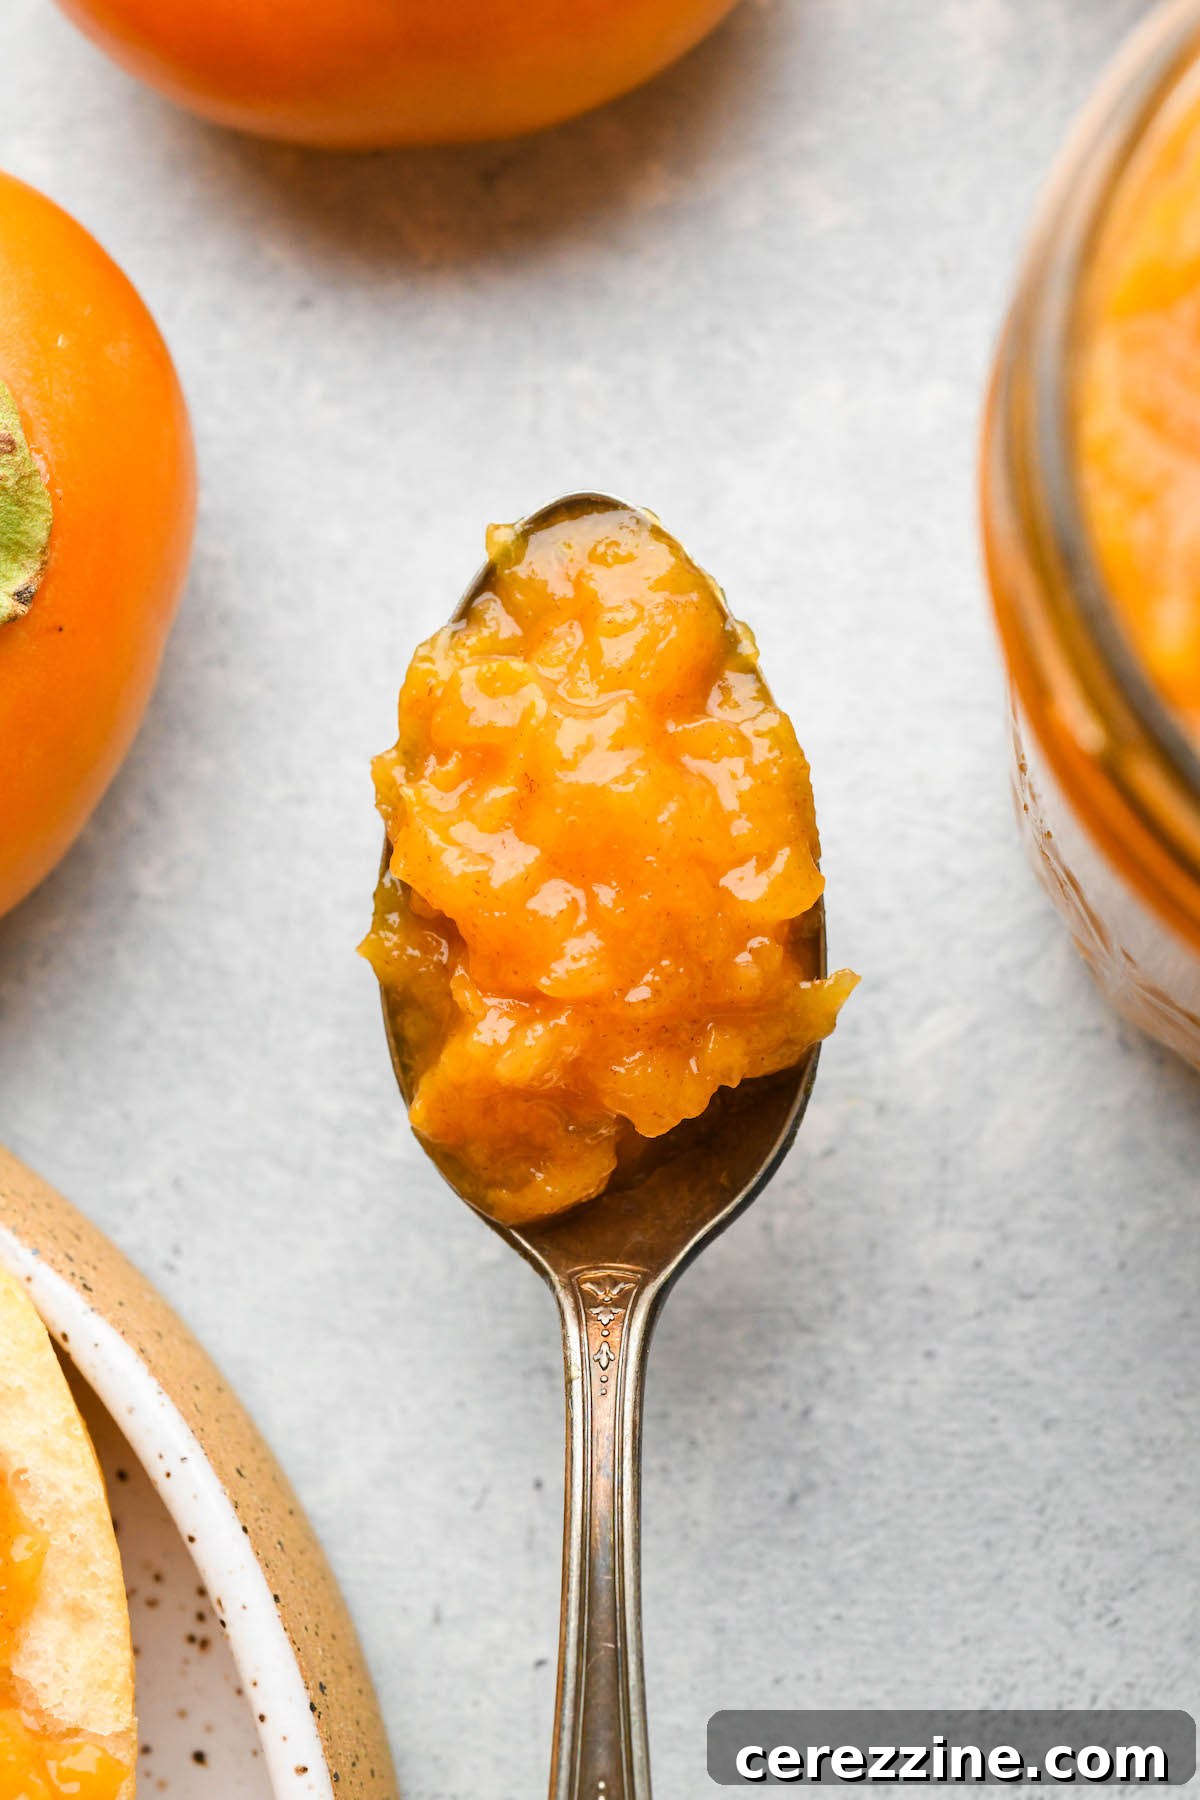
Continue cooking the jam over medium heat. This phase is about thickening the jam to your desired consistency. Stir frequently to prevent any scorching, especially as the jam begins to thicken. This simmering process will typically take another 20 to 30 minutes. The total cooking time from start to finish (including the initial fruit breakdown) will be around 45 minutes, though this can vary based on your stove’s heat and the moisture content of your fruit. Keep an eye on the jam; you’re looking for it to reach a texture that slightly coats the back of a spoon and appears less watery.
Step 4: Testing for Set and Jarring
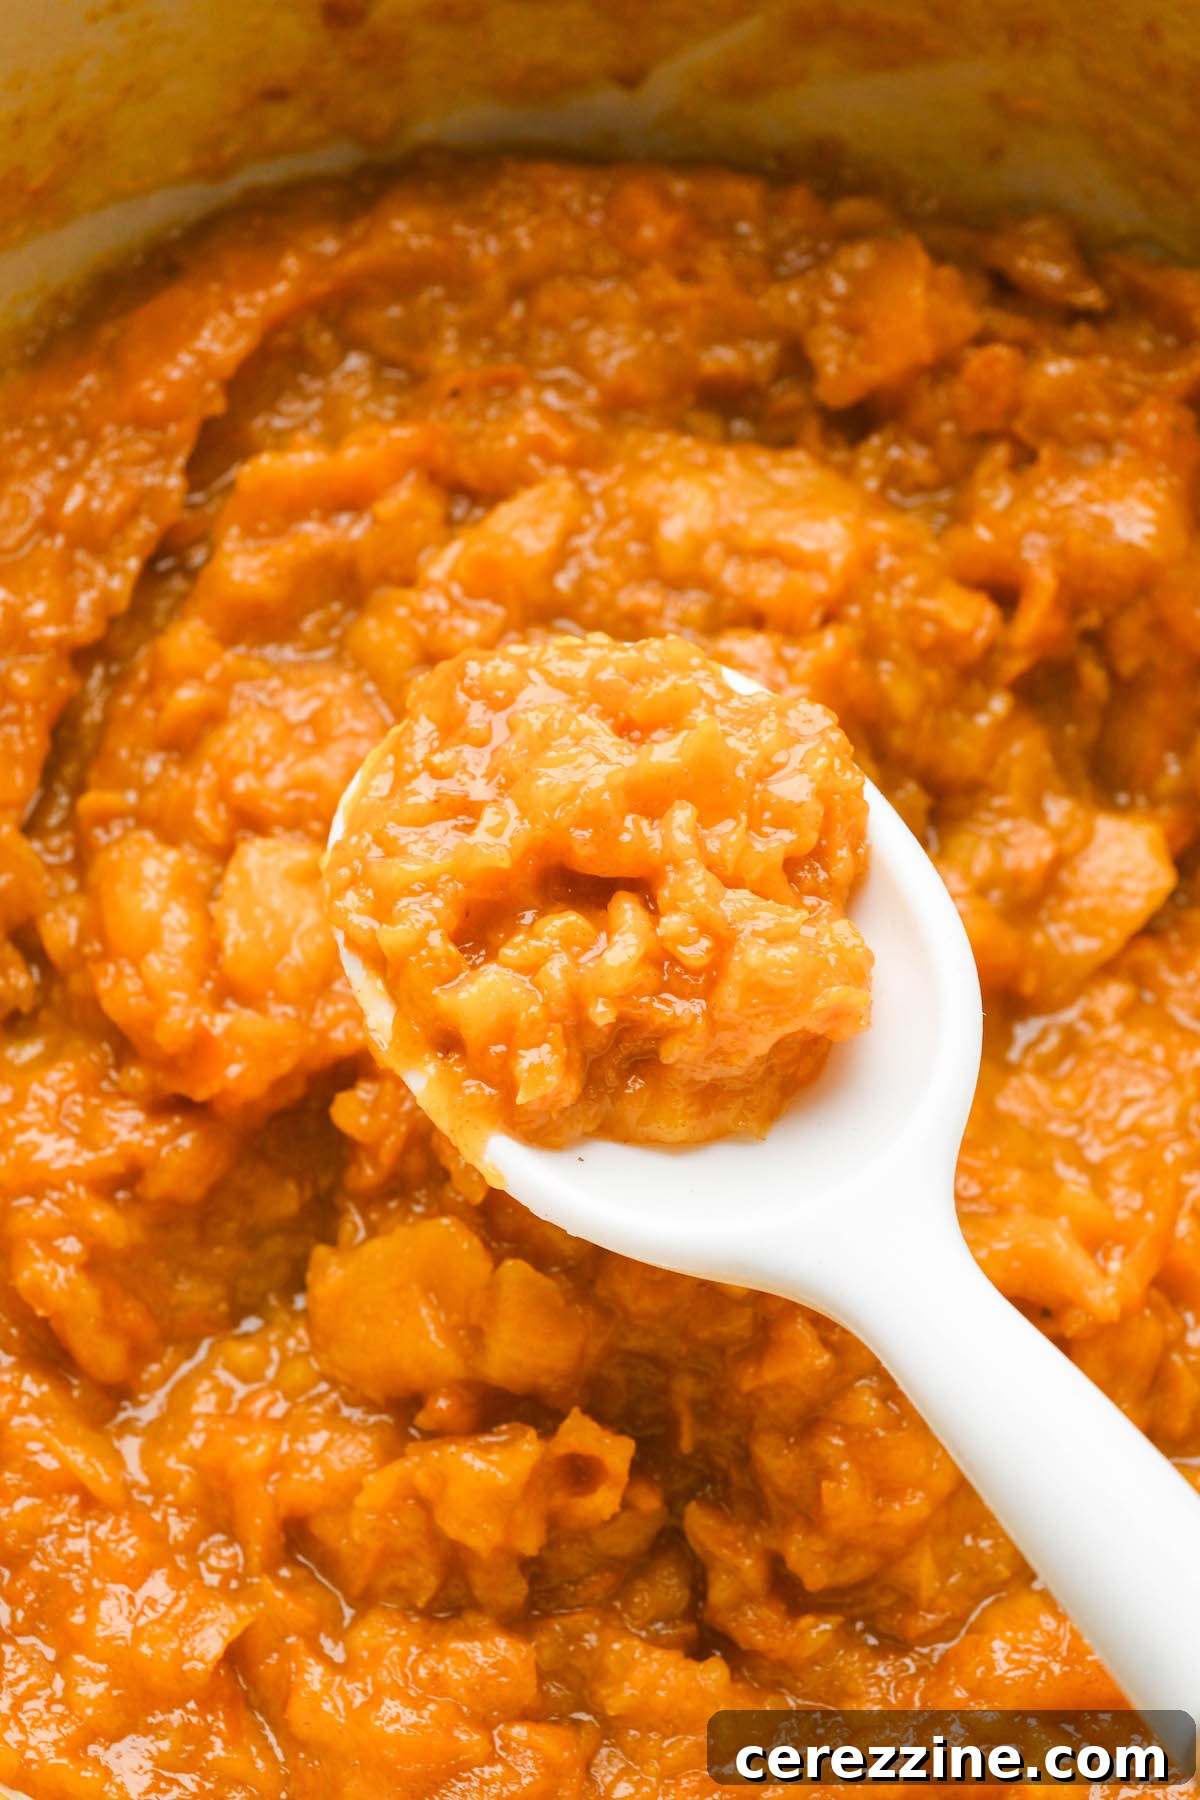
Unlike some jams that require reaching a specific temperature (like 220°F for a firm set), persimmon jam, with its natural pectin, often sets beautifully without needing to hit such a high mark. Rely instead on visual cues and the “spoon test” or “plate test.” To do a plate test, place a small dollop of hot jam on a chilled plate, let it cool for a minute, then push it with your finger. If it wrinkles, it’s ready. Remember that jam will thicken considerably as it cools in the jars, so aim for a consistency that is just slightly looser than your ideal final texture when you turn off the heat. Overcooking can lead to an overly stiff or gummy jam.
Once your jam reaches the perfect consistency, remove the pot from the heat. Carefully ladle the hot persimmon jam into your prepared jars, leaving precisely 1/4 inch of headspace at the top of each jar. This headspace is crucial for proper sealing during canning or for allowing expansion if freezing.
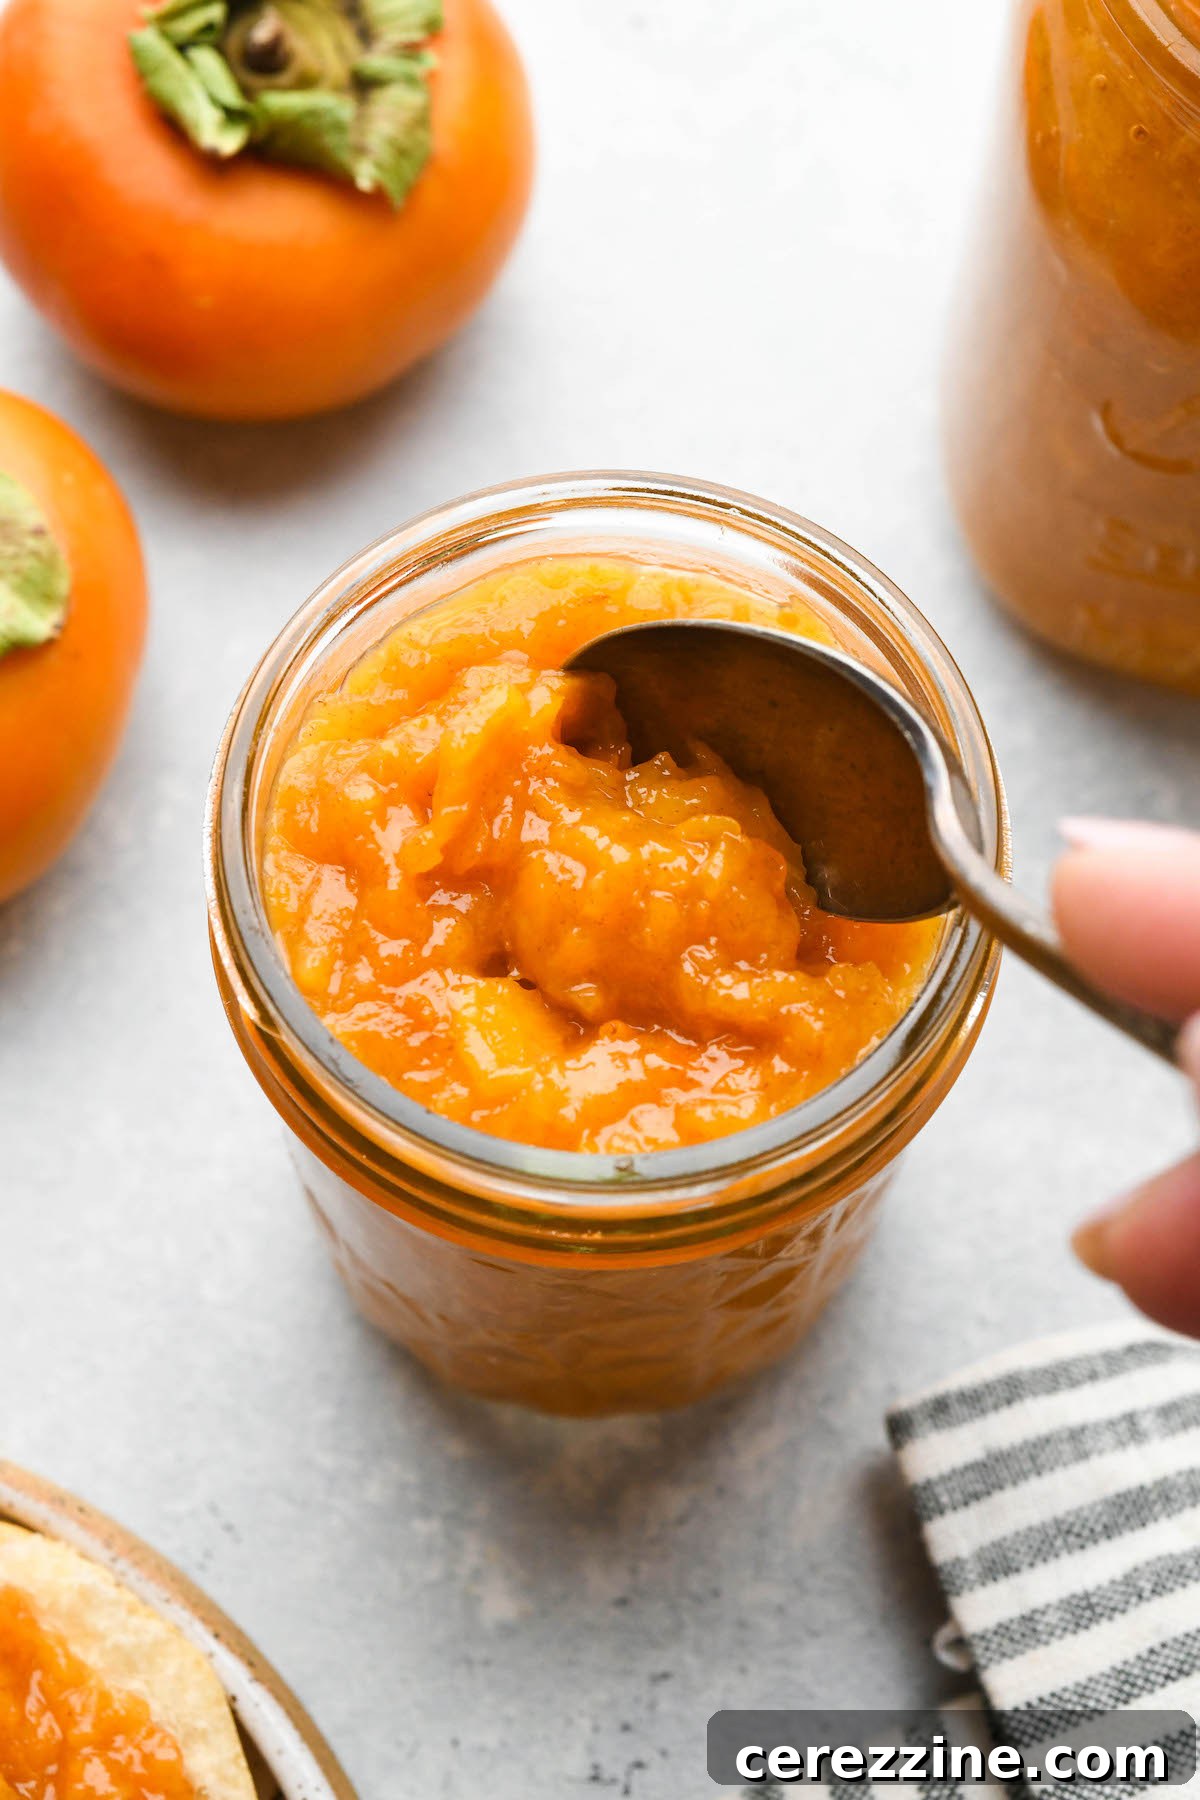
For Refrigerator Jam: If you’re not planning to can, simply cap the jars with their lids and allow them to cool completely on a towel on your countertop. Once cooled, store them in the refrigerator. This refrigerator jam will maintain its fresh quality for approximately 1-2 weeks. For longer storage without canning, you can freeze the jam for up to 6 months; just be sure to use freezer-safe jars, leaving extra headspace to accommodate expansion.
Canning Persimmon Jam for Long-Term Storage
While enjoying persimmon jam fresh from the refrigerator is delightful, canning offers the immense satisfaction of preserving this seasonal delicacy for year-round enjoyment. It also makes for wonderful homemade gifts during the holidays.
Before you begin making your jam, ensure your water bath canner and canning jars are thoroughly prepared. Jars should be clean and hot (sterilized if processing time is less than 10 minutes, or simply clean and kept hot if 10 minutes or more), and lids should be new (for optimal seal) and simmering in warm water.
Once your persimmon jam is cooked to perfection and ladled into the prepared hot jars with 1/4 inch headspace, wipe the jar rims clean to ensure a good seal, then place new two-part canning lids (flats and bands) on top. Secure the bands finger-tight. Carefully load the filled jars into your prepared water bath canner, ensuring they are fully submerged in water by at least 1 inch.
Bring the canner to a full, rolling boil. Once the water is vigorously boiling, begin your processing timer. Process the jars for **10 minutes**. Remember to adjust this processing time if you live at a higher altitude to ensure safe preservation (e.g., add 1 minute for every 1,000 feet above sea level). After the processing time is complete, turn off the heat and carefully remove the canner lid. Let the jars rest in the hot water for 5 minutes before carefully lifting them out and placing them on a clean towel on the counter, ensuring they are not touching each other, to cool undisturbed for 12-24 hours. You’ll hear the satisfying “ping” as lids seal.
After cooling, check all seals. Lids should be concave and not flex when pressed. Any jars that haven’t sealed properly should be refrigerated and consumed within 1-2 weeks. Properly sealed jars can be stored in a cool, dark pantry for 12-18 months, retaining their peak quality. Once opened, always refrigerate.
Crucial Reminder for Canning: As previously emphasized, if you are canning, the addition of citrus juice is mandatory for safety. Ensure you have used at least 1 tablespoon of lemon or lime juice per pound of fruit, which translates to a minimum of 1/4 cup for a 4-pound batch of persimmons. This ensures the pH is at a safe level for water bath canning.
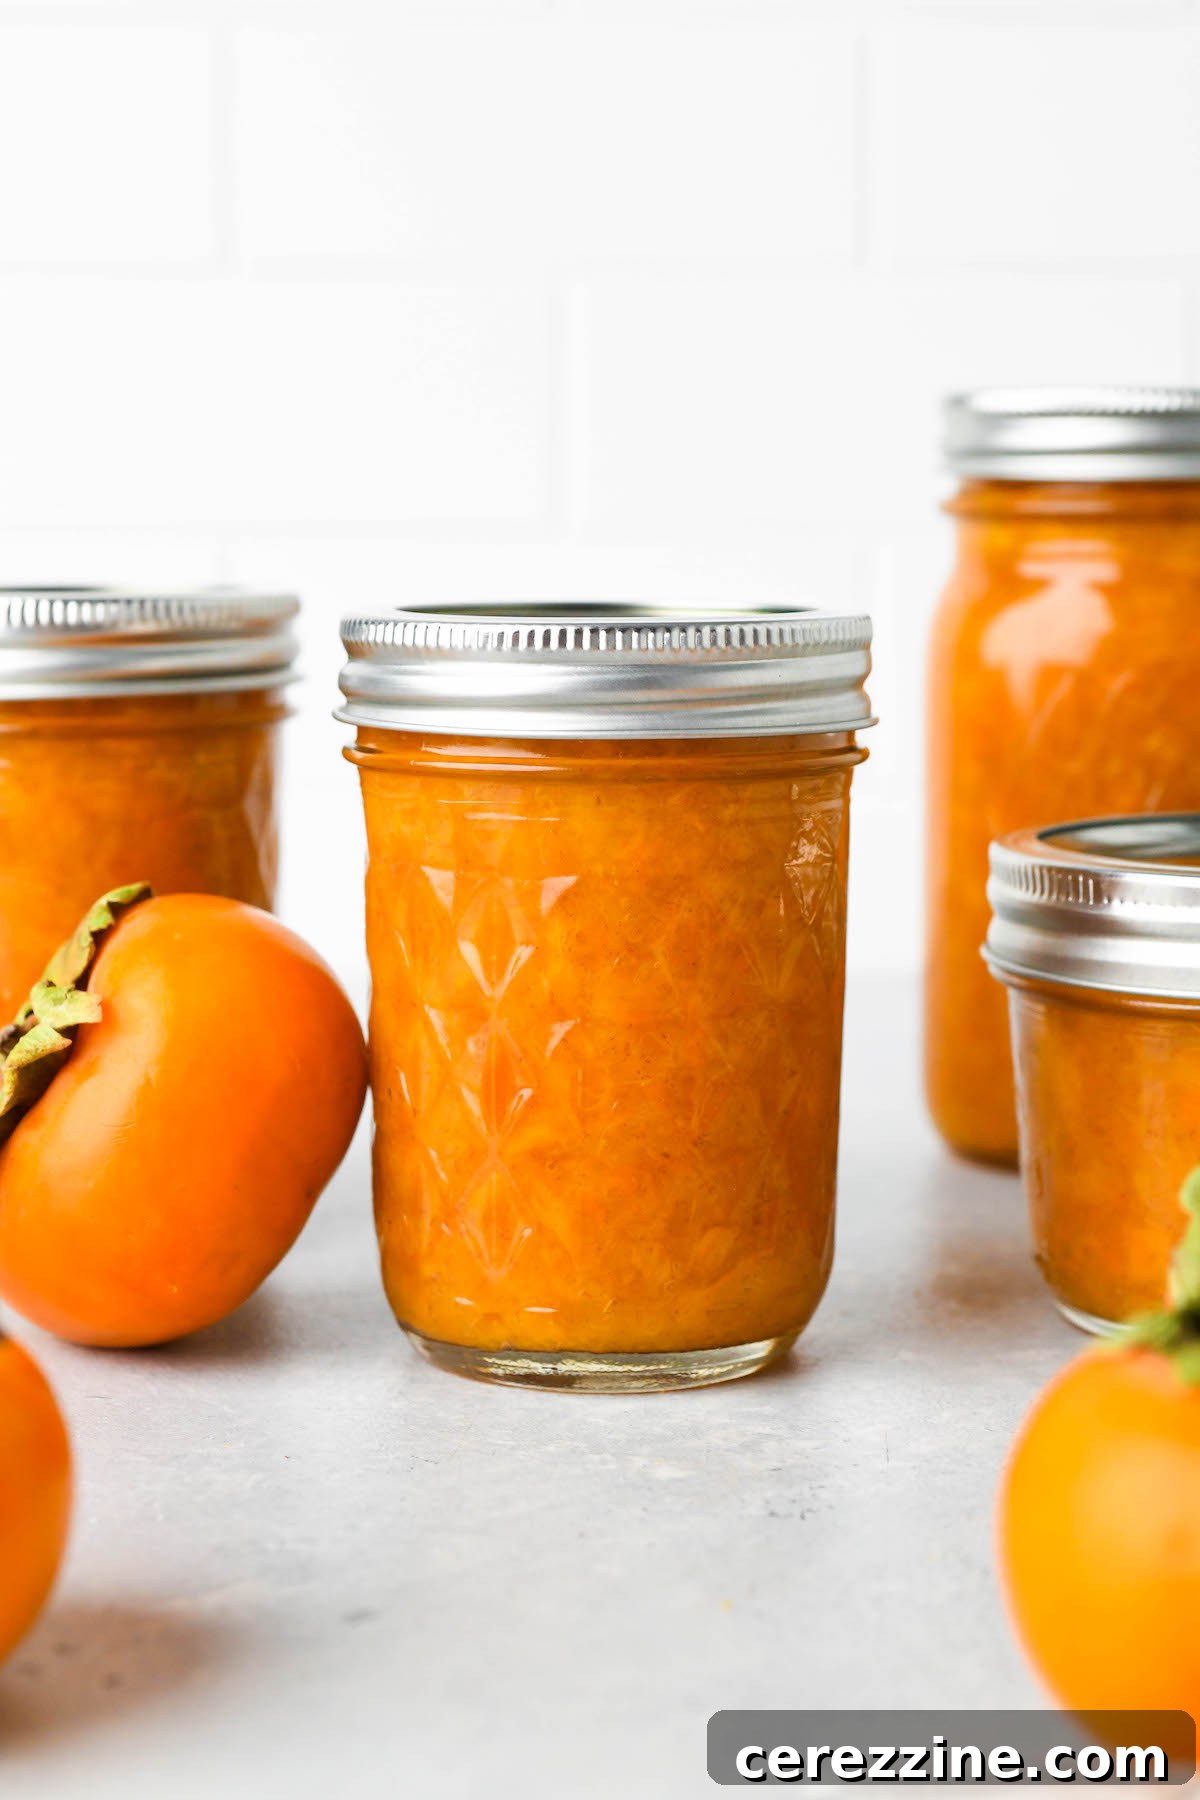
Creative Ways to Savor Your Persimmon Jam
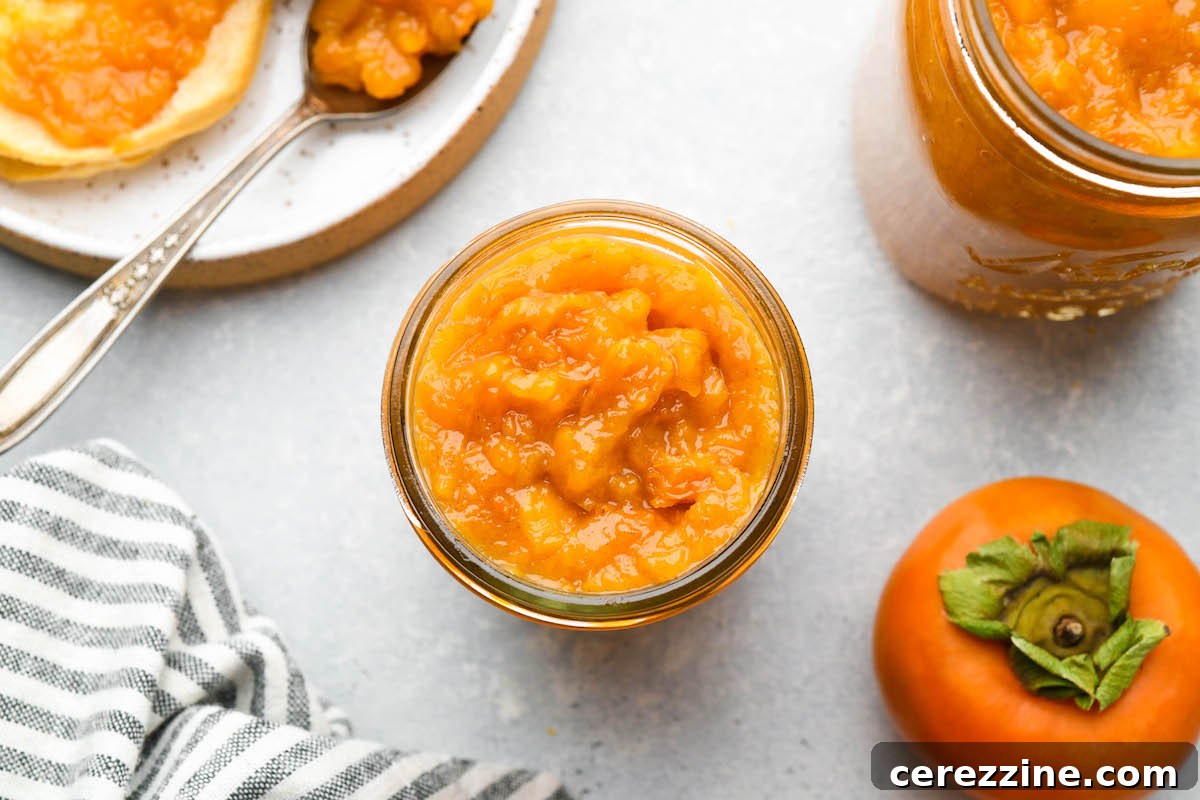
Once you’ve crafted your delectable homemade persimmon jam, the possibilities for enjoying its unique flavor are endless. While it’s undeniably perfect slathered on a warm, buttery biscuit on a chilly winter morning, don’t stop there! Here are some creative and delicious ways to incorporate this seasonal treat into your culinary repertoire:
- Breakfast & Brunch Delights: Beyond toast and biscuits, swirl it into your morning oatmeal or Greek yogurt, spoon it over fluffy pancakes or waffles, or use it as a filling for crepes.
- Dessert Enhancements: Transform simple desserts by using persimmon jam as a topping for vanilla bean ice cream, a vibrant filling for thumbprint cookies, or spread generously between layers of a spice cake or plain sponge cake. It also pairs beautifully with panna cotta or cheesecake.
- Savory Pairings: Don’t limit persimmon jam to sweet applications! Its sweet-tart profile makes it an excellent accompaniment to savory dishes. Serve it alongside roasted pork or chicken, as a glaze for ham, or as a flavorful condiment on a gourmet cheese board, particularly with aged cheeses and crackers.
- Beverage Boost: Stir a spoonful into hot tea for a soothing, fruity infusion, or mix it into sparkling water with a squeeze of lime for a refreshing non-alcoholic spritzer.
- Baking & Pastries: Use it as a filling for tarts, hand pies, or turnovers. Its natural pectin helps it hold its shape well in baked goods.
In essence, anywhere you would use another fruit jam, consider substituting your homemade persimmon jam for a delightful and distinctive twist!
More Inspiring Persimmon Recipes
If you’re lucky enough to have an abundance of persimmons and are looking for more innovative ways to use this fantastic fruit, explore these other delicious recipes:
- Persimmon Champagne Cocktail with Cinnamon and Sage
- Persimmon Sweet Potato Soup
- Persimmon Pie with Vanilla Bean and Pear
- Persimmon Ice Cream
Persimmon Jam (Recipe for Canning)
A simple, three-ingredient persimmon jam recipe that’s perfect for canning. Enjoy this unique, sweet preserve on toast or as a versatile ingredient year-round.
Recipe Details
- Yields: Approximately 4-5 half-pint (8 oz) jars (approx. 48 servings)
- Author: Ashley Adamant
- Prep Time: 5 minutes
- Cook Time: 45 minutes
- Canning Time (Optional): 10 minutes
- Total Time: 1 hour
Equipment You’ll Need
- Water Bath Canner (if canning)
- Large, heavy-bottomed Dutch oven or stockpot
- Canning jars with lids and bands (half-pint or pint size)
- Jar lifter, canning funnel, bubble remover/headspace tool (for canning)
- Potato masher or large spoon
Ingredients
- 4 lbs persimmons (about 10-12 large Fuyu persimmons, or 11-12 cups sliced; 8-10 cups pulp for Hachiya/American)
- 1 to 2 cups granulated sugar (adjust to taste)
- 1/4 to 1/2 cup fresh lemon or lime juice (1/4 cup minimum for canning safety)
Instructions
- If planning to can, prepare your water bath canner and sterilize jars (if processing less than 10 mins) or simply ensure they are clean and hot. Set lids and bands aside.
- Wash persimmons thoroughly. For Fuyu persimmons, remove tops and slice them (no need to peel). For Hachiya or wild American, remove skins and mash the pulp.
- Place prepared persimmons into a deep, heavy-bottomed stockpot or Dutch oven.
- Add the lemon or lime juice. (If substituting citric acid, dissolve 1 teaspoon citric acid in 1/4 to 1/2 cup water and add this liquid now.) Do NOT add sugar at this stage.
- Turn the stove to medium heat and cook the persimmons for approximately 15 minutes, stirring frequently to prevent scorching. Mash the fruit as it cooks to help it break down.
- After about 15 minutes, the fruit should be mostly softened and broken apart. Now, add your chosen amount of sugar (1-2 cups) and stir until completely dissolved.
- Continue cooking the jam over medium heat for another 20 to 30 minutes, stirring frequently. The jam will thicken as it cooks.
- To test for set, place a small amount of hot jam on a chilled plate. Let it cool for a minute, then push it with your finger. If it wrinkles, it’s ready. Remove the pot from the heat.
- Ladle the hot persimmon jam into your prepared jars, leaving 1/4 inch headspace. Wipe jar rims clean and cap with two-part canning lids (flats and bands), securing bands finger-tight.
- If canning: Load jars into the water bath canner, ensuring they are covered by at least 1 inch of water. Bring to a full rolling boil and process for 10 minutes (adjust for altitude). Turn off heat, remove canner lid, and let jars sit for 5 minutes before carefully removing them to a towel to cool for 12-24 hours. Check seals; refrigerate any unsealed jars. Store properly sealed jars in a cool, dark pantry for up to 18 months.
- For refrigerator/freezer jam: Simply allow jars to cool completely on the counter. Store in the refrigerator for 1-2 weeks, or in freezer-safe jars in the freezer for up to 6 months (ensure extra headspace for freezing).
Important Notes for Success
Sugar Adjustment
For a subtly sweet jam that truly lets the persimmon flavor shine, use 1 cup of sugar. For a more traditionally sweet jam, opt for 2 cups. Increasing the sugar content will also slightly increase the overall yield of the jam.
Lemon or Lime Juice: Flavor and Safety
Persimmons naturally have lower acidity. The citrus juice is vital as it introduces tart flavor notes that beautifully balance the sweetness of the fruit and aids in the jam’s set. Both lemon and lime juice work, with lime offering a distinct, complementary flavor profile.
- For refrigerator jam: Citrus juice is highly recommended for optimal flavor and texture, though technically optional.
- For canning: The citrus juice is NOT optional. It is a mandatory ingredient to lower the pH of the fruit to levels safe for water bath canning. You must use at least 1/4 cup per 4-pound batch of fruit (equivalent to 1 tablespoon per pound of fruit). For a brighter flavor, consider using 1/2 cup.
Citric Acid Substitution for Acidity without Citrus Flavor
If you prefer to avoid the taste of lemon or lime but still need to ensure canning safety by lowering the pH, citric acid granules are an effective substitute.
- Substitution Rate: Use 1/4 teaspoon of citric acid granules for every 1 tablespoon of lemon or lime juice specified.
- For this recipe: Since a minimum of 1 tablespoon of citrus juice per pound of fruit is needed for canning (total 4 tablespoons for 4 lbs), you would need at least 1 teaspoon of citric acid for the entire batch.
- Application: Dissolve the citric acid granules in 1/4 to 1/2 cup of water before adding this liquid to the persimmons at the beginning of the cooking process.
Nutrition Information
(Approximate values per serving, based on 48 servings per batch with 1 cup sugar)
- Calories: 64 kcal
- Carbohydrates: 17g
- Protein: 0.3g
- Fat: 0.2g
- Polyunsaturated Fat: 0.001g
- Sodium: 0.4mg
- Potassium: 119mg
- Fiber: 0.03g
- Sugar: 4g
- Vitamin A: 0.2 IU
- Vitamin C: 26mg
- Calcium: 11mg
- Iron: 1mg
Nutrition information is automatically calculated and should be used as an approximation only.
Special acknowledgment for the absolutely stunning photography featured in this recipe, provided by Nyssa Tanner from Nyssa’s Kitchen.
Beyond Persimmons: Seasonal Canning & Old-Fashioned Jams
Timely Canning: Delicious November Recipes
Persimmons are a highlight of the late season, often ripening well into November and even December. But they aren’t the only fruits offering their bounty during this festive time of year. Explore other seasonal delights for your canning projects:
- Homemade Cranberry Sauce for Canning
- Exquisite Quince Jam (No Pectin)
- Bright & Zesty Kumquat Jam
- Canning Quince (Recipe Coming Soon!)
Rediscovering Classic Jam Making: No Added Pectin Recipes
Do you appreciate the art of making jam the traditional way, relying on the natural pectin of fruits rather than store-bought boxes? These recipes celebrate that old-fashioned approach, resulting in intensely fruity and authentic preserves:
- Old Fashioned Strawberry Jam (No Added Pectin)
- Traditional Grape Jam with Skins (Naturally Set)
- Classic Raspberry Jam (No Pectin Added)