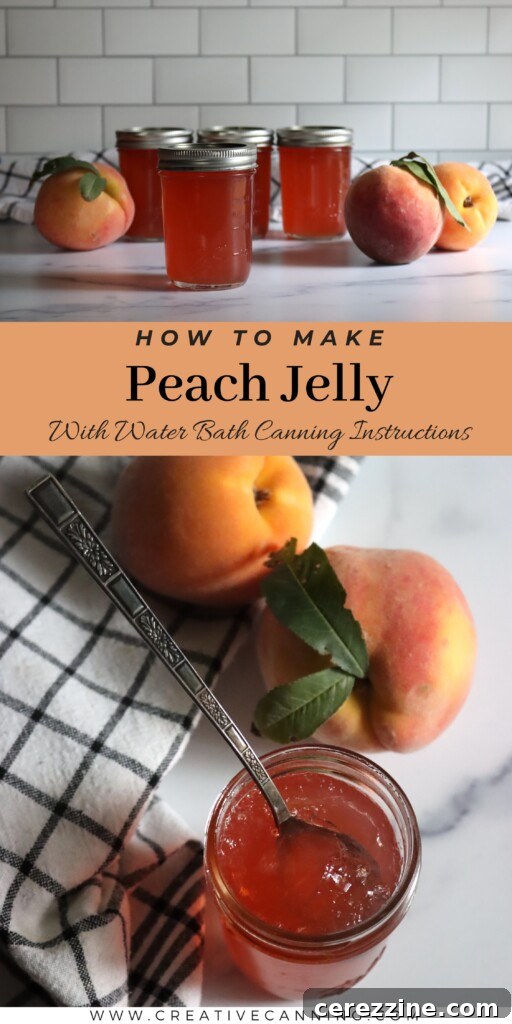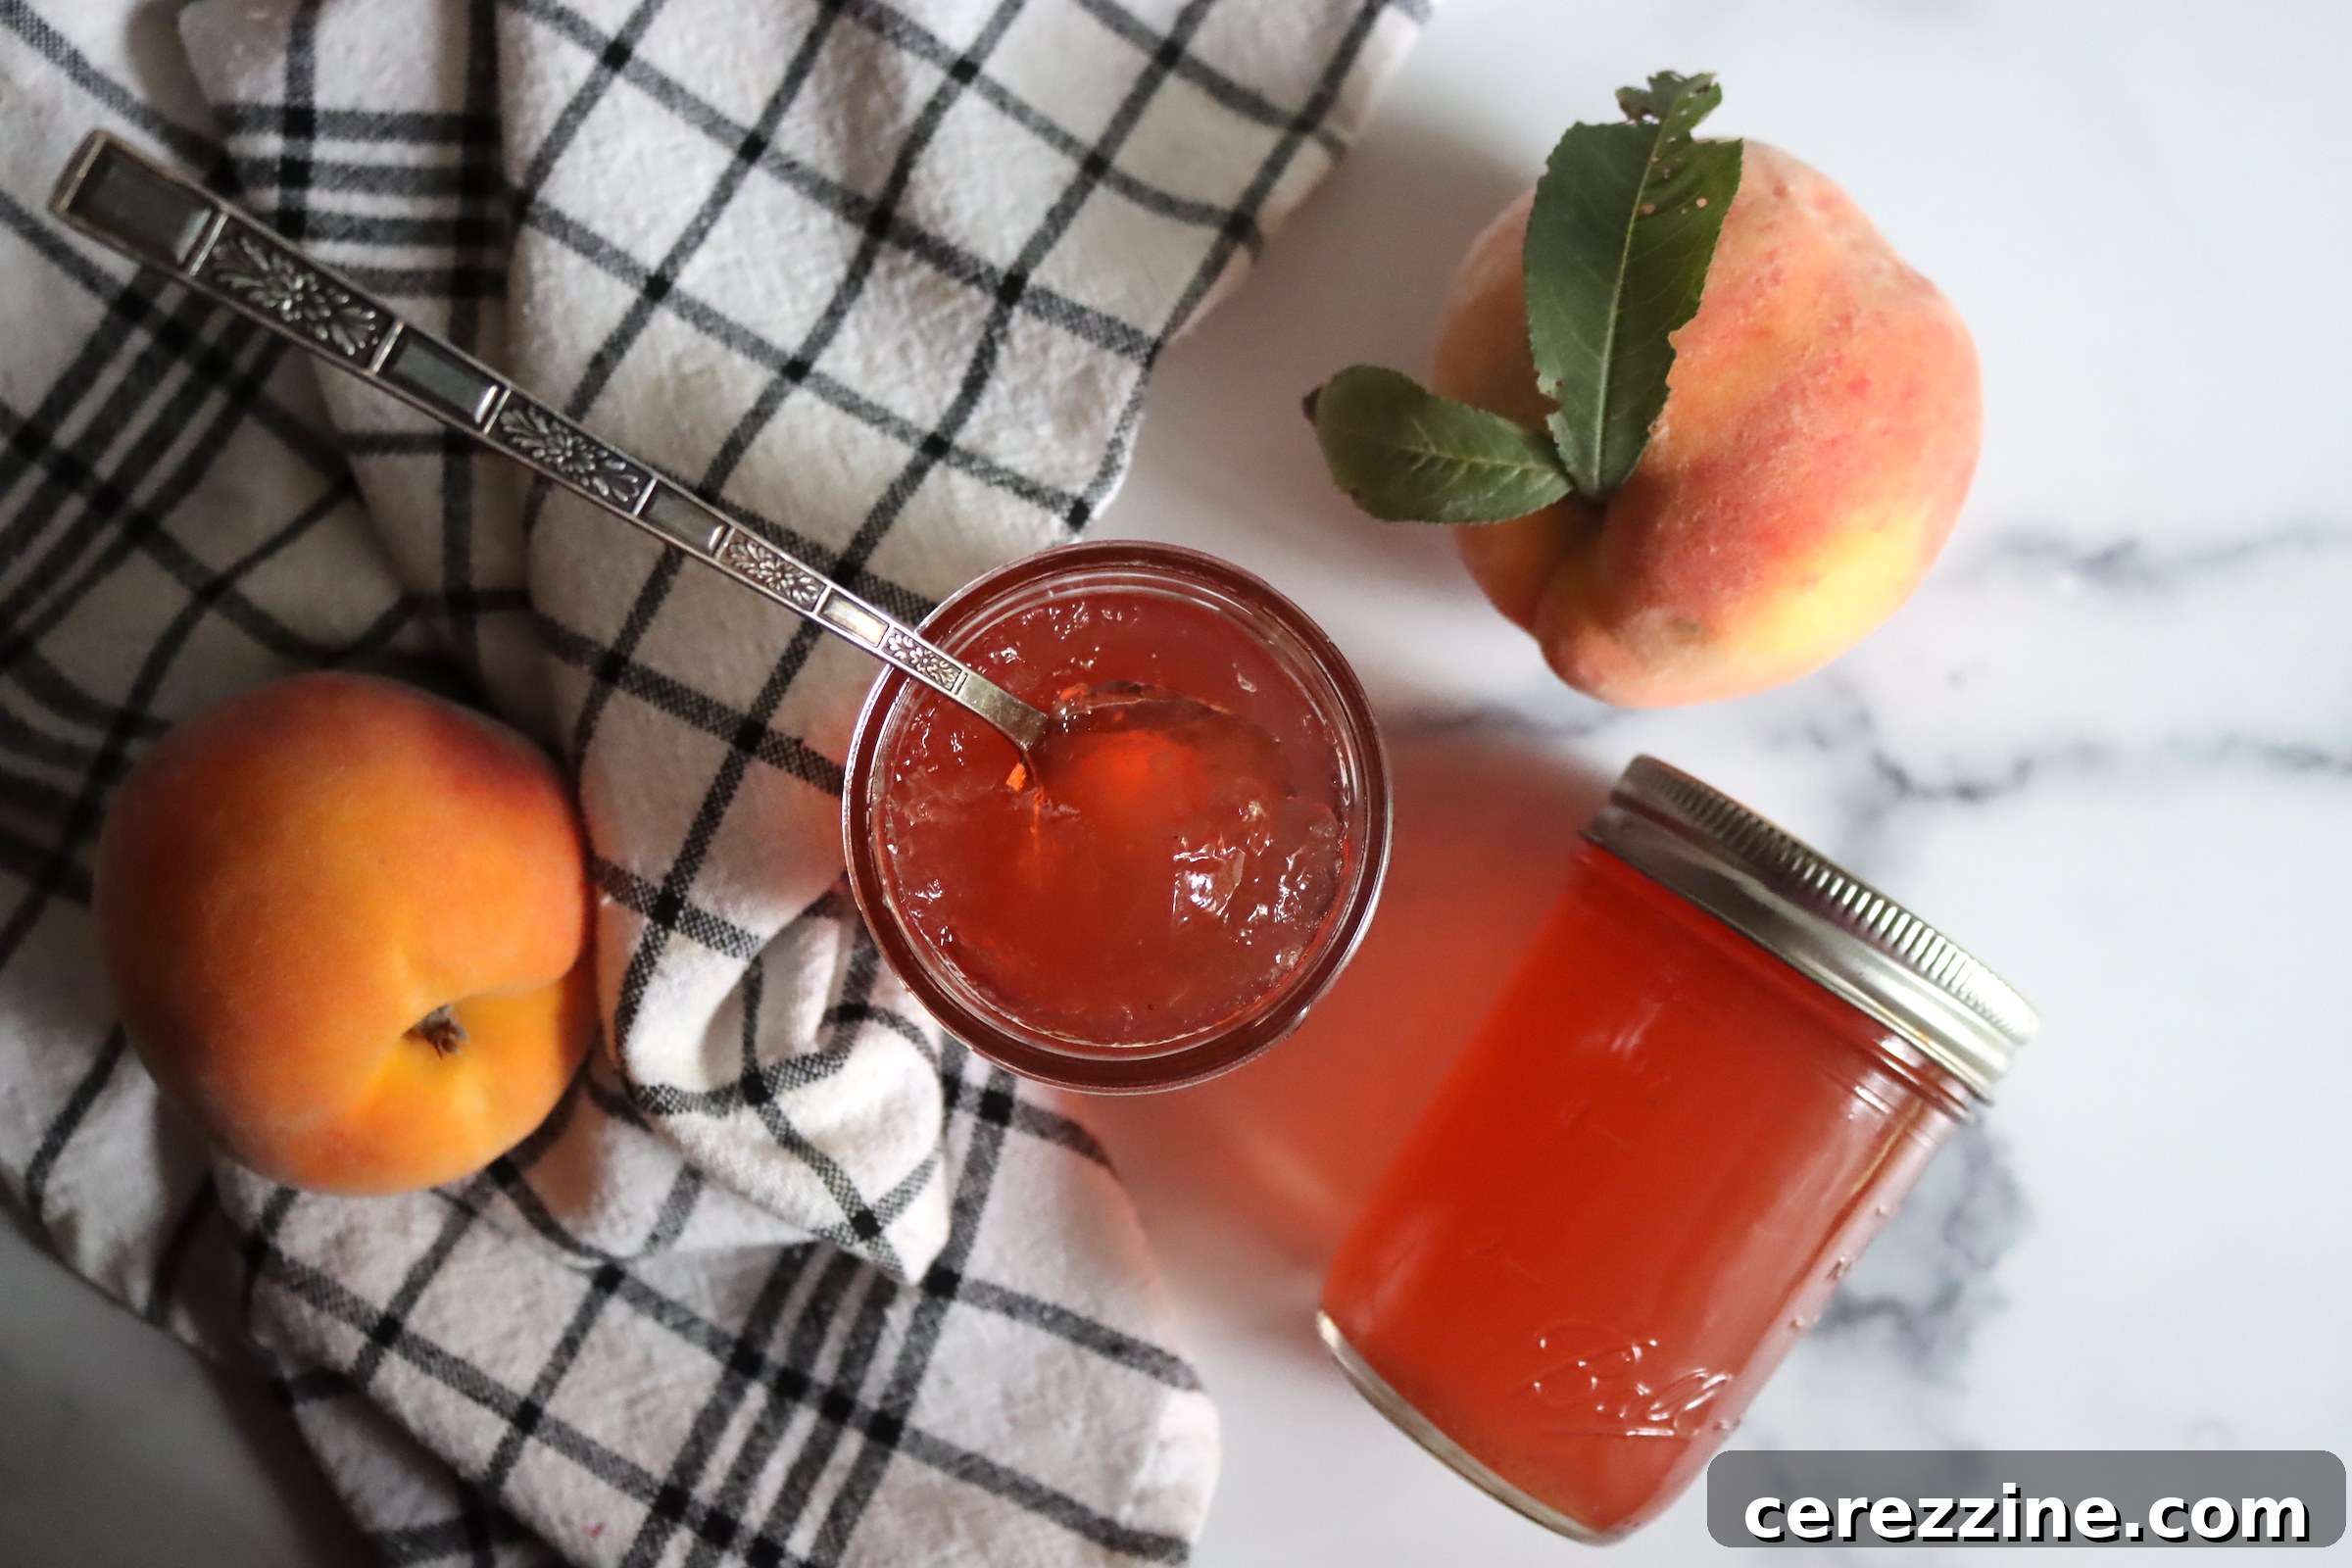
There’s a special kind of magic that happens when you capture the fleeting sweetness of summer peaches in a jar. Peach jelly, with its clear, shimmering golden hue and impossibly smooth texture, is the epitome of this magic. Unlike thicker jams or preserves that feature fruit chunks, jelly celebrates the pure essence of the fruit, offering a spreadable burst of vibrant peach flavor that brightens any breakfast table or elevates your favorite baked goods. It’s a simple yet elegant way to savor the taste of sun-ripened peaches long after their season has passed, turning a seasonal bounty into a pantry staple that looks as beautiful as it tastes.
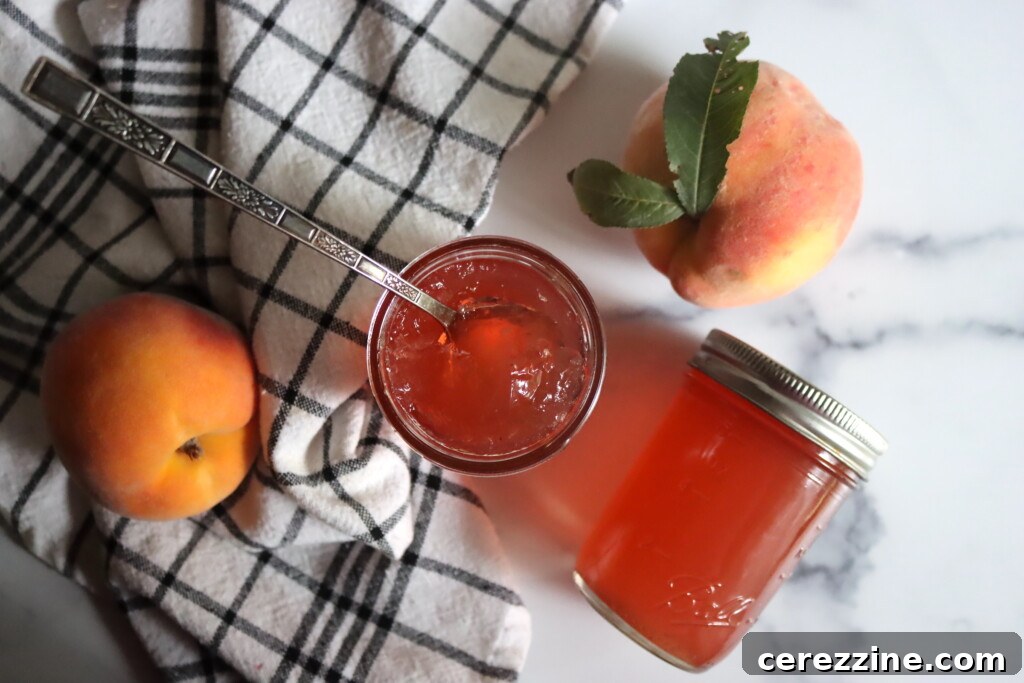
As summer ripens and peaches reach their peak, it’s easy to find yourself with an abundance. While some are savored fresh, others find their way into delicious pies, cobblers, and even homemade peach wine. But when the canning season draws to a close, and you’re seeking a preservation method that requires minimal fuss, peach jelly truly shines. It’s remarkably straightforward, allowing you to transform a pile of ripe peaches into glistening jars of pure flavor without the laborious task of peeling or pitting. This recipe focuses on extracting the rich peach juice, a surprisingly simple first step that sets the stage for a delightful jelly-making experience. Once you’ve mastered this process, you’ll be eager to make a fresh batch every year, relishing the straightforward elegance of this classic preserve.
This method is particularly perfect for those moments when you’re determined to preserve the last of the season’s peaches, but your patience for extensive preparation, like the peeling and processing involved in canning peaches, peach jam, or making home-canned peach pie filling, has worn thin. It simplifies the entire endeavor, making it accessible even for busy home canners. Moreover, the beauty of this recipe extends beyond peaches: it’s incredibly adaptable and works wonderfully with other stone fruits! Feel free to experiment and create exquisite nectarine jelly, apricot jelly, or even plum jelly, all from the same basic technique. This versatility makes it an invaluable addition to any home preserver’s repertoire, allowing you to capture the distinct flavors of various summer fruits with ease.
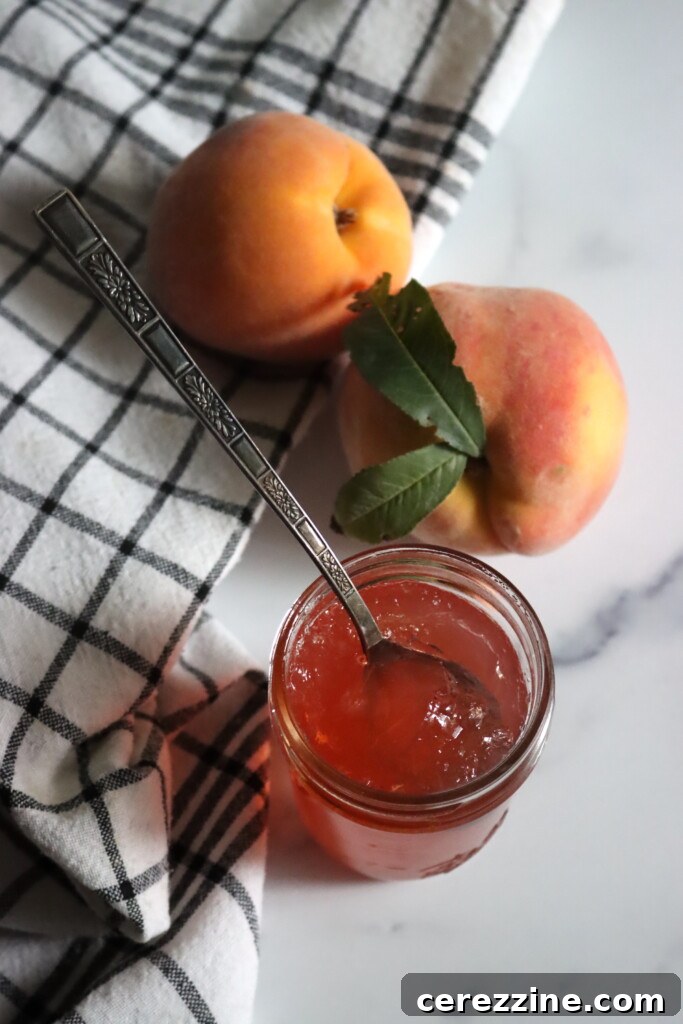
Crafting the Perfect Peach Jelly: Ingredients & Their Roles
Creating exceptional peach jelly relies on a harmonious blend of a few simple ingredients, each contributing significantly to the final flavor, texture, and stability of your preserve. Understanding the function of each component will empower you to make informed choices and achieve outstanding results. Here’s a closer look at what you’ll need and why it matters, along with an innovative tip for a zero-waste option.
- Peach Juice: The Soul of Your Jelly
This is the star of your jelly, and its quality dictates the final flavor. Derived from simmering and straining fresh peaches, the juice captures the pure, sweet, and aromatic essence of the fruit. For a standard batch yielding about 4 cups of juice, you’ll typically need around 12 medium, ripe peaches combined with 2 cups of water. The key to truly flavorful jelly lies in selecting peaches at their peak ripeness – juicy, fragrant, and bursting with natural sweetness. Varieties like freestone peaches often work best for easier juice extraction, but any flavorful peach will do. - Pectin: The Setting Agent
Pectin is a natural carbohydrate found in fruits, essential for giving jelly its characteristic gelled texture. Peaches, while delicious, are relatively low in natural pectin, especially when very ripe. This is why commercial powdered pectin, such as Sure-Jell, is a crucial addition. It acts as a gelling agent, ensuring your jelly sets properly into a firm, yet delicate, spread. It’s vital to use the correct type of pectin for your recipe’s sugar content. Standard (or “regular”) pectin requires a specific sugar ratio to activate, while low-sugar or no-sugar pectins are formulated to set with less or no added sugar. Always check your pectin package instructions to match it with your desired sugar level. - Sugar: Sweetness, Preservation, and Texture
Sugar plays multiple vital roles in jelly making. Beyond simply sweetening the preserve, it acts as a crucial preservative, inhibiting the growth of microorganisms and allowing the jelly to be stored for extended periods. It also contributes significantly to the classic texture of jelly, working in conjunction with pectin to achieve that perfect, shimmering set. The amount of sugar can be adjusted, particularly if you’re using a low-sugar pectin. Reducing the sugar to 1-2 cups will result in a softer-set jelly with a more pronounced fruit flavor, which many prefer for a more natural taste experience. - Lemon Juice: Balancing Brightness and Pectin Activation
While optional, lemon juice is a highly recommended addition, especially if your peaches are exceptionally sweet. It provides a touch of tartness that beautifully balances the sweetness of the peaches, rounding out the overall flavor profile and preventing the jelly from being cloyingly sweet. Beyond flavor, lemon juice (which contains citric acid) plays a practical role: it lowers the pH of the mixture, which is essential for activating pectin and ensuring a proper gel. Even a small amount can make a significant difference in both taste and set.
Peach Peel Jelly Option: A Sustainable & Flavorful Choice
For those committed to minimizing food waste, or if you’re already peeling peaches for other canning projects (like halves in syrup or peach pie filling), don’t discard those fragrant peels! They contain a good amount of pectin and flavor. You can make a delightful, slightly more rustic jelly using just the peels. Simply use approximately 1 pound of peach peels for each cup of juice you aim to extract. Simmer the peels in water just as you would whole fruit, then strain. It’s important to note that pesticide residues can concentrate on fruit skins, so if you choose this sustainable route, ensure you are using organically grown peaches for safety and peace of mind. This eco-friendly option results in a surprisingly flavorful jelly with a lovely blush color.
With these carefully selected ingredients, you’re well on your way to creating a smooth, golden, and aromatic peach jelly that perfectly encapsulates the vibrant flavor of ripe summer peaches, ready to adorn your pantry shelf and elevate countless culinary creations.
Extracting the Pure Essence: Your Guide to Clear Peach Juice
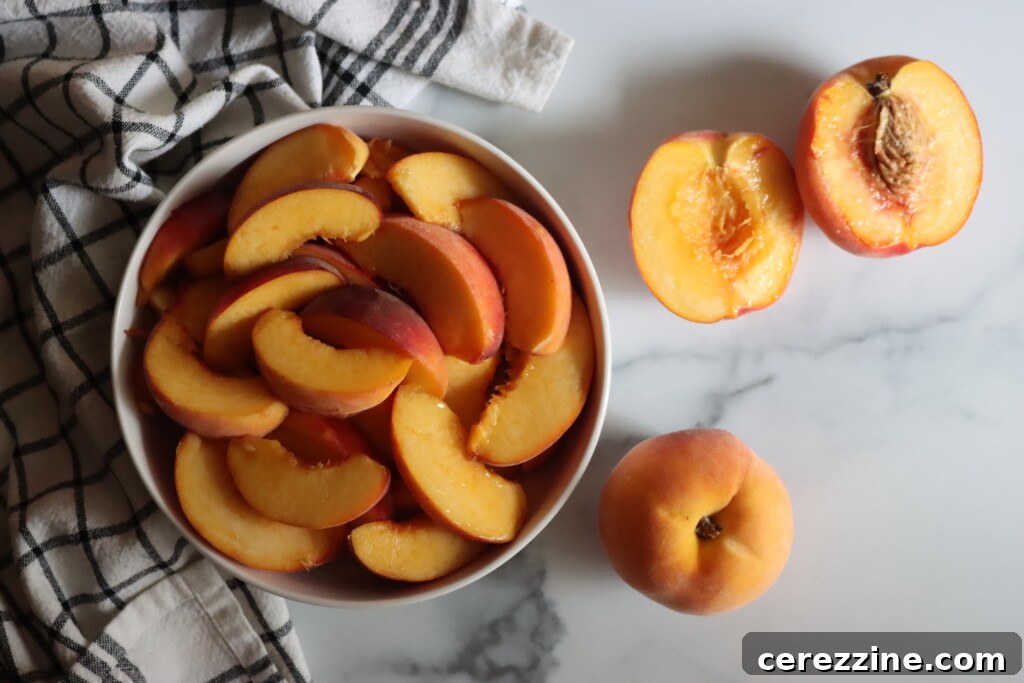
The foundation of any exquisite jelly is its juice, and for peach jelly, extracting a clear, flavorful liquid is the crucial first step. The good news is, it’s simpler than you might think, and you don’t even need to peel the peaches. The skin contributes to the beautiful color and some beneficial pectin.
Preparation is Key: Begin by thoroughly washing your peaches under cool running water. While peeling isn’t necessary, quartering the peaches and removing the pits is highly recommended. This helps expose more surface area of the fruit to the water, aiding in more efficient juice extraction, and contributes to a clearer finished juice by minimizing solids. However, if time is of the essence, you can leave the pits in; just be aware it might result in a slightly cloudier juice.
Gentle Simmering: Place approximately 12 medium peaches (quartered and pitted) into a large, heavy-bottomed pot or Dutch oven. Add 2 cups of water. Bring the mixture to a rolling boil over high heat, then immediately reduce the heat to a gentle simmer. Allow the peaches to cook for about 20 minutes, stirring occasionally. The goal here is to soften the fruit completely, encouraging it to release its juices without mashing it excessively. Stirring helps break down the fruit further, facilitating the release of that beautiful peachy liquid. Be mindful not to overcook, as prolonged heat can sometimes dull the delicate peach flavor.
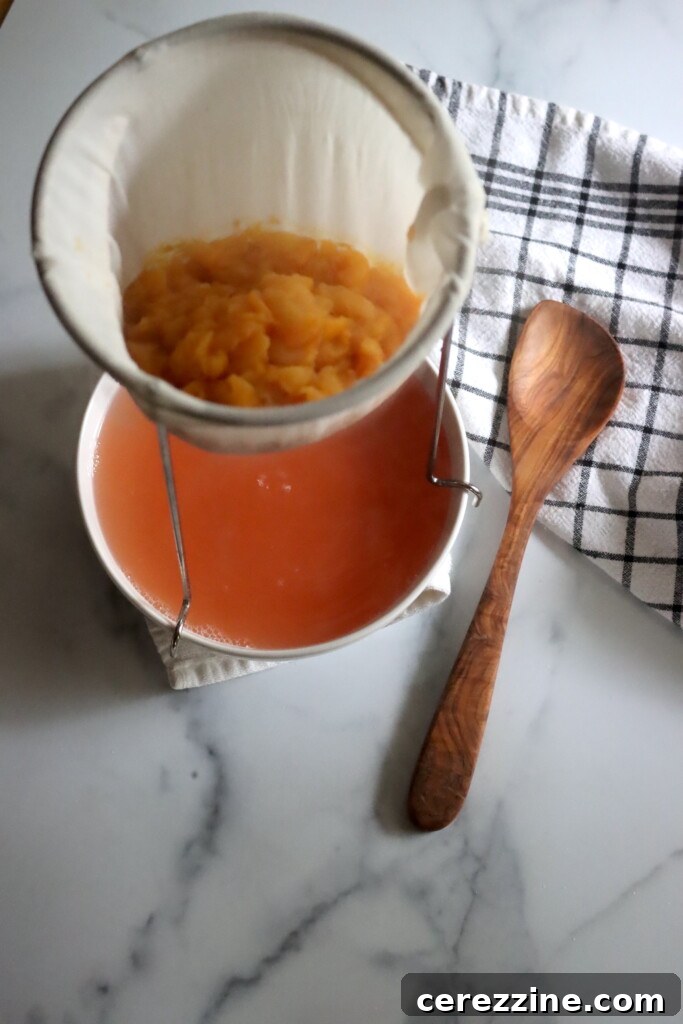
The Art of Straining: Once the peaches are wonderfully soft, it’s time for the most important step in achieving clear jelly: straining. Set up a jelly bag or a colander lined with several layers of damp cheesecloth over a large bowl. Carefully pour the cooked peach mixture into the prepared bag or cloth. Now, here’s the golden rule for crystal-clear jelly: let it drip, undisturbed, for at least 2 hours, or ideally, overnight. Resist the urge to squeeze the bag or press the fruit. Squeezing will force fine pulp particles through the cloth, resulting in cloudy jelly, which, while still delicious, won’t have that signature transparent shimmer. The longer you allow it to drip, the clearer and more concentrated your peach juice will be. Aim for approximately 4 cups of pure peach juice – the perfect amount for one batch of luscious homemade peach jelly.
Crafting Your Masterpiece: The Peach Jelly Making Process
With your pure peach juice patiently collected, the exciting part begins: transforming it into shimmering jelly. This process involves precise steps to ensure a perfect set and delightful flavor.
1. Prepare Your Canning Setup: Before you start cooking, ensure your canning equipment is ready. Wash and sterilize five (8-ounce) jelly jars, their lids, and bands. Place the jars in a water bath canner filled with water, bringing it to a gentle simmer (around 180°F). Keep the lids and bands warm in a separate small saucepan of hot (not boiling) water. This ensures everything is ready for a seamless transition once the jelly is cooked.
2. Combine Juice, Pectin, and Lemon: In a large, heavy-bottomed stockpot or preserving pan, pour your 4 cups of freshly extracted peach juice. Add 1 box of powdered pectin (typically 1.75 oz or 6 tablespoons, like Sure-Jell). If your peaches were exceptionally sweet, or if you prefer a brighter, more balanced flavor, stir in 2 tablespoons of fresh lemon juice at this stage. Stir vigorously to ensure the pectin is thoroughly dissolved in the juice. Place the pot over medium-high heat.
3. Bring to a Rolling Boil: Continuously stir the juice and pectin mixture as it heats, preventing it from sticking to the bottom of the pan. Bring it to a full, rolling boil that cannot be stirred down. Once this rolling boil is achieved, allow it to continue for 1 full minute. This initial boil helps activate the pectin.
4. Introduce Sugar and Achieve a Rapid Boil: Now, add the 4 cups of granulated sugar to the boiling mixture. Stir constantly until the sugar is completely dissolved. Continue to cook over high heat, bringing the mixture back to a rapid, rolling boil that cannot be stirred down. Maintain this vigorous boil for 1 to 2 minutes. This critical step, often referred to as the “jelly point,” allows the pectin, sugar, and acid to interact and form the gel. Stir diligently to prevent scorching.
5. Test for Set (Optional but Recommended): While many pectins are formulated for a reliable set, you can perform a “cold plate test” to confirm. Place a small plate in the freezer before you begin cooking. When you think the jelly is ready, spoon a small amount onto the chilled plate. Return the plate to the freezer for 1 minute. Remove it and push the jelly with your finger; if it wrinkles, it’s ready. If not, continue boiling for another minute and retest. Another method is the “sheet test,” where you lift a spoon of hot jelly and tilt it; if it forms two distinct drops that run together and fall off in a sheet, it’s set.
6. Fill the Jars: Once your jelly has reached the perfect consistency – thick enough to coat a spoon but still pourable – carefully remove the pot from the heat. Ladle the hot jelly into your prepared, warm canning jars, leaving precisely 1/4 inch of headspace (the space between the jelly and the rim of the jar). This headspace is vital for proper sealing during the canning process. Use a clean, damp cloth to meticulously wipe the rims of the jars; any residue can prevent a proper seal.
7. Seal and Process: Place the warm lids onto the filled jars, then screw on the bands until they are “fingertip tight” – just snug enough to hold the lid in place, but not overly tightened. Using a jar lifter, carefully place the sealed jars into the simmering water bath canner, ensuring they are fully submerged by at least 1 inch of water. Bring the water back to a full boil and process the jars for 10 minutes. If you reside at an altitude above 6,000 feet, extend the processing time by an additional 5 minutes to ensure safe preservation.
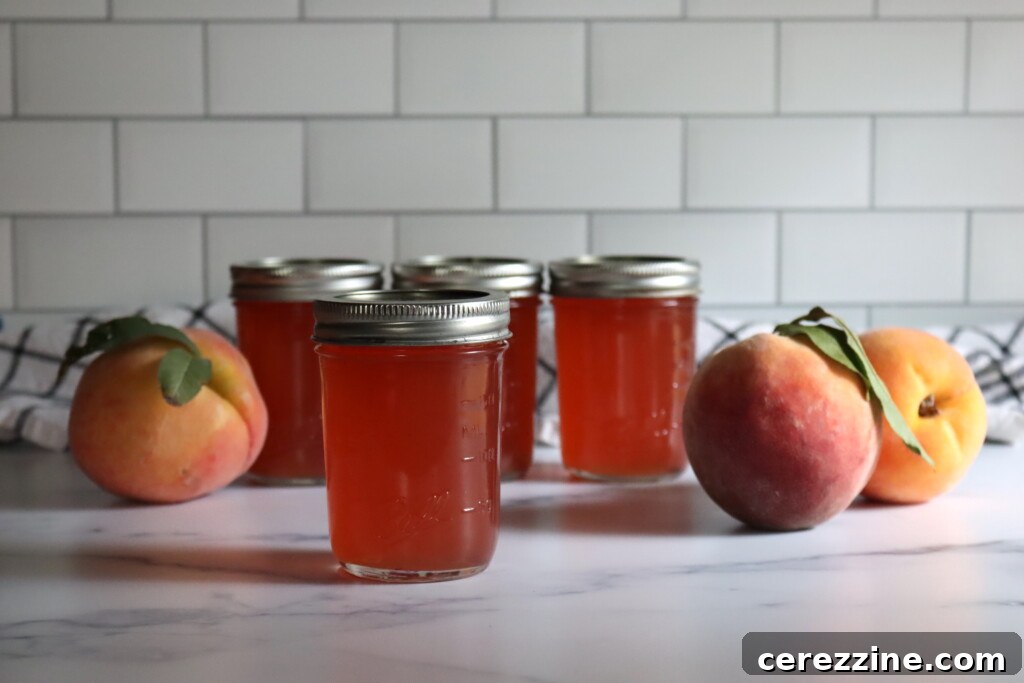
8. Cool and Store: After the processing time is complete, turn off the heat and carefully remove the jars from the canner using your jar lifter. Place them on a clean towel or a cooling rack, ensuring they are undisturbed for 12 to 24 hours. During this time, the jars will seal as they cool, indicated by a “pop” sound and a lid that is concave and cannot be depressed in the center. Once cooled, check the seals: press the center of each lid. If it doesn’t flex, the jar is sealed. Unsealed jars should be refrigerated and consumed within a few weeks. Store properly sealed jars in a cool, dark pantry for up to 18 months, ready to bring a taste of summer sunshine to any meal.
Low-Sugar Peach Jelly: A Healthier Indulgence
For those mindful of sugar intake, or who simply prefer a less sweet, more fruit-forward preserve, creating low-sugar peach jelly is an excellent option. The process remains very similar, with a crucial adjustment: you must use a specialized low-sugar pectin. These pectins are formulated to gel with significantly less sugar, allowing you to reduce the sugar content to just 1 to 2 cups per batch of 4 cups of peach juice. It’s important not to simply reduce sugar with regular pectin, as it relies on a specific sugar concentration to set properly. While a low-sugar batch might yield a slightly smaller quantity of jelly and have a softer set compared to its full-sugar counterpart, the vibrant, unadulterated peach flavor will truly shine through. It’s a wonderful way to enjoy the natural sweetness of summer peaches with a lighter touch.
Exploring Stone Fruit Variations: Beyond Peaches
The beauty of this peach jelly recipe lies in its adaptability. The fundamental technique for juice extraction and jelly making translates beautifully to other stone fruits, allowing you to create a diverse array of homemade jellies that celebrate the unique flavors of the season. Here are some delightful variations to explore:
- Nectarine Jelly: A simple and direct swap! Nectarines, being a close cousin to peaches, can be prepared using the exact same method. The result is a jelly with a slightly different, often more intense, floral note and a wonderfully smooth texture.
- Plum Jelly: Plums offer a rich, tangy depth that makes for a fantastic jelly. When substituting plums for peaches, aim for approximately 9 medium plums to yield about 1 cup of juice, adjusting the total plum quantity to achieve your desired 4 cups of juice. Follow the same simmering and straining steps, and you’ll be rewarded with a gorgeously colored and intensely flavored plum jelly.
- Apricot Jelly: Apricots yield a delicate, bright jelly with a distinct sweet-tart profile. You’ll find that apricots tend to give up less juice than peaches, so be prepared to use a good bit more fruit to achieve the necessary 4 cups of juice. The extra effort is well worth it for the exquisite taste of homemade apricot jelly.
- Cherry Jelly: While smaller, cherries are indeed stone fruits and produce a wonderfully rich and vibrant jelly. This recipe can be adapted for cherry jelly, offering a deeper, more concentrated fruit flavor that is incredibly versatile.
Each of these variations offers a unique sensory experience, transforming the bounty of summer stone fruits into delicious, shelf-stable preserves that you can enjoy year-round.
Peach Jelly
Peach jelly is a smooth, golden preserve made from fresh peach juice, sugar, and pectin—perfect for spreading on toast or adding to baked goods. This classic jelly highlights the sweet, floral flavor of ripe summer peaches without any pulp or chunks. You can make it from whole fruit or repurpose the peels from home-canned peaches for a zero-waste variation that’s just as delicious.
Equipment
-
Water Bath Canner
-
Jelly Strainer with Bag
Ingredients
- 4 cups peach juice, from about 12 medium peaches and 2 cups water
- 1 box powdered pectin, 1.75 oz pectin or 6 Tbsp (like Sure-Jell)
- 4 cups sugar, for low sugar, see the adjustments below
- 2 tbsp lemon juice, optional—use if your peaches are very sweet and you want a little tartness
Instructions
Extracting Peach Juice
-
Prepare the Peaches: Wash your peaches thoroughly. You don’t need to peel them, but it’s a good idea to quarter them and remove the pits if you want to reduce the amount of solids in your juice. However, leaving the pits in is fine for the juice extraction process.
-
Cook the Peaches: In a large, stainless steel saucepan, combine the quartered peaches with water. Bring the mixture to a boil over high heat, stirring occasionally. Once boiling, reduce the heat and let it simmer gently for about 20 minutes, stirring occasionally to crush the peaches and release their juices. Be careful not to overcook the peaches, as it can affect the flavor and the strength of the natural pectin.
-
Strain the Juice: Once the peaches have softened, it’s time to strain the juice. Place a damp jelly bag (or several layers of dampened cheesecloth) over a large bowl. Pour the cooked peach mixture into the jelly bag or cheesecloth-lined strainer and allow the juice to drip through, undisturbed, for at least 2 hours or overnight. The longer you let it drip, the clearer and more concentrated your juice will be.
Making Peach Jelly
-
Prepare Your Jars and Equipment: Wash and prepare jelly jars, lids and rings. Preheat a waterbath canner to just simmering, about 180 F.
-
Cook the Juice and Pectin: In a large saucepan, combine the peach juice and water. Add the pectin and stir to dissolve. Place the pan over medium-high heat and bring the mixture to a boil. Stir occasionally, ensuring that the pectin is fully dissolved. Once it’s boiling, allow it to cook for 1 minute.
-
Add Sugar and Boil Again: Add the sugar to the pan and stir until it dissolves completely. Bring the mixture to a rapid boil, and let it cook for 1-2 minutes. Keep stirring to prevent burning. If you want to test if your jelly is set, you can do the cold plate test (see the “Tips” section below).
-
Fill the Jars: Once the jelly has reached the right consistency (it should be thick but still pourable), remove the pan from the heat. Ladle the hot jelly into your prepared jars, leaving about 1/4 inch of headspace. Wipe the rims of the jars with a clean cloth to ensure a good seal.
-
Seal the Jars: Place the lids on the jars and screw on the bands until they are “fingertip tight.”
-
Process the Jars: Process the jars in a waterbath canner for 10 minutes, or 15 minutes if above 6,000 feet in elevation.
-
Cool and Store: Remove the jars from the canner using a jar lifter and place them on a clean towel to cool. Leave them undisturbed for 12-24 hours to ensure that the seals form properly. Once cooled, check the seals by pressing down on the center of the lid—it should not pop back. If it does, the jar didn’t seal, and you can refrigerate it and use it within a few weeks.
Notes
Store the sealed jars in a cool, dark place, where they will keep for up to 18 months. Refrigerate after opening.
Low-Sugar Version: If you prefer a lower sugar recipe, you can use a low-sugar pectin like Sure-Jell Low-Sugar, which allows you to cut the sugar in half. In that case, use only 1 to 2 cups of sugar for 4 cups of juice. The yield will be lower.
Variations
This recipe works well for other stone fruits as well.
Nectarine Jelly: Use the same method to extract juice from nectarines—just substitute nectarines for peaches.
Plum Jelly: If you prefer plums, you can substitute them for the peaches, using about 9 plums for every cup of juice.
Nutrition
Nutrition information is automatically calculated, so should only be used as an approximation.
Like this? Leave a comment below!
Serving Suggestions & Creative Uses for Peach Jelly
Once your beautiful jars of peach jelly are sealed and cooled, the possibilities for enjoying this golden preserve are endless. While it’s undeniably delicious simply spread on a piece of toast or a freshly baked scone, its delicate sweetness and smooth texture lend themselves to a myriad of creative culinary applications:
- Breakfast Staples: Beyond toast, try swirling peach jelly into your morning yogurt or oatmeal, or dolloping it onto pancakes, waffles, or French toast. It adds a gourmet touch to everyday breakfast.
- Baking & Desserts: Use it as a filling for tarts, thumbprint cookies, or delicate layered cakes. Melt a spoonful with a tiny bit of water to create a glaze for fruit tarts or cheesecakes. It also makes a fantastic filling for homemade donuts or crepes.
- Savory Pairings: Don’t limit jelly to sweet dishes. Peach jelly pairs wonderfully with savory foods. Serve it alongside roasted chicken or pork tenderloin for a sweet and tangy counterpoint. It’s also an excellent addition to a cheese board, complementing creamy brie or sharp cheddar. Stir a spoonful into a pan sauce for a burst of fruit flavor.
- Cocktails & Beverages: A small amount of peach jelly can be dissolved in hot water to create a simple syrup, perfect for sweetening iced tea, lemonade, or crafting unique cocktails with a peachy twist.
- Gift Giving: Homemade peach jelly makes a thoughtful and cherished gift. Package a jar with a lovely ribbon and a personalized tag for birthdays, holidays, or as a hostess gift.
Troubleshooting Common Jelly Making Issues
Even seasoned canners can encounter a hiccup or two. Here are some common issues and how to address them:
- Runny Jelly: This is the most common complaint. It usually means the jelly didn’t reach a proper set point due to insufficient pectin activation, not enough acid, or not boiling long enough. Ensure you’re using fresh pectin and precise measurements. For a runny batch, you can re-process it by adding more pectin according to the manufacturer’s instructions for re-making jelly, or simply enjoy it as a peach syrup!
- Cloudy Jelly: This often happens if you squeeze the jelly bag during straining, forcing pulp through. It can also occur if fruit isn’t ripe enough or if the mixture is overcooked. Cloudy jelly is still perfectly safe and delicious, just not visually perfect.
- Crystals in Jelly: This is typically caused by too much sugar for the amount of acid or pectin, or incomplete dissolution of sugar. Ensure sugar is fully dissolved before reaching the full rolling boil.
Easy Jelly Recipes
If you’ve enjoyed the process of making peach jelly, there’s a whole world of silky smooth homemade jellies waiting to be discovered. Each fruit offers its unique flavor profile, making every batch a delightful adventure:
- Cherry Jelly – Whether made from sweet or tart cherries, this jelly boasts a rich, fruity flavor that’s exquisite on toast, pastries, or even as a glaze for savory dishes.
- Black Raspberry Jelly – Indulge in the deeply flavored and intensely aromatic experience of this summer favorite, crafted from the concentrated goodness of wild or cultivated black raspberries.
- Gooseberry Jelly – With its distinctly tart and bright flavor, gooseberry jelly is a unique preserve that sets beautifully thanks to the fruit’s naturally high pectin content.
- Wild Grape Jelly – A true homesteading classic, this jelly utilizes foraged wild grapes to create a bold, tangy flavor that pairs exquisitely with peanut butter, cheeses, or as a glaze for meats.
Each of these recipes is designed to highlight the best of seasonal fruit, bringing a touch of summer’s bounty and homemade warmth to your pantry shelves, ready to be enjoyed throughout the year.
Beyond Jelly: More Peach Canning Recipes
If your peach harvest is abundant, and you’re looking for additional ways to preserve these delectable fruits beyond jelly, there are numerous peach canning recipes to explore. Stock your pantry with a variety of homemade peach delights that will keep the taste of summer alive year-round:
- Peach Jam – A timeless spread featuring delightful bits of fruit in every bite, perfect for slathering on toast, stirring into yogurt, or filling pastries.
- Peach Butter – This slow-cooked preserve offers a smooth, rich, and deeply flavored experience, making it an ideal comforting treat for autumn breakfasts or a wonderful accompaniment to roast meats.
- Peaches in Syrup – Preserve simple canned peach halves or slices in a light or heavy syrup, ready for year-round enjoyment as a dessert, pie filling, or side dish.
- Pickled Peaches – A Southern favorite, these sweet, spiced, and tangy peaches offer a unique flavor profile that pairs exceptionally well with rich meats or sophisticated cheese boards.
- Peach Salsa – A vibrant and flavorful fruit salsa made with fresh peaches, a kick of peppers, and savory onions, offering a delightful twist without the need for tomatoes.
These diverse recipes provide fantastic opportunities to preserve your bumper crop of peaches, ensuring you can savor their sweet, sunny flavor long after the summer season concludes.