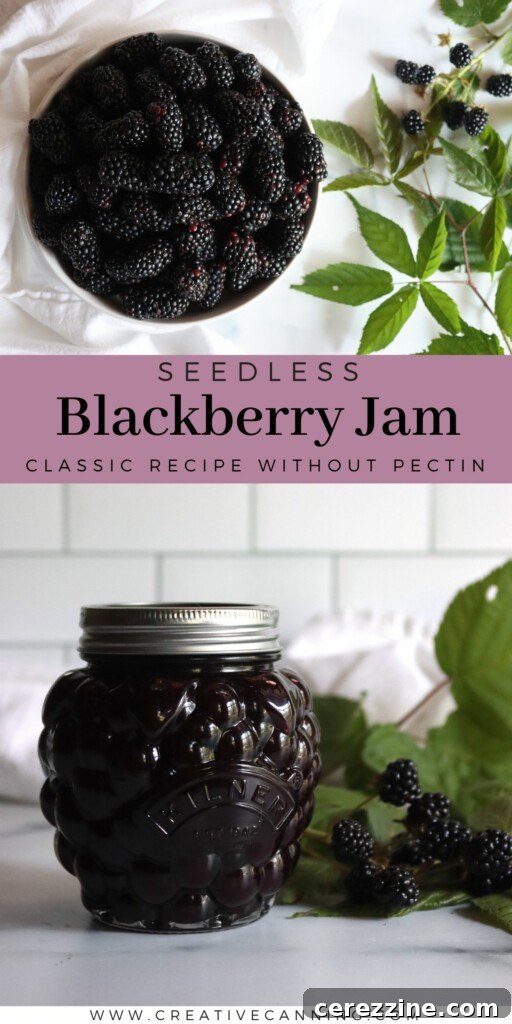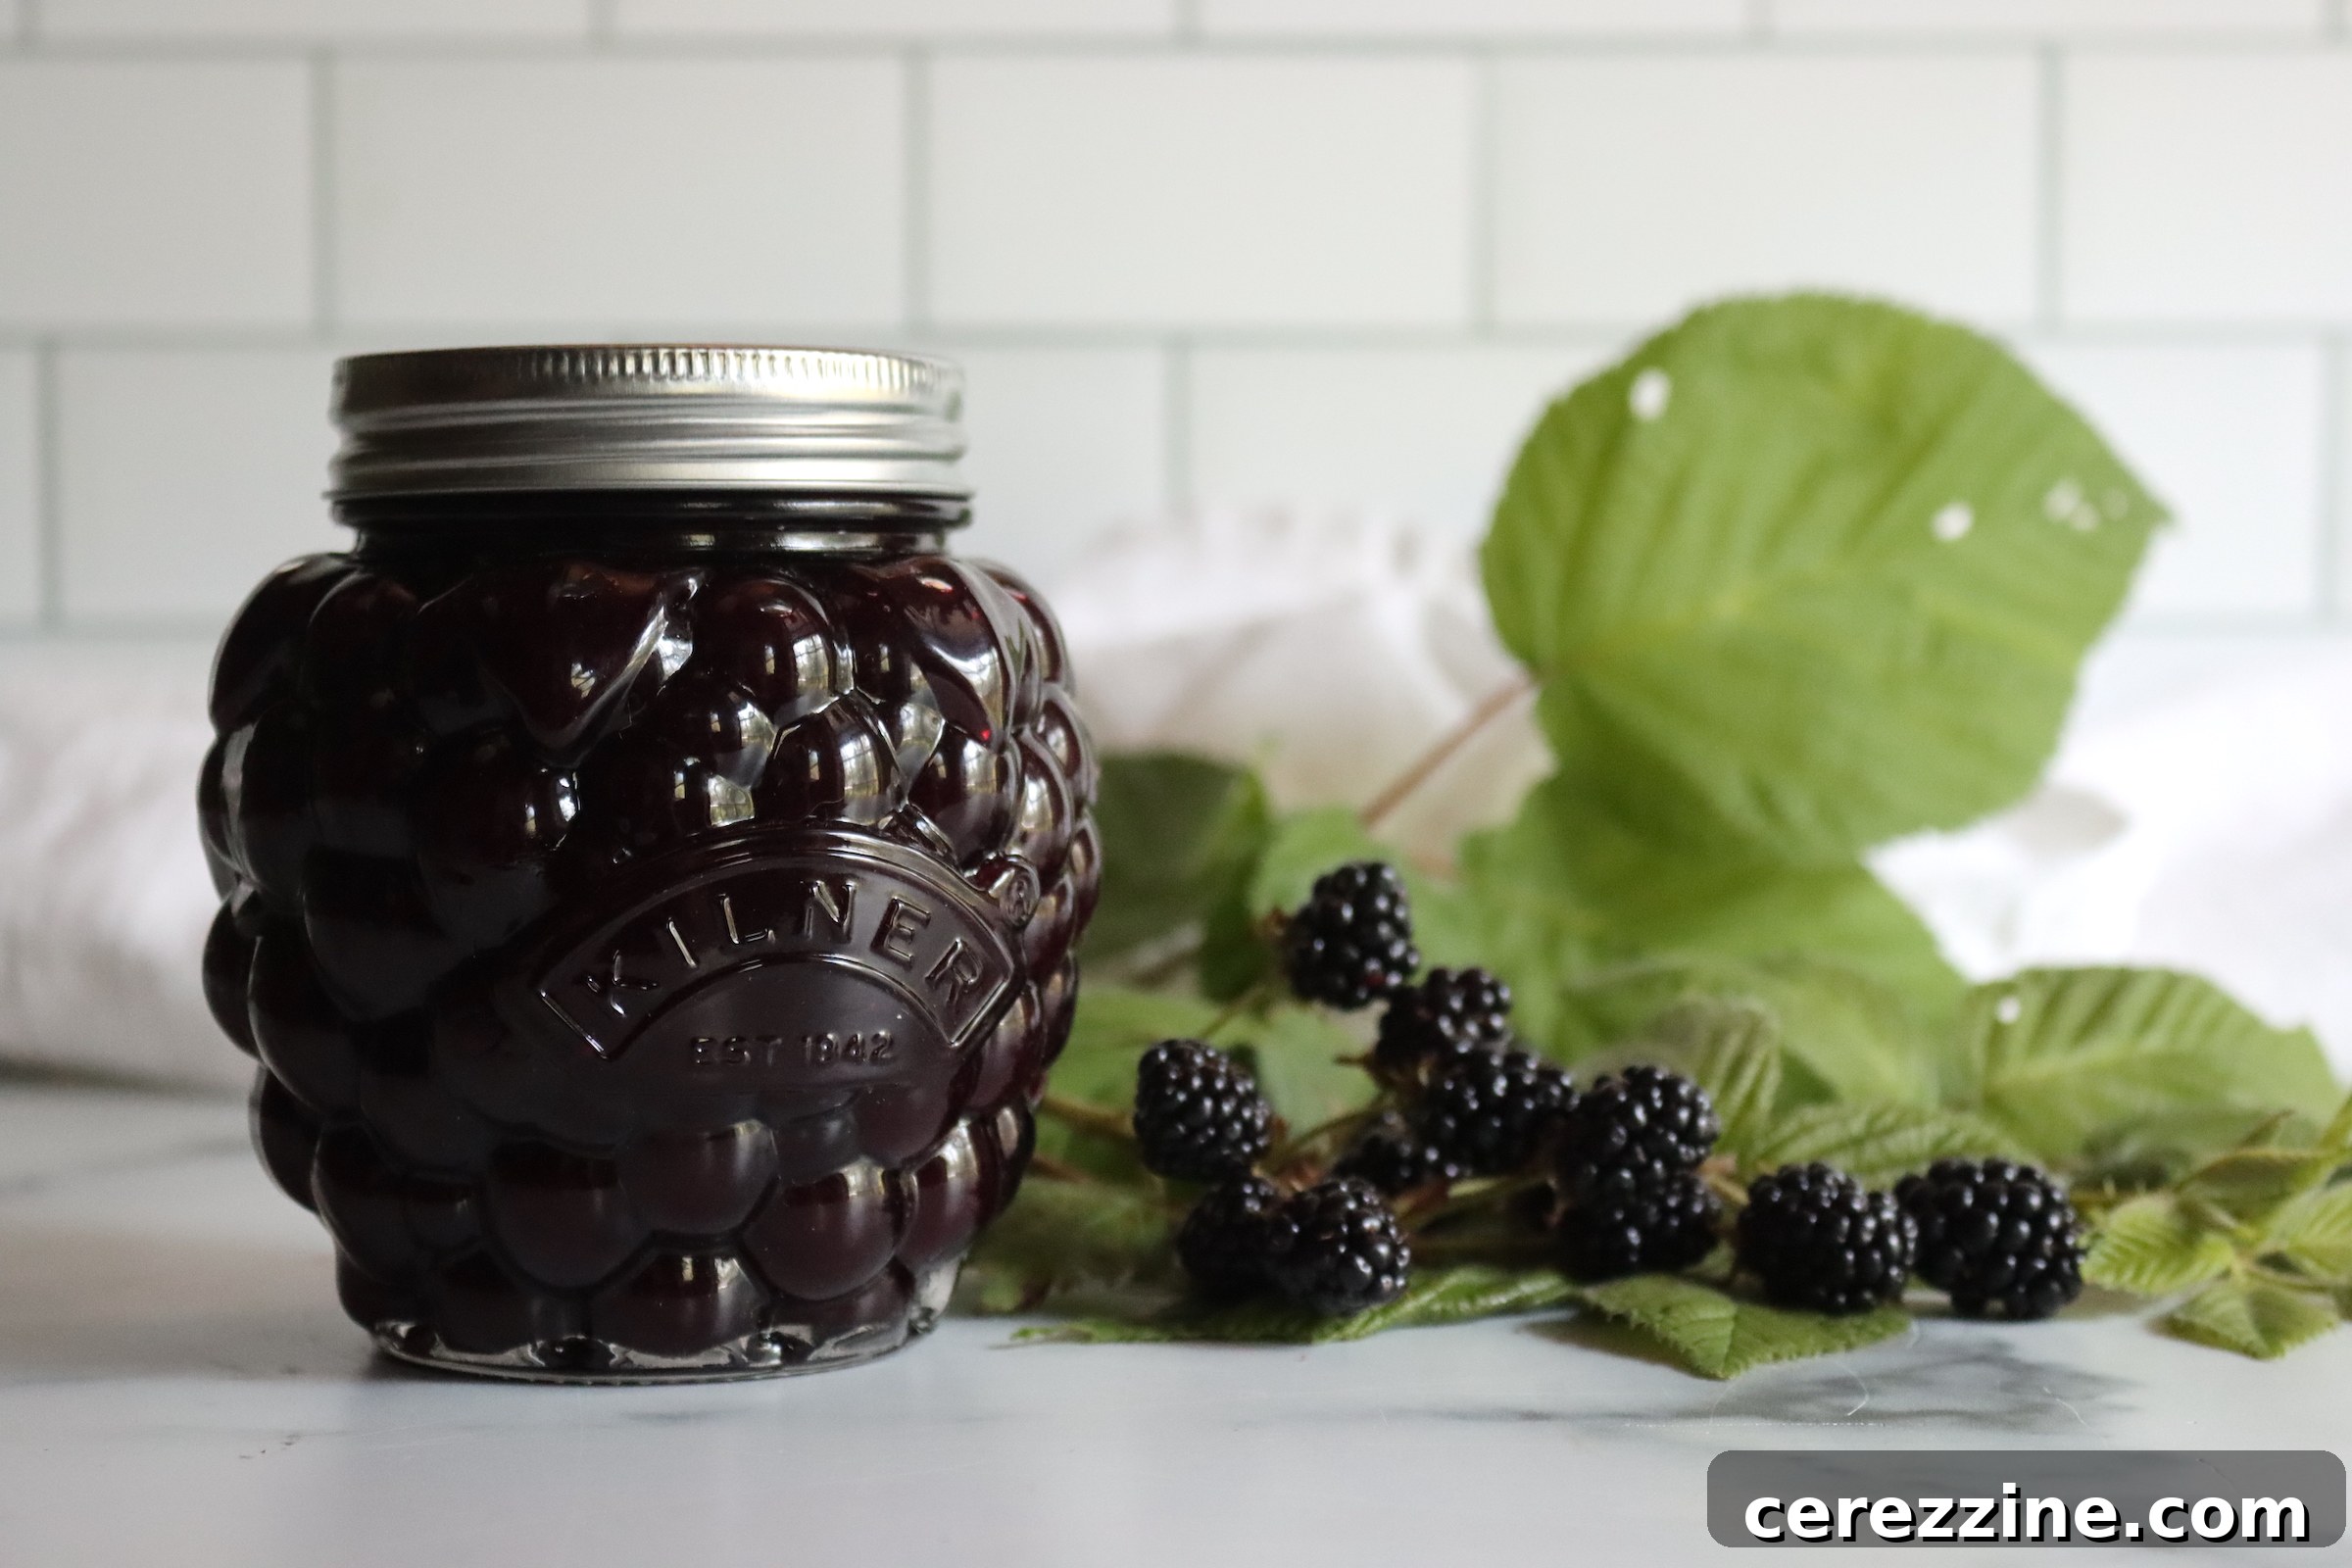
Indulge in the pure essence of summer with a batch of homemade seedless blackberry jam. This luxurious preserve captures the vibrant, rich flavor of fresh blackberries, transforming them into a silky-smooth spread free from any distracting seeds. While traditional blackberry jam offers a delightful rustic charm, there are countless occasions and preferences that call for a more refined, velvety texture. Whether you’re a discerning palate, making treats for children, or simply desire a jam that glides effortlessly onto delicate baked goods, this seedless version is a true culinary delight. Say goodbye to the crunch and hello to unparalleled smoothness.
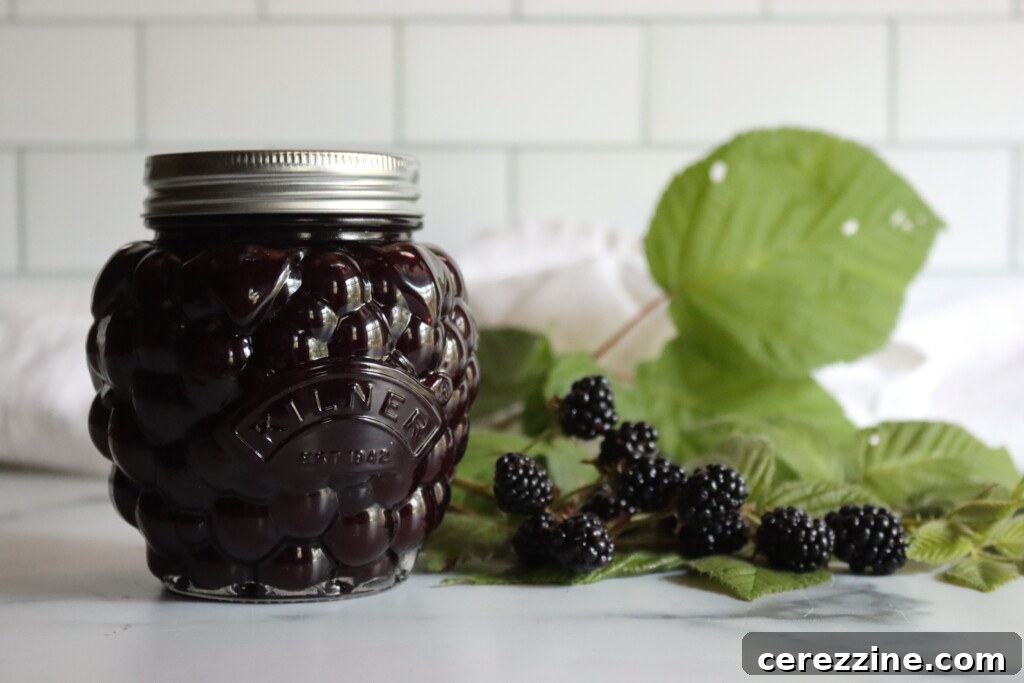
The allure of seedless jam extends far beyond mere texture. Its pristine smoothness makes it exceptionally versatile for a range of culinary applications. Imagine spreading it generously on fluffy scones, swirling it into creamy yogurts or warm bowls of oatmeal, or layering it between delicate crepes. It truly shines as a filling for thumbprint cookies, elegant cakes, and pastries where a perfectly smooth finish is paramount. This jam not only elevates your breakfast but also adds a sophisticated touch to any dessert, ensuring every bite is a pure burst of berry goodness.
Crafting seedless jam does involve an additional step compared to its seedy counterpart, primarily due to the inherent nature of blackberries, which are notoriously packed with tiny seeds. Recipes for blackberry jelly, syrups, or juices bypass this issue by meticulously straining out all solid matter, including both pulp and seeds, leaving behind only the clear, flavorful liquid. However, for jam, the goal is to retain the luscious fruit pulp while solely eliminating the unwelcome seeds.
The journey to smooth, seedless perfection begins by gently cooking and mashing your fresh blackberries. This crucial initial step helps to soften the fruit, release its vibrant juices, and break down the pulp, making the subsequent straining process much more efficient. Once tender, the berry mixture is then carefully pressed through a specialized tool such as a food mill, a chinois sieve, or a fine-mesh strainer. This mechanical separation effectively removes every tiny seed, leaving you with a rich, concentrated berry puree. While this step requires a little extra time and perhaps some dedicated “elbow grease” if you’re using a simple strainer, the reward is immeasurable: a gleaming, spoonable jam boasting a luxurious texture and an intensely concentrated, pure blackberry flavor that truly captures the essence of summer in a jar.
Whether you’ve harvested a bountiful crop of wild blackberries from your backyard, gathered them from local U-pick farms, or simply purchased them fresh from the market, this comprehensive blackberry canning recipe provides a foolproof method to preserve summer’s fleeting bounty. It’s an ideal way to ensure you can enjoy the deep, sweet-tart taste of blackberries in a remarkably smooth, seedless spread throughout the year. Prepare to transform your berries into a pantry staple that will brighten countless meals and treats.
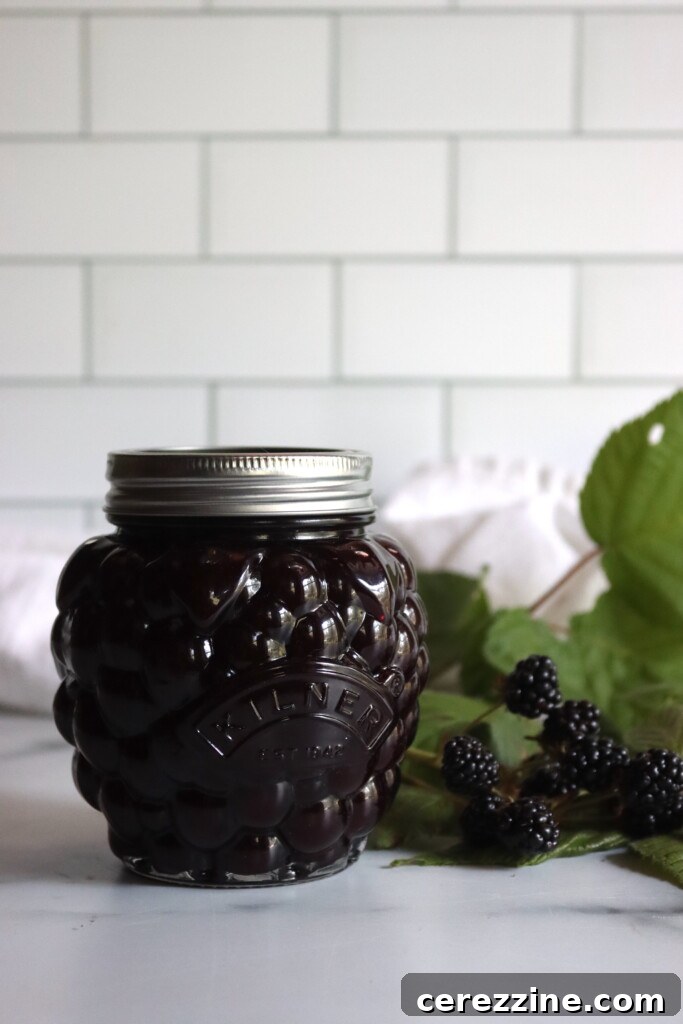
Essential Ingredients for Perfect Seedless Blackberry Jam
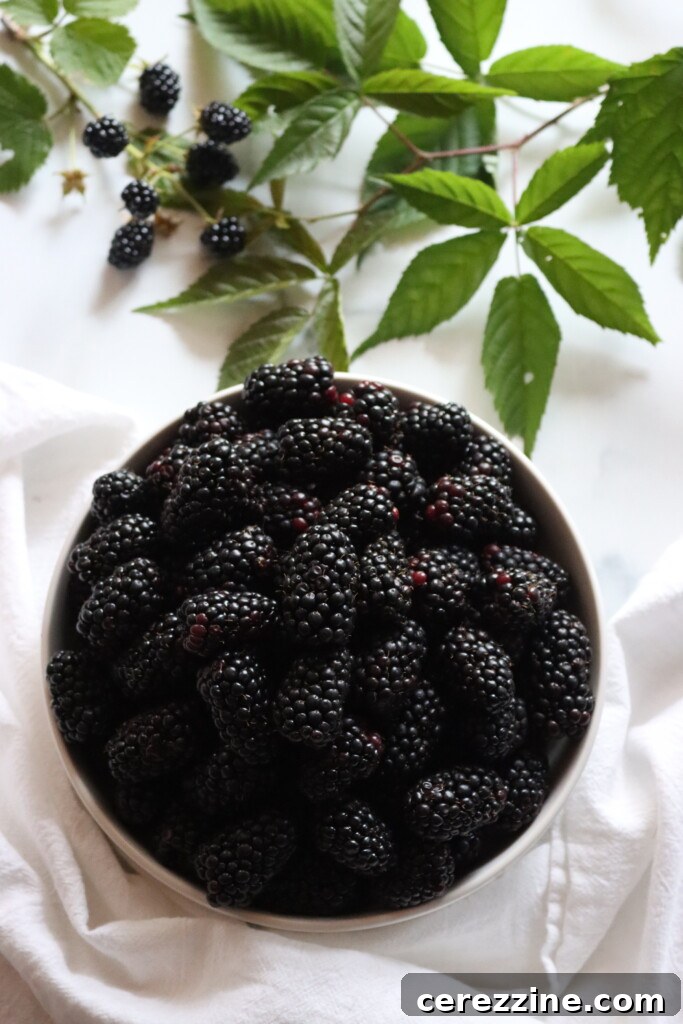
To embark on your journey to crafting this exquisite seedless blackberry jam, you’ll need just a few simple, high-quality ingredients. The star of the show, of course, is fresh blackberries. For this recipe, we begin with approximately 16 cups of whole blackberries, which typically translates to about 4 pounds of fruit as purchased. Once these berries are gently mashed and cooked, they will yield roughly 8 cups of mashed blackberries. After the crucial straining process to remove all the seeds, you’ll be left with approximately 6 cups of luscious seedless pulp – the perfect amount for a small batch of jam, yielding about 4 half-pint jars of this delightful preserve.
The only other primary ingredient required for this classic, pectin-free jam is granulated sugar. This recipe calls for 4 cups of sugar, which strikes a beautiful balance between enhancing the natural fruit flavor and providing adequate sweetness, as well as aiding in the jam’s preservation and set. It’s important to note that you do not need any added commercial pectin for this recipe. Blackberries are naturally rich in pectin, a gelling agent found in many fruits, and when cooked properly to the correct temperature, their natural pectin content is sufficient to achieve a firm yet spreadable set.
While lemon juice is not strictly required for safety, as blackberries are already wonderfully high in natural acidity (which is vital for safe canning and proper gelling), it serves as a fantastic flavor enhancer. Adding one to two tablespoons of fresh lemon juice can significantly brighten the overall taste of the jam, cutting through the sweetness and accentuating the berries’ vibrant notes. This addition is particularly recommended if you are using sweeter cultivated blackberry varieties, as it helps to introduce a pleasant tang that wild blackberries often possess naturally. For tart wild berries, you might choose to omit it or use less.
Specialized Equipment for Efficient Blackberry Seeding
Removing the seeds from blackberries is a straightforward task, but having the right tools can transform it from a manual chore into an effortless process. If you anticipate making seedless blackberry jam, or any other fruit purees, more than once, investing in a dedicated food mill is highly recommended. It will quickly become an indispensable tool in your kitchen.
A food mill equipped with a fine or berry screen is unequivocally the easiest and most efficient option available. Its design allows you to process large quantities of fruit rapidly, requiring minimal effort. Simply load the cooked berries into the mill, turn the crank, and watch as it skillfully separates the smooth pulp from the stubborn seeds in mere minutes. You can find various types to suit your needs: there are practical handheld versions designed to sit conveniently over your jam pot, larger, more robust counter-mounted models for heavy-duty use, and even ingenious attachments that connect to a KitchenAid mixer, further speeding up the entire process and making it almost entirely hands-free.
Should a food mill not be within your budget or kitchen space, a chinois sieve (also widely known as a conical strainer) offers another excellent alternative. Crafted from sturdy material with an incredibly fine mesh, it is perfectly designed to capture every tiny seed. When paired with a robust wooden pestle or tamper, a chinois allows you to apply firm pressure, effectively working the softened fruit pulp through the fine mesh. This method is more manual than a food mill but remains remarkably effective at achieving a beautifully smooth, seedless puree.
For those seeking the most budget-friendly option, a standard fine mesh strainer will certainly get the job done. However, be prepared for a more labor-intensive experience, as this method demands the most “elbow grease.” You’ll need to use a sturdy spoon, spatula, or silicone scraper to meticulously press and scrape the fruit pulp through the mesh. This can take a considerable amount of time and effort, especially if you’re processing a larger quantity of blackberries. Regardless of the tool you choose, I personally highly recommend briefly cooking the berries for a few minutes before straining. This quick simmer helps to break down the fruit’s cell walls, making it significantly easier to extract the maximum amount of smooth pulp without any wasteful loss of precious juice or flavor. With the right setup and a little patience, you will achieve a perfectly smooth, seedless blackberry puree, ideally prepared for transforming into exquisite jam.
Mastering the Art of Seeding Blackberries for Jam
The journey to a wonderfully smooth, seedless blackberry jam begins with careful preparation of your fruit. Start with approximately 16 cups of whole, fresh blackberries. This quantity typically equates to roughly 4 pounds of berries as purchased from a market or freshly picked. Once these berries are gently crushed and prepared, they should yield about 8 cups of mashed berries. Following the crucial seeding step, your goal is to have approximately 6 cups of vibrant, seedless blackberry pulp ready for jam making.
While it is technically possible to remove seeds from raw blackberries, this method is significantly more arduous and often results in a considerable loss of valuable fruit pulp. Raw berries are firm, making them difficult to press through a fine mesh, and much of their juicy flesh can remain stubbornly attached to the seeds. Therefore, to ensure a much easier and more efficient process, I strongly advise briefly cooking the berries first. This preliminary cooking softens the fruit, allowing the pulp to separate from the seeds with greater ease and maximizing your yield.
To begin, place your crushed blackberries in a large, heavy-bottomed jam pot. Add 1 cup of water to help prevent scorching and facilitate the breakdown of the fruit. Bring the mixture to a gentle simmer over medium heat, then continue to cook for about 5 minutes. During this time, actively mash the berries with a potato masher or a large spoon until they have completely fallen apart and released their juices. The fruit should appear soft and thoroughly broken down.
Once the berries are tender and pulpy, it’s time for the crucial seeding step. Working in manageable batches, carefully pass the softened berry mixture through your chosen tool: a fine mesh strainer, a food mill, or a chinois sieve. If using a strainer, use a sturdy spoon or spatula to press the pulp firmly against the mesh, ensuring as much fruit as possible passes through while the seeds are retained. For a food mill, simply turn the crank until all the pulp is extracted. You should aim to end up with approximately 6 cups of smooth, seedless blackberry pulp. As a byproduct, you will have roughly 2 cups of seeds, which can be discarded or composted.
Crafting Your Homemade Seedless Blackberry Jam
With your luscious seedless blackberry pulp prepared, it’s time for the exciting transformation into jam. Return the approximately 6 cups of strained blackberry pulp to a clean, deep jam pot. It’s crucial to use a pot that is significantly deeper than the volume of your ingredients, as seedless jam tends to foam quite vigorously during the cooking process. Ensure the mixture does not fill the pot more than halfway to prevent boil-overs.
Add 4 cups of granulated sugar to the pulp and stir thoroughly until the sugar begins to dissolve. This initial stirring helps to prevent the sugar from crystallizing later and ensures even distribution of sweetness. If, after straining, you ended up with a slightly different quantity of pulp (either more or less than 6 cups), simply adjust the sugar accordingly. The ideal ratio for this no-pectin jam is a 3:2 ratio of fruit pulp to sugar by volume. For example, if you have 5 cups of pulp, you would use approximately 3⅓ cups of sugar.
Place your jam pot over medium-high to high heat. Bring the mixture to a rolling boil, stirring frequently, almost constantly, to prevent the jam from sticking to the bottom of the pot and scorching. This high heat is essential for quickly evaporating the excess moisture and allowing the natural pectin in the blackberries to activate and create a proper set. The jam will begin to darken in color, become visibly glossy, and reduce in volume as it cooks down. Continue boiling for approximately 15 to 20 minutes, or until the mixture thickens and reaches the crucial gel stage. The exact cooking time can vary based on your specific stove, the moisture content of your berries, and the width of your pot, so it’s essential to rely on reliable tests for doneness.
Accurately Testing for Jam Set
Achieving the perfect set is key to a great jam. There are several reliable methods to test for doneness:
- The Cold Plate Test: Before you begin cooking, place a small ceramic plate and a spoon in your freezer. When you suspect the jam is ready, remove the plate from the freezer and drop a small spoonful of hot jam onto its cold surface. Let it cool for about 30 seconds, then gently push the edge of the jam with your finger. If the surface of the jam wrinkles and holds the line you drew, it has reached the gel stage and is ready. If it remains liquid or runs back together, continue cooking and retest after a few more minutes.
- The Thermometer Test: For a precise and scientific approach, use a candy thermometer. At sea level, jam typically sets at a temperature of 220°F (104°C). If you reside at higher altitudes, you’ll need to adjust this target temperature: subtract 2°F (approximately 1°C) for every 1,000 feet (300 meters) of elevation above sea level. For example, at 2,000 feet, your target temperature would be 216°F. This method provides consistent results and is highly recommended for beginners.
- The Sheeting Test: This is a traditional method that requires a bit more practice. Dip a cold metal spoon into the hot jam mixture, then lift it horizontally, allowing the jam to drip off the side. If the jam forms a sheet or a single, slow-falling blob rather than individual droplets, it indicates that the pectin has gelled sufficiently, and the jam is likely done.
Safe Canning Instructions for Long-Term Storage
Once your seedless blackberry jam has reached the perfect set, it’s time to preserve it for long-term enjoyment using the boiling water bath canning method. This ensures safety and extends the shelf life of your delicious homemade preserve.
Carefully ladle the hot, freshly cooked jam into prepared half-pint or pint jars. Ensure you leave a precise 1/4-inch headspace from the rim of the jar. This headspace is critical for creating a proper vacuum seal during processing. After filling, use a clean, damp cloth to meticulously wipe the rims of each jar, removing any sticky jam residue. This step is vital for achieving a strong, reliable seal. Next, center new canning lids on the jars and apply the screw bands, tightening them until they are “fingertip tight” – meaning securely fastened but not overly wrenched.
Carefully lower the filled and lidded jars into your boiling water bath canner, ensuring they are fully submerged with at least 1-2 inches of boiling water covering the tops of the lids. Bring the water back to a vigorous boil and begin your processing time:
- For elevations up to 6,000 feet (1,800 meters), process the jars for 10 minutes.
- For elevations above 6,000 feet (1,800 meters), increase the processing time to 15 minutes.
It’s important to note that the canning times are consistent for both half-pint and pint-sized jars. Do not use jars larger than pint size for this recipe, as larger volumes may not heat thoroughly enough to ensure safety within these recommended times.
After the processing time is complete, carefully remove the jars from the canner and place them on a clean towel or a cooling rack, ensuring they are not touching each other. Let the jars cool undisturbed for 12 to 24 hours. During this cooling period, you should hear the characteristic “ping!” sound as the lids seal. Once completely cool, check all seals by pressing the center of each lid; if it doesn’t flex, the jar is properly sealed. Properly canned seedless blackberry jam, stored in a cool, dark pantry, will maintain its quality for 12 to 18 months. Once a jar is opened, store it in the refrigerator and consume it within 2 to 3 weeks for optimal freshness and flavor.
Troubleshooting Common Jam-Making Issues
While this seedless blackberry jam recipe is designed to be straightforward, even for novice canners, occasional challenges can arise. Don’t worry if things don’t go perfectly on your first attempt; here are some common issues and their solutions:
My jam didn’t set—what happened?
The most frequent reason for jam failing to set is undercooking. Since this recipe relies solely on the natural pectin in blackberries without any added commercial pectin, the jam needs sufficient time to cook down and concentrate. This process encourages evaporation of excess water and activates the natural pectin to form a gel. To remedy this, continue cooking the jam until it consistently reaches the gel stage. The most reliable indicator is a temperature of around 220°F (104°C) at sea level. Remember to adjust this temperature for higher altitudes by subtracting 2°F (approximately 1°C) for every 1,000 feet (300 meters) above sea level. If you’re unsure, always use a cold plate test or a thermometer for accurate assessment.
I cooked it for a long time but it’s still runny.
If your jam remains runny despite extended cooking, it’s possible your fruit pulp contained extra moisture, or the heat wasn’t consistently high enough to facilitate efficient evaporation. Try increasing the heat slightly and continue boiling, stirring constantly to prevent scorching. While rare with blackberries (which usually set reliably), natural variations in fruit pectin levels can occur due to growing conditions. If it absolutely refuses to set, you can re-cook the jam later with added pectin designed for low-sugar recipes, or simply embrace its syrup-like consistency and enjoy it as a delicious “blackberry syrup” over pancakes, waffles, or ice cream. It will still be wonderfully flavorful!
My jam set too firm—can I fix it?
A jam that is overly firm indicates that it was likely overcooked, leading to excessive moisture evaporation and a very dense pectin structure. For future batches, using an instant-read thermometer can help you monitor the temperature more precisely and prevent overcooking. If your current batch is too thick, you can partially remedy this by gently stirring in a tablespoon or two of boiling water just before serving, or by warming the entire jar gently to loosen the consistency. Even if it’s quite firm, it still makes an excellent fruit glaze, a flavorful addition to yogurt, or a delicious stirred into oatmeal.
There’s a layer of foam on top—what did I do wrong?
Absolutely nothing! Foam is a completely normal occurrence in jam making, particularly with seedless varieties. Removing the seeds reduces the bulk, allowing more air bubbles to form and rise to the surface during vigorous boiling. This foam is entirely harmless and does not affect the safety, flavor, or keeping quality of your jam—only its appearance. If you prefer a completely clear jam, you have a couple of options: you can add a tiny amount (about ¼ teaspoon) of butter to the jam during the cooking process, which helps to reduce surface tension and minimize foaming. Alternatively, you can simply skim off the layer of foam with a spoon once the jam is removed from the heat, just before ladling it into jars.
I didn’t get exactly 6 cups of seedless pulp—now what?
It’s perfectly fine if your yield of seedless pulp varies slightly from the estimated 6 cups. The exact quantity can fluctuate based on several factors, including the juiciness and size of your specific batch of blackberries, and how thoroughly you pressed and strained them. The key is to maintain the correct fruit-to-sugar balance. If you end up with less pulp, simply adjust the amount of sugar to uphold the recommended 3:2 ratio of fruit pulp to sugar by volume. For instance, if you yielded 5 cups of seedless pulp, you would use approximately 3⅓ cups of sugar to ensure a balanced flavor and proper set.
Creative Seedless Blackberry Jam Variations
Once you’ve mastered the basic seedless blackberry jam, feel free to experiment with exciting variations to tailor it to your taste or explore new flavor profiles:
Low Sugar Seedless Blackberry Jam: For a bolder, more fruit-forward flavor with a less sweet profile, you can absolutely reduce the sugar content. Using as little as 2 to 3 cups of sugar for 6 cups of seedless pulp will yield a tangy jam with a softer set. Be aware that lower sugar versions often require a longer cooking time to reach the gel stage and may result in a slightly thinner consistency. Alternatively, you can substitute granulated sugar with natural sweeteners like honey or maple syrup, using about two-thirds the volume of sugar. Keep in mind that these substitutions can alter the flavor profile and texture.
Blackberry Jelly for Ultimate Smoothness: If you desire an even smoother experience than jam, consider making blackberry jelly. To achieve this, cook the fruit with a splash of water, then meticulously strain the entire mixture through a jelly bag or several layers of cheesecloth. The goal here is to remove all solid matter, including both seeds and pulp, leaving only pure, clear fruit juice. Measure the juice, then add sugar and cook until it sets. Like jam, jelly can also set without added pectin, provided you use a full sugar recipe. However, if you opt for a lower sugar jelly, you will typically need to incorporate commercial boxed pectin, as you’ve removed the natural pectin found in the fruit pulp.
Infuse with a Flavor Twist: Elevate your jam by introducing complementary flavors. Just before jarring, stir in a splash of a sophisticated liqueur such as blackberry liqueur, Chambord, or cassis for an adult twist. For warm, aromatic undertones, try a pinch of ground cinnamon, cardamom, or a teaspoon of pure vanilla extract. You can also create a mixed berry jam by combining blackberries with other fruits like raspberries, blueberries, or even pitted plums. The key for a seedless mixed jam is to strain out all seeds from each fruit separately (or together if compatible) before combining the pulp and cooking.
The seeding process described here works beautifully for other small, seedy fruits as well, allowing you to easily make a seedless raspberry jam or a seedless black raspberry jam. While seedless jam is wonderful, I’ve found that creating a truly seedless home canned blackberry pie filling is more challenging, as the structure and body provided by the seeds and whole fruit are often essential for a proper pie filling consistency rather than a mere puree. However, I’m always open to new ideas and innovations if you have successful methods!
Seedless Blackberry Jam
Equipment
-
Water Bath Canner
Ingredients
- 16 cups blackberries, see notes
- 4 cups sugar
- 2 tbsp lemon juice, optional, see notes
Instructions
-
Prepare your canning setup: Wash and sterilize 6 to 7 half-pint jars. Place new lids in hot water (not boiling), and prepare your water bath canner. Keep everything hot until ready to fill.
-
Cook the berries to loosen seeds: Combine the mashed blackberries and water in a deep saucepan or jam pot. Bring to a gentle boil and simmer for about 5 minutes, mashing with a potato masher as they cook. The fruit should break down completely and release its juice.
-
Strain out the seeds: Working in batches, press the softened berries through a fine mesh strainer, chinois, or food mill fitted with a berry screen. You should end up with approximately 6 cups of seedless blackberry pulp. A little more or less is fine—just be sure to adjust the sugar (see notes).
-
Measure and add sugar: Return the seedless pulp to a clean jam pot. Stir in 4 cups granulated sugar and optional lemon juice. Mix well to dissolve some of the sugar before heating.
-
Bring to a boil: Turn the heat to medium-high and bring the mixture to a rolling boil, stirring frequently. Use a deep pot, as seedless blackberry jam foams quite a bit.
-
Cook to gel stage: Boil the jam, stirring constantly, for about 15–20 minutes or until it reaches gel stage. Test for doneness using the plate test, thermometer method, or sheeting test (see notes).
-
Remove from heat and skim foam: Once gel stage is reached, take the pot off the heat. Skim off any foam from the surface if desired.
-
Ladle into jars: Carefully ladle the hot jam into prepared jars, leaving ¼ inch headspace. Wipe rims clean, apply lids, and screw on bands until fingertip tight.
-
Process in a water bath canner: Submerge jars in boiling water with at least 1–2 inches above the lids. Process pints and half pints for 10 minutes, or 15 minutes about 6,000 feet in elevation.
-
Cool and store: Remove jars and let them sit undisturbed for 12–24 hours. Check seals, label, and store in a cool, dark place for up to 18 months. Refrigerate after opening and use within 2–3 weeks.
Notes
Sugar Ratio: This recipe uses a 3:2 fruit-to-sugar ratio by volume. If you get slightly more or less pulp, adjust the sugar accordingly. (Example: 5 cups pulp = ~3⅓ cups sugar.)
Lemon Juice (Optional): Blackberries are high in natural acid, so lemon juice isn’t needed for safety. However, a splash (1 to 2 tablespoons) of fresh lemon juice can enhance flavor and help with gelling—especially if your berries are sweet cultivated types.
Foam Control: Seedless blackberry jam tends to foam during cooking. If it bothers you, stir in ¼ teaspoon of butter during cooking or skim the foam off at the end. Both methods are safe for canning.
Yield: You should get around 4 to 5 half-pint jars, depending on how long you cook the jam and how juicy your berries are. A longer cook time yields a thicker jam but slightly less volume.
Freezer Option: If you’d prefer not to water bath can, pour cooled jam into straight-sided freezer-safe jars, leaving ½ inch headspace. Freeze for up to a year.
Gel Stage Testing Methods
Plate Test: Freeze a plate and spoon. Place a spoonful of jam on the cold plate and wait 30 seconds. Run your finger through it—if it wrinkles and holds a line, it’s done.
Thermometer Test: Jam gels at 220°F at sea level. Subtract 2°F per 1,000 ft of elevation.
Sheeting Test: Dip a spoon into the jam and turn it sideways. If it falls in a sheet or slow blob rather than droplets, it’s likely done.
Altitude Adjustments
If canning, both pints and half pints are canned in a waterbath canner for 10 minutes. If you’re above 6,000 feet in elevation, be sure to increase the canning time to 15 minutes. Don’t can in jars larger than pints.
Nutrition
Nutrition information is automatically calculated, so should only be used as an approximation.
Frequently Asked Questions About Seedless Blackberry Jam
Still have more questions about making this exquisite seedless blackberry jam? This FAQ section is designed to provide clear, concise answers to common queries, helping you achieve perfect results every time.
Can I use frozen blackberries?
Yes, absolutely! Frozen blackberries are an excellent substitute for fresh ones, especially when fresh berries are out of season or unavailable. For best results, it’s recommended to thaw them completely first. Thawing makes the berries easier to mash and strain, as the freezing process helps to break down their cell walls, causing them to release their juice more readily. This can actually streamline the seeding process. Be aware that frozen berries might result in a slightly lower jam yield and can sometimes affect the pectin structure slightly, but with proper cooking and gel testing, your jam will still set beautifully.
What if I don’t end up with exactly 6 cups of seedless pulp?
This is perfectly normal and absolutely fine! The 6-cup measurement is an average yield, as the actual amount of pulp can vary based on factors like the juiciness of your specific blackberries and how thoroughly you strain them. The key to a successful jam is maintaining the correct ratio of fruit to sugar. If your pulp yield is more or less than 6 cups, simply adjust the amount of sugar accordingly, aiming for a consistent 3:2 ratio of fruit pulp to sugar by volume. For example, if you end up with 5 cups of pulp, you would use approximately 3⅓ cups of sugar.
Can I reduce the sugar?
Yes, you can reduce the sugar, but it’s important to understand the trade-offs involved. Reducing the sugar content below the recommended 3:2 ratio will likely result in a looser set for your jam, as sugar plays a critical role in pectin activation and gelling. It may also lead to a slightly lower yield. If you specifically desire a low-sugar jam but still want a firm gel, it’s highly recommended to use a commercial low-sugar pectin, such as Pomona’s Universal Pectin, which is designed to set with less sugar. Without added pectin, a significantly reduced sugar jam will still be incredibly flavorful but will have a softer, more syrup-like consistency, functioning more as a fruit spread than a traditional jam.
Is it really worth the effort to remove the seeds?
For many jam enthusiasts, absolutely! While the straining process adds an extra step and some dedicated time, the final product is a truly smooth, silky jam that offers a distinct and luxurious eating experience. It’s often preferred by children, those with sensitive palates, or anyone who simply dislikes the characteristic crunch of blackberry seeds. The smooth texture also makes this jam ideal for elegant desserts, such as fillings for cakes, pastries, or thumbprint cookies, where a pristine finish is desired. Ultimately, it boils down to personal preference. While some, like my husband, adore a rustic seedy jam, others, particularly my kids, much prefer the seedless version. It’s a matter of taste!
Do I need lemon juice?
For safety, no, lemon juice is not strictly required in this recipe. Blackberries are naturally high in acid, which is essential for safe water bath canning and ensures a proper gel. However, adding a tablespoon or two of fresh lemon juice can significantly enhance the flavor profile of your jam. It brightens the overall taste, adding a lovely tart counterpoint to the sweetness of the berries. This is particularly beneficial if you are using extra-sweet cultivated blackberry varieties that might otherwise taste a bit flat. If your berries are naturally quite tart (like many wild varieties), you might choose to omit the lemon juice or use a smaller quantity, depending on your preference.
Can I double the batch?
When making no-pectin jams like this seedless blackberry preserve, it is generally best to stick to single batches. Doubling the recipe can significantly impact the jam’s ability to set properly. Larger volumes of jam take a longer time to reach the critical gel stage temperature, and they may also cook unevenly in a standard home kitchen setup. This extended cooking time can break down the natural pectin, leading to a runny jam. For optimal results and consistent gelling, if you wish to make a larger quantity, it is much more advisable to prepare two or more separate batches rather than attempting to double a single one.
What’s the shelf life?
Properly canned and sealed jars of seedless blackberry jam will maintain their quality and freshness for an impressive period. When stored in a cool, dark pantry away from direct sunlight and temperature fluctuations, they will keep well for 12 to 18 months. Once a jar has been opened, it must be stored in the refrigerator. Consume the opened jam within 2 to 3 weeks for the best flavor and quality. If you prefer not to use the water bath canning method, you also have the option to freeze the jam. Pour the cooled jam into straight-sided, freezer-safe containers, leaving adequate headspace for expansion, and freeze for up to a year.