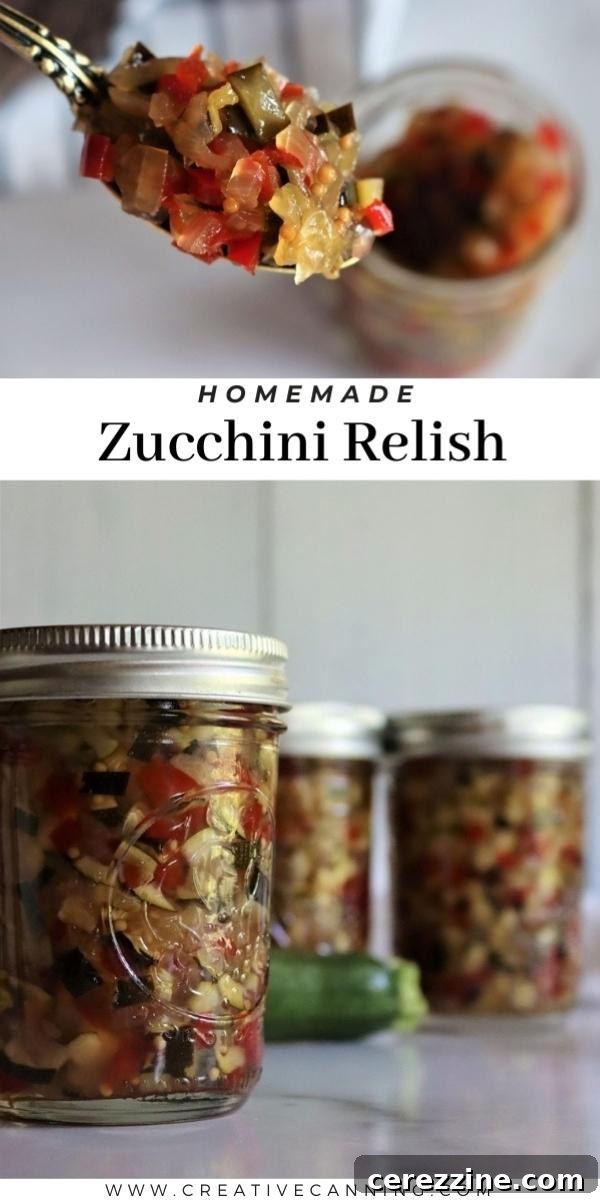
Welcome to the season of abundance, where gardens overflow with vibrant produce, and for many home growers, that means one thing: an endless supply of zucchini! While a versatile vegetable, it can sometimes feel overwhelming to keep up with the prolific harvest. Fear not, fellow gardeners and home preservers, for we have the perfect solution that transforms your surplus zucchini into a culinary masterpiece: homemade zucchini relish. Forget the bland, store-bought varieties; this vibrant, flavorful condiment is a true game-changer, far more complex and satisfying than a standard dill pickle relish. It’s the secret weapon for elevating summer barbecues and an incredible way to savor the taste of your garden year-round.
Whether you’re looking to stock your pantry shelves with a safe and tested canning recipe or simply want a small batch to enjoy in the refrigerator for a few months, this zucchini relish delivers. Its bright, tangy, and subtly sweet profile, combined with a delightful crunch, makes it an indispensable addition to your condiment collection. Prepare to impress your family and friends with this garden-fresh delight!
The Zucchini Deluge: A Gardener’s Sweet Dilemma
Every seasoned gardener understands the phenomenon of zucchini season. It begins innocently enough: a few small, tender squash are perfect for a quick side dish. Then, seemingly overnight, the plants explode with fruit, and you find yourself harvesting zucchinis by the bucket load. Soon, you’re baking zucchini bread for every neighbor, coworker, and distant relative. You might even start leaving bags of zucchini on doorsteps, hoping someone, anyone, will take them off your hands!
The next stage involves desperate measures: grating and freezing massive quantities for winter baking, only to discover your freezer quickly reaches its capacity. This delightful yet overwhelming bounty can sometimes feel more like a predicament than a blessing. But what if there was a simple, delicious, and space-saving solution? This is where homemade zucchini relish truly shines.
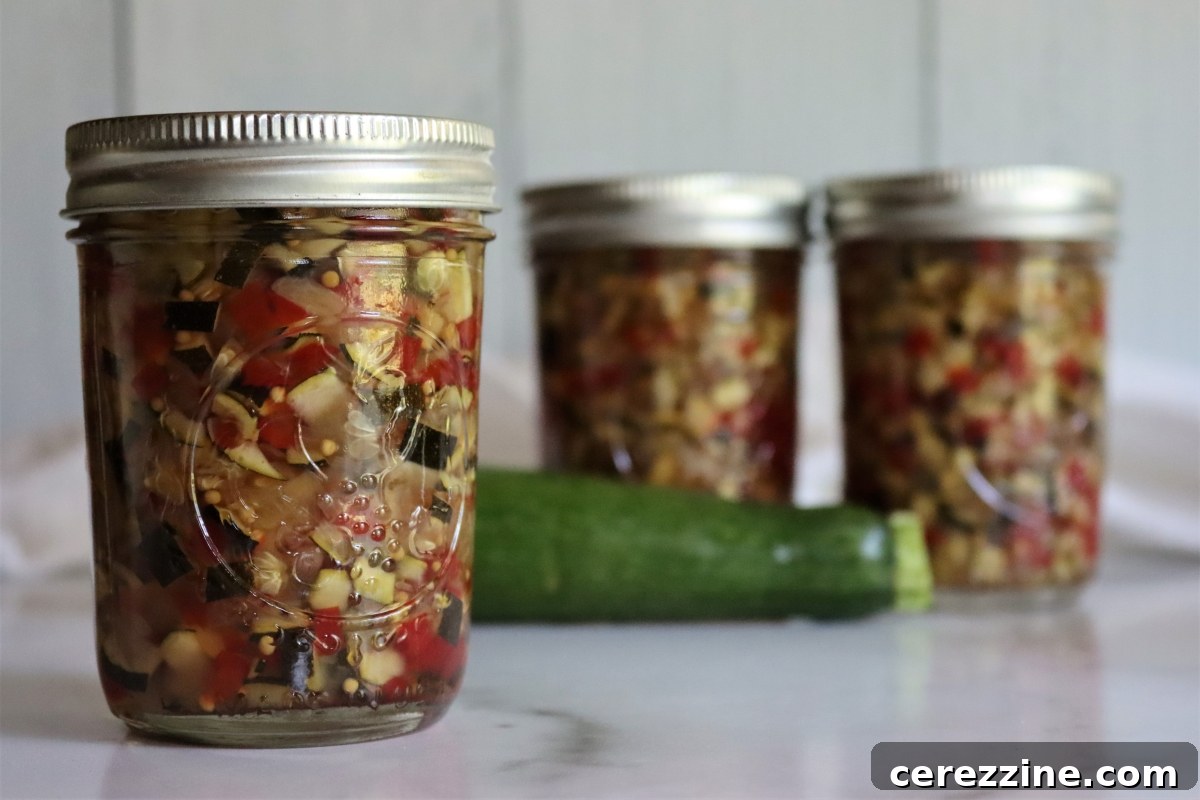
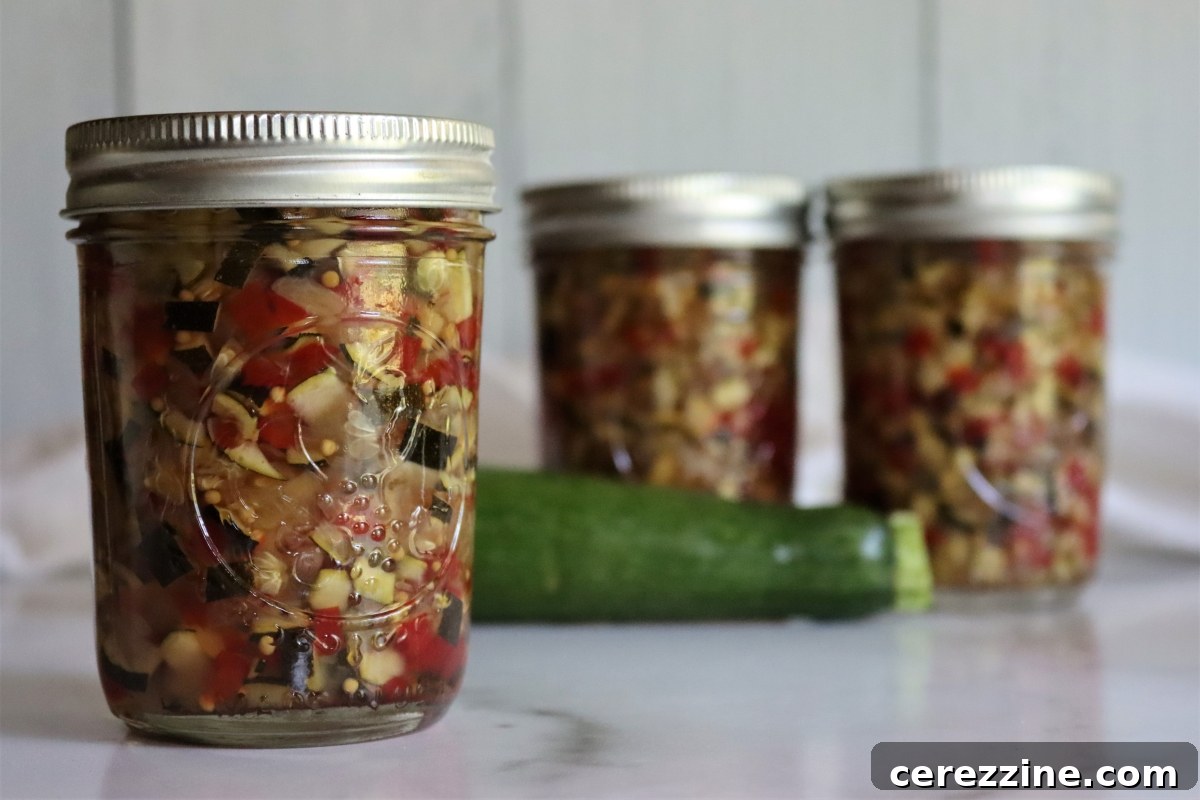
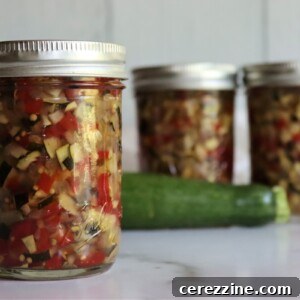
This zucchini canning recipe is not just another way to use up excess squash; it’s one of my absolute favorites. The resulting relish is incredibly tasty, boasting a bright, festive appearance that makes any meal more appealing. The addition of diced red bell pepper lends a beautiful pop of color, while onion and whole mustard seeds contribute a pleasant, textural crunch. And don’t worry, the recipe still utilizes a substantial amount of zucchini, ensuring your garden surplus finds a delicious and practical purpose.
This particular recipe for Zucchini Relish is a trusted adaptation from The Ball Blue Book Guide to Preserving, a renowned resource packed with hundreds of safe, extensively tested canning recipes. Following tested recipes like this one is crucial for ensuring the safety and quality of your home-canned goods.
Essential Ingredients for the Best Zucchini Relish
Relish is a condiment we enjoy with all our senses, and visual appeal is just as important as taste. Incorporating a variety of colors and textures is key to crafting a truly exceptional relish recipe. Of course, a primary goal of any zucchini relish is to make the most of your abundant zucchini harvest. However, zucchini can sometimes become overly soft or soggy during the canning process, especially when finely diced. This recipe expertly balances the zucchini content with other vegetables to ensure a fantastic texture that holds up beautifully.
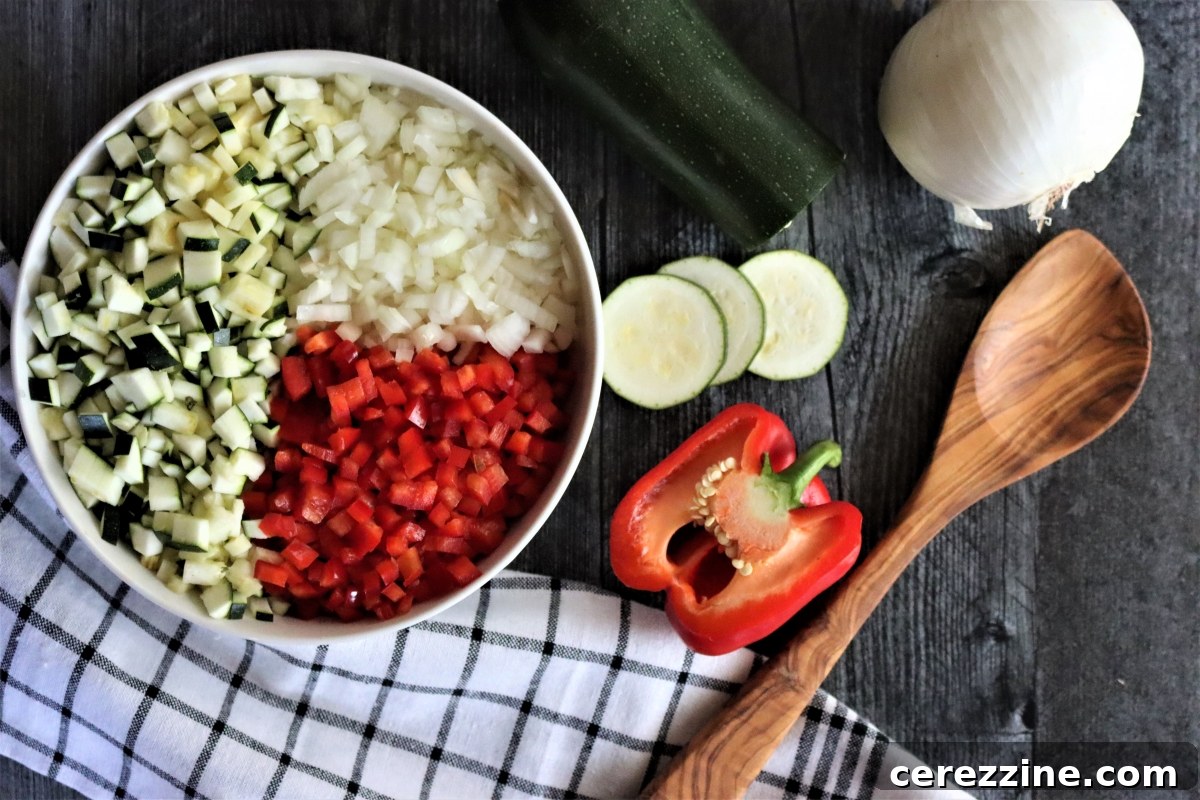
By using a proportion of two parts zucchini to one part each of diced onion and red bell pepper, we achieve excellent texture while also introducing delightful colors and complementary flavors to the finished relish. This balance prevents the relish from becoming a watery, mushy mess, ensuring a crisp and satisfying condiment.
To yield approximately 4 half-pint (8 oz) jars of this delectable relish, you will need the following:
- 2 cups zucchini, diced (approximately 3 medium zucchinis): Choose firm, fresh zucchini. Dicing them to a consistent size is important for even cooking and texture.
- 1 cup onion, diced (about 1 medium onion): Onions add a foundational savory note and crunch.
- 1 cup red bell pepper, diced (about 2 small or 1 large bell pepper): The red bell pepper is vital for adding a beautiful color and a touch of sweetness, complementing the zucchini perfectly.
- 2 Tablespoons Salt (pickling and canning salt, or kosher salt): This is a critical ingredient for preparing the vegetables before cooking, helping them retain their firmness. Do not use iodized table salt, as anti-caking agents can make the relish cloudy.
- 1 3/4 cups sugar: Provides balance to the tart vinegar and contributes to the relish’s pleasant sweetness and overall flavor profile.
- 2 teaspoons celery seed (whole): A classic relish spice, offering a subtle, earthy, and aromatic flavor.
- 1 teaspoon mustard seed (whole): Adds a characteristic tang and a delightful pop of texture to the relish.
- 1 cup cider vinegar (5% acidity): The vinegar is essential for both flavor and, more importantly, for the safety of the canning process. Always use vinegar with at least 5% acidity.
- Pickle Crisp Granules (optional): Also known as calcium chloride, this natural additive helps vegetables stay firm and crisp after canning, preventing them from becoming soft.
When working with tested canning recipes, it is paramount not to alter the total amount of vegetables or their proportions, nor can you reduce the total amount of vinegar. These components are critical for ensuring the safety of the canned product. However, ingredients like salt, sugar, and spices primarily impact flavor and texture, not safety. Feel free to adjust the spices to your taste or even omit them if preferred. You can also slightly reduce the salt or sugar, but be aware that they are calculated to balance the acidity and create a well-rounded flavor. Reducing them significantly may also negatively affect the texture of the finished relish.
While many canning recipes allow for sodium-free salt substitutes, I do not recommend them for this zucchini relish. The salt used in the initial soaking step is crucial for drawing out liquid from the vegetables and firming them up, which helps them maintain their integrity during canning. Most of this salt is rinsed away before the relish is actually cooked, so the final product won’t be overly salty.
How to Craft Your Delicious Zucchini Relish
Making zucchini relish is a straightforward process, but a few key steps ensure a superior final product. It all begins with careful preparation of your garden-fresh vegetables.
- Prepare the Vegetables: Start by thoroughly washing your zucchini, onion, and red bell pepper. Remove the stem and blossom ends from the zucchini, then dice all three vegetables into consistent pieces, ideally between 1/4 to 1/2 inch. Uniform dicing ensures that all vegetables cook evenly and contribute to a cohesive texture in the relish.
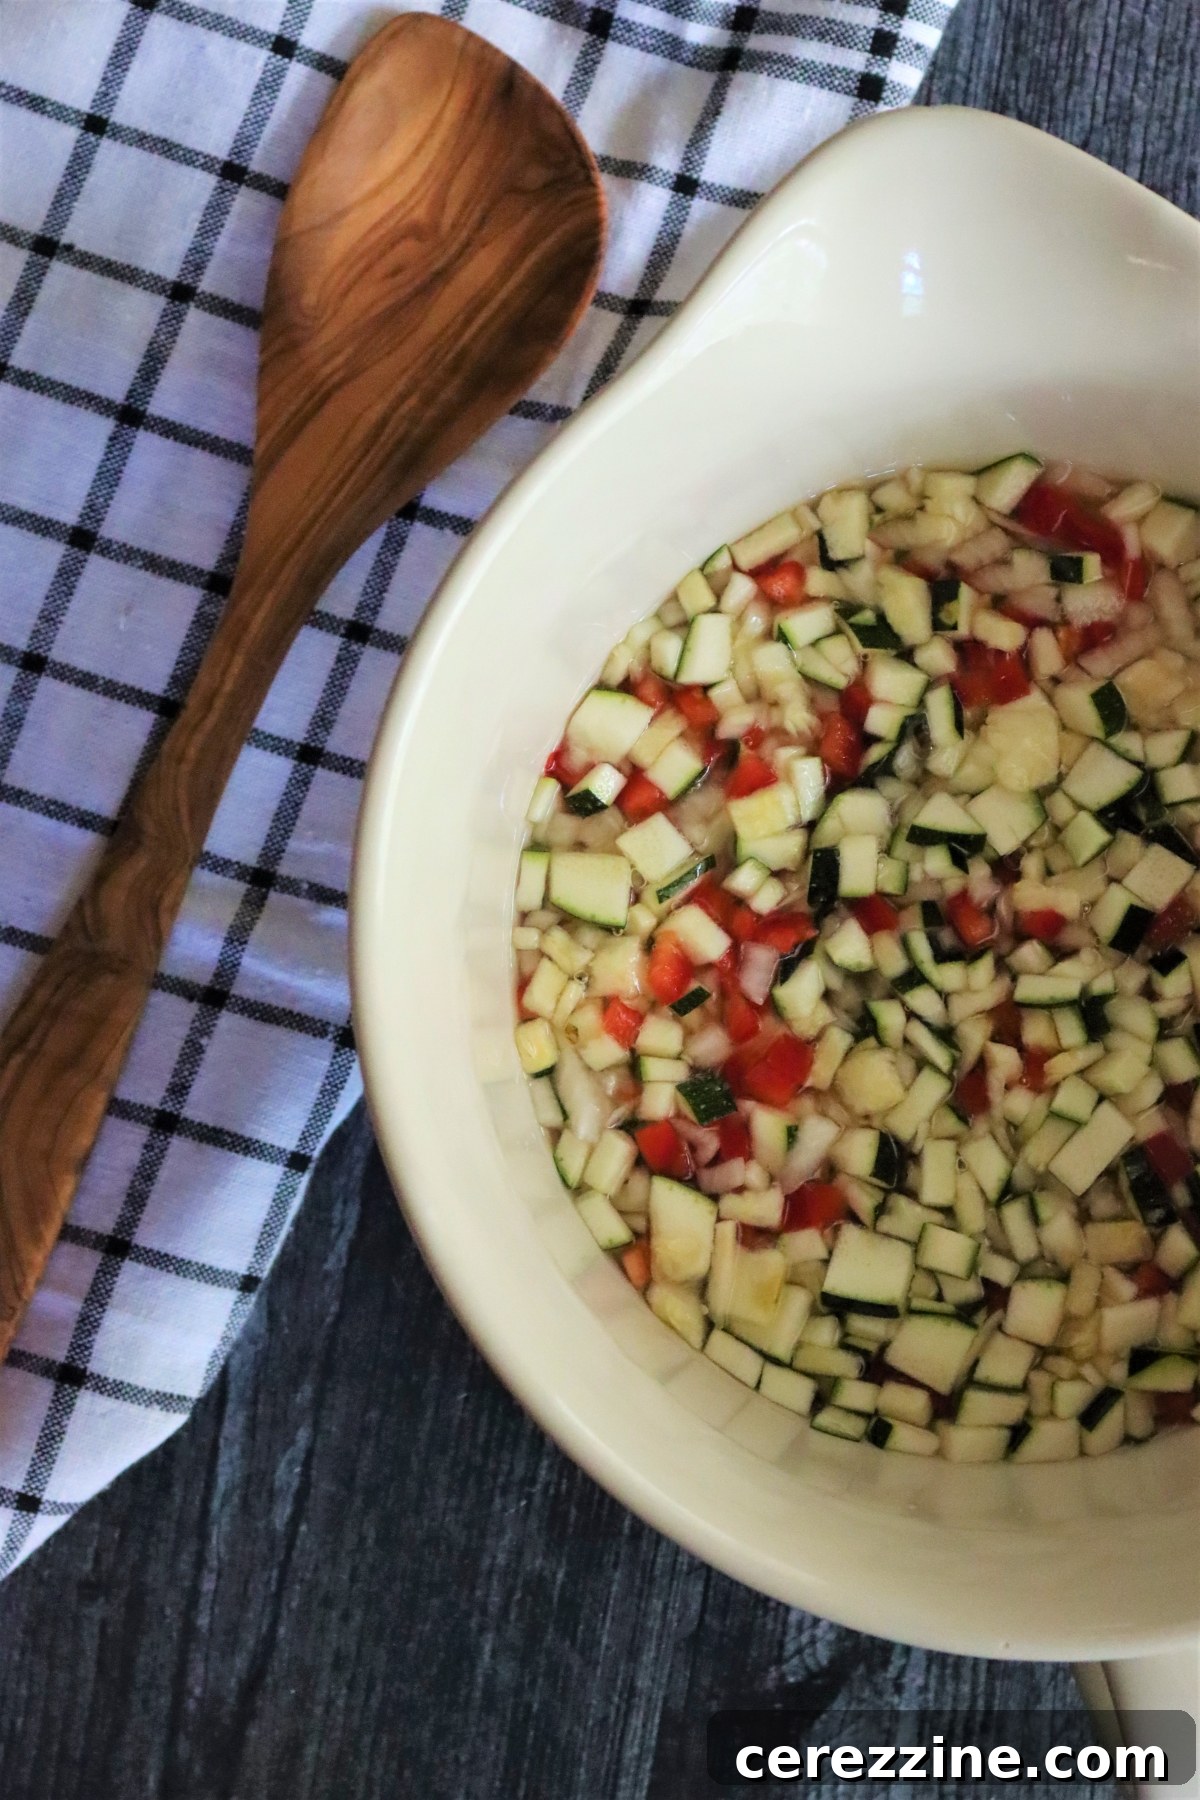
- The Crucial Salting Step: This is a vital stage, so pay close attention! In a large bowl, combine the diced zucchini, onion, and red bell pepper. Sprinkle the 2 tablespoons of pickling/canning salt evenly over the vegetables. Gently stir them with your hands to ensure the salt is well distributed. Once mixed, add enough cold water to completely submerge all the vegetables.
- Soak and Drain: Allow the vegetables to soak in this saltwater solution for a full 2 hours. This process, known as osmosis, draws out excess liquid from the vegetables and firms up their cell walls. This is what prevents them from becoming soft and mushy during the subsequent cooking and canning stages. After 2 hours, drain the vegetables thoroughly, rinsing them briefly under cold water if desired to remove excess surface salt, though most will be rinsed away with the water.
- Prepare the Brine: While the vegetables are soaking, or after they’ve drained, if you plan to can the relish, prepare your water bath canner. In a separate large pot or saucepan, combine the sugar, celery seed, mustard seed, and cider vinegar. Bring this mixture to a gentle simmer (around 180°F, or just below a full boil), stirring until the sugar is completely dissolved. Remember, you do not add more salt at this stage, as the initial salting step was purely for drawing out liquid and firming the vegetables.
- Cook the Relish: Once the vinegar mixture is simmering, add the soaked and thoroughly drained vegetables to the pot. Continue to simmer gently for about 10 minutes, stirring occasionally. This ensures the vegetables are fully heated through and cooked just enough to be tender-crisp, absorbing the flavorful brine.
- Pack the Jars: Carefully pack the hot relish into clean, prepared half-pint or pint jars, leaving a 1/2-inch headspace at the top. If using, add 1/16 teaspoon of pickle crisp granules to each half-pint jar (or 1/8 teaspoon per pint jar). Pickle crisp, which is all-natural calcium chloride, works by strengthening the cell walls of the vegetables, further ensuring that your relish remains delightfully firm after canning. It’s also fantastic for homemade pickles!
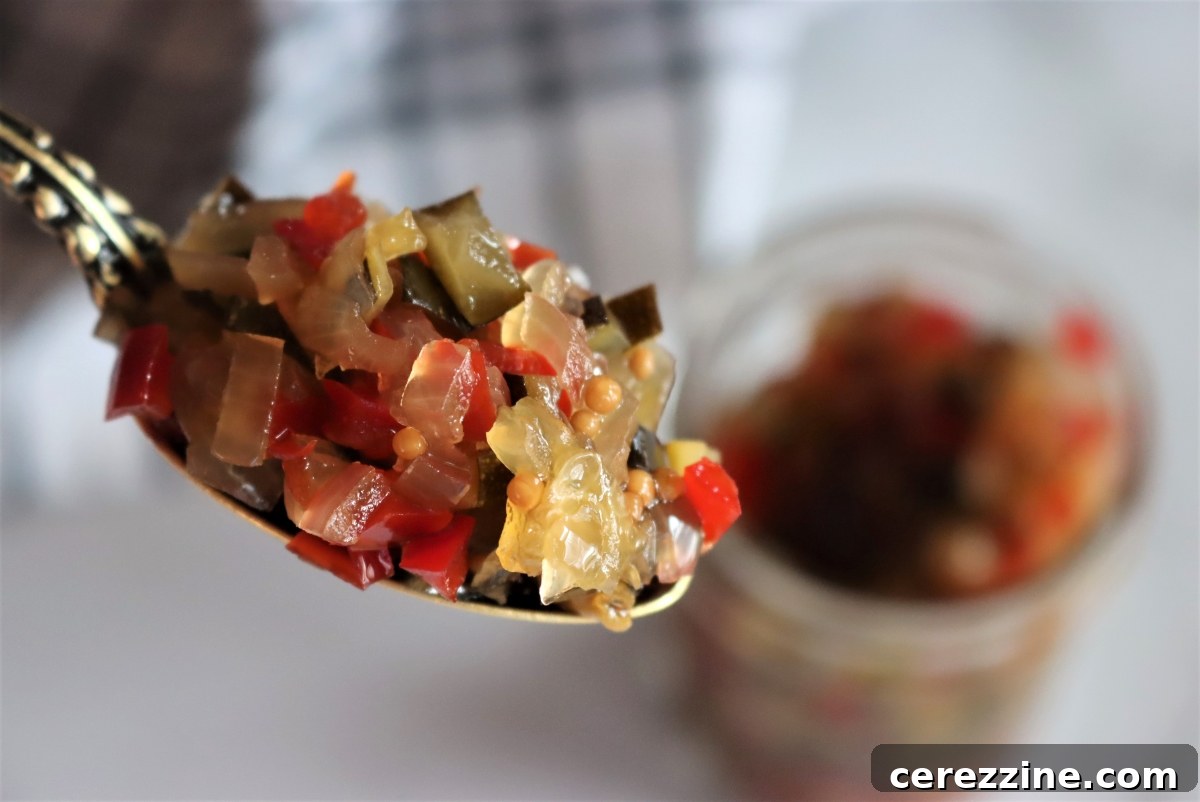
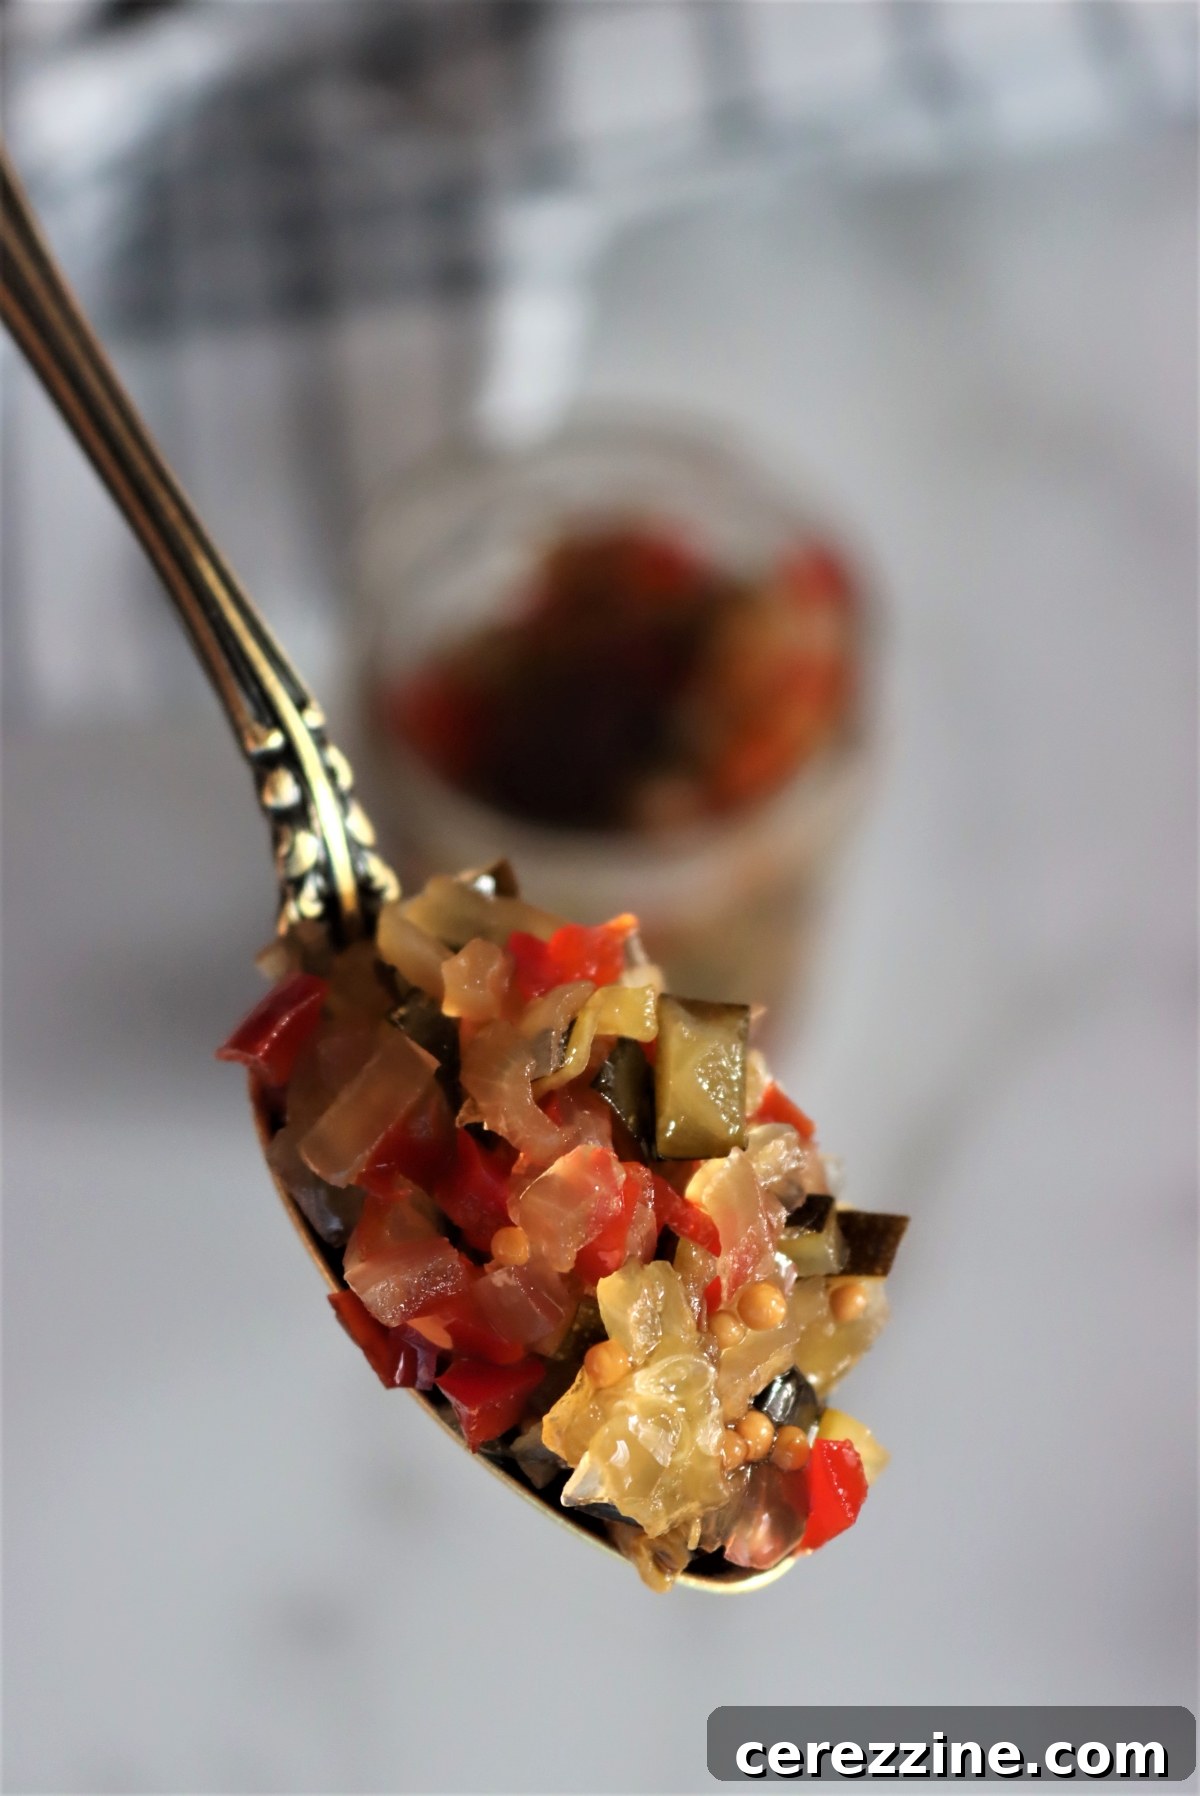
- Enjoy or Can: At this point, your relish is ready to be enjoyed. If you’re not canning, simply cap the jars and allow them to cool to room temperature before storing them in the refrigerator. Refrigerator relish will last for several weeks, if not a few months, thanks to the preserving power of the vinegar. For long-term storage, proceed with the canning steps below. The finished relish should hold its vibrant colors and texture beautifully on a spoon, ready to brighten any dish.
Canning Zucchini Relish for Year-Round Enjoyment
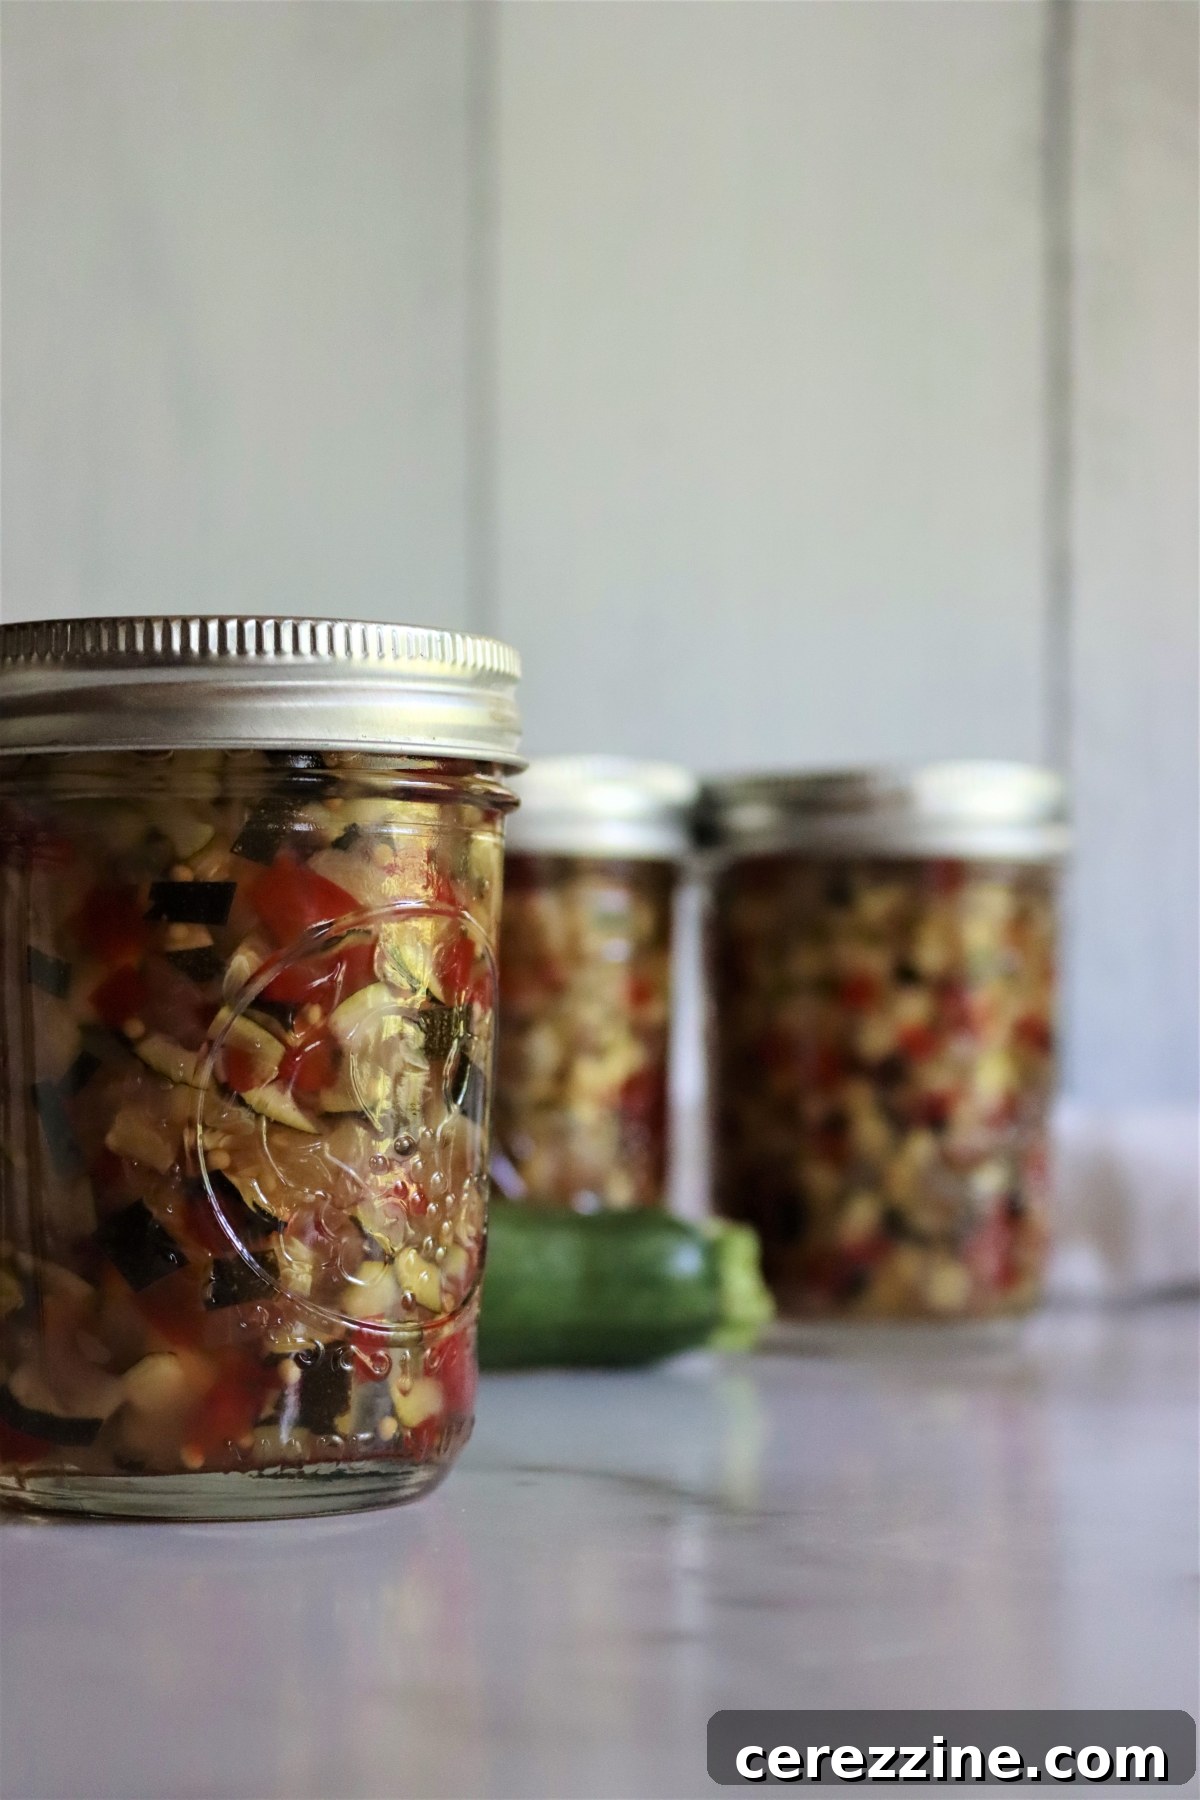
While making a small batch of zucchini relish for the refrigerator is perfectly acceptable, and it will keep for several weeks (even months!) due to the high acidity of the vinegar, water bath canning offers the incredible benefit of pantry-stable storage. This is particularly valuable during the busy summer months when garden harvests are at their peak, and refrigerator space becomes a precious commodity.
Water bath canning is a simple and effective method for preserving high-acid foods like relish. It involves submerging sealed jars in boiling water for a specific period to create a vacuum seal, which prevents spoilage and allows for long-term storage without refrigeration.
To safely can your zucchini relish:
- Prepare Jars: Ensure your canning jars are clean and hot. You can keep them hot in the water bath canner or a simmering pot of water.
- Fill and Debubble: Carefully fill the hot jars with the hot relish, maintaining the crucial 1/2 inch of headspace. This space is necessary for the vacuum seal to form properly. Use a non-metallic utensil (like a plastic spatula) to gently remove any air bubbles trapped within the relish. This step is important for a good seal and prevents food discoloration.
- Clean Rims and Seal: Wipe the rims of the jars thoroughly with a clean, damp cloth to remove any food particles that could interfere with the seal. Place a new, clean two-part canning lid (flat lid and screw band) onto each jar, tightening the screw band fingertip-tight. Do not overtighten, as this can prevent air from escaping and compromise the seal.
- Process in Water Bath: Carefully place the sealed jars into your prepared water bath canner, ensuring they are fully submerged by at least 1 inch of water. Bring the water to a rolling boil and process the jars for 10 minutes. Adjust for altitude if necessary (add 5 minutes for every 1,000 feet above sea level).
- Cool Gradually: Once the processing time is complete, turn off the heat but do not immediately remove the jars. Allow them to sit in the hot canner for an additional 5 minutes. This gradual cooling period helps to prevent siphoning (liquid loss from the jars) caused by thermal shock when exposed to cooler air.
- Remove and Cool: After 5 minutes, carefully remove the jars from the canner using a jar lifter and place them on a towel-lined surface on your counter. Ensure there is adequate space between jars for air circulation.
- Check Seals and Store: Leave the jars undisturbed for 12 to 24 hours as they cool and seal. You will likely hear a “pop” as each jar seals. After 24 hours, check the seals by pressing down on the center of each lid; if it doesn’t flex, the jar is sealed. Remove the screw bands (these can trap moisture and cause rust if left on) and wash the jars. Label and store any properly sealed jars in a cool, dark place, like a pantry, for 12-18 months. Any jars that did not seal should be stored in the refrigerator for immediate use. Refrigerate canned relish after opening.
Serving Suggestions for Zucchini Relish
This homemade zucchini relish is incredibly versatile and can elevate a wide array of dishes. Its sweet, tangy, and savory notes, coupled with a satisfying crunch, make it a fantastic companion for almost any meal. Here are some delicious ways to enjoy your freshly made relish:
- Classic Hot Dogs & Burgers: A spoonful of zucchini relish is the perfect topping for grilled hot dogs, bratwursts, or juicy hamburgers, adding a burst of fresh flavor.
- Sandwiches & Wraps: Spread it on your favorite deli sandwiches, turkey wraps, or even grilled cheese for an extra layer of taste and texture.
- Alongside Meats: Serve it as a vibrant side condiment with roasted chicken, pork chops, or grilled fish.
- Salads & Spreads: Stir it into tuna salad, chicken salad, or egg salad for an exciting twist. You can also mix it into cream cheese or yogurt-based dips.
- As a Glaze or Marinade: Experiment by incorporating it into glazes for ham or as a component in a savory marinade.
32
servings, Makes 4 Half Pint (8 oz) Jars
Zucchini Relish Recipe for Canning
Ashley Adamant
2 hours
10 minutes
10 minutes
10 minutes
2 hours
30 minutes
Equipment
-
Water Bath Canner
Ingredients
-
2
cups
zucchini,
diced (about 3 medium) -
1
cup
onion,
diced (about 1 medium) -
1
cup
red bell pepper,
diced (about 2 small or 1 large) -
2
Tbsp
salt,
pickling and canning salt, or kosher salt -
1 3/4
cup
sugar -
2
tsp
celery seed,
whole -
1
tsp
mustard seed,
whole -
1
cup
cider vinegar,
5% acidity -
Pickle Crisp Granules,
optional, helps veggies stay firm after canning
Instructions
-
Wash vegetables.
-
Remove stem and blossom ends from zucchini and dice into 1/4 to 1/2 inch pieces. Measure 2 cups.
-
Peel and dice onion. Measure 1 cup.
-
Stem and seed peppers, then dice. Measure 1 cup.
-
Important, don’t skip this step! Combine diced vegetables in a large bowl and sprinkle salt over the top. Stir gently to distribute the salt, then add water until vegetables are completely submerged. Allow the vegetables to soak in the saltwater for 2 hours, then drain completely.
-
Prepare a water bath canner (optional, only if canning).
-
In a separate saucepan or stockpot, bring vinegar, sugar, and spices to a gentle simmer (180 degrees F). Do not add salt, the salt is only used to soak veggies before draining.
-
Add drained vegetables to the simmering vinegar/spices and gently simmer for 10 minutes.
-
Pack hot relish into prepared half-pint or pint jars, leaving 1/2 inch headspace.
-
If not canning, just seal jars and allow them to cool on the counter before storing in the refrigerator.
-
If canning, de-bubble jars, wipe rims, and adjust headspace to ensure 1/2 inch. Seal with 2 part canning lids.
-
Process in a water bath canner for 10 minutes, then turn off the heat. Allow the jars to sit in the canner for another 5 minutes to cool slightly, then remove the jars to cool on a towel on the counter.
-
Leave the jars undisturbed for 24 hours, then check seals. Store any unsealed jars in the refrigerator for immediate use. Properly canned and sealed jars should maintain peak quality on the pantry shelf for
12-18 months.
Notes
If you’re not familiar with water bath canning, I’d strongly recommend reading this beginner’s guide to water bath canning before beginning.
Nutrition
Carbohydrates: 12g,
Protein: 0.2g,
Fat: 0.1g,
Saturated Fat: 0.02g,
Polyunsaturated Fat: 0.03g,
Monounsaturated Fat: 0.04g,
Sodium: 438mg,
Potassium: 46mg,
Fiber: 0.3g,
Sugar: 12g,
Vitamin A: 161IU,
Vitamin C: 8mg,
Calcium: 6mg,
Iron: 0.1mg
Nutrition information is automatically calculated, so should only be used as an approximation.
More Ways to Preserve Your Zucchini Harvest
If you’re facing a truly bumper crop of zucchini and are looking for even more creative ways to preserve this versatile vegetable, here are some excellent options beyond relish. Each method offers a unique way to enjoy zucchini long after the growing season has ended:
- Freezing Zucchini: A simple and effective method for long-term storage, perfect for use in baked goods, soups, and stews throughout the winter.
- Zucchini Marmalade: A surprisingly delightful sweet spread that combines zucchini with citrus, creating a unique and flavorful jam-like condiment.
- Zucchini Canning Recipes: Explore various canning recipes beyond relish, such as canned zucchini cubes, spiralized zucchini, or zucchini pickles, each offering a different texture and use.
- Grated Zucchini Kraut: Preserved using Lacto-Fermentation, this method creates a tangy, probiotic-rich kraut that’s excellent for gut health and adds a distinct flavor to meals.
Explore More Canning Recipes for a Productive Summer
Beyond zucchini, the summer garden offers a wealth of produce perfect for preserving. If you’re enthusiastic about filling your pantry with homemade goodness, here are some other fantastic water bath canning recipes for a variety of summer harvests:
- Classic Dill Pickles: The quintessential crunchy, tangy pickle, perfect for sandwiches and snacking.
- Bread and Butter Pickles: Sweet and tangy, these pickles are a delightful addition to any meal.
- Gherkins (Baby Pickles): Small, crisp, and bursting with flavor, ideal for appetizers or garnish.
- Dill Pickle Relish: A classic hot dog and burger topping, bringing that familiar dill flavor to your table.
- Pickled Garlic: A gourmet treat, these tangy garlic cloves are excellent in salads or as a snack.
- Pickled Carrots: Crisp and zesty, pickled carrots make a refreshing side dish or snack.
- Pickled Beets: Sweet and earthy, pickled beets are a vibrant and healthy addition to any meal.
- Canning Peaches: Preserve the juicy sweetness of summer peaches to enjoy in desserts or as a delightful snack.
- Peach Jam: A beloved classic, homemade peach jam captures the essence of ripe peaches in a spreadable delight.
- Grape Jam: Perfect for toast or peanut butter sandwiches, grape jam is a pantry staple.
- Blackberry Jam: Rich and flavorful, this jam can be made without added pectin for a more natural taste.
- Canning Corn: Enjoy sweet summer corn all year long by preserving it in jars.
- Canning Tomatoes: A fundamental skill for any home preserver, allowing you to enjoy fresh tomatoes in sauces and dishes whenever you like.
Embrace the joy of home preservation and transform your garden’s bounty into delicious, pantry-stable treasures. This zucchini relish recipe is just the beginning of a flavorful journey!