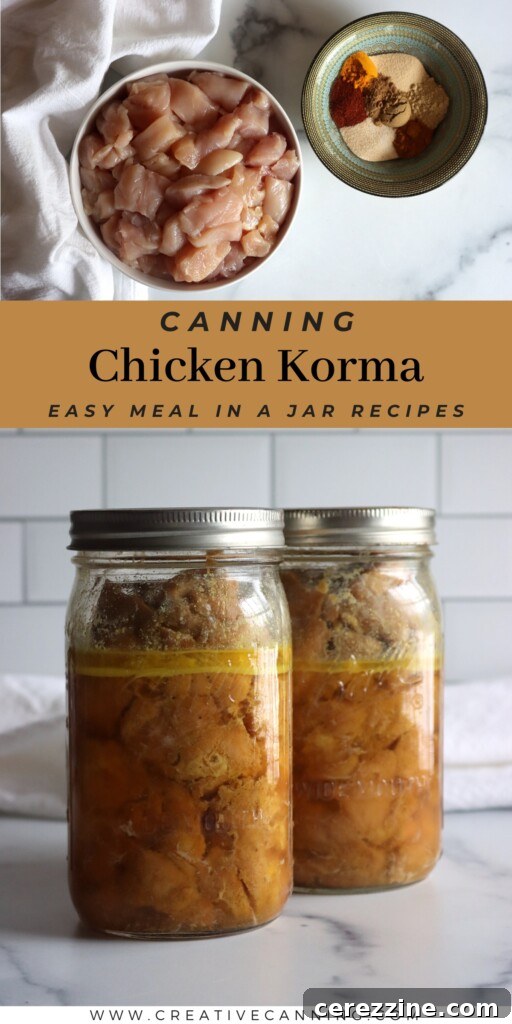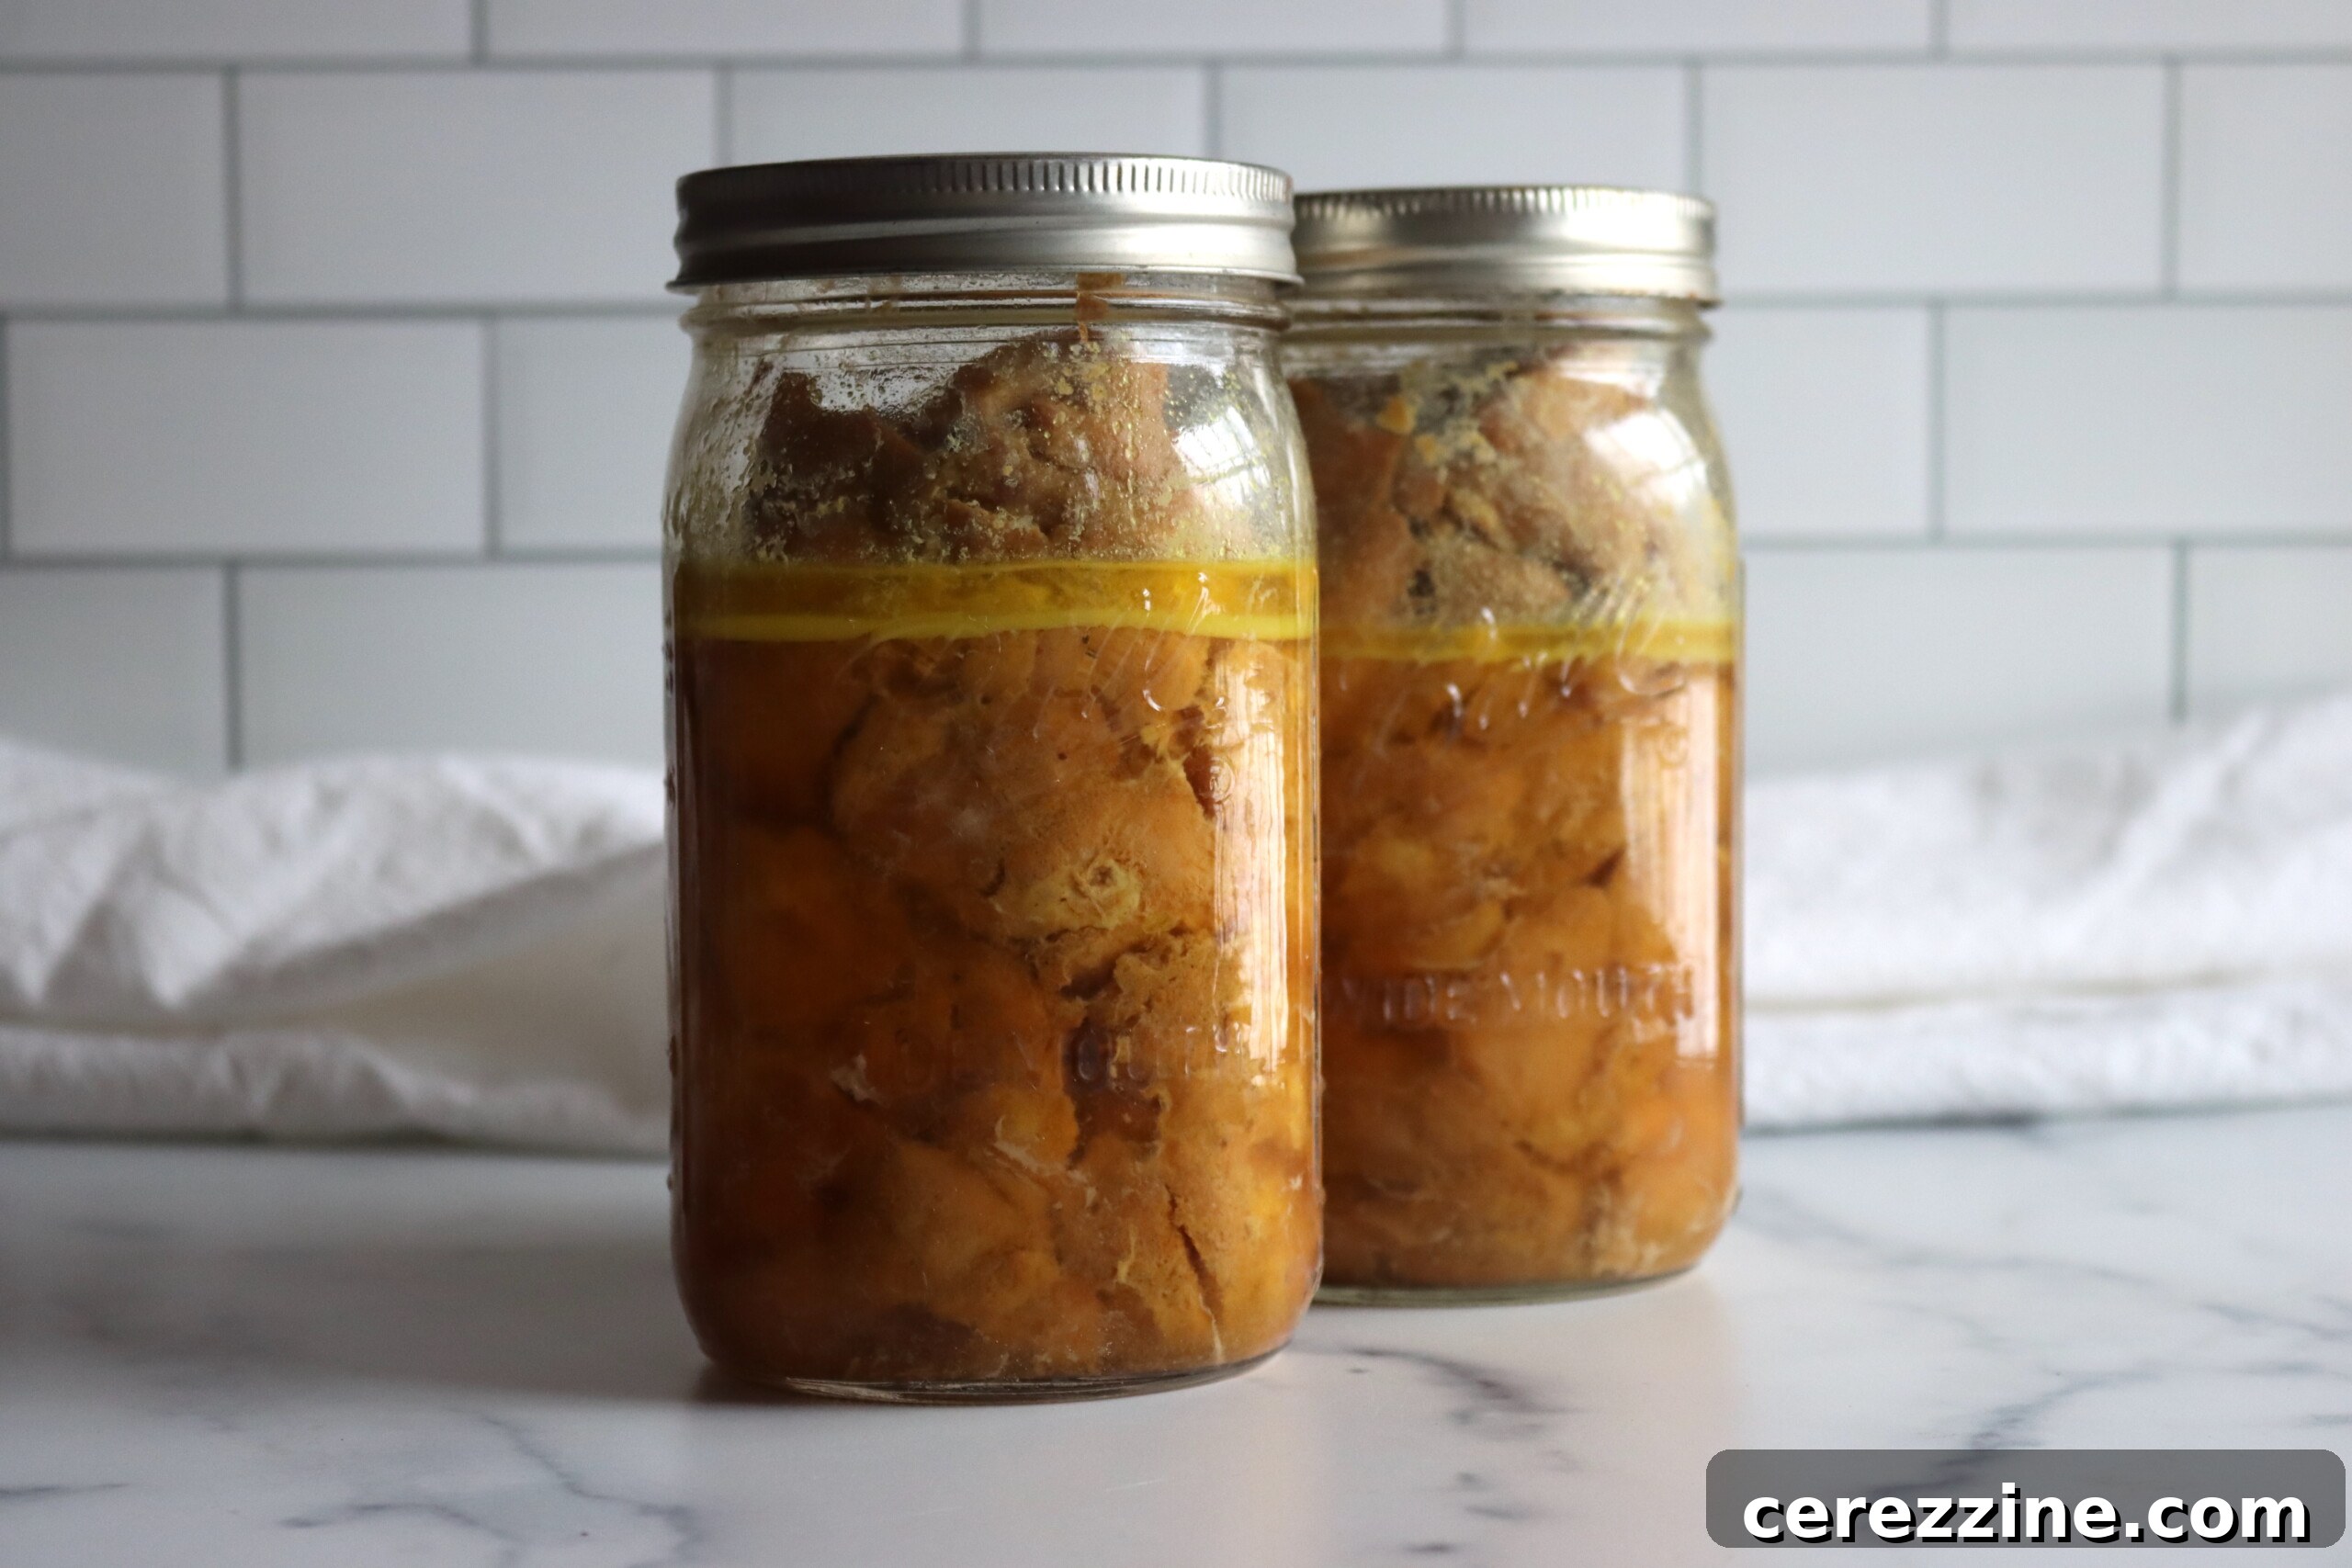
Imagine the rich, aromatic flavors of a classic Indian Korma, ready in minutes from your pantry shelf. This is not just a dream but a delicious reality with our comprehensive guide to Canning Chicken Korma. This innovative raw pack recipe transforms boneless chicken breast and a carefully selected blend of fragrant dry spices into a shelf-stable curry base that promises convenience without compromising on authentic taste. Perfect for busy weeknights or when you crave a homemade meal without the extensive prep, this recipe ensures every jar is packed with concentrated seasoning, designed to be finished at serving time with creamy coconut milk or luxurious cashew cream. Just heat, add your fresh dairy/nut cream, and serve for a quick, satisfying curry that brings the warmth of India right to your table, whenever you desire.
Canning your own chicken korma is more than just a method of food preservation; it’s a gateway to culinary convenience and peace of mind. By preparing this shelf-stable chicken curry base, you gain complete control over the ingredients, ensuring a wholesome, additive-free meal. It’s an excellent way to utilize bulk chicken purchases, reducing food waste and saving money in the long run. Moreover, having jars of delicious, ready-to-use korma in your pantry means you’re always prepared for unexpected guests, a sudden craving for international flavors, or simply a night when cooking from scratch feels like too much effort. This recipe delivers a deep, concentrated flavor profile that stands out from store-bought alternatives, truly making your kitchen a hub of efficiency and gourmet taste.
Understanding Chicken Korma for Pressure Canning
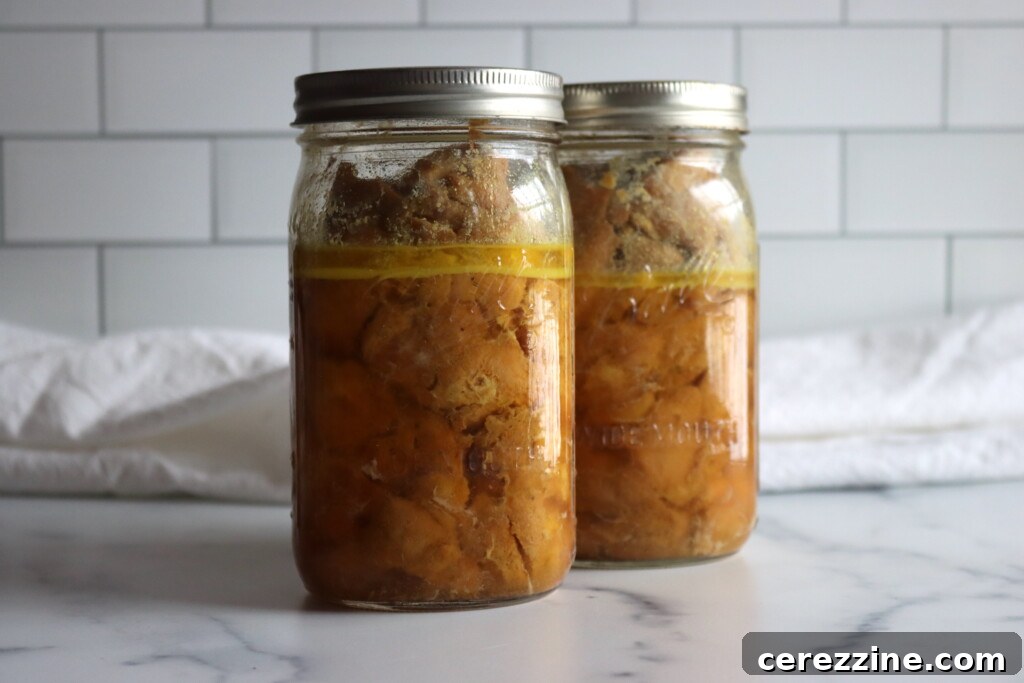
Traditional Chicken Korma is a decadent, mild Indian curry known for its rich, creamy sauce, often made with yogurt, cream, ground nuts like cashews or almonds, and a blend of aromatic spices. While incredibly delicious, incorporating dairy and nuts directly into a canning recipe for long-term shelf stability presents safety challenges. Our pressure canned Chicken Korma recipe elegantly sidesteps these issues by focusing on creating a deeply flavorful, dry-spiced chicken base that is safe for canning and then allows for the addition of fresh, creamy elements like coconut milk or cashew cream right before serving. This ingenious approach ensures both safety and the signature richness of korma.
The choice of chicken is paramount in this recipe. While many traditional korma recipes might call for chicken thighs due to their flavor and tenderness, for pressure canning, we highly recommend using boneless, skinless chicken breast or tenders. Chicken thighs, while flavorful, tend to become quite stringy and can fall apart easily during the high-pressure canning process and subsequent reheating. This texture is perfectly acceptable for dishes like canned chicken taco meat or shredded BBQ chicken, where a pulled consistency is desired. However, for a curry like korma, where you typically want distinct, firm chunks of chicken, breast meat is the superior choice. Its leaner texture holds up beautifully through the canning process, yielding tender yet intact pieces that integrate wonderfully into your finished curry.
Aside from selecting the right cut of chicken, the preparation for this recipe is remarkably straightforward. You simply chop the boneless, skinless chicken breast into uniform pieces, toss them generously with the curated blend of dry Indian spices, and then pack them into canning jars. There’s no pre-cooking required, making this a true raw pack method that saves valuable time. The magic happens during the pressure canning cycle, where the chicken slowly cooks in its own juices, absorbing the rich spice flavors and becoming tender, ready to be transformed into a gourmet meal at a moment’s notice. The canning times remain consistent with standard raw pack chicken – 75 minutes for pint jars and 90 minutes for quart jars – making it an approachable project even for intermediate canners.
Essential Ingredients for Your Homemade Chicken Korma in a Jar
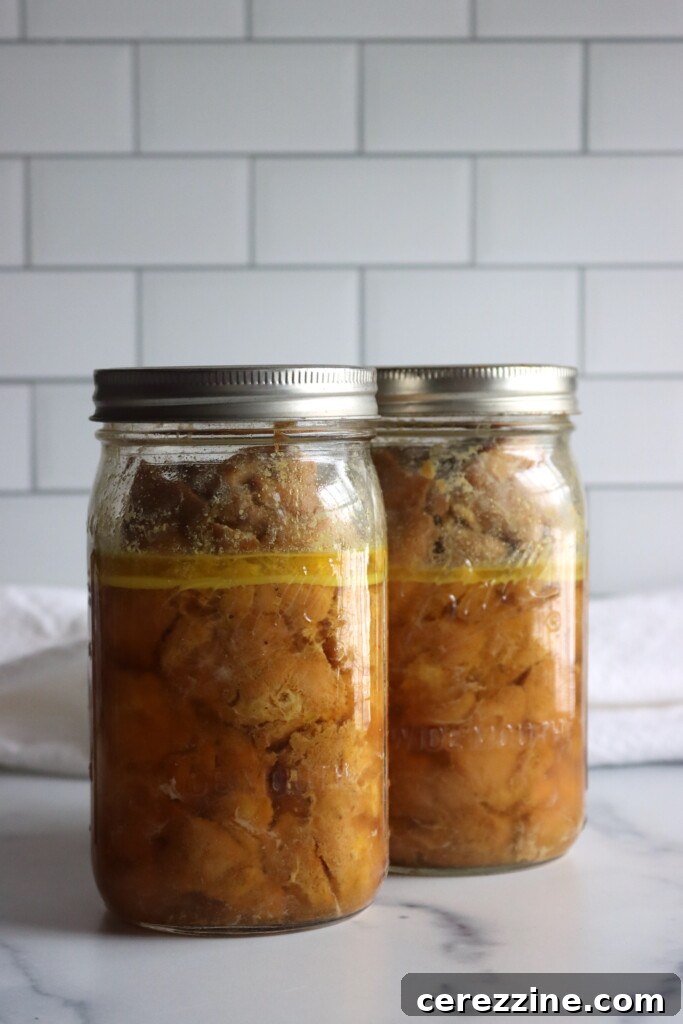
This recipe is scaled to produce 2 quarts of delectable chicken korma base, but its simplicity makes it incredibly easy to scale up for larger canning sessions, allowing you to stock your pantry efficiently. Here’s a detailed look at the key components that come together to create this flavorful dish:
Chicken Breast
As highlighted, Boneless, Skinless Chicken Breast is the star protein here. Its ability to retain shape and a desirable texture through the rigorous pressure canning process is unmatched compared to fattier cuts. When selecting your chicken, aim for high-quality breast meat that is fresh. Cutting it into consistent 2-inch pieces ensures even cooking and uniform texture across all your jars. These firm, clean chunks will be the perfect foundation for your rich korma, absorbing the spices beautifully and providing a satisfying bite in the final dish.
Aromatic Dry Spices – The Heart of the Korma Flavor
The soul of this chicken korma lies in its robust and carefully balanced blend of dry spices. By excluding any added liquid or broth, we ensure that the flavors remain intensely concentrated, preventing dilution and maximizing the aromatic impact of each spice. This potent blend includes:
- Curry Powder (1 Tbsp): Provides a complex, foundational flavor profile, typically a blend of turmeric, cumin, coriander, and other spices.
- Turmeric Powder (1 Tbsp): Contributes a beautiful golden hue and an earthy, slightly bitter warmth, known for its anti-inflammatory properties.
- Garlic Powder (1 Tbsp): Offers a convenient and concentrated garlic essence, providing a pungent aromatic base without the moisture of fresh garlic.
- Onion Powder (1 Tbsp): Delivers a sweet, savory onion flavor that deepens the overall aroma of the curry.
- Garam Masala (2 tsps): A warming blend of ground spices often including cinnamon, cardamom, cloves, and black pepper. It’s typically added at the end of cooking in traditional recipes but included here to infuse deep flavor during canning.
- Cumin (1 tsp): Imparts a distinctive earthy, slightly bitter, and warm flavor that is essential to Indian cuisine.
- Ginger Powder (2 tsps): Adds a spicy, sweet, and pungent kick, crucial for an authentic Indian flavor profile.
- Chili Powder (1 tsp, or Paprika for less heat): Allows you to control the heat level. Use a mild chili powder for a subtle warmth or paprika for color with virtually no heat. For those who prefer more spice, a hotter chili powder can be substituted.
- Salt (2 tsps): Essential for seasoning and enhancing all the other flavors, as well as playing a role in the preservation process.
This meticulous combination ensures a deeply flavorful base that, once rehydrated with coconut milk or cashew cream, will burst with authentic Indian-inspired taste, making every serving a truly restaurant-quality experience right from your own kitchen.
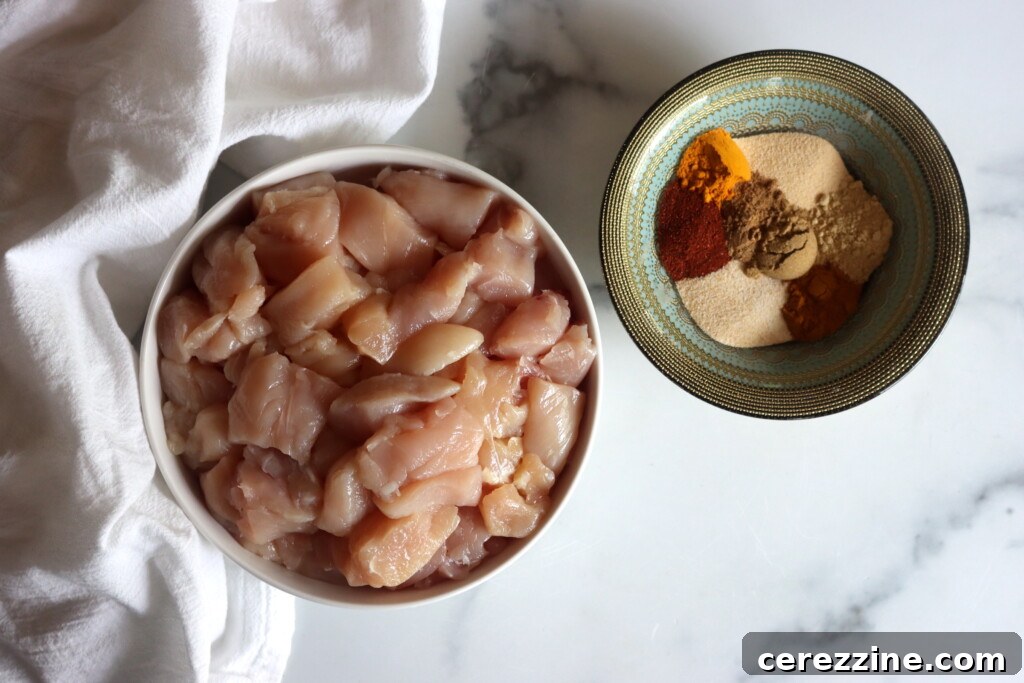
Crafting Your Homemade Chicken Korma for Pressure Canning: A Step-by-Step Guide
This recipe utilizes the raw pack canning method, a popular technique that simplifies the canning process by eliminating the need to pre-cook the chicken. This approach not only saves time but also allows the chicken to cook slowly in its own natural juices within the jar, infusing it deeply with the vibrant spices and yielding exceptionally tender results.
- Prepare the Chicken: Begin by cutting your boneless, skinless chicken breast into uniform 2-inch pieces. Consistency in size is important for even cooking throughout the canning process. Place the cubed chicken into a large mixing bowl.
- Season the Chicken: Add all the dry spices (curry powder, turmeric, garlic powder, onion powder, ginger powder, garam masala, cumin, chili powder/paprika, and salt) to the bowl with the chicken. Using your hands (wearing gloves is recommended for even coating and spice avoidance) or a sturdy spoon, thoroughly mix the chicken until every piece is evenly coated with the aromatic spice blend. This ensures maximum flavor infusion.
- Pack the Jars: Carefully pack the seasoned raw chicken into hot, clean canning jars. It’s crucial to leave 1¼ inch headspace from the top of the jar. This specific headspace is vital for safety and proper sealing, as it allows for expansion of the food and liquid during processing. Because there’s no added liquid, it’s especially important not to pack the chicken too tightly; leave enough space for the meat to naturally release its juices as it cooks under pressure, preventing density issues that could compromise heat penetration.
- Prepare for Sealing: Using a debubbler tool or a non-metallic spatula, gently remove any trapped air bubbles from the packed jars. While challenging with raw pack meat, aim to release as many as possible to prevent siphoning. Then, wipe the rims of the jars clean with a damp cloth to ensure a perfect seal. Any food residue on the rim can prevent the lid from sealing properly.
- Apply Lids and Bands: Place new, sterile two-piece canning lids onto the jars, followed by the screw bands. Tighten the bands finger-tight – this means tight enough to secure the lid, but not overly tight, allowing air to escape during processing.
- Pressure Canning Process: Place your prepared jars into your pressure canner, ensuring the water level is appropriate as per your canner’s instructions (typically 2-3 inches of hot water). Secure the canner lid. Bring the canner up to the required pressure: 10 pounds pressure for weighted gauge canners or 11 pounds for dial gauge canners. Remember to adjust pressure based on your altitude (refer to the altitude adjustment chart below). Process pint jars for 75 minutes and quart jars for 90 minutes.
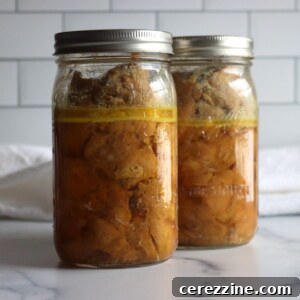
- Cool Down and Check Seals: Once the processing time is complete, turn off the heat and allow the pressure canner to cool down naturally until the pressure gauge reads zero. Do not rush the cooling process or force open the canner, as this can lead to siphoning or seal failures. Carefully remove the jars from the canner and place them on a towel-lined surface, ensuring they are not touching, to cool undisturbed for 12–24 hours. After cooling, check all seals by pressing the center of the lid; it should not flex. If a lid does not seal, refrigerate the contents and consume within a few days, or reprocess within 24 hours with a new lid if desired. Label your sealed jars with the contents and date, and store them in a cool, dark, dry place. Properly canned and sealed jars will maintain peak quality on the pantry shelf for 12-18 months. Refrigerate after opening.
Crucial Pressure Canning Altitude Adjustments
When pressure canning, the processing times remain constant regardless of altitude, but the required pressure must be adjusted to compensate for lower atmospheric pressure at higher elevations. This ensures your food reaches a safe temperature for proper sterilization.
For dial gauge pressure canners, adjust your pressure as follows:
- 0 to 2,000 feet in elevation – 11 lbs pressure
- 2,001 to 4,000 feet in elevation – 12 lbs pressure
- 4,001 to 6,000 feet in elevation – 13 lbs pressure
- 6,001 to 8,000 feet in elevation – 14 lbs pressure
For weighted gauge pressure canners, the adjustments are simpler:
- 0 to 1,000 feet in elevation – 10 lbs pressure
- Above 1,000 feet – 15 lbs pressure
Always know your altitude and adjust accordingly for safe canning practices.
Serving Your Ready-to-Eat Chicken Korma: From Jar to Delicious Meal
The beauty of canning chicken korma is the sheer ease and speed with which you can transform a jar from your pantry into a restaurant-quality meal. When you’re ready to enjoy, the final steps are simple and allow for customization to suit your taste preferences.
- Heat the Base: Pour the entire contents of a quart jar (or two pints) of canned chicken korma base into a saucepan. Bring it to a gentle boil over medium heat, then reduce the heat and simmer for 5–8 minutes, stirring occasionally, until the chicken is thoroughly heated through and the spices have bloomed.
- Add Creaminess: This is where the magic happens! Stir in one can of full-fat coconut milk (approximately 13.5-14 ounces) for a classic, rich korma consistency. For an even more luxurious and thicker result, you can opt for coconut cream. Alternatively, for a nuttier and traditional korma flavor, you can use cashew cream.
- Optional Indulgences: To elevate the richness and texture, consider these additions:
- Cashew Butter: Stir in about ½ cup of smooth cashew butter for an incredibly creamy and nutty finish.
- Ground Cashews: For a fresher cashew flavor, soak ¾ cup of raw, unsalted cashews in hot water for 30 minutes, then drain and blend with a small amount of the simmering korma liquid until a smooth paste forms. Stir this paste into the curry.
- Whole Cashews: Raw, unsalted whole cashews can also be added directly to the simmering curry for added texture and a delightful crunch. Toasting them lightly beforehand can enhance their flavor.
- Fresh Garnishes: A sprinkle of fresh cilantro, a squeeze of lime juice, or a few thinly sliced green chilies (if you desire more heat) can add brightness and a burst of freshness to the finished dish.
Serve your piping hot, creamy chicken korma over fluffy basmati rice, with warm naan bread, or alongside roti for an authentic Indian dining experience. It’s a quick, convenient, and deeply satisfying meal that tastes like it took hours to prepare.
Rating: 5 out of 5 stars from 1 vote
Servings: 4 servings, makes 2 quart jars
Canning Chicken Korma
This pressure canned chicken korma is a richly spiced curry base made with boneless chicken breast and dry seasonings—no broth or added liquid. Just heat and serve with coconut milk for an easy, restaurant-style curry from your pantry. Customize it with cashew cream or whole cashews for an extra indulgent version.
Prep Time: 10 mins
Canning Time: 1 hr 30 mins
Total Time: 1 hr 40 mins
Pin
Rate
Equipment
- Pressure Canner
Ingredients
(Recipe for 2 quart jars or 4 pint jars)
- 4 lbs boneless, skinless chicken breast
- 1 Tbsp curry powder
- 1 Tbsp turmeric powder
- 1 Tbsp garlic powder
- 1 Tbsp onion powder
- 2 tsps ginger powder
- 2 tsps garam masala
- 1 tsp cumin
- 1 tsp chili powder (or paprika for less heat)
- 2 tsp salt
Instructions
- Cut chicken breast into 2-inch chunks.
- Place chicken in a large mixing bowl and add all spices. Stir thoroughly to coat the chicken evenly.
- Pack seasoned raw chicken into hot, clean canning jars, leaving 1¼ inch headspace. Do not add any broth or liquid.
- Debubble jars (as best as possible with raw pack), wipe rims clean, and apply two-piece canning lids finger-tight.
- Process in a pressure canner at 10 lbs pressure (weighted gauge) or 11 lbs (dial gauge), adjusting for altitude.
- Process pints for 75 minutes and quarts for 90 minutes.
- Let jars cool undisturbed for 12–24 hours on a towel-lined counter. Check seals before storing. Properly canned and sealed jars will maintain peak quality on the pantry shelf for 12-18 months. Refrigerate after opening.
Notes
This is a raw pack pressure canning recipe and must be processed according to tested guidelines. Do not attempt to water bath can; low-acid, meat-based canning recipes are not safe for water bath canning. Always leave 1¼ inch headspace and avoid overpacking the jars to ensure safe processing and proper seal formation.
Altitude Adjustments
Adjust pressure as needed:
Dial Gauge Canners
- 0–2,000 ft: 11 lbs pressure
- 2,001–4,000 ft: 12 lbs pressure
- 4,001–6,000 ft: 13 lbs pressure
- 6,001–8,000 ft: 14 lbs pressure
Weighted Gauge Canners
- 0–1,000 ft: 10 lbs pressure
- Above 1,000 ft: 15 lbs pressure
Serving Suggestions
To serve, heat contents of one quart jar (or two pint jars) in a saucepan and bring to a boil. Simmer for 5-8 minutes until heated through. Add one can of full-fat coconut milk (or coconut cream for a richer result). Optional: stir in ½ cup of cashew butter or ¾ cup raw cashews (ground into a paste) for added richness and thickness. Serve over rice or with naan bread.
Nutrition (per serving, without added coconut milk/cashews)
Calories: 551kcal, Carbohydrates: 6g, Protein: 98g, Fat: 13g, Saturated Fat: 3g, Polyunsaturated Fat: 2g, Monounsaturated Fat: 4g, Trans Fat: 0.1g, Cholesterol: 290mg, Sodium: 1703mg, Potassium: 1819mg, Fiber: 2g, Sugar: 0.3g, Vitamin A: 306IU, Vitamin C: 7mg, Calcium: 50mg, Iron: 4mg
Nutrition information is automatically calculated and should only be used as an approximation. The addition of coconut milk, cashew cream, or other serving suggestions will alter these values significantly.
Safety First: Important Considerations for Pressure Canning Meat
Pressure canning is a safe and effective way to preserve low-acid foods like meat, provided you adhere strictly to tested and approved guidelines. It is absolutely critical to understand that meat-based recipes, including this chicken korma, must be processed in a pressure canner. Water bath canning, while suitable for high-acid foods like jams and pickles, does not reach temperatures high enough to destroy harmful bacteria, such as Clostridium botulinum, which can thrive in low-acid environments and produce dangerous toxins. Attempting to water bath can meat or poultry is unsafe and poses a serious health risk.
Always ensure your pressure canner is in good working order, with a properly calibrated dial gauge (if applicable) or accurate weights for weighted gauges. Follow the processing times and pressures precisely as indicated in the recipe and adjusted for your specific altitude. Do not alter the amount of ingredients, especially those that could affect the pH level or density of the product, unless a specific tested recipe modification allows for it. Consistency in jar size, headspace, and cooling procedures are all integral to ensuring a safe, shelf-stable product. By following these essential safety protocols, you can confidently enjoy your delicious, homemade canned chicken korma for months to come.
Expand Your Pantry: More Flavorful Chicken Canning Recipes
If you’ve enjoyed the process of canning chicken korma and are looking to further expand your repertoire of homemade, shelf-stable meals, you’re in luck! There’s a world of delicious and convenient chicken canning recipes waiting to fill your pantry shelves. Building a diverse collection of canned meats and meals can be a game-changer for quick dinner solutions and preparedness.
This Chicken Korma, with its deeply spiced base and creamy potential, is just one fantastic Indian-inspired option. But for those who crave even bolder flavors, consider venturing into other aromatic curries like Canning Chicken Curry, a robust and vibrant dish, or explore the exotic notes of Thai Red Curry Chicken, both tested recipes packed with distinct aromatic profiles that transport your taste buds across continents. These global flavors, once canned, offer unparalleled convenience for adventurous home cooks.
Beyond international cuisine, there are many comfort food classics that lend themselves perfectly to pressure canning. For a truly heartwarming and traditional route, try your hand at Canning Chicken and Gravy. This savory combination transforms easily into a cozy meal when reheated and served over mashed potatoes or biscuits. Similarly, Chicken Pot Pie Filling can be canned, providing you with a head start on one of America’s favorite comfort foods – just pour into a pie crust, bake, and enjoy!
And of course, don’t forget the versatile basics that form the backbone of any well-stocked pantry. Canning Chicken Soup is a timeless staple, offering nourishing warmth on a cold day or a quick base for countless other recipes. For a hearty and satisfying option, Chicken and Corn Chowder makes for an excellent canned meal, combining tender chicken with sweet corn in a creamy (added at serving) base. These foundational recipes are endlessly versatile, providing wholesome meal solutions that are ready when you are, truly revolutionizing your meal planning and kitchen efficiency.