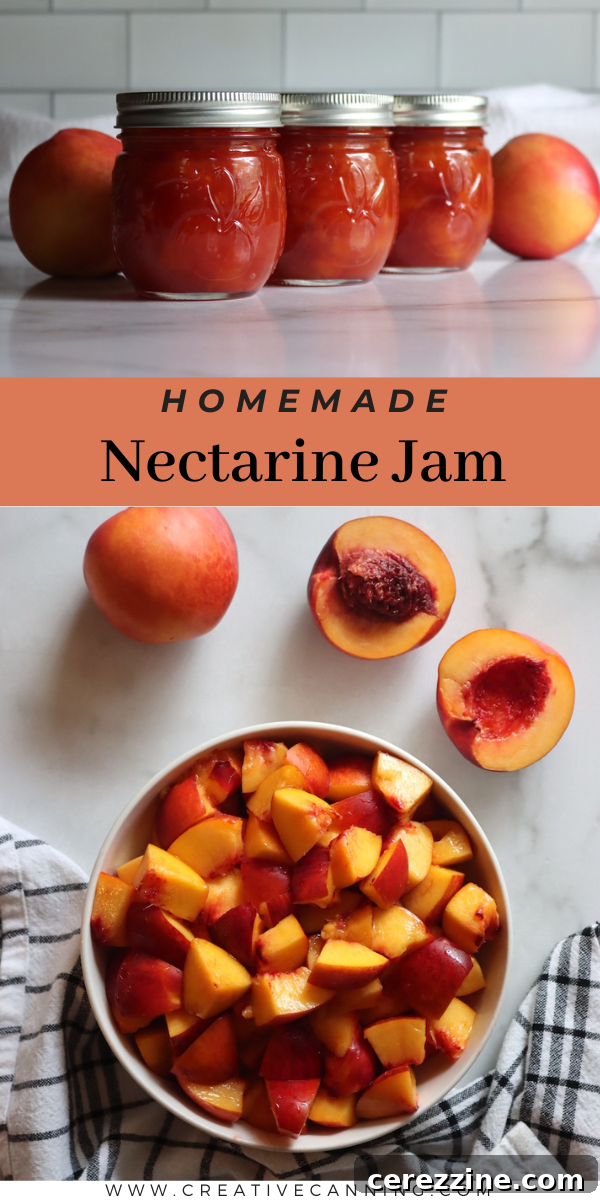
Imagine capturing the sweet, fragrant essence of summer’s finest fruit in a jar, ready to brighten your mornings all year long. Nectarine jam offers exactly that: an incredibly simple, yet richly flavored homemade preserve. Unlike its fuzzy cousin, the peach, making nectarine jam requires no arduous peeling and often, no added pectin, thanks to the fruit’s natural attributes. This guide will walk you through creating a vibrant, chunky, and utterly delicious nectarine jam, perfect for beginners and seasoned canners alike.
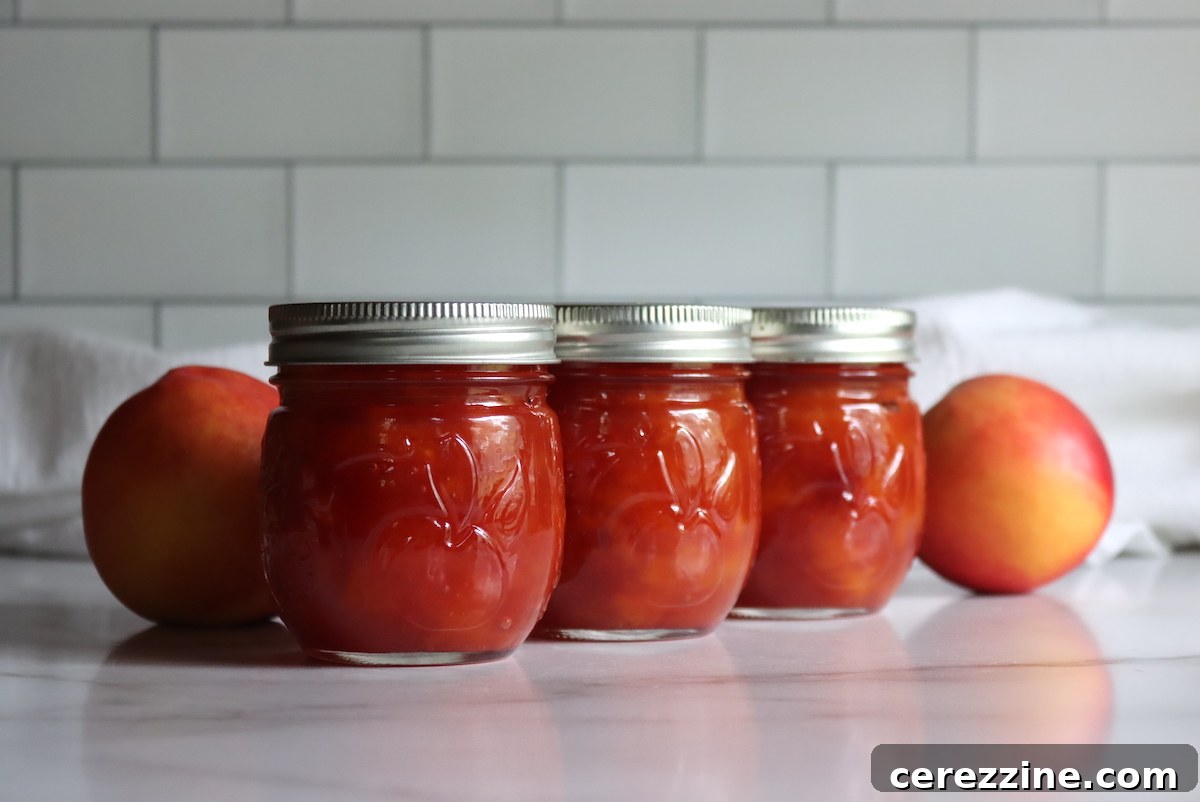
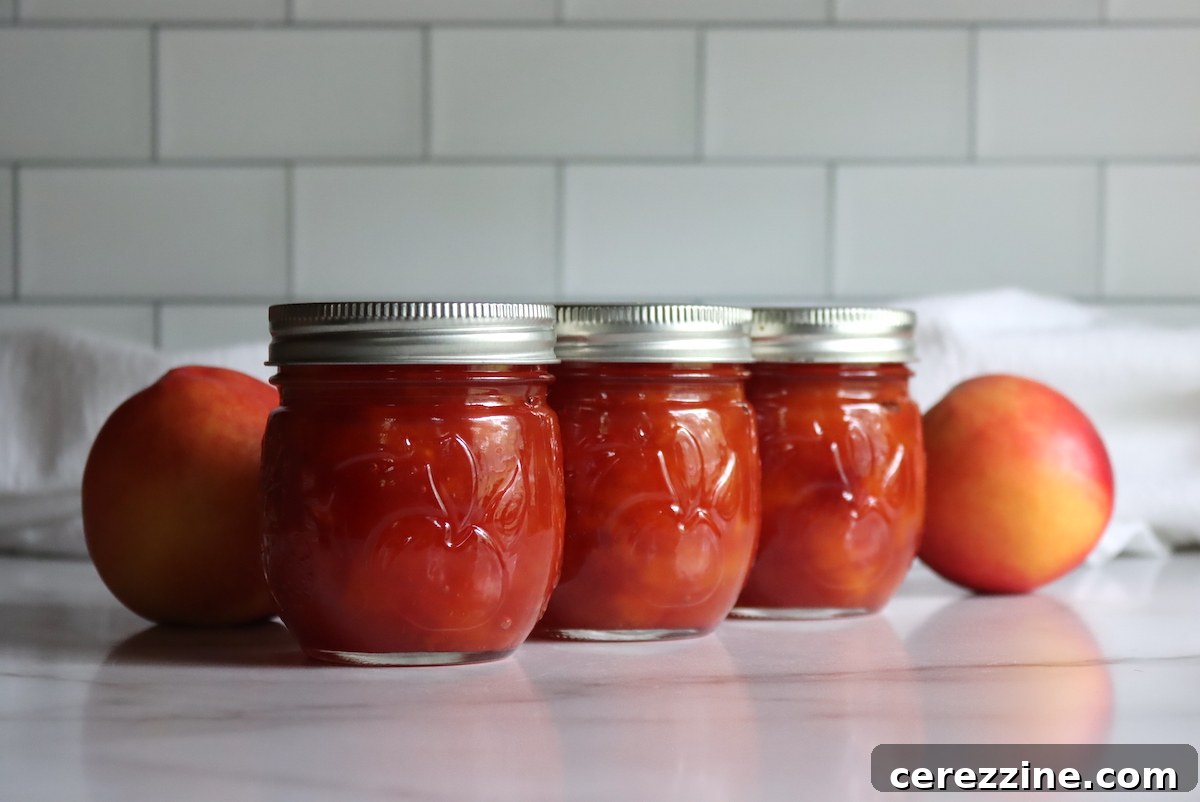
While peaches often steal the spotlight during mid-summer, I wholeheartedly believe nectarines deserve far more attention. Their flavor profile is distinctly superior—richer, more intensely sweet, and beautifully vibrant, creating a jam that truly sings with the taste of summer. Beyond their exceptional taste, nectarines offer a significant advantage in the kitchen: their smooth, delicate skin. This means you can skip the time-consuming and sometimes frustrating step of peeling, simplifying your jam-making process immensely.
The thin, tender skin of nectarines is a game-changer. Unlike the fuzzy, often tough peels of peaches, nectarine skins soften completely during cooking, dissolving into the jam to contribute both natural pectin and a stunning depth of color. This built-in pectin is key to achieving a beautifully set jam without relying on store-bought powdered pectin, allowing the pure fruit flavor to shine through.
Nectarines are naturally firmer than peaches, a characteristic attributed to their higher natural pectin content. This abundance of pectin is a blessing for jam makers. It means you can craft a glorious homemade nectarine jam using only three fundamental ingredients: fresh, ripe nectarines, granulated sugar, and a splash of lemon juice to enhance and balance the flavors. There’s no need to reach for a box of commercial pectin, keeping this recipe wonderfully natural and straightforward.
The result is a luscious, homemade nectarine jam that boasts a perfect balance of sweetness and tartness, with delightful chunks of fruit suspended in a glossy, jewel-toned spread. It’s a true celebration of summer, preserved for enjoyment any time of year.
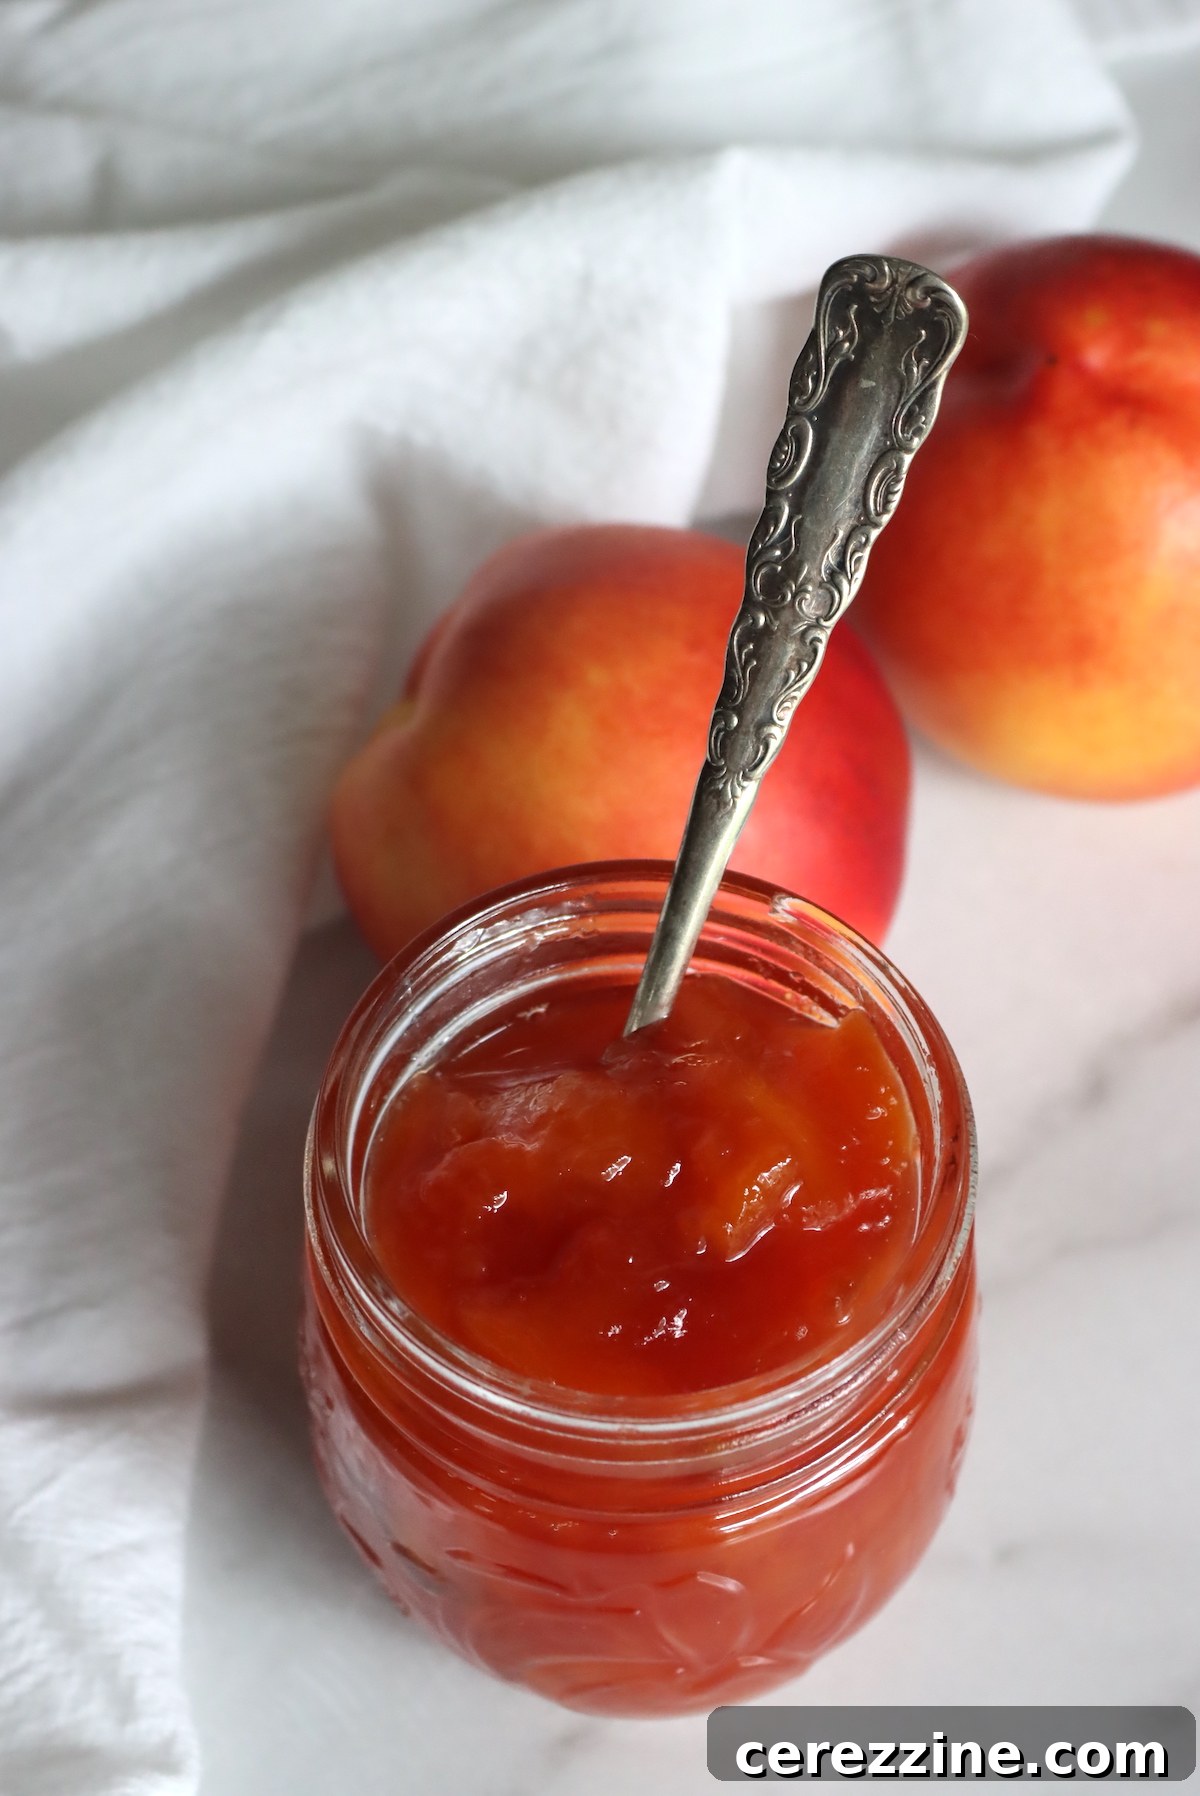
Essential Nectarine Jam Ingredients
Crafting this vibrant homemade nectarine jam requires only a handful of simple ingredients, each playing a vital role in achieving that perfect texture and flavor. The beauty lies in their simplicity and how they work in harmony to transform fresh fruit into a delectable preserve:
- Fresh, Ripe Nectarines: The undisputed star of our jam. Selecting ripe but firm nectarines is crucial for the best flavor and texture. Look for fruit that yields slightly to gentle pressure and has a fragrant, sweet aroma. Eight cups of chopped nectarines typically come from about 3.5 pounds of whole fruit, or roughly 8-9 average-sized nectarines. Remember, no peeling is necessary, making preparation wonderfully quick!
- Granulated Sugar: More than just a sweetener, sugar is essential for preserving the fruit and achieving the characteristic jam consistency. It works by drawing out moisture from the fruit (a process called maceration) and, critically, by activating the natural pectin within the nectarines, allowing the jam to set beautifully. The sugar also helps inhibit the growth of spoilage microorganisms, ensuring a safe and stable product.
- Lemon Juice: A small but mighty ingredient, lemon juice serves multiple purposes. Its acidity brightens and balances the sweetness of the nectarines, preventing the jam from tasting cloyingly sweet. Furthermore, lemon juice lowers the pH of the jam mixture, which is absolutely vital for activating pectin and ensuring a proper set. For those planning to can their jam, the acidity from lemon juice is also a critical factor in making the recipe safe for water bath canning, inhibiting bacterial growth.
The synergy of these three simple ingredients creates a truly exceptional homemade nectarine jam that highlights the pure, unadulterated flavor of the fruit.
Crafting Your Homemade Nectarine Jam: A Step-by-Step Guide
Making nectarine jam is a rewarding process that transforms fresh fruit into a delightful spread. Follow these steps for a perfect, pectin-free jam every time.
1. Fruit Preparation and Maceration: The Key to Flavor and Texture
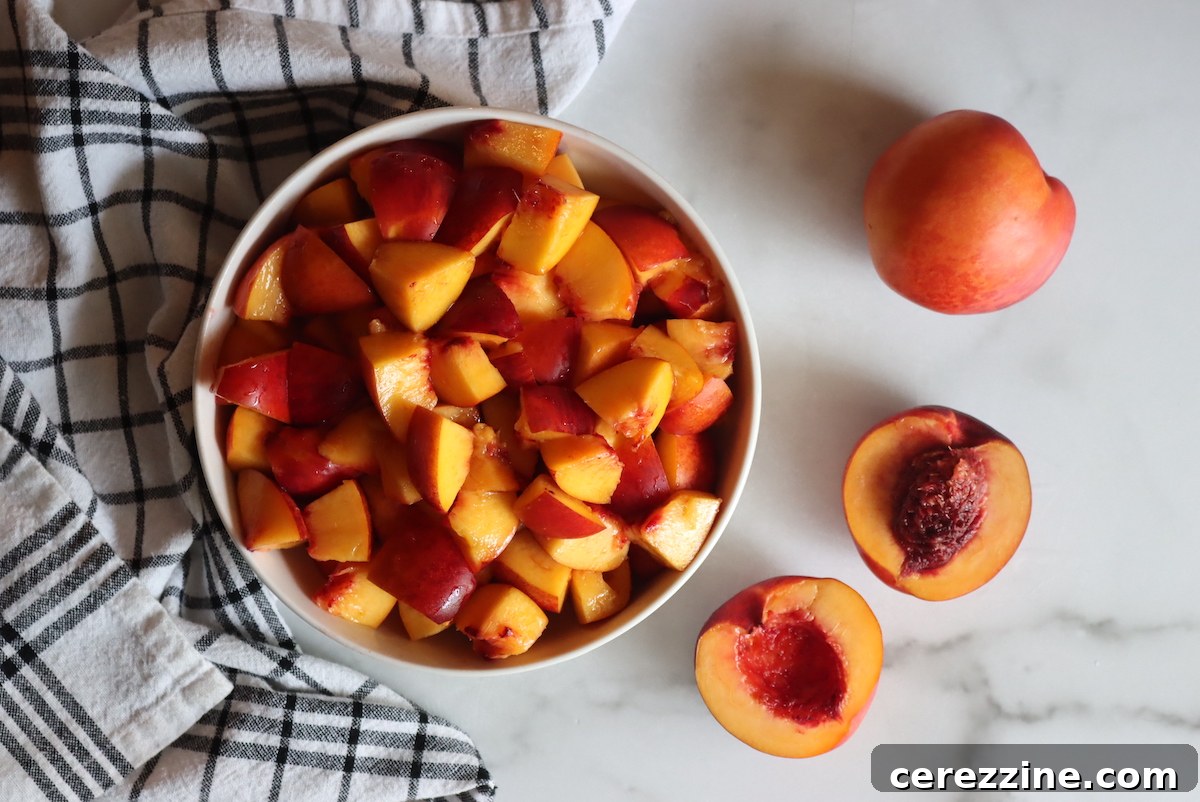
The first step involves preparing your nectarines. Wash them thoroughly, then pit and coarsely chop the fruit. I recommend cutting pieces no larger than 1-inch chunks to start, as they will break down further during cooking. However, for a jam with more uniform, smaller pieces, aim for 1/2 to 3/4 inch chunks. Remember, there’s no need to peel the nectarines; their tender skins will cook down beautifully and add both color and natural pectin.
Once chopped, toss the nectarine pieces immediately with the lemon juice. This simple step helps prevent browning, preserving the fruit’s vibrant color. Then, stir in the granulated sugar. At this stage, the mixture will appear very thick and grainy. This is where the magic of maceration begins. Cover the mixture and refrigerate it for at least 4 hours, though preferably overnight.
Maceration is a crucial technique for this jam. It allows the sugar to draw out the natural juices from the fruit, creating a syrupy base. More importantly, it firms up the fruit’s flesh, helping the chunks maintain their integrity during the cooking process. Without proper maceration, your end product might resemble a sweet fruit butter rather than a jam with distinct fruit pieces. The longer the maceration, the more juice is released and the firmer the fruit becomes, contributing to a quicker setting time later.
2. The Cooking Process: From Fruit to Jam
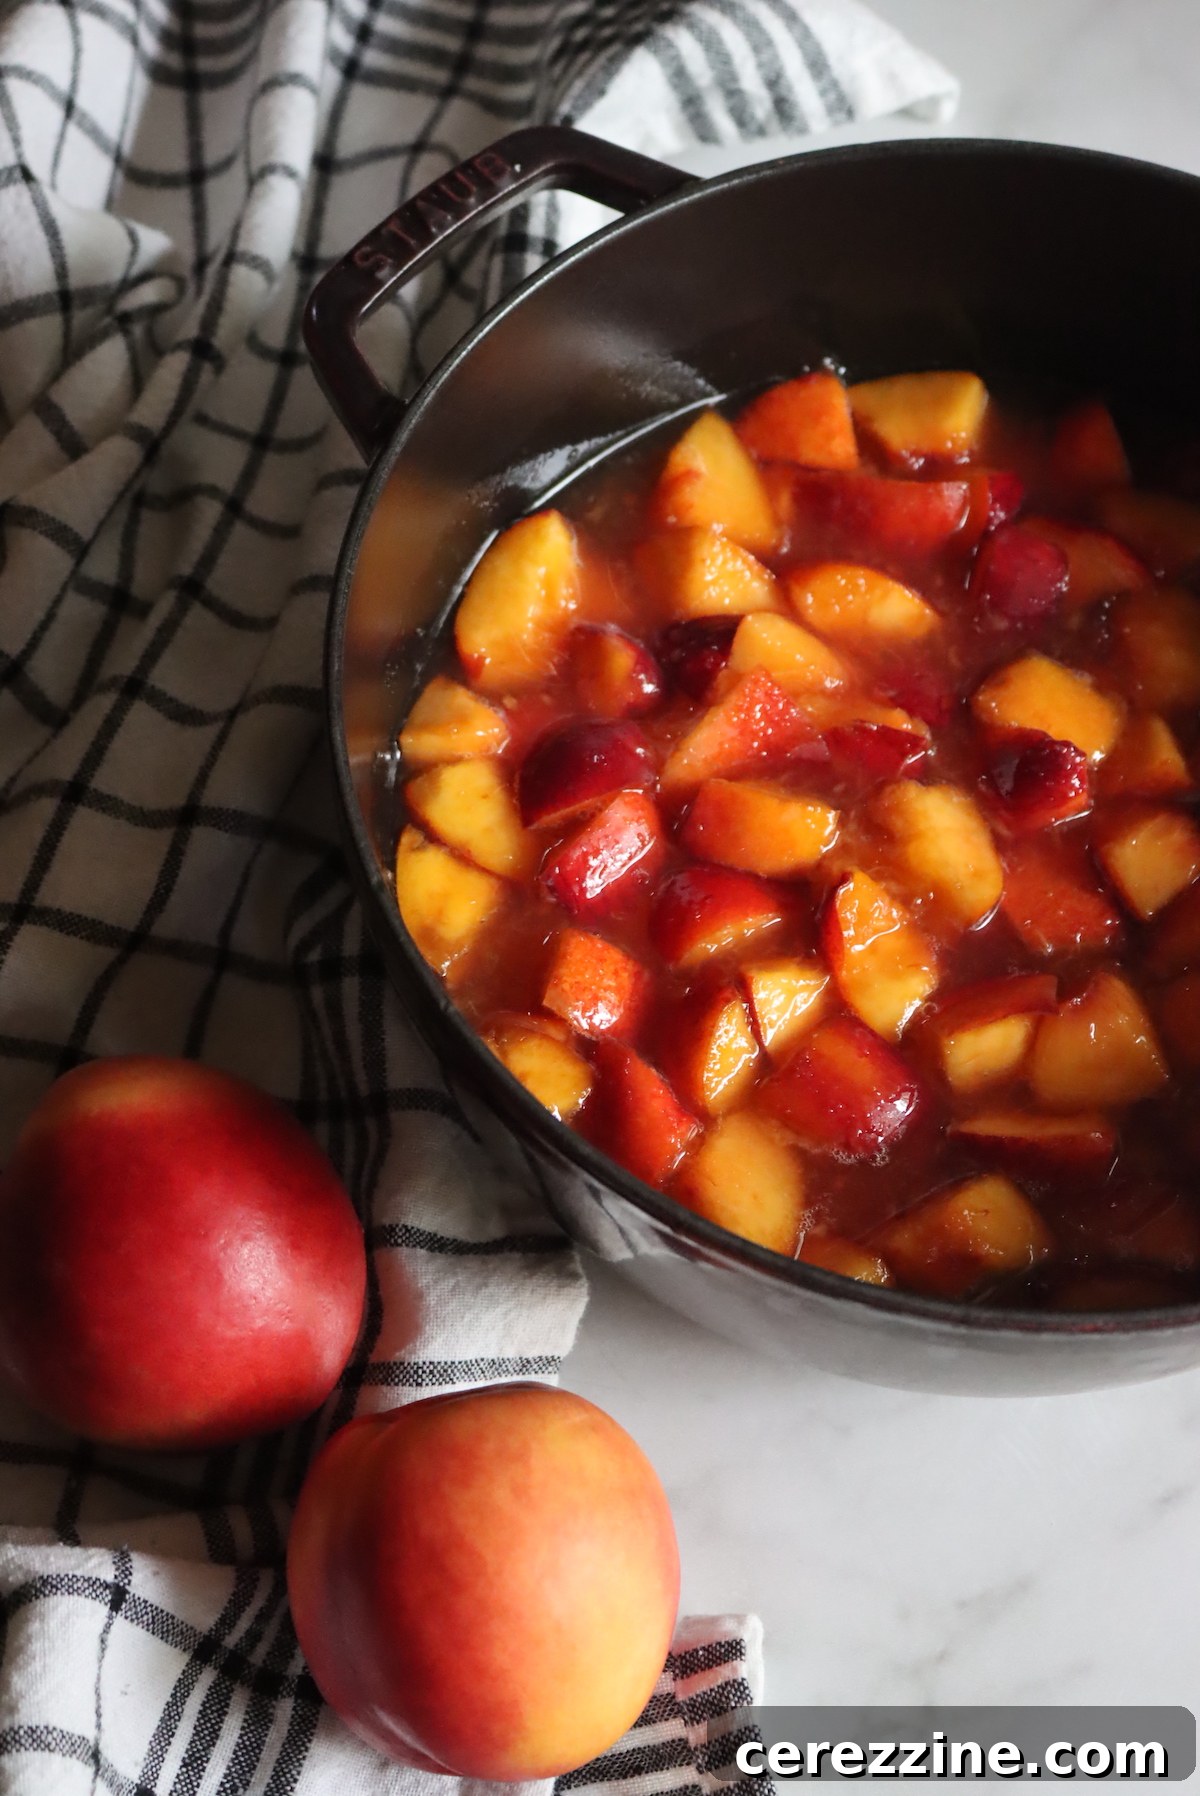
After maceration, transfer the fruit and its accumulated juices into a large, deep, heavy-bottomed stockpot or Dutch oven. The depth of the pot is important; the fruit mixture should occupy no more than half its capacity, ideally only one-third full. This headspace is essential to prevent messy overflows when the jam boils and foams.
Turn the heat to high and bring the mixture to a rapid, hard boil. During this initial phase, constant stirring is critical. The sugar-rich mixture can easily scorch on the bottom of the pot, and the jam will foam up considerably as it heats. Keep a close eye on it, as the foamy sugar can be extremely hot and create a sticky mess if it boils over. Continue stirring and scraping the bottom and sides of the pot.
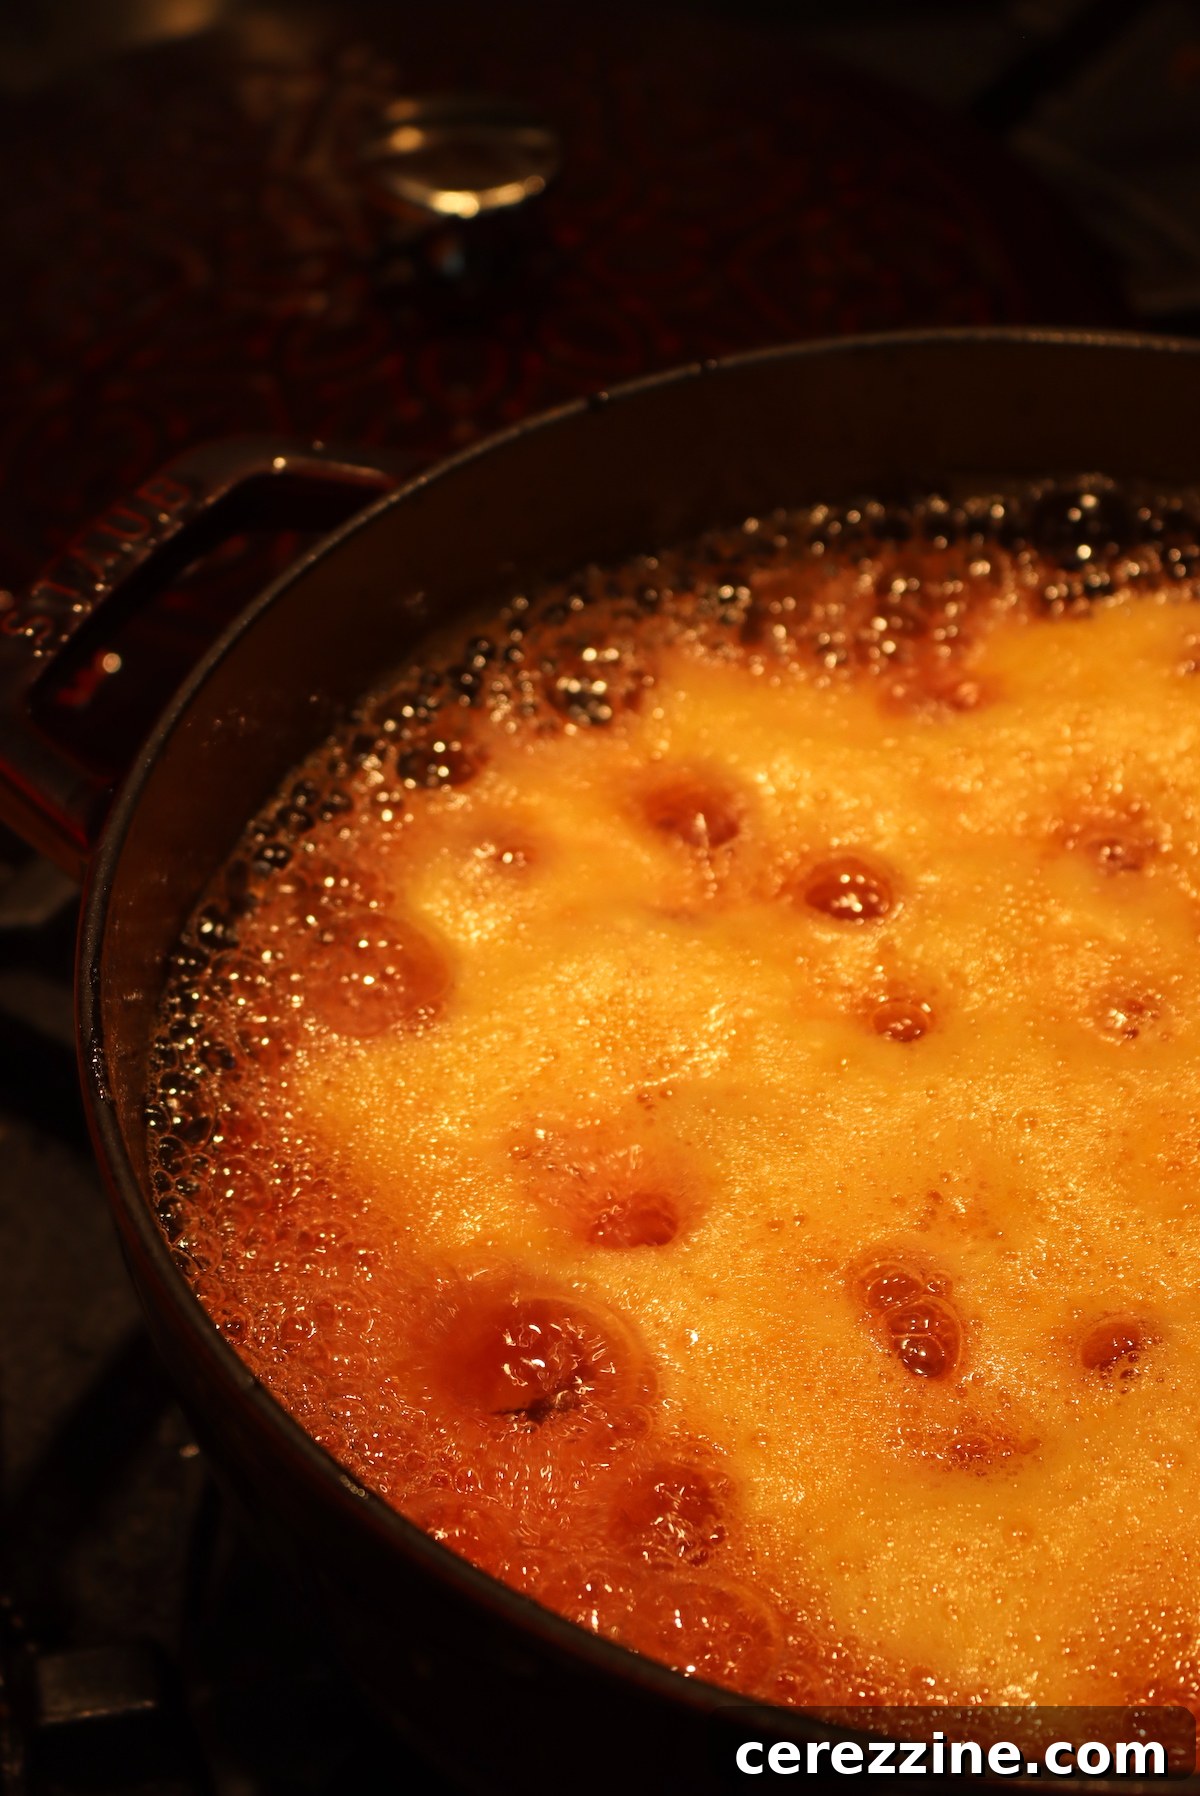
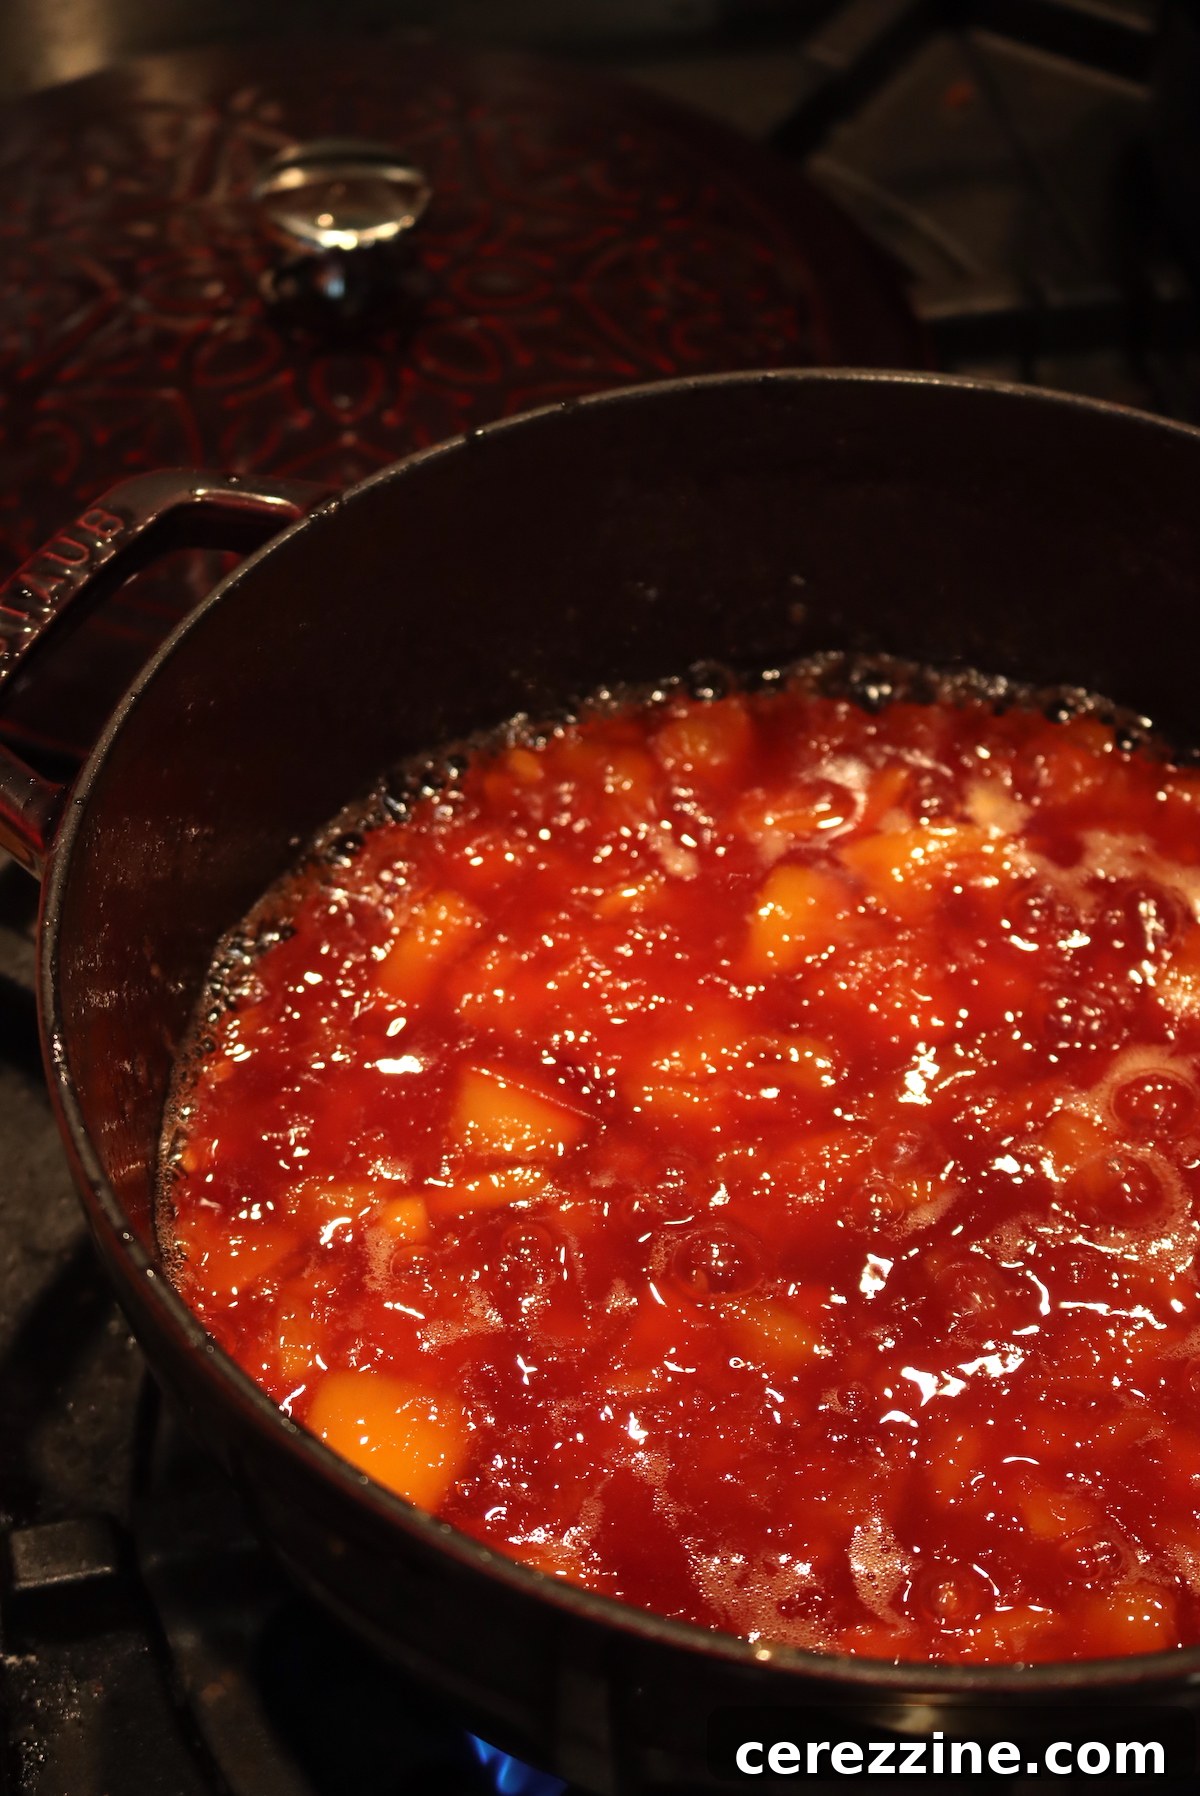
As the nectarine jam cooks and thickens, you’ll notice a distinct change in the bubbles. Initially, they are small, numerous, and foamy, rising high in the pot. As the jam approaches its setting point, the bubbles will become larger, thicker, and more translucent, taking on a glossy appearance. The foam will also subside significantly. If you desire a smoother jam with smaller fruit chunks, you can use a potato masher to break up the fruit during cooking, especially if your initial chop was on the larger side.
The total cooking time can vary based on several factors, including the moisture content of your specific nectarines, the exact amount of sugar used, and the intensity of your stove’s heat. In general, expect the jam to reach its set point within 5 to 15 minutes of rapid boiling on high heat. My batch typically takes around 10 minutes. The maceration step significantly aids in a faster set, so don’t skip it!
3. Testing for the Perfect Set
Achieving the correct set is crucial for a great jam. There are two reliable methods to test for doneness:
- The Cold Plate Test: Before you start cooking, place a small ceramic plate in your freezer. When you suspect the jam is nearly ready, spoon a small amount onto the chilled plate. Return the plate to the freezer for 1-2 minutes. Then, remove it and push the jam with your finger. If the surface wrinkles and holds its shape, your jam has reached its setting point. If it’s still runny, continue cooking and re-test every few minutes.
- The Thermometer Method: For the most precise measurement, use an instant-read thermometer. Jams typically “set” at 220°F (104°C) at sea level. This temperature indicates that enough water has evaporated, and the sugar-pectin concentration is ideal for setting. Remember to adjust this temperature for your altitude: for every 500 feet (approx. 150 meters) above sea level, subtract 1°F (0.5°C) from the target temperature. For instance, at 1,000 feet elevation, your jam will set around 218°F (103°C). A thermometer is arguably the most dependable way to confirm your nectarine jam is finished.
Once your jam has reached its ideal set point, promptly remove it from the heat. It’s now ready to be ladled into your prepared jars.
Preserving Your Nectarine Jam: Canning and Storage Options
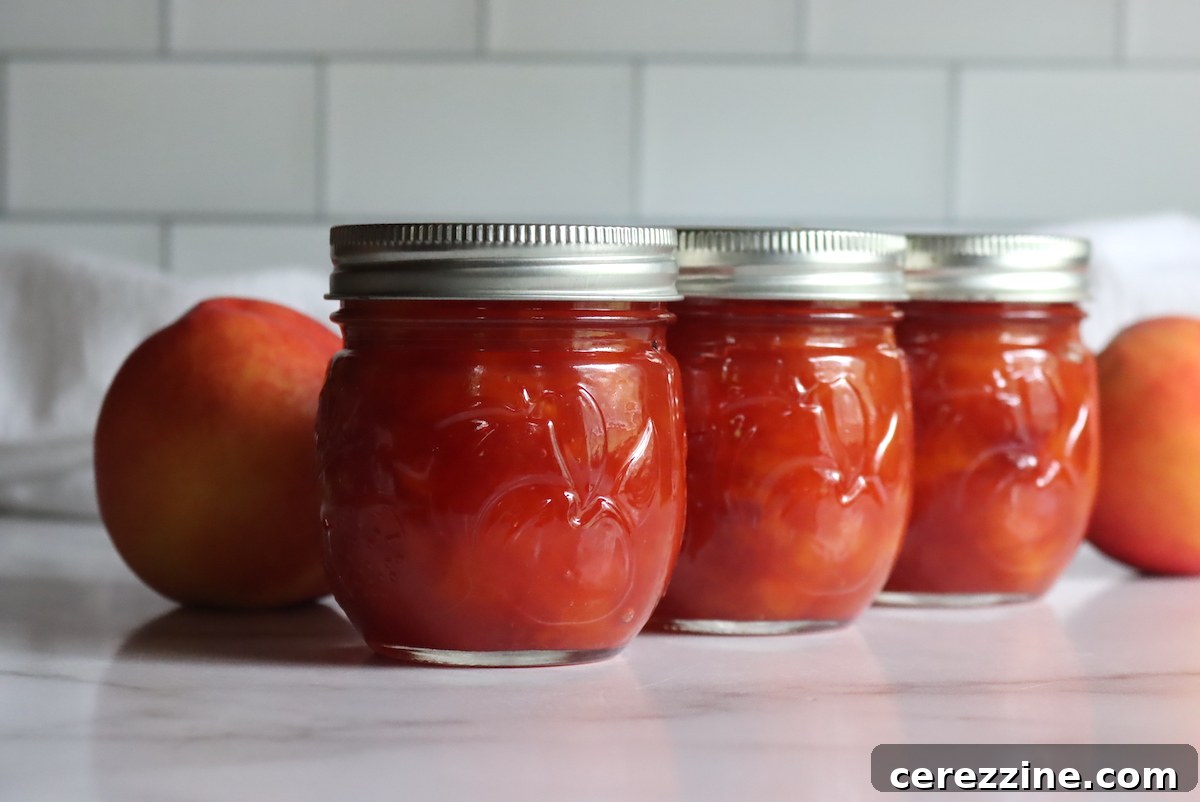
This nectarine jam recipe is designed to be safe for water bath canning, offering a fantastic way to extend its shelf life. However, canning is entirely optional, and you can certainly enjoy this delicious preserve as a refrigerator or freezer jam if preferred.
Refrigerator and Freezer Storage: Quick and Easy
If you opt for short-term storage, your homemade nectarine jam will keep beautifully in the refrigerator for several weeks. Simply ladle the hot jam into clean jars, allow them to cool, and then refrigerate. For longer-term storage without canning, the freezer is an excellent option. In the freezer, your jam will maintain its peak quality for up to 6 months. When freezing, be sure to use freezer-safe jars with straight sides (to prevent breakage as the jam expands) and leave adequate headspace.
Water Bath Canning: Shelf-Stable Goodness
For me, the true magic of jam making comes from the ability to preserve it on the pantry shelf, allowing me to savor the taste of summer long after the season has passed. Properly water bath canned nectarine jam will maintain its peak quality for 12-18 months and remains perfectly safe to eat well beyond that, provided the jars remain sealed. Imagine spreading bright, sun-kissed nectarine jam on your toast in the dead of winter – it’s a simple pleasure that makes the extra effort of canning truly worthwhile.
Water bath canning nectarine jam is a straightforward process. Here’s how to do it safely and effectively:
- Prepare Your Equipment: Before you even start cooking your jam, ensure your water bath canner is ready. Fill it with water, place a rack at the bottom, and start heating the water. Also, prepare your canning jars: wash them thoroughly in hot, soapy water, rinse well, and keep them hot (either in the canner water, a dishwasher, or a warm oven) to prevent thermal shock when adding hot jam. Wash your lids and rings; lids do not need to be boiled but should be clean.
- Fill the Jars: Once your nectarine jam reaches its set point and is removed from the heat, carefully ladle the hot jam into the hot, prepared jars, leaving 1/4 inch of headspace (the space between the jam and the rim of the jar). This headspace is crucial for proper sealing.
- Clean and Seal: Wipe the rims of the jars thoroughly with a clean, damp cloth to remove any jam residue. Place a clean lid on each jar, followed by a screw band, tightened “finger-tight” (just until resistance is met, no overtightening).
- Process in the Canner: Carefully load the sealed jars into the simmering water bath canner, ensuring they are fully submerged by at least 1 inch of water. Bring the canner water to a full, rolling boil.
- Timing: Process pint-sized (8 oz) jars for 10 minutes. If you are at an elevation above 6,000 feet (1,800 meters), increase the processing time to 15 minutes.
- Cool Down: Once the processing time is complete, turn off the heat and allow the jars to sit in the hot canner for an additional 5 minutes. This gradual cooling helps prevent thermal shock and issues like siphoning (loss of liquid from the jar).
- Remove and Rest: Using a jar lifter, carefully remove the jars from the canner and place them upright on a clean towel on your counter. Ensure there is space between each jar for air circulation. Let them cool completely, undisturbed, for 12-24 hours. You’ll likely hear the satisfying “ping” as the lids seal.
- Check Seals and Store: After the cooling period, check all seals. A properly sealed lid will be concave (curved inwards) and will not flex when pressed. Any jars that haven’t sealed should be stored in the refrigerator and used within a few weeks. Label your properly sealed jars with the date and contents, and store them in a cool, dark place on your pantry shelf. Once opened, always refrigerate the jam.
Embracing water bath canning ensures a bountiful harvest of homemade nectarine jam, ready to be enjoyed whenever a craving strikes!
Beyond Jam: Other Wonderful Ways to Preserve Nectarines
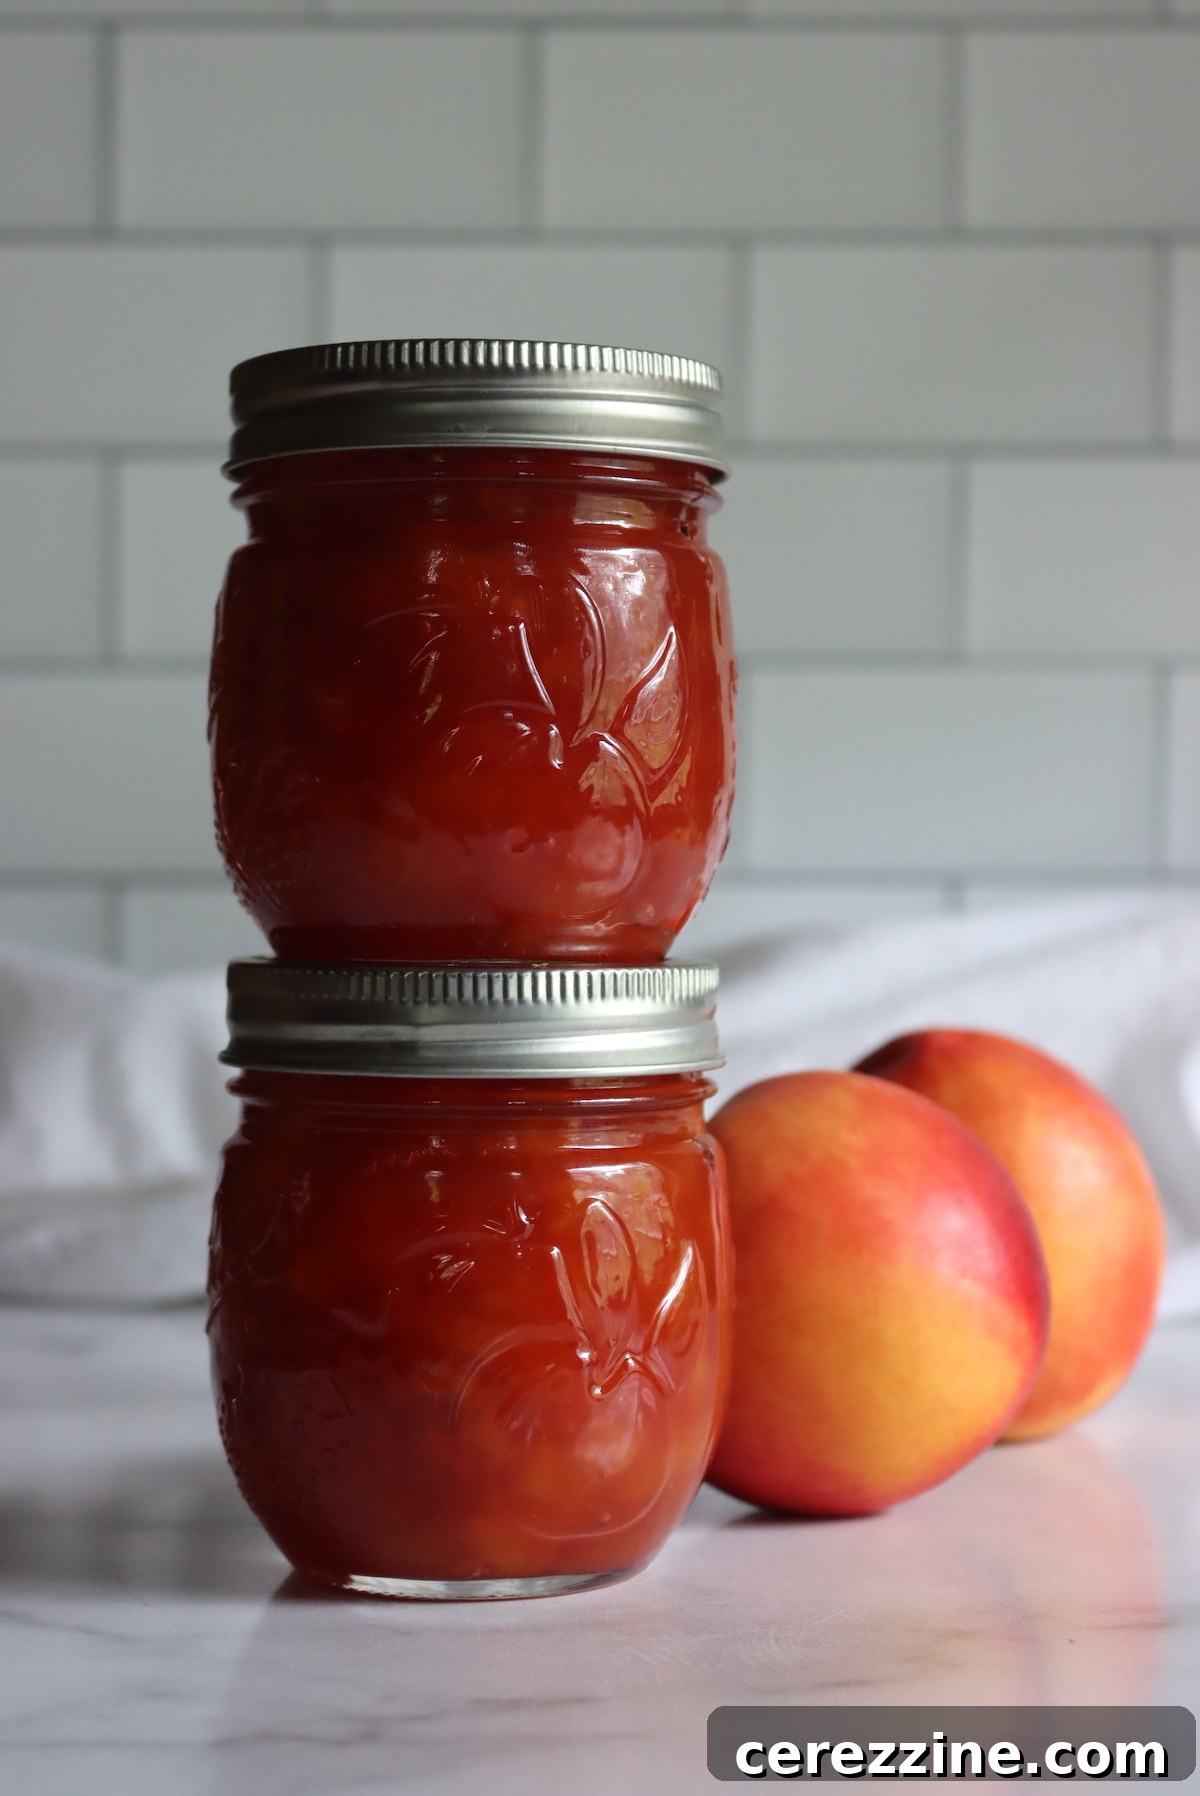
Nectarines are incredibly versatile fruits, and jam is just one fantastic way to preserve their seasonal goodness. If you find yourself with an abundance of these delightful fruits, consider exploring other preservation methods to enjoy their flavor throughout the year:
- Dehydrating Nectarines: A great way to create portable, shelf-stable snacks or additions to granola and baked goods.
- Nectarine Ice Cream: While not a long-term preservation method, it’s a decadent treat that showcases fresh nectarine flavor.
- Freezing Nectarines: Perfect for smoothies, pies, crumbles, or simply enjoying slices of fruit later.
32
servings, Makes about 4 Jars (8 oz)
Nectarine Jam Recipe
Ashley Adamant
4 hrs
10 mins
10 mins
4 hrs
20 mins
Equipment
-
Water Bath Canner (optional, for shelf-stable storage)
-
Large, deep, heavy-bottomed stockpot or Dutch oven
-
Canning jars (8 oz), lids, and bands
-
Jar lifter, canning funnel, ladle
-
Instant-read thermometer (optional, but recommended)
Ingredients
-
8
cups
nectarines,
pitted and coarsely chopped (about 3 1/2 lbs whole fruit) -
2 1/2
cups
granulated sugar -
1/4
cup
fresh lemon juice
Instructions
-
Wash nectarines thoroughly, then pit and coarsely chop them. There is no need to peel.
-
In a large bowl, toss the chopped nectarines with the lemon juice to prevent browning. Then, stir in the granulated sugar. The mixture will be thick and grainy until the nectarines begin to release their juices. Cover the bowl and refrigerate the mixture for at least 4 hours, or preferably overnight, for proper maceration.
-
Once the fruit has macerated, pour the entire mixture into a deep, heavy-bottomed stockpot or Dutch oven. Ensure the fruit mixture fills no more than half, ideally one-third, of the pot’s capacity to allow for foaming during cooking.
-
If you plan on canning the jam, prepare your water bath canner, jars, lids, and rings at this stage. Keep jars hot.
-
Place the pot with the nectarine mixture on the stove over high heat. Bring the mixture to a full, rolling boil, stirring continuously to prevent scorching and ensure even cooking.
-
Continue to cook on high heat, stirring constantly, until the jam reaches its set point. Test for set using either the cold plate test (spoon a small amount onto a chilled plate, return to freezer for 1-2 min, then push with finger – it should wrinkle) or an instant-read thermometer. Jams typically set around 220°F (104°C) at sea level, adjusting 1°F lower for every 500 feet of elevation. Cooking time typically ranges from 5 to 15 minutes, depending on your stove’s heat and fruit moisture.
-
Once the jam has reached a proper set, remove it immediately from the heat. Carefully ladle the hot jam into your prepared hot jars, leaving 1/4 inch of headspace.
-
If canning, wipe jar rims clean, place lids and screw bands finger-tight. Process jars in a boiling water bath canner for 10 minutes (or 15 minutes if above 6,000 feet elevation). Turn off heat, allow jars to sit in the canner for 5 minutes, then remove to cool completely on a towel on the counter for 12-24 hours.
-
Check seals after 24 hours. Properly sealed jars will have concave lids that do not flex. Store any unsealed jars in the refrigerator for immediate use.
-
Properly canned nectarine jam will maintain peak quality on the pantry shelf for 12-18 months (refrigerate after opening). As a refrigerator preserve, it will keep for 2-3 weeks. For freezer storage, use freezer-safe straight-sided jars, and it will keep for up to 6 months.
Notes
Nutrition
Calories: 75kcal
Carbohydrates: 19g
Protein: 0.4g
Fat: 0.2g
Saturated Fat: 0.001g
Sodium: 5mg
Potassium: 49mg
Fiber: 1g
Sugar: 18g
Vitamin A: 119IU
Vitamin C: 2mg
Calcium: 1mg
Iron: 0.1mg
Nutrition information is automatically calculated and provided as an approximation.
Serving Suggestions for Nectarine Jam
Once your beautiful batch of homemade nectarine jam is complete, the possibilities for enjoying it are endless. Here are a few favorite ways to savor its bright, summery flavor:
- Classic Toast or Scones: The most obvious, yet most satisfying way! Spread generously on warm toast, fluffy biscuits, or freshly baked scones with a dollop of clotted cream.
- Yogurt and Oatmeal: Stir a spoonful into your morning yogurt, cottage cheese, or hot oatmeal for a burst of natural fruit sweetness.
- Cheese Board Companion: Pair with sharp cheddar, creamy brie, or tangy goat cheese on a charcuterie board. The sweetness of the jam beautifully contrasts with savory cheeses.
- Baking: Use it as a filling for tarts, thumbprint cookies, or swirl it into muffin batter. It also makes a delightful layer in a sponge cake or between shortbread cookies.
- Glaze for Meats: A dollop can be melted and brushed over roasted chicken, pork, or even grilled salmon for a sweet and tangy glaze.
- Ice Cream Topping: Warm it slightly and spoon it over vanilla ice cream or frozen yogurt for a simple yet elegant dessert.
However you choose to enjoy it, this homemade nectarine jam is sure to be a cherished addition to your pantry!
More Fruit Canning Recipes to Explore
Nectarines are just one of many wonderful fruits you can transform into shelf-stable preserves. Expanding your repertoire of canned fruits is a fantastic way to enjoy the bounty of each season. Here are some other delightful fruit canning recipes to try:
- Canning Peaches
- Canning Gooseberries
- Canning Raspberries
Timeless Old-Fashioned Jam Recipes (No Added Pectin)
If you love the simplicity of making jam without added commercial pectin, these traditional, old-fashioned jam recipes are perfect for you. They rely on the natural pectin in fruit, just like our nectarine jam, delivering pure fruit flavor and a satisfying set:
- Grape Jam
- Blackberry Jam
- Blueberry Jam
- Raspberry Jam